One time when I was packing for a wildlife photography trip, I wrote a list of my equipment on a piece of paper – complete with lenses, batteries, clothing, and so on. I wanted to have a useful reference for the next trip, but then the “next trip” came along and I couldn’t find the paper! So, I took a more modern approach and wrote a reference document on my computer. Now that I have such a list, why not share it with you? It might come in handy next time that you’re going on a wildlife photography trip.
Of course, there is no universal list that fits all wildlife photography expeditions. For example, if you’re going to photograph in Svalbard, add a rifle, a polar bear alarm, and warmer clothing to the list. If you plan to venture into the desert regions of Africa or Australia, you can probably leave the machete at home.
Since I tend to visit the rainforest for wildlife photography, my list skews somewhat in that direction (although there are many places where you need to consider rain and bugs). I’ll divide my list into two categories: photography equipment and other gear. Let’s get to it.
Table of Contents
Photography Equipment
Camera
One camera is fine, but two is a safer bet. You never know when something will go wrong. And if something does go wrong, it usually won’t be when you’re at home taking pictures of squirrels.
Both cameras should have the same mount and, if possible, the same battery type. When the main camera fails, the backup can work with all of your accessories.
Some brands make cameras that are complementary in features. For example, one camera may be a slower-paced option for high resolution, while the other has a faster frame rate but lower resolution. Rather than thinking of them as “main and backup” cameras, think how to complement them with two different lenses.
Examples of such complementary pairs might be the Fujifilm X-H2 and X-H2S or the Nikon Z7 II and Z6 II. Not all cameras have an obvious sibling, so if you need to designate one camera as your backup, so be it.
Some of the best wildlife photography cameras today include the Nikon Z9, Canon EOS R3, Canon EOS R5, Canon EOS R6 II, Sony A1, Sony A9 series, and Sony A7R V. There are also many good crop-sensor options from Fujifilm and OM System (Olympus), not to mention various DSLRs that represent a great bargain on the used market today. And this only scratches the surface – it’s hard to go wrong.
Lenses
Where lenses are concerned, less often means more. And not just because you’ll have lighter bag. If you limit your lens choices, you’ll know what to pull out of your bag immediately upon seeing a good subject – no time wasted picking lenses.
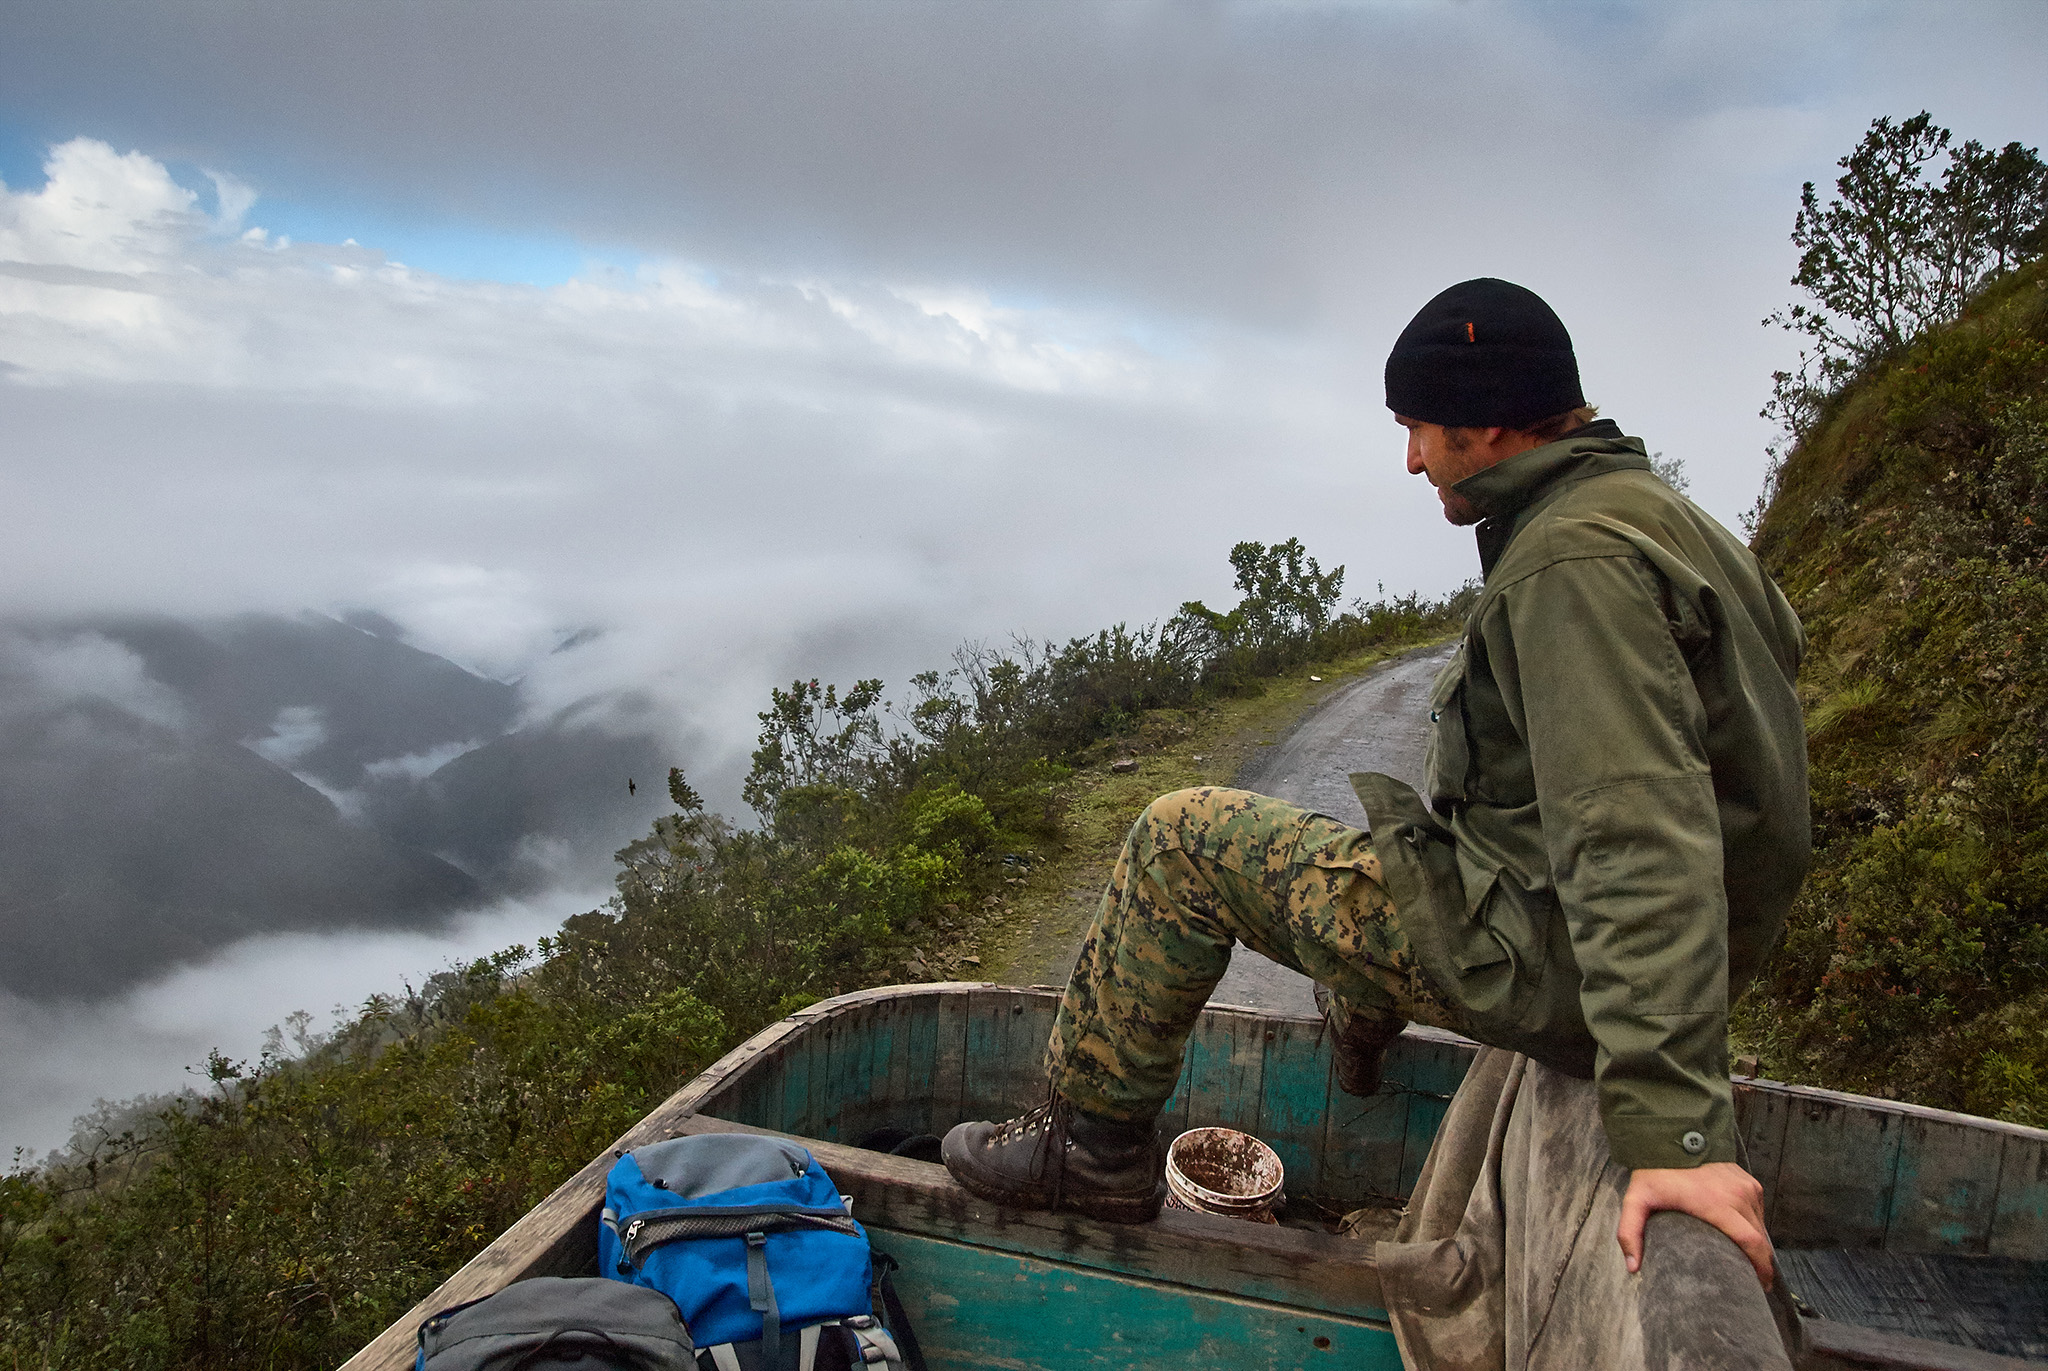
Also keep in mind the size and weight limits of airlines on carry-on luggage. On a recent flight from Ecuador, I was asked to put my carry-on on the scale at the counter. It read something like 19kg. That’s more than double the weight limit! Fortunately, the flight attendant commented, “un poco pesado, pero bien” (a bit heavy, but okay). I have heard other stories though, and I don’t want to tempt fate too much. So, what lenses to bring with you?
Wide-angle lenses: For wildlife photography, you may not need a wide-angle lens very often, but I would never want to be without one anyway. I prefer traveling with either a lightweight f/4 zoom, or a lightweight f/1.8 prime – not both, though. It depends on how dim your environment will be. I like the flexibility of zooms, but an f/1.8 aperture gathers a lot of light in dim forests.
Normal lenses: You’d be surprised how often I use normal lenses for wildlife photography. Maybe that’s because I’ve grown to enjoy taking photos of nearby wildlife, like snakes and lizards. Even if that doesn’t apply to you, a normal lens will be useful for on-the-go and documentary photos of your trip. I personally use the Nikon Z 24-120mm f/4 S lens (see our review) and most companies have something similar.
Telephoto lenses: If you only have one photo backpack – which I recommend – you probably won’t find room for two large telephoto lenses. This is especially true for full-frame camera systems. However, you could always carry a smaller telephoto for the more moderate focal lengths, such as the Canon RF 70-200mm f/4, Sony 70-300mm f/4.5-5.6, or Nikon F 300mm f/4 PF.
Then, for your main telephoto lens, you can add anything in the 400mm to 800mm range. Jason has already written a great guide to choosing good lenses for wildlife photography, so I won’t go into too much detail here. Suffice to say that there is a tradeoff between price, maximum aperture, and focal length that is hard to avoid. A high-end choice like a 400mm f/2.8 will be a lot more expensive and heavy than, say, a 500mm f/5.6. If you’re on a budget, there are also choices from third-party companies like Sigma and Tamron.
Macro lenses: There are basically two options here. Macro lenses with longer focal lengths (typically around 100mm) and wide-angle macro lenses (around 15mm). The first type is much more popular and allows you to take classic macro photographs with blurry backgrounds. I myself until recently had a Sigma 105mm f/2.8 EX DG OS HSM in my backpack. However, on my last expedition, I replaced it with the Nikon Z MC 105mm f/2.8 VR S.
Wide-angle macro lenses are gaining popularity, however – such as the Venus Optics Laowa 15mm f/4 (for full-frame) or the Panasonic Leica DG Summilux 9mm f/1.7 ASPH (for Micro 4/3). These lenses show a lot more surroundings and context, although they require you to get extremely close to your subject.
Teleconverters
A teleconverter allows you to extend the focal length of your telephoto lens by (generally) 1.4 to 2.0 times. While that sounds tempting, you’ll pay the price in the form of reduced lens aperture and worse image quality. The higher the magnification of your teleconverter, the more these issues become apparent. Newer versions of teleconverters also tend to be better than older ones.
Filters
Wildlife photography is not generally known for the use of filters. I still sometimes carry a circular polarizer plus step up rings, but I only use it in very particular cases (like, my subject is on the water in bright conditions). A UV filter may also be useful if you’re photographing in extreme conditions, like sand blowing in a fierce wind.
In general, unless you have a particular photo in mind, I don’t see much reason to use bag space for filters as a wildlife photographer. However, if you are also doing landscape photography, you may want to add in a set of ND and Grad ND filters to supplement the polarizer.
Flashes and Diffusers
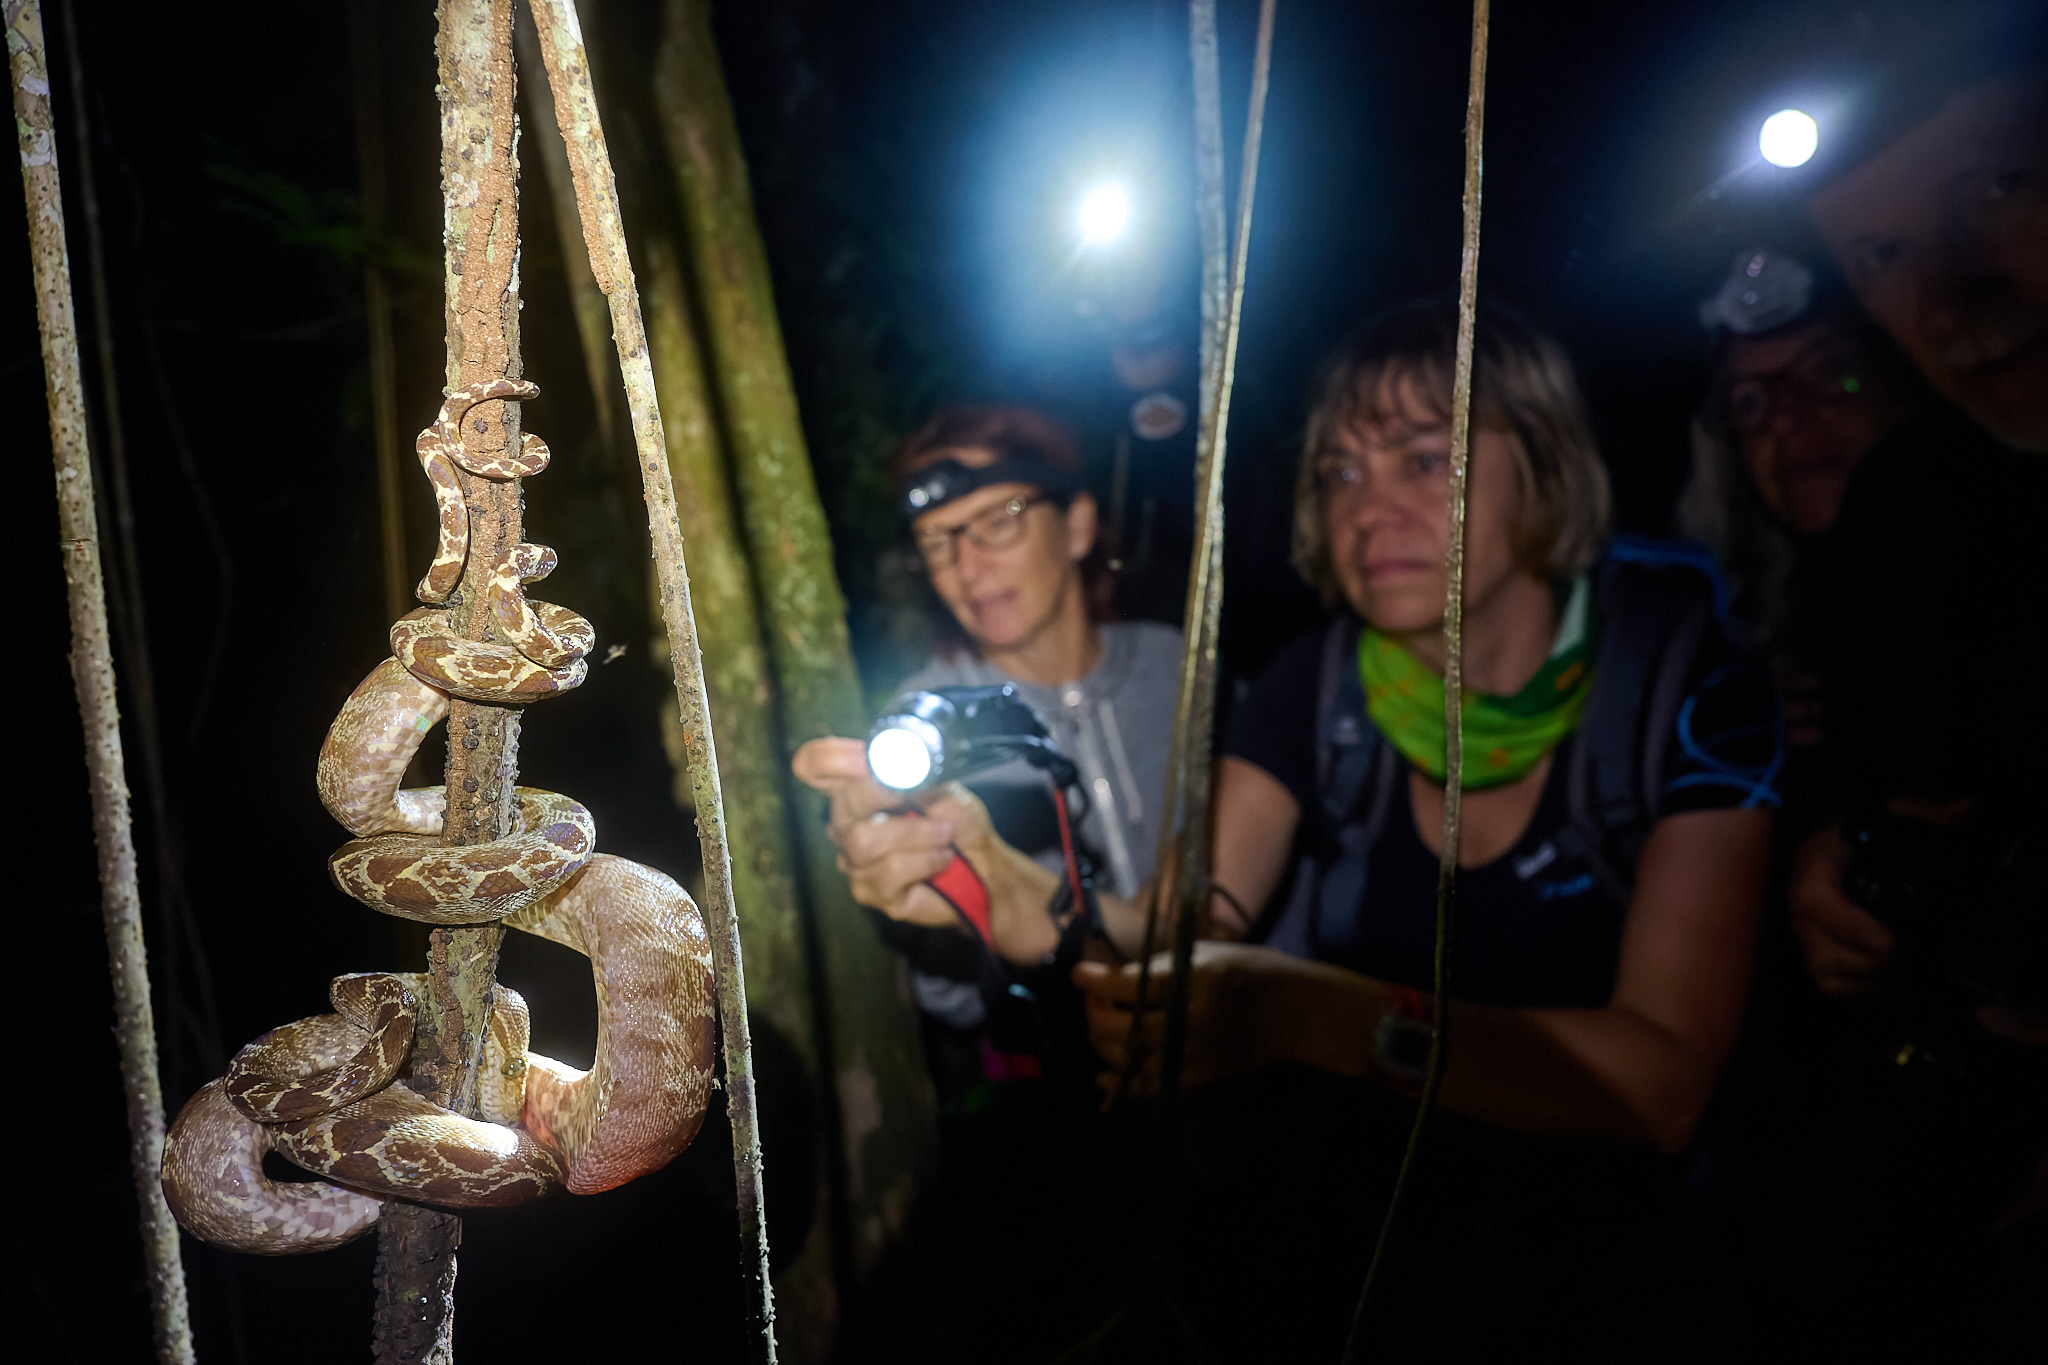
It’s been a few years since I last used on-camera flash! I use the flash off-camera quite often, though. This is especially true for macro photography and for capturing wildlife at night.
I prefer to use a radio flash – with a pair of transmitter and receiver – rather than any other sync method. This method is reliable, and the flashes do not need to be within the sight of the infrared commander.
If you don’t have any flashes yet, I recommend buying ones that already have a receiver built in. They are much more convenient to work with. You just connect the control unit to the camera and you’re ready to start. In addition to the original solutions offered by the camera manufacturers themselves, there are also cheaper but still high-quality alternatives. For example, this flash from Godox and an accompanying control unit.
The light emitted by a bare flash is usually too harsh and looks unnatural and distracting in the photo. It is therefore desirable to soften the light. There are various diffusers for this purpose. A good option for on-camera flash is the Beetle diffuser. For off-camera flash, there is a wide variety of different diffusers of different sizes (here’s one at random to show how it should look).
I suggest choosing a diffuser that can be easily folded and transported in a backpack.
Batteries, Chargers, and Cables
It may sound obvious, but bring enough batteries! You always want a fully-charged spare in your bag, at least. Two batteries may be enough if you have a high-capacity camera like the Nikon Z9 or a DSLR. On the other hand, I’d want 3-4 batteries with a camera like the Nikon Z6 II or Z7 II.
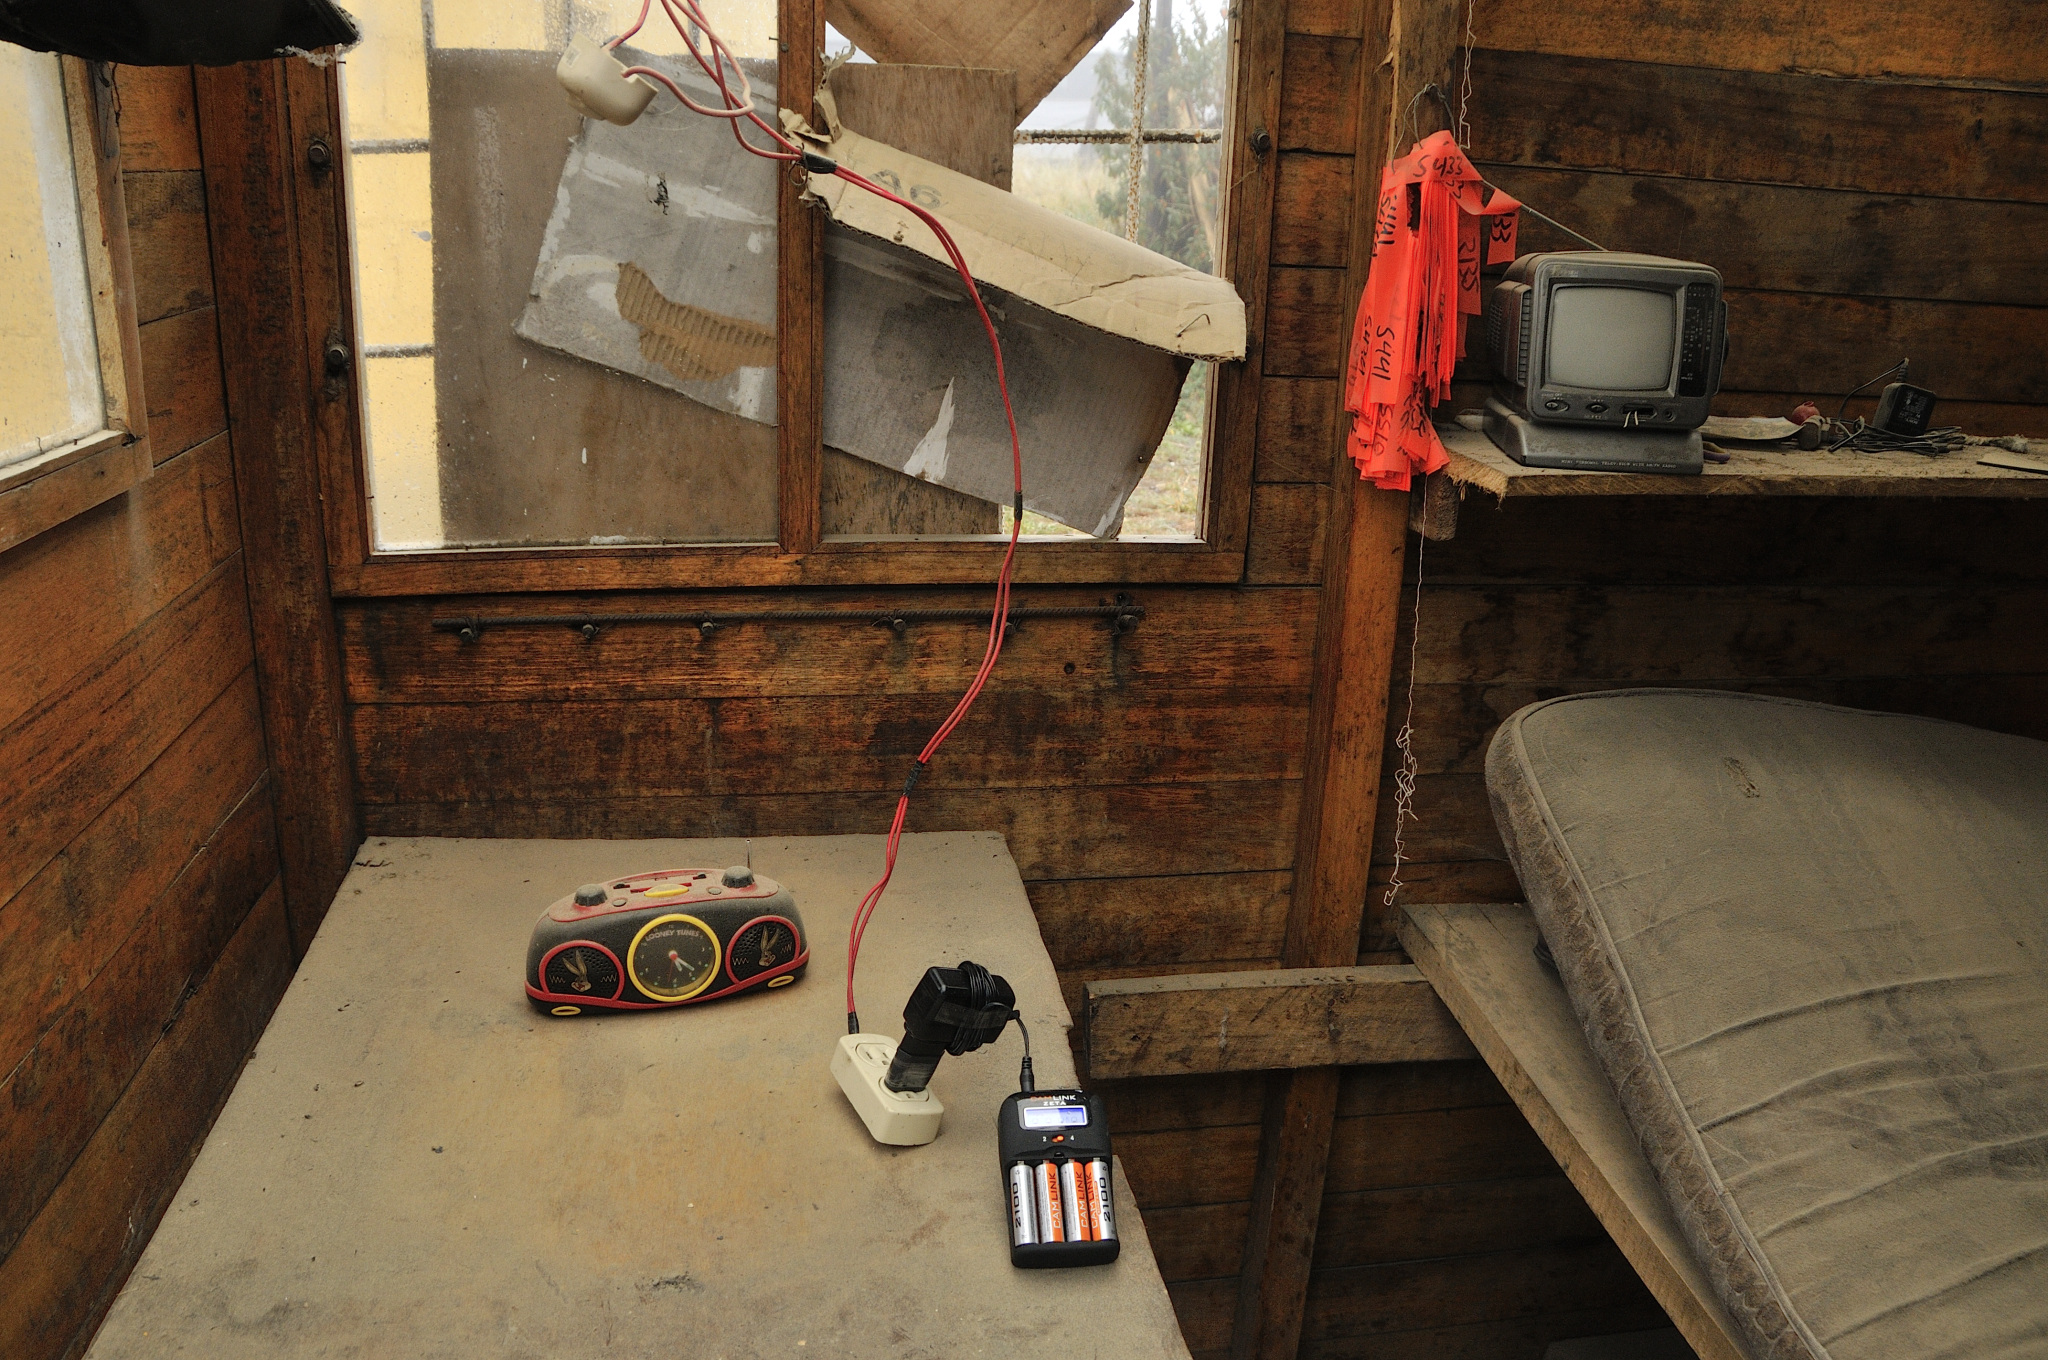
For charging multiple batteries, get a charger like this one that can charge multiple batteries simultaneously over USB. This makes it really easy fill up your batteries overnight or even in a rental car.
Make sure to have a backup way to charge your camera batteries! Any battery charger could break – or be left behind at the previous hotel on accident. If your camera allows direct charging over USB, that works. Otherwise, I highly recommend bringing two chargers.
Don’t forget all the other batteries you use for your devices. Try to reduce the number of chargers by, for example, taking an adapter like this one when you travel abroad.
Finally, electricity in the hotel isn’t always a given, so a power bank can come in handy. Plus, if you have to charge in a public place, a power bank lets you charge your devices nearby with less risk of being stolen.
Memory Cards
It’s better to take several smaller cards than one large one. I fully realized this fact when one of my new 256GB CFexpress-B cards went to silicon heaven. Fortunately, I had “only” two hours of photography on it. Anyway, this incident shook my faith in the immortality of memory cards, even the newest CF Express options. And now I’m always going to use the dual slot for backup, not overflow.
As for the speed of your memory cards, it all depends on what you plan to do with them. Are you going to photograph animals using high-speed continuous bursts? Or record 8K videos? Then you’ll need something really, really fast. Don’t skimp here! Also, remember to include a reader and a secure case for your cards.
Tripods and Tripod Heads
For travel, it makes the most sense to pick a lightweight and strong carbon fiber tripod. Aluminum alloy models will certainly also serve the purpose, but they are heavier than carbon fiber models for the same level of stability. If you’re not sure what to consider when choosing one, our article How to Choose and Buy a Tripod can help.
I discussed choosing the right head for wildlife photography at the beginning of my LensMaster RH-2 review. Generally speaking, gimbal heads are best for working with long telephoto lenses. However, these are large, specialized heads.
I’m not opposed to a ballhead when you’re shooting under 300mm. Alternatively, there are a few ballheads with some gimbal-like features, like this one from Acratech and this one from FlexShooter.
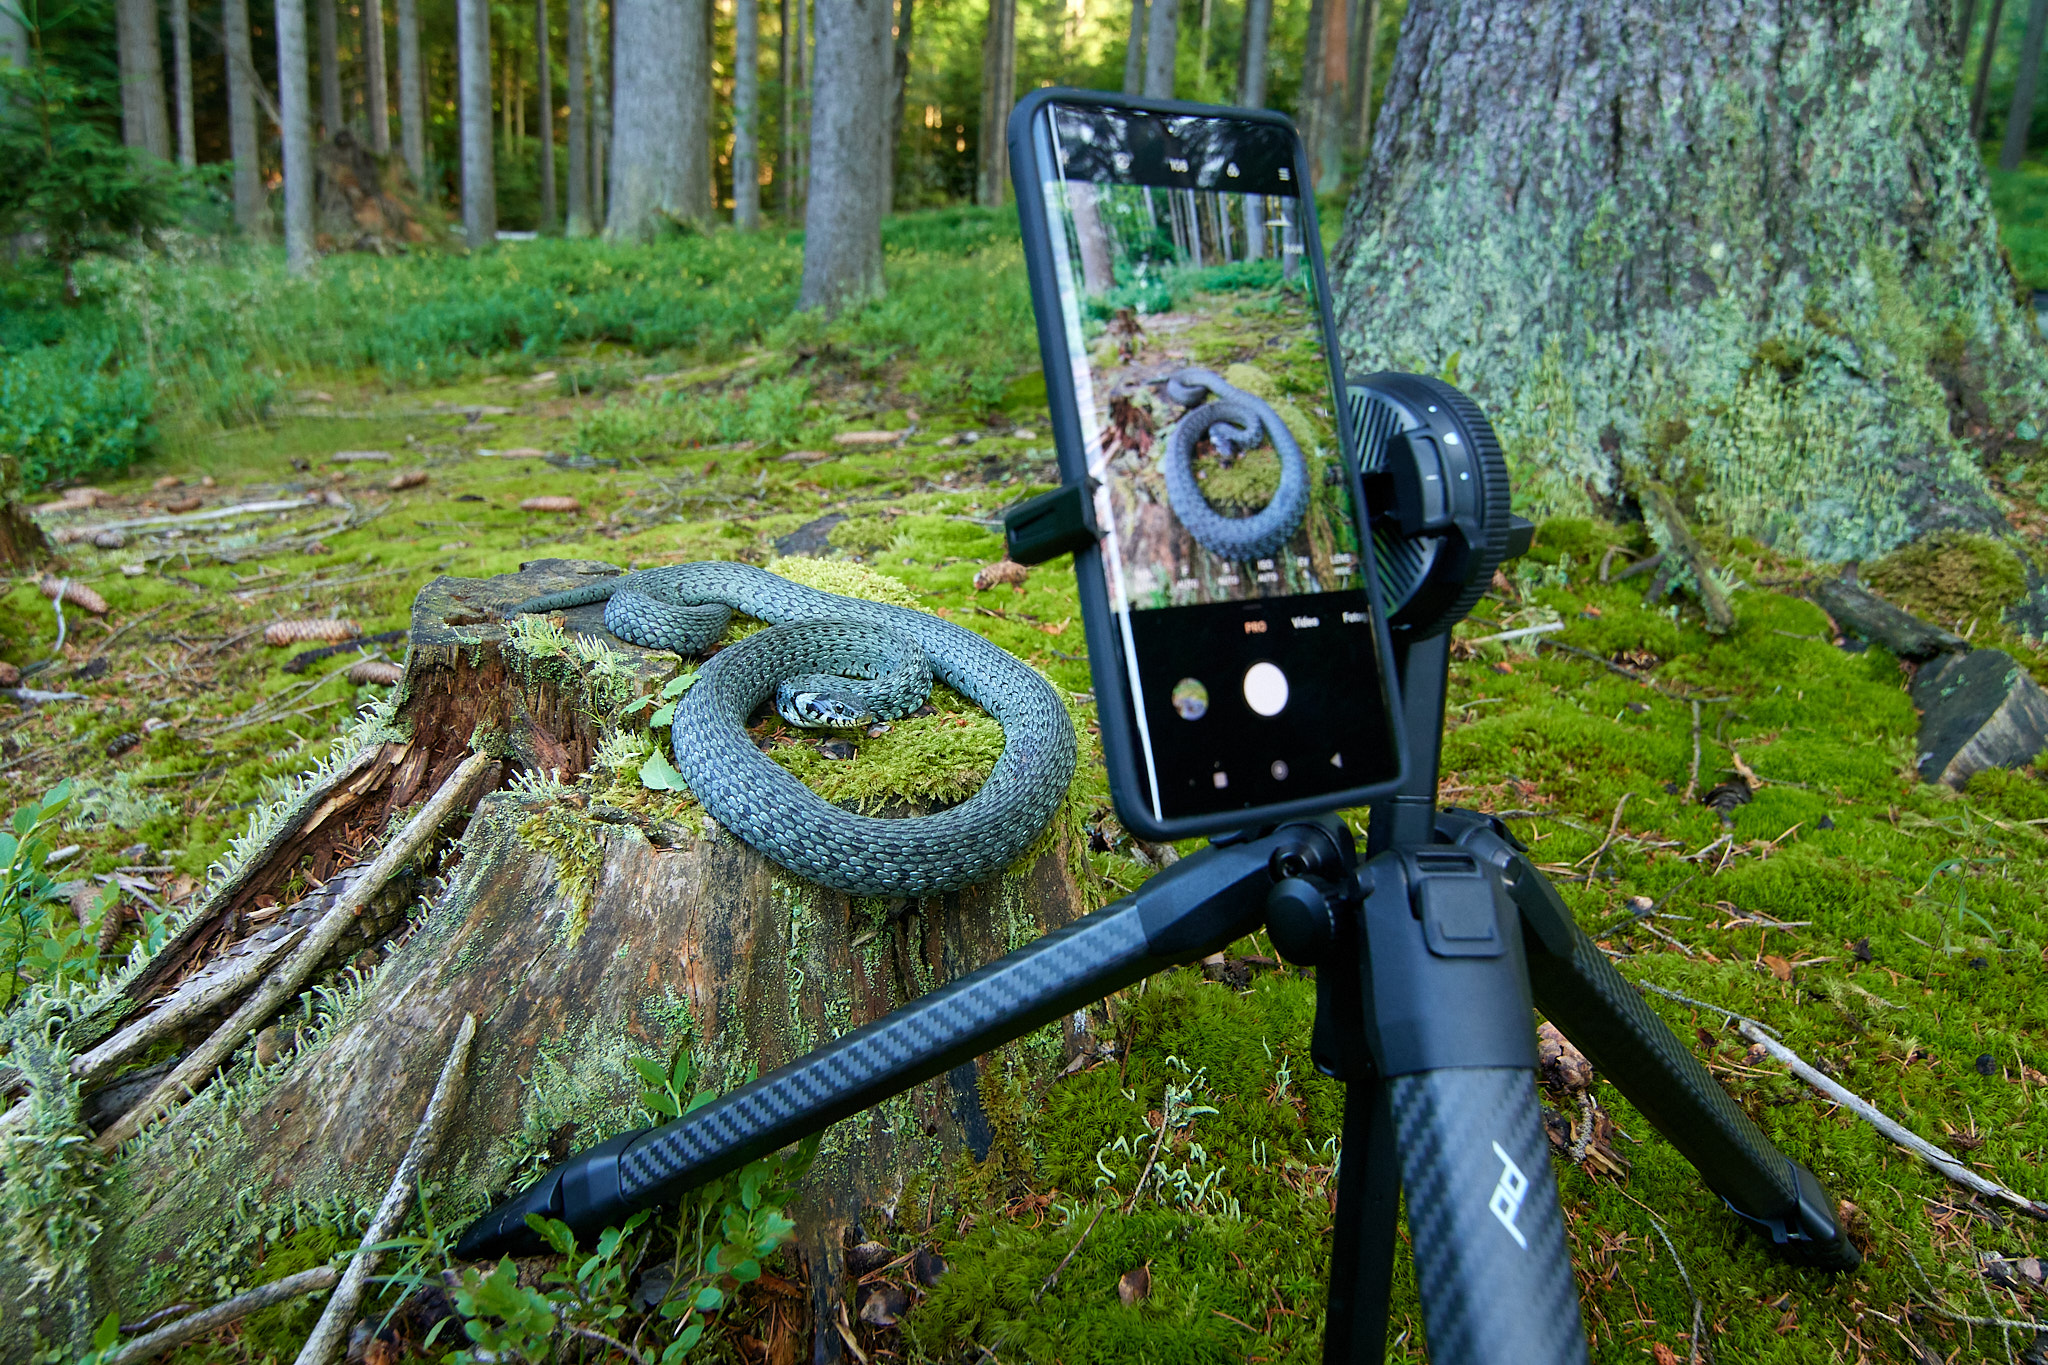
In addition to the camera tripod, I also take two mini tripods with me, including this cheap one. I use these for flashes and to mount an audio recorder (more on that in a moment), as well as things like timelapse videos with my phone.
Other Gear
Audio Recorder
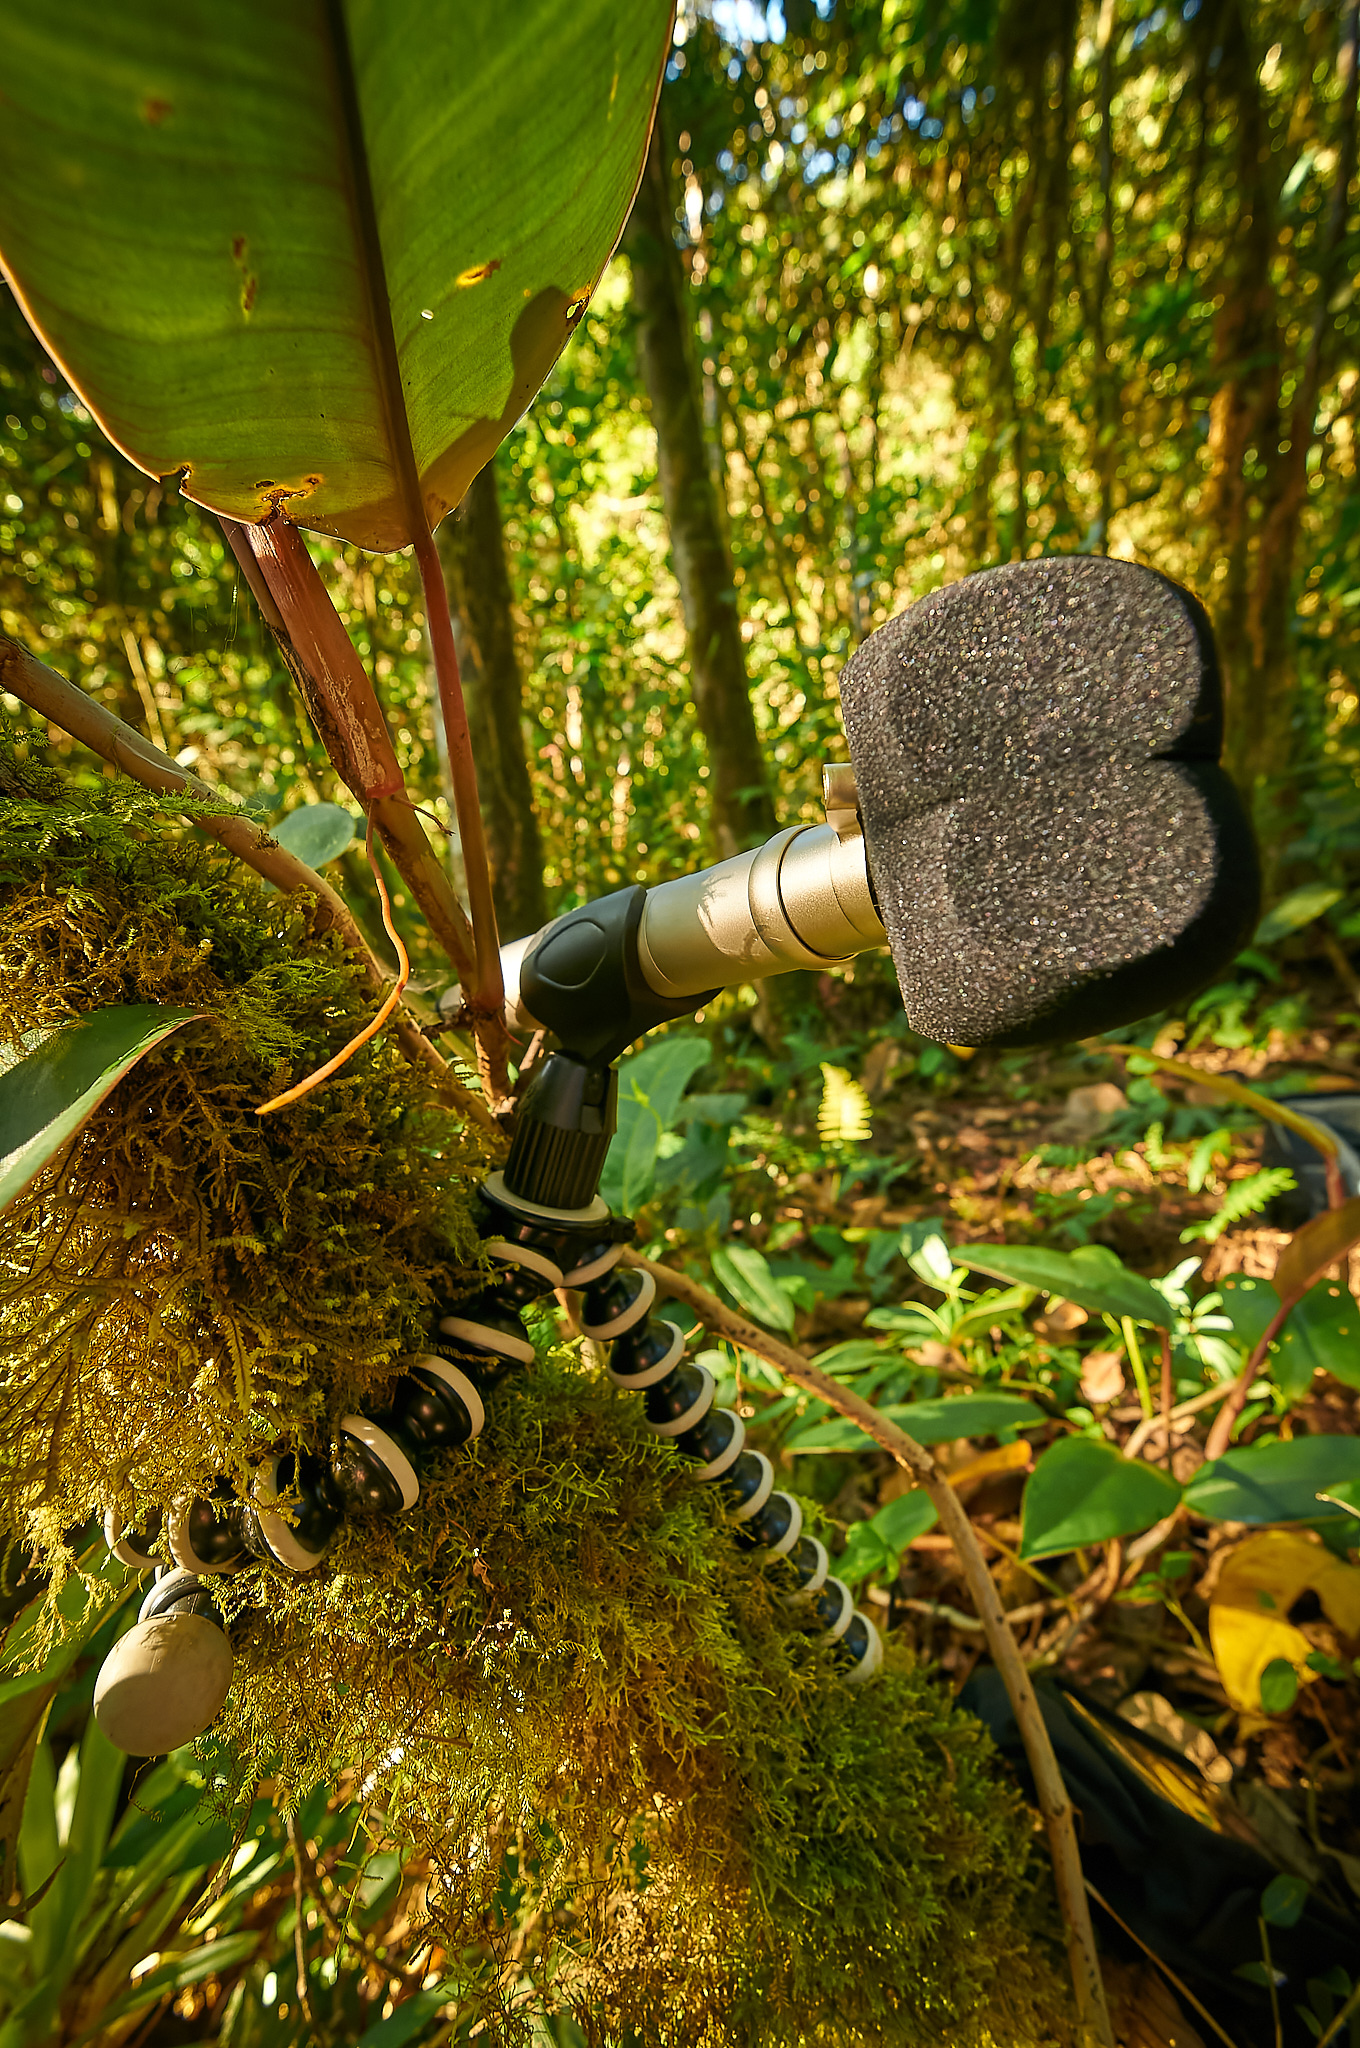
In the past, I have recorded the sounds of birds and nature rather than taking photographs during my field research. Nowadays it’s the other way around, but I still like to record the sounds of nature at the locations I visit. In the morning, still in deep darkness, I get up and go to place the audio recorder. While I’m shooting, the stereo microphones record the forest dawn chorus. I use the resulting recordings for my own enjoyment or as a sound backdrop for my lectures. Did you know that bird-songs heal? Try it!
Action Camera
Where I’d hesitate to take my camera, I tend to bring along a dedicated action camera. The image quality won’t match a proper DSLR or mirrorless kit, but it’s better to get a photo than come home empty-handed! I use mine to shoot underwater, as well as film time lapses and slow motion videos. A proven classic in this field is the GoPro but there are many possibilities.
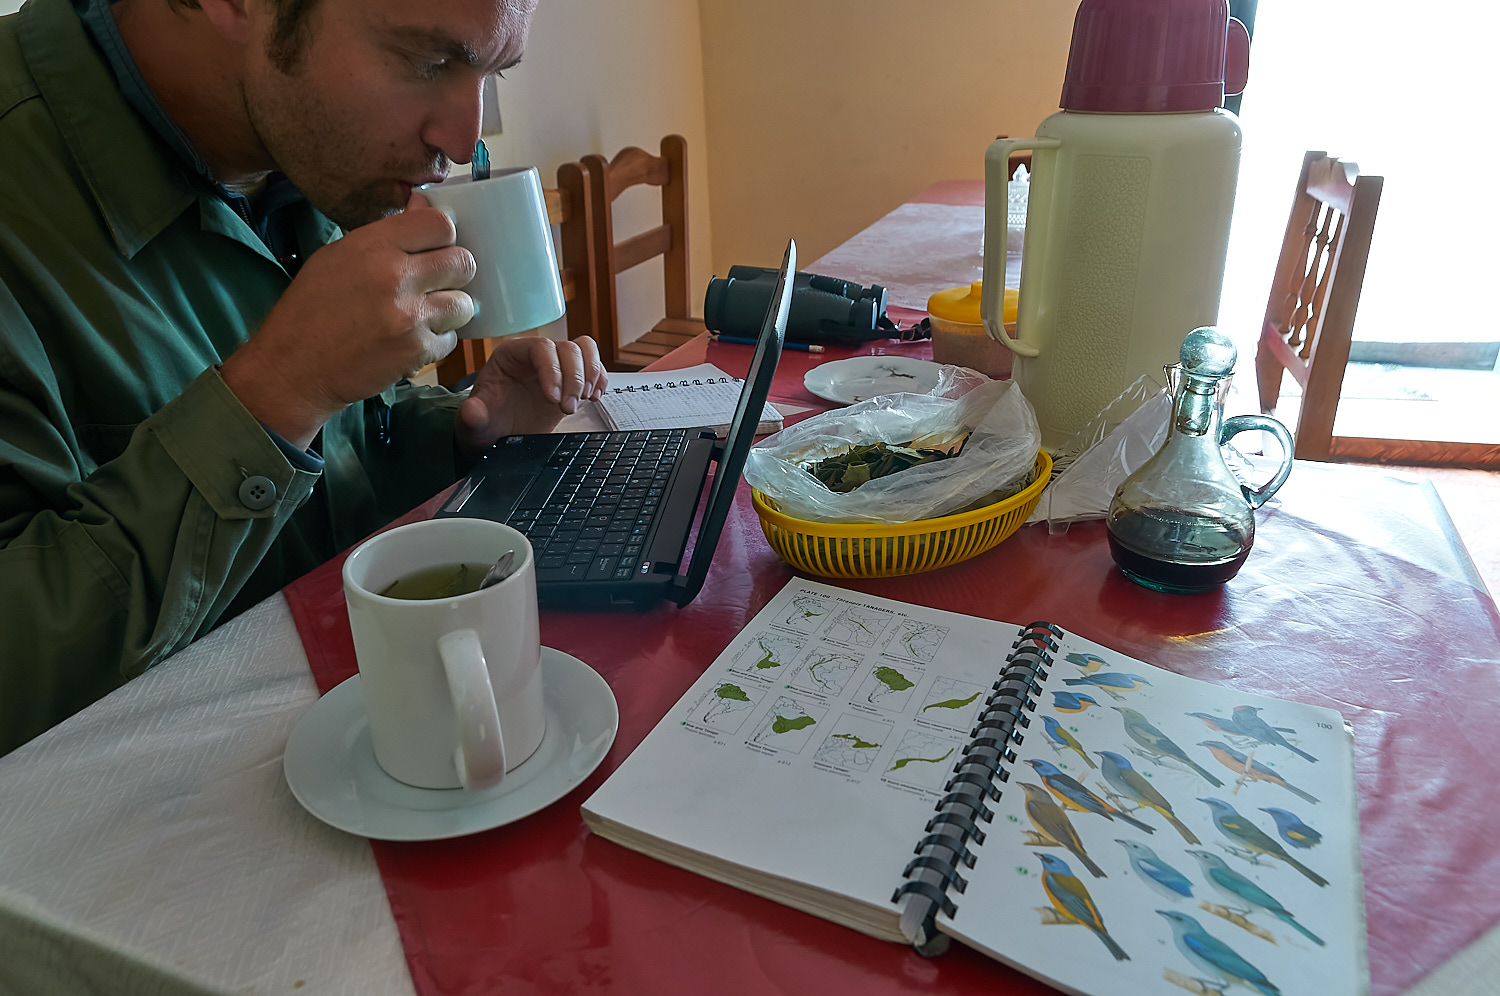
Computer or Tablet and SSD Drives
You’ll need a laptop or tablet to back up your photos regularly while you travel. Light weight, long battery life, and a good quality monitor are my three priorities. Of the laptops that run on Windows, I would recommend the Dell XPS 13, for example. In the case of Mac OS, the Apple MacBook Air is made for travel. Alternatively, with an iPad Pro equipped with the M2 chip, you shave the weight down a bit more while keeping the performance sufficient.
One of the worst things that can happen to you as a photographer is losing your photos. The golden rule is to back up your precious photos daily while you travel. Fast SSDs with sufficient capacity are best for this. For a two-week expedition with a high-resolution camera, I recommend two 2TB drives. If your camera has a resolution somewhere around 20MP, half that capacity will probably be sufficient.
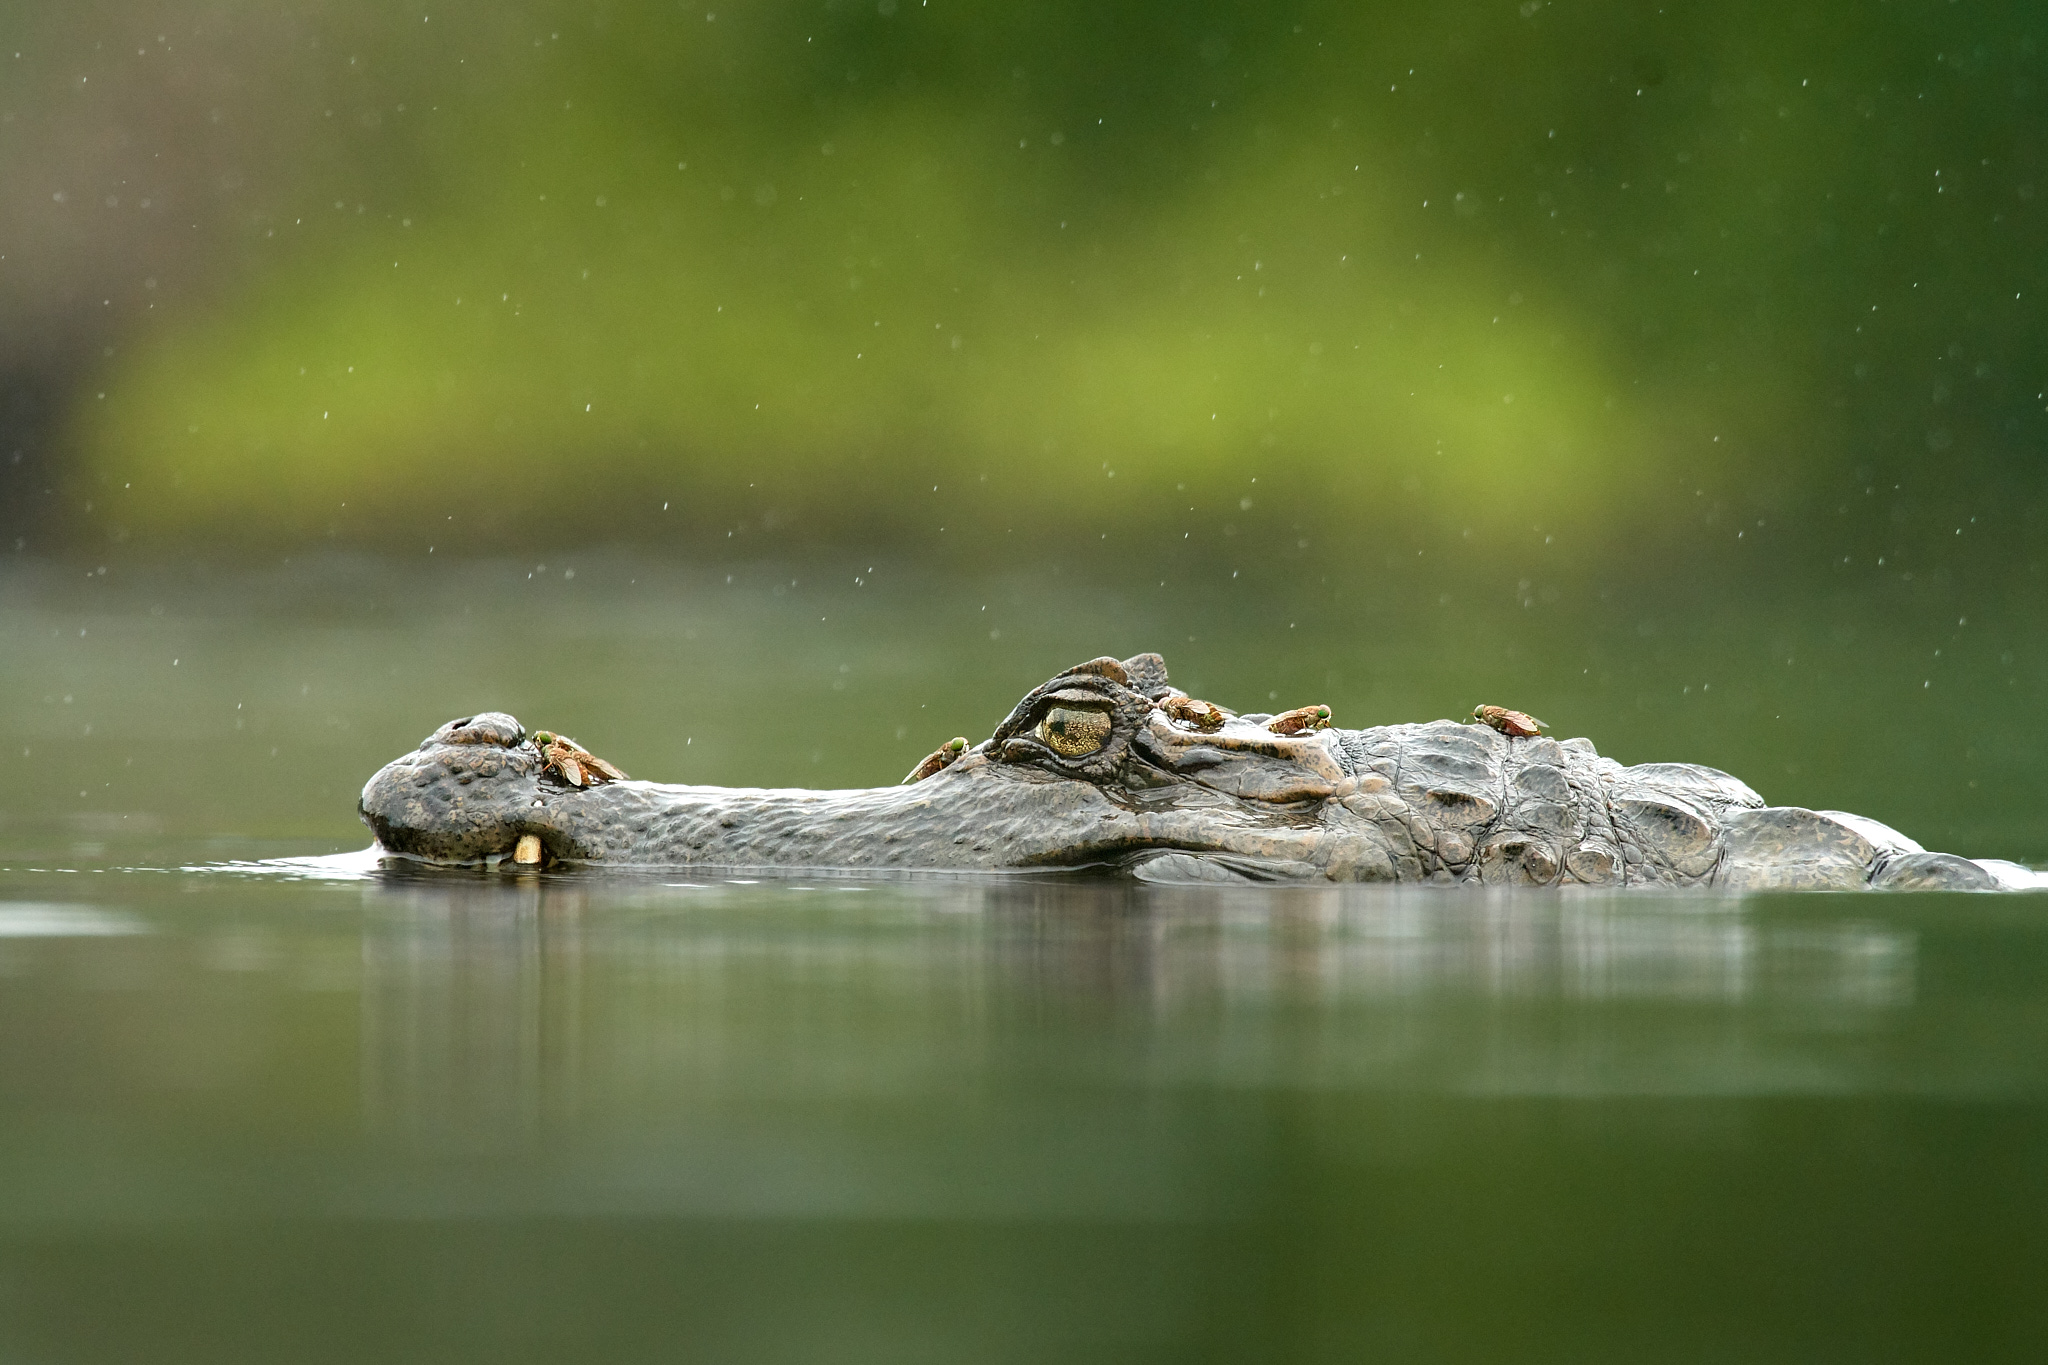
It’s a good habit to keep one drive in your hotel room and carry the other in your backpack. If your hotel is visited by a thief, you still have one disk with you. In case you and your backpack are eaten by a crocodile, at least you’ll leave behind some nice photos.
Backpacks, Organizers, and Pouches
Photo Backpack
The selection of photo backpacks is large, to say the least. At the most basic level, you should choose a model that can hold your gear and does not exceed the dimensions allowed for hand luggage on the plane.
I prefer backpacks that open from the “near side” that touches your back. This way, you can access your gear while the backpack is laying on the ground, without getting mud or dirt on the part that touches your back. And of course, the backpack should withstand rain or at least have a good quality raincoat.
Personally, I currently use a Peak Design Travel Backpack. Shimoda also makes great backpacks.
Main Luggage
Alongside your photo backpack, I also recommend bringing another bag for your main luggage. While a classic suitcase with a handle and wheels is convenient in civilization, dragging it behind you in the mud is not ideal. It depends on where you’re traveling. But in general, I recommend a backpack or duffel that can be carried easily. I’m also a big fan of packing cubes like this one to keep your things organized.
Ultralight Backpack
If you just want to go for a walk, buy souvenirs, or travel with a lightweight camera for a day, a tiny backpack can come in handy. There are many options. Proven ones include those from Osprey or Sea to Summit.
Pouches
I have all my small items stuffed – I mean neatly stacked – into two Travel Tech Pouches. Each one is a different color so I don’t get them mixed up. In one, I have things that have to do with photography. In the other, everything else from a toothbrush to aspirin.
Travel Money Belt
These help to keep your documents, money and credit cards yours. It pays (at least in risky places) to keep them well hidden. Never keep all your cash in one place. Carry a small amount in your regular wallet, the rest in a money belt. In the event of a robbery, you will usually satisfy the robber with the contents of your wallet and the rest will be saved. Don’t take $100 bills when traveling abroad. Consider 50, better 20 dollar bills as a maximum.
Other Important Trifles
- Headphones: Useful for listening to music, audiobooks, but of course also for studying the voices of the animals we want to photograph. When used in busy environments, various noise cancelling models can suppress ambient noise well.
- Smart Phone: Take with you what you may be holding in your hand right now. But I’ll give you a tip. Download the Merlin Bird ID to your phone. This app from The Cornell Lab is free and it’s absolutely amazing. It lets you download photo handbooks of the birds of the areas you’re going to. It includes distribution range maps, and most importantly, great voice recordings.
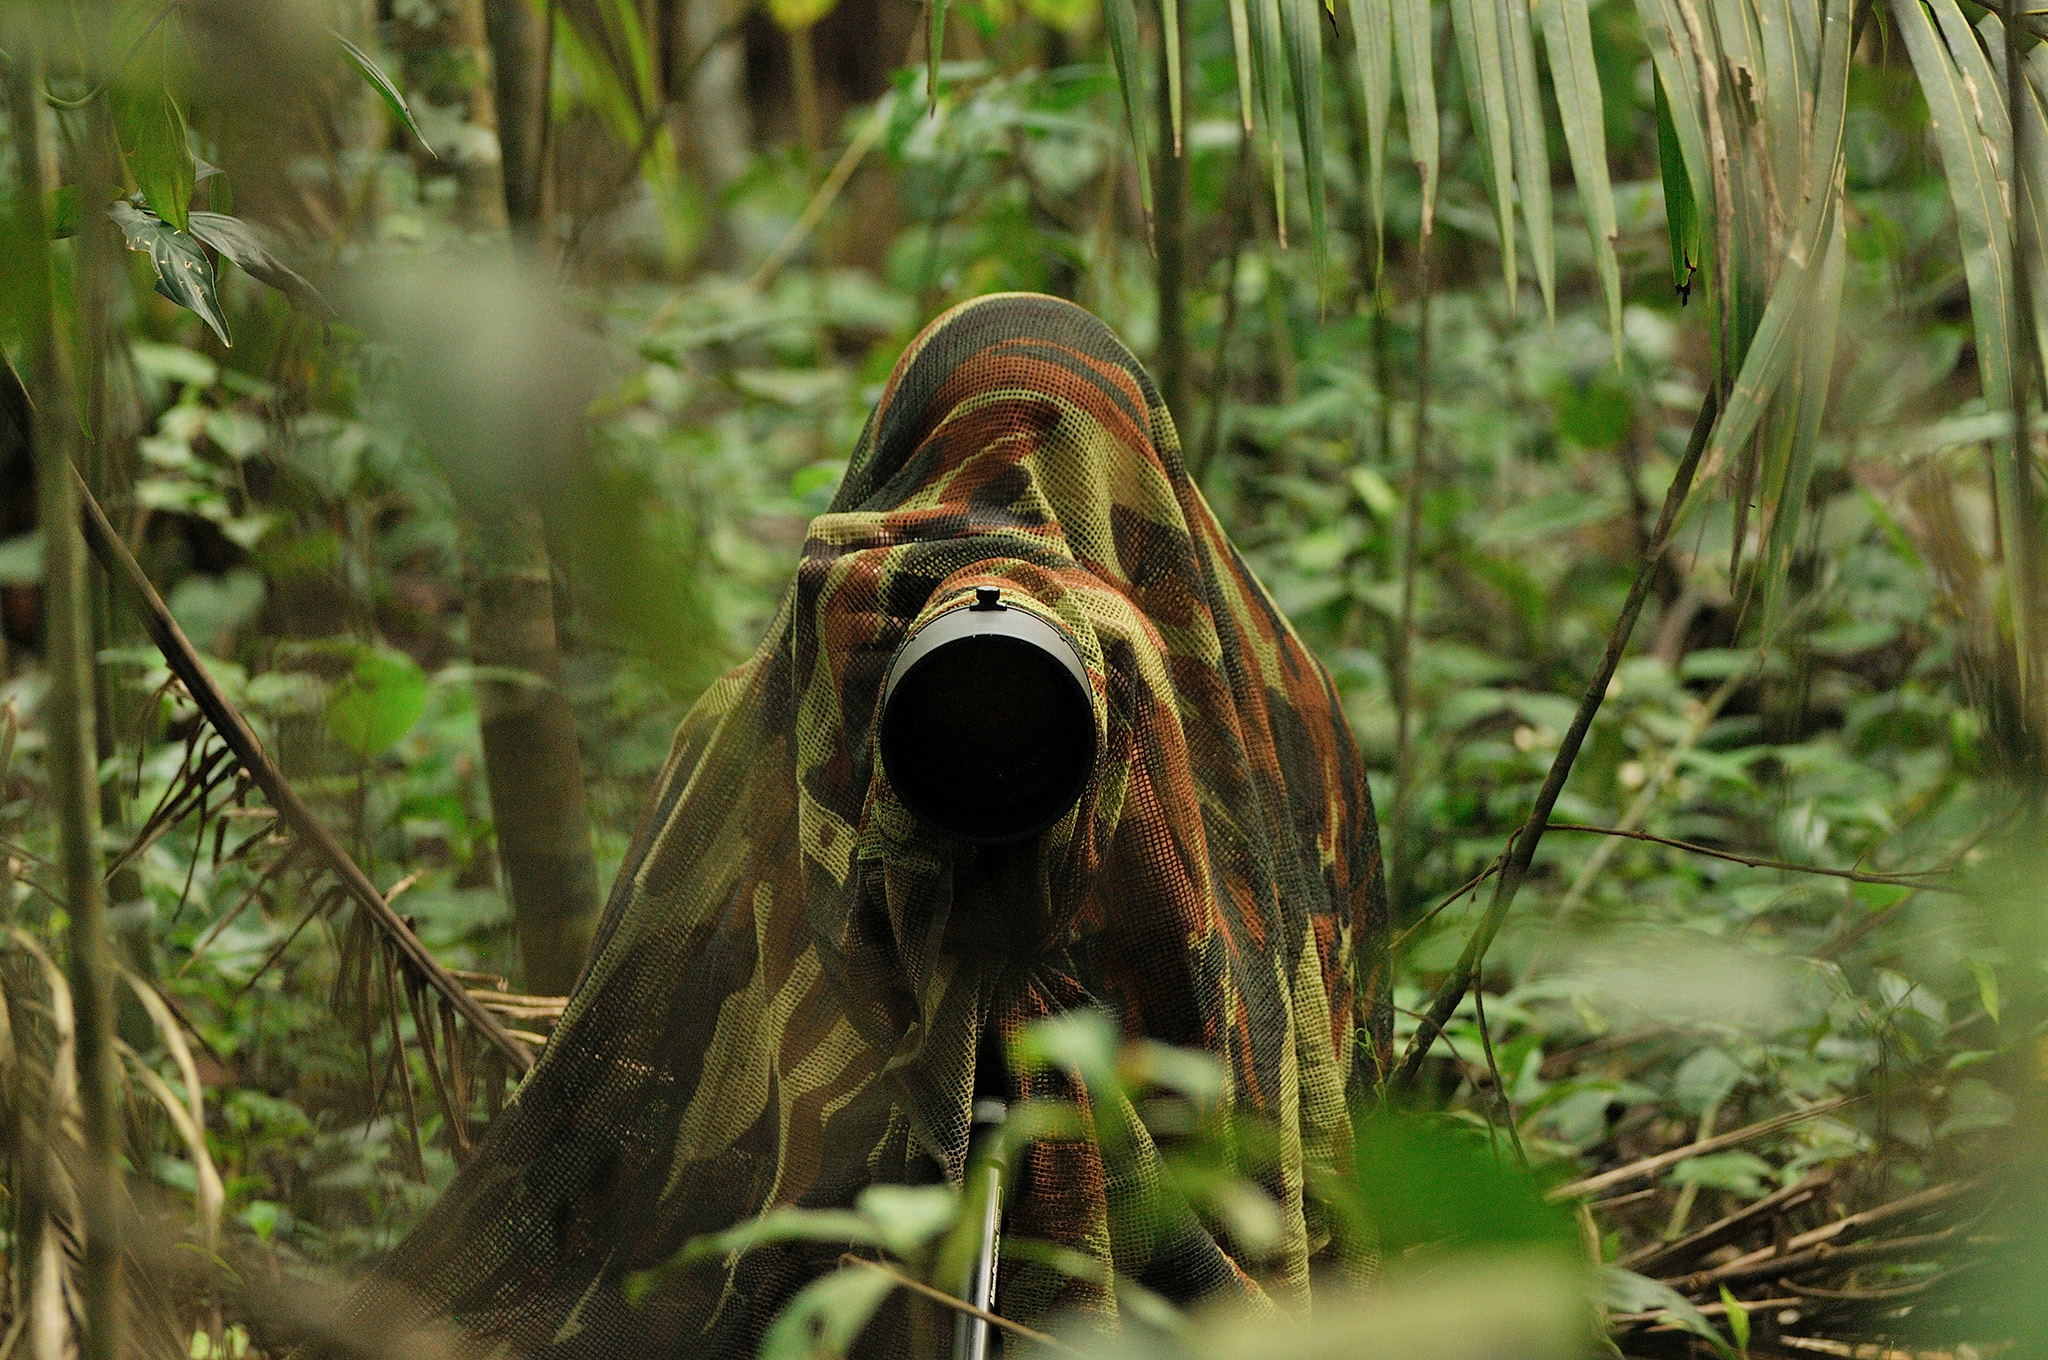
- LensCoat LensHide: A lightweight cloth photo blind for photographing shy animals. A photo tent might be more effective, but is usually significantly larger and heavier.
- Seat pad: To keep your butt dry and clean.
- RolanPro Lens cover: Serves to protect your lens from the hardships of field work and improve the lens’s camouflage. If you’re going to areas where it rains a lot, consider also buying a raincoat for your lens and camera. Keep in mind that rain makes for great photos!
- Peak Design Slide Camera Strap: Compared to the original straps that come with cameras, the Slide Camera Strap allows for quick length adjustment and instant removal when not needed. I use both features very often.
- Peak Design Capture: When my camera is not in my hand or on a tripod and if I wear a photo backpack, it hangs from this handy gadget.
- Lens cleaning kit: To keep your lenses in shape.
- Cable ties and Electrical tape: I use both whenever I need to hold back branches or set the stage where I’m going to photograph birds.
- Head lamp: For nighttime photography, you will need both hands. A headlamp should have good power, be durable, waterproof and allow easy charging without a specialized charger. I’ve been using the predecessor of the Fenix HM70R for several years now to my utmost satisfaction.
- Binoculars: my Nikon Monarch binoculars have been in service for more than 15 years, and it shows. For most photography, you will appreciate smaller models, though. I consider binoculars with a magnification between 8 – 10x and an objective lens diameter of around 30 to be optimal. Consider the waterproofness of the binoculars as a must. I found the Monarch HG or Monarch M7 to be a great choice in this regard.
- Knife: When choosing a knife, I always decide how much weight I need to save. If I’m going to be moving around in the car most of the time, I take my Leatherman Wave with me. The pliers and bit set have been useful to me many times. If I’m watching every gram, I take my Victorinox. Take a sharpener to keep your blade in shape.
- Machette: An invaluable tool for for moving around in wooded terrain! Well, you won’t need it everywhere in the world. Choose shorter and lighter “Latin-Style” models, with blade lengths up to 40 cm (16″).
- Dry Bag: For everything that should stay dry even when it’s pouring rain outside.
- 2mm rope: Comes in handy when you need to hang up a wet t-shirt or socks.
- USB-C car charger: To charge your phone, power bank, or even your camera while you move.
- Sunglasses: Polarizing sunglasses will not only reduce the amount of light that enters your eyes, but you will also be able to better see underwater.
- Earplugs: You never know what sounds you will spend the night with, especially at a hotel. Earplugs will ensure that your mood stays pleasant even if your surroundings are not.
- Pen and notebook: For ideas that are worthy of being recorded, or for writing a travel diary.
Clothing
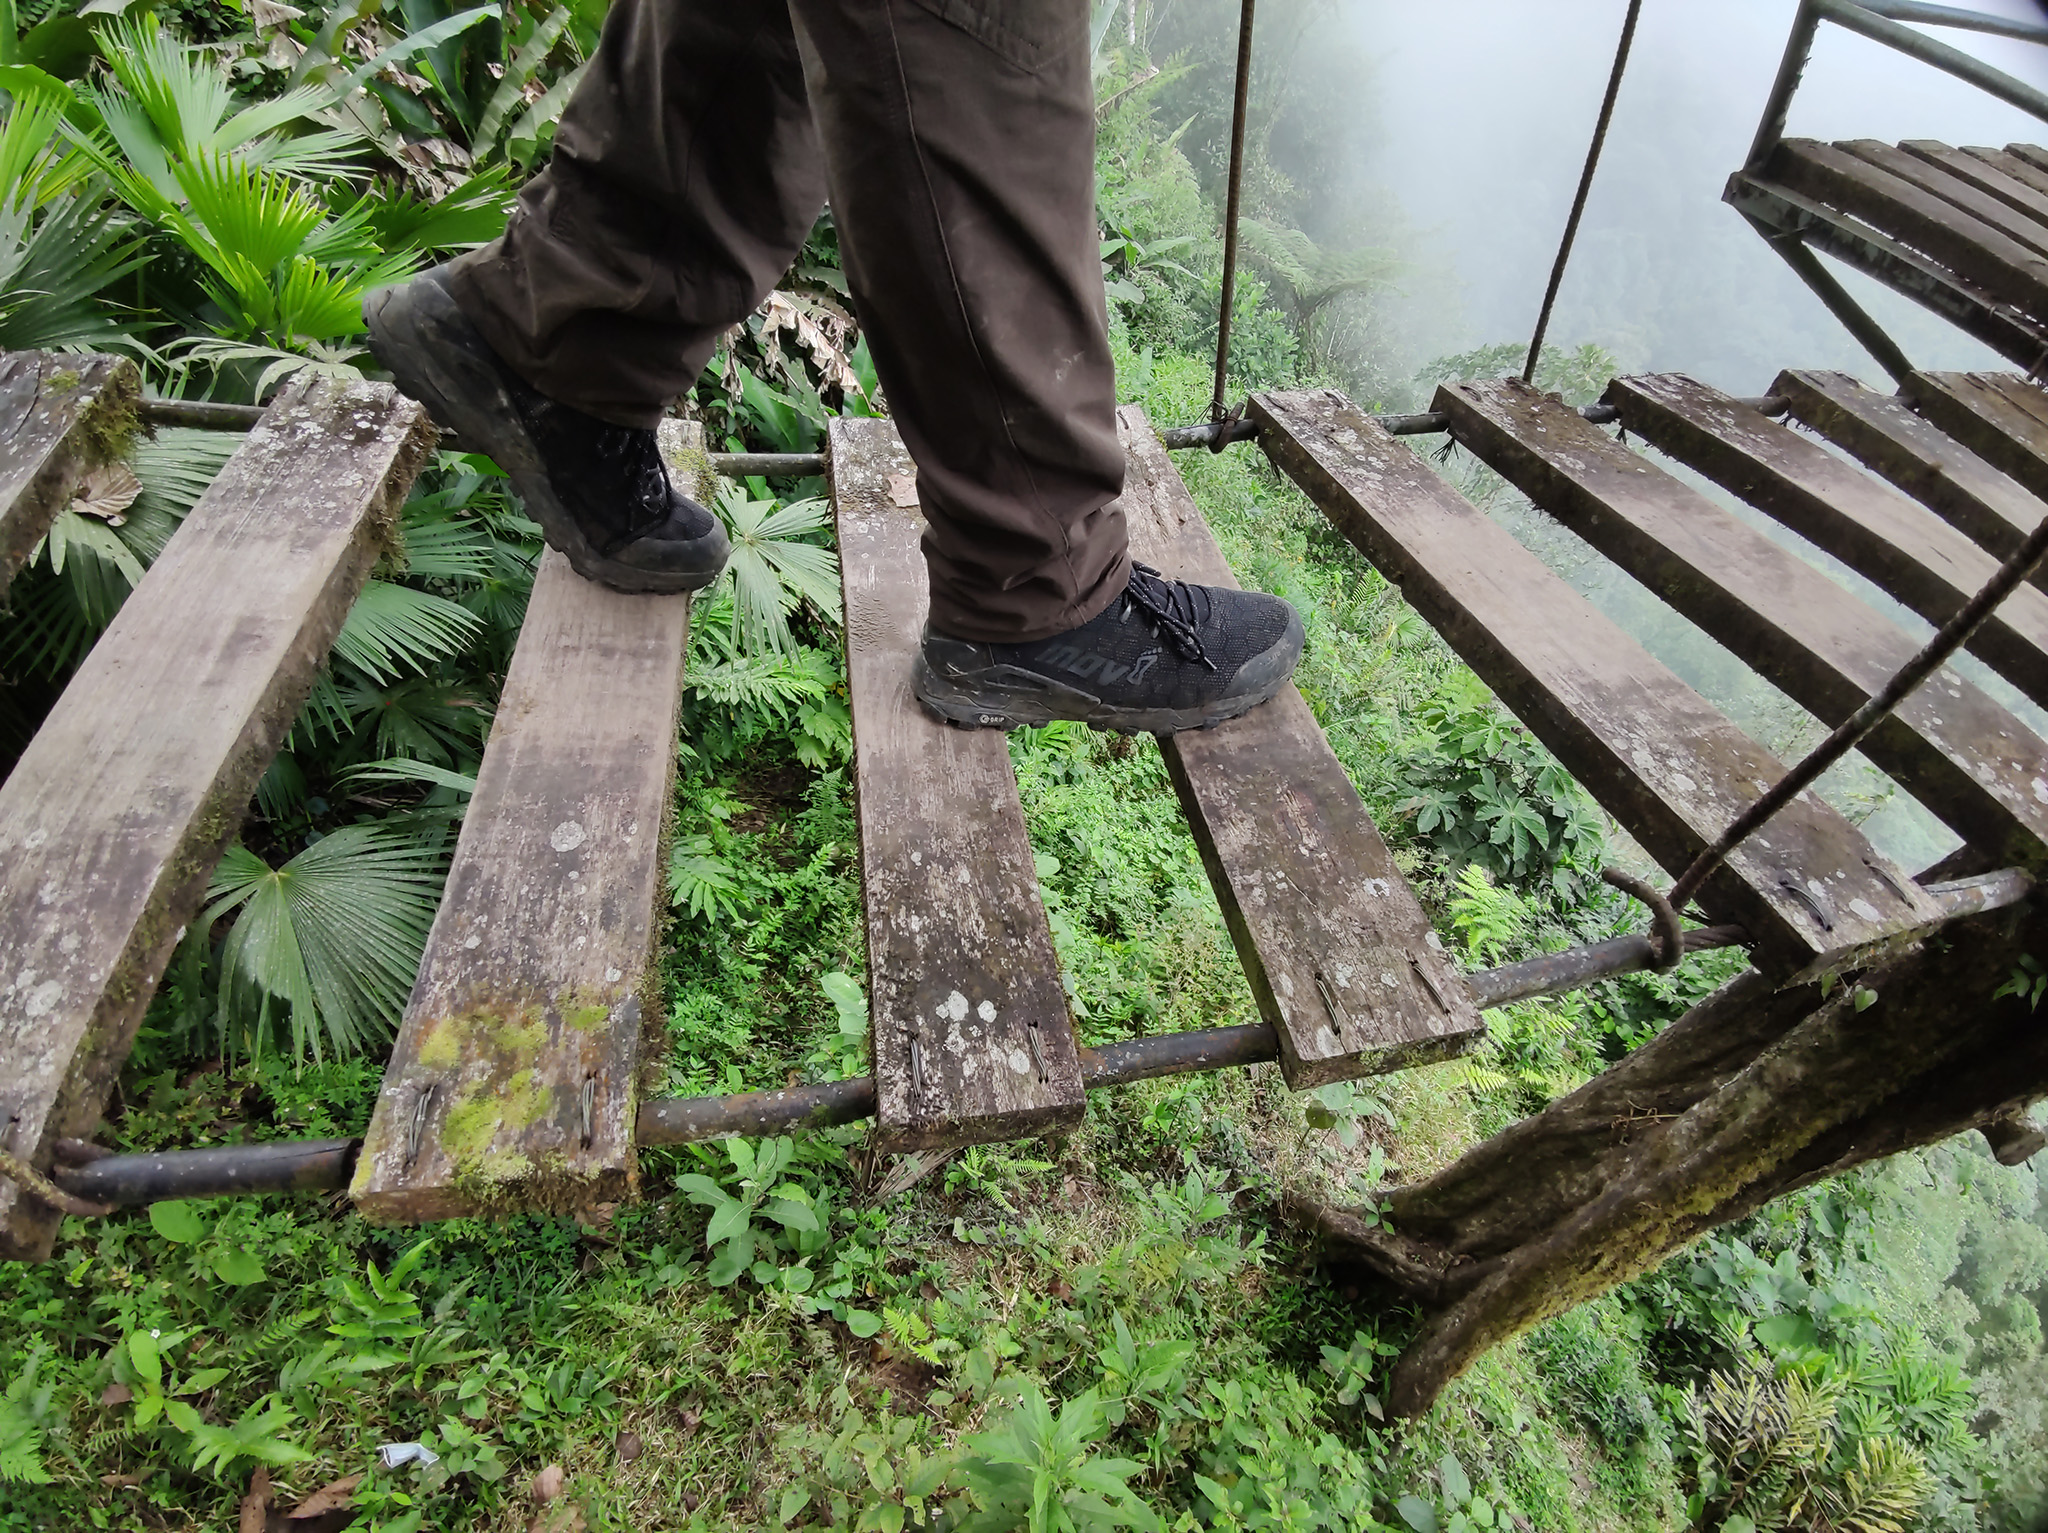
They say there’s no such thing as bad weather, just a badly dressed photographer. For cold-weather gear, this article of Spencer’s has you covered. What outfit do I wear in the tropics, though?
- Trekking boots: Ankle boots with Gore-Tex membrane. I’m not too fond of stiff leather boots with hard soles. They’re bad for skipping over rocks in mountain streams, and they take a long time to dry out. I like soft boots with soles that allow me to feel what I’m walking on. The Inov-8s are on my feet and I love them.
- Sandals: I like the lightweight models. These are handmade near my hometown. Choose ones that are easy to wash and dry quickly.
- Waterproof jacket: I choose rather muted colors and even wear camouflage on top of it. Materials that remain quiet when moving are preferable, so as not to scare the wildlife.
- Waterproof pants: Reinforced knees are a plus, if you find yourself kneeling a lot as a wildlife photographer.
- Quick-drying pants: I bring two. One with detachable leg sections. These cover the need for shorts, and they also save me from having to wash (and dry) the whole pant when I only get the legs dirty.
- Camouflage t-shirt with long sleeves: I’m in this outfit almost constantly. I recommend long sleeves because they provide protection against insects, plants, and the sun – in addition to being better camouflage.
- T-shirts: I recommend merino wool t-shirts. They are comfortable to wear, warm even when wet, and most importantly, they resist odor for a long time.
- Fleece jacket: You need something to keep warm, that goes without saying!
- Underwear and socks: I highly recommend merino wool here too.
- Swimwear: Just in case.
- Head and neck scarf: Beware, even on the equator it can be cold.
- Cap with visor: Makes it much easier to see wildlife in sunny conditions, and simply have a more comfortable day.
- Thin gloves: Ones that keep you warm but don’t lose your feel for the camera. Fingerless gloves aren’t a good idea in cold weather, unless you have an additional liner underneath.
Personal Toiletries
I will leave the following items without comment so you can just check them off.
- Quick-drying towel
- Toothbrush and interdental brush
- Toothpaste
- Shaver
- Shower gel up to 100ml
- Deodorant
- Lip balm
- Sunscreen (30+)
- Repellent with higher DEET content or Picaridin
- Pack of wet wipes
- Pack of tissues
First Aid Kit
Not all countries have a pharmacy on every corner. If you take any medication regularly, triple check that you take it with you. In case you suffer from severe allergies and have an adrenaline pen with you, tell the people travelling with you. However, you should be able to deal with most common travel health inconveniences with the following essentials:
- Fever reducing drugs such as Aspirin
- Painkillers
- Diarrhea medication
- Antihistamines
- Plasters and bandages
- Disinfection
- Malaria prophylaxis (if needed)
- Tweezers and scissors
- Mask
- Water treatment chemicals, water filter or Steripen (only if you will be in a location where you will use these things)
Things You Can’t Leave Without
Of course, the most important thing is a camera with lenses. However, here I will write down items less relevant to photography, yet so important that you could be stuck at home or at the airport without them.
- Passport and a copy of it. You’d also better take a picture of your passport before you leave and email it to yourself.
- Printed flight tickets. There may be situations where it’s good to have proof that “this flight is mine.”
- Cash. Consider how much you need. Many places don’t accept credit cards, so have enough cash in smaller bills.
- Credit card. Take your regular credit card or better yet a Revolut/Wise/etc. card. These cards will allow you to pay at a better currency exchange rate around the world, and also allow you to keep a smaller (and safer) amount of money on them.
- Travel insurance card. Check to see what all your insurance company covers. In some countries, you’ll be at altitudes that may be outside your insurance company’s limits. Check this out.
- Driving license. Always good as a backup ID form.
- International Certificate of Vaccination or Prophylaxis. Some countries require vaccinations (e.g. yellow fever or covid) when entering their territory. Check the rules and recommendations for entering your destination before you travel.

And that covers it! I hope you found this list useful. Is there anything I missed that you always bring along when you travel on a wildlife photography trip? If so, let me know in the comments section below!
You forgot the other equipment: 2 porters to carry all that equipment.
Of course, a porter, a cook and a masseur would often come in handy. But for now, I can carry my luggage myself. On my last expedition, the photo backpack weighed 11.5kg and the checked baggage 17kg. If I knew I would not have a car available, it is possible to reduce the weight further.
I have always carried my photo equipment on board with me. Do you know of a situation where you would put a couple lenses in your checked bag.
Fortunately, I was never forced to do that. A friend once put a lens into his checked luggage and never saw it again at the final destination. As an emergency solution, I have one trick in reserve. If the staff object that my luggage exceeds the weight limit, I would take out the camera with the main lens, put it around my neck, and the bag would be suddenly at the tolerated weight.
In some countries you will need to be cautious about the legality of a knife or machete. This is certainly the case in some European countries where fixed-blade and locking-blade knives may be illegal.
Here in the U.S. a fixed-blade knife (including machete) that’s packed away on your person (including in your backpack or anywhere in the passenger compartment of your vehicle) may be considered a concealed weapon and get you in serious legal trouble in some states (and be no problem at all in others). Blades over a certain length are illegal for personal carry in some cities. Fortunately, the suggested multi-tools with small non-locking folding blades (Leatherman, Victorinox) should not be a problem on the ground or in checked baggage.
So consider the knife laws not just of your destination but of your origin point. www.akti.org/state-knife-laws/
Anywhere in the UK you need a valid reason to carry even a folding blade if it has a safety lock or is over 3″. So that even rules out most Leathermans. Having it on you in a public place because you’ll need it somewhere you’re going later isn’t good enough. You’re expected to take it home first, go in the shop or whatever and then retrieve it when needed.
If we want something to carry without an immediate need then we’re limited to things like small Swiss Army and Opinel. I once nearly lost a finger through trying to use a legal Victorinox with no lock so I’m not a fan of the current laws.
People will say that if you’re sensible then you’ll be fine and you might be. But you’re essentially gambling on not running into a policeman in a bad mood. It’s pretty common for UK police to even seize perfectly legal knives and there’s not a lot you can do about it.
It is unfortunate that because of a few dangerous and deranged individuals, there are rules and laws that restrict 99% of decent people. So the rules about blade length should be taken into consideration, that is beyond debate. It is interesting how different subjects are viewed differently. A machete is seen as a weapon, while an axe is generally tolerated. Personally, though, I’d rather face a blow with a machete than an axe. Fortunately, in the countries where I normally travel, the machete is perceived similarly to a mobile phone or a backpack. Just a useful everyday item.
I don’t understand you drinking something above your laptop.
My hand is sure, and I trusted the quality of the handle of the cup from which I drank. The computer made it to retirement unscathed.
Great list Libor! I’ve never had my carry-on weighed going to or from Ecuador, but at least I now know it can happen. It always good to have contingency in the event they want to check your carry-on. One item I would add to your list is a satellite communication device such as a Garmin Inreach or Zoleo. While cell service is typically available along highways and cities, I find that most of the places I like to go to photograph wildlife are not in cell tower range. I personally like the Zoleo because it is a more affordable and allows for stop-start service.
A satellite phone is definitely a good tip and sometimes it can be a real life saver. But it has its pitfalls. Being available anywhere on the planet I find more and more to be a disadvantage. I did leave one more thing off the list though, tourniquet and bandage material. I used to take it with me to remote places in case I accidentally injured myself with a machete. Now I’m recklessly leaving them at home.
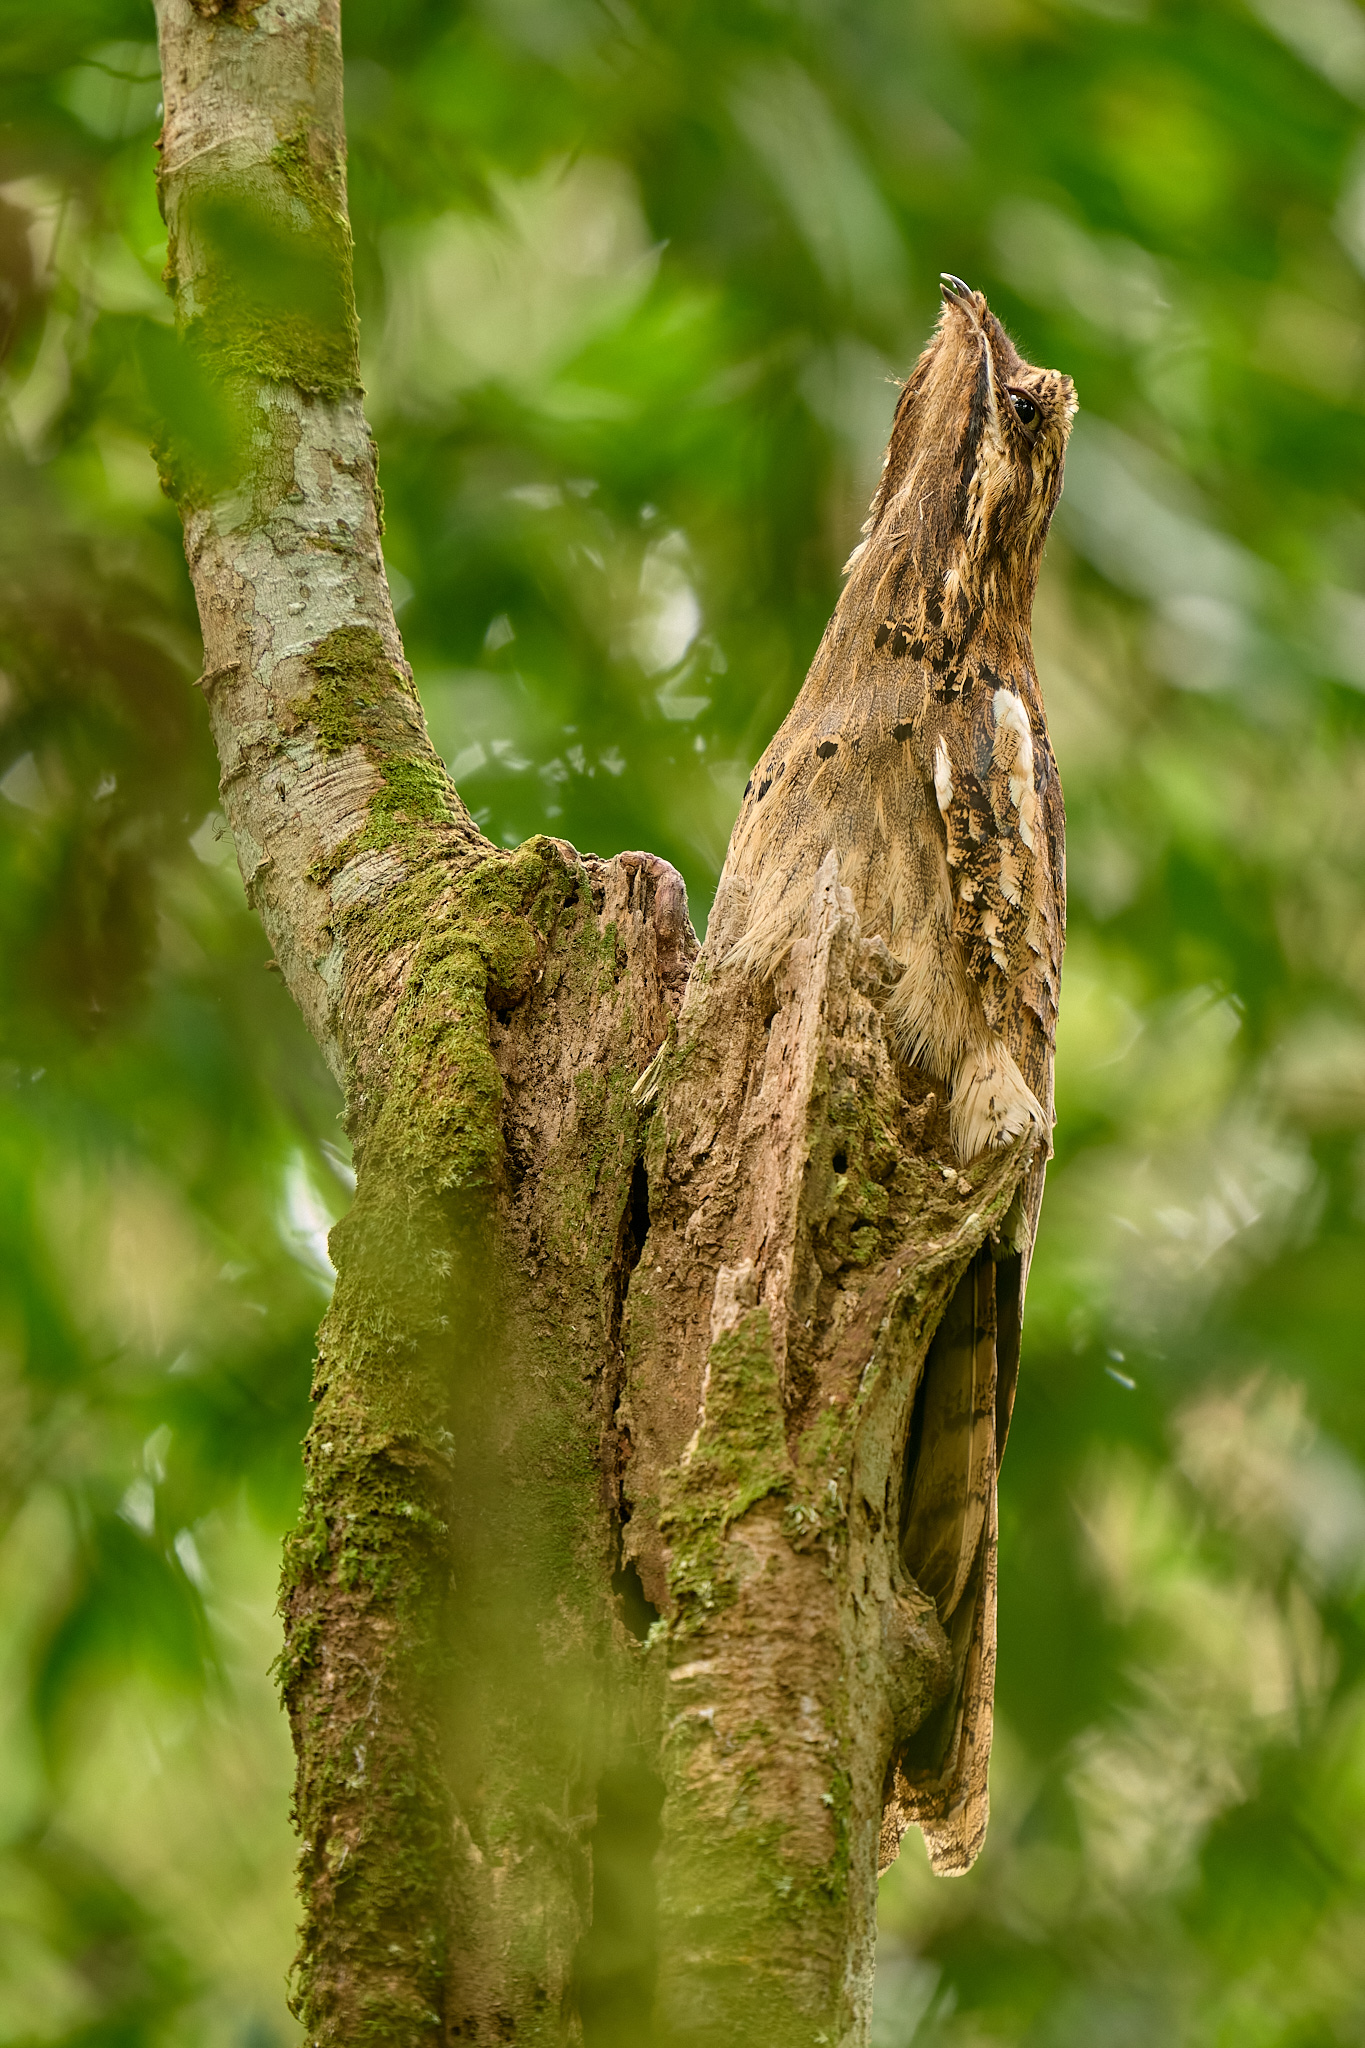
Libor, I very much want to know about the bird that looks like a tree branch. I cannot take my eyes off of that picture. I had no idea that such a bird existed. Please talk about that bird!
I honestly didn’t even see the bird upon first glance. Had to go back after reading your comment… lol
The fact that you didn’t see it, David, is the result of thousands of years of natural selection. Those you would have seen are no longer with us because they ended up in someone’s stomach. So you didn’t see it quite correctly and in accordance with the laws of nature :-)
That’s a species of Potoo from Central and South America.
Very well determined Jim. I’ll just add the species name, Long-tailed P.
I’m so glad, Elaine, that potoos spark questions and curiosity in you. They are amazing birds and I’m sure I’ll write something about them soon.