One of the great challenges of wildlife photography is that there are so many things to consider in such a short amount of time. Even if you do everything right, the uncontrollable stuff can still stop you from getting “the shot.” However, there are some basic tips that are easy to remember and will bring your wildlife photography to the next level. In this article, I’ll share thirteen of my favorite wildlife photography tips that I use again and again.
Table of Contents
1. Don’t Shoot in Harsh, Direct Midday Sun
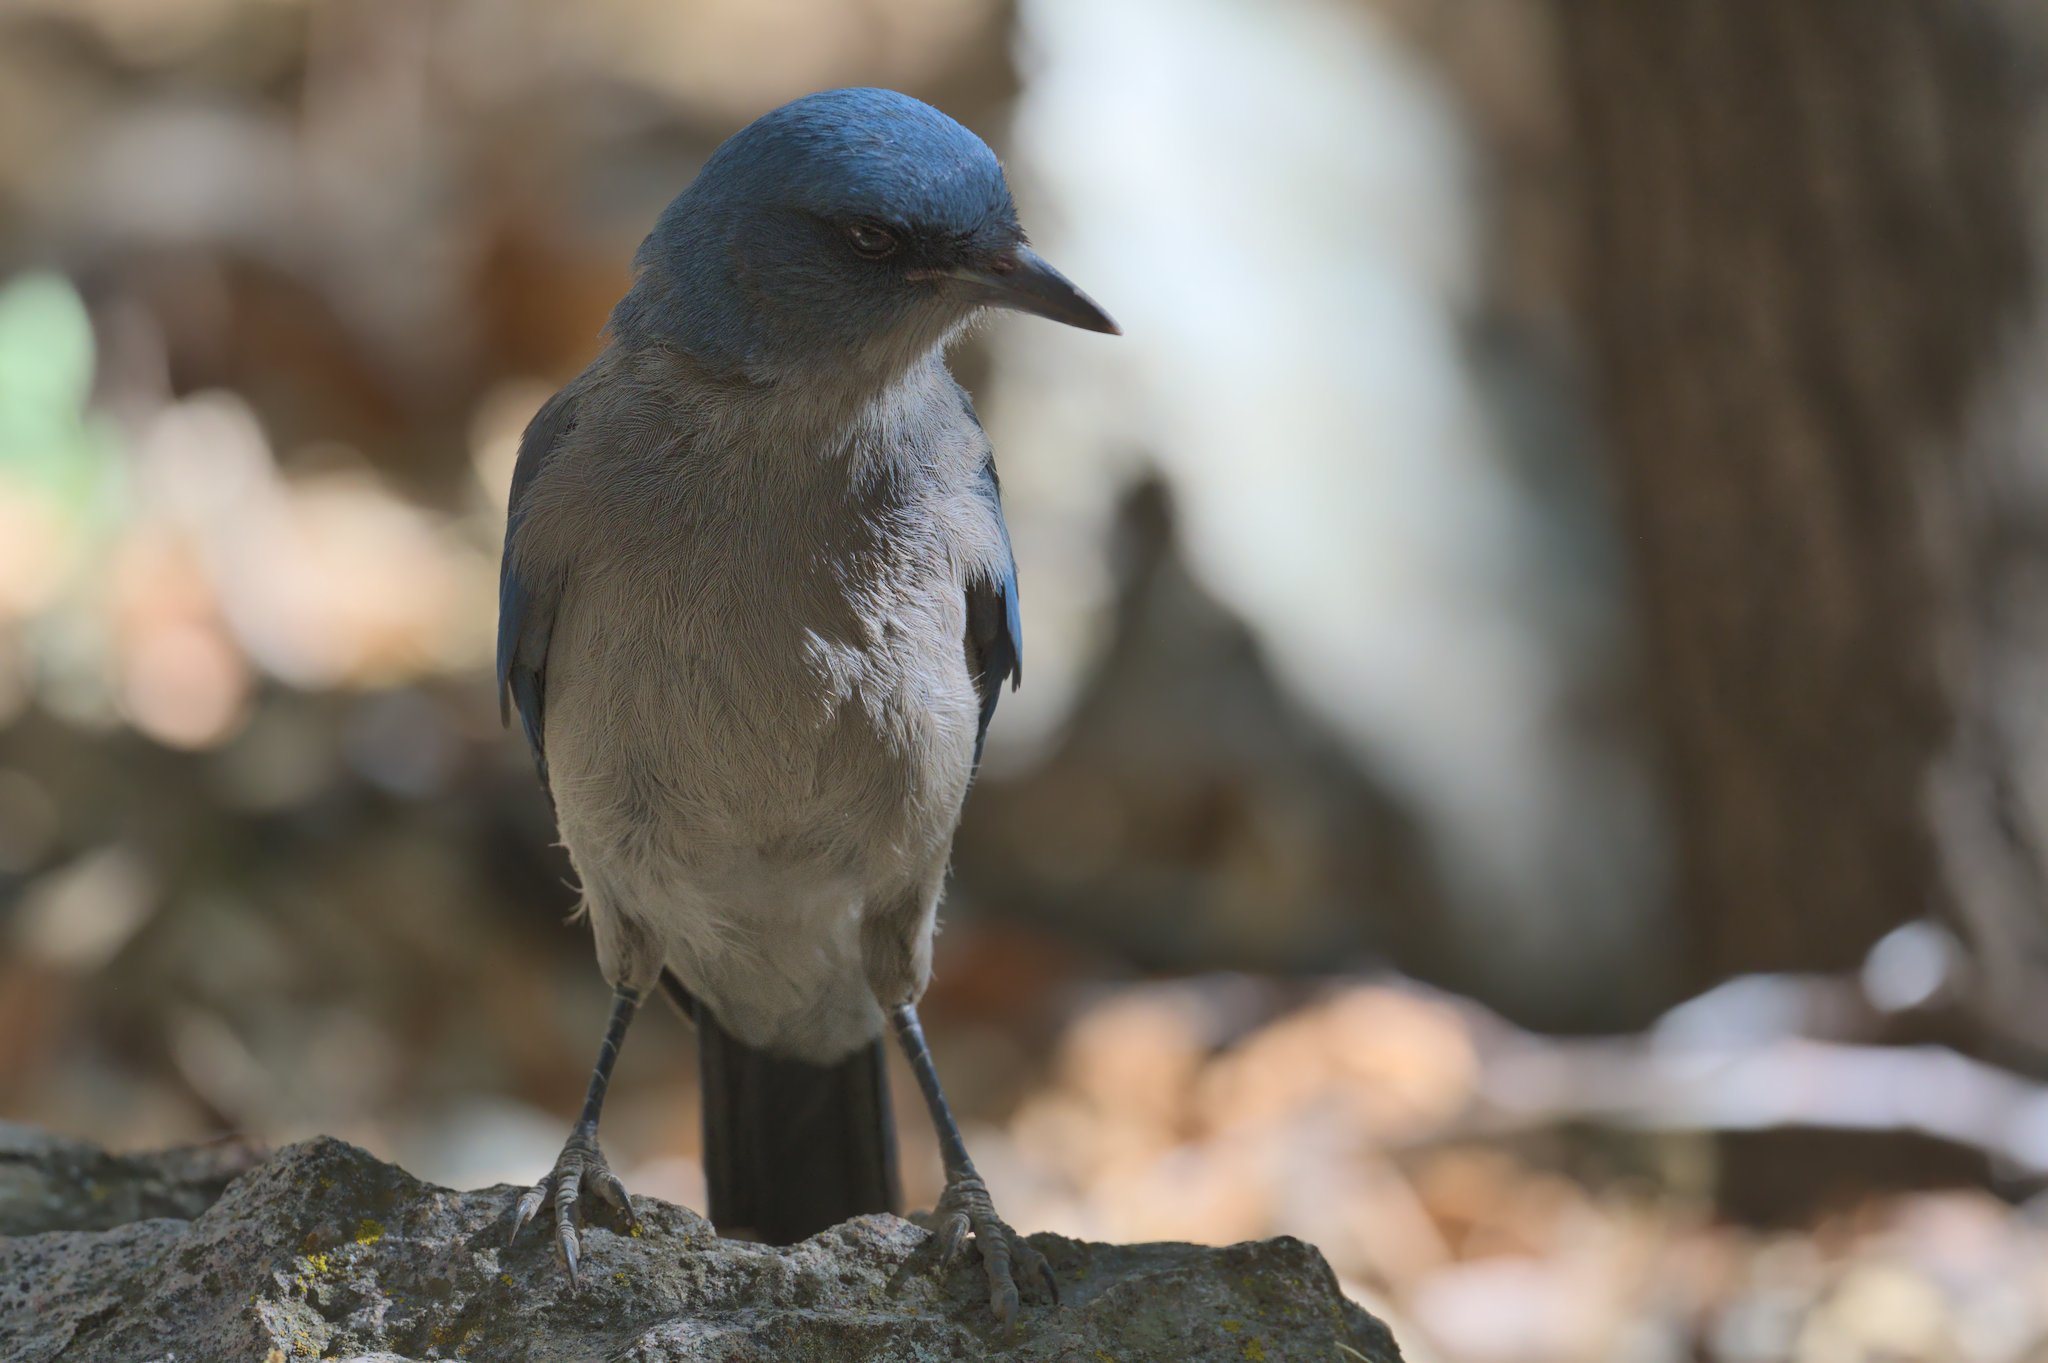
If I could only keep one rule on this list, it would be this one: Don’t shoot wildlife directly illuminated by the unobstructed, midday sun. It is almost impossible to get a good shot under conditions like that. You’ll usually end up with harsh shadows on your subject and no catchlights in their eyes. Harsh lighting also often gives a reduction in apparent sharpness due to glowing effects from feathers and fur.
And it’s not just the subject. Backgrounds in such light will often have harsh, specular highlights, stealing attention away from your subject (as in the shot below). When I’m editing my pictures, I rate my photos from 0 to 5 stars, and midday sun shots almost always get 0 stars!
Can you ever shoot when the sun is high? If there are clouds softening the sun, or you are deep in a forest, you can sometimes do something during these difficult times of day. And the harsh look occasionally works for very specific subjects. But as a rule, probably more than 95% of my good shots are taken a few hours after sunrise or a few hours before sunset – generally when the sun is not more than 30 degrees in the sky.
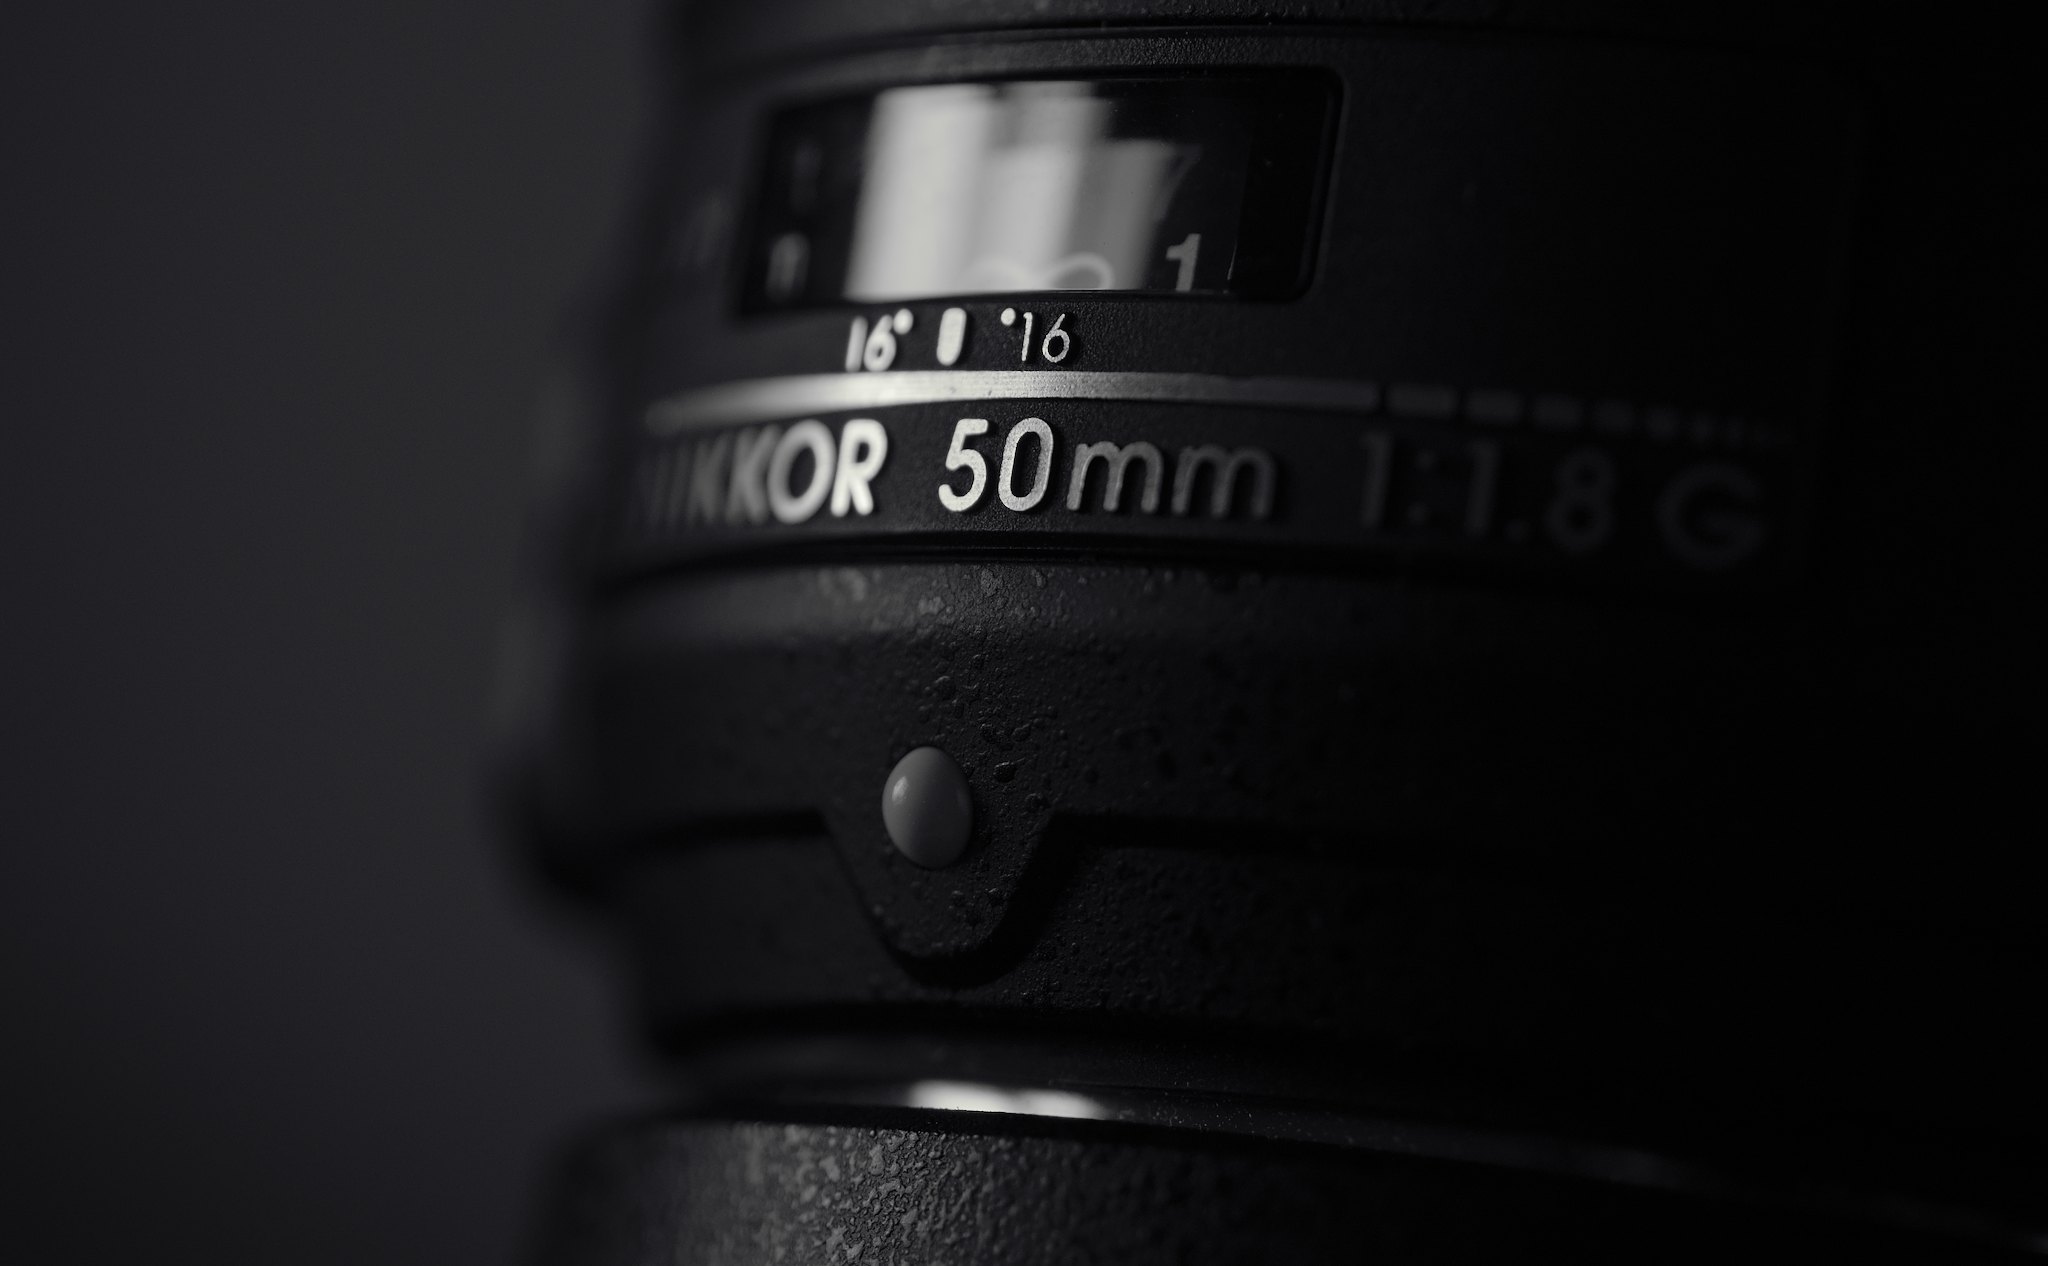
2. Upgrade Your Lens Before Your Camera
Most of the time, a better lens will go farther than a better body. For example, if your maximum focal length is 300mm, getting a lens that goes to 500mm will be so much more beneficial than upgrading to the latest and greatest body.
As a general rule, a good time to upgrade your lens is if you find yourself cropping a lot or boosting ISO values too high. A new camera may offer you a few more pixels to crop or slightly better high ISO performance, but the improvement you’ll get from a better lens is far more significant. The difference between, say, f/5.6 and f/2.8 can be night and day. Likewise for the difference between something like 200mm and 500mm.
3. Try New Locations
A can think of dozens of beautiful places that are pretty bad for wildlife photography. Sometimes it’s because the animals have favorite spots that are too far away, and sometimes it’s because there are too many distracting background elements.
Often, animals are easier to see in edge habitats: those are the places in which two different habitats meet, like a river in a forest, or a grassy plain next to a lake. For birders, I highly recommend eBird.org, which will allow you to browse hotspots. Although these hotspots are more for finding birds rather than finding photo spots, I’ve found a lot of great places for photography this way.
I recently looked at eBird’s complete list of birds from most to least photographed, and it was interesting to see that some supposedly “common” birds are rarely photographed if they only reside outside the United States. So, if you live or travel outside the US, it might be worth taking an especially close look at resources like this one.
So, if your photos aren’t coming out the way you expect, don’t immediately think you need to upgrade your camera gear. Finding a new spot can get you much better shots for a lot less expense than buying a new camera.
And even though eBird is the one I’ve used the most, there are similar sites and forums to help you search for other wildlife subjects. For example, there are people who track recent bear and wolf sightings in various National Parks and post them online. All you need to know is the type of wildlife you want to photograph, and you’ll probably find good, new locations to photograph them if you look carefully!
4. Shoot at Eye Level
Shooting at or close to eye level will improve most shots by an order of magnitude. This does two things: It gives a much better perspective on the animal, and it gives you a more distant background (and hence more subject isolation).
For subjects close to the ground, this usually means getting close to the ground yourself. I am constantly sitting and kneeling to get eye-level shots. Cameras with a rear tilting screen have a huge advantage here, since you can place the camera low – such as on a short tripod – and just tilt out your screen to compose.
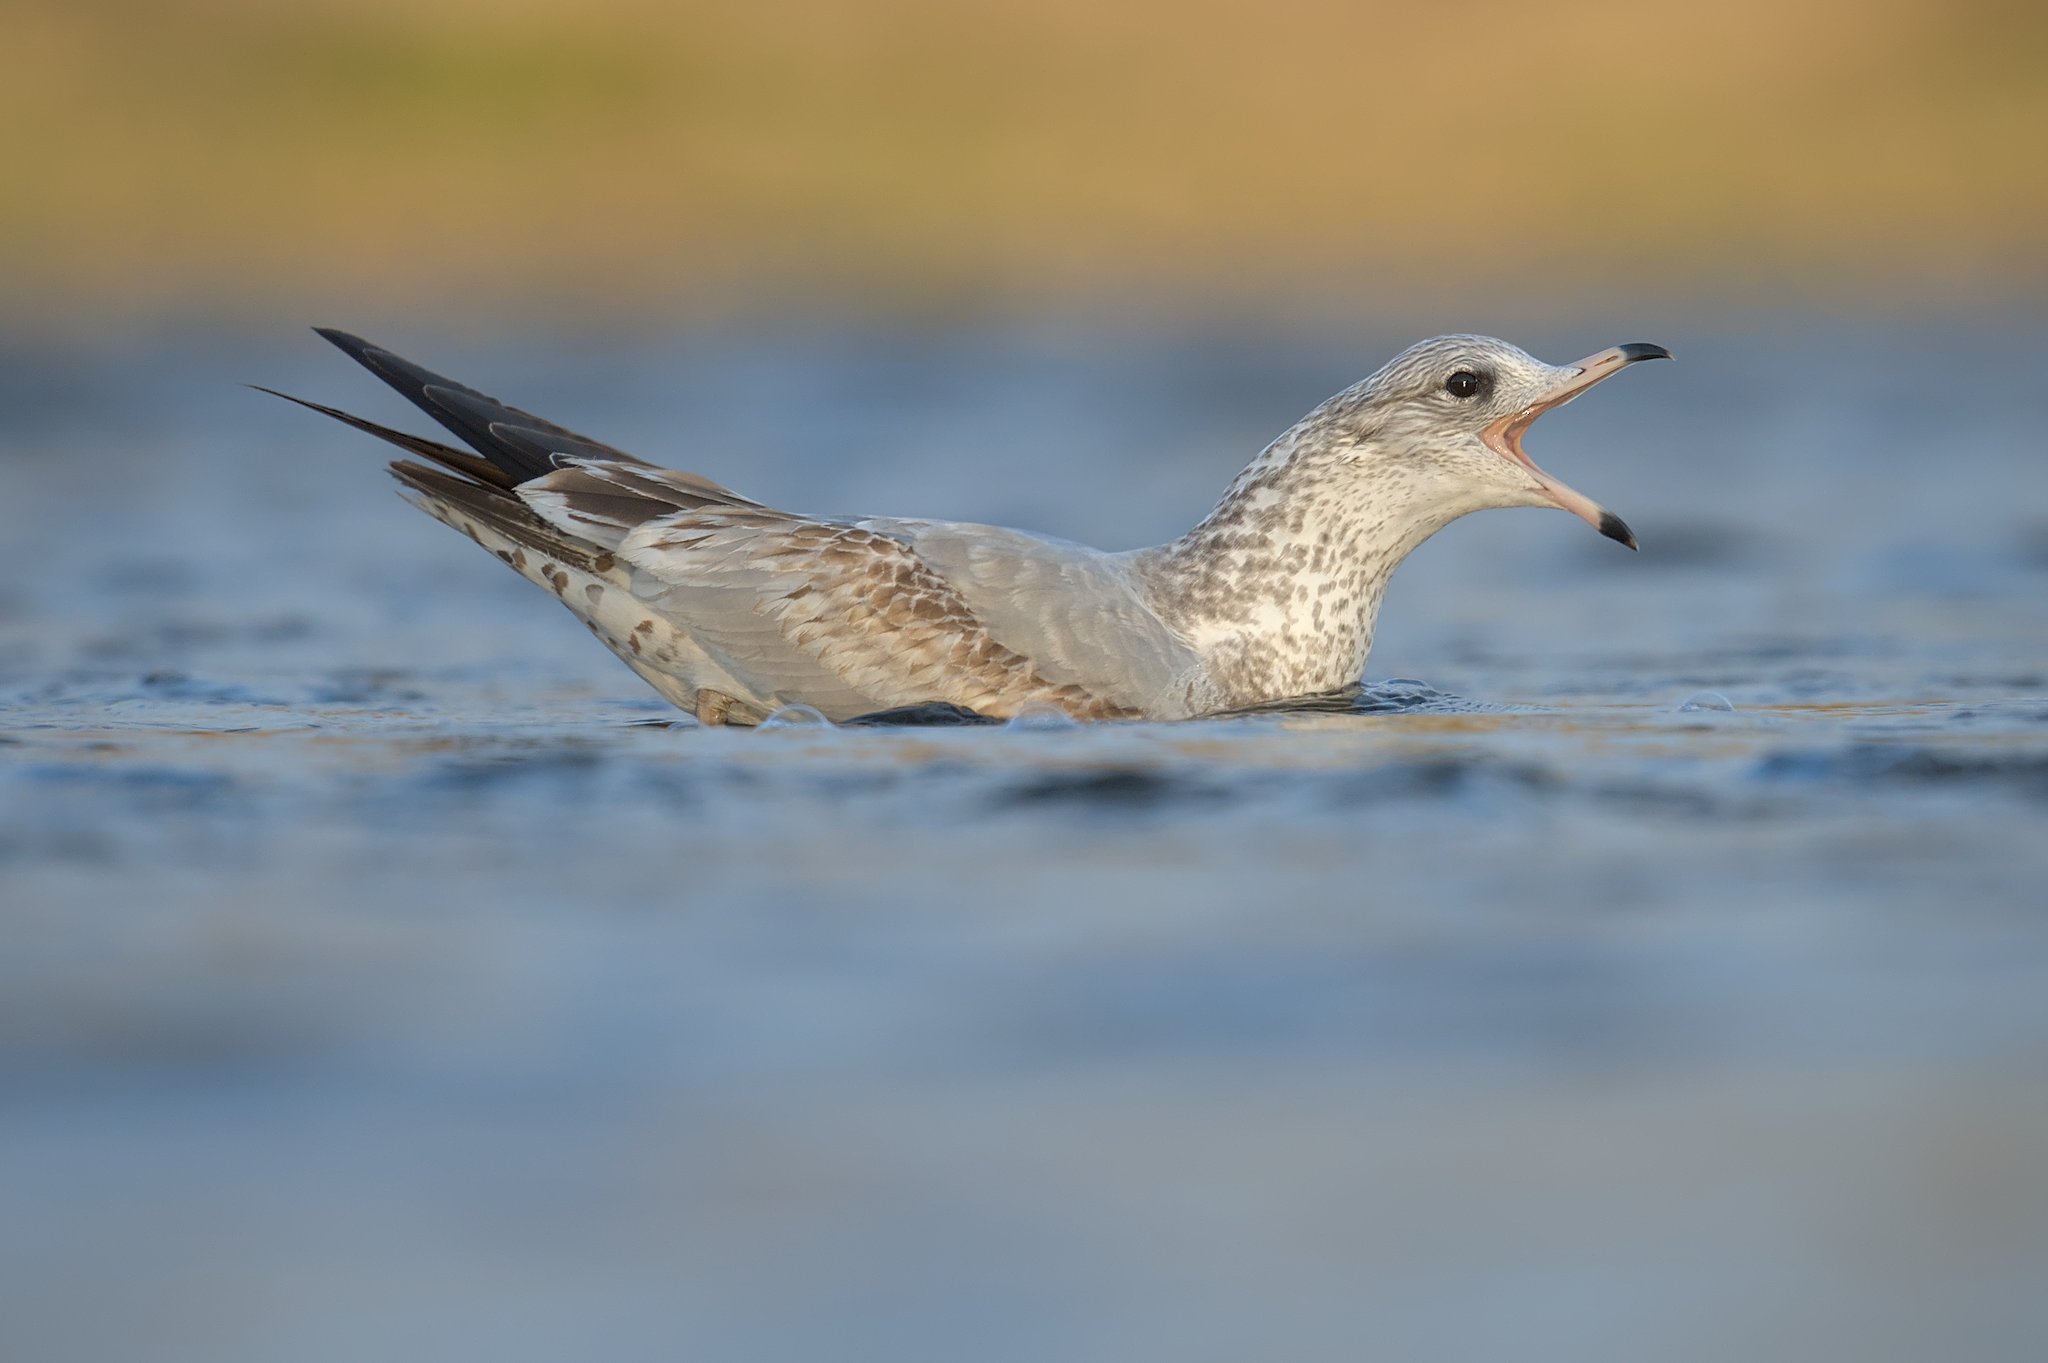
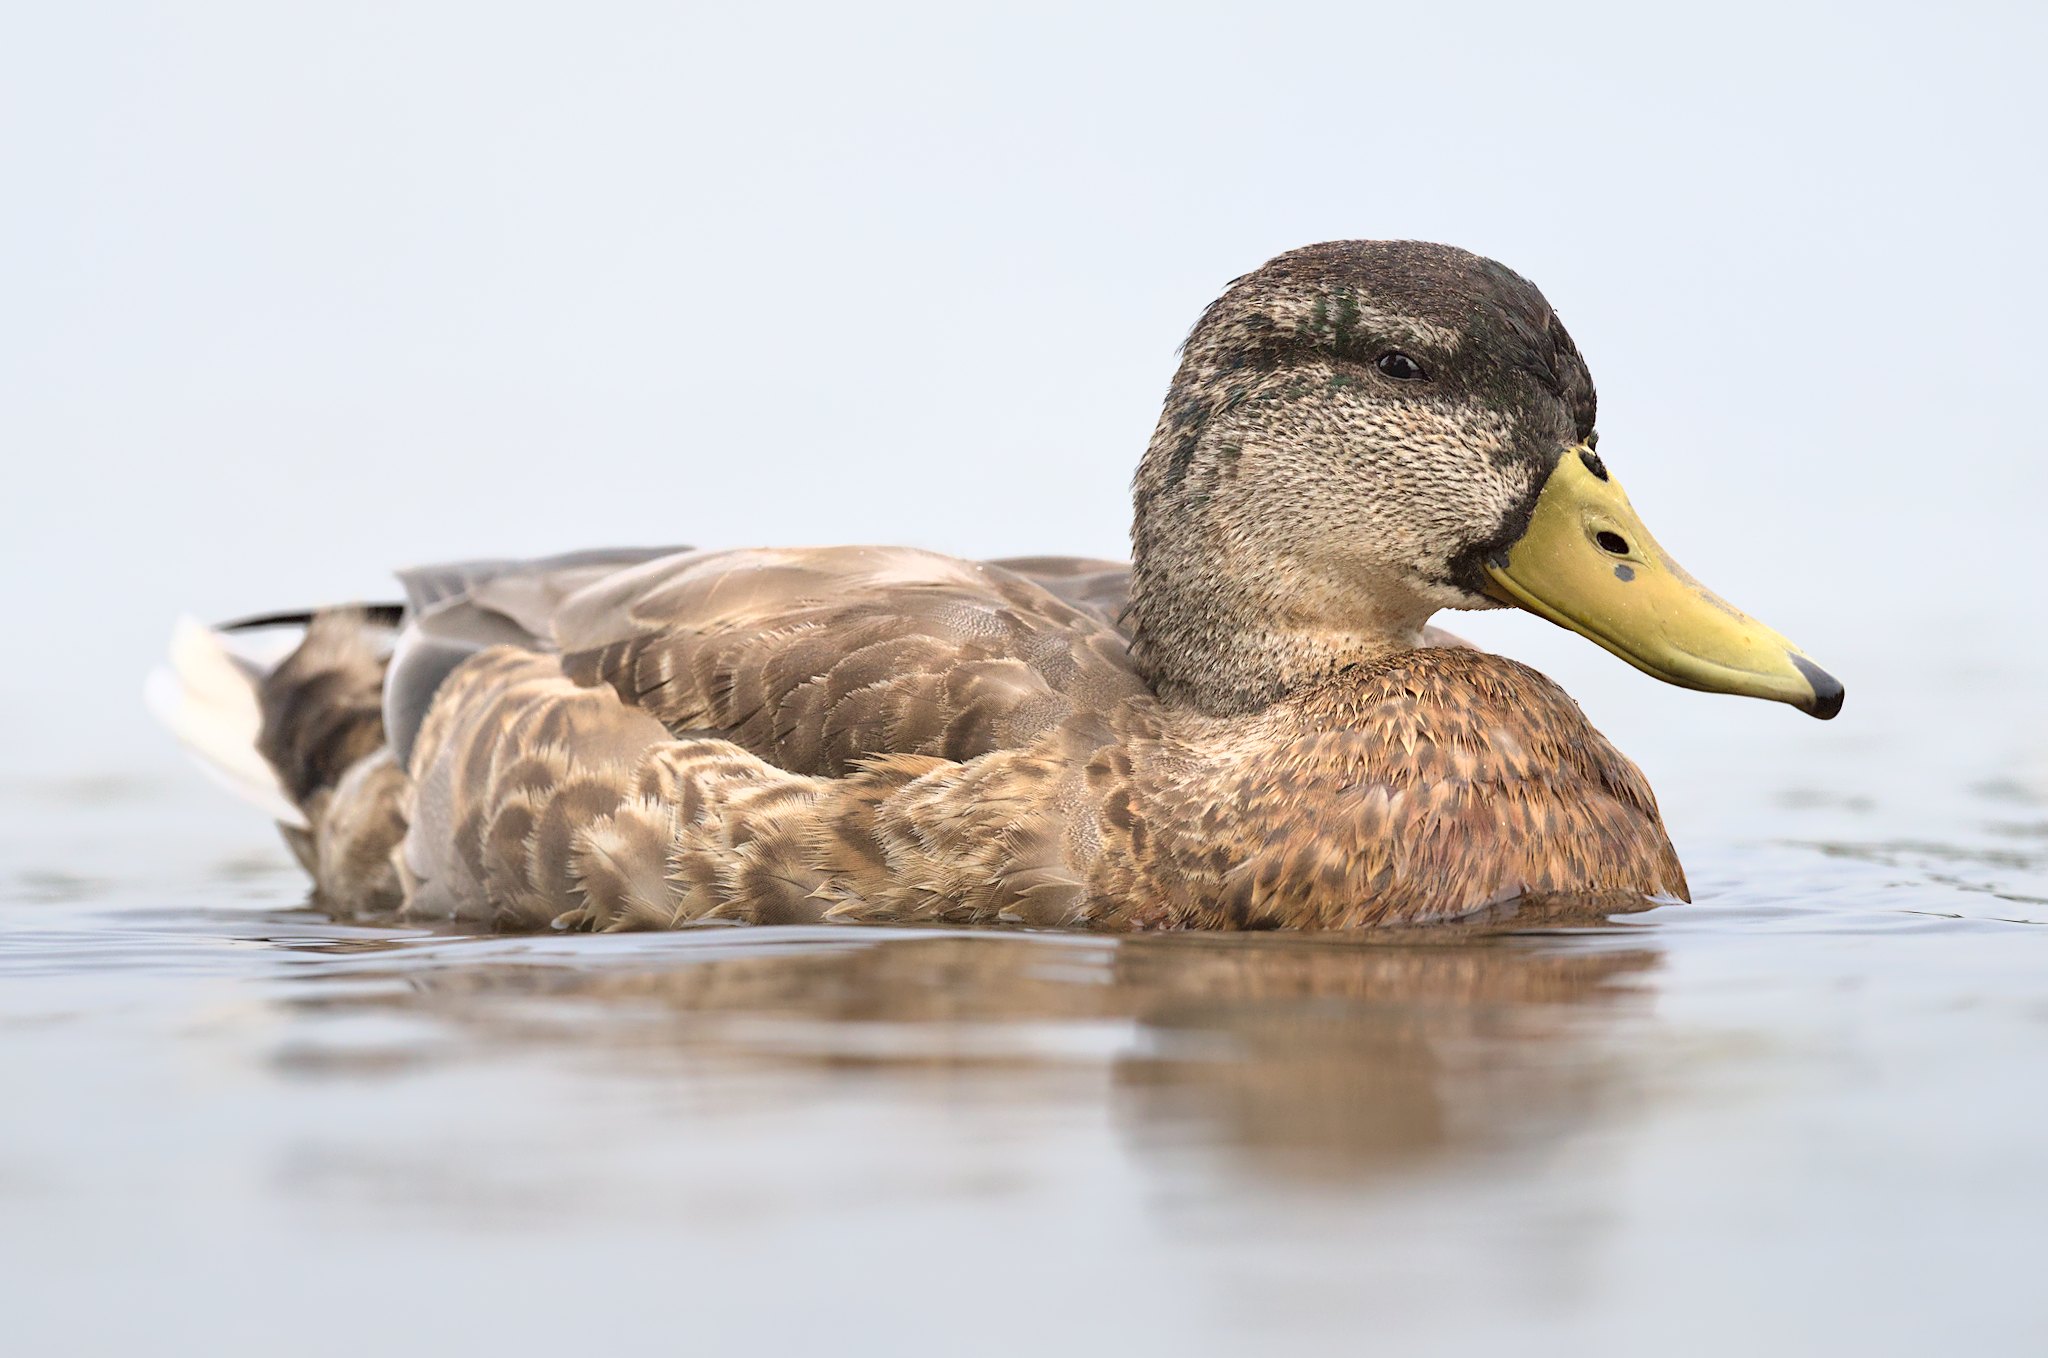
5. Watch Your Shutter Speed
Light is so precious in wildlife photography, and usually there’s not enough of it! That’s why it’s crucial to use as long of a shutter speed as possible, while still avoiding motion blur and camera shake. The longer your shutter speed, the more light you’ll get on your sensor, and the result is better image quality.
Although you would certainly avoid blur on a perched bird at, say, 1/1000 of a second, you simply don’t need such a fast shutter speed. Birds also frequently pause to observe their surroundings, and in those moments, you can use longer shutter speeds without issue. By “longer,” I mean in the range of 1/400 second, 1/200 second, or sometimes more – even with long focal lengths like 500mm.
Furthermore, if your subject is standing around like this, it’s fine if you miss a shot or two. The ones that are sharp will have enough image quality to make up for it easily. Above, I easily could have ended up shooting at ISO 4000-5000 if I had followed the usual reciprocal rule of “1/focal length.”
On the other hand, don’t use too long a shutter speed for moving animals. For action like flying birds, I prefer to stick to 1/2000 of a second or faster – although for slowly soaring birds like raptors, longer shutter speeds can work. There is much more to say about this topic, and I highly recommend Libor’s excellent guide on birds in flight for more.
6. Constantly Evaluate Your Background Possibilities
When I get to a location, I know there are various places where a bird could land. Therefore, I check the likely branches with my eye and through the lens to see where the best spots are. By knowing this information before any bird lands anywhere, I can just ignore the areas that will produce problems.
If you practice this, it will become automatic. In your head, you should be saying “Yeah, this spot on the right is great. But, if a bird landed on the left, forget it.” Of course, if it’s a rare species or one you don’t have, you can take a picture anyway, but you’ll also know to pay extra careful attention to the most photogenic spots.
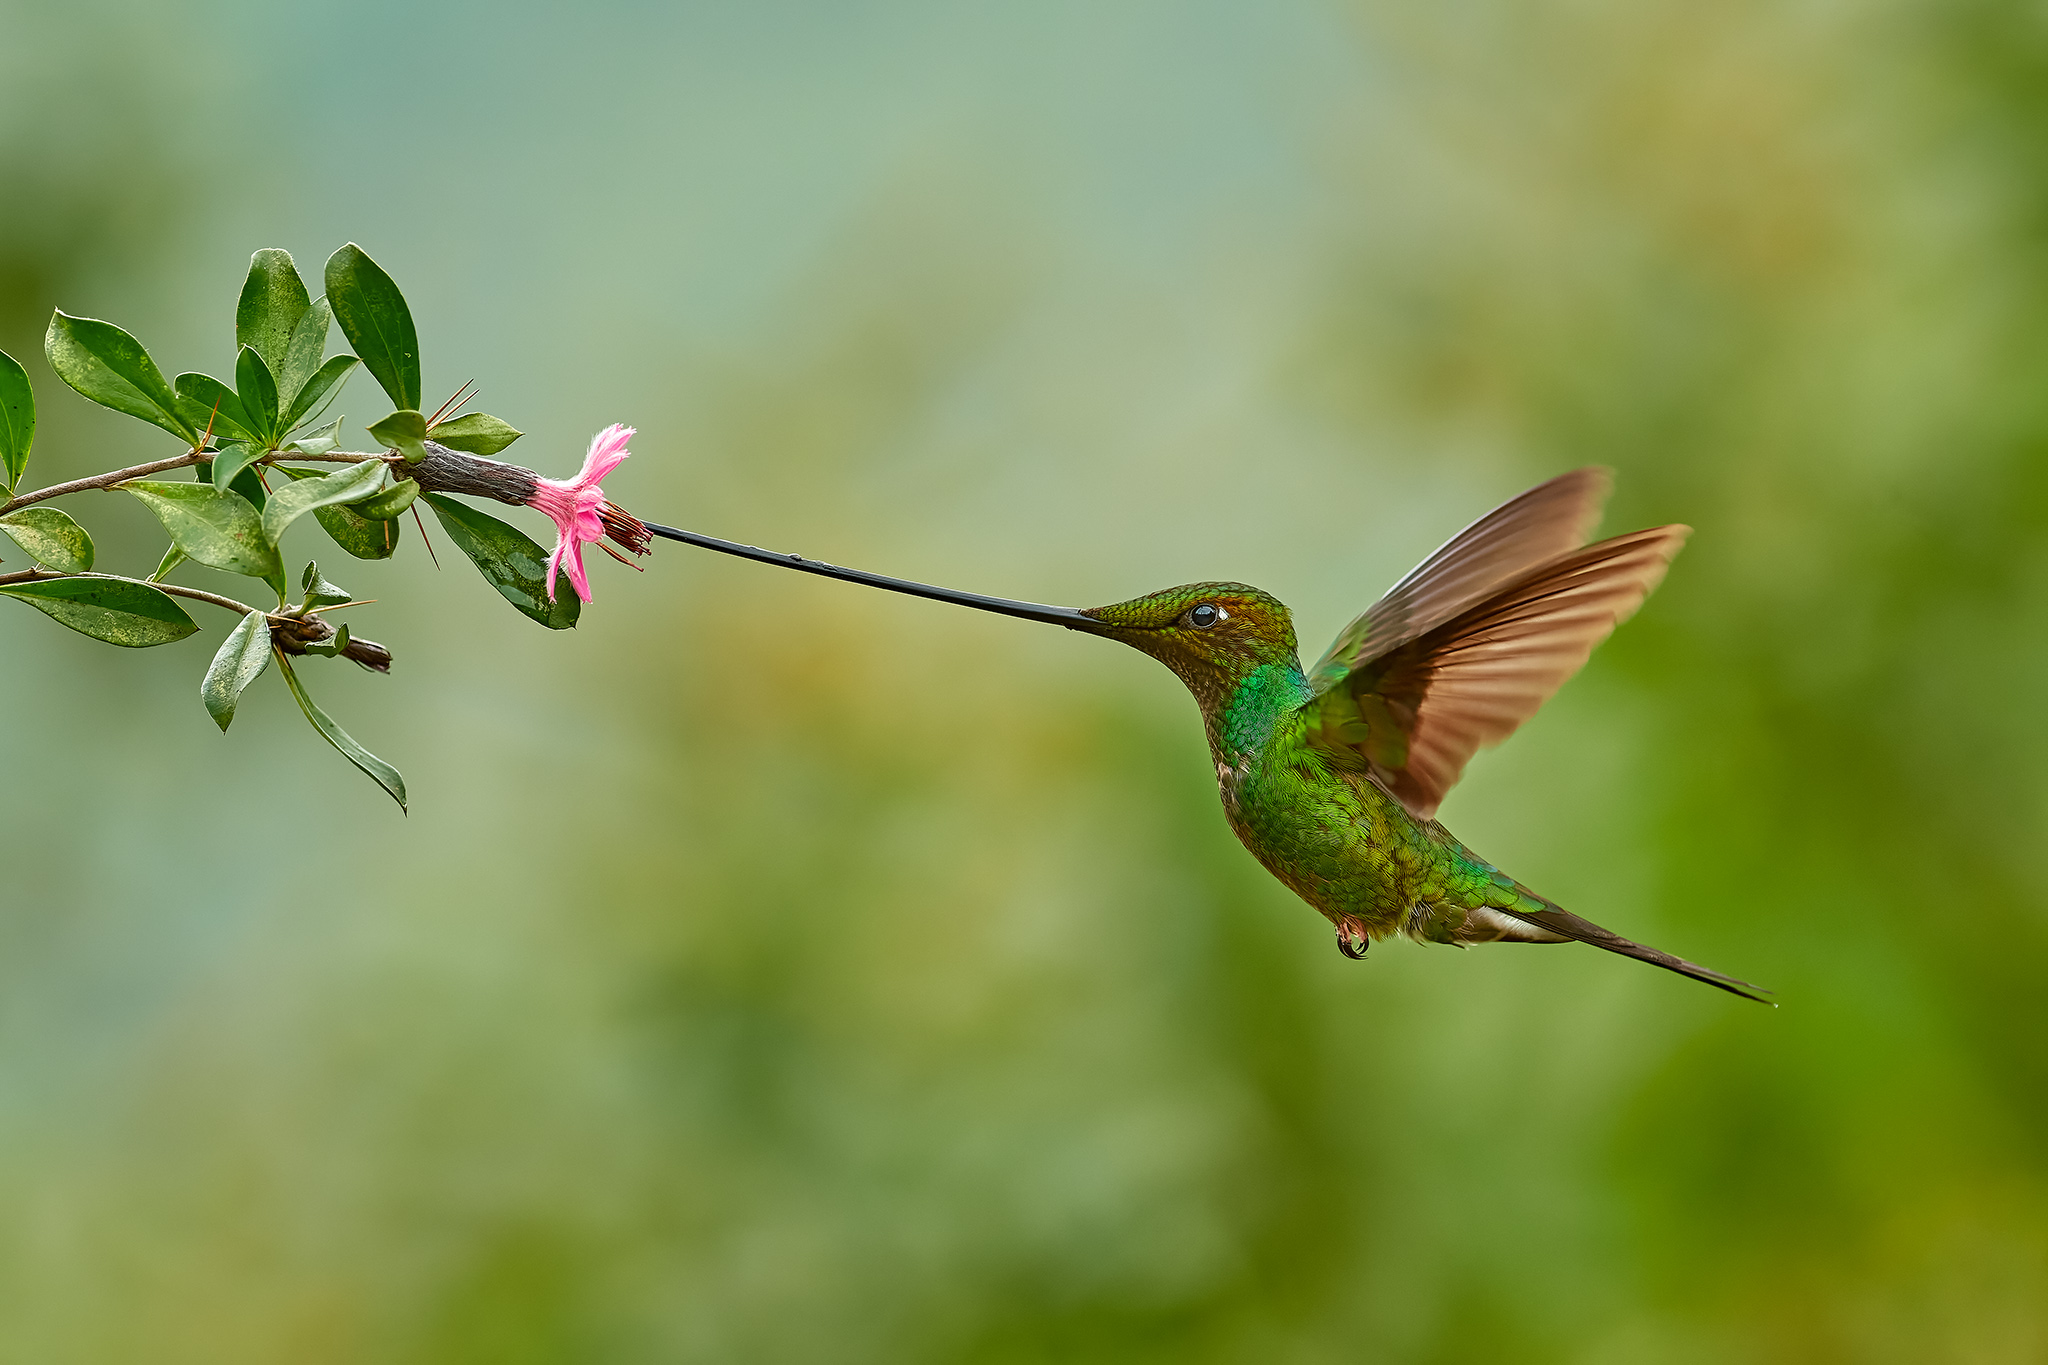
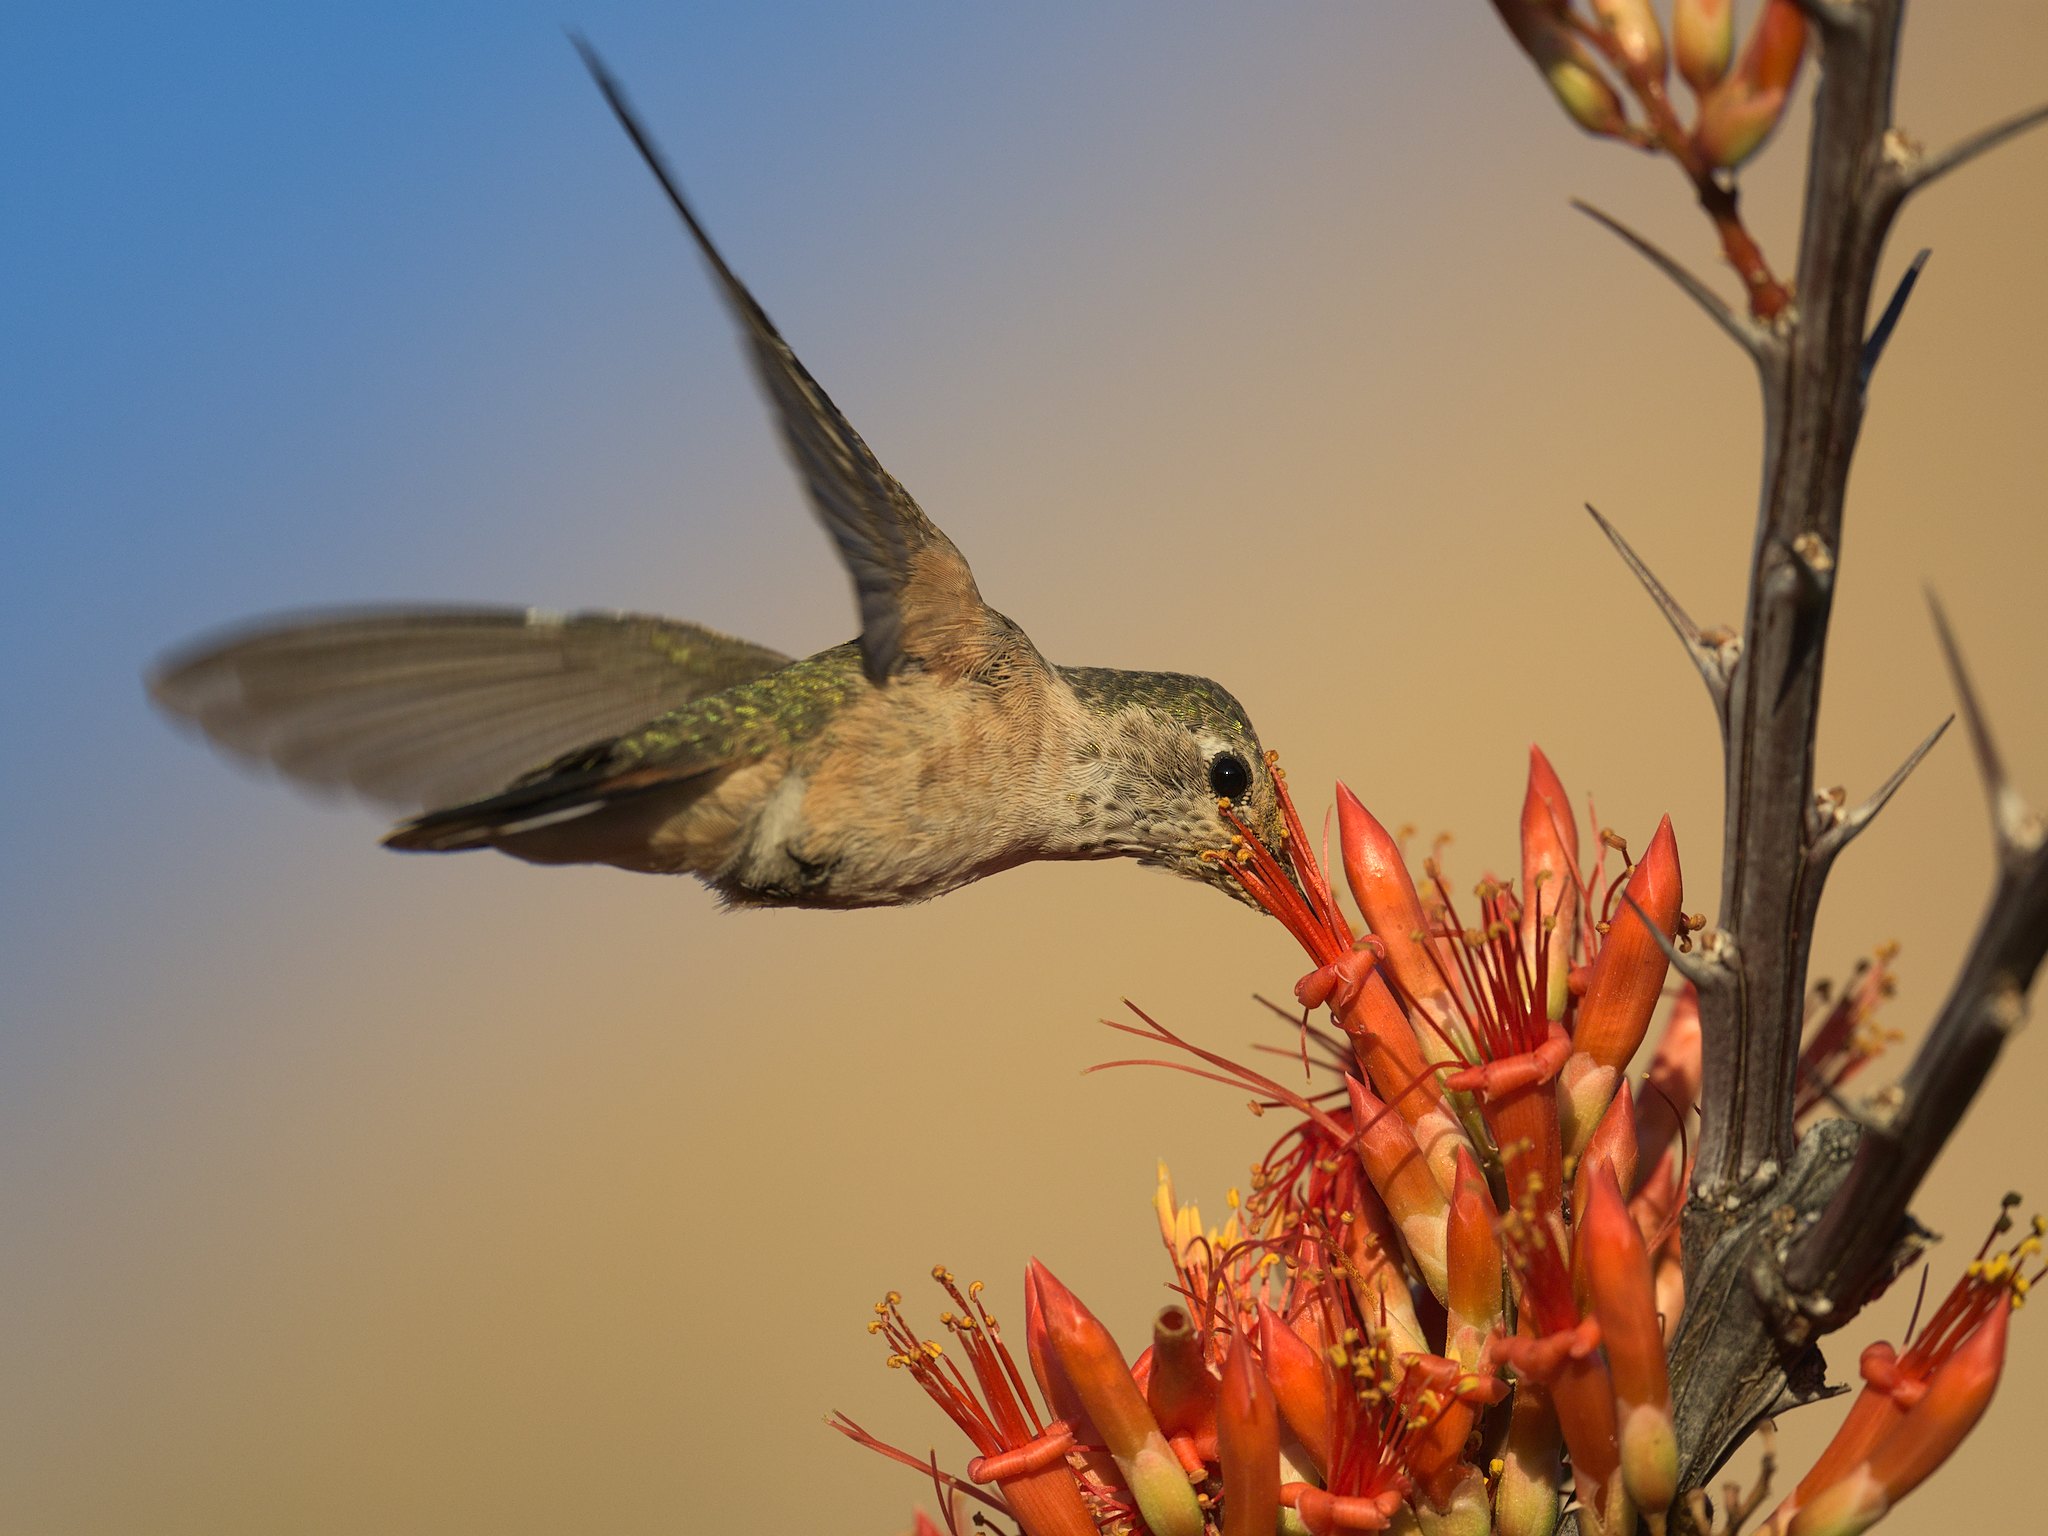
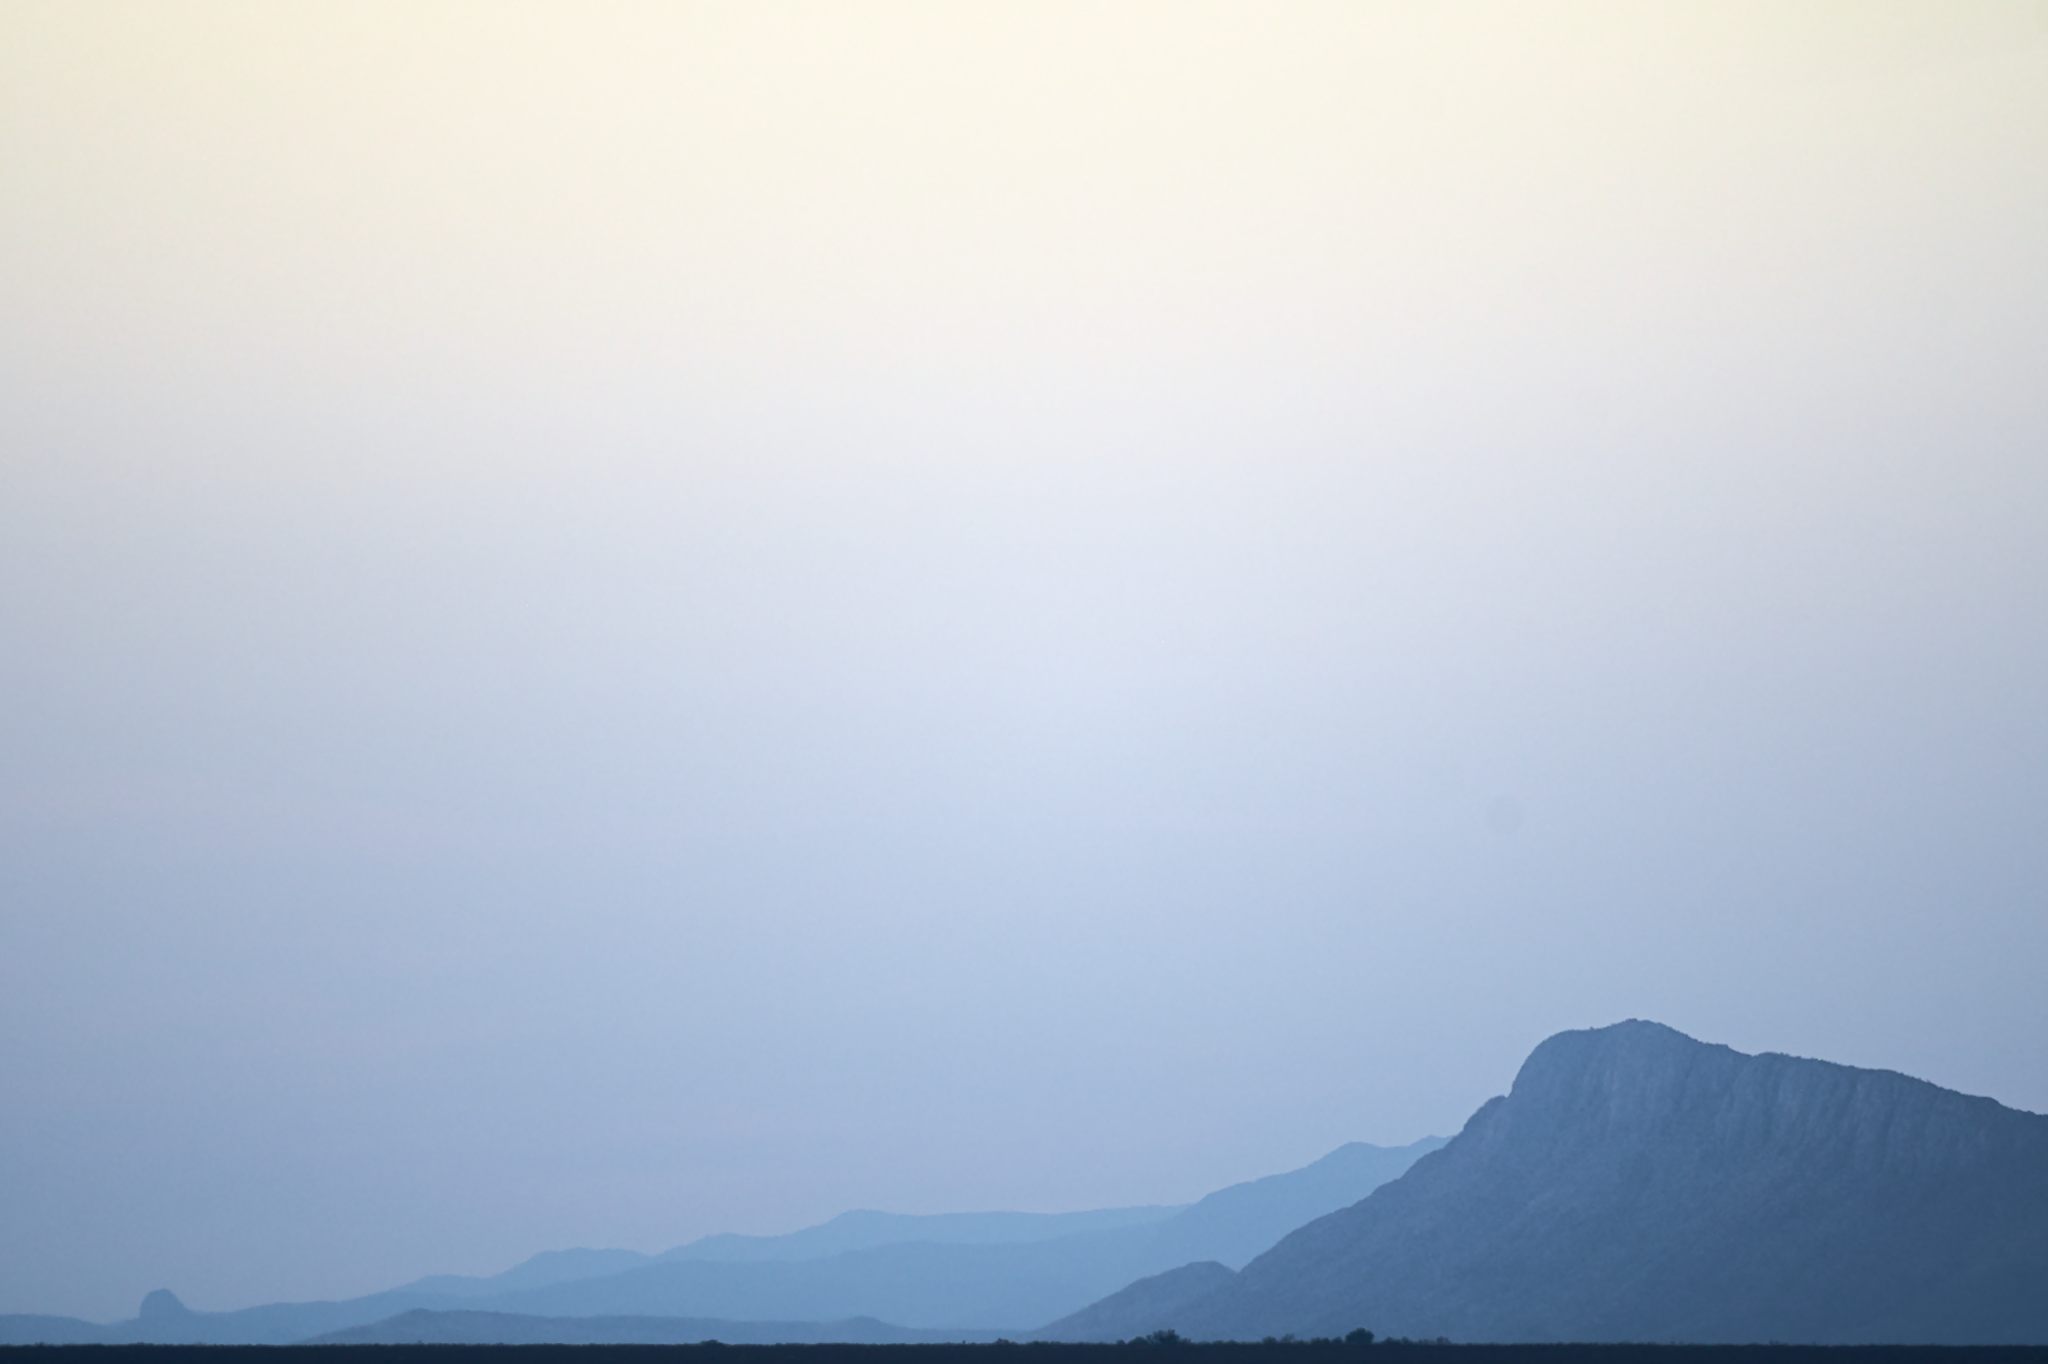
Sometimes I also like to include a bit of variation and texture in my background, like the Chiricahua Mountains that are behind this hummingbird:
7. Try Different Focal Lengths
Long focal lengths like 500mm, 600mm, or even 800mm dominate wildlife photography because the most popular wildlife subject is birds. However, shorter focal lengths can also be used for wildlife.
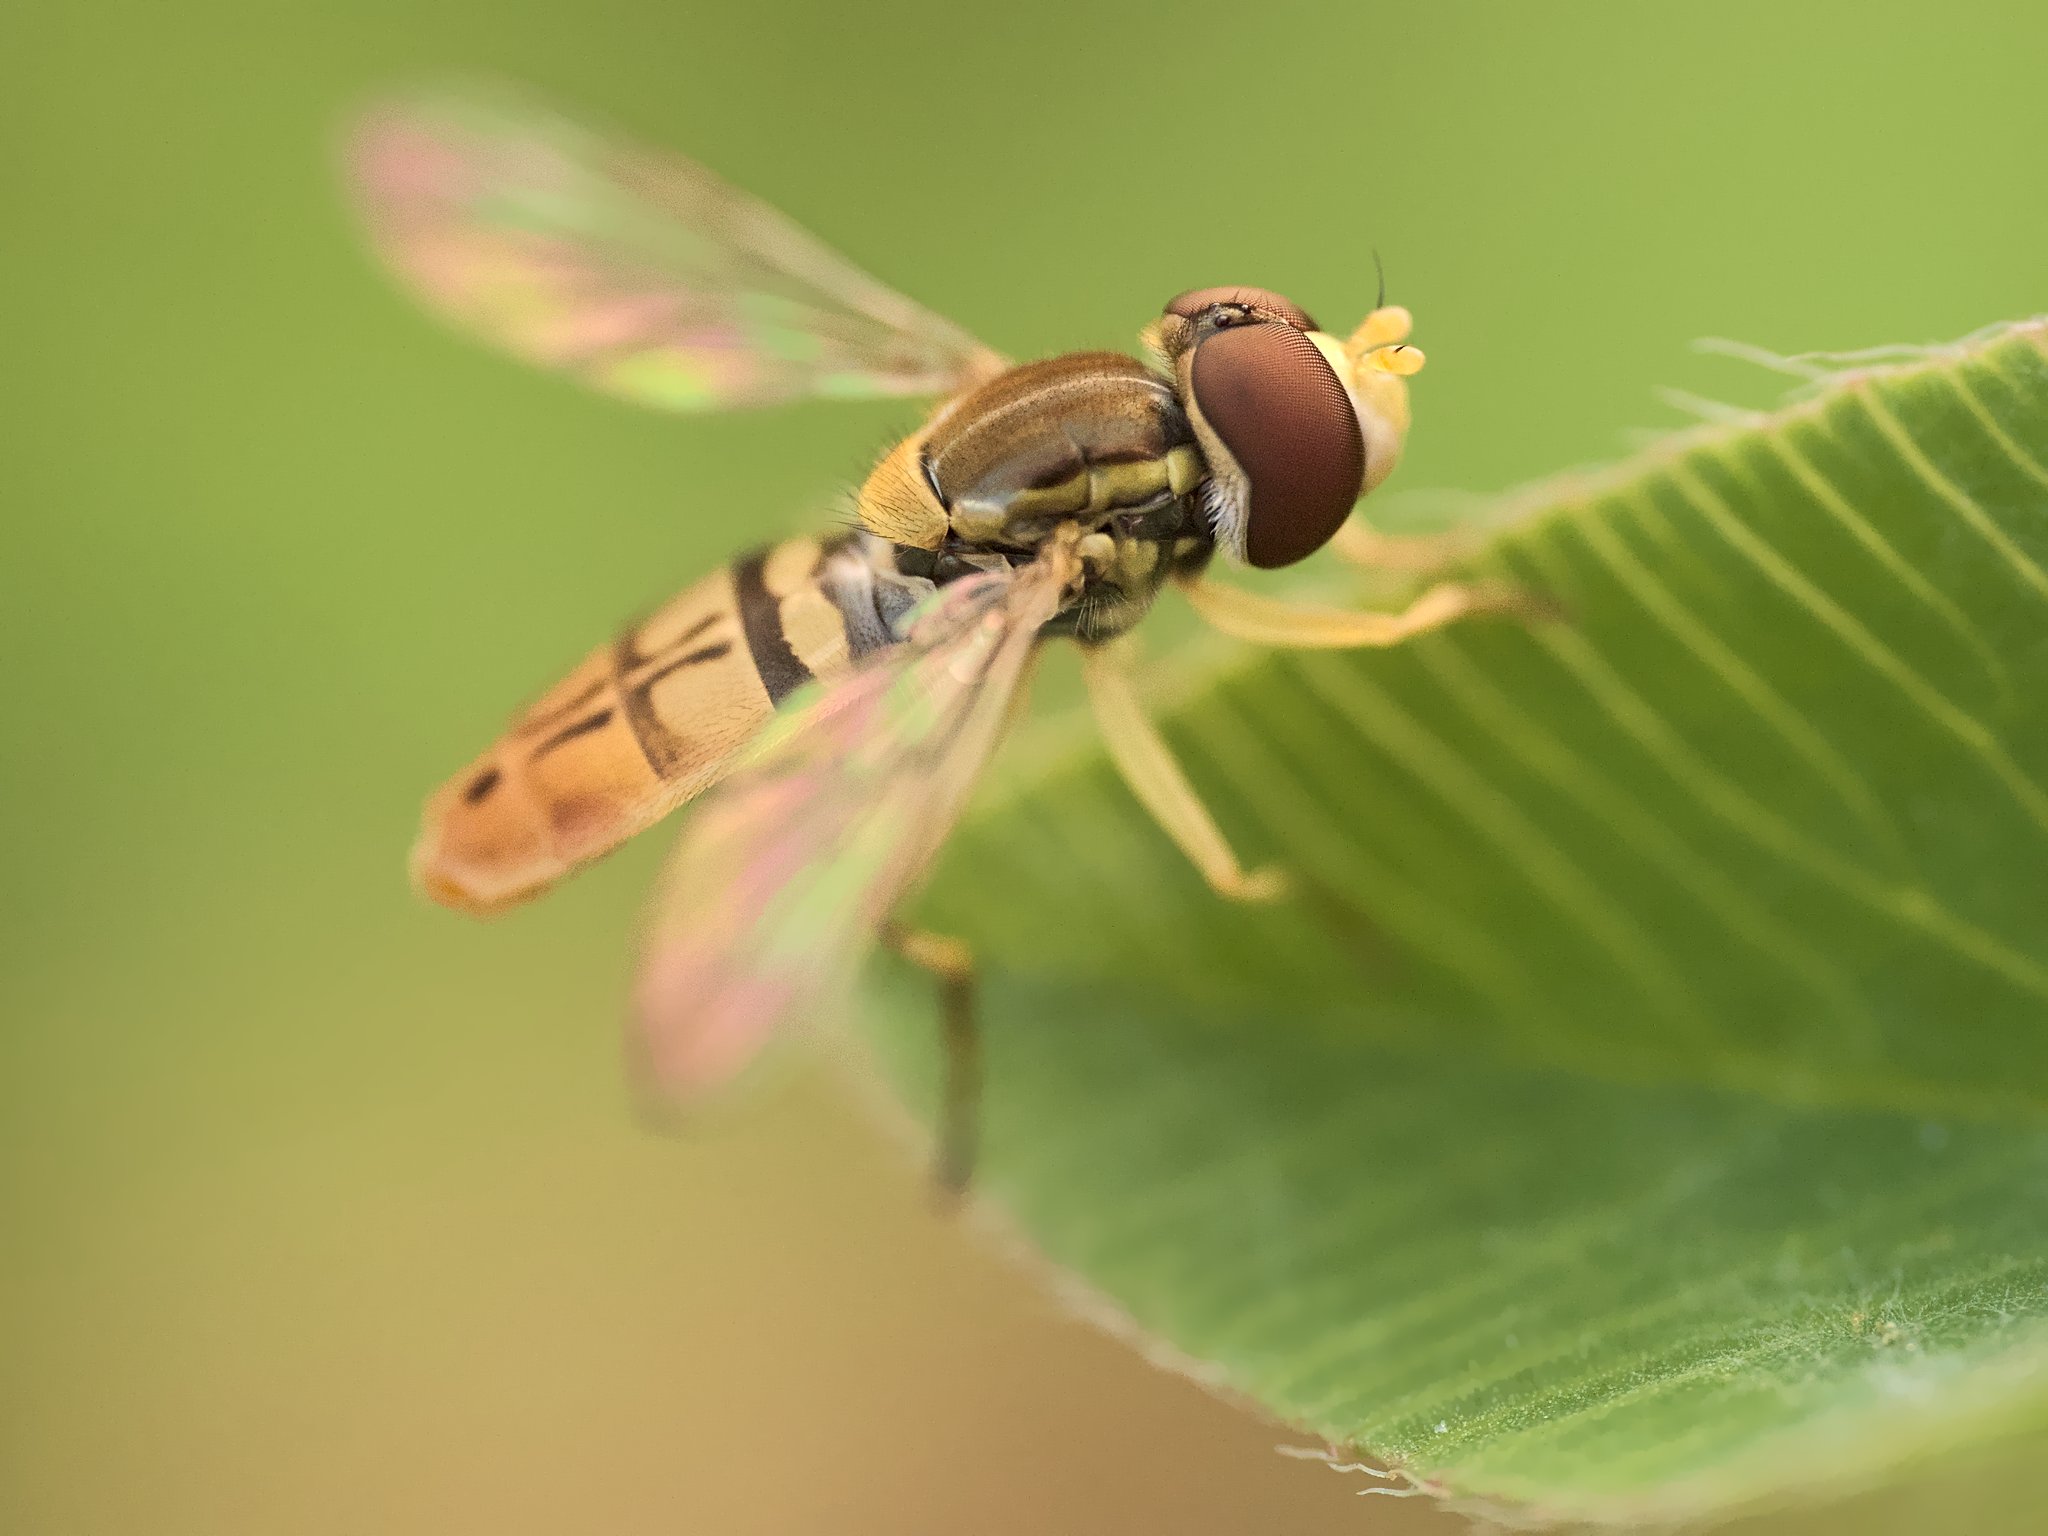
A popular example is the macro lens, which typically ranges between 60mm and 150mm, although there are some specialty macro focal lengths outside this range. Regardless, a macro lens opens up possibilities to photograph much smaller wildlife.
There is also an entire world of possibilities using wide-angle or normal lenses to photograph wildlife. These focal lengths can show more of an animal’s environment in context and make for unusual shots. Sometimes, you may need to use creative techniques like a remote camera if you need to get this close to your subject without scaring it away.
Besides offering new ways of looking at the world, different focal lengths can also give you a mental break from your usual style of photography, giving you a new spark of creativity.
8. Try Different Subjects
Is your specialty mammals? Try birds. Do you just shoot birds? Try butterflies. At least where I live, the birds are easiest to photograph at certain times of the year. During the fall migration in Eastern Ontario, millions of geese and unusual ducks like Mergansers and Goldeyenes flock to smaller bodies of water. During July, though, bird photography is like trying to find water on the moon, so instead I try and shoot insects.
If you’re just getting into wildlife photography, I recommend a guidebook to help identify the species you are shooting. This will help you learn about an animal’s behavior and habitat, and it can help you figure out what species to photograph next.
9. Try Different Genres of Photography
Although it may seem roudabout, trying different genres of photography is one of the best ways to improve your wildlife photography. This is true for a few reasons.
First, wildlife often moves very quickly, so if you are just getting started with photography, it will be harder to practice the finer points of composition and the workings of your camera when you’re in the heat of the moment.
But there’s another reason, and that is that other genres can help improve your Raw editing skills. It wasn’t until I started photographing people that I learned some subtelties of using tone curves because problems with the tones of skin are very noticeable.
10. Know When to Use Exposure Compensation
Despite the advanced metering system in modern cameras and the plethora of metering modes, I still find exposure compensation to be very important. If an otherwise dark bird against a dark background has a very small amount of white on it, the camera simply won’t detect that and overexpose, usually no matter what metering mode you use. Enter exposure compensation. In such situations, I simply know to bring down the exposure compensation to -1 EV.

Exposure compensation is especially easy with mirrorless cameras. Simply adjust your exposure as you look through the EVF. If your camera has zebras or blown highlight warnings, active those and use the exposure compensation until the warnings are just no longer visible.
11. Shoot in Raw
This could be a tip for any kind of photography. Of course, there are endless advantages to shooting in Raw rather than JPEG. Wildlife in particular often has challenging situations where it’s hard to control the light, and shooting in Raw will give you extra latitude to recover tonal information.
Also, some cameras in JPEG mode have noise reduction enabled, which won’t be as good as the noise reduction you can do in your post-processing. White balance is more easily corrected in Raw as well, and I’ve noticed that the auto white balance on some cameras struggle a lot with green leaves or grass.
Of course, this also means you should take time to learn the advanced features of your Raw developer too. By pushing your files to the limit, you can add that final 5% to a photo that will really make it outstanding.

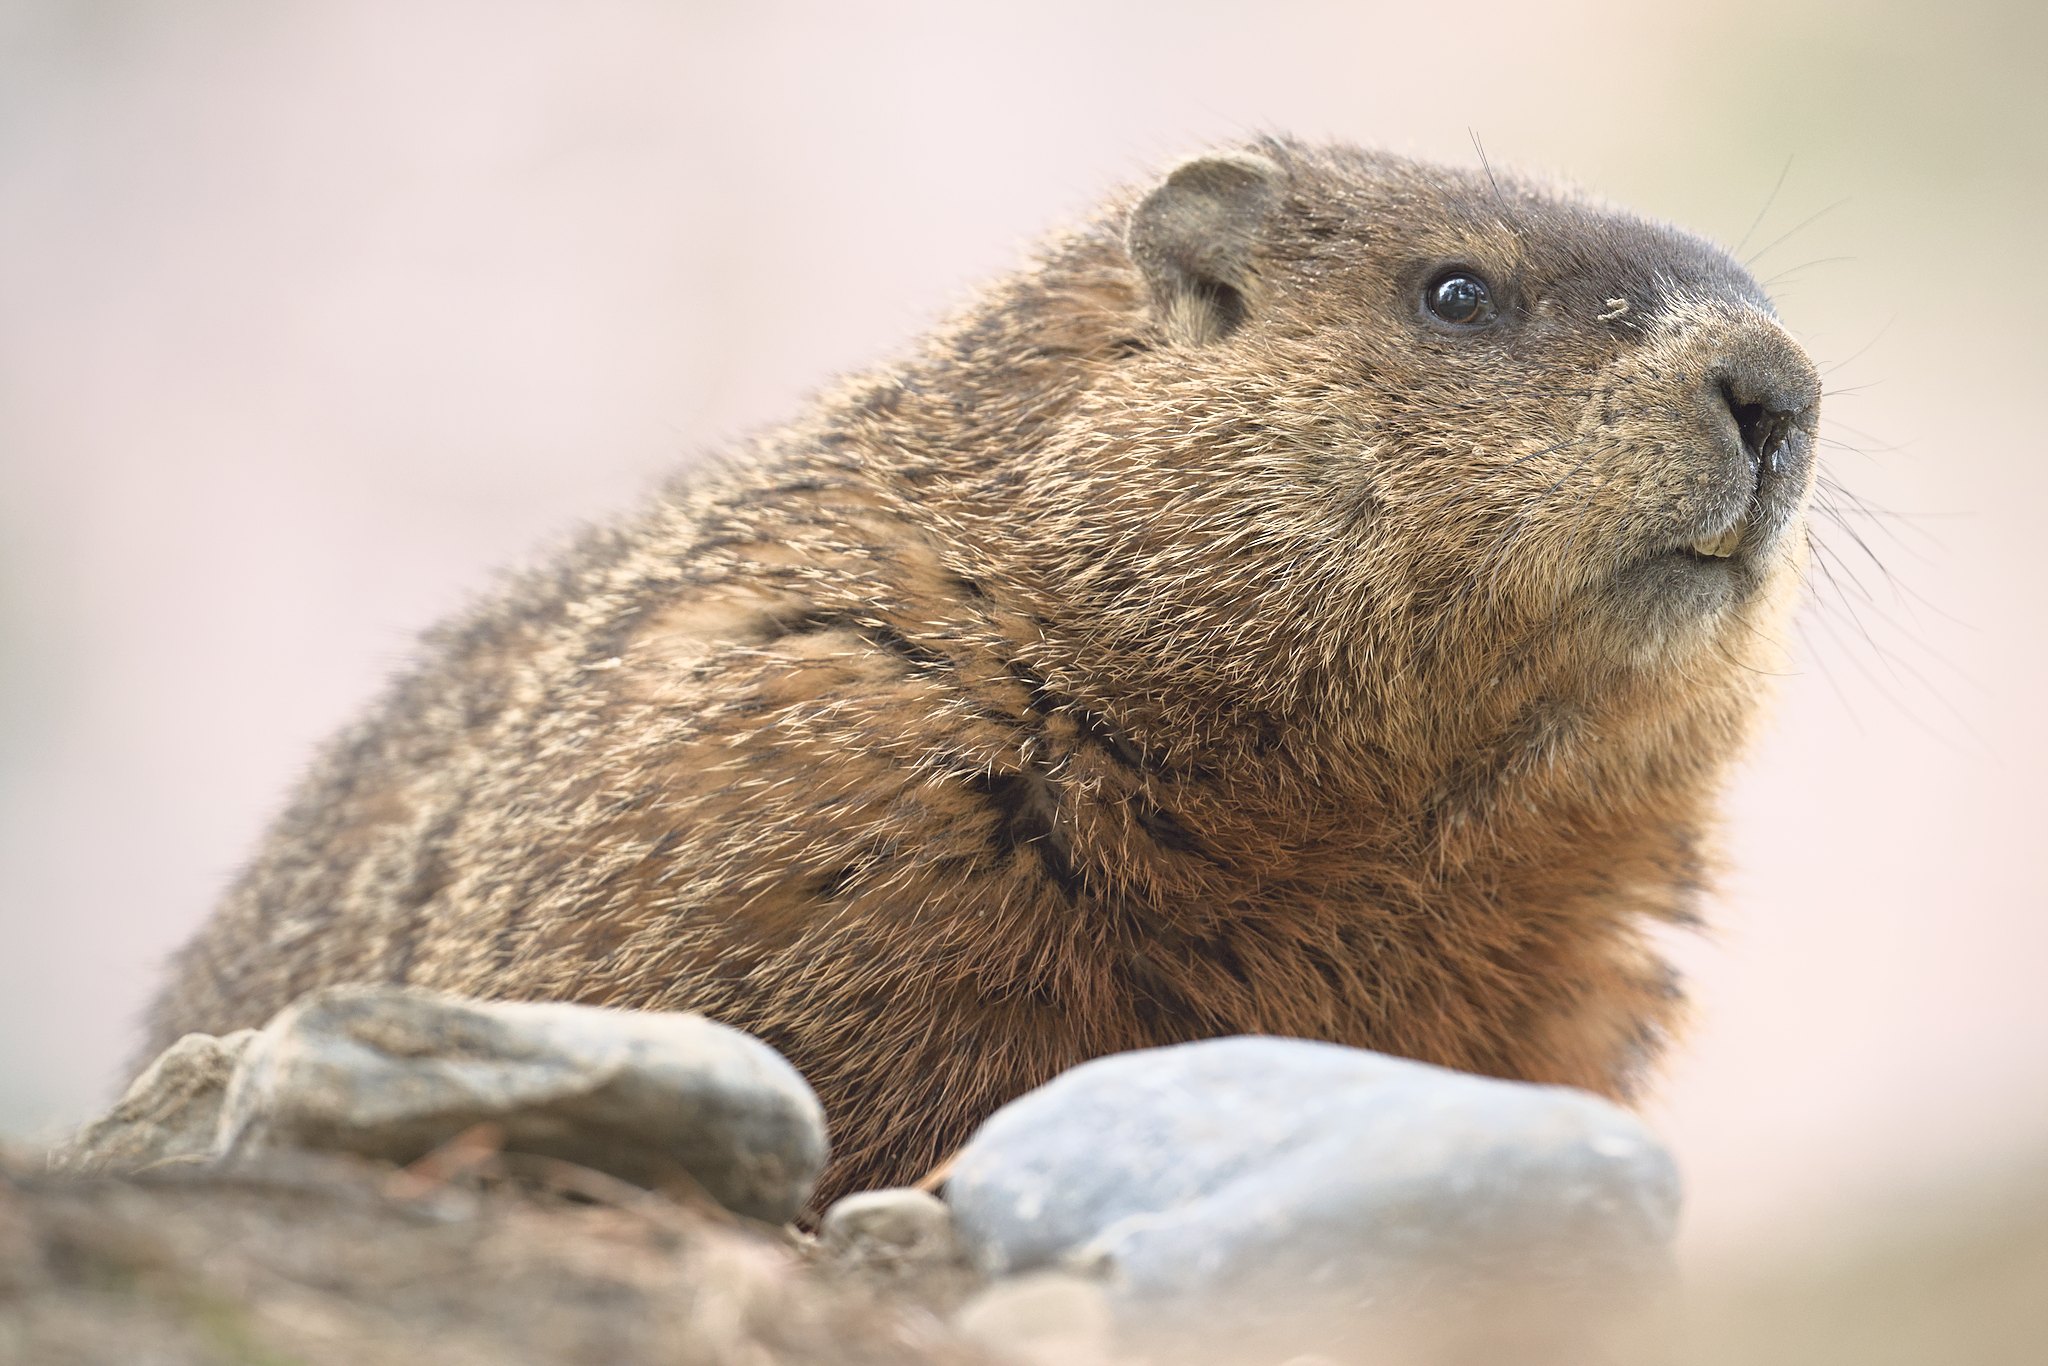
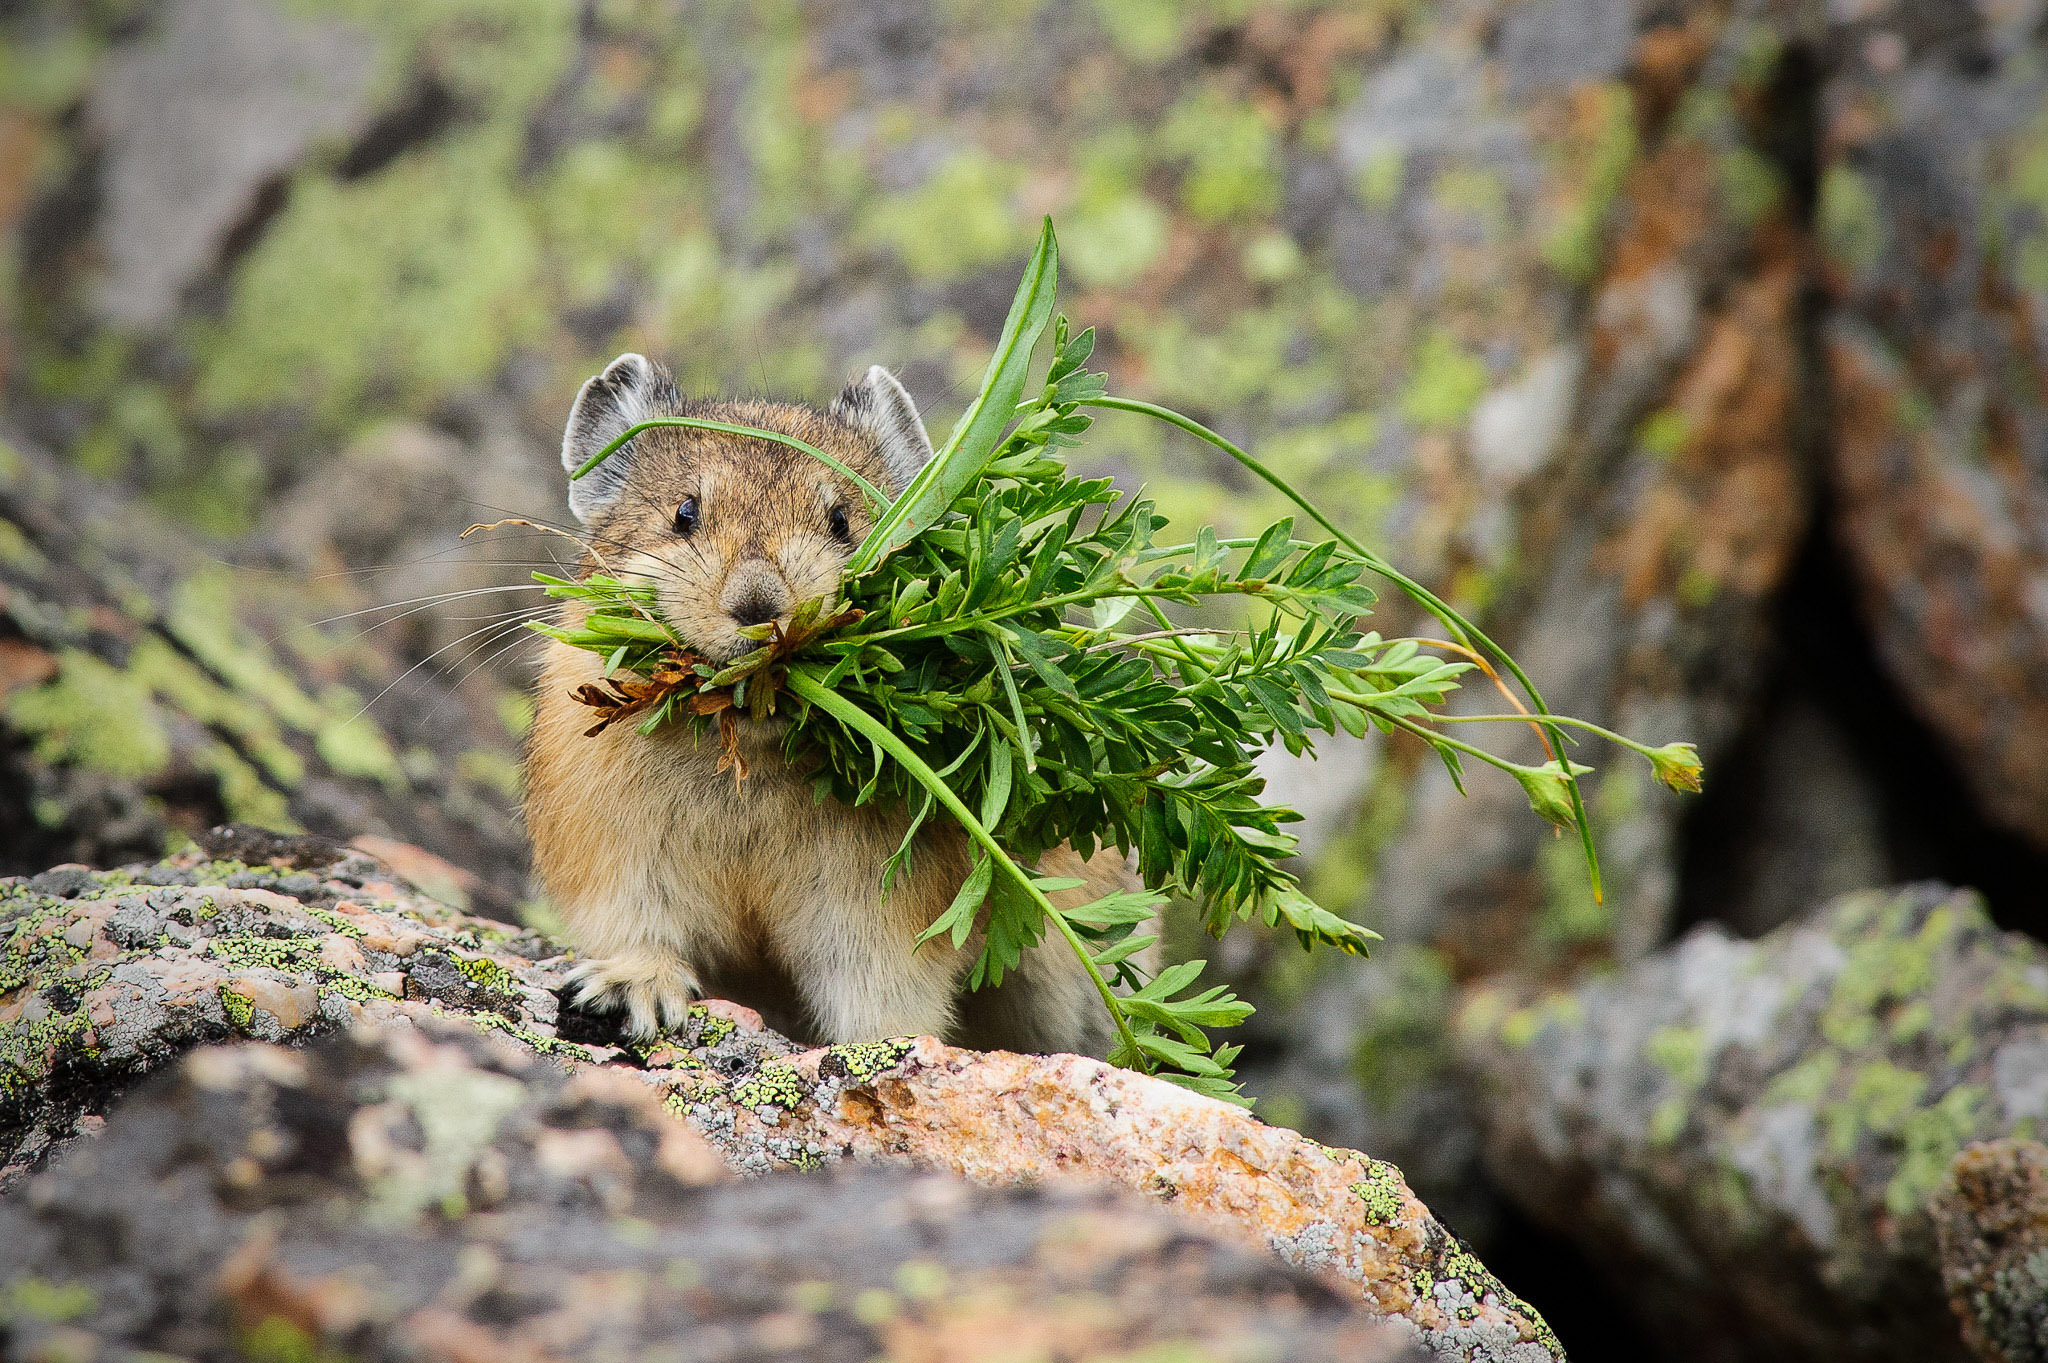
12. Try to Incorporate Interesting Behavior
I like the bird on a stick as much as the next person, but it’s even more interesting to get some behavior in your shot. This is everything from animals in motion (there’s a reason birds in flight are a popular subject) to interactions between more than one animal. Most animals also spend a lot of time eating, which is a great time to get a unique picture of them!
Often you won’t have to wait long to see behavior because many animals eat and move all the time. Some behaviors happen very quickly, so I recommend using a higher shutter speed and high speed shooting (like 10FPS) to capture them.
13. Take Fewer Photos
Wait a minute! Isn’t the burst feature of your camera tailor-made for wildlife? What about modern cameras that can shoot in 30FPS or even 120FPS? Yes, there is indeed a place for high framerates and burst shooting, and that is to capture a precise moment when animals are moving faster than your eye can process.
On the other hand, relying too much on endless bursts is a big mistake. That is because there is also value in paying very close attention to your environment and pressing the shutter exactly when something interesting happens. Being a bit more mindful with your shooting will tax your brain and force you to really think about your scene.
But this tip doesn’t just apply to bursts. If you see an interesting animal, I suggest only taking its picture if the composition and lighting are actually good. This practice will also train your eye much better than taking a picture of anything and everything you see.
Conclusion
I hope some of these tips will help you finding new wildlife possibilities. I use most of these every single time I’m out in the field, whether for photographing birds, mammals, macro subjects, or any other type of wildlife photography.
Even after shooting for years, I am still constantly learning new things about wildlife photography, and I encourage you to share your own tips in the comments!
Very good and unusually concise advice for a beginner or someone still struggling to find their comfortable place behind the camera.
Welcome to Photography life, Jason. I am looking forward to hearing what you have to share. The photos taken at the time of day you prefer (my times also) show your subjects in natural moods and activity, you can see your subjects are comfortable and undisturbed; Their individual behavior and look are as real as real gets. The photo taken mid-day shows a different mood and an uncomfortable subject, a nice visual example of what you have said.
My humble tips for beginners would be simple ones.
First: Photography is practice and there is no substitute for it, so..
Second: Do it for yourself and not for likes on social media; it takes some time to find your own personal style so don’t be discouraged, keep trying
Third: Make Photography Life one of the first places you come for advice. The articles here are honest and consistent with little to no commercial stumping, just plentiful good actual advice. Just what a beginner needs..
Thank you for your comments! You made an excellent point that I did not mention: practice/time. Basically even you do everything you can, you can still come back with nothing because an animal was just in slightly the wrong spot causing a weird background. The only remedy for that is time: spending hours waiting.
Your comments on lighting conditions are spot on. I photograph from a recreational kayak and have had the best luck during the hours you mention or on cloudy days.
Nice article, but disappointing statement in the first item.
I guess we all know that at mid day the light is not the most ideal for photography.
However the average photographer often does not has the choice of light, they either are on a group guided tour (like safaris) or see interesting wildlife unexpected. Should they then put the camera in the bag when an eagle or lion strikes because the light is not ideal?
Just disqualifying certain conditions does not help to improve picture quality, you and the team have a lot experience with wildlife photography, a what to do when the light is harsh on camera settings and post processing times with pictures taken in these conditions would be more helpful to the average photographer I guess.
Thanks for the feedback, Henri. I appreciate your perspective. I do agree with you that sometimes shooting in harsh light is unavoidable, such as when interesting wildlife occurs during the middle of the day out in the open. And yes, even in the worst conditions, there are a lot of post-processing things you can do to counteract harshness: softening harsh shadows, reducing contrast, some minor colour grading, etc. In fact, that could be a nice topic for a future article.
But still, I absolutely stand by the statement. Many beginners actually don’t know that midday open sun is a huge problem, and should be avoided if at all possible. And I know there are many who can change the times they go shooting, and the ones that can will improve their image quality by orders of magnitude.
Fantastic advice! I especially loved the shooting at eye level suggestion…and looking for different backgrounds, which I do try and do whenever possible!. Keep these tips coming :)
A very good summary. The photos are impressive.
One bit of advice seems, well, film-y: adjusting exposure compensation on a photo-by-photo basis. This takes a practiced eye for tonality and lots of time to fiddle with the camera. Why not just bracket like hell? Electronic film is free. You can waste as much of it as you want.
As to auto-white struggling with green leaves and grass, perhaps this is because, although it doesn’t look like it, healthy green grass frequently gives a near-perfect 18% gray, and the software is confused by the wide swathes of neutral tone. This is just a guess, mind you.
Thanks for the comment. It’s a fair point about exposure compensation. However, usually it’s not really on a photo-by-photo basis. It’s more like, I get to a place and I know the lighting will be a problem. So it’s really fast an automatic for me. Also, as for bracketing, I would not do that simply because there are just so many times where I just have one chance to fire a shot or a burst that I would not want it to be on the bracket that could be overexposed. Plus then you have to go through additional shots…