One of the most misunderstood parts about landscape photography is the correct way to fit your entire scene within a photo’s depth of field. Where do you focus? What aperture should you use? You might think that these questions are easy to answer with a hyperfocal distance chart, where you provide your focal length and aperture, and the chart tells you exactly where to focus. There’s only one hiccup — if you want the sharpest possible results, these charts are spectacularly wrong. For most landscape and architectural photographers, that’s a big deal. This article explains everything about hyperfocal distance charts: what they are, why they fail, and where to focus instead.
Table of Contents
1) What Is Hyperfocal Distance?
The technical definition of hyperfocal distance is quite simple: It’s the closest point to your camera that you can focus, while still ending up with an acceptably sharp region at infinity (i.e., your background in most photos).
Why did I put “acceptably sharp” in bold? Because it’s way too ambiguous. I’ll go more into that later, but this is the main reason why hyperfocal distance charts aren’t workable — and didn’t even work in the past, regardless of photographers’ changing standards for sharpness over time.
2) What Are Hyperfocal Distance Charts?
Typical hyperfocal distance charts look like this, although there are different ones for every sensor size:

Essentially, you input your aperture and focal length, and they output the closest point you can focus and still capture an acceptably sharp background. It’s not just charts, either; you’ll also find hyperfocal distance calculators and apps that give you the exact same values, but with some more flexibility on the inputs they allow.
But, since they aren’t accurate anyway, you don’t need to worry about any of this.
3) Why Are Hyperfocal Distance Charts Inaccurate?
Hyperfocal distance charts are wrong because their definition of “acceptably sharp” is sloppy and inflexible.
When the first hyperfocal distance charts were designed, someone decided that an acceptably sharp background contained some blur — enough to notice in a medium-sized print — but, all things considered, not a massive amount. After that point, nearly every other hyperfocal chart followed suit.
To be more specific, most hyperfocal distance charts are calculated to give you exactly 0.03 millimeters of background blur. (That’s the physical size of the blur projected onto your camera sensor.) If you’ve ever heard the term circle of confusion, this is all it’s talking about: the size that an out-of-focus pinpoint of light appears on your camera sensor itself.
So, what’s wrong with this definition? Perhaps your first thought is that this particular value, a 0.03-millimeter circle of confusion, happens to be too large for today’s world of high-resolution cameras, large prints, and 4K monitors. If we simply created hyperfocal distance charts with a more demanding value — maybe 0.015 millimeters, or 0.01 millimeters of blur — we’d be fine. Right?
Nope. Not at all.
That’s because the biggest issue with hyperfocal distance charts isn’t that their circle of confusion is too large. Yes, that is a problem, but there’s an even more important one: These charts recommend the exact same focusing distance for a given aperture and focal length, and it doesn’t change, no matter the landscape.
Say that you’re shooting with a 24mm lens, and you want to use an aperture of f/8 (since it’s the sharpest one on your lens). Logically, your focusing point should change depending upon the scene in front of you — whether there’s a foreground element nearby, or whether you’re at an overlook with everything in the distance. But, according to a hyperfocal distance chart, all you need to do here is focus eight feet away from the camera, and you’re set.
That is very, very inaccurate. Instead, the best method is to change your point of focus depending upon the scene. So, if every element of your image is in the distance, focus at the horizon. Or, if there’s a foreground element nearby, focus closer than eight feet (and use a smaller aperture while you’re at it).
If every one of your photos has an “acceptably sharp” background, that’s all it will have. It won’t have the best possible sharpness. It won’t keep your foreground as sharp as possible. All that it guarantees — and all that a hyperfocal distance chart tells you — is that your background will have exactly 0.03 millimeters of blur for every single photo.
So, drat. It seems like hyperfocal distance is a useless topic that won’t help you take sharper photos at all. Right?
Not necessarily. On one hand, it is true that hyperfocal distance charts aren’t useful; that should be fairly obvious by now. But that doesn’t mean hyperfocal distance in general is a bad concept. In fact, there is still a fantastic way to find the right focusing distance in landscape photography. It is also, I might add, quite a bit easier than pulling out a chart each time you take a photo.
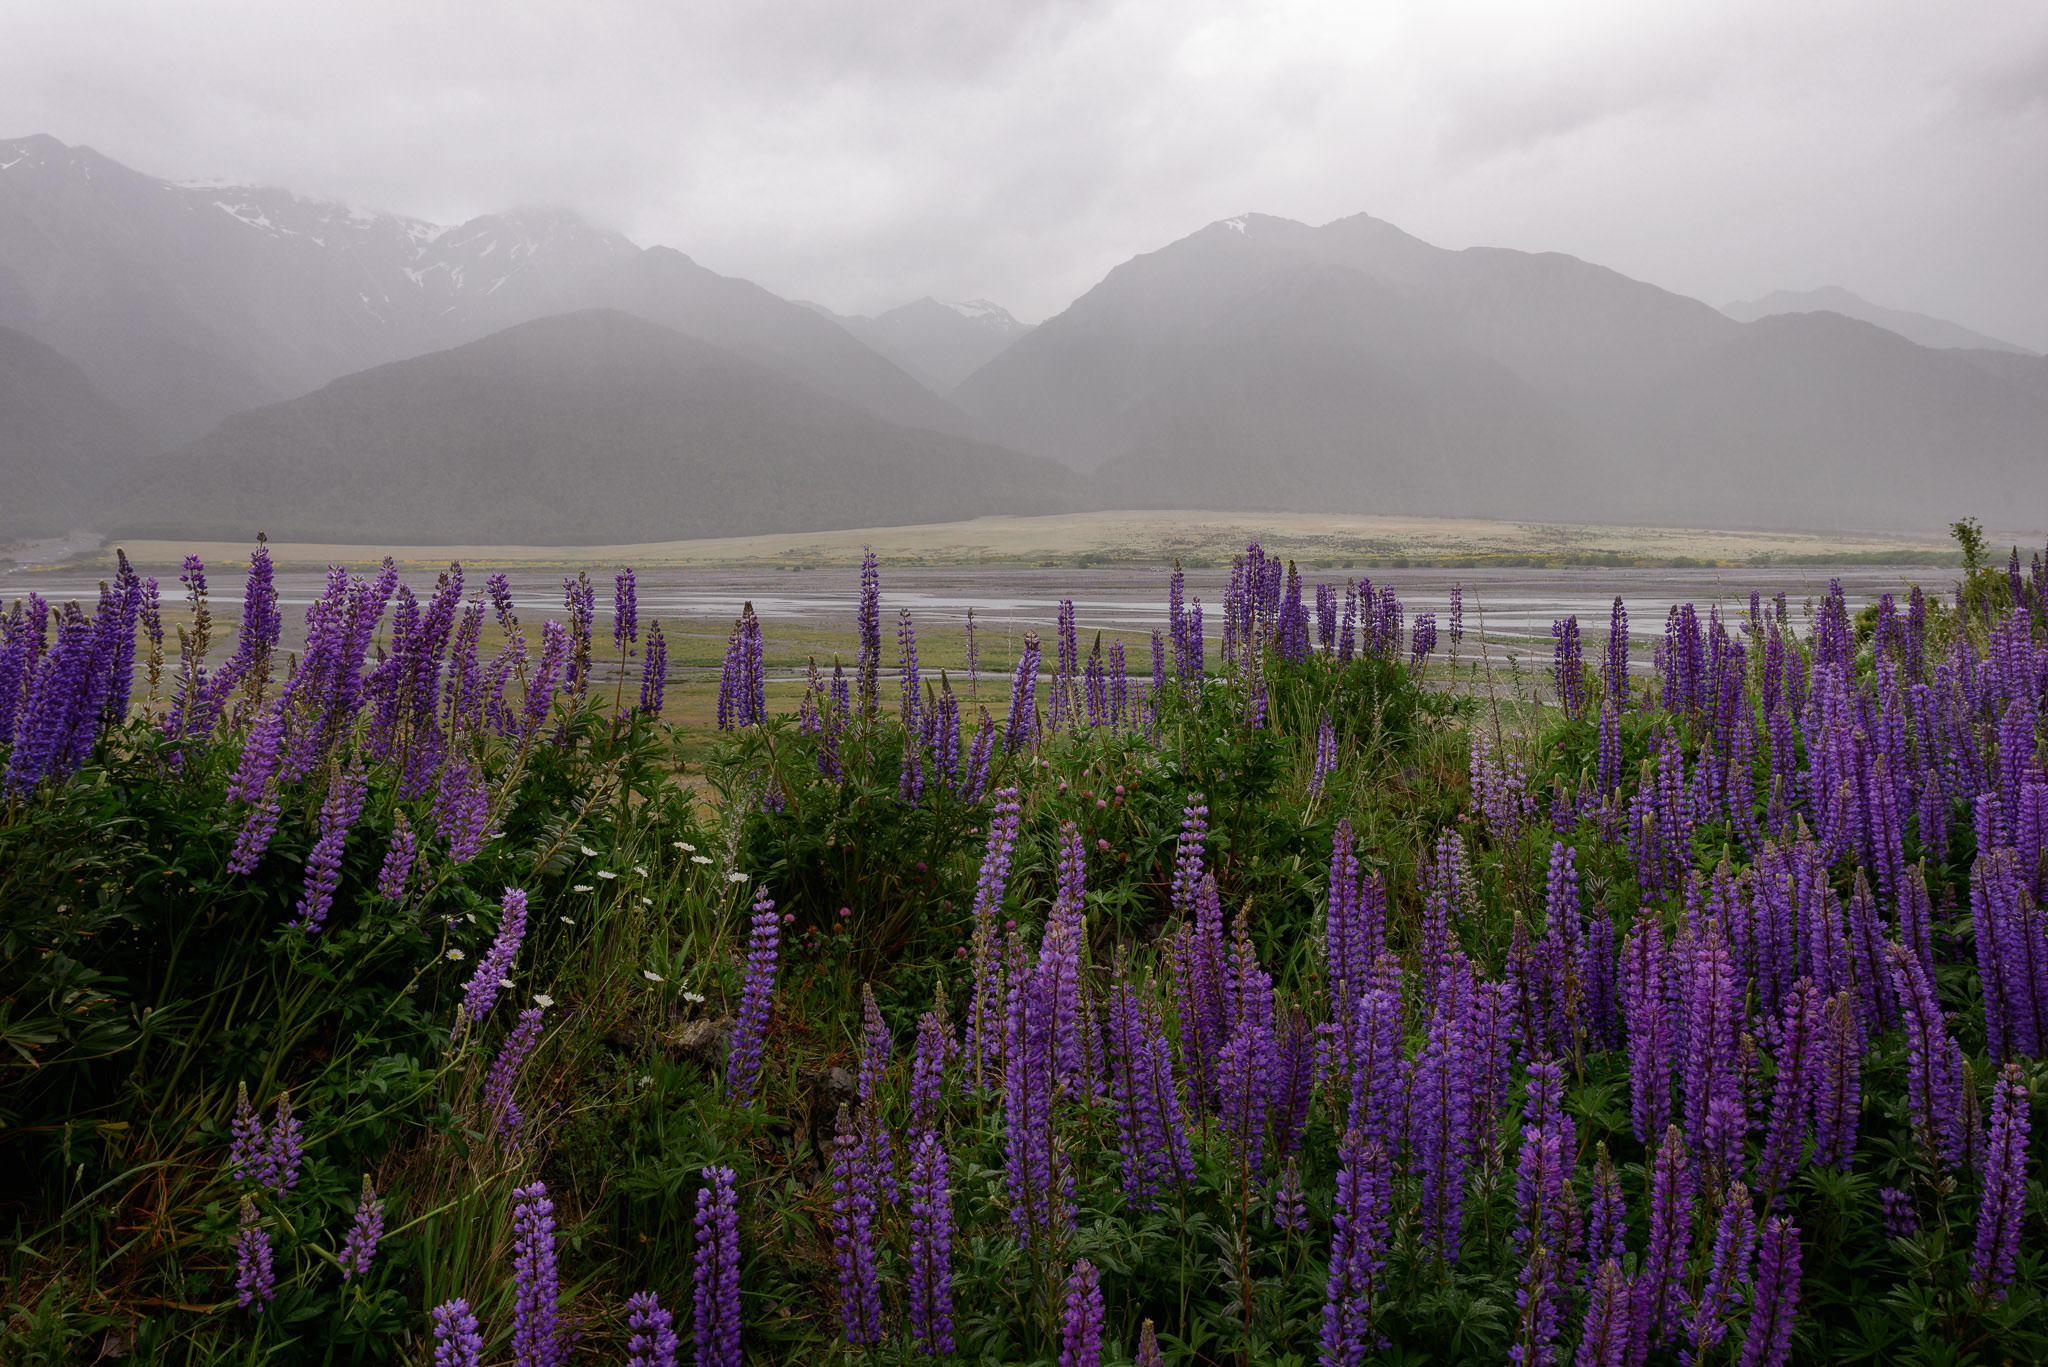
Hyperfocal distance is still useful in situations like this, since I have to find the perfect place to focus in order to capture these flowers and mountains sharp simultaneously.
4) The Optimal Focusing Method
Before going into the proper way to find your focusing distance, let’s examine the definition of hyperfocal distance one more time:
It’s the closest point to your camera that you can focus, while still ending up with an acceptably sharp background.
The holdup so far is that “acceptably sharp” has nothing to do with the scene you’re photographing. Is there a way to change that?
Indeed there is. Instead of defining it as an arbitrary, inflexible circle of confusion — no matter how large or small — I propose that an acceptably sharp background is one that is equally as sharp as the foreground. In other words, the background circle of confusion should be exactly the same as the foreground circle of confusion.
That, and that alone, will give you the sharpest possible results across the entire frame. You no longer have to worry about your foreground being vastly less sharp than the background; just focus closer until the two are equally sharp. And, if your “foreground” (the closest element in your photo) is a distant mountain, all you need to do is focus at infinity, and you’ll achieve a blur much smaller than 0.03 millimeters.
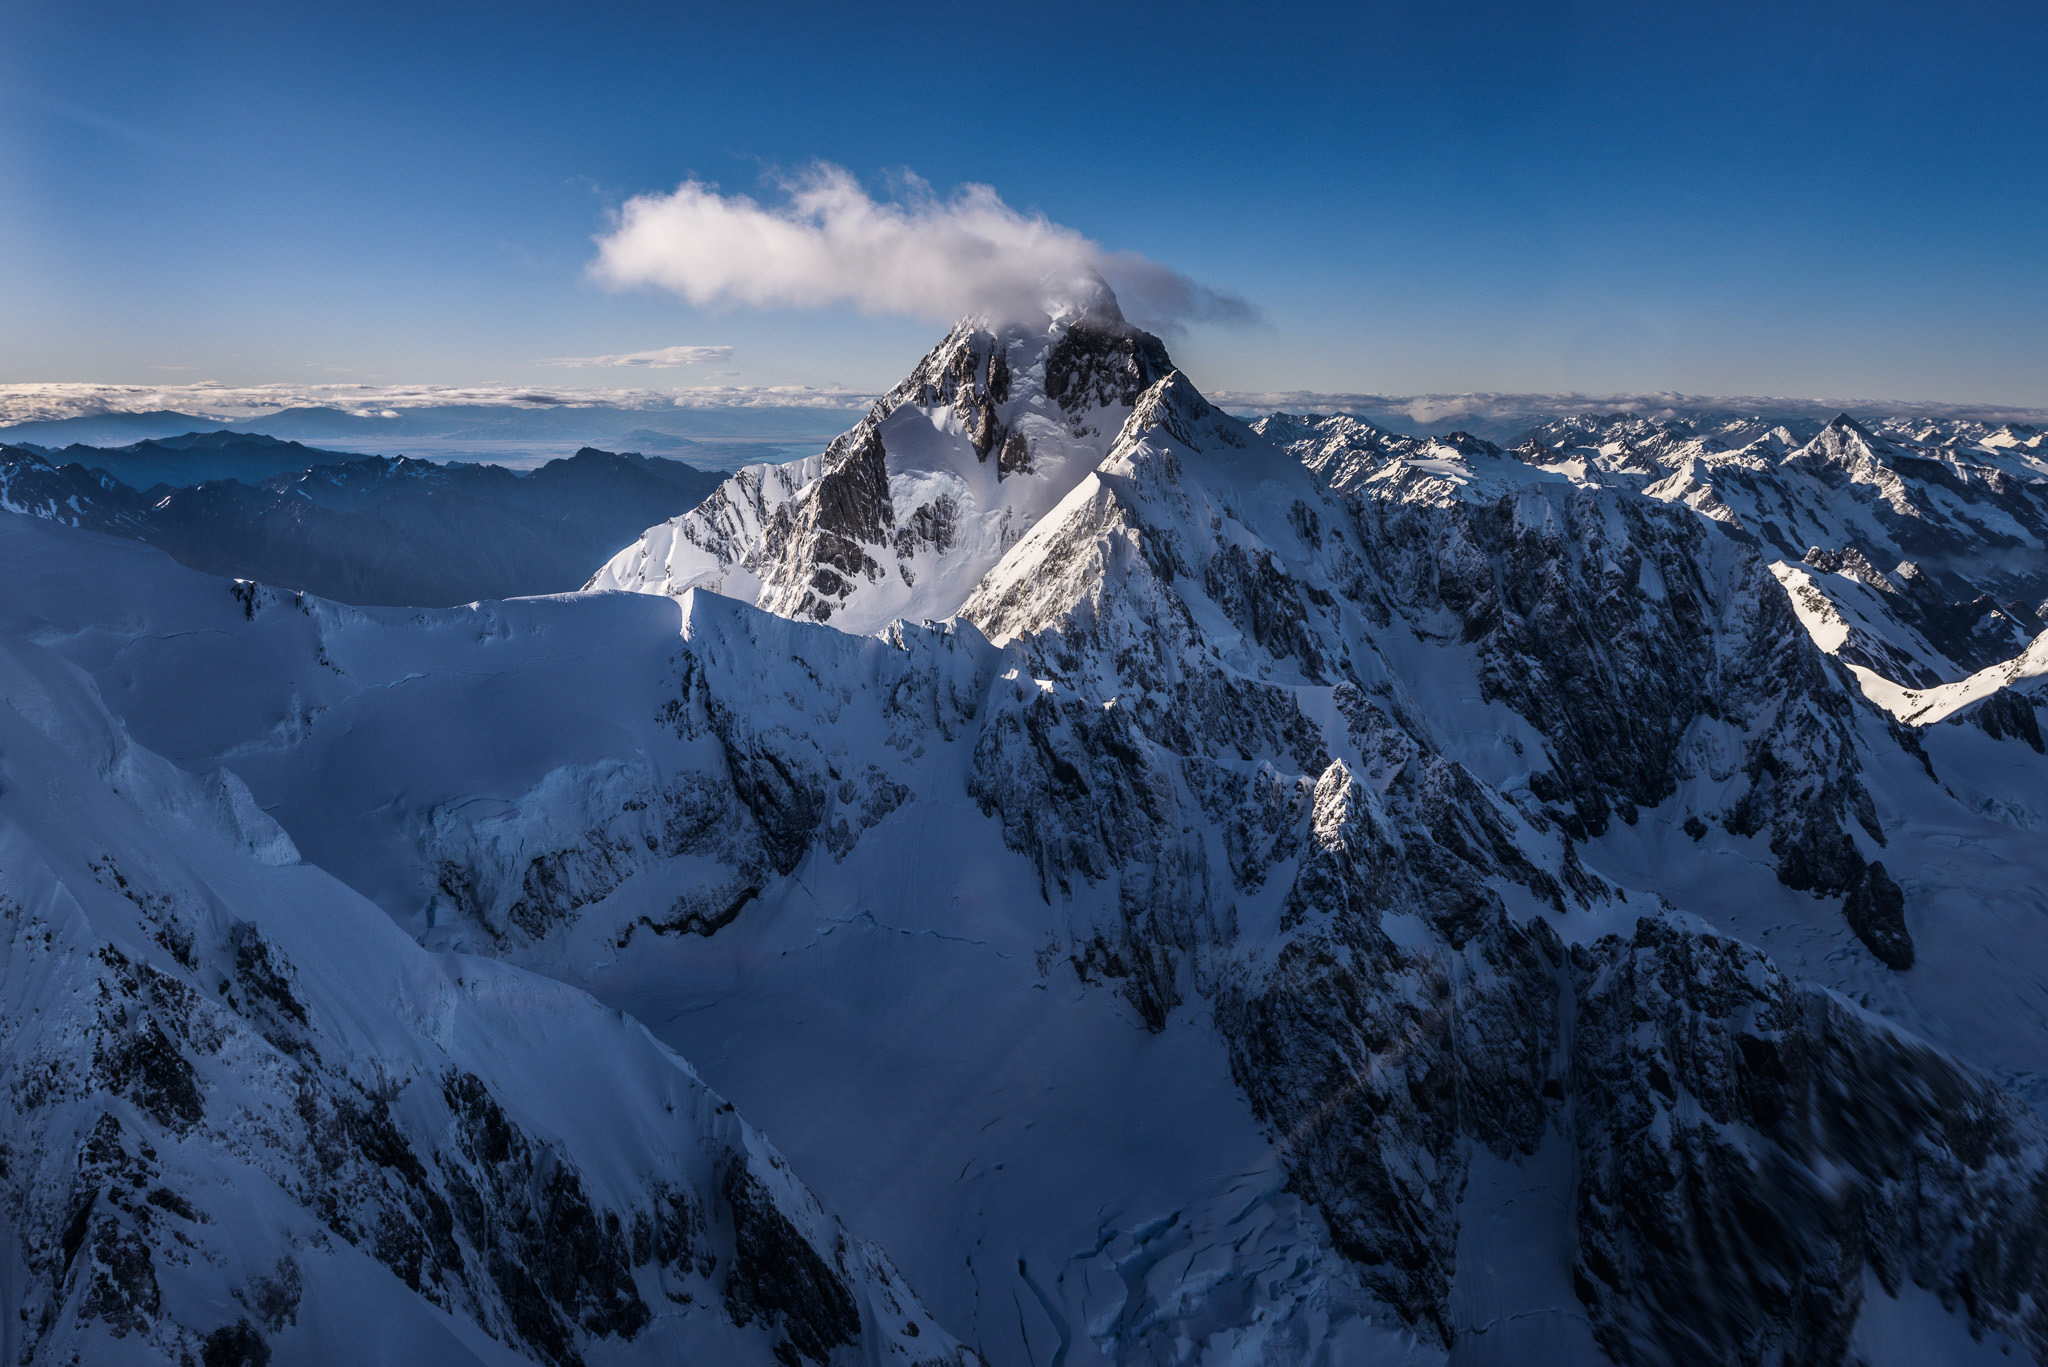
The closest element in this photo is quite far away from my camera. Functionally, it’s at infinity. So, why would I focus 8 feet away (which is what the hyperfocal distance chart recommends for a 24mm photo at f/8) rather than just focusing at infinity? Something isn’t right.
I can see some arguments from people who prefer, in a particular landscape, that either their foreground or background is significantly sharper than the other. That’s fair — but this technique is about maximizing your sharpness from front to back. If that’s your goal, as is the case for most landscape photographers, you’ll want the two to have matching levels of sharpness.
There is only one question left: How do you actually find the point that results in equal foreground and background blur? Is it all just guesswork?
Actually, the optimal method is remarkably simple: Find the closest element in your photo. Estimate how far away it is. Double that distance, and focus there. (That’s the real hyperfocal distance, as defined by equal foreground and background sharpness.)
If the closest element in your photo is one meter away, the hyperfocal distance is two meters away. If the closest element in your photo is ten feet away, the hyperfocal distance is twenty feet away.
This is called the double-the-distance method, and it’s something that should be stuck in the head of almost every landscape photographer. Focus twice as far as your closest object. Done.
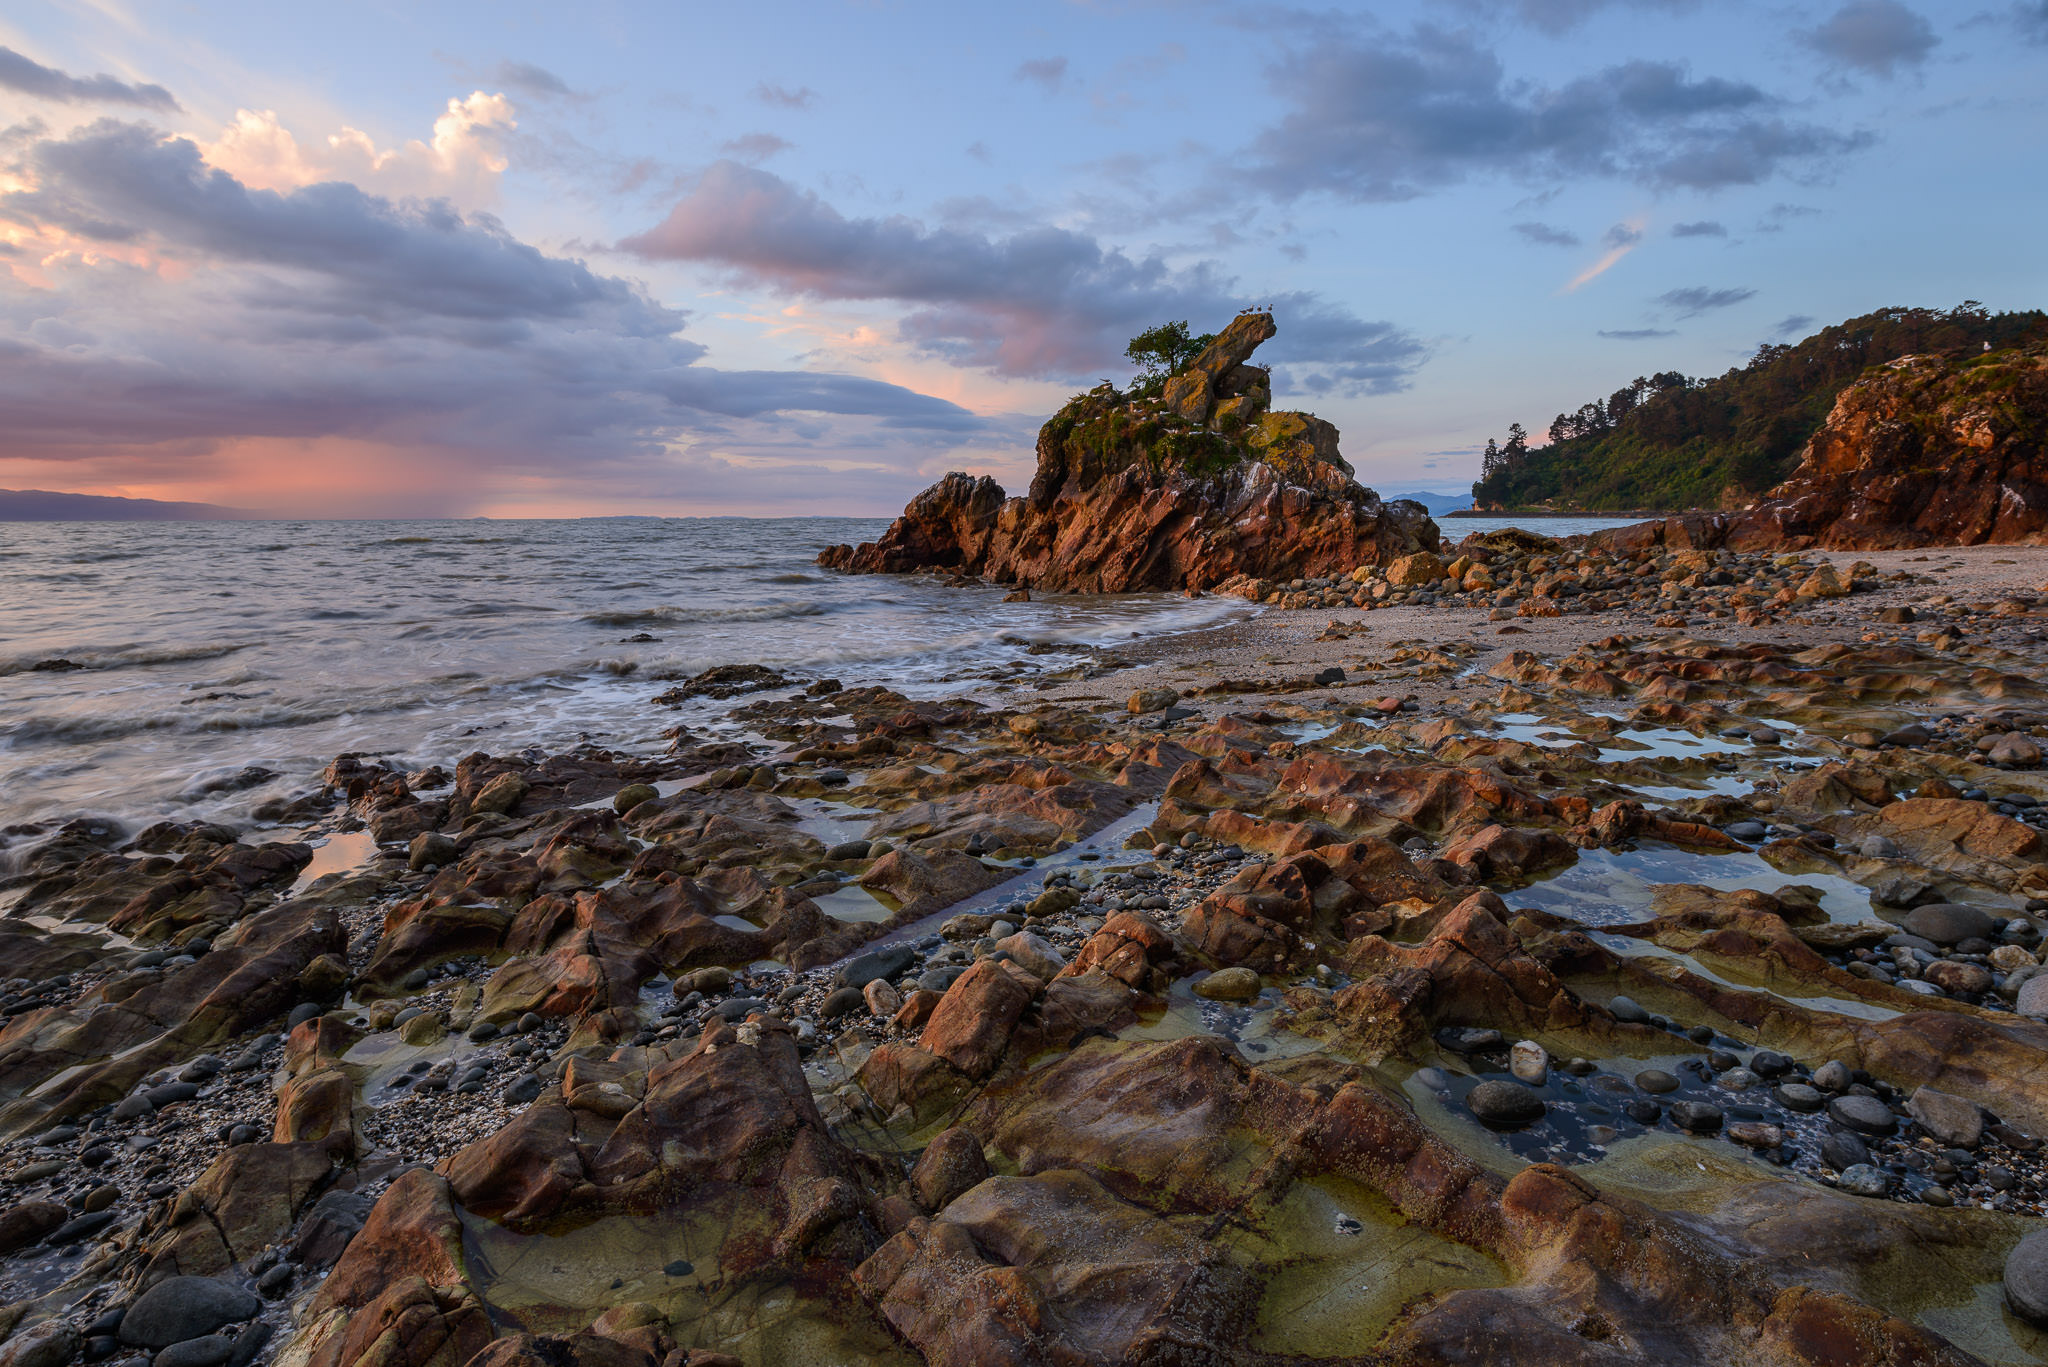
In this image, the nearest rocks are roughly four feet away from the plane of my camera sensor. So, to capture the sharpest possible result in both the foreground and background, I just doubled the distance and focused at eight feet.
If you’re worried about estimating distances perfectly, don’t be too concerned. First, this is no different from what you’d do with a normal hyperfocal distance chart — trying to focus at exactly fifteen feet, for example — so it isn’t anything new. And, on top of that, you don’t have to be totally accurate. If you focus at 2.8 meters rather than 3 meters, your photo will still be vastly sharper than if you followed a “proper” hyperfocal distance chart in the first place.
Another great thing about the double-the-distance method is that it doesn’t depend upon your focal length or aperture at all. The proper spot to focus in every single landscape, no matter your settings, is double the distance (again, assuming that you want maximum foreground-background sharpness).
Maybe you’re getting ready to jump into the comments and disagree, saying that for something like Milky Way photography, it’s better to focus on the stars. And I agree! But note that in such a situation, you are not prioritizing foreground-to-background sharpness. You’re prioritizing background sharpness alone, which is fair, because the stars in the background are the most important part of the scene. This recommendation only applies if you want the background and foreground to be as sharp as possible.
Also, the aperture you use is still quite important, of course. If your landscape extends from three feet to infinity, and you’re focused at six feet, you wouldn’t want to use an aperture of f/2. But even if you do use an aperture of f/2, you’ll still maximize the foreground and background sharpness in the scene; it’s just better to use a more typical landscape aperture of f/11 or so instead.
Actually, that’s another important point. Now that you’ve found the best possible spot to focus, what aperture should you use for the sharpest photo? A smaller aperture will provide as much depth of field as possible, but it also decreases your photo’s sharpness due to diffraction.
That’s also a crucial technique to learn — and, once again, there is an optimal answer — but it is too long to describe in this article. I’ve already covered everything in detail in my article on choosing the sharpest aperture. That’s a great place to start.
So, is that it? You simply focus at double the distance for every photo, and you’re set?
Yes indeed. For landscape photography, this method is a fantastic tool to have in your kit. It’s how I focus for every single landscape I encounter, given that I want the maximum possible depth of field. Don’t worry yourself with hyperfocal distance charts, because their definition of “acceptably sharp” isn’t up to par. Instead, focus twice as far as your closest subject, and you’ll be set.
5) Are Lens Aperture Scales Also Inaccurate?
Some lenses (though fewer nowadays) have built-in scales to tell you how much depth of field you’ll get at a given aperture. They look something like this:
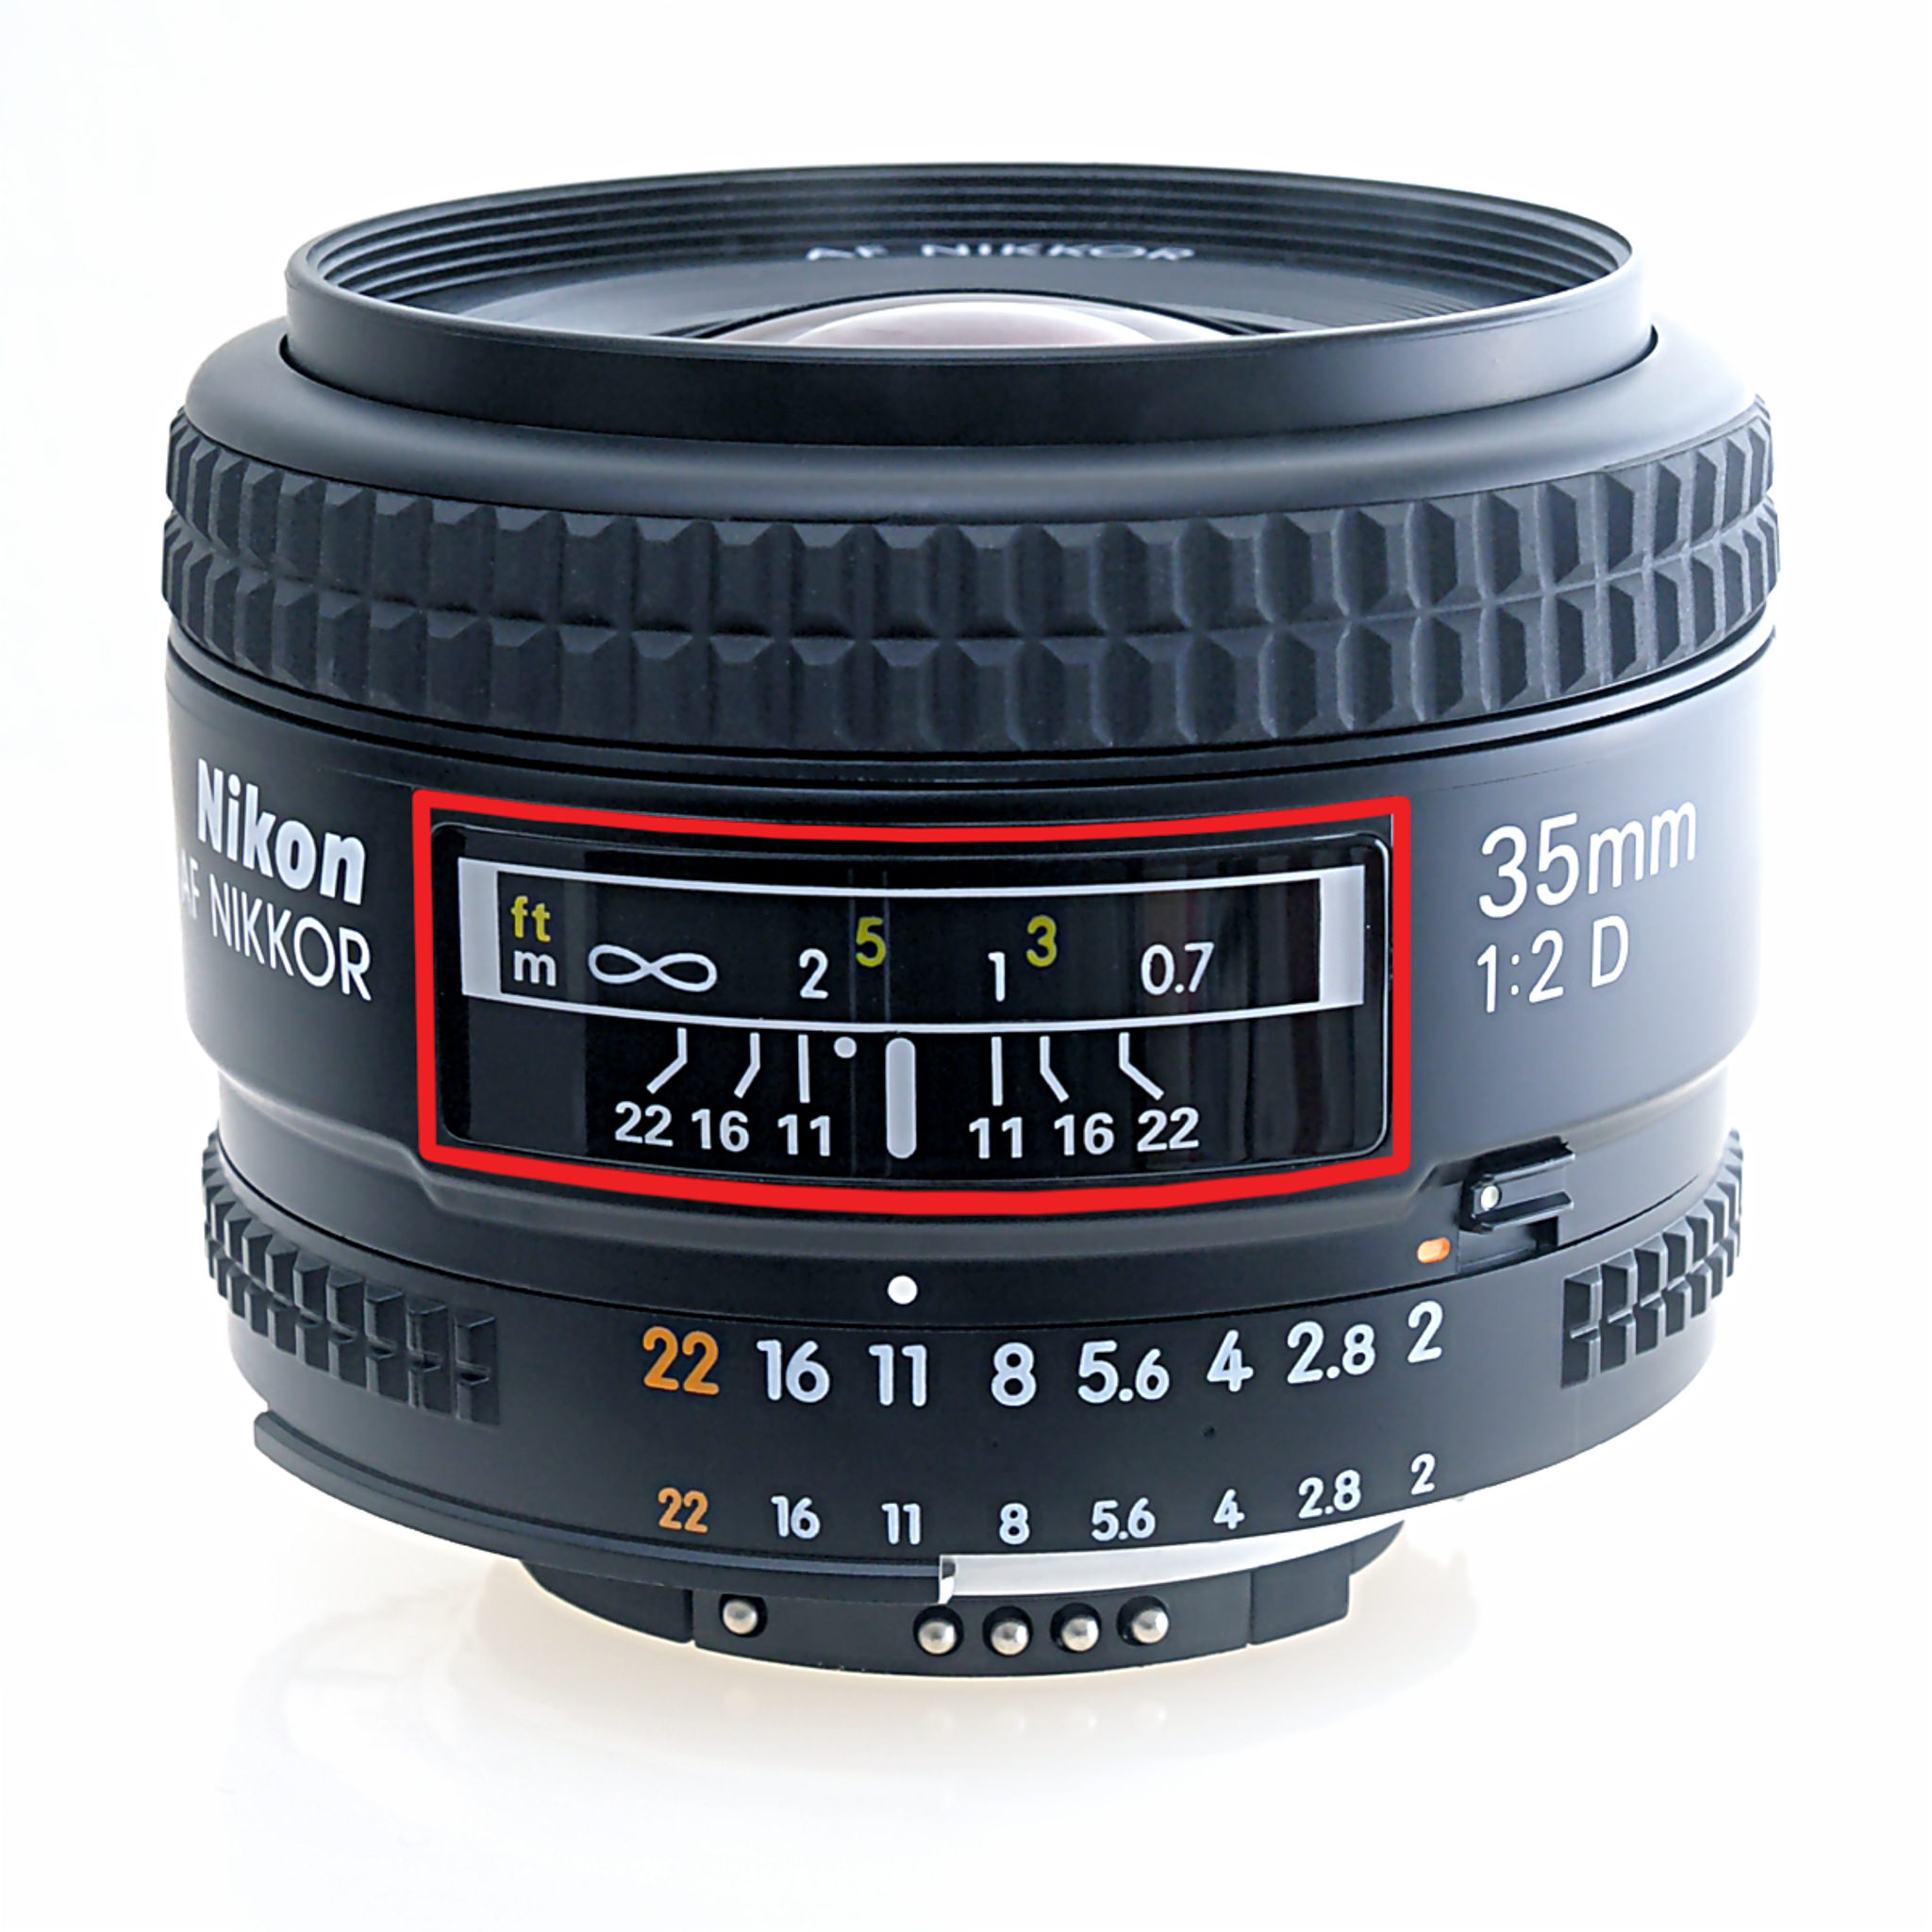
People frequently ask me whether it’s possible to use these depth of field scales to focus properly and use the optimal aperture. Or, like hyperfocal distance charts, are these scales also wrong?
In practice, there are a couple reasons why you’d want to avoid using these lens scales as a guide for the best possible place to focus. First, you have to ensure that the distance markers on your particular lens are accurate in the first place. Not all of them will be calibrated perfectly, and it’s very possible that your lens will misidentify how far away it’s focused. For example, it may say that it’s focused at five feet, but it’s actually focused at seven or eight feet instead.
More than that, though, these focusing scales are also calibrated with a 0.03 millimeter circle of confusion in mind. This means that their depth of field markers are — to say the least — quite generous. I mentioned earlier that 0.03 millimeters of blur is fairly noticeable on medium-sized prints, and that’s still true. If you follow the indicators on lenses like this, your horizon and foreground will each have 0.03 millimeters of blur. That’s not a massive or unforgivable amount, but, very often, you can do better.
So, as a whole, I wouldn’t use these scales to focus properly in a landscape. They’re not quite as bad as hyperfocal distance charts, but the optimal method is, like always, double-the-distance.

Here, the closest objects in my frame are some grasses at the bottom of the image. They were only about a foot away from the plane of my camera sensor. So, I focused two feet away and used a very small aperture of f/16.
6) Conclusion
Hyperfocal distance charts are wrong for two reasons. First, their definition of an “acceptably sharp” background has a 0.03-millimeter circle of confusion, which isn’t particularly sharp. And, even worse, these charts don’t change at all depending upon the landscape in front of you. So, they simply aren’t flexible.
Instead, it’s best to define an “acceptably sharp background” as being “equally sharp as the foreground.” That maximizes definition across the entire frame, from top to bottom, and it lets you do away with the issues of traditional hyperfocal distance charts.
Best of all, finding this point — the correct hyperfocal distance — is simple. You have to locate the closest object in your frame, estimate its distance from your camera sensor’s plane, and then double that distance.
For landscape photographers, this information is essential. If you’ve ever been at a scene with a great foreground and background, but you’ve been unable to capture both as sharp as possible at once, this is the proper hyperfocal distance. Forget charts and calculators; forget depth of field scales on your lenses. By focusing at double the distance, you can maximize the sharpness of a scene without compromise, and it is far easier to put into practice, too.
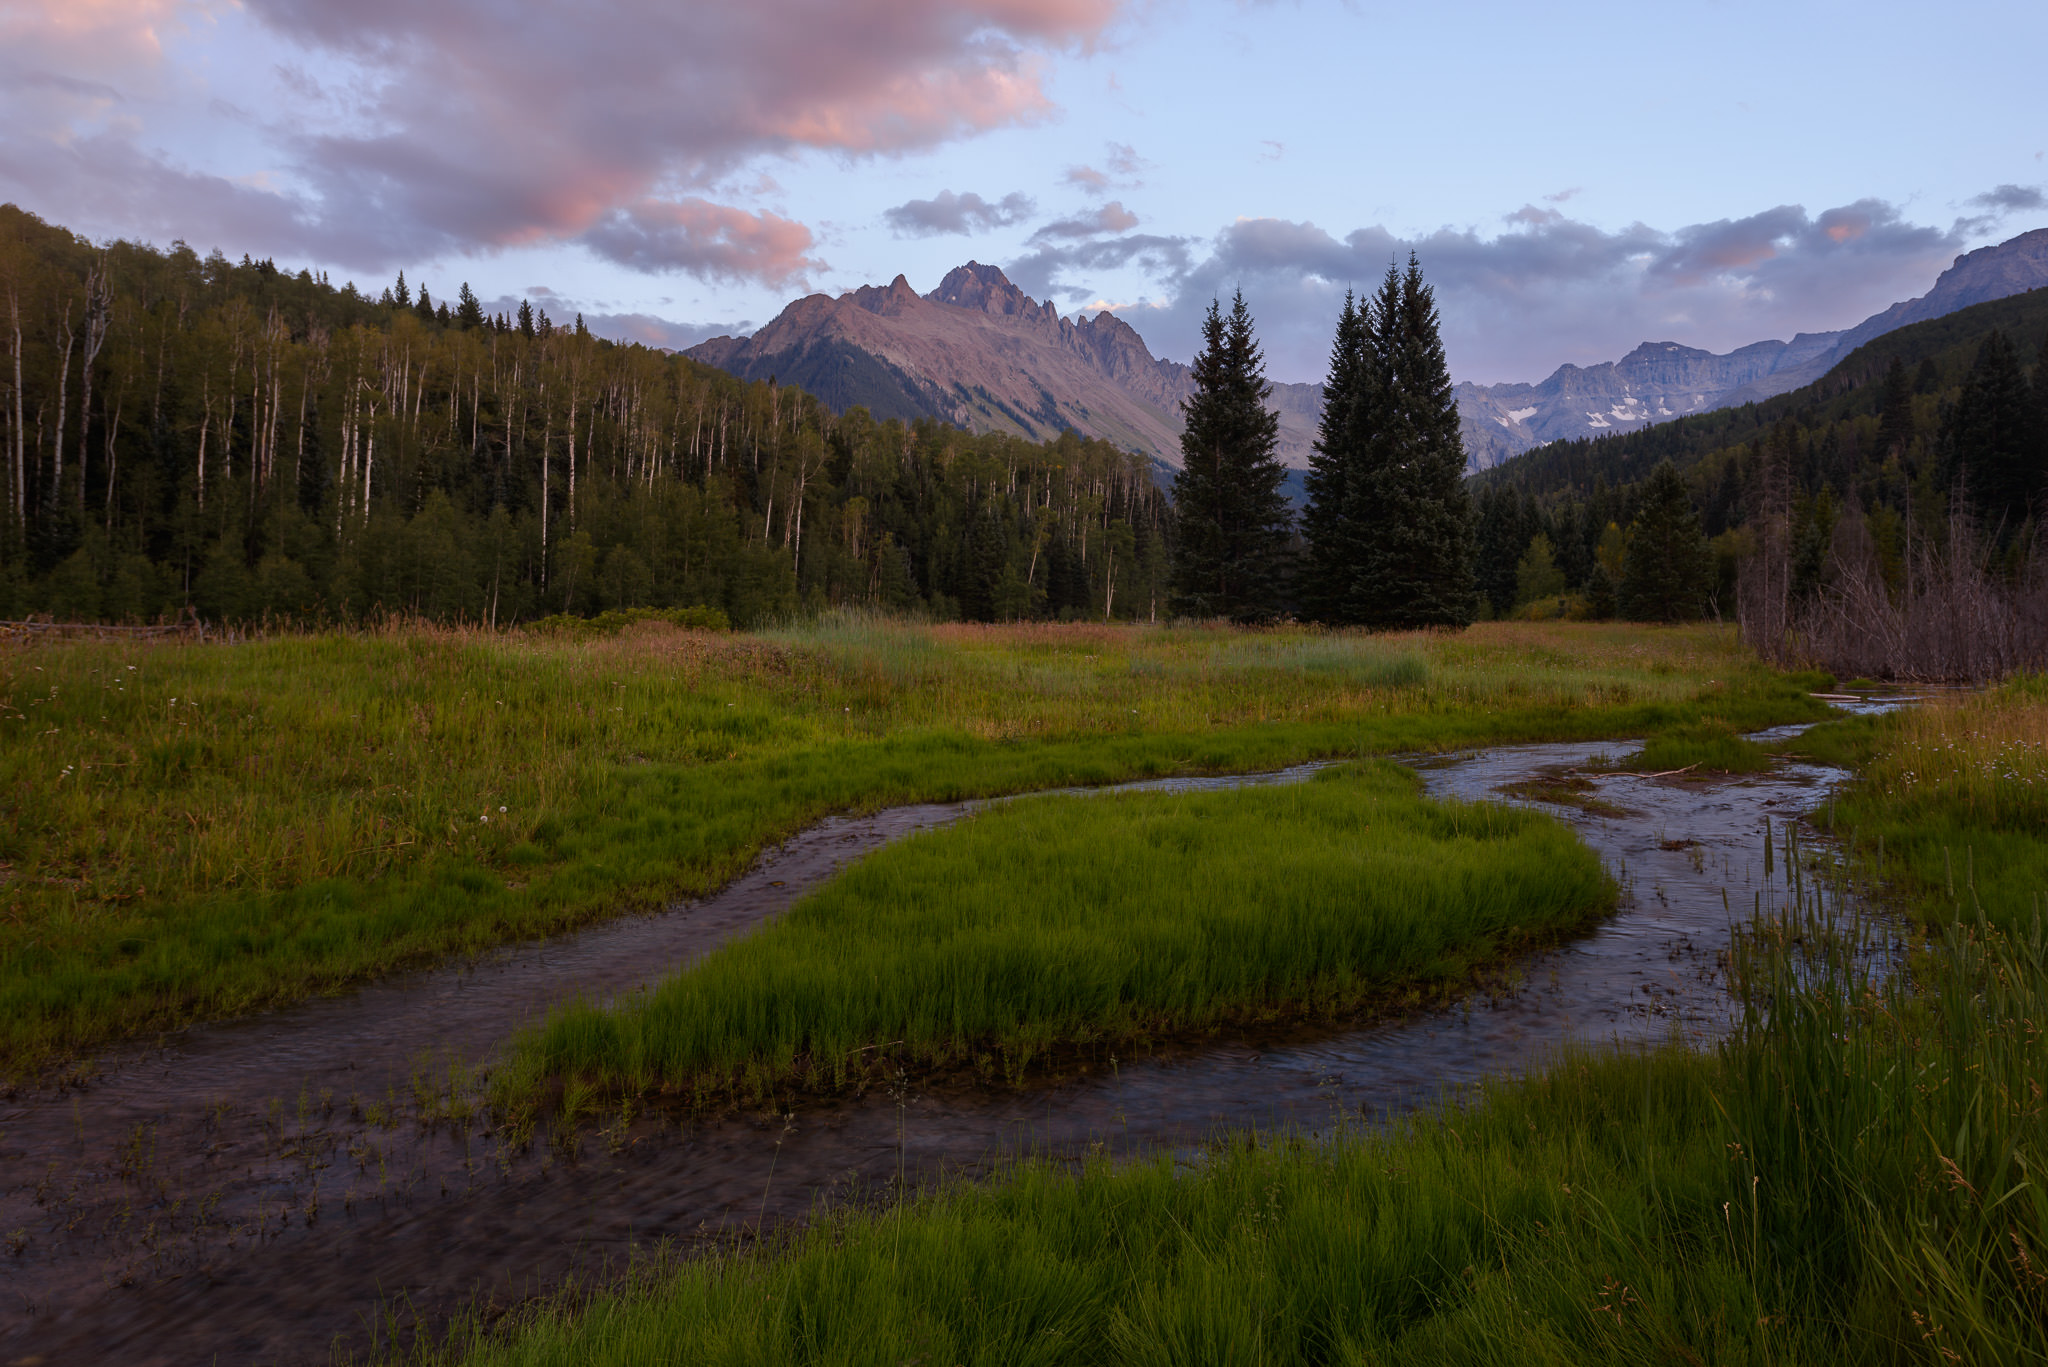
Here, the nearest object in my photo is the grass at the bottom of the image. It’s about five feet away. So, I focused ten feet away, which lines up roughly with the front of the island in the middle of this stream.
If you have questions about hyperfocal distance charts, depth of field, doubling the distance, or anything else I covered, feel free to ask about it below. This is a higher-level topic, but it’s an important one that every landscape photographer should know. There’s certainly enough misinformation floating around online about hyperfocal distance, so I’ll do my best to address any concerns in the comments section.
Just curious how you focus on double distance. were you using AF or MF? for example, in your photo, the closest element is the rock, so when you were using AF, you just found another rock in the double distance back of the closest rock to activate an AF, it is set. is it like this?
Yes! You can use autofocus or manual focus, doesn’t matter. They both get you to the same focusing distance. Autofocus is usually going to be faster though.
I’ve downloaded an app called simply, “Depth of Field”
(play.google.com/store…#038;hl=en)
to help me determine hyperfocal distances relative to my subject. You can actually change the CoC value in this app. As stated in your article, it was indeed set at a default of .03mm – but I changed it to .01 and the resulting data for a scenario changed accordingly. Problem solved, right? My app isn’t garbage anymore?
Most hyperfocal charts would be more accurately called Circle of Confusion charts because that’s all they consider. Many of them, including your app, allow you to change the CoC to different values. It’s still not a particularly useful tool, partly because it doesn’t take the effects of diffraction (Airy disks) into account. And partly because it doesn’t show you how to achieve the minimum possible CoC / Airy disk combination, or in other words, the sharpest possible aperture and focusing distance.
The small number of hyperfocal charts that do take Airy disks into account are perfectly fine and accurate, although that app isn’t one of them.
Even if you’re skeptical of what I’m saying, I bet you won’t see a way within your app to find the sharpest possible focusing distance and aperture for a given photo. How do you actually know that you’ve attained the minimum possible CoC and Airy disk combination (AKA the best balance between depth of field and diffraction)? In fact, such a thing can be calculated, but not through traditional hyperfocal charts. I encourage you to use the double-the-distance focusing method in combination with the information on this page if you want an answer to that question: photographylife.com/how-t…t-aperture
Not skeptical. Just wrestling with new info. What you say makes sense. Thanks for your helpful and, might I add, lightning quick response.
Sure thing! Thanks for approaching it with an open mind, I know that the title of the article feels very dramatic, but I don’t intend it to be clickbait. The vast majority of hyperfocal distance charts really are inaccurate – or rather, all they tell you is information related to CoC, which is only one part of sharpness.
Hi Spencer, great article. I have practiced the double the distance to closest object, but get results which are always sharper in foreground as compared to background. I see in your picture with the rocks that that is the case as well, unless I am getting hung up on the definition of sharpness–to my eye, the mountains in the back of your rocks picture (and the other examples as well) are definitely not as sharp as the rocks in the foreground. So the question is I guess, is it irrational to expect that same level of sharpness in the background (because there might be other factors affecting the background, such as ocean mist, air contamination, etc)…Thanks for your feedback, and great articles!
Yes, I love the Double the Distance method. But I don’t think it’s might be an over-simplification to make the statement “You simply focus at double the distance for every photo, and you’re set.” Why? Because sometimes the focal length being used is well above 24mm (the maximum I see in your images).
So I think it’s important to qualify that statement by also stating that it assumes your focal length is 24mm, or some smaller value. And if it’s above that value, then stopping down with a smaller aperture would be needed.
Without the statement, one might be disappointed to find an image with a higher circle of confusion (blurry) in the background vs. the foreground.
The Double the Distance method applies no matter what focal length you’re at, but longer focal lengths have less depth of field, so you’ll need to use narrower apertures like f/11 or f/16 if you have a nearby foreground. But I want to emphasize that – no matter the focal length – foreground and background sharpness will be the same as one another when using the double the distance method. I use it all the time for 50mm lenses and longer, even though there aren’t any such sample photos in this particular article.
One of most important concepts in photography was not discussed in this article – and one that is very relevant to the authors proposed method of using the Hyperfocal Principle: “Bracket” your shots to cover any discrepancies that will likely occur while (estimating) focus distance. Bracketing should be a normal routine for any photographer, and especially the Landscape photographer, in helping to maintain more “keepers” as we say, after reviewing all the shots captured at the end of the day. Yes, most relevant shooting film, but by all means as important with digitally captured frames.
And stop looking at the review screen after every shot – pay attention to the subject, and start becoming more engaged in the scene in front of the lens instead of the scene reflected back from behind the lens. “Bracketing” will allow you to become confident in the way you shoot and thus help you to maintain focus on Visualization and Composition.
visualizingart.com
Are there settings in the camera itself that will tell you how far out you are focused if you do a test shot or the half press? I know you see the little dots light up to show your focus points, so do you just make sure one of those is on the double the distance point? Is there a way to see where the focus point really is in my pictures (I wear glasses and have a really hard time seeing if my pics are in focus even after I take them and use the LCD screen). I get home and 1/2 my images are blurry :(
Hello Spencer, thank you for this very useful article. The DTD technique is definitely one that I’ll experiment with. I recently acquired a 15 mm IRIX lens that includes a hyperfocal in addition to the standard DOF scale: there are markings that indicate approximate hyperfocal distances for F8, F11, and F16. After reading your article I realize that this approach, though convenient, doesn’t consider the type of scene or landscape in front of the camera. For example, by setting the aperture to, say, F11 the HF distance would be fixed and scene independent. It’ll have to see how results using the DTD method differ from those with the IRIX HF scale. I’d appreciate any specific comments you might have.
Best Regards,
Angelo
Hi Spencer, I just came across your very informative article. I have a question though that it is not exactly related to your article but I can’t get rid of it from my mind since I got familiar with the hyperfocal distance concept and its application.
my question is: if we have a great DOF by choosing a high F numbers (e.g. F16) why do we need knowing hyperfocal distance anyway. I mean if we choose a high F number we already have everything in focus in an infinite DOF why why do we need to calculate hyperfocal distance in the first place to have most focused area?
I appreciate your guidance and other professionals feedback to clear my mind about this issue.
Thx Amir
Sure thing Amir! A couple reasons.
First, choosing a small aperture like f/16 doesn’t grant you infinite depth of field. If you’re using something like a 50mm lens, you’ll only have “good” depth of field in the range from about 4 meters (13 feet) away from you to the horizon. And that’s only if you focus at the optimal distance of 8 meters away. Any other (non-hyperfocal) focusing distance, and your near or far depth of field will suffer disproportionately.
Second, even though f/16 does give you a lot of depth of field, it is not the sharpest aperture to use all the time. You lose a moderate amount of sharpness at small apertures like f/16 due to diffraction blur. I still like f/16 and use it frequently, but a wider aperture like f/8 paired with the double-the-distance (hyperfocal) focusing method will get you sharper images in many cases rather than setting f/16 and focusing on the horizon every time.
Hope this helps!
Just come across this article, and I think it is helpful advice to people who have not fully understood the application of hyperfocal distance, and alternative ways to try to achieve the depth of field they desire.
But I do object to your statement that hyperfocal distances are ‘wrong’! They aren’t ‘wrong’, they give the right answer for what the formula is intended to do – calculate the closest focus that will have an ‘acceptably’ sharp image of an object at infinity. When that is useful, use it. When it isn’t, then don’t!
…but that’s how bloggers get people to click… you take something time-honored and that people worked to learn and tell them it’s all wrong.
If hyperfocal charts do not include the effects of diffraction in their calculations – which they don’t – they are wrong. Even at doing the basic task of telling you what will be acceptably sharp.
“you take something time-honored and that people worked to learn”
QUOTE Appeal to Tradition, Logically Fallacious
Using historical preferences of the people (tradition), either in general or as specific as the historical preferences of a single individual, as evidence that the historical preference is correct. Traditions are often passed from generation to generation with no other explanation besides, “this is the way it has always been done”—which is not a reason, it is an absence of a reason.
Aka: argumentum ad antiquitatem, appeal to common practice, appeal to antiquity, appeal to traditional wisdom, proof from tradition, appeal to past practice, traditional wisdom.
www.logicallyfallacious.com/logic…-Tradition
Hi,
I’m trying to get my head around this technique i first saw it in Dave Morrow’s youtube video some time ago. I’m doing exactly what you wrote about but to me the focus detail is not consistant in the whole image, it’s sharp where i focused but eventually at further distance or maybe towards the sides of the frame it becomes quite a bit softer/blurred. I’m new to these techniques as i’ve only done some casual photography before but now i invested in new gear and want to take my skills to a new level. So far i usually end up photo stacking to get that sharpness across the board but it does feel tedius at times, it would be nice to just snap one photo instead of taking several which there also isn’t always time for…
I got nothing to compare my shots with or no one really ask in person about my “hyperfocal” attempts as you have written about, maybe it just doesn’t compare to photo stacking sharpness and that’s the way it simply is?
Any ideas or enlightenments is welcomed :)
Thanks
Yes, that’s right – using focus stacking is always the “best” way to get the sharpest photo from front to back with minimal diffraction. But it does take added time compared to a single shot, and it doesn’t work well with moving subjects.
The idea behind double-the-distance is that your closest foreground and farthest background will be equally sharp. And the idea behind choosing the resulting aperture that maximizes sharpness (see photographylife.com/how-t…t-aperture) is self explanatory! However, just because this is the optimal way to get the sharpest possible foreground and background simultaneously for a typical lens in a single photo – and, mathematically, it is – that does not mean other techniques such as focus stacking or using a tilt-shift lens cannot produce better results.
I hope this helps!