Whether you’ve just picked up a new camera lens at retail or are considering buying one second-hand, knowing how to test and evaluate a lens can save you time and money. In this guide, I’ll show you how to check a lens for the most common flaws, all without any specialized tools.
It’s important to check any lens you receive, because even when it’s coming brand new from a reputable retailer, there can be anything from sample variation to damage from shipping. Things get even trickier when buying used – just like a used car, you rarely know exactly how the previous owner treated it.
The major potential issues include decentering, physical damage to the lens elements, sticky aperture blades, excessive dust between the elements, and issues with the zoom or focus mechanisms. All of these are pretty easy to check, and in today’s guide, I’ll show you how to find any issues early and easily.

Table of Contents
Decentering
The elements within the lens need to be centered to yield the best image quality. Decentered elements can cause a variety of image quality issues – most commonly, one portion of the picture appearing softer than the rest. There is no good workaround or fix for decentering, and even sending the lens off for repair is hit-or-miss. It’s best to test for decentering as soon as you get the lens, and return it if it’s a bad copy.
To be clear, all lenses are going to have slight variations from copy to copy, and this is nothing to worry about. Complex lenses, especially zooms, almost always have some minor decentering and sample variation issues. The important thing is to get a lens that performs within your needs.
The test for decentering is simple, and shown below. Just remember to follow all of the elements of good capture technique. Shoot from a tripod, use electronic shutter (or EFCS), and use a shutter delay mode. You can also check out Spencer’s detailed guide here for more info.
- Find a viewpoint with a distant, detailed subject on a clear day.
- Put that subject at the center of your frame, set your aperture to the widest value, and focus via live view / AF-S.
- Either set your exposure manually or make use of the exposure lock function to maintain the same exposure between shots.
- Without refocusing, change your composition so that the subject is in the top left corner of your frame. Take your first picture.
- Recompose again to move the subject to the top right, capture a second photo. Continue to move the subject to each corner at the bottom, shooting two additional photos.
- Open each image on your computer, and crop or zoom to isolate the subject in the respective corners. While you can do this in a pinch with camera playback, the larger, sharper computer monitor is a better choice.
- Compare the four shots. The problem is if one or two photos are significantly worse than the others. If all four are about the same, your lens is performing similarly across the frame. If you notice a bad corner, repeat with a different subject to confirm the result.
As a reminder, you’re not really looking for overall lens sharpness in this test. Plenty of lenses have weak corner sharpness (or weak sharpness in general) which is unrelated to decentering. This test simply measures decentering.


Sticky Aperture Blades
A lens’s aperture blades need to move consistently and accurately into position within your lens. Sticky or damaged blades won’t form the correct shape, or won’t move in sync with your camera’s other functions. This can be particularly noticeable at high frame rates on modern cameras, where high-speed bursts of 15 FPS or more can put a huge demand on the aperture mechanism.
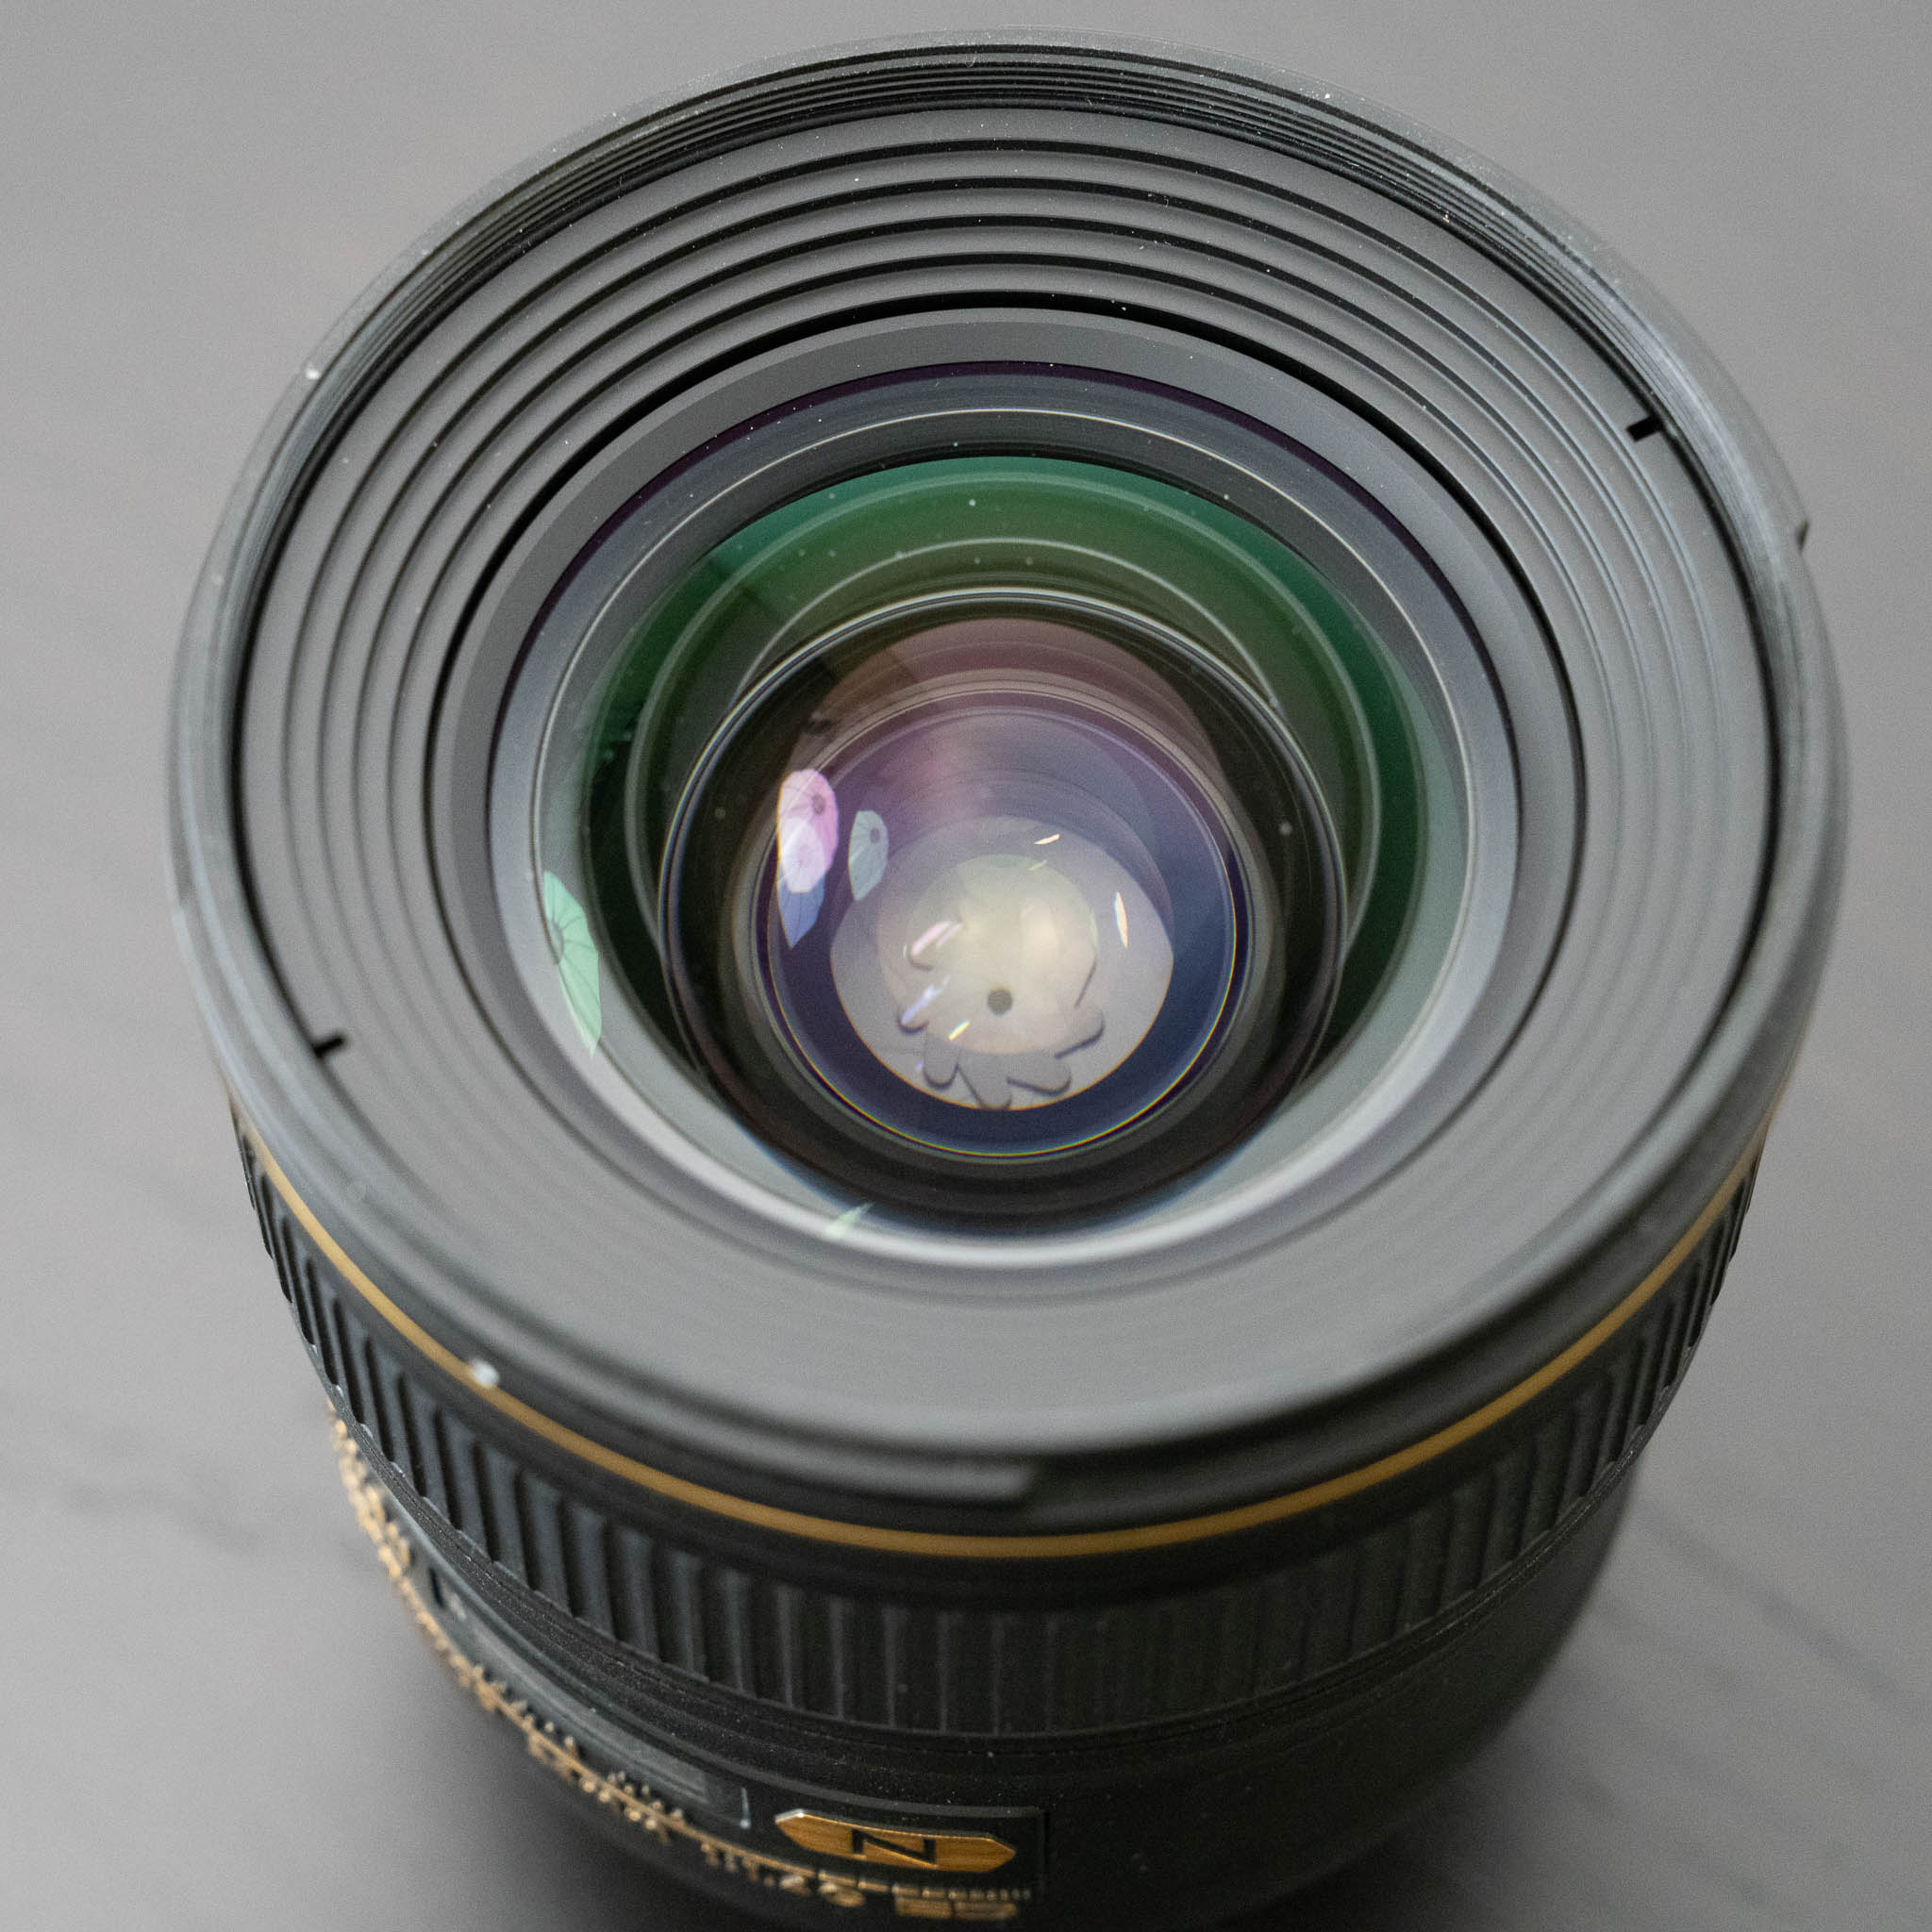
To check aperture performance, you’ll need to cycle from the maximum to minimum aperture on the lens. For lenses with a manual aperture ring, it’s easy – just rotate the aperture ring, while looking at the lens. The blades should move smoothly between positions, and the aperture shape should appear consistent. The shape may not be round, depending on the lens, but you shouldn’t notice a blade sticking out.
On other lenses, like Nikon’s G series, there’s no aperture ring. Instead, I’d suggest mounting the lens to the camera and switching to video mode. Unlike in photo mode, where the camera may not stop down until the shutter is triggered, video mode should force the aperture to the specific value you’ve chosen. Follow the same procedure as the manual check, cycling through the range and watching for any blades that are unusual.
Once you’ve checked that the aperture operates correctly across the range, I’d suggest checking it at high frame rates too. For this check, choose a stopped-down value like f/16, set your camera to manual exposure mode, and aim at a subject with consistent lighting. Avoid subjects lit with LED or fluorescent sources, as these can cause issues with flicker or brightness. A daylit scene is much better.
Set your camera to the highest framerate it can achieve, and shoot a burst of images. This burst should have a very consistent level of brightness between frames. Overly bright or dark frames represent improper aperture operation.
While this issue can appear on any lens, it’s particularly prevalent on older lenses, where the mechanism has worn out and the lubrication on the blades has gone bad.
Damage and Dust On Lens Elements
While the risks posed by minor scratches and dust are often overstated, it’s still important to check for both factors on your new lenses. As Nasim shows in his article on the effect of dust on lens bokeh, dust or scratches in the wrong place can impact image quality. Fortunately, in Nasim’s case, the dust speck was on the exposed surface of the rear element, and therefore easy enough to clean. If this dust was on the interior, however, things can get a lot trickier.
To check for dust, fungus, and scratches, I’d suggest making use of a good point light source. While you can use your phone’s LED light, I’m a fan of a dedicated inspection light, like the one I listed in my guide to my favorite photography accessories.
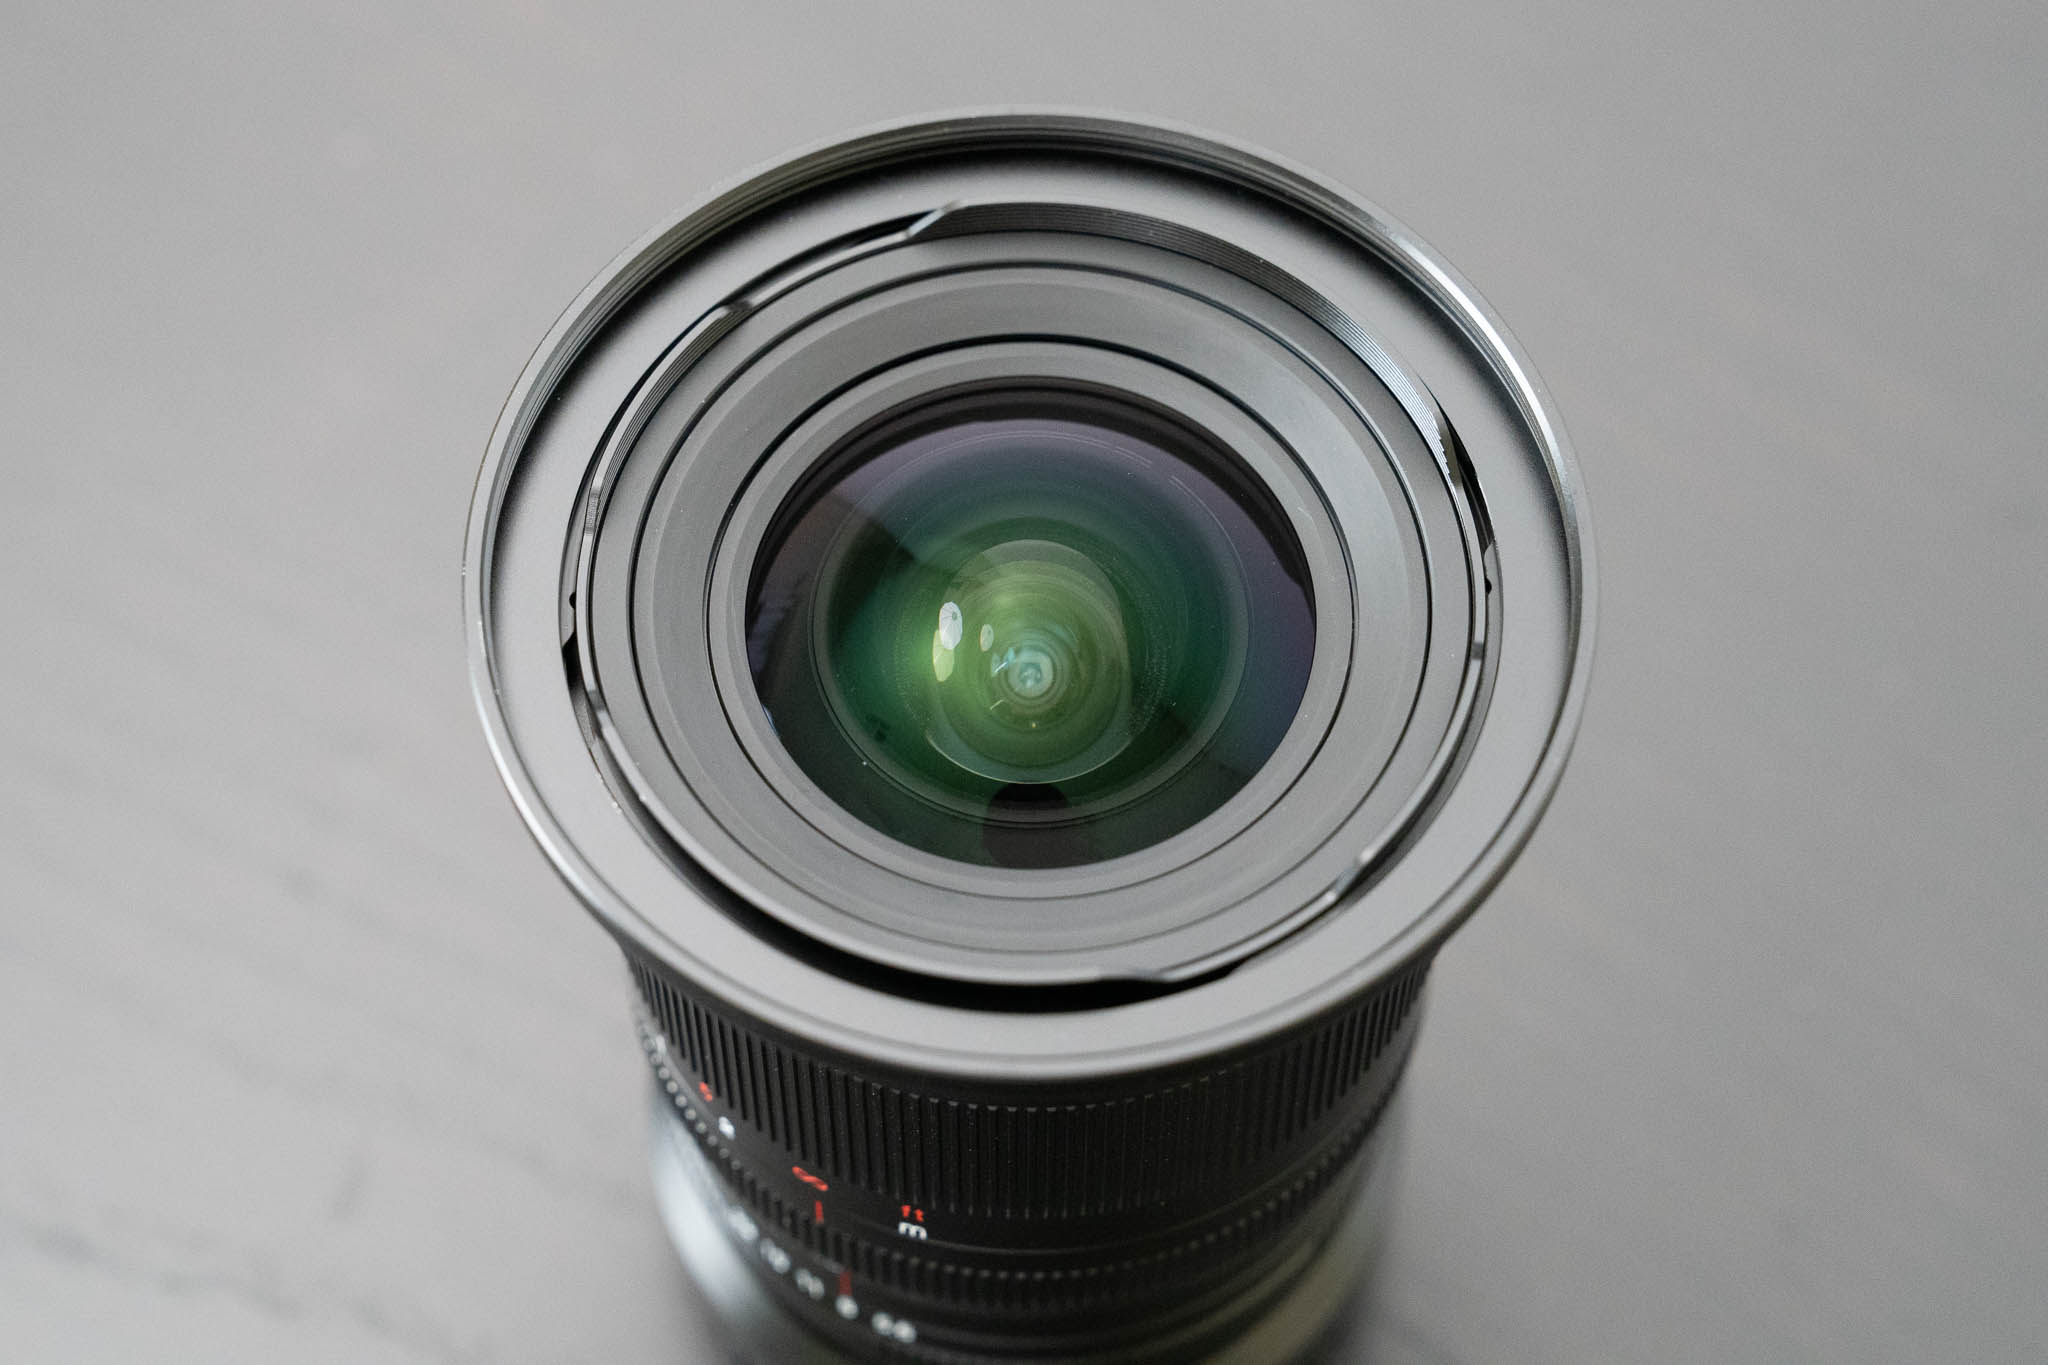
To test your lens for dust and scratches, take off both front and rear caps, and start by casting a raking light across the front element. Rotate the light all the way around the lens, looking for any scratches, cracks, or significant dust spots. Also, check out the state of the coating. Aggressive cleaning (or just age) can cause damage to these lens coatings, which can lead to issues with flare.
Perform the same check on the rear element. While some lenses have recessed elements, making it harder to spot issues, you should still be able to see significant problems. While you’re at it, check the the aperture lever and lens mount contacts at the back of the lens. These should be in good shape, without corrosion or damage. No screws should be missing from the lens mount, either.
Lastly, consider shining the flashlight through the lens and looking through the other side. Be sure to turn the light to a low brightness or you’ll hurt your eyes! Depending on the lens’s aperture mechanism, you may need to manually move the aperture lever or set the aperture ring to allow light through. This is an easy way to check for dust, fungus, and other issues on the interior elements.
Issues with Zoom, Focus, and Stabilization Mechanisms
I don’t expect any issues with zoom or focus mechanisms on a new lens, but for used lenses, these functions can run into a range of problems. The most common is a lack of easy movement in the zoom or focus rings. This can signify issues with the gears, like the presence of grit in the delicate mechanisms or a broken coupling. (Don’t forget, some lenses feature focus or zoom “by wire” – meaning there’s no physical coupling, and you won’t know of any zoom problems until you’ve turned on the camera and tested it out.)
Simply holding the lens in person is usually enough to tell if there are any major zoom or focus issues. Zoom through the range and see if it sticks. Test the focus ring to see if you feel any grit in the mechanism. If possible, turn on the camera and zoom/focus on some test subjects. Finally, while you’re at it, don’t forget to test the function switches and lens buttons, if applicable.
For the image stabilization system, check that it works properly when enabled, and that it “docks” correctly when turned off. Some VR systems have a faint rattle to them, even when turned off and functioning correctly, so don’t take this as a bad sign necessarily. Also, both AF motors and VR mechanisms can make some noise in operation, but particularly loud sounds or whining when focusing should both merit closer looks.

None of the test I’ve covered in this article take very much time, but they all can make a big difference when buying a new lens, especially used! Simply taking a few minutes with a new lens to run through these tests will let you avoid purchasing a lemon. Let me know in the comments if you have any other questions about checking a camera lens for damage!
It would be useful if the article differentiated between decentering and field tilt, as they are not exactly the same but may show up with similar “symptoms” in the corner sharpness test.
I immediately see 2 major problems with this article. Number 1 it ignores the reality of field curvature and how that impacts focus and image sharpness. If you focus at infinity in the center and then move to the edge you really can’t learn anything definitive. Field curvature is really neither good or bad. Fact is most modern design lenses have field curvature. Nikon Z zooms in particular seem to have this issue to the degree where procedures in this article would be useless for evaluating the lens. On most zooms field curvature can flatten as you stop down. Sometimes the focal length position on the zoom can impact the direction of the field curvature. This is the problem with so called “easy” or “fast” ways to evaluate the lens
Oh, yes, field curvature is not a copy to copy issue. If for example you say you have a 24-70mm F2.8 Z nikkor and it does not have field curvature then your lens must be from a different universe. The optical design is such that it is a feature, not a bug.
Don’t get me started on focus shift. That is another issue that the author of this piece ignores.
Knowledge in regards to focus shift and field curvature and how they impact image quality is critical to any methodology used to determine if a lens is a good, so so or bad copy.
If the field curvature (or focus shift) is affecting all corners equally (which is how it should be), the test will still work.
Exactly, Spencer even mentioned this in a dedicated article on testing for decentering: photographylife.com/good-…py-of-lens
Both focus shift and field curvature should equally impact all 4 corners, so they aren’t really relevant to a casual test.
Examining whether a model of lens, rather than a copy, is a good performer would take those factors into consideration, but if you already want the lens and just need to check that yours isn’t asymmetric, this test will work.
Jay Liparis,
You wrote: “The optical design is such that [field curvature] is a feature, not a bug.”
I think you are referring to Petzval field curvature:
QUOTE
Petzval field curvature, named for Joseph Petzval, describes the optical aberration in which a flat object normal to the optical axis (or a non-flat object past the hyperfocal distance) cannot be brought properly into focus on a flat image plane.
Field curvature can be corrected with the use of a field flattener, designs can also incorporate a curved focal plane like in the case of the human eye in order to improve image quality at the focal surface.
…
Most current photographic lenses are designed to minimize field curvature, and so effectively have a focal length that increases with ray angle. Lenses of short focal lengths (ultra wide, wide and normal) below 50 mm typically suffer more from field curvature. Telephoto lenses typically have very little or no visible field curvature.
en.m.wikipedia.org/wiki/…_curvature
END OF QUOTE
So, I would never describe field curvature as being “a feature, not a bug”.
————
You wrote: “Don’t get me started on focus shift. That is another issue that the author of this piece ignores.”
I think you are referring to spherical aberration:
QUOTE Spherical aberration, Wikipedia
In optics, spherical aberration (SA) is a type of aberration found in optical systems that have elements with spherical surfaces. Lenses and curved mirrors are prime examples, because this shape is easier to manufacture.
…
A spherical lens has an aplanatic point (i.e., no spherical aberration) only at a radius that equals the radius of the sphere divided by the index of refraction of the lens material.
END OF QUOTE
Many photographers do not appreciate the fact that, compared with a lens that is well corrected for spherical aberration:
• if the same lens had been under‑corrected for spherical aberration, it would produce better background bokeh and worse foreground bokeh.
• vice versa if the same lens had been over‑corrected for spherical aberration.
Both the DC‑NIKKOR 105mm f/2 and the DC‑NIKKOR 135mm f/2 had a control ring to gradually change their level of spherical aberration from under‑corrected to over‑corrected.
Another technique for producing better bokeh, in a lens that is already well corrected for spherical aberration, is to incorporate an apodization filter that softens the edges of the aperture.
————
Anyway, as Alex (Coleman, I presume) succinctly stated:
“Both focus shift and field curvature should equally impact all 4 corners, so they aren’t really relevant to a casual test”.