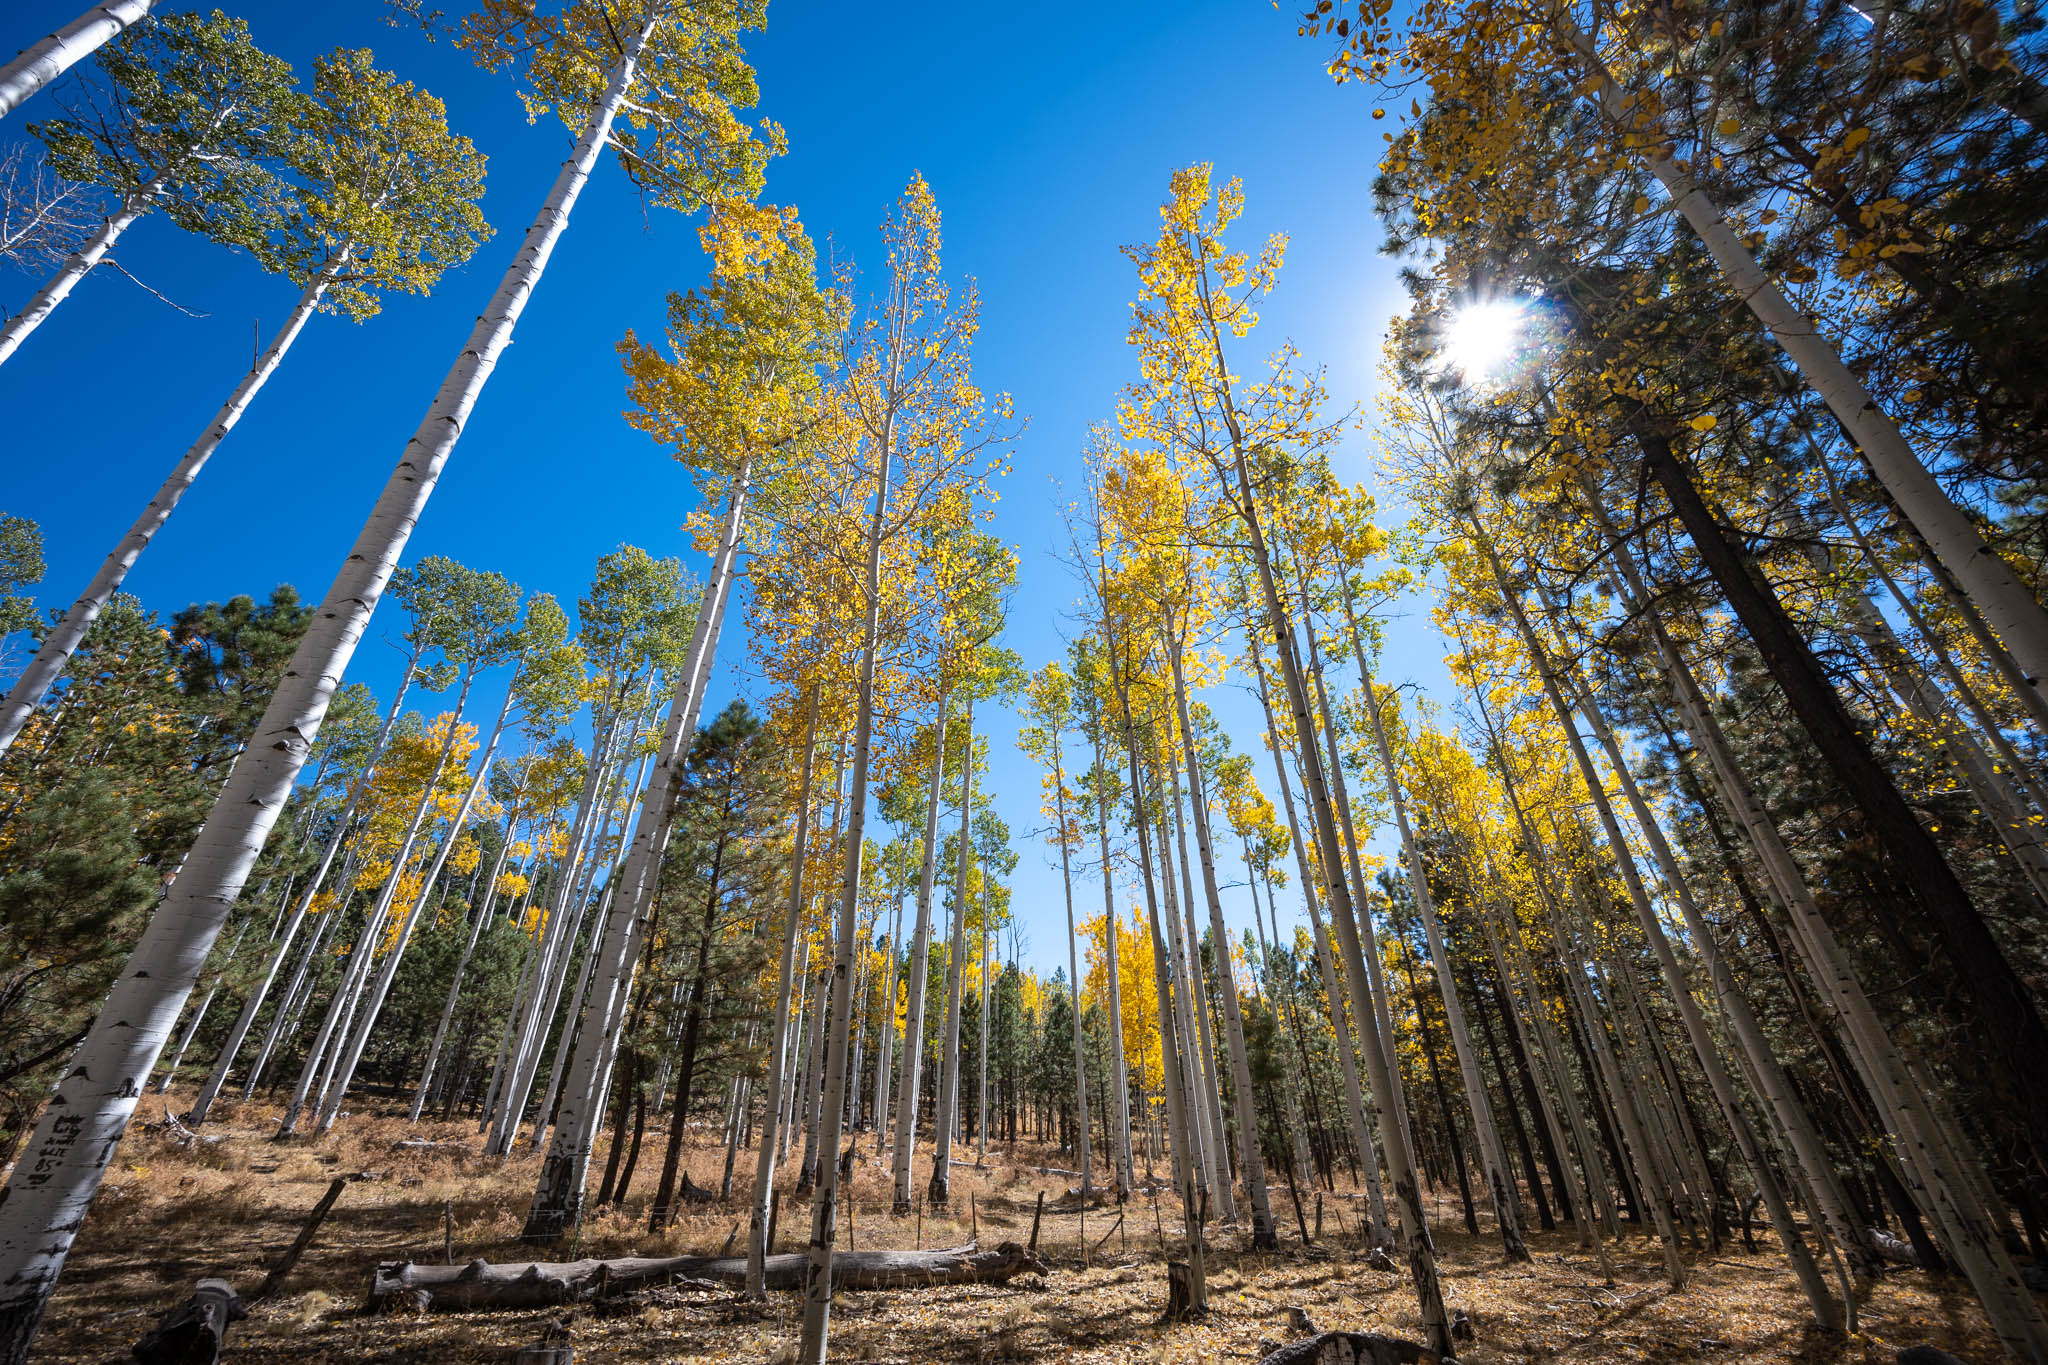
Within the broader category of chromatic aberration in photography, purple fringing can be a particularly tricky problem. Purple fringing usually appears as unwanted purple outlines around high-contrast objects in your photo, like leaves against a blown-out sky. In this article, I’ll take a closer look at what causes purple fringing and how to reduce its effects in your photos.
Table of Contents
Where Do You See Purple Fringing?
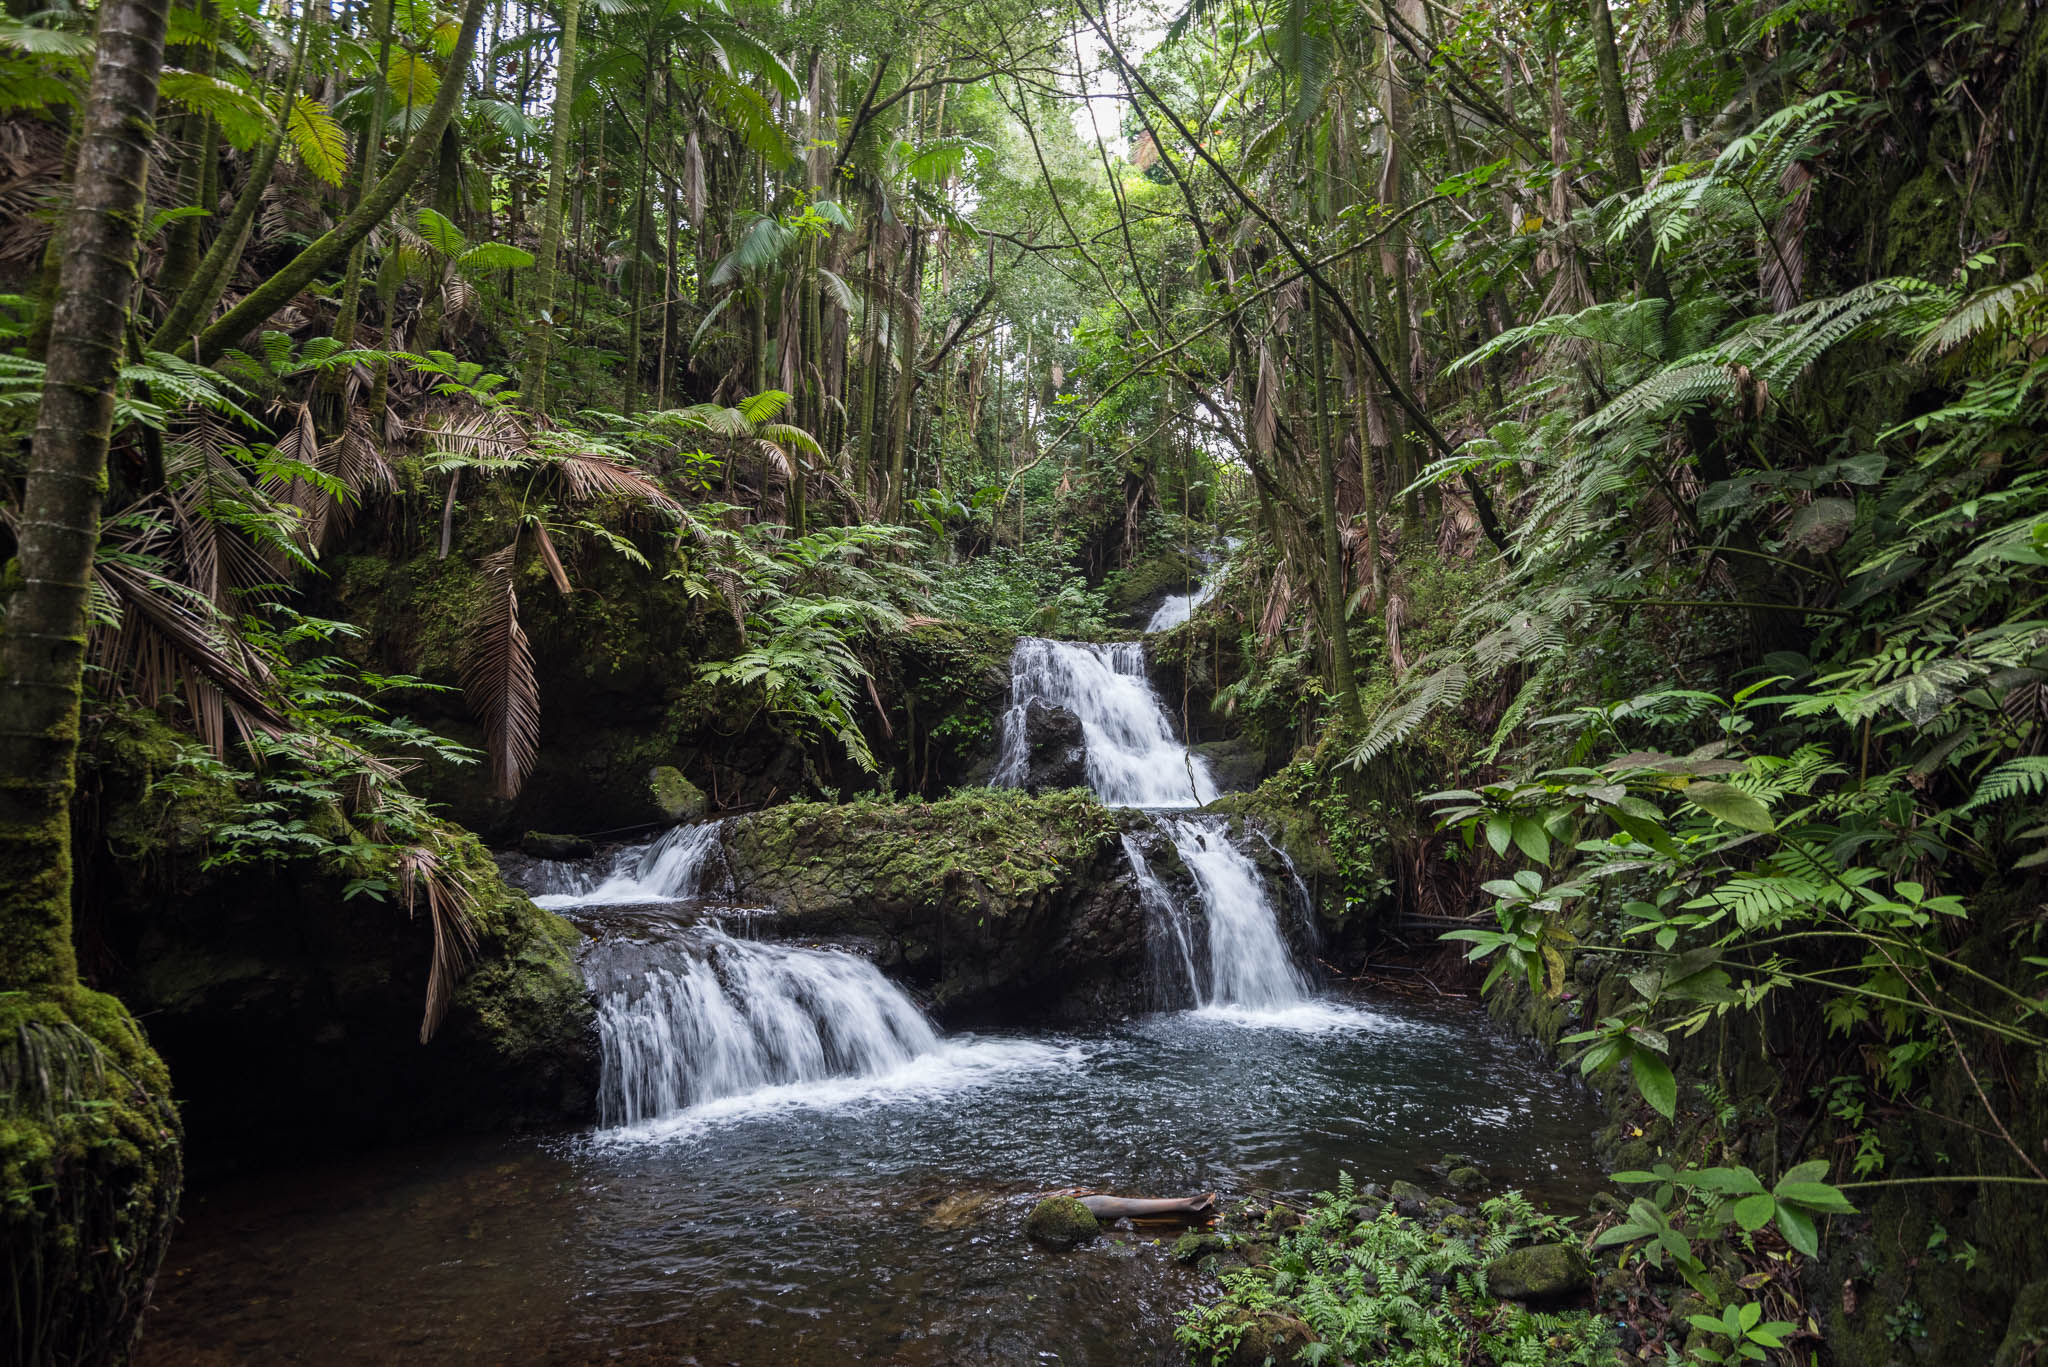
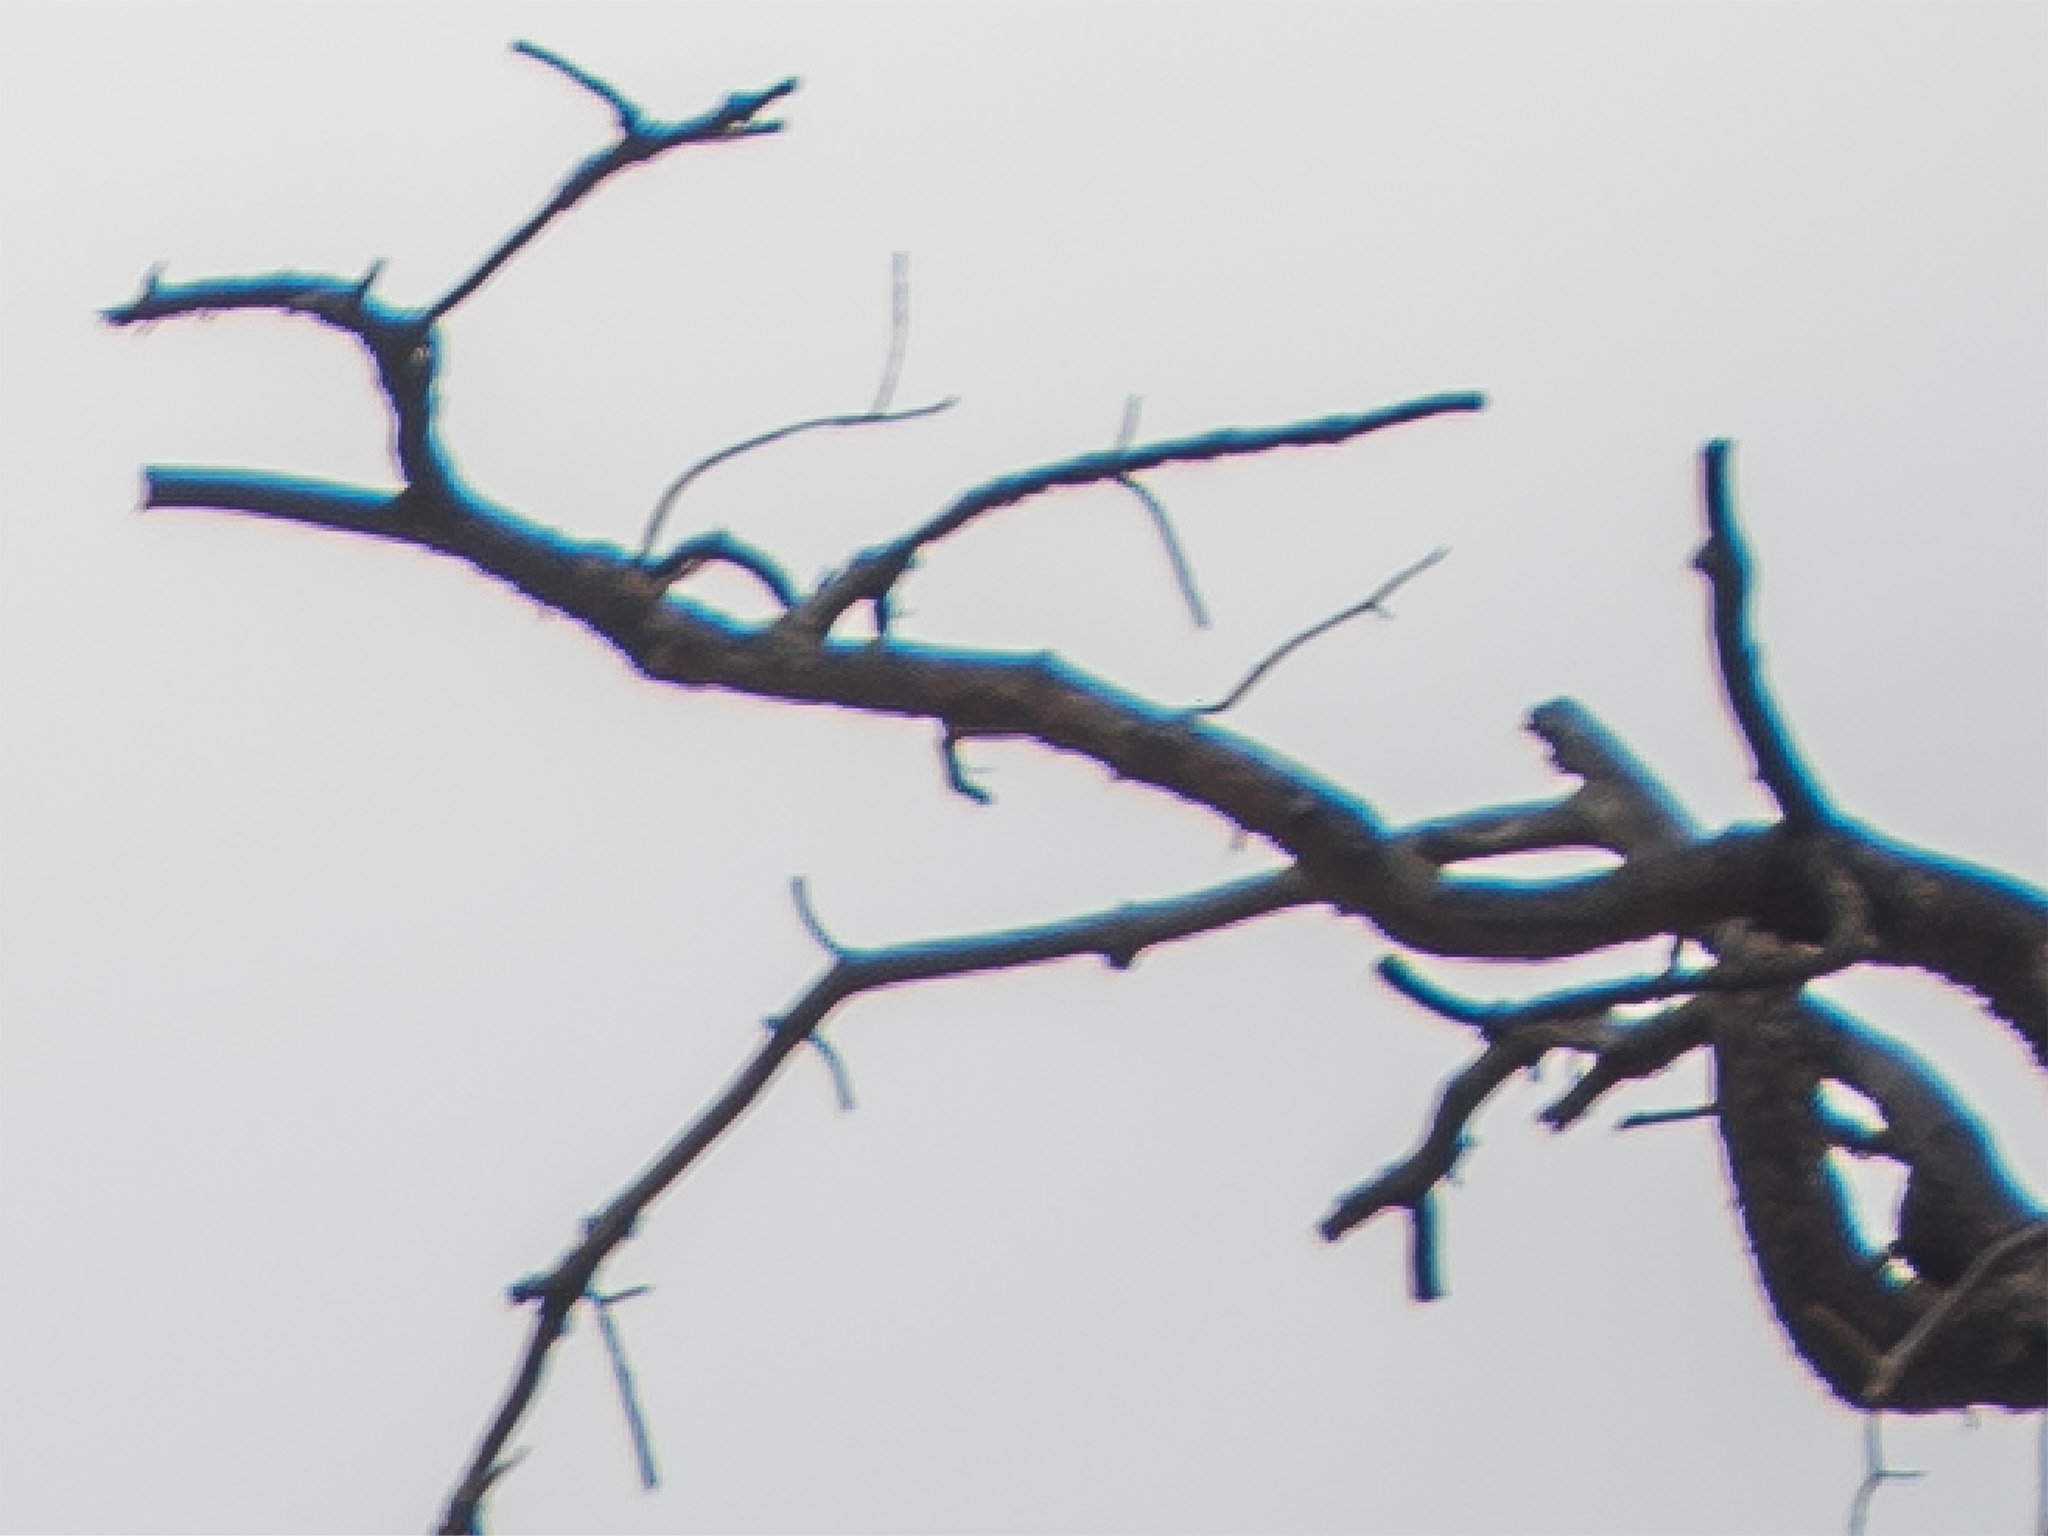
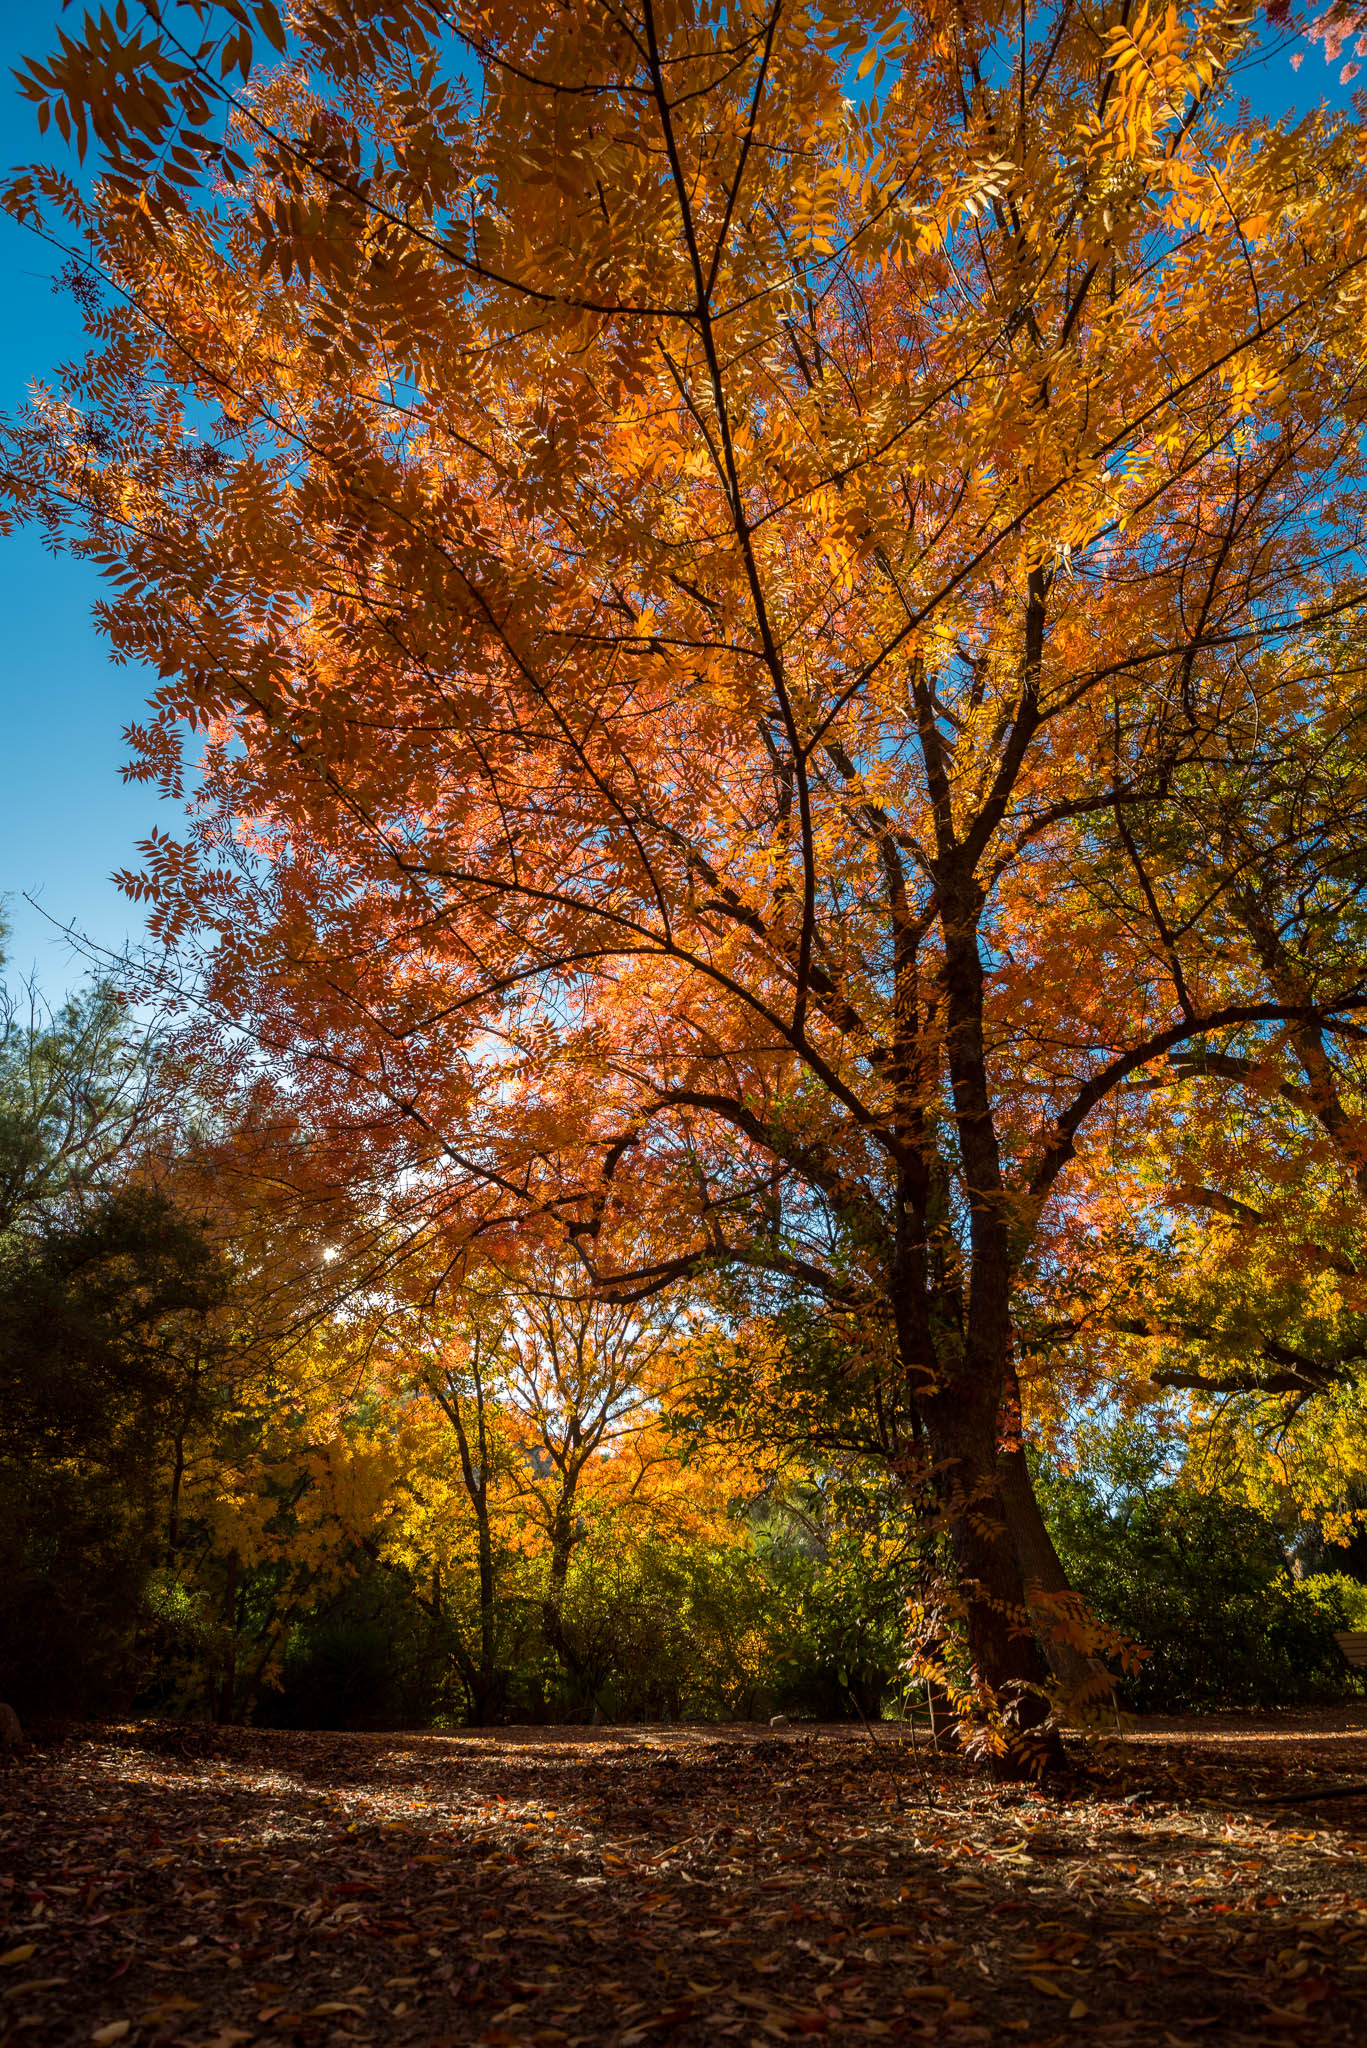
Purple fringing is most noticeable in high contrast areas of a photo. In my landscape work, it always sticks out on detailed subjects like tree branches against a bright sky.
Not only does purple fringing look unnatural; it also presents a number of issues when editing. It can make selecting subjects more complicated and can interfere with stacking HDR brackets. I also find that it complicates sharpening workflows, since the purple fringe halo can easily be over-exaggerated even with minimal sharpening.

What Causes Purple Fringing?
Interestingly, there is more than one potential cause of purple fringing, and sometimes it can be difficult to separate exactly what is causing the fringing in a particular photo. I’ll go through some of the main explanations of purple fringing below.
1. Common (Not Fully Satisfactory) Explanations
The most popular explanation is that purple fringing is caused by “blooming,” where overexposed pixels essentially overflow to nearby pixels, with unexpected colors resulting. While this can be a real effect, it’s much more prominent on older CCD sensors compared to today’s CMOS sensors. So, this usually isn’t the main cause of purple fringing in your photos.
Other explanations I’ve seen are all over the board, and occasionally even contradict one another. Some photographers claim that purple fringing is due to UV light, infrared light, reflections of the sensor’s microlenses, or errors when demosaicing overexposed edges in a photo. Most of these factors have zero effect on purple fringing, though, and none are the primary cause in most photos.
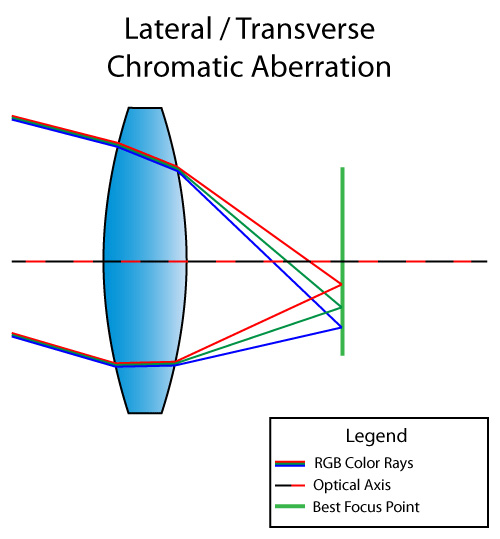
2. Lateral Chromatic Aberrations
Instead, most purple fringing you’ll see today is due to lateral chromatic aberrations from your lens – the same sort of chromatic aberrations that can give you yellow, red, or blue fringes in the corners of the image.
As shown in our guide to chromatic aberration, the different wavelengths of light can pass through a lens and refocus on the image sensor at slightly different positions. Lateral chromatic aberration is when the wavelengths of light don’t line up exactly on the sensor, causing sharp, high-contrast parts of the photo, especially in the corners, to take on the classic red/blue color fringe appearance.
The same effect can lead to purple fringing, even on a lens with very good chromatic aberration corrections. That’s because the situations that lead to purple fringing – namely, a dark object (like a tree branch) against a very bright object (like a blown-out sky) – massively exaggerate a lens’s aberrations. Even a well-corrected lens will show some purple halos in those situations, often throughout the image and not just in the corners.
3. Longitudinal Chromatic Aberrations
Another way to get purple fringing is to use a lens with strong longitudinal chromatic aberrations (AKA green and purple color fringes in out-of-focus areas). Objects in front of the subject pick up purple fringes, while the background picks up green.
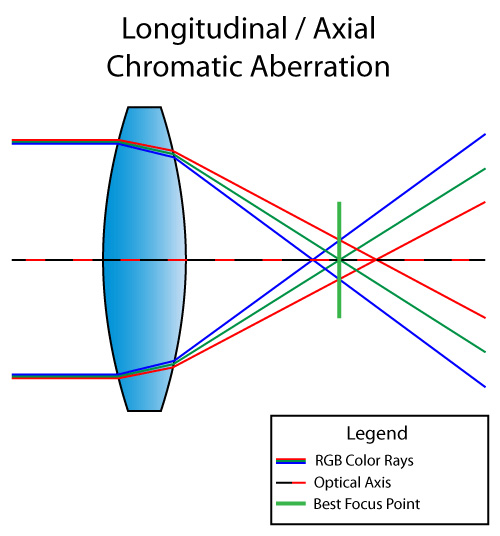
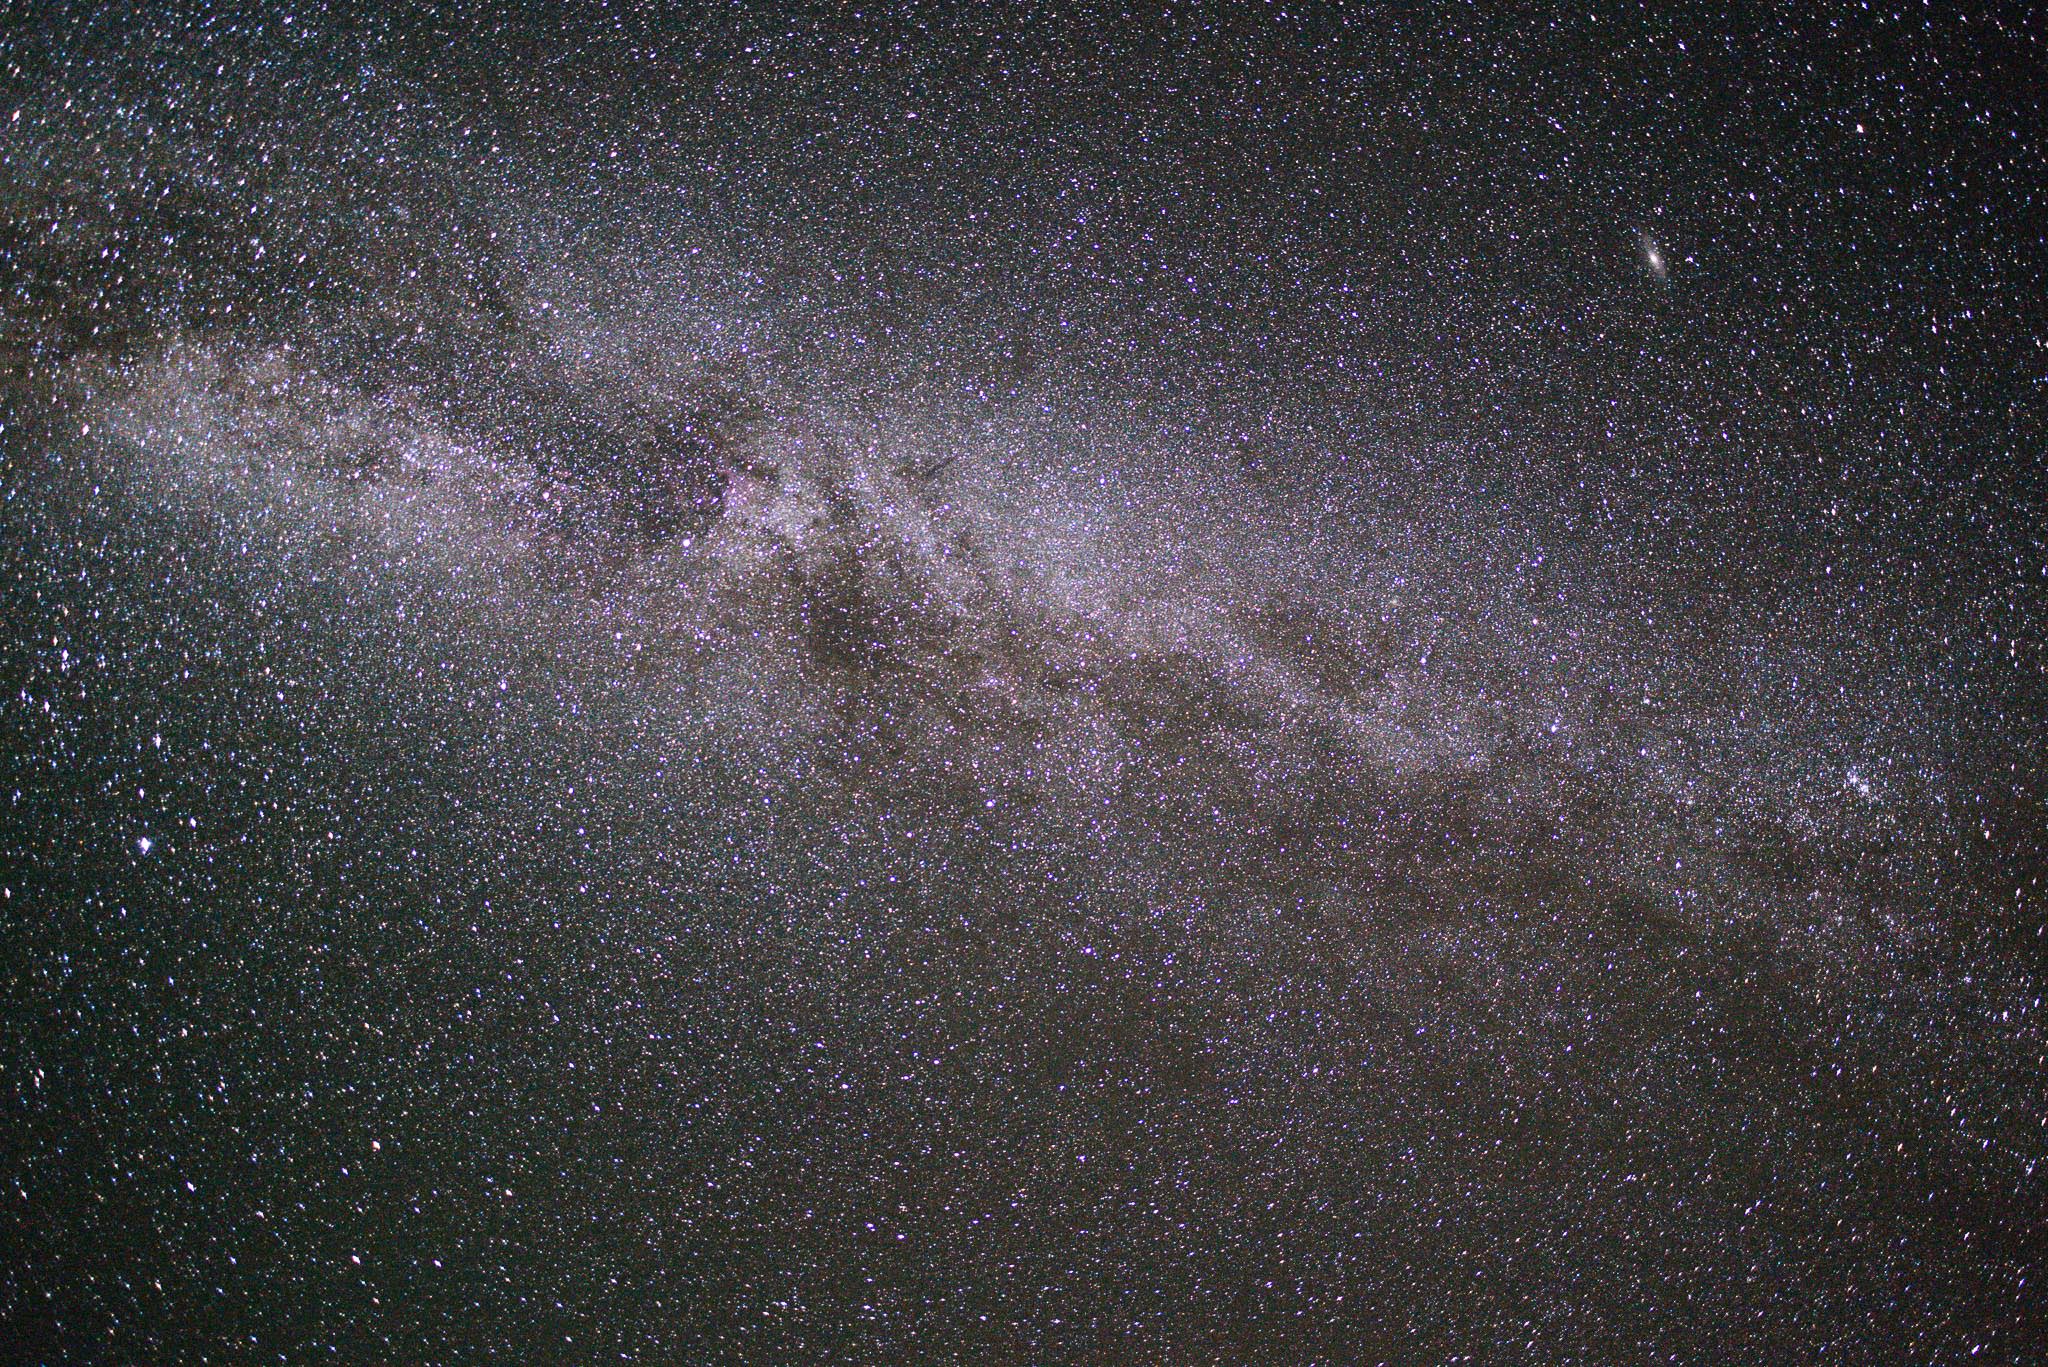
So, if anything in your photo is very high in contrast, as well as being slightly in front of the focus point, purple fringes are going to appear with most lenses. For example, in astrophotography, it’s very common to get purple fringes around stars if you’ve focused a bit too far.
4. Digital Processing
Finally, purple fringing can be exaggerated by digital processing. While many lenses – particularly fast and poorly corrected designs – will produce a small amount of purple fringing by default, post-processing can make it particularly noticeable.
It strongly depends on the image, but I’ve found that highlight recovery is one of the more common adjustments that can exaggerate purple fringing and make it more saturated. Likewise, vibrance and saturation play a role, especially if you’re using targeted saturation adjustments just to the blue/purple colors in the photo (such as by using Lightroom’s HSL panel).
As you can see, the cause of purple fringing will vary from photo to photo. Still, it almost always appears under similar circumstances, like dark foliage against a blown-out sky. The most important thing is to know how to remove purple fringing when you notice it, or prevent it in the first place, which is which is what I’ll talk about next.
What Can Be Done About Purple Fringing?
1. Lens Design
Since chromatic aberrations are an optical issue, naturally, a different optical design could address them. In lens design, low dispersion glass elements can lead to less fringing.
Lenses designed to correct for two wavelengths are called achromatic, while photography lenses designed to be highly corrected for red, green, and blue wavelengths are referred to as apochromatic. These lenses tend to suppress chromatic aberrations, including purple fringing.
However, even with a top lens, perfection isn’t guaranteed. After all, the “apochromatic” or “APO” designation isn’t controlled by some official body, and there are still low-level chromatic aberrations on almost all lenses. (Unfortunately, as discussed earlier, low-level chromatic aberrations that are normally invisible can be the primary cause of purple fringing.)
Some types of lenses are more prone to optical issues than others. Broadly speaking, inexpensive zoom lenses and fast-aperture prime lenses tend to have more chromatic aberrations, and may have more problems with purple fringing. I have also noticed severe purple fringing when using low-quality UV filters in backlit situations.
In short, by using the best glass you can – and, on some lenses, by stopping down to apertures with less chromatic aberration – you’ll reduce the impact of purple fringing in your photos. But what if you’ve already taken a photo with purple fringing? In that case, your best bet is to fix it in post-processing.
2. Editing
If you found your way to this article from Google, it’s probably because you have a photo with some unwanted purple fringing, and you’d like to get rid of that. You’re in luck! Today’s photo editing software from almost every company has chromatic aberration corrections, and sometimes dedicated purple fringing corrections, that can get rid of the problem pretty easily.
For the rest of this article, I’ll explain the process to remove purple fringing in Lightroom and Photoshop, the two most popular post-processing tools. Even if you use a different editing software, you’ll most likely see similar tools to remove purple fringing. The process is usually very similar.
Removing Fringing in Lightroom
In Lightroom, all your tools for addressing purple fringing are in the Lens Corrections panel. As a first step, try the single-click checkbox “Remove Chromatic Aberrations,” under the “Profile” subheading. Depending on your lens and Lightroom’s profile support for it, this might significantly reduce or eliminate the issue.
Particularly bad cases cases, however, are beyond automatic corrections. You’ll need to step in manually.
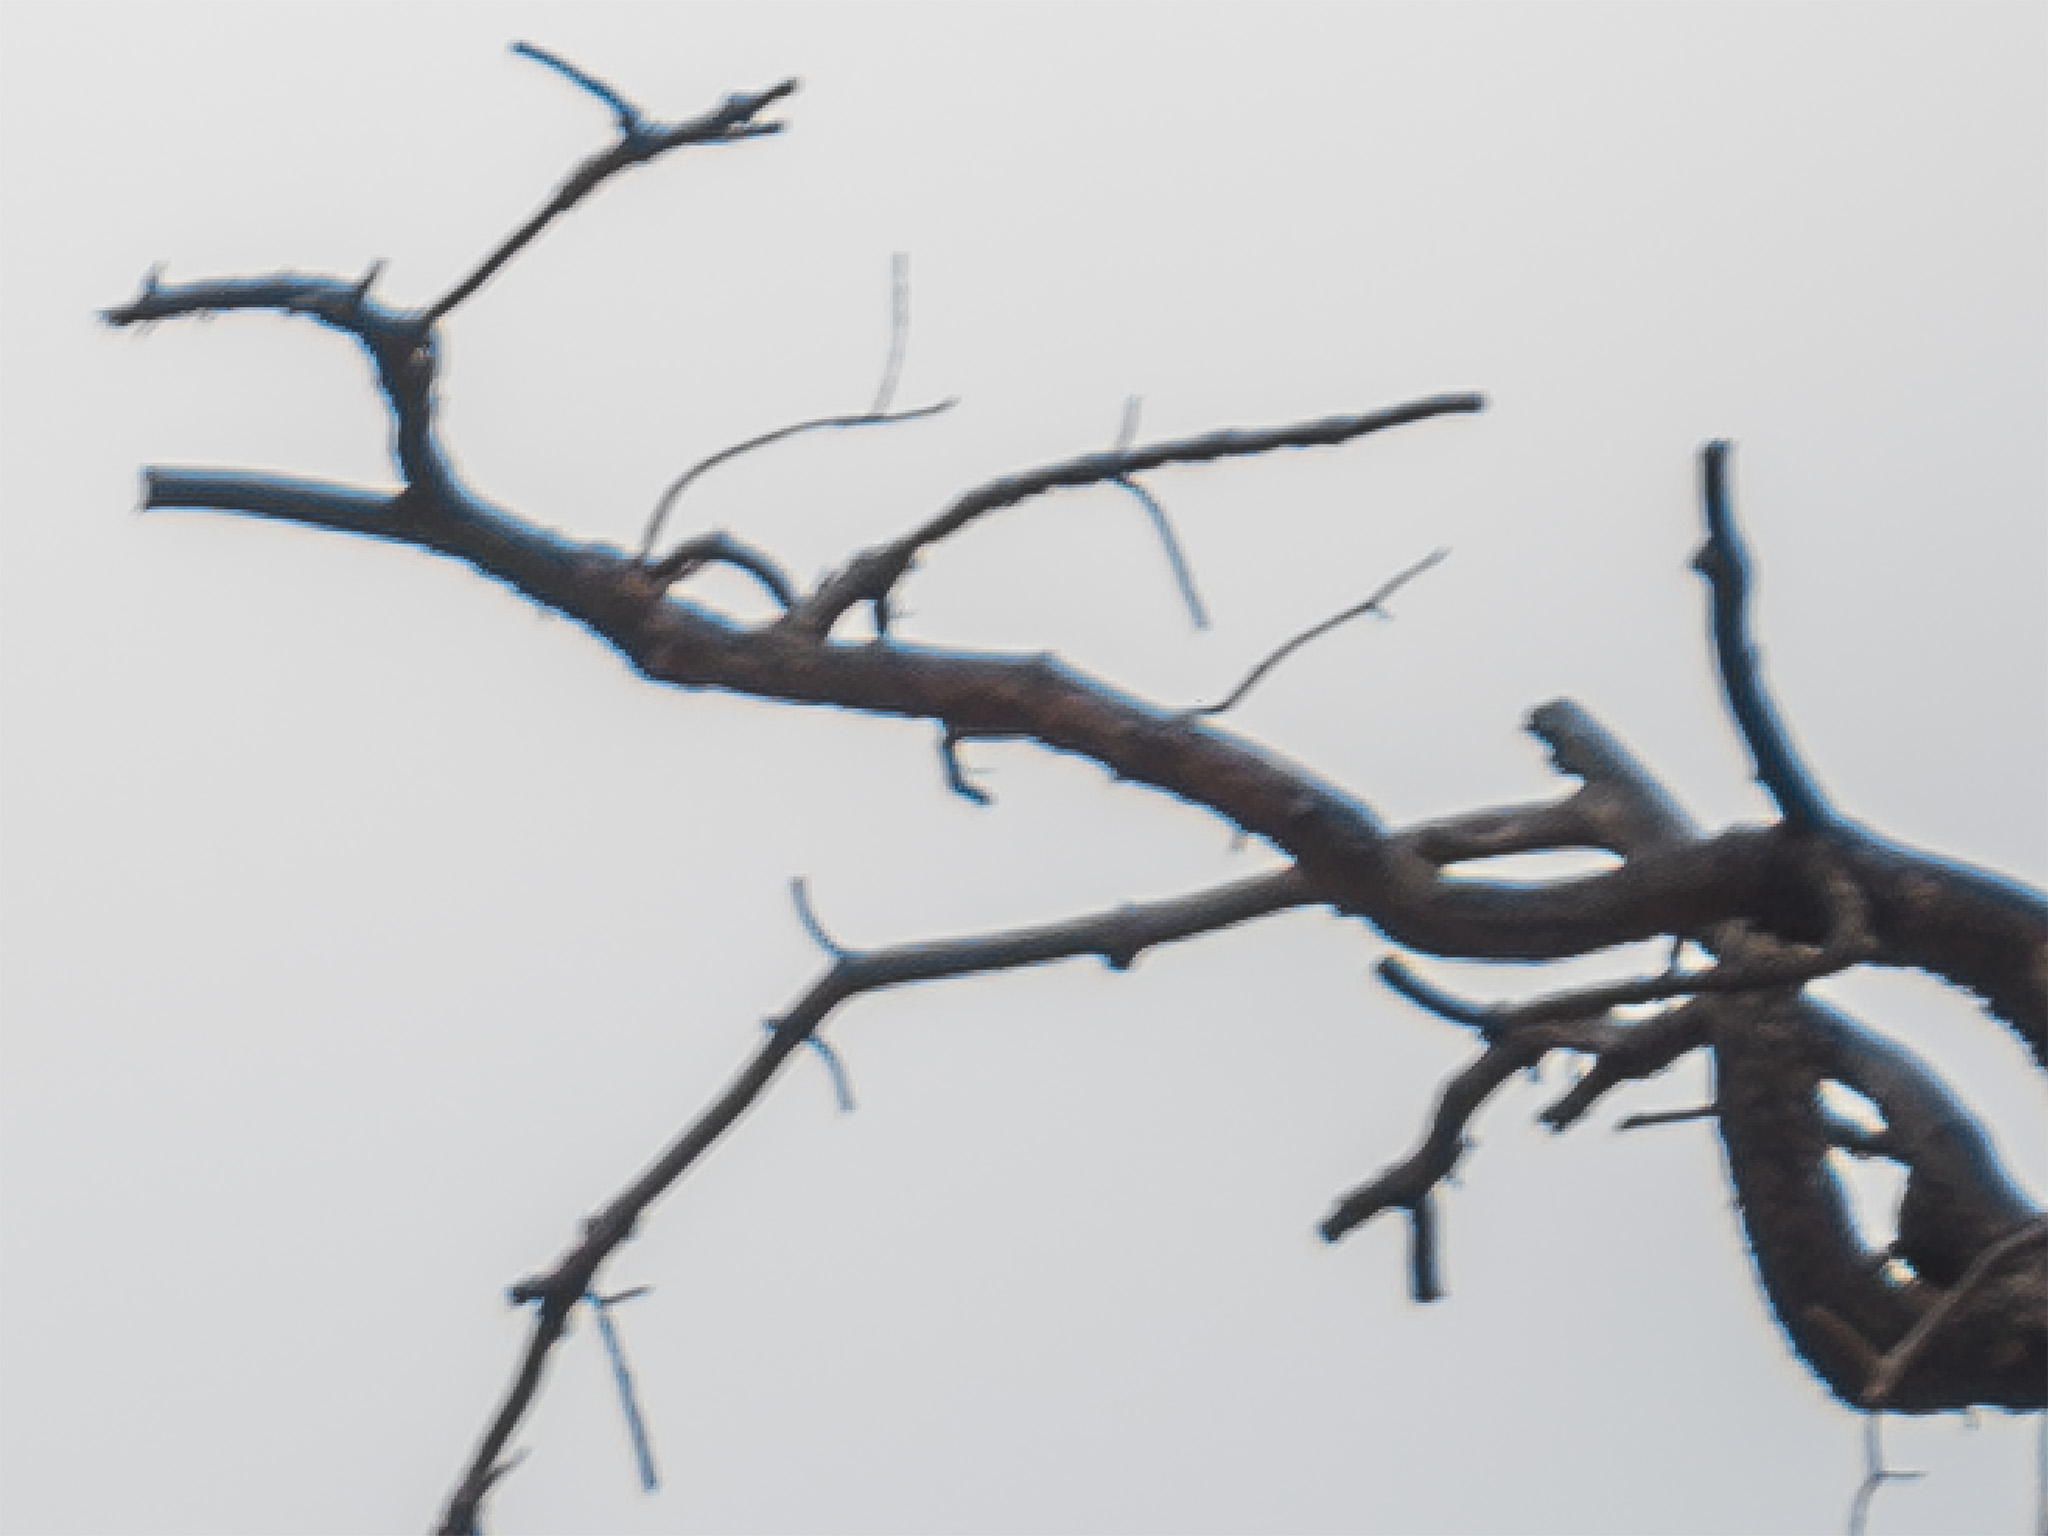
In Lightroom, the easiest way to make manual purple fringing corrections is to select the “Manual” subheading, then click on the eye dropper. All you need to do then is click the purple fringing in the image, and Lightroom will automatically desaturate all the edges in the photo of that color.
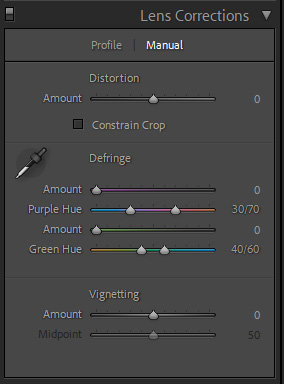
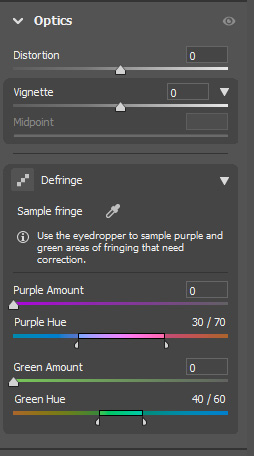
You can further refine Lightroom’s corrections via the sliders in the “Defringe” section, as you can see above. The tools in Lightroom are meant for correcting both purple and green fringes, although purple will usually be the more obtrusive one in most photos. That said, be careful not to overdo the “Amount” slider, as this can be a very aggressive correction.
To recap, Lightroom makes it easy to target purple fringing via both automatic profiles and one-click manual targeting. Both of these options will do the job most of the time. However, if you’re working on a very detailed photo, or simply have run into issues with those tools, don’t be afraid to move over to Photoshop.
Removing Fringing in Photoshop
In Photoshop – specifically Adobe Camera Raw, or the corresponding Filter – the basics of the workflow are the same. In the Camera Raw filter options, look for Defringe, under the optics heading. Once again, you have an eyedropper tool at your disposal; make sure to zoom in on the image to get a good selection of the purple fringe. Photoshop may warn you if you’ve made an improper selection by saying it’s too neutral; if that’s the case, just try a different area, or zoom in further to make sure you’re precisely selecting the fringe.
The benefit of making this adjustment in Photoshop is that you can apply it to selective parts of the image, thanks to layer masking. For complex color fringing adjustments, my process is as follows: open the image in Photoshop, duplicate the layer, apply a Camera Raw Filter to the top layer, do aggressive purple fringing corrections, close out of the filter, and add a black layer mask to make the corrections invisible. Then, selective paint the layer mask white (with a soft brush) to apply the correction to the problem areas of the image.
Conclusion
Purple fringing can be among the trickiest of optical problems. Unlike vignetting, it’s not usually addressed by changing your aperture, and unlike other chromatic aberrations, it’s more situational, making automatic adjustments more difficult. It’s not an intractable problem, however. By using high-quality lenses, avoiding cheap UV filters, and learning your post-processing tools, you can greatly reduce the impact of purple fringing on your images.
Thanks for the article. It’s interesting to know how fringing can be a symptom of improper focus when shooting the stars.