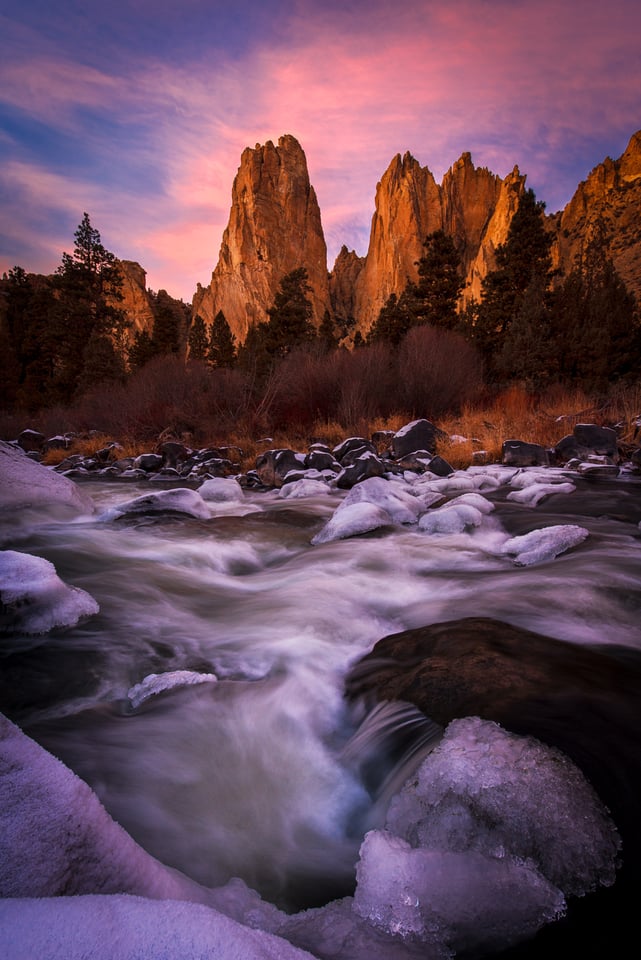
Most landscape photographers, myself included, love to photograph gigantic, thunderous, raging waterfalls, quiet little babbling brooks, and just about everything in between. Successfully photographing them is not always easy, though. Here are some tips that I am constantly reminding both myself and tour participants alike while in the field:

Table of Contents
Use a Polarizer
A circular polarizing filter can help improve just about any stream or waterfall scene. It helps to cut glare and increase saturation when dealing with wet foliage, cuts glare on wet rocks, and can tone down the unwanted reflections in water from bright patches of sky overhead. A circular polarizing filter also prevents two stops of light from getting to your sensor, which can be extremely useful if you are looking to slow down your shutter speed, but can be equally as horrible if you are looking for the opposite, due to foliage blowing around in the wind.

Experiment with Shutter Speed
When the topic of stream and waterfall photography is brought up, many people may suggest doing whatever is possible to get a very slow shutter speed. While this soft, milky effect is often quite nice, I find that viewers, especially non-photographers, may relate to an image better if some detail appears in the water. I find the sweet spot to be between 1 second and 1/8 second, depending on the specific situation. When photographing a scene with very fast-moving water, I find myself on the shorter end of that spectrum, and when photographing a scene with very slow-moving water, I find myself on the longer end – sometimes even going as long as 2-4 seconds while still maintaining detail in blurred water.

Of course, none of this is black-and-white. There are plenty of exceptions. For example, when photographing a swirling eddy in a stream, sometimes 30 seconds may not even be long enough. Or, when photographing extremely violent whitewater, one may find that they prefer freezing the action with a short shutter speed. Tiny adjustments can make or break any photo, and it is important to experiment as you get a feel for how to choose optimal shutter speed.

Get Wet
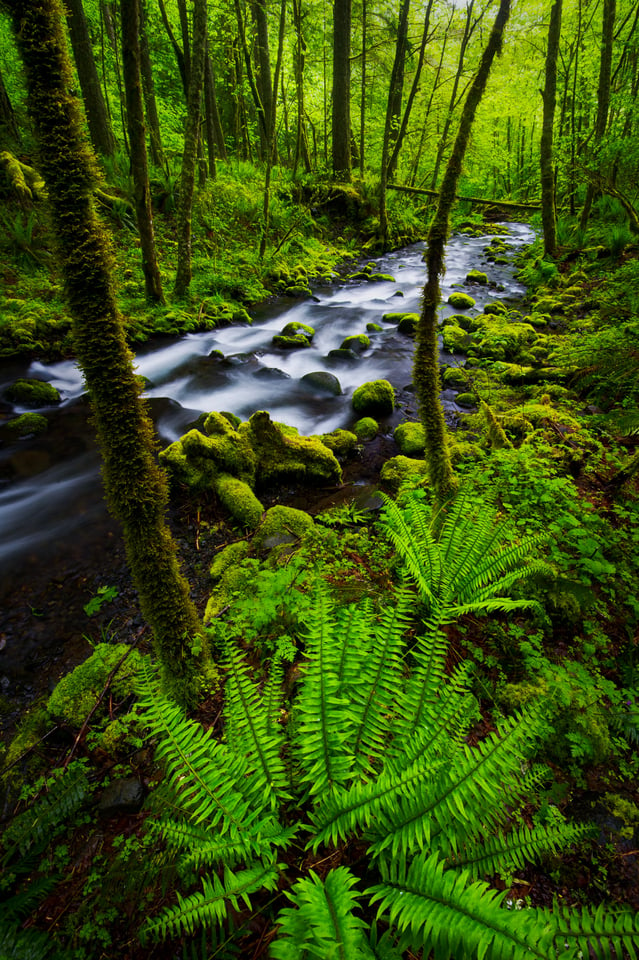
If you’re looking for a dramatic, in-your-face perspective, throw on your ultra wide-angle lens, and get right in the water. There can be quite a difference between standing in any given scene you are photographing, versus standing next to it, on the outside, looking in. Getting in to a scene puts your viewer right there with you. This is, more often than not, a good thing!

There are several safety considerations when getting in the water. Be wary of slippery rocks and fast currents that may sweep you off your feet. If you have any doubt at all about your ability to stand in rushing water, it’s simple: don’t take the risk.
You should also take care to keep your polarizer or front element dry. I like to use a Rocket Blower to blast water droplets off my lens. If that fails, careful wiping with a microfiber lens cloth will suffice.

Take Your Time and Pay Attention to Your Surroundings
When photographing a beautiful stream or waterfall, it comes all too naturally to hone in on what one perceives to be the most interesting or important feature in any given scene. While this most certainly works at times, this approach often leads to simple, straightforward, and obvious compositions, which can be nice, but may also get boring after a while.

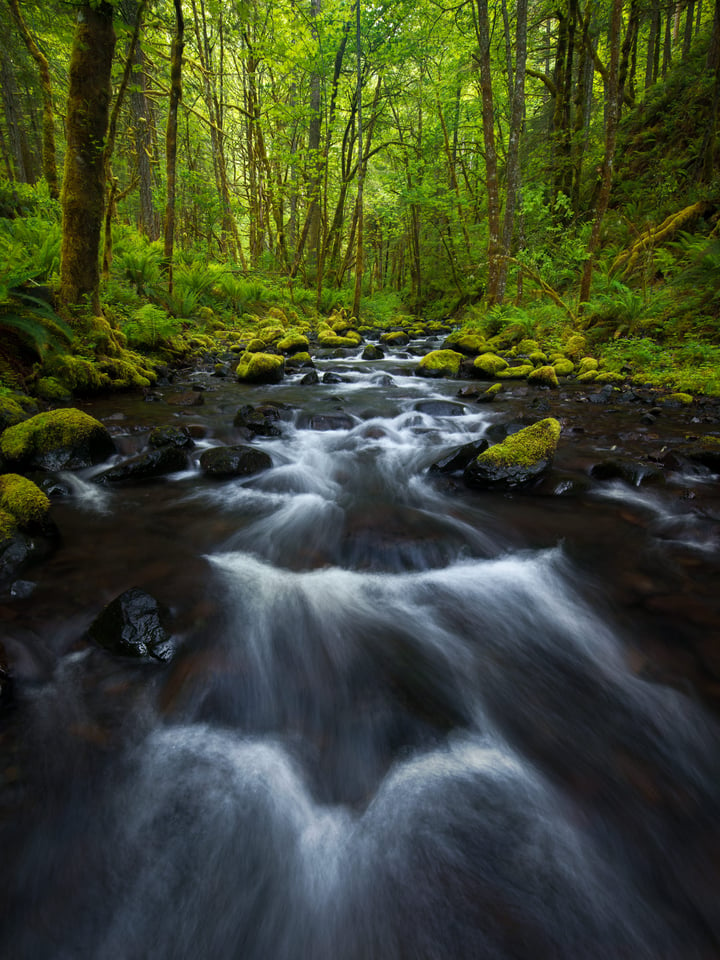
Take the image below, for example. On this particular day, I spent two hours photographing along and in this stream, and then one hour photographing a beautiful waterfall a few hundred yards upstream. Only after spending several hours photographing the most obvious scenes, and beginning my hike back to the trailhead, did it occur to me how beautiful that neon green forest was when looking downstream – and that I ought to find some way to include it in my photo.

Go Back, Often
I find that most of my favorite waterfall and stream images have come from return visits to familiar locations. There is a lot to be said for being familiar with any particular stream or waterfall when trying to create compelling imagery. If you know every bend of a stream like the back of your hand, you will undoubtedly be able to move more quickly in rapidly changing conditions. It is also helpful to return to the same scenes during different seasons, or during different water flow, because these ephemeral changes may afford new photographic opportunities that weren’t there before. It is safe to say that this principle holds true in most landscape photography, but it is very relevant when working with water features of any kind.


With streams flowing high, and neon spring greens around the corner, it is about to be prime time for stream and waterfall shooting – good luck out there!
Really nice tips !! I follow all these tips and really end up with something amazing !!!! I like all these tips and as you know only photographers can understand the situation of other photographer so I wrote another quick article on some another awesome waterfall photography tips and tricks, please check my article here -> photographywith.com/captu…otographs/ , hope you like it, thank you.
Recently returned from photographing Iguassu Falls in South America. Fortunately I had put most of these tips to use. :) Good article.
alphawhiskey.slickpic.com/photoblog/
Hey!
Great pictures from my country :) I loved your buenos aires at night pics :D Here at mines:
500px.com/login…enos-aires
I moved from buenos aires to the patagonia last year, you should come to Bariloche! you’ll love it :D
Take a look at this waterfall near Bariloche:
500px.com/photo…er_library
Cheers
Tomas
I’m at Iguazu now and it’s overwhelming. I thought 4 days was enough but I am sadly mistaken. Thanks for all of the tips. There is always room for improvement and new prospectives
Photos got better and better as the article progressed. Beautiful.
Very well-made photos, Alex! The last one is my favorite (for its subtlety), although the rest are of course wonderful as well.
I love the “Go back, often” advice. I take almost all of my macro photos within a fifty-foot radius of each other.
~Spencer
How are you able to have such long shutter speeds without blurring the shot? Do you use a tripod? Or is there some other novel way of stabilizing the camera?
Tripod is a must for this type of photography.
No tripod and no ND filter: 500px.com/photo…er_library
Sometimes you can put your camera over a rock. But yes: ND filter and tripod is highly recommended,
When I photographed Waterfall Country in Wales, I brought a tripod with me but I found that the image stabiliser on the Olympus EM-5 (and undoubtedly newer bodies) was so good I could take crisp 1 second exposures hand-held. Saved me a lot of time and gave me same the silky water effect. If I had taken my DSLR I would have needed the tripod every time. Examples at the link:
alphawhiskey.slickpic.com/photo…Waterfalls
Beautiful images and good tutorial. Zen, try them both to see what you get with each the ND filter and the polarizer. The difference in stop reduction will produce different effects. Experiment with both.
I have a 9 stop ND filter and a circular polariser. Which should I use ? Most waterfall tutorials suggest the ND filter.
Both.
I’m obviously out on a limb here, as I prefer fast shutter speeds showing the water droplets frozen in motion as per Nazim’s second shot in his how to photograph waterfalls tutorial – each to his own !!!
I could not agree more. Waterfall images look this way because of large format film cameras years ago. Their lenses and film were so slow they could not take a picture of water that looked any other way. Now people go through all sorts of contortions to ape that “look” which is nothing like how water looks. Images of water looking like flowing snow on another planet are so “yesterday”.
I appreciate your analyzing why I, and others, do what I do. And all this time I thought I just liked it! ;-)
Rod, that’s the point. Each to his own. When making photographs of this type I often shoot the same scene different ways Some folks like that smooth creamy, dreamy water look, others like the droplets frozen in time and some like something in between. As long as you are going to set up to shoot the scene you might as well take the time to utilize the environment to your best advantage. Don’t you think?
Rod, I am not a beginner. I won my 1st, grand prize in a photo contest in either 1958 or 59. I too, once went through the contortions to try and get blurry water. But, I must admit that I have grown weary at seeing such shots, which are nothing like I see with the naked eye. It is probably just my opinion, but the dreamy water seems to take away from the natural environment in which it is located. Just my 2¢.
Very nice photos and good tips.
Great tips and photos – I have still confused by some of your shutter speeds – 16/10, 8/10, etc. Thanks
I never have understood how the shutter speeds are described here. I am not sure why they are not just posted as the regular numbers we are all used to. I am sure this might be the actual mathematical numbers and be totally correct but not very useful to photographers and I am pretty that is who the audience is here.
It is merely a written retranscription of spoken language : 16 tenth, 8 tenth..
And it’s also a totally correct notation, I’m not sure what exactly troubles some people, it’s just a fraction.
I don’t recall ever saying that I am shooting at a shutter speed of 16 tenths of a second nor have I ever said I am shooting @ 1 and 6 tenths of a second! What is wrong with normal decimals!?