Have you ever wondered how to use the radial filter in Lightroom? Although we have covered it in depth in our Workflow and Post-Processing course, I thought it would be a good idea to share some detail about the specifics of the radial filter in a video. If you are just starting out in Lightroom, this will be a good introduction on how to use the radial filter, which keyboard shortcuts to use to access it and how to do basic customizations to make the tool fit your needs.
As you can see in the video, the radial filter affects areas of an image in an effect that radiates from a central point. Although some people might think it is similar to vignetting, the radial filter is a much more powerful tool. Watch this video to see exactly how it works:
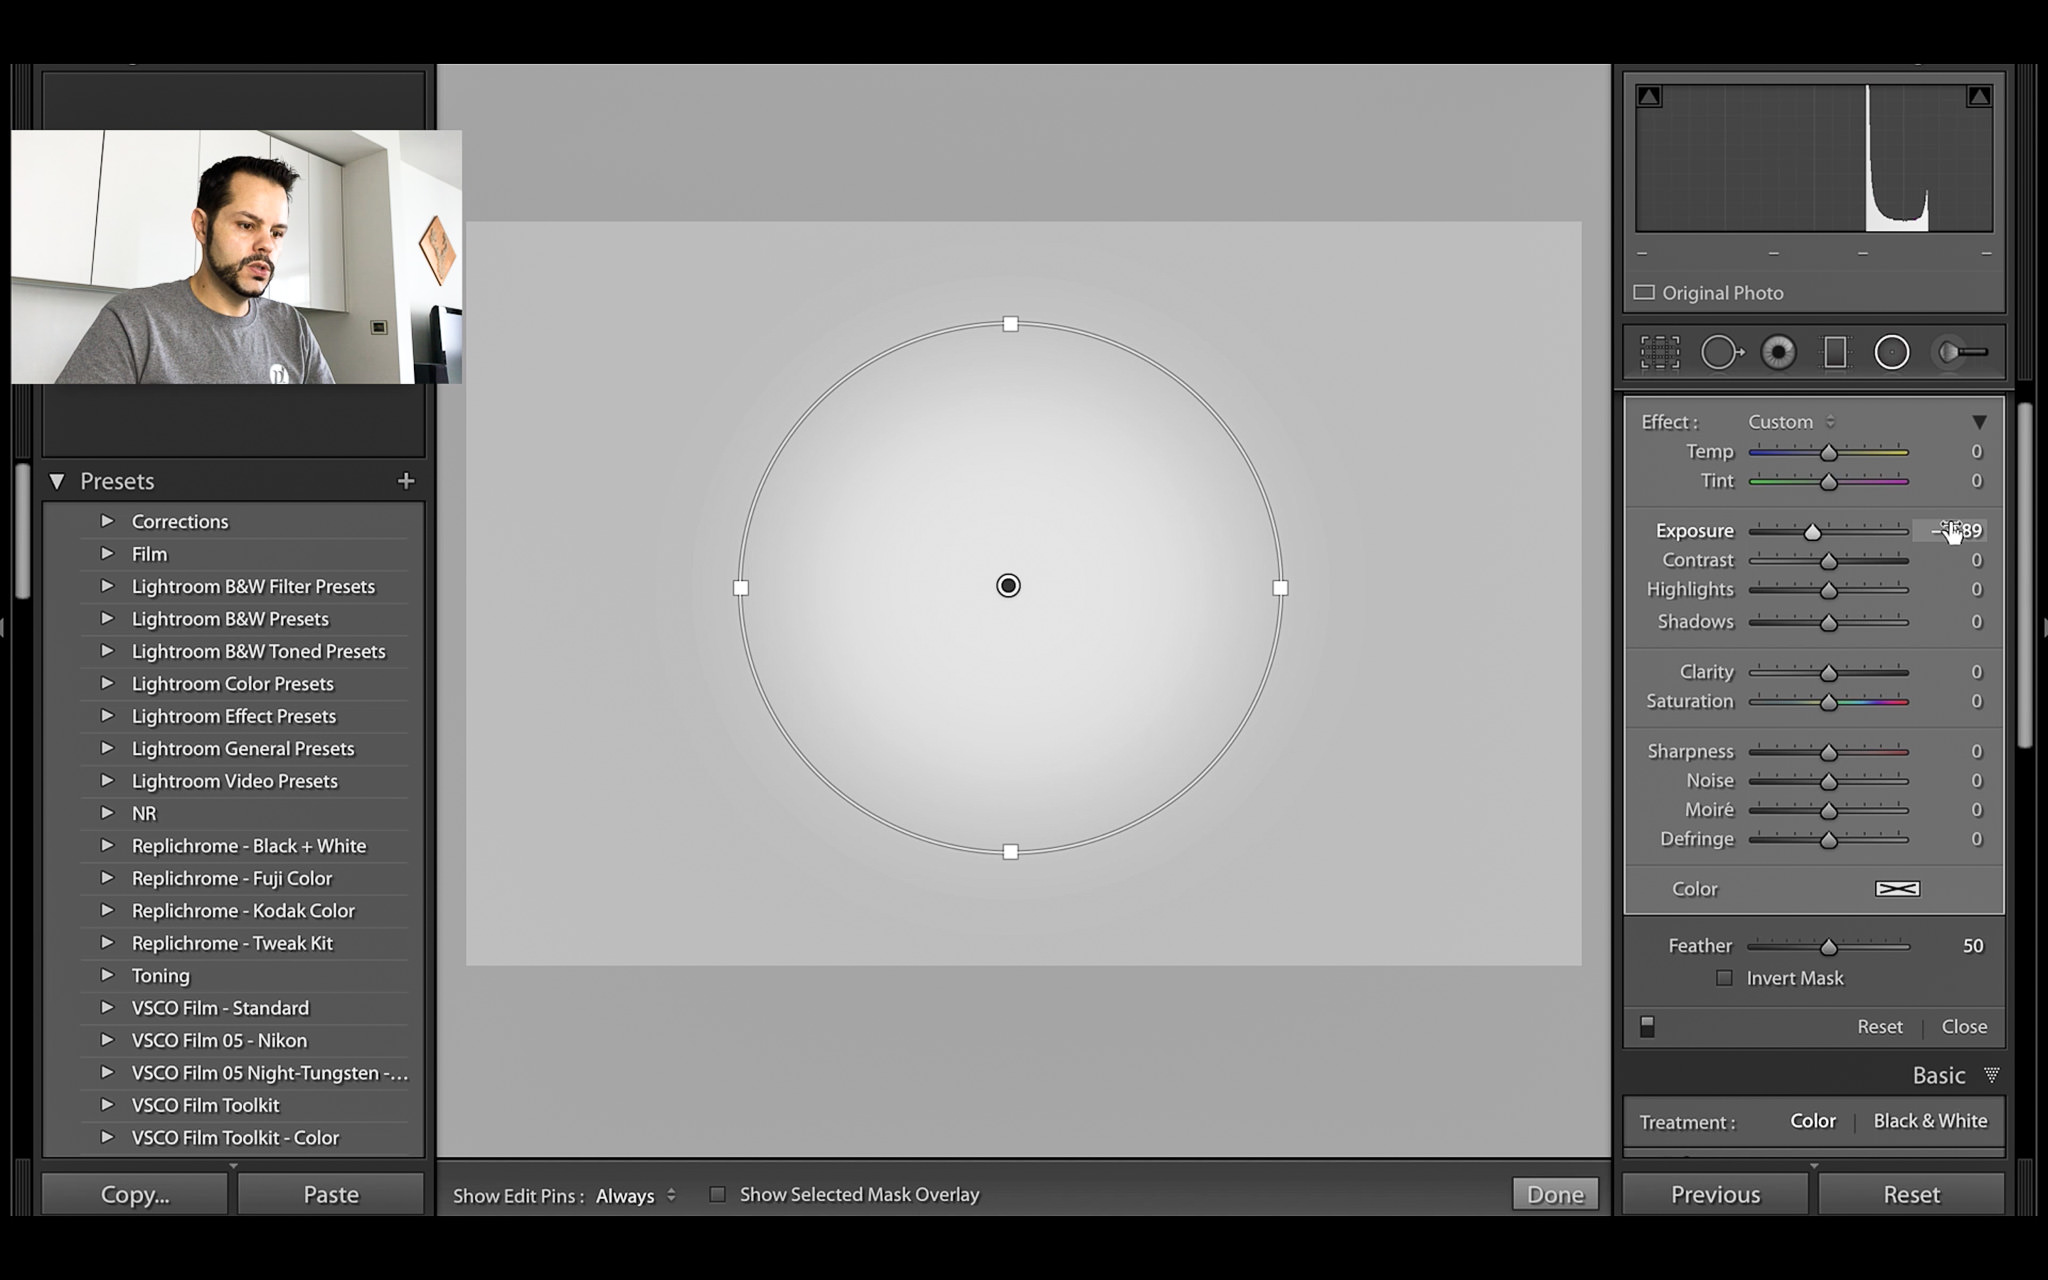
As you saw, the radial filter works by applying a gradual change to an image that radiates from a point of your choosing. Say you want to have the exposure of your image gradually get darker in all directions as you move away from your subject. The radial filter can help you do exactly this. By adjusting the feather of the radial filter, you can adjust how gradually the effect changes.
The radial filter also includes a brush tool. This allows you to brush in additional effect if you need it somewhere that the current radial filter is not touching. You can also erase portions of a radial filter to keep it from affecting particular areas of your image.

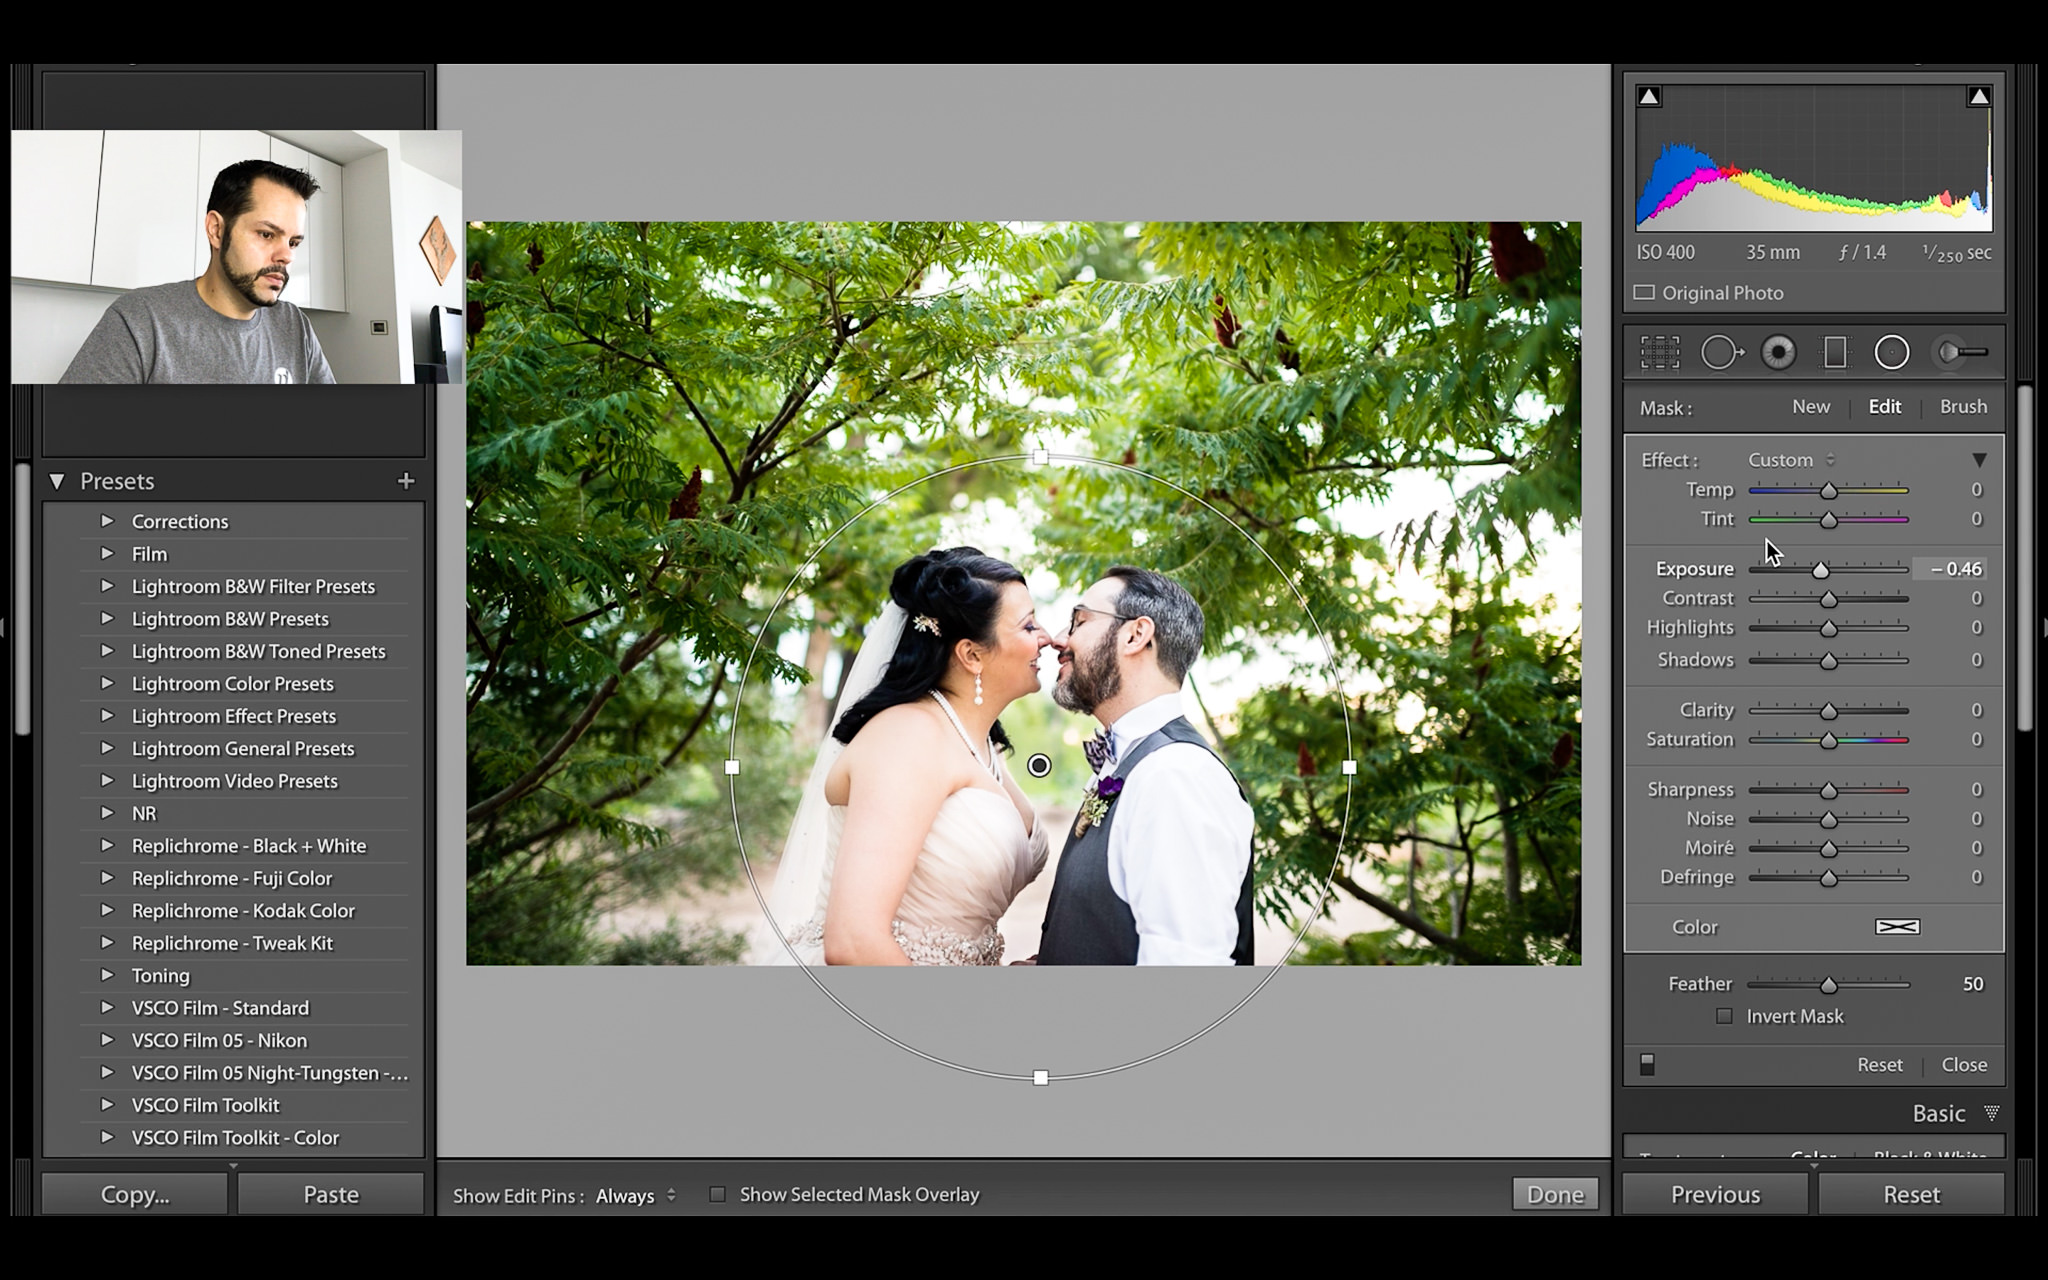
Regardless of what type of photography you do, I’m sure the radial filter will find a way into your editing workflow. For example, if you have a photograph of some trees and want to enhance some sunlight that’s bursting through an opening in the leaves, you can use an inverted radial filter with an increased exposure and even a bit of warm color temperature to do just that. If you’re a portrait photographer and want to subtly bring more focus to your subject, you can use a radial filter to decrease the exposure around him or her.
You might think that the adjustment brush can do everything that the radial filter can do, and honestly, you would be correct. The advantage that the radial filter has over the adjustment brush is that it is much faster to use if you need to make adjustments to large parts of an image. It also applies the effect much more evenly and gradually with much less effort than the adjustment brush.
Lastly, it is important to understand that one can use more than just one layer and type of radial filter in a single image, so you can apply a number of different types of effects.
Since Lightroom is a non-destructive post-processing software package, all adjustments to images are added as invisible “layers” and each adjustment is recorded in the history tab. This means that tools like the radial filter can slow down your editing when heavily used, especially when a lot of other adjustments, such as spot healing are applied to the image. For best performance, we recommend that you apply spot healing after all the adjustments are made since it is known to dramatically slow down editing in Lightroom.
We hope you have enjoyed our video on how to use the radial filter in Lightroom. Please note that Nasim and I are starting new series of YouTube videos that will cover a lot of different topics. I will be starting out with Lightroom basics as I have done above and eventually cover more complex editing, while Nasim is planning to post the process of editing of his images in both Lightroom and Photoshop, which will be much more advanced in comparison. Please let us know if there are any videos you’d like to see us make!
If you like this video, please consider subscribing to our YouTube channel now so you’re sure to know when we post something new!
Very informative and useful tips! I learned here: www.videostudiopro.com/en/pa…o-filters/ about using video filters and I find it much easier to use than Lightroom , but anyway great tips and nice work you done :)
Very good article/video, John. As a long time Bridge-ACR-Photoshop workflow user I would love to see Photography Life provide some balance to the Lightroom heavy collection of Post Processing articles. Just my personal preference and not meant to be a negative toward Lightroom.
Thanks Dave! I personally don’t really use anything besides Lightroom, so I’m not the person to do that. I’m pretty sure Nasim is planning to eventually do some advanced Photoshop videos. As for overall workflow, I’m not sure anyone on the team has a workflow outside of Lightroom, so that’s probably why we’re so Lightroom heavy.
Great short instructional video. Thanks!
You’re very welcome, Lucy!
Thank you for that tip, for I never did learn how to use the Radial Filter well and so never use it, being a beginner with light room.
You’re welcome, Alfred. I hope you can find some use for it.
There also exists the ability to rotate the mask by clicking/hold just outside the border of the mask and dragging either CW or CCW until the desired effect is achieved.
You’re right! I forgot to mention that in the video. Thanks for pointing it out.