Have you ever wondered how to use the graduated filter in Lightroom in order to help balance out your images and help recover more information? In this article, I will share some detail about the specifics of the graduated filter and show everything you need to know about using this valuable tool in a concise, step by step video. If you are just starting out in Lightroom, this will be a good introduction to using the graduated filter, which keyboard shortcuts to use to access it and how to do basic customizations to make the tool fit your needs.
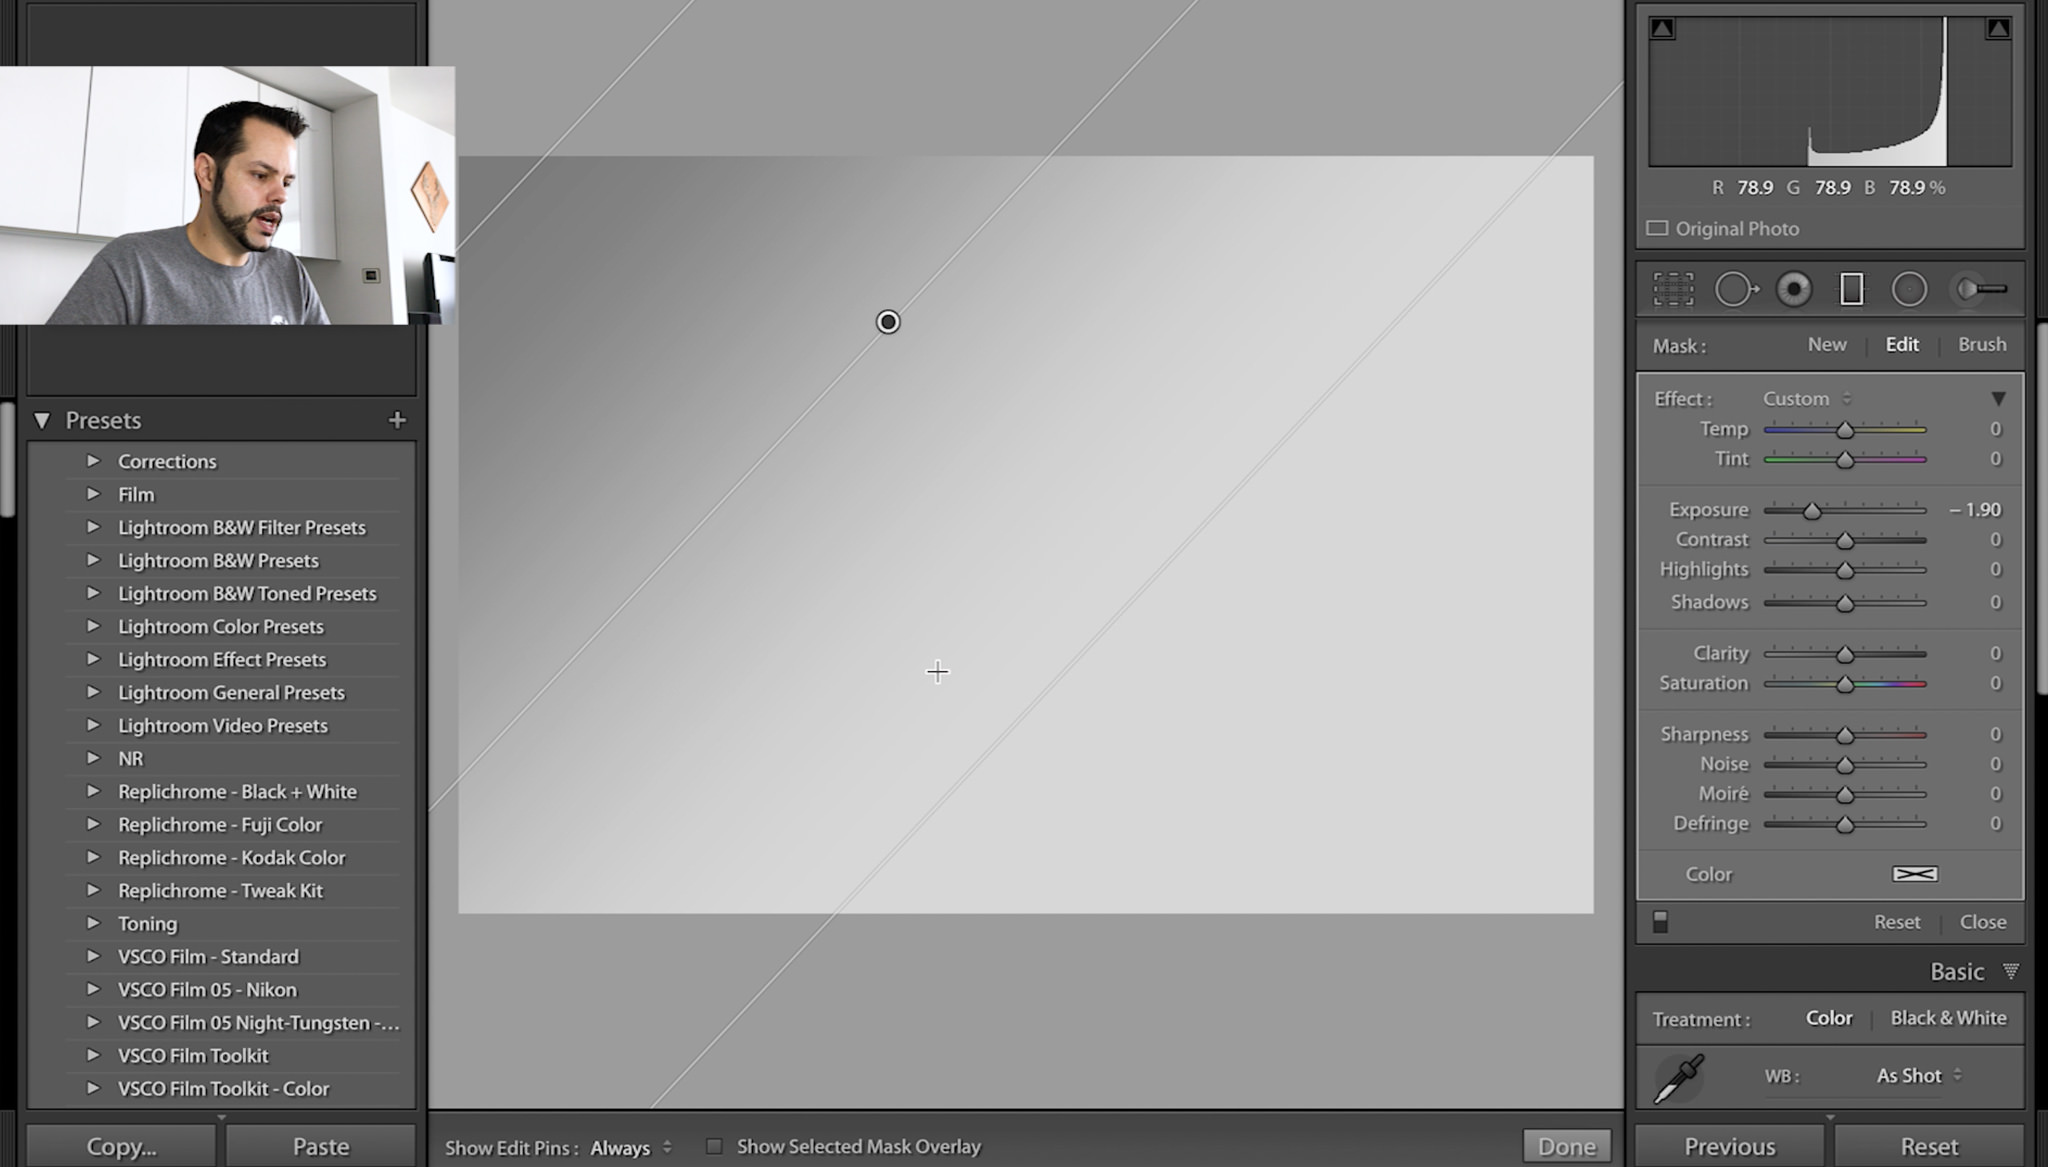
As you can see in the video, the graduated filter can be used to evenly affect large areas of an image:
Many landscape photographers who use Lightroom on a regular basis will find themselves using the graduated filter to adjust certain parts of their images. It will typically be exposure, but the graduated filter can be used for many different things. One can use it to adjust contrast, shadows, and highlights, or even change the white balance in a particular part of an image. If you’re not a landscape photographer, I can bet that you’ll still be able to find a use for this tool! It can be very useful for shaping the light in an image, even without a distinct horizon in sight.
You can also use the graduated filter tool to add color to select parts of an image. Regardless of what type of photography you enjoy, adding a bit of color can dramatically change the look and feel of an image, so we recommend that you explore the possibilities using some of the techniques highlighted in the video.
Due to its nature, the graduated filter changes an image. Fortunately, you’re not stuck with the changes that are made. If you end up changing a portion of your image that you did not want to affect, you can simply switch to the Erase brush within the graduated filter tool and easily brush off those selections.

Lastly, it is important to understand that the one can use more than just one layer and type of graduated filter in a single image, so you can apply a number of different types of effects.
Since Lightroom is a non-destructive post-processing software package, all adjustments to images are added as invisible “layers” and each adjustment is recorded in the history tab. This means that tools like the graduated filter can slow down your editing when heavily used, especially when a lot of other adjustments, such as spot healing are applied to the image. For best performance, we recommend that you apply spot healing after all the adjustments are made, since it is known to dramatically slow down editing in Lightroom.
We hope you have enjoyed our video on how to use the graduated filter in Lightroom. Please note that Nasim and I are starting a new series of YouTube videos that will cover a lot of different topics. I will be starting out with Lightroom basics as I have done above and eventually cover more complex editing, while Nasim is planning to post the process of editing of his images in both Lightroom and Photoshop, which will be much more advanced in comparison. Please let us know if there are any videos you’d like to see us make!
If you like this video, please consider subscribing to our YouTube channel now so you’re sure to know when we post something new!
Thank you so much. I use the graduated filter a lot. I had no idea about using the erase function on the filter. There is so much to learn on lightroom develop. Long may these videos continue.
I’m glad this helped you Mark. Lightroom has so many features, it’s hard to know about all of them. Hopefully you’ll keep learning new things from future videos!
Outstanding video, John. I am learning LR and your videos are packed full of good information and concise. Thank you!
Thank you Jeff! Glad the videos are helping you to learn LR!
I’m blown away how anyone can leave negative feedback for helpful information, if one does not agree with the post, disregard but negative response, totally not necessary and I find actually quite rude.
I cannot agree more with you.
Yes, me too.
Count me in….?
Several useful tips in this video. I have used this filter but I learned some news tricks today.
Minor quibble: like many video presenters, I find your use of “go ahead” and “go in” a bit annoying. Those phrases aren’t needed. “Go ahead” implies that you are doing things outside the normal sequence.
Jim, glad to hear you picked up a few new tricks!
Thanks for the tips.
I sometime use the graduated filter tool when I use use the camera’s on board flash. The part of the frame that is closest to my flash is brighter than the part of my picture away from the flash. I darken one side, and lighten the other side, using 2 filters. I get an evenly exposed picture that way.
As you said, there are lots of ways to use this tool. It is one of my favorites.
Don, that’s a great use for the graduated filter. I often use it to achieve the same effect when one side of my subject is too bright or dark.
There is always something to learn in LR even when one has been using it a long time. What I learned from this video is holding down the shift key when using the graduated filter for making sure you!ve gotten a straight line. And the reminder that one can use multiple graduated filters in the same image. Thanks
Glad you learned the shift trick Marlene! I plan to do a few videos that only cover useful tricks like this, so keep an eye out!
RTFM?
I don’t see the point of video posts like this other than maybe as a trailer for the PL photo course.
A recent article demonstrating less well-known features of Lightroom was genuinely interesting and useful to many but this is so basic as to be simply pointing out the obvious.
Also, at the risk of sounding nitpicky, would it not be a good idea, when doing a LR editing video, to first make sure that neither the highlights nor the shadows were blown out in the example image? It’s that white point and black point thing again.
As always, thanks so much for taking the time to leave feedback. I know it’s something I can always count on. If you don’t have anything to learn about Lightroom and have “read the manual”, please feel free to skip these posts that admittedly cover the basics. Many other readers seem to be learning something, which is the entire reason I’m making them.
I am sure I still have plenty to learn about Lightroom and more besides, but that’s not the point. The point is that the internet is chock full of dead basic videos like this that do little more than quote from the first five lines of the quick start guide.
I was hoping for a bit more from Photography Life which has become known for its rather more comprehensive coverage of most photographic subjects.
Betty,
Your comments inspired me to watch John’s video — even though I haven’t used any Adobe products for many years.
While watching his video, I gained the impression that John explained “How to Use the Graduated Filter in Lightroom” both succinctly and usefully; rather than yawningly laboriously. His video is, I think, also useful to some of us who use different image editing software.
Absolutely no disrespect intended towards John Bosley, nor to Photography Life, in my following observations…
After watching the video, I am at a complete loss to understand why the edited tree is an important feature of this wedding photograph. I would’ve heavily cropped that shot down to a portrait- rather than a landscape-mode presentation. In other words, I would want that fantastic pose of the couple to be presented with the absolute minimum of distraction from their surroundings.
Due to my decades spent photographing a plethora of genres, and my passions for arboreta, I can’t help seeing the edited image as the wedding couple posed in an attempt to enhance the tree; rather than a tree used to enhance the wedding couple. To me, either way, the photograph fails.
Obviously, my personal observations are insignificant compared to whether or not the wedding couple thoroughly enjoyed John’s edited photograph.
Thank you John for the useful tutorial.
My concern is to continue seeing such tutorials here at PL; I like them very much and find them useful to me and to many other people. Gurus can go wherever they want, despite that their presence here can be very enlightening if they mean to be enlightening. I can’t understand how Betty and Pete, with their (vast) expertise didn’t see that it was not about the weds nor their picture, it was about how to use a tool called graduated filter! I learned something new in these few minutes. You did not, so move on and spare us your negativeness please
The point I was making was not that the video is bad. It isn’t, it’s perfectly fine as far as it goes – but it just doesn’t get much past the starting blocks.
It’s probably just me. I always want to know the how and the why of everything, not just “if you push this slider, this happens”. If that’s fine for most then I guess it has to be fine for me too.
As the video is about editing, and as local adjustments (as with the graduated filter tool) are carried out after global ones, personally I would have made sure that the global adjustments had been carried out before embarking on local ones. To do otherwise simply leads to muddle in the editing process and can confuse a learner into thinking that applying a workflow at random is a recipe for success.
The composition is less of an issue for me as it’s not central to the subject of the video. That said, the couple in the picture are dominated by a strongly competing background – a large, dark, out of focus tree, busy background foliage and large areas of blank white sky.
For what it’s worth, a crop of the left side would result in a nice pyramidal composition, held in on each side by a darker tree limb and topped off with some mid toned greenery.
You are very welcome Rashad! I’m glad you’re finding these tutorials useful. Thank you for saying what I’m sure many people were thinking.
Rashad Hurani,
What was it about the second paragraph of my comment paragraph that you didn’t bother to read, let alone bother to understand? I wrote:
While watching his video, I gained the impression that John explained “How to Use the Graduated Filter in Lightroom” both succinctly and usefully; rather than yawningly laboriously. His video is, I think, also useful to some of us who use different image editing software.
Pete, I think Rashad was referring to your critique of the image in the third, fourth and fifth paragraphs, not what you said in the second paragraph.
Nor my sixth [my final] paragraph!
One of Photography Life’s goals is to provide useful and educational content for photographers of all skill levels. You’ll still get your advanced content, Betty, but don’t deny beginners some fresh content of their own on this site. All are welcome here!
Hello:
I wonder when are you going to make some coments about Tony Kuiper Panel and Actions?
Thank you
Francisco, these are Lightroom tutorials, not Photoshop. You might want to reach out to Tony Kuiper for tutorials – I don’t believe any of us at PL use these tools.
I want to learn how to make a video tutorial like this. Could you please do a training video on that subject. Thanks.
John, that’s not a bad idea, as everyone benefits from sharing what we know. It might be a little while, as we have a huge list of Lightroom videos we’re currently working on, but I’ll add this idea to the list. Thanks for the suggestion!
Thank you, John, for the valuable info on this tutorial.I was not aware of the brush tool application, useful learning point.
Keep up the good work.
Cheers
You’re very welcome Murali. Glad you learned something new!