If you find yourself editing photos but have a hard time deciding between different looks for a particular image, creating a snapshot in Lightroom is a great way to quickly switch between different image edits. Additionally, snapshots are also a great way to preserve a particular image edit even if you decide to completely change an image. Many people don’t know how to create a snapshot in Lightroom or even know that the feature exists, so I created a video to give you an idea of what they’re all about.
As you can see in this video, creating an image snapshot is very easy and can help you quickly preserve or switch between different image edits:
So what is a snapshot in Lightroom? A snapshot captures all of your edits for a particular image in one place. This is not the same as creating a Lightroom develop preset. With a develop preset, you can take parts or all of an image’s develop settings, save them, and apply them to other images. A snapshot, on the other hand, preserves all of your image edits for a particular image and lets you quickly revert to them with the push of a button.

Why would you want to create a snapshot? One reason might be to compare different image edits. Say you have a color image but are curious to see how the image looks in black and white. You can create a snapshot which preserves all of your current color edits. You can then make all of your black and white edits and create another snapshot. Now you can quickly switch between the fully edited color and black and white versions of the image. Another reason might be that you want to go back and re-edit older images, but don’t want to lose your original edits. Creating a snapshot of your original edits will preserve them, allowing you to freshly edit your image without losing any of your original work.
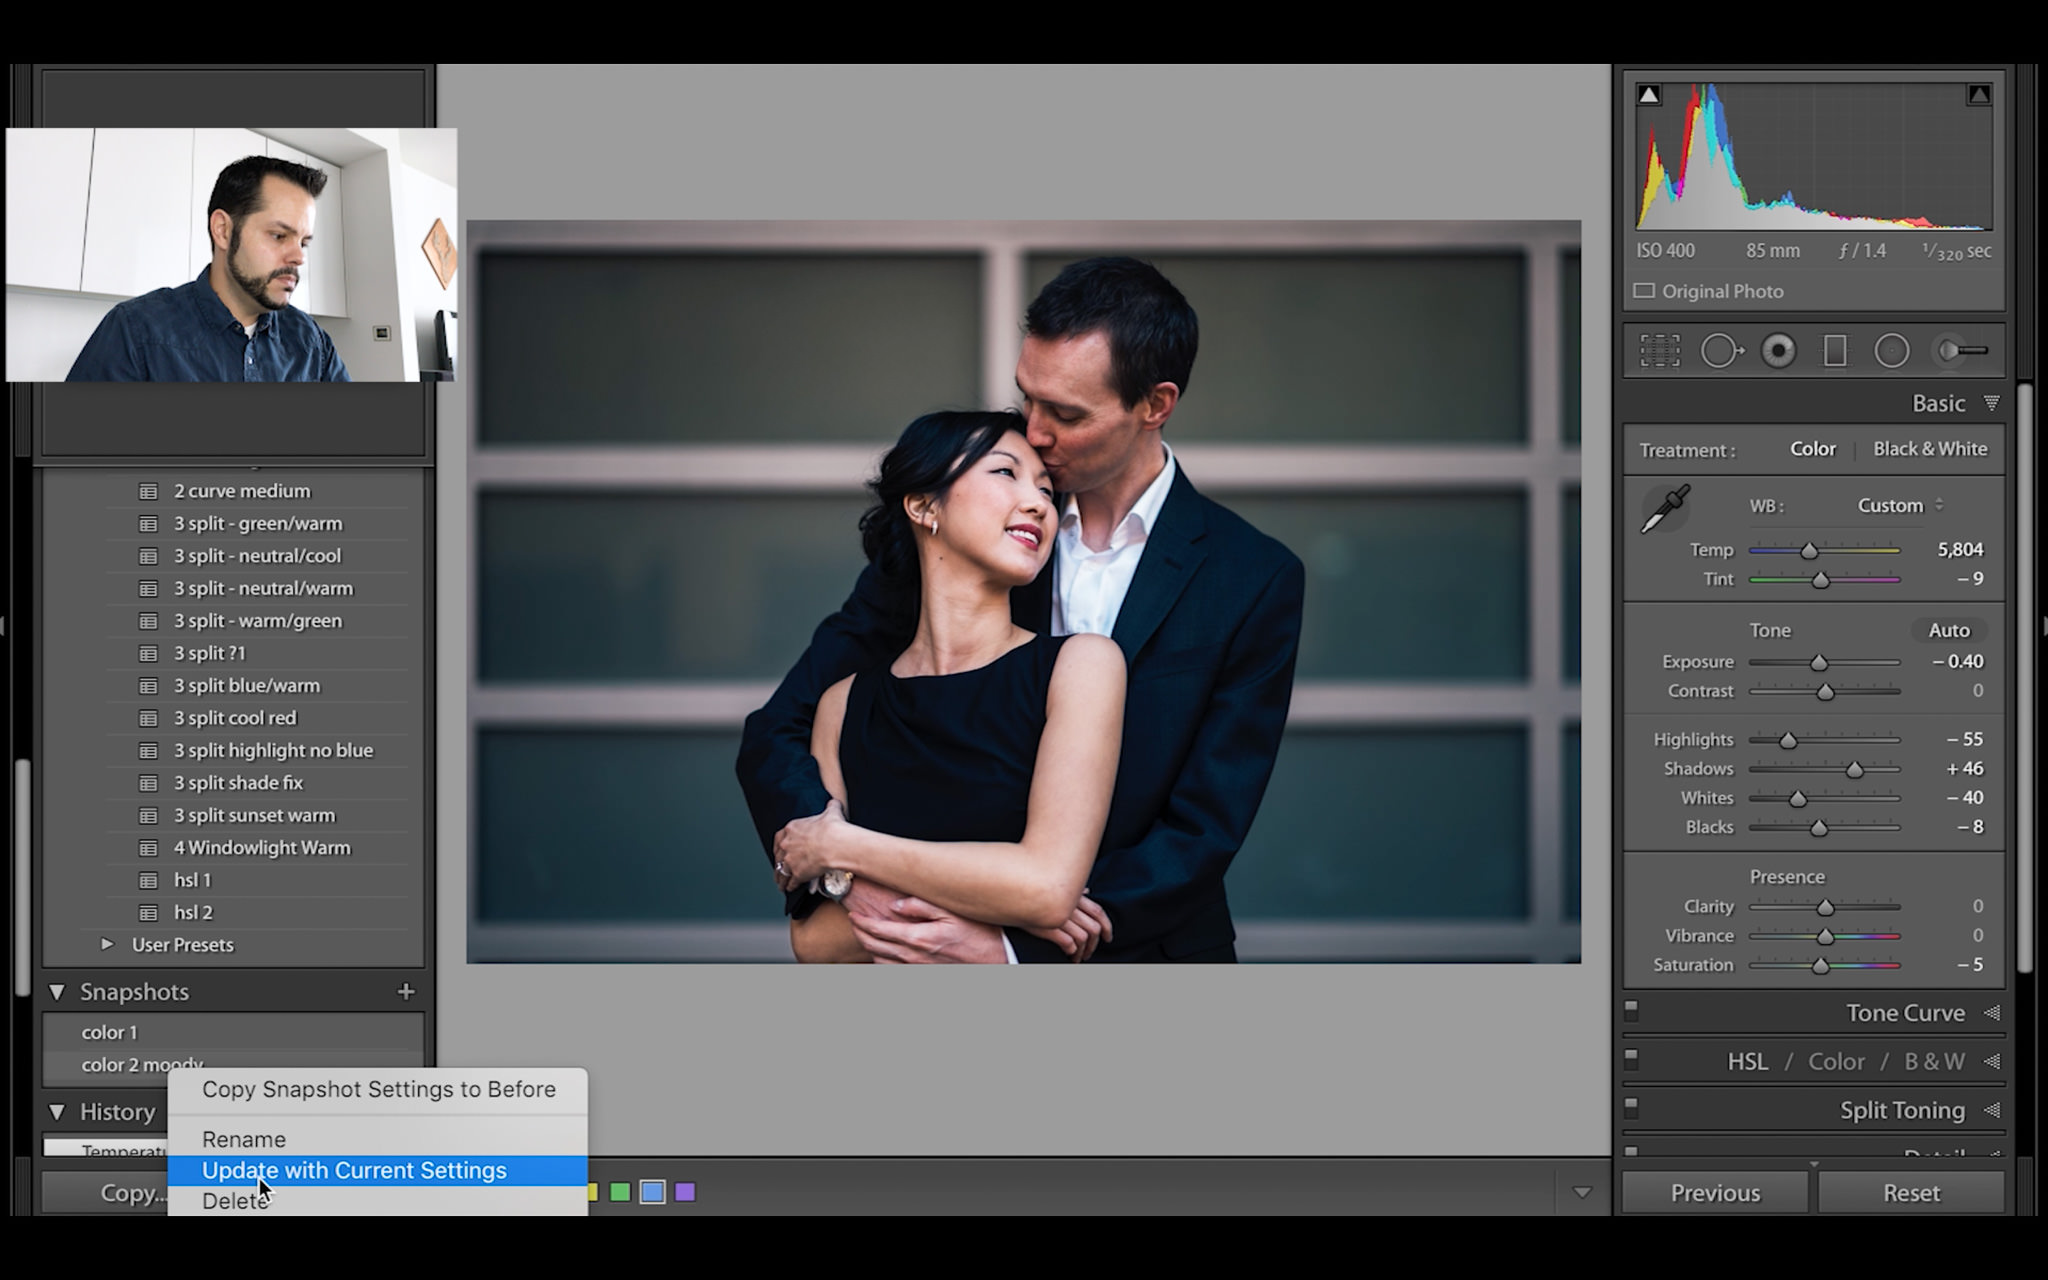
Snapshots can be given custom names and also renamed. They can also be updated with your current edits, so if you make changes to an image, you don’t have to create a new snapshot to reflect them. You can simply update an existing snapshot with the current edits. You can also delete snapshots if you create one and later decide you don’t need it anymore. All of these options are available by right-clicking on the snapshot you want to change.
While snapshots serve a similar purpose to virtual copies, they are a more concrete way of preserving exactly how an image is edited. Let’s say you have an image with three different edits: an original color edit, an updated color edit and a B&W edit. You can create two virtual copies of the image (in addition to the original), which is one for each version of the image. This gives you a way to preserve the three different edits. Alternatively, you can also create three snapshots within one image. If one of the virtual copies gets changed or reset, you won’t always be able to revert back to the preferred edit. With a snapshot, no matter what happens to the current image (or image history) the snapshot remains unchanged, meaning you will always be able to revert back to the exact image edits you wanted to preserve. It also saves clutter within your catalog by not having multiple copies of the same image.

Ultimately, creating Lightroom snapshots is a great way to preserve image edits. They allow you to experiment with different develop settings without having to worry about accidentally losing edits that you’ve already made. They also allow you to create multiple versions of an image without cluttering your Lightroom catalog with virtual copies. You might not need to create a Lightroom snapshot very often, but they are a great thing to know about in certain situations.
We hope you have enjoyed our video on how to create snapshots in Lightroom. Please note that Nasim and I are starting new series of YouTube videos that will cover a lot of different topics. I will be starting out with Lightroom basics as I have done above and eventually cover more complex editing, while Nasim is planning to post the process of editing of his images in both Lightroom and Photoshop, which will be much more advanced in comparison. Please let us know if there are any videos you’d like to see us make!
If you like this video, please consider subscribing to our YouTube channel now so you’re sure to know when we post something new!
John, thank you very much. Just I’m doing three versions of a group of photos and your tip arrived just on time.
Glad to hear it Jorge! Sometimes things just work out perfectly with the timing.
John,
A very informative video, thanks. One question comes to mind, which I also admit I could experiment to answer – how do snapshots interact with the image’s editing history? For example: Using your example, say I have created three snapshots – color 1, color 2, bw in that sequence. Can I go back to each snapshot and do further edits? Is the snapshot creation one step in the history log? What if I go back in history to a point before I created the snapshots and start doing different editing – are the snapshots lost?
Best regards,
Pete
Peter,
You’re welcome! Snapshots do not show up in an image’s history, so regardless of what you do with the history the snapshots remain once they’ve been created. Also, you can go back and update snapshots with further edits. Hope that helps.
John – thanks, yes, that helps a lot. The former software designer in me is fascinated by that separation. It increases significantly the value of snapshots.
Best regards,
Pete
Thanks John. I’ve been looking for this for so long. Never new it existed. What i used to do is virtual copies but ended up with a huge mess. Will give this a try
Ignacio
You’re very welcome Ignacio. I hope snapshots work out great for your workflow!