We’ve just published a new YouTube video, this one featuring me and Jason as we attempt to recreate a photo edit completely from memory. Thank you to Massimo Vignoli for sending us the photo in question! I won’t spoil the results, but I will say that it was harder than expected.
Here’s the video. Watch below to find out how we did, or click to watch on YouTube directly!
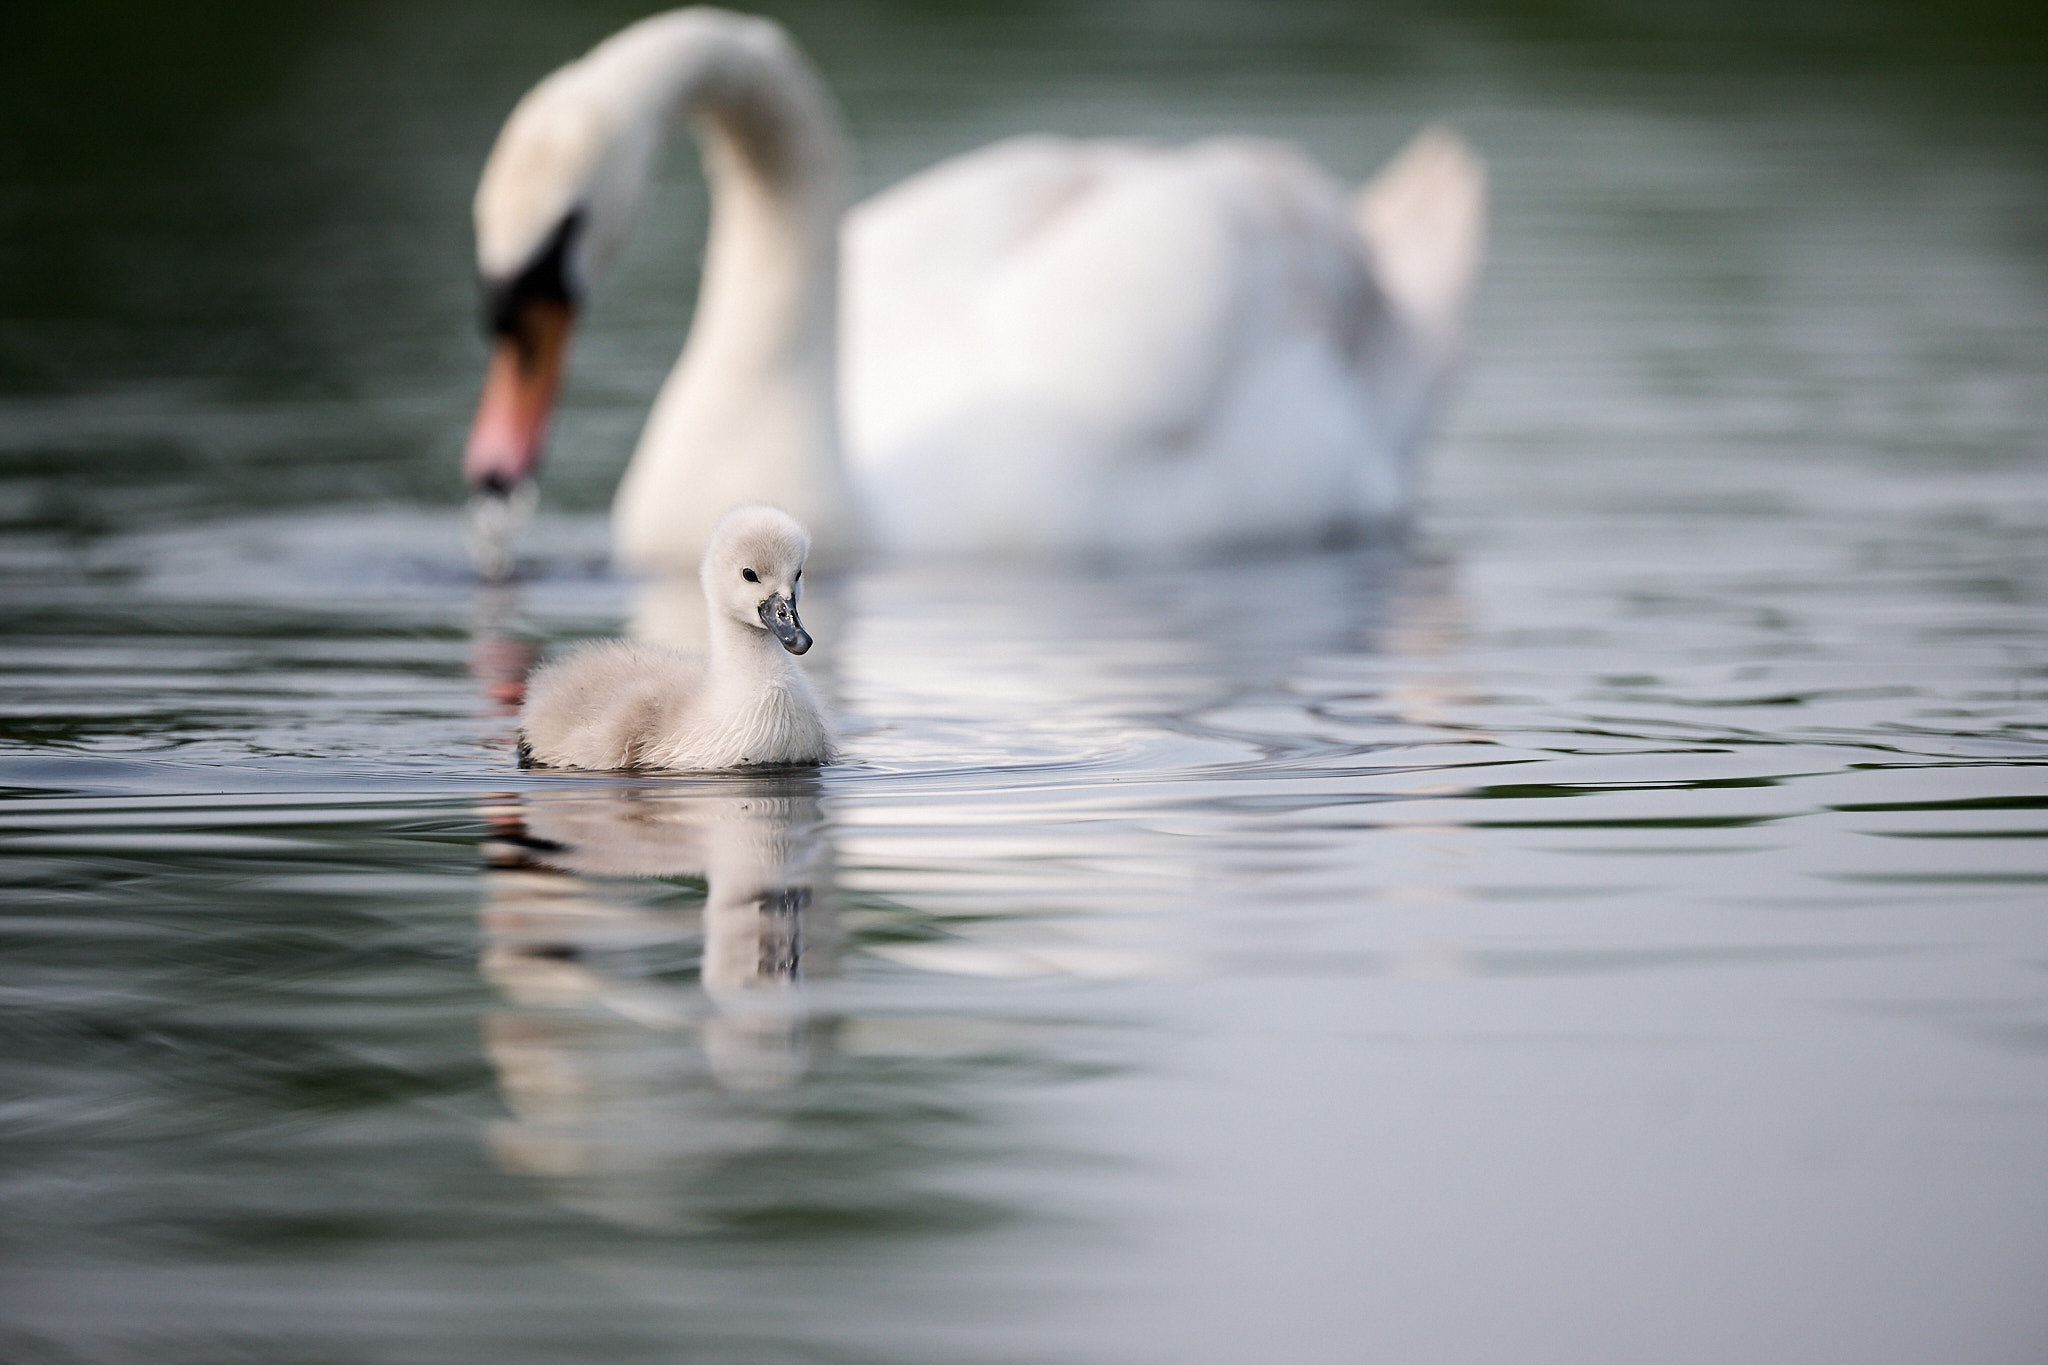
And if you want to follow along with the challenge, here is Massimo’s photo edit that you can try your best to memorize:
If you liked this video, let me know, and we may decide to film more like it in the future!
I think you boys both suffered from knowing too much. I think a slight lift of exposure, a bit of contrast and a bit of sharpening and you would have had it. But I enjoyed the demonstration. I don’t know if it is possible to actually duplicate someone else’s edit of their own picture. I usually can’t even duplicate my own edit of a picture of mine. I’ve found duplicating a crop I made to be nearly impossible. Good try, guys.
Good points. After filming the video, I tried to edit the RAW in Lightroom while looking at Massimo’s version as a reference, and it definitely required some significant color adjustments in order to look similar. But apparently Massimo didn’t do much color editing and just used Capture One’s “Camera Standard” color profile in combination with various tone curve adjustments!
So it really depends upon the starting point you’re working with, and it’s probably impossible to duplicate an edit perfectly without at least using the same software. (Part of the challenge Jason ran into during the video is that his software, Darktable, made the photo look much flatter and dimmer by default.)
I agree, the post-production style is hard to emulate.
I think a basic setting fooled you in this case: I always use Flat as the Picture Style to get an accurate histogram and a perfect viewfinder view, at least to my taste. Then I override it with CaptureOne “Nikon Z9 ProStandard” during import.
Then I only made a few settings to this photo (-10 highlights and a simple luminance curve).
Your software probably imports the Flat Picture Style from the file, and you worked to reconstruct the basic preparation.
I couldn’t have come up with a better prank than this even if I wanted to, hahaha.
No complaints from me, it made the video more entertaining!
Could be true. One thing to note is that CaptureOne and Lightroom both do several things that darktable does not do and they must be done by hand, though. So within the “Nikon Z9 ProStandard” that Massimo used, there is a Raw-to-display referred conversion plus default saturation settings. Darktable comes with all of that turned off in a sense: you must adjust the conversion from scene-referred data to display referred data yourself, and you must also adjust all the parameters of saturation to even get to a default that looks anything like the starting points in Capture One or Lightroom.
Therefore, even on principle, I could not do what Massimo did in his answer, because the starting point is much more bare.
This was really fun to watch! If you do learn from Massimo how he got the “soft highlights”, please share. It’s such a unique and beautiful look. (Your edits were great as well! I learned a lot!)
Thanks, Matt! Glad you liked the video. I’ll ask Massimo to reply here when he has a chance.
Hi Matt, it was a pretty simple edit, actually.
I use CaptureOne and set the default style, which is “Nikon Z9 ProStandard”.
Then:
– highlights: -10
– a pretty simple luma-curve just to add luminosity from midtone to highlights (I can’t upload the screenshot, but it is a very easy curve)
Thanks so much, Massimo. I’ve really been enjoying your articles and images.