Most of the time, I use my camera for photography, but it’s undeniable that modern cameras are usually packed with video features as well. If you’re thinking of filming some video with your camera but are a bit overwhelmed by where to start, these beginner-friendly tips should help you out.
Table of Contents
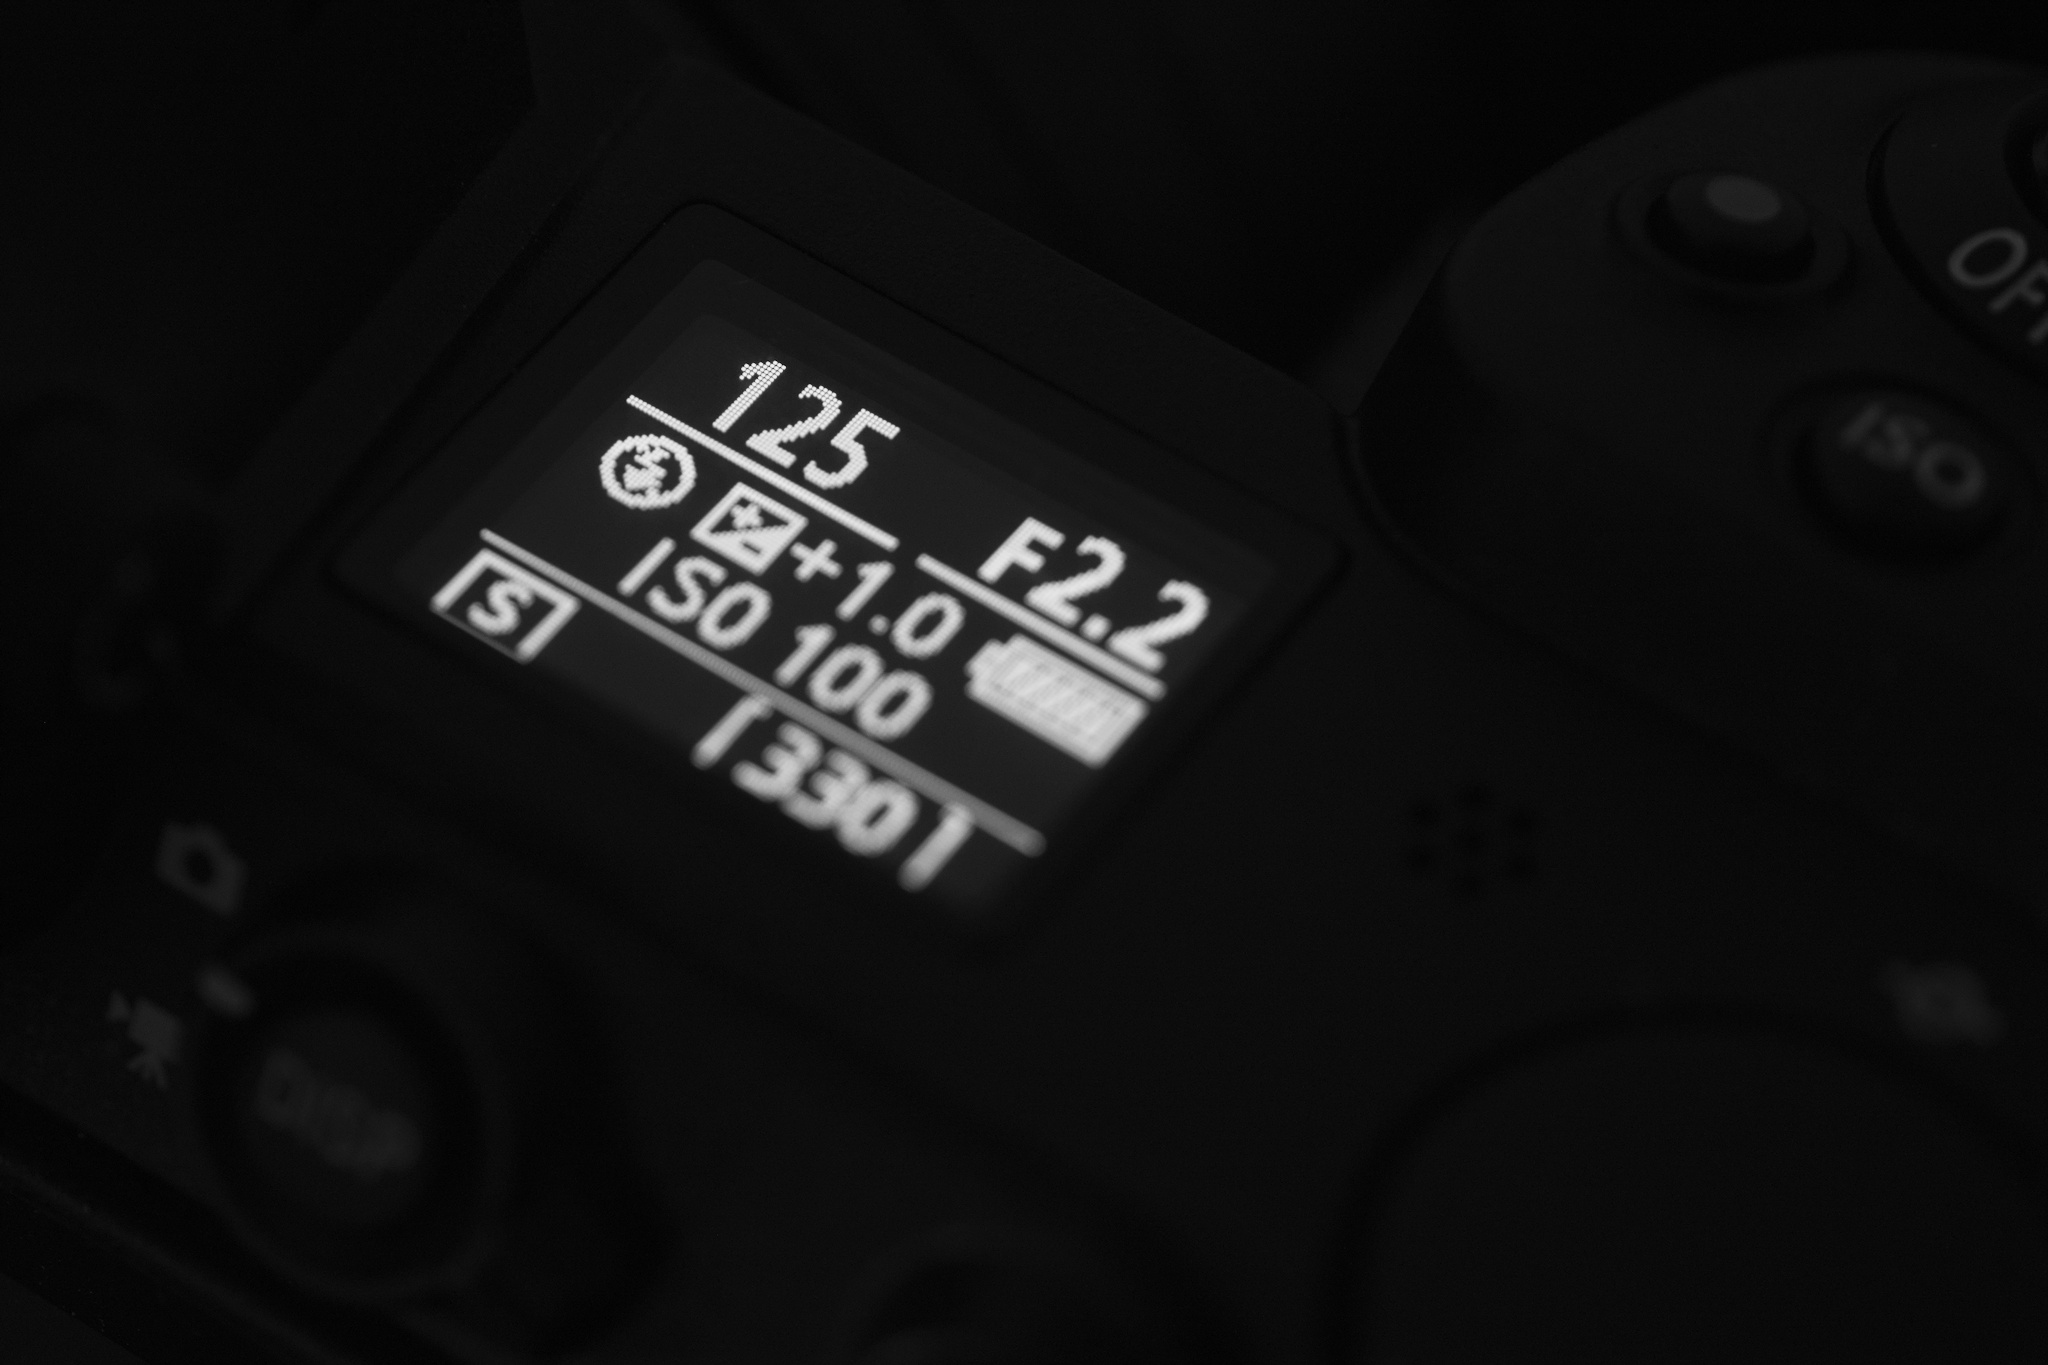
1. Start with Shutter Speed
Shutter speed for video works very differently than it does for photography. With a shutter speed that’s too fast, your footage will look choppy – but go too far in the other direction, and moving objects will seem unnaturally blurred.
The general rule is to set your shutter speed based upon the frame rate that you’re using. Simply double the frame rate, then invert it – that should give you the most natural looking motion. For example, if you’re shooting at 30 frames per second, your shutter speed should be around 1/60 second.
Since the exact shutter speed you want might not be available, here’s a quick table to help you out:
| Frame Rate | Best Available Shutter Speed |
|---|---|
| 24FPS | 1/50 |
| 30FPS | 1/60 |
| 60FPS | 1/125 |
| 120FPS | 1/250 |
| 180FPS | 1/400 |
Of course, there are creative reasons why you might choose a different shutter speed, but you can’t go wrong with this basic formula.
(If you’re trying to figure out which FPS to use, check out my more detailed guide – but for starters, a frame rate of 24 FPS is a cinematic look that works well for filming people, while 30 FPS is better for most other subjects. Higher frame rates like 60 FPS or 120 FPS are most useful for slow-motion video but can also work well for fast-moving subjects like wildlife.)
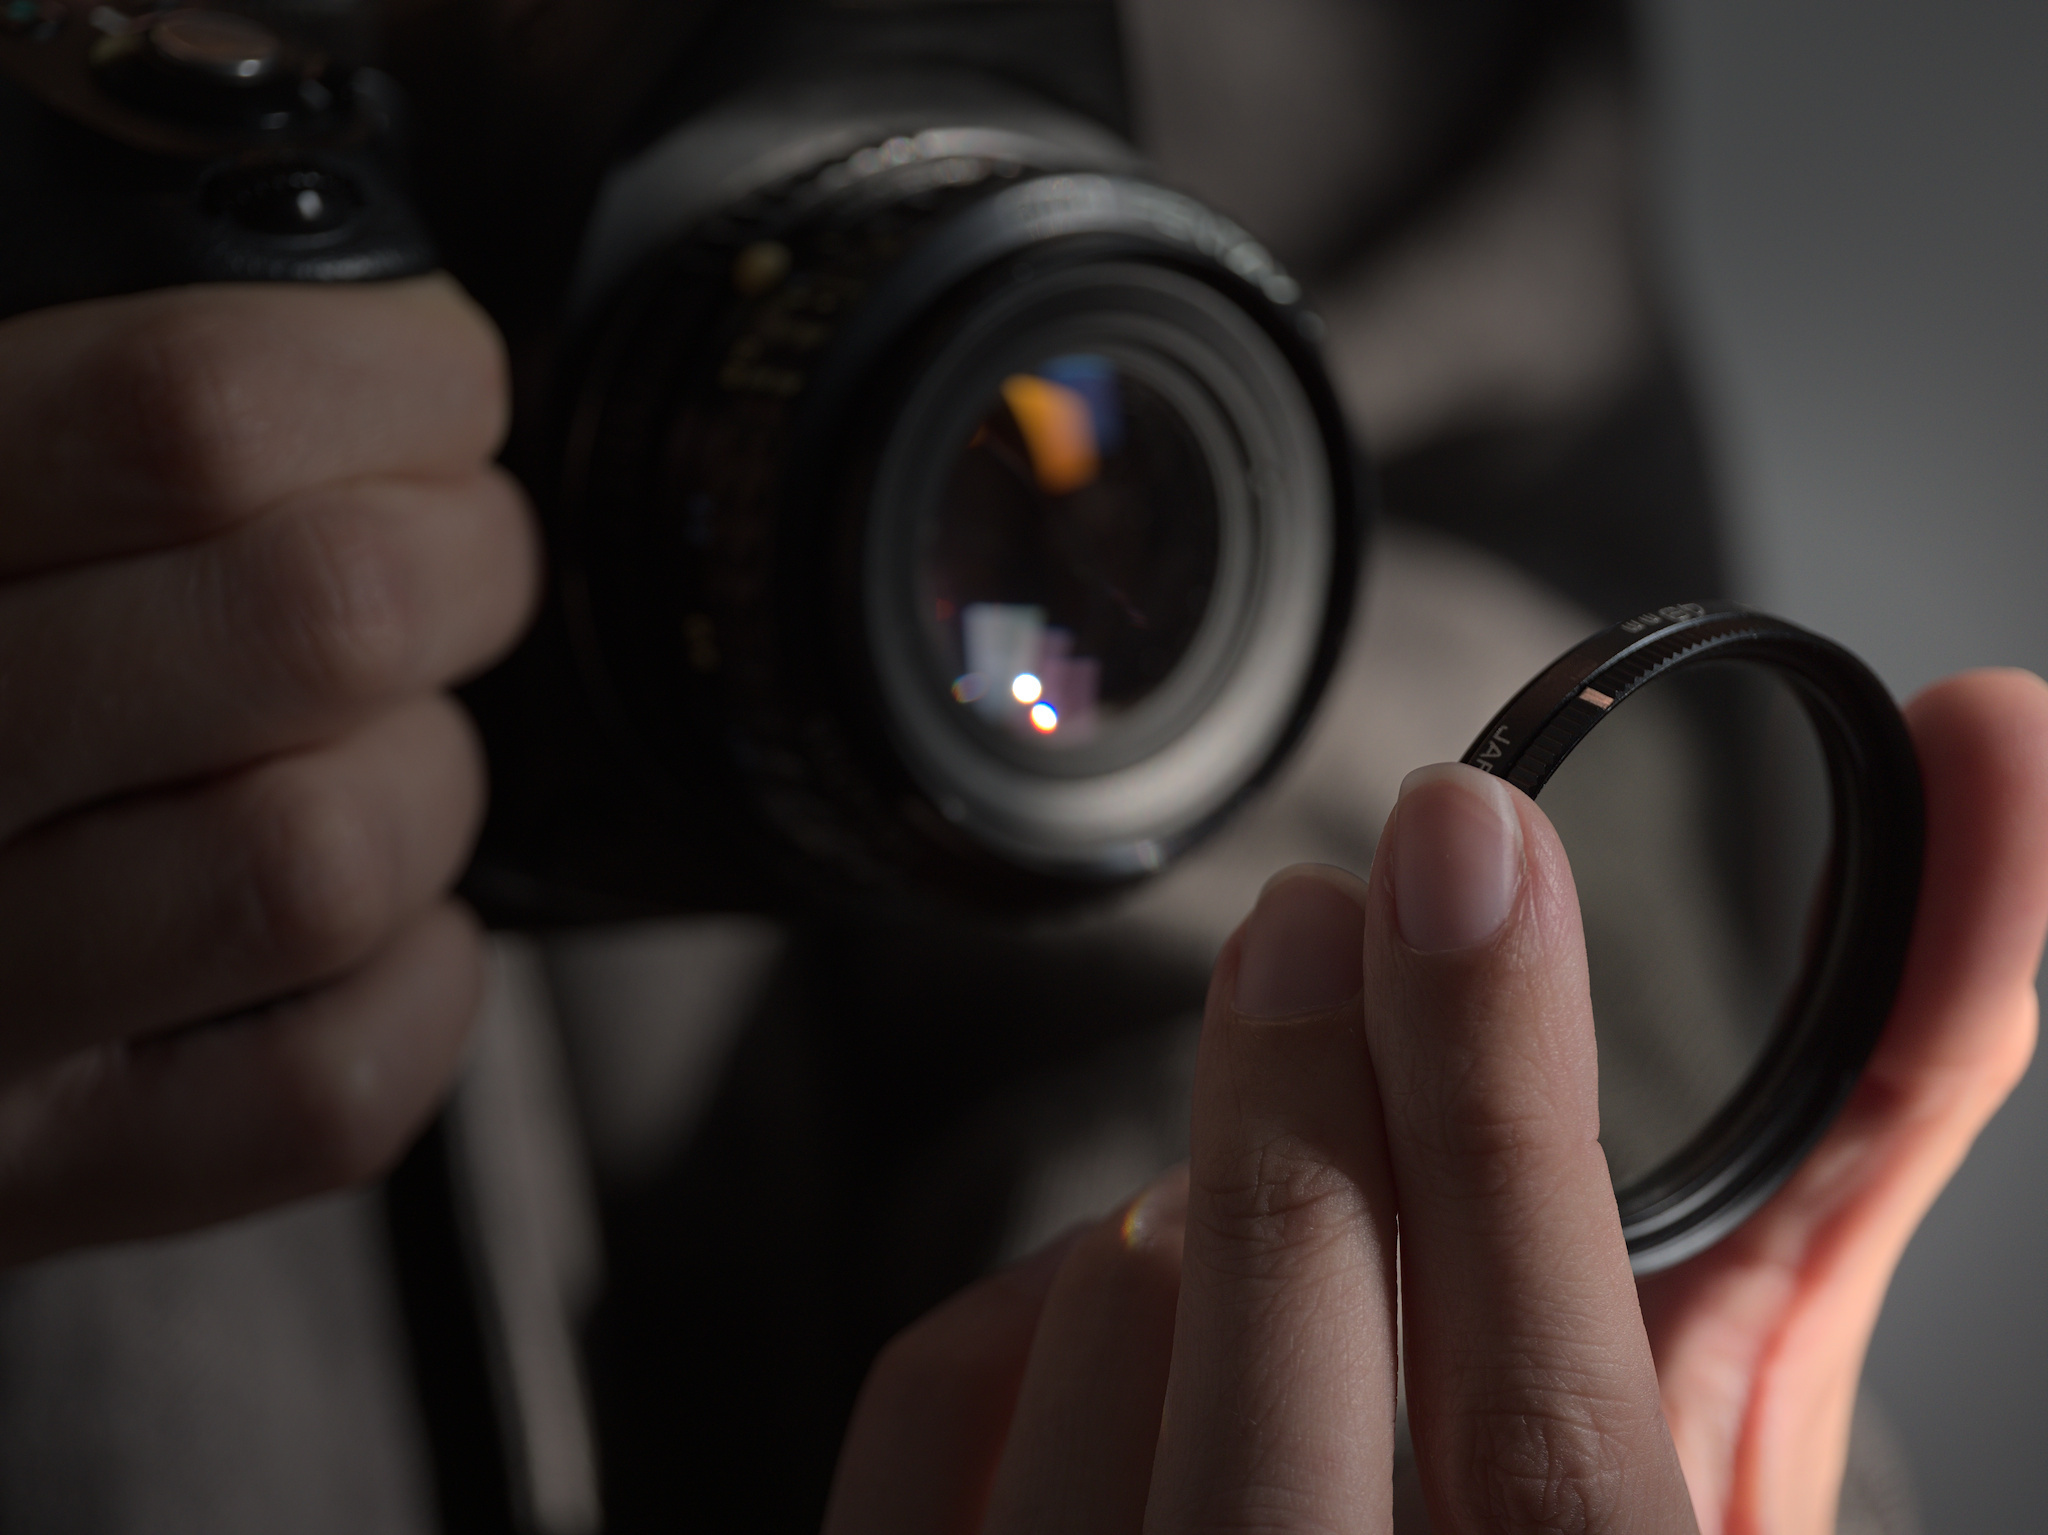
2. Get an ND Filter
From the previous tip, you may have noticed that most video requires fairly slow shutter speeds compared to photography. That means that you may struggle to avoid overexposure, especially if you’re shooting in bright light outdoors.
The solution is an ND (neutral density) filter, which reduces the light coming into your camera.
I know, it sounds a bit counterintuitive, since many photographers are used to having the opposite dilemma – not capturing enough light. But if you want the most natural motion blur, and you’re sticking to shutter speeds like 1/60 second, an ND filter is a big help.
If you’re keen on getting the right amount of light reduction with an ND filter, here’s a chart that will help you with the worst-case scenario: a sunny day, assuming that your camera’s base ISO is 100.
| Maximum Aperture You Want | Required ND filter for 24fps | Required ND filter for 60fps |
|---|---|---|
| f/1.4 | 8 Stops | 6 Stops |
| f/2 | 7 Stops | 5 Stops |
| f/2.8 | 6 Stops | 4 Stops |
| f/4 | 5 Stops | 3 Stops |
| f/5.6 | 4 Stops | 2 Stops |
| f/8 | 3 Stops | 1 Stop |
If you need many of these configurations, it pays to get a variable ND filter that can be adjusted while the filter is on the camera. Otherwise, a 3 or 4 stop ND filter is usually versatile enough to fit most conditions (remember that the above table is for a very bright, sunny day).
You may not even need an ND filter if it’s a cloudy day, you’re in a dark forest, or you’re indoors. If you’re using video lights indoors, ND filters are definitely not required.
If for some reason your filter is not strong enough, you can use a faster shutter speed without harming video quality too much. This is especially true at higher frame rates: I doubt many people will be able to tell the difference between the shutter speeds of 1/125 and 1/160 when shooting at 60 FPS, for example.
Hack: If you don’t have an ND filter, a polarizer can help, since they also reduce light by about 1-2 stops depending on the scene!
3. Set Your Camera to a Neutral Profile
Unlike in photography, chances are, your camera cannot shoot Raw. And even if you can shoot in Raw because you have a Nikon Z9, I certainly would not recommend shooting in Raw video as a beginner. In fact, I would not even recommend shooting in Log as a beginner.
What you should do, however, is set your camera’s picture profile to a neutral profile. This will still give you some flexibility for post-processing scenes with a lot of dynamic range, without being nearly as difficult to use as Raw or Log video. On most cameras, this is found in the movie menu under “Picture Profile” or “Picture Style.”
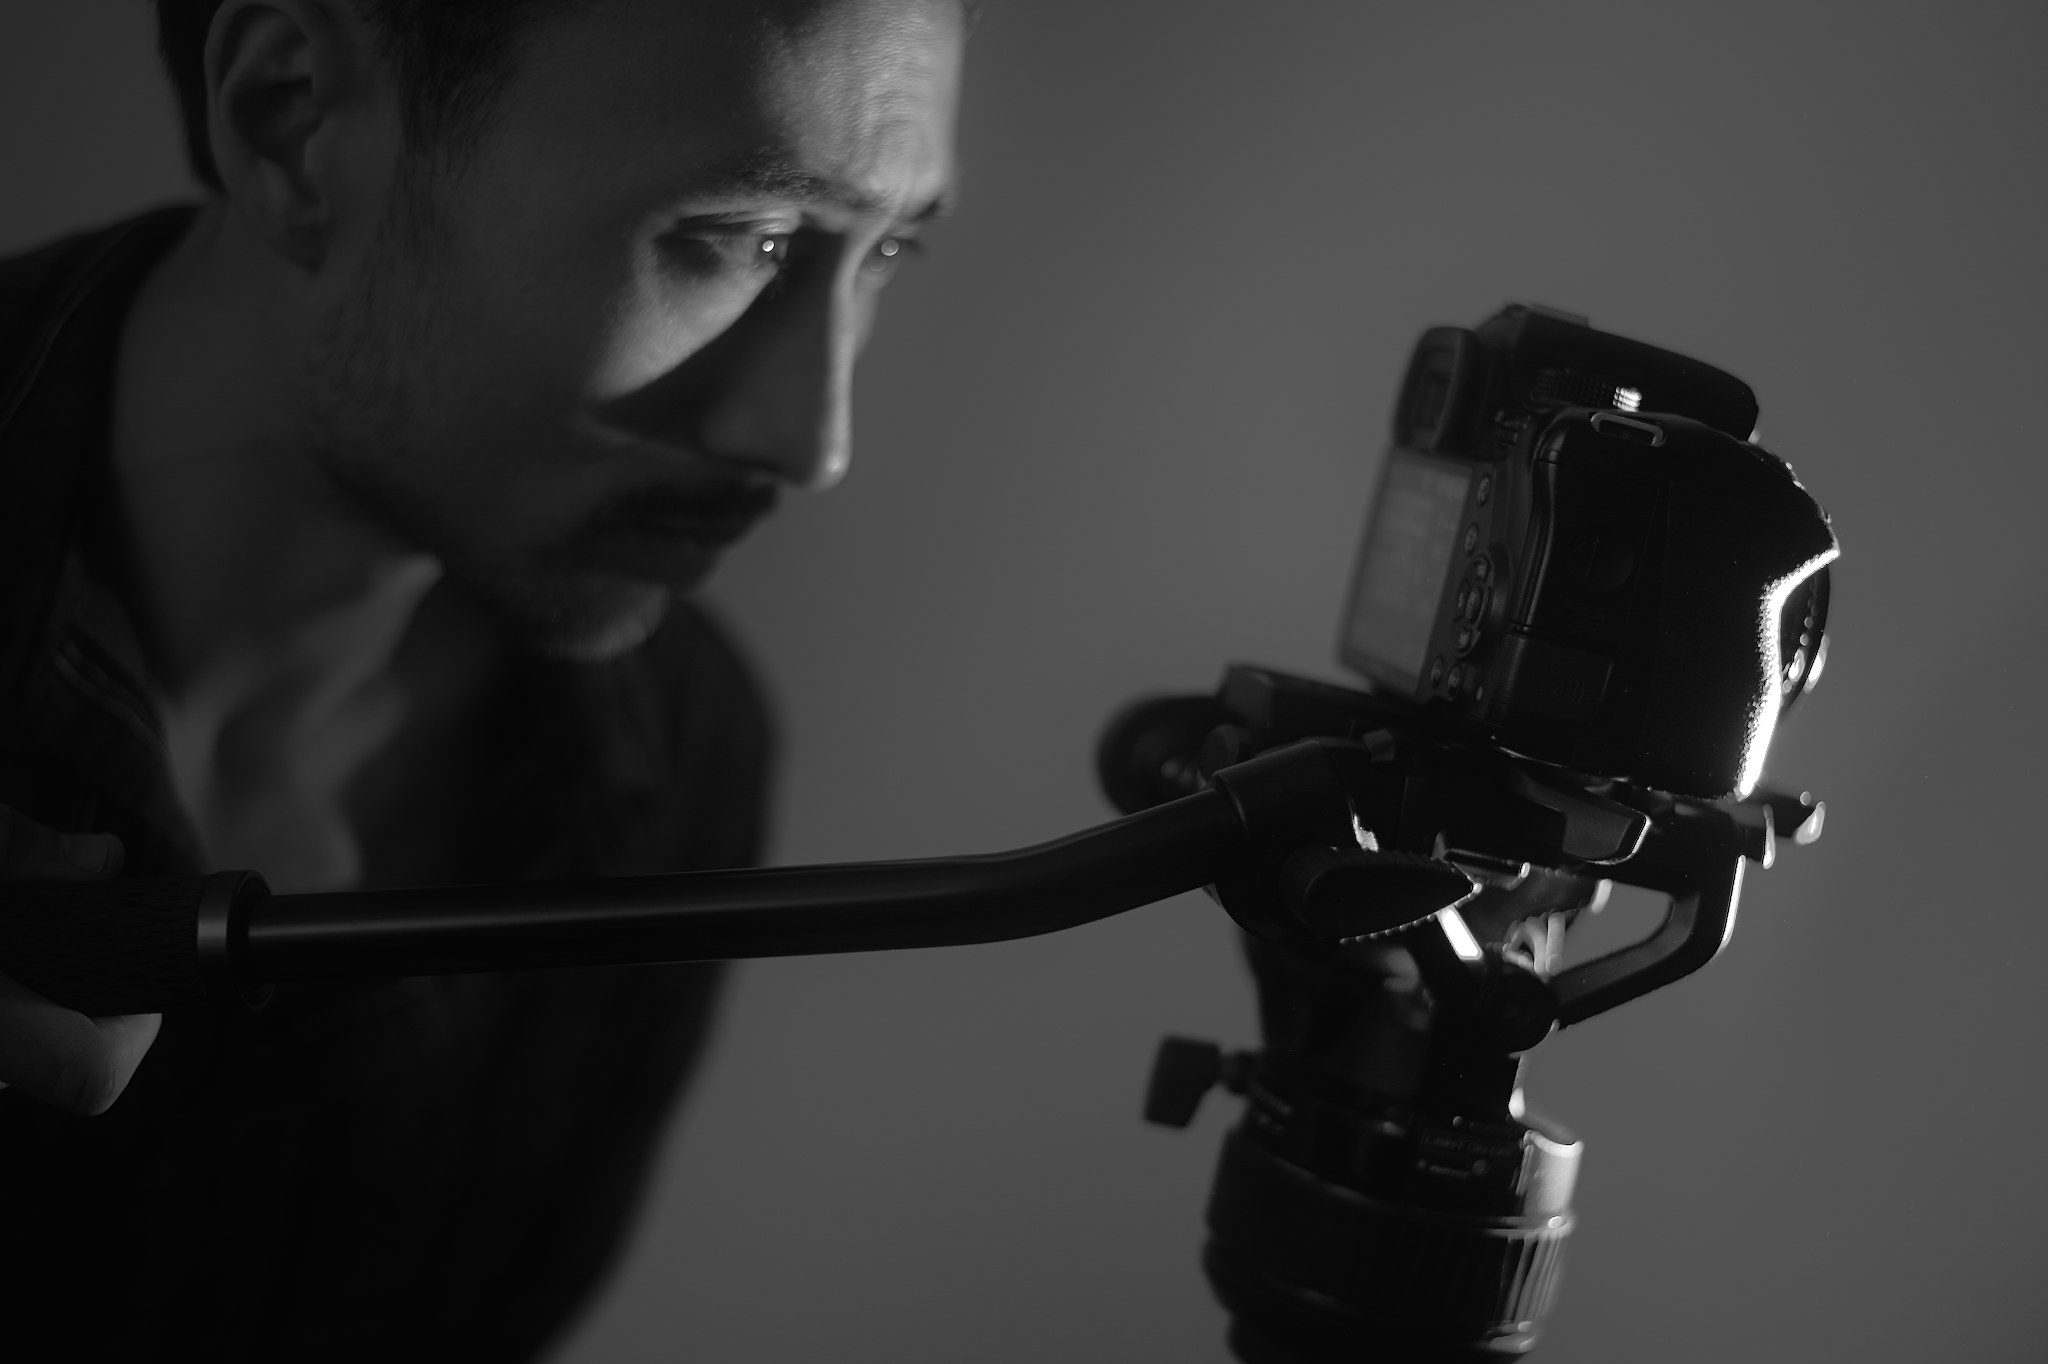
4. Shoot on a Tripod
For scenes where the camera does not have to move much, shooting on a tripod will help immensely.
It’s true that image stabilization systems are very good these days, and with normal lenses, I can get pretty stable hand-held footage, especially if I stabilize it in post. Still, what I have learned is that with any focal length, footage almost always looks better on a tripod (or other stabilization gear like gimbals, sliders, or cranes – but those are much more advanced).
That’s of course assuming you want the stable look. If you’re filming the next Bourne film, forget this tip.
5. Use An External Microphone
Even on the best cameras, the internal microphone will give you absolutely horrid audio quality. That’s not just because the microphone is bad, but because the microphone will be too far away from your sound source.
So, if you’re planning on talking in your video, be absolutely sure to pick up a shotgun microphone system, or for the best dialog, a lavalier microphone system.
Just remember the golden rule of video: people can overlook a few minor video problems like overexposure, but they will be absolutely repulsed by bad audio.
6. Reduce Noise in Your Audio
Since audio really is the most important aspect of video, I’ll give you one more tip: reduce noise or “background static” in your audio. There is really nothing worse than listening to a video with audible background static, and even the best audio setups will have some static.
Many programs can do this, but it’s easy enough that I’m going to give you a mini-tutorial here on how to do with the free software Audacity.
First, make sure you have a section in your audio without any talking or other noises you want in your recording. Select a piece of that “quiet” area containing just the static. Then go to Effect > Noise Removal and Repair > Noise Reduction. You should get a window that looks like this:
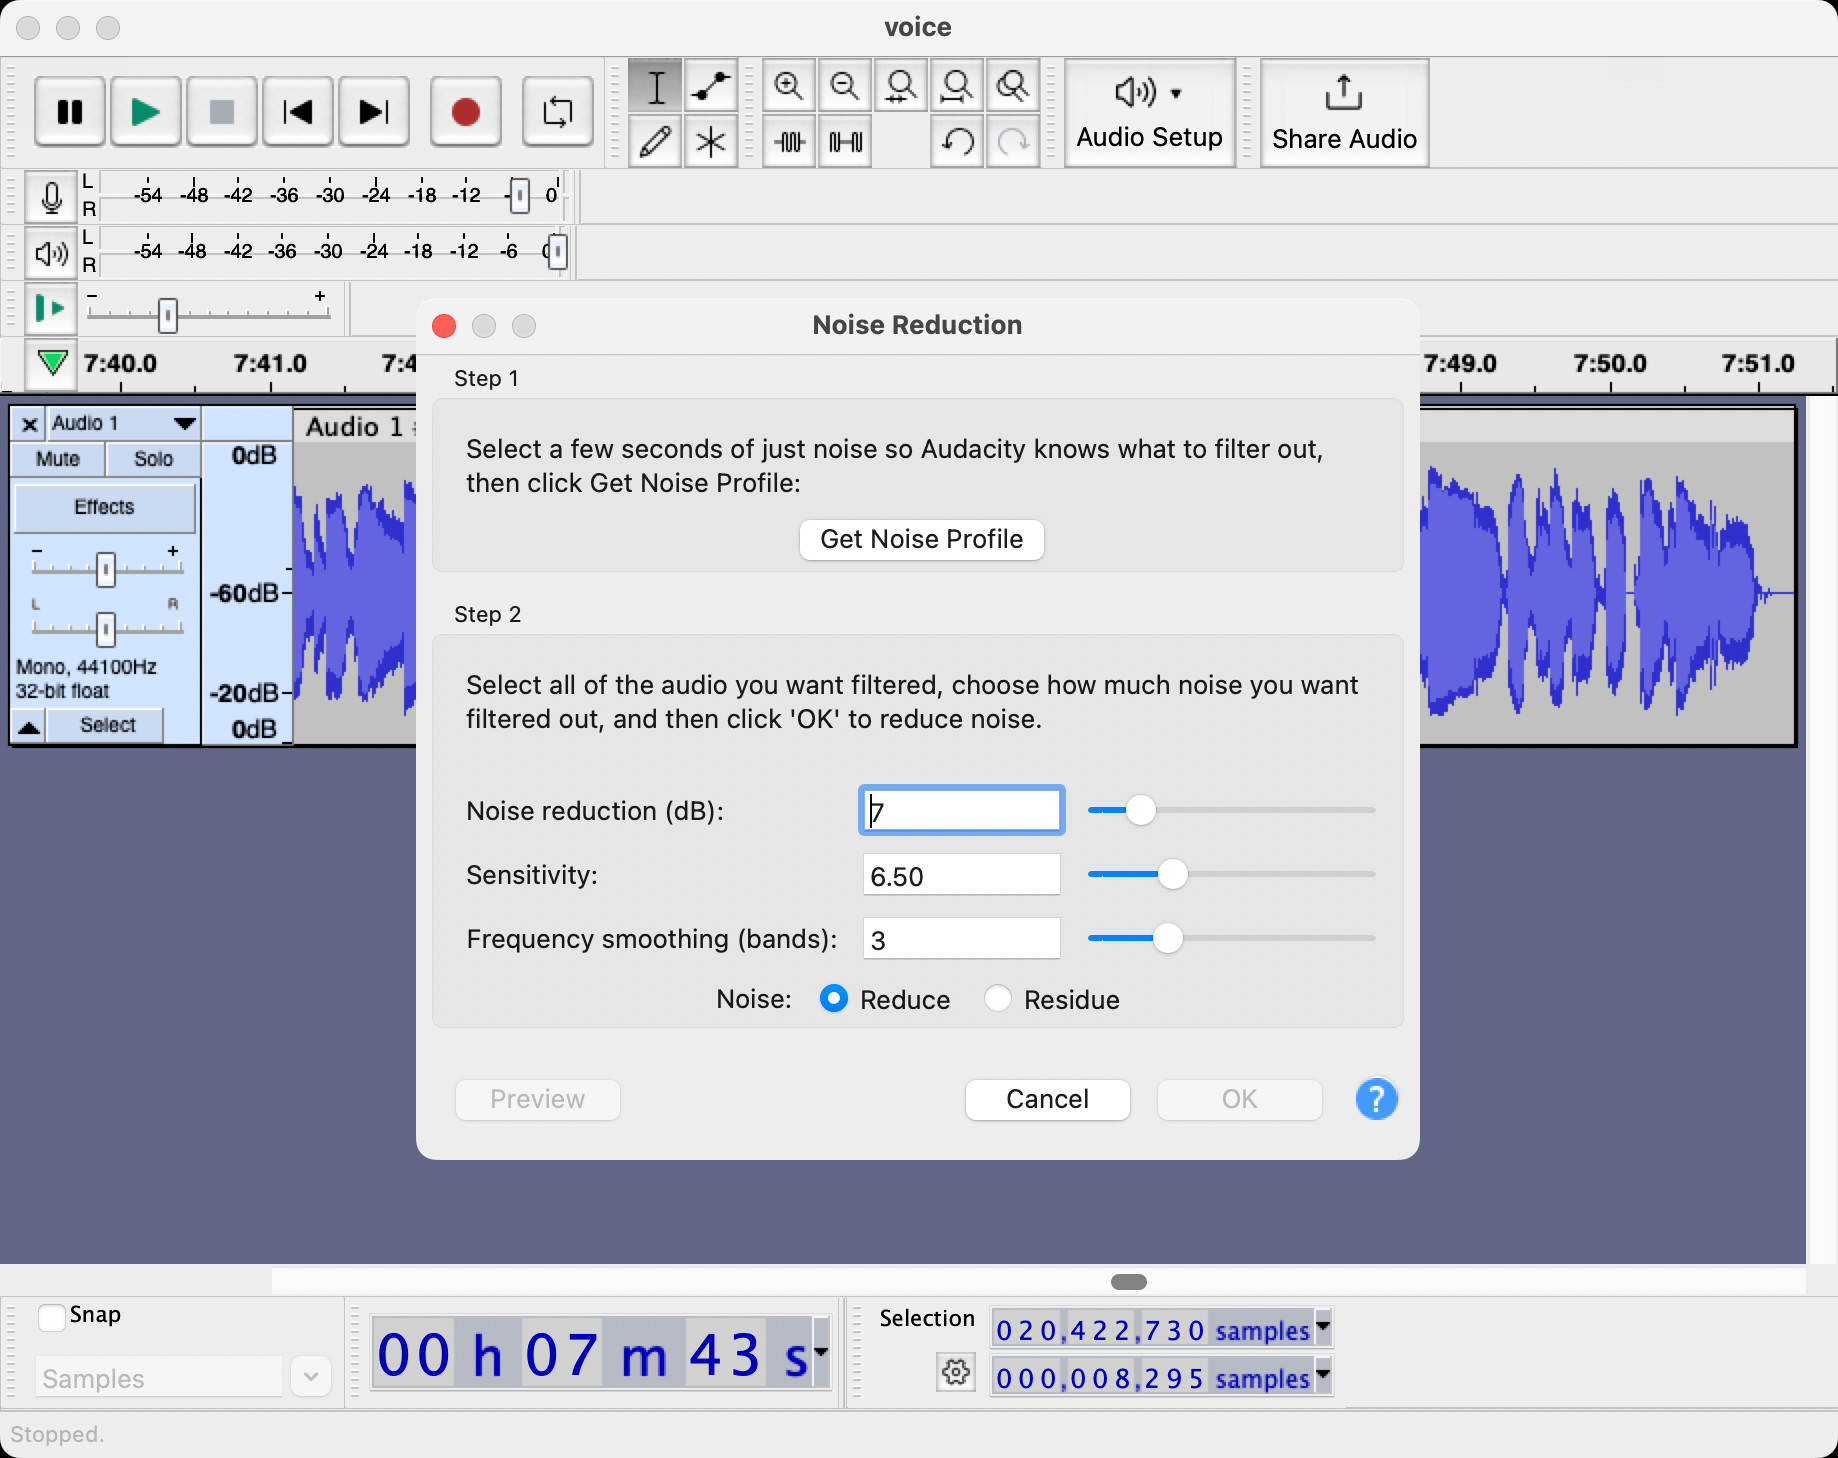
Click Get Noise Profile. Then, select your entire audio and go again to Effect > Noise Removal and Repair. Make sure the Noise Reduction (dB) field is set to around 8dB and click OK.
You may have to experiment with the 8dB value I gave you, but this is a good start, and it works well for most decent recordings. Just make sure not to do more than about 10dB because then the noise reduction will start to affect your basic audio quality.
Trust me, if you do this step, your audience will appreciate it.
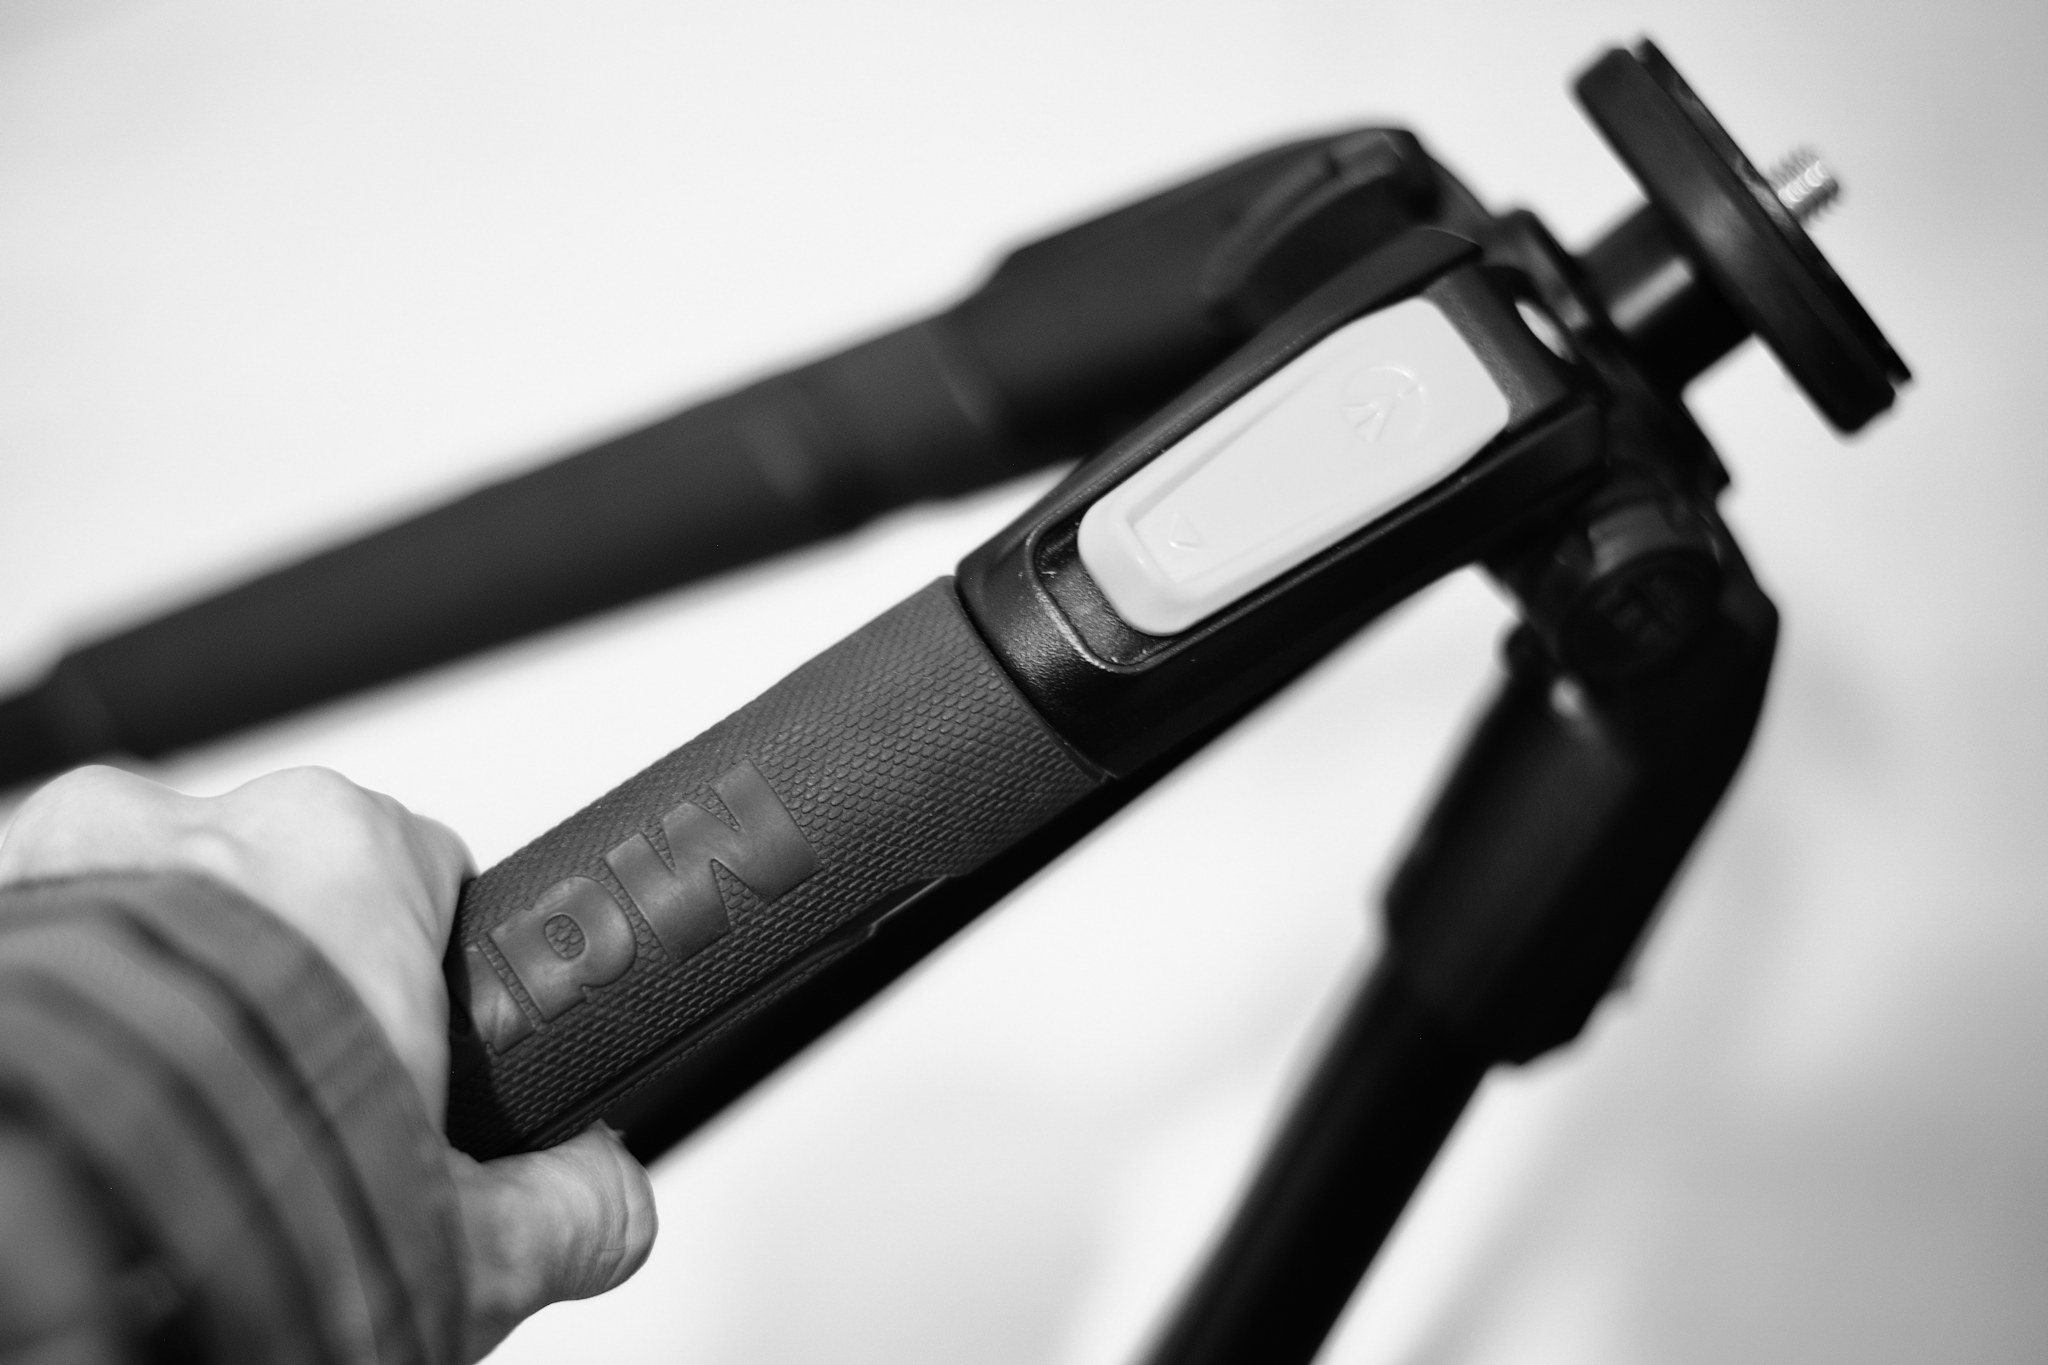
7. Get a Video Tripod Head
Now that we’ve gone through the most basic stuff, it’s time to talk about panning. Forget doing this with your ball-head, even if you have a panoramic base. I tried this when I knew nothing about video, and afterwards, I couldn’t hit the delete key fast enough.
Instead, the best way to do pans on a tripod is with a dedicated pan-tilt video head. These heads have a dampened resistance mechanism for making smooth pans.
I use a Manfrotto Nitrotech 608 that works decently, though if you can get a Cartoni or Sachtler head, that would be even better. Unfortunately, good video heads are not cheap, and the cheap ones are not good.
Keep in mind that only some video applications really need a video head – situations where you’re tracking a subject, mainly. You can certainly make great videos with just a camera and a tripod if you don’t need this sort of feature.
8. Get a Video Gimbal
Another way to add motion and intrigue to your video is using a video gimbal (which is something different than the gimbal tripod heads that wildlife photographers use).
A video gimbal is basically a motorized, hand-held machine that helps stabilize your camera and move it in various directions. Gimbals are ideal for wider focal lengths under roughly 100mm, and the difference between handheld footage with and without a gimbal is night and day.
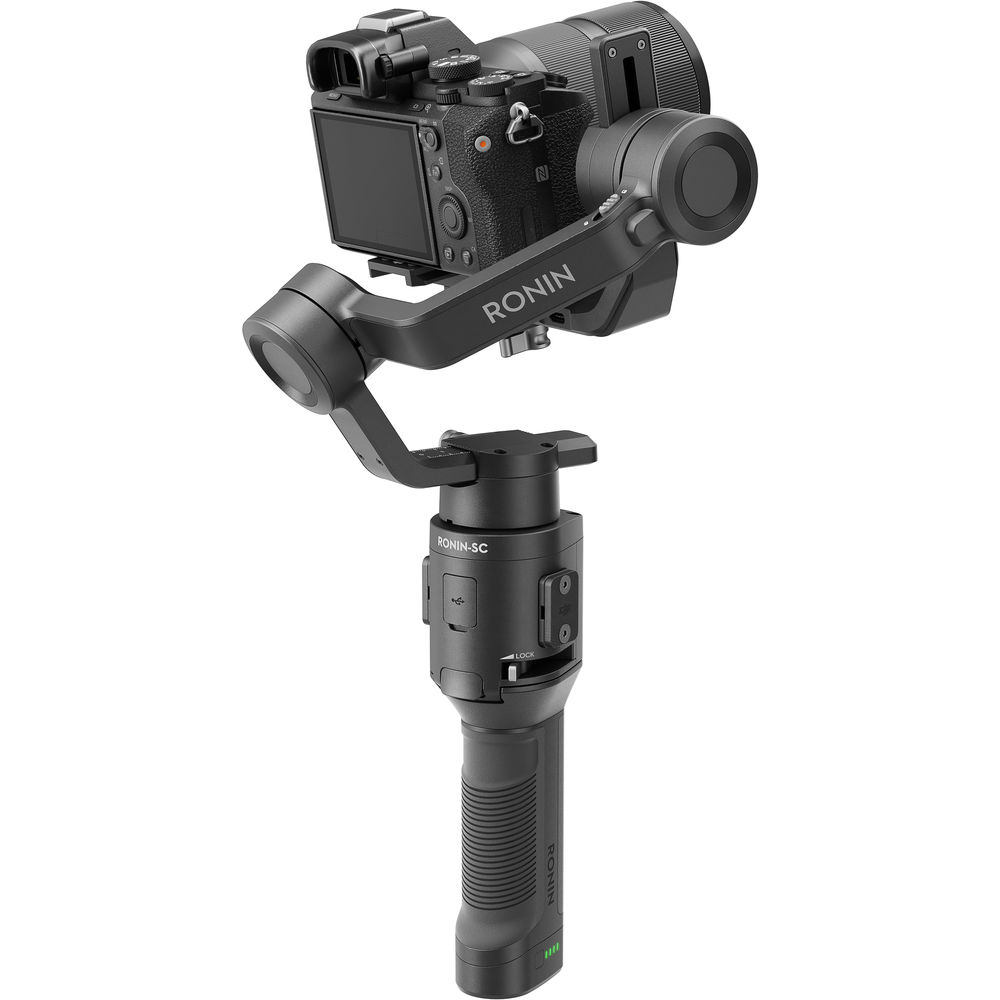
Gimbals will allow you to do things like walk with your camera and produce smooth footage without the trace of footsteps. That’s almost impossible to do by hand-holding your camera otherwise.
Gimbals are not hard to use, and I would highly recommend the article Understanding Gimbals written by my colleague Alex Coleman to get started. After that, check out his Best Video Gimbals article, which will help you choose the right gimbal for your camera.
9. Think About a Sequence of Compositions
If you already know about composition in photography, then you’re in luck: the same rules apply to video. However, video is a sequence of compositions, and each one needs to make sense to tell a story.
For this reason, you may need to think about composition slightly differently for videography. For example, in photography, a moving object is more like a point in your frame, whereas in a video, that object will turn into a line traced on the scene. Thus, you can compose your shot in video thinking about the entire traced line.

One way to put it is that video adds a new dimension to composition. A great way to learn is simply to watch well-directed movies and pay close attention to how movement is used in composition, and how it helps tell the story at hand.
The Planet Earth series from the BBC is a well-directed series that could give you many ideas about composition and how it changes in videography.
10. Tell a Story
Even compared to photography, which is more visually-dominated, video places more emphasis on telling a story. To make a video engaging, think not just about putting a bunch of nice images together, but about telling a cohesive story.
To that end, it helps to plan your story on paper before filming. Make a list of the shots you’ll need, and you’ll be very happy you did so when it comes time to film.
Telling a story doesn’t just apply to fiction, either! Even if you’re making a tutorial video, it helps to think about an overall story behind the tutorial.
For example, let’s say you’re making a video about how to build a chair. You can make your video more interesting if you plan ahead of time how to succinctly get from Point A to Point B, with good footage of the chair to add visual interest, rather than rambling in one long take for an hour.
Tip: Ask a question at the beginning of your video and then work clearly toward a solution, revealing the answer at the end.
11. Pay Attention to Sound Design
Sound design is making sure there are sound effects and background music when appropriate. Sound design is the secret to more engaging video, and it’s the thing that people forget the most.
For example, if you’re making a video of yourself taking pictures, it might help to put in some relevant ambient sounds during timelapses, or make sure that people can hear the shutter sound when you take a photo. In most cases, the use of music should be non-distracting and should match the mood of what you’re doing.
Unfortunately, when you’re filming, you won’t capture every sound even if you’re using good microphones. Thus, you may need to add in ambient noises later. If you keep this in mind while you’re filming, you’ll make time to capture “audio footage” where the visuals don’t matter, but where you intend to use the audio clip at a later time.
This is definitely a more advanced technique, but if you take the time to put sounds in your video that match the video itself, then you will elevate your video to a whole new level.
12. Carry Some Extra Batteries
Photography already takes a fair amount of battery power, but video takes it to a whole new level. Unfortunately, if you’re shooting a lot of video, especially in higher resolutions like 4K and even 8K, your battery will drain really fast. Thus, I recommend carrying at least two extra batteries in addition to a fully-charged one in your camera.
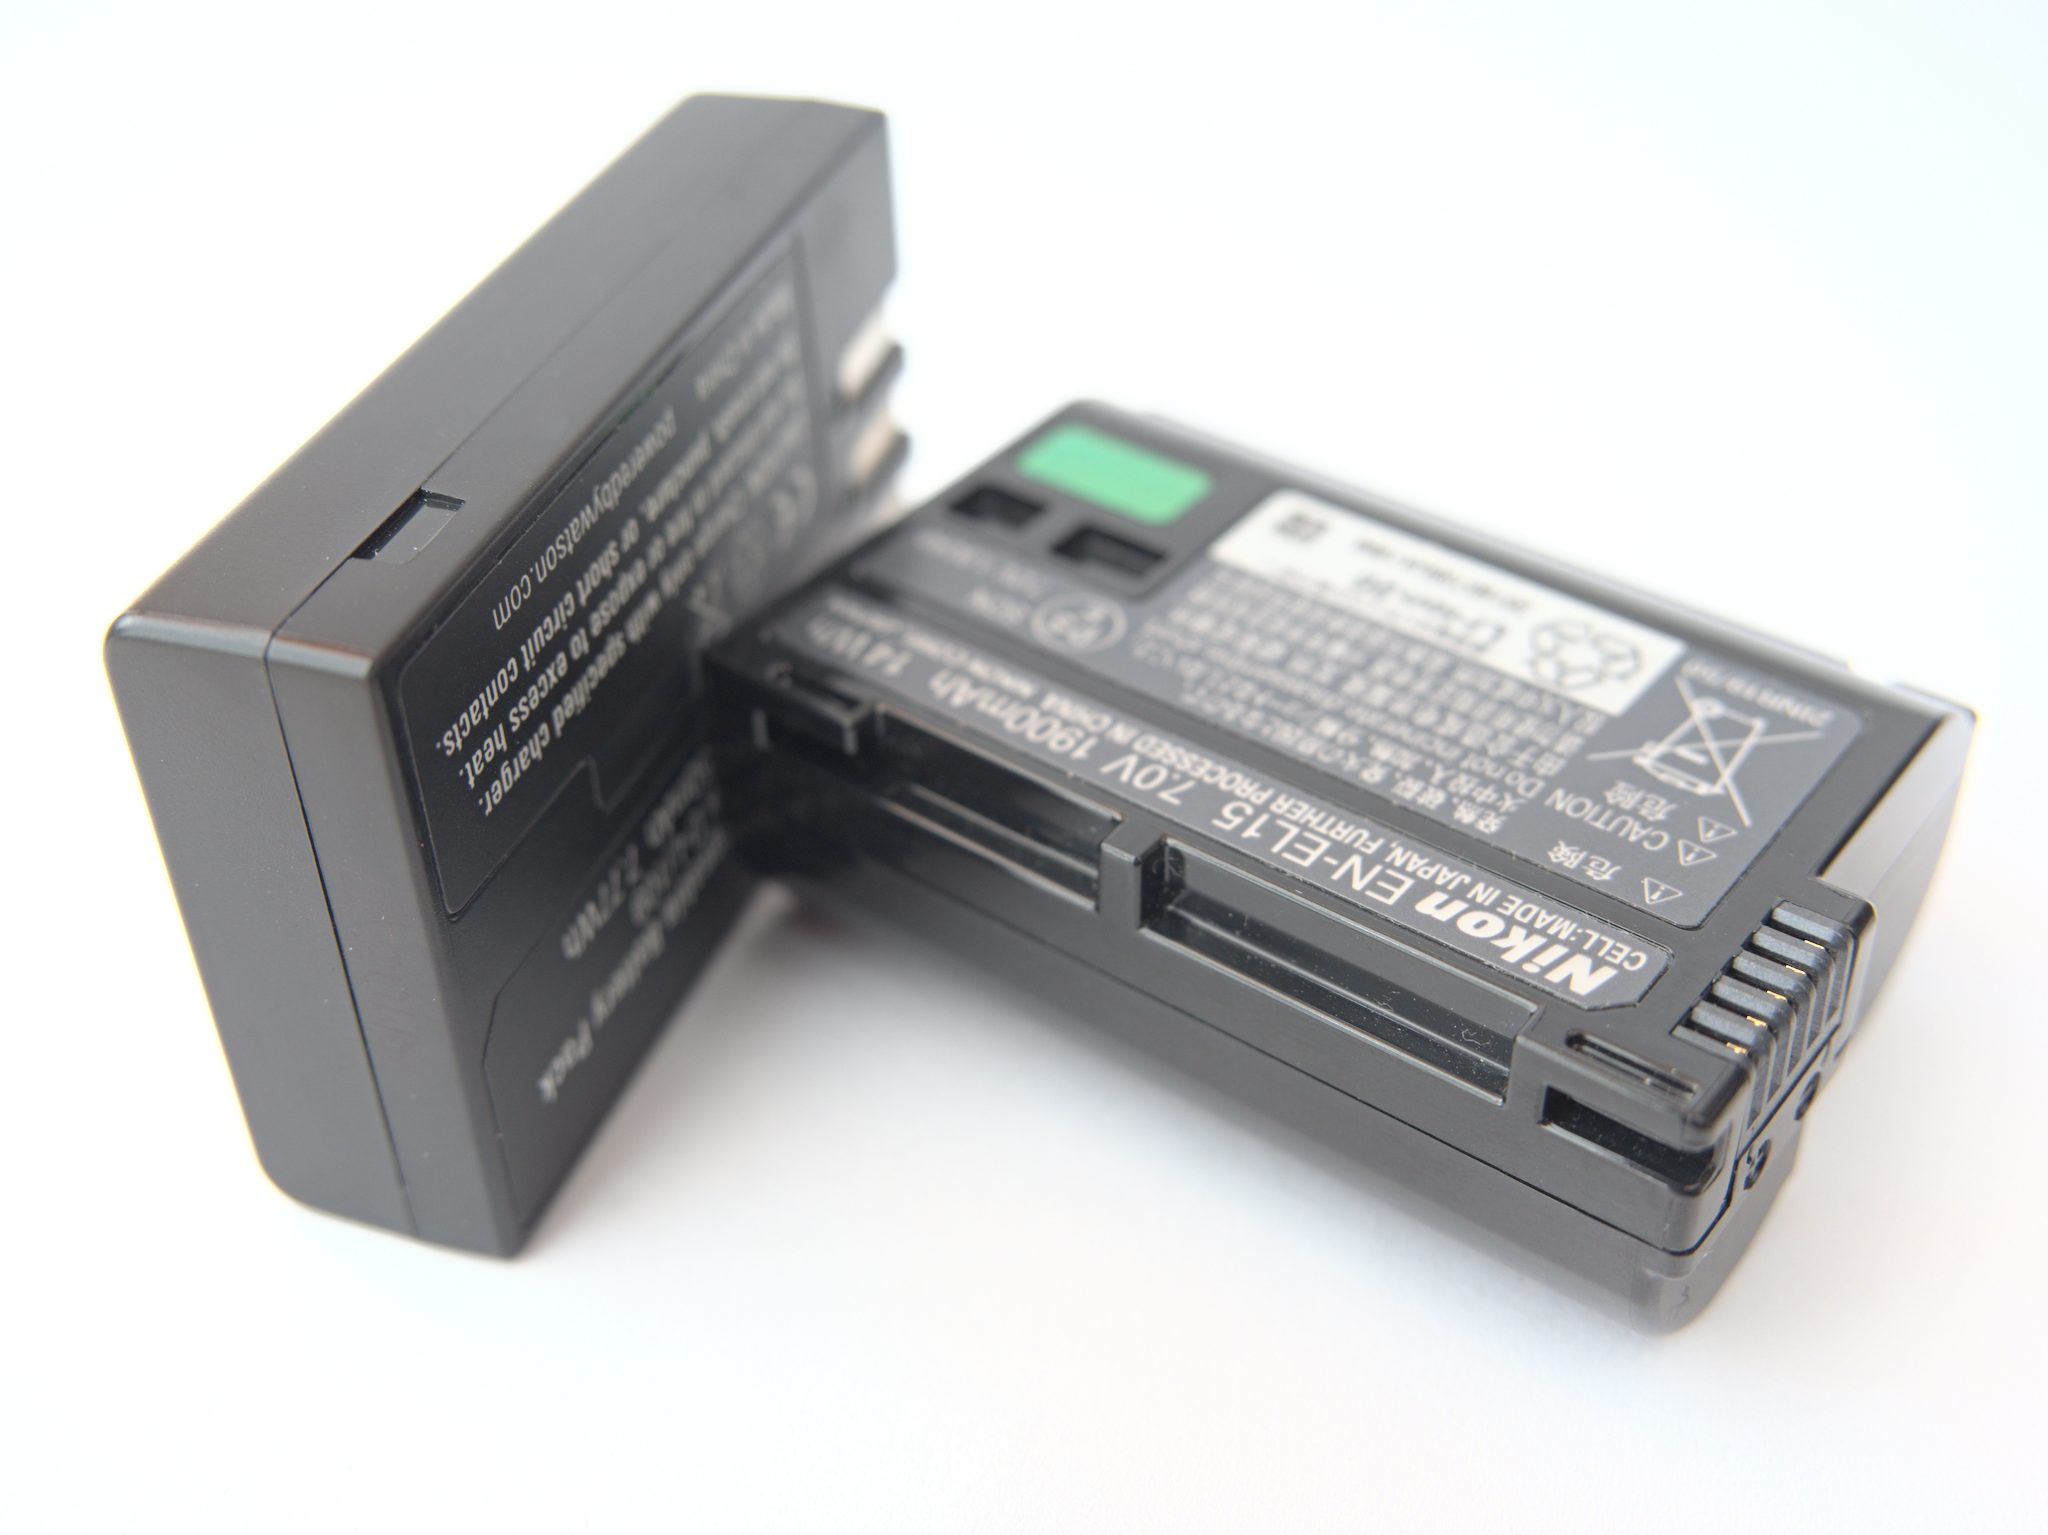
I always recommend first-party batteries, and I especially recommend them for video. Third-party batteries simply don’t last as long, and there is really no point in saving twenty dollars in exchange for the headache in dealing with third-party batteries.
13. Get a Video Editor
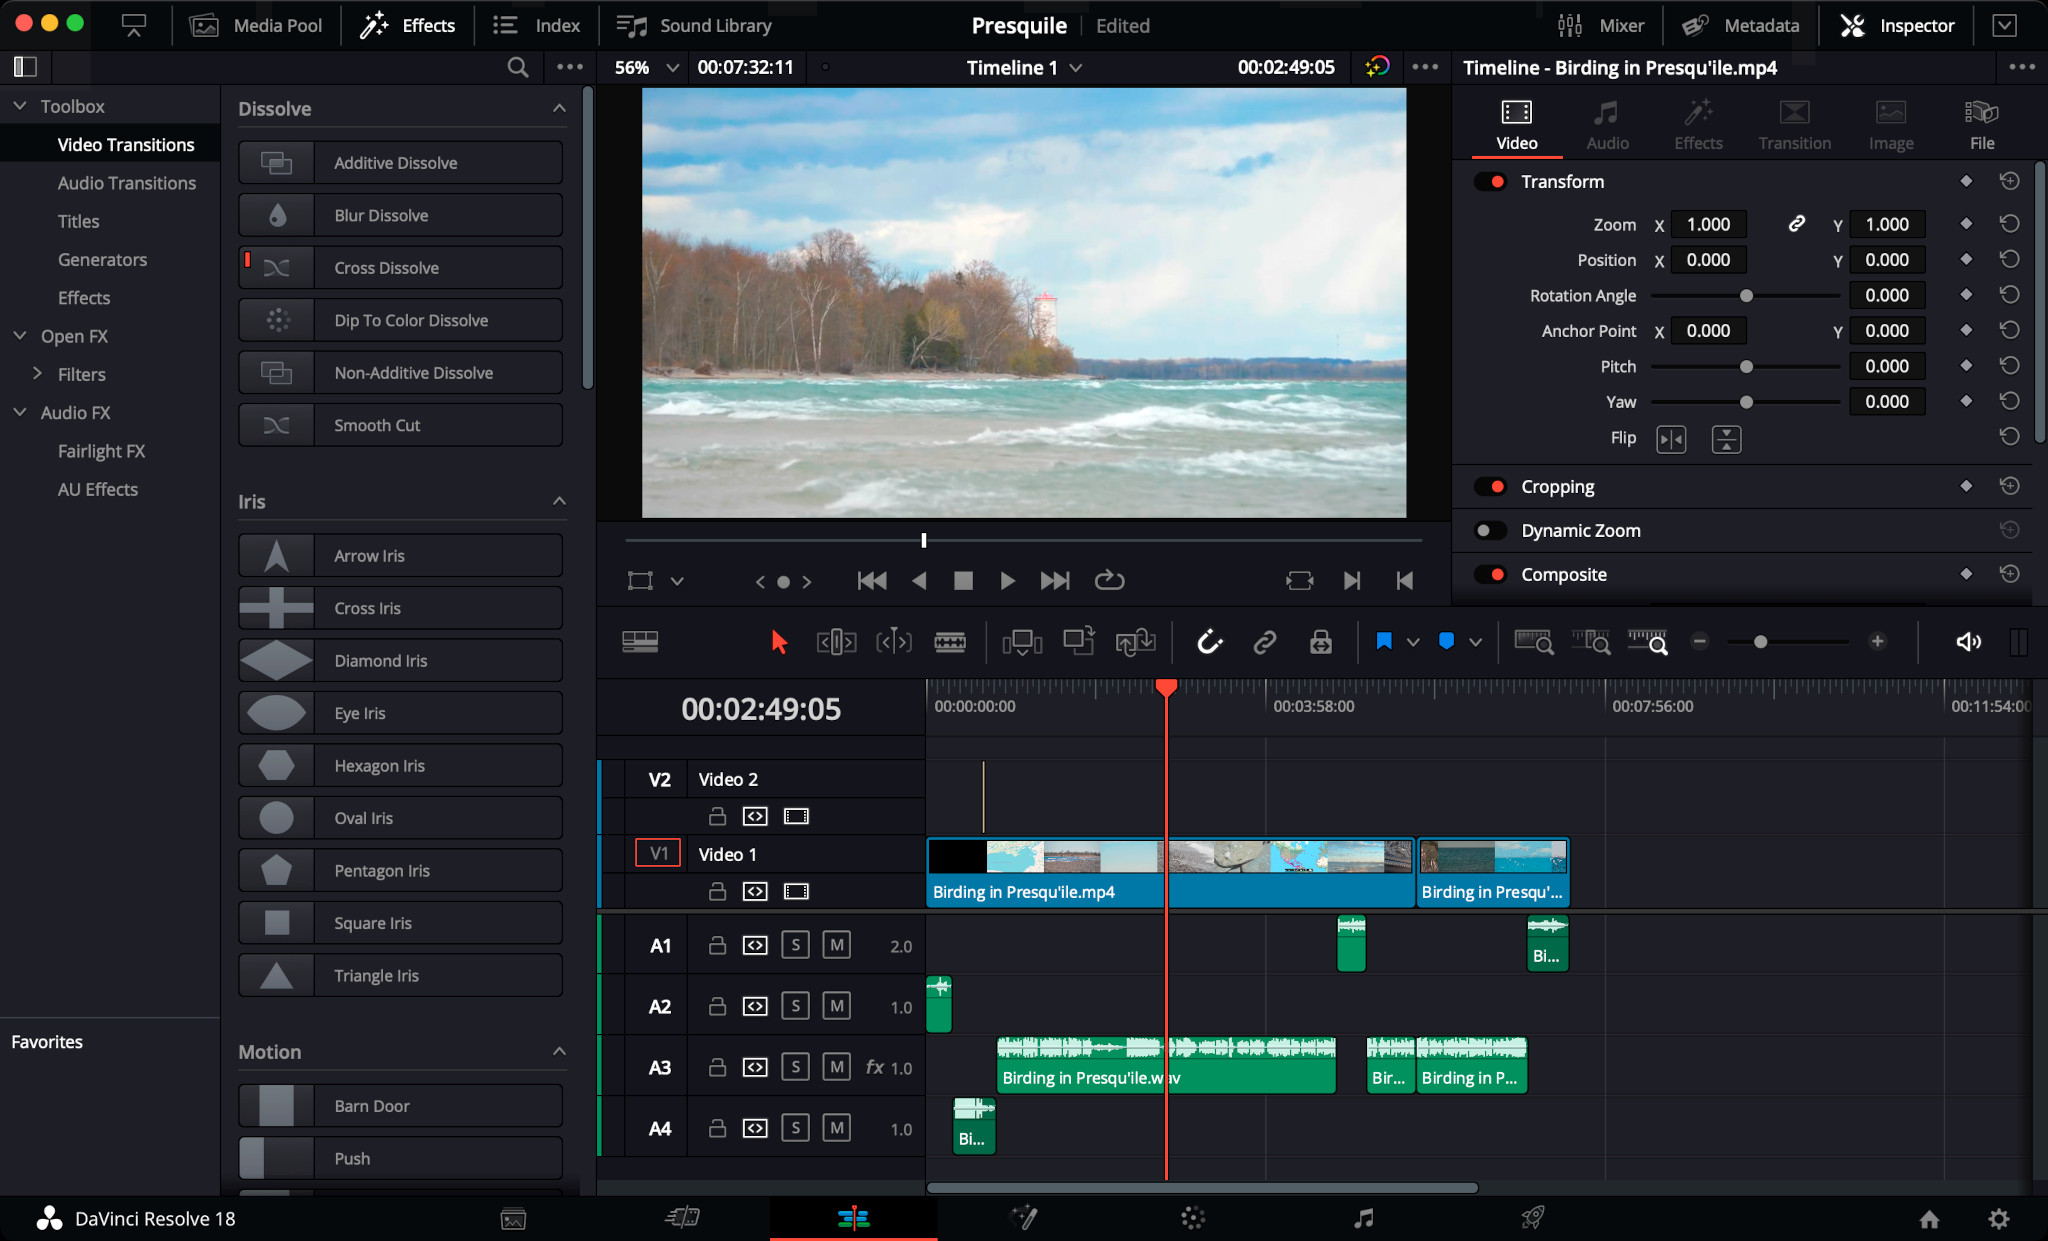
Once you shoot your footage, you’ll have to edit it. In my opinion, it’s hard to beat the free version of Davinci Resolve.
Despite not having some features that the paid version has, the free version of Davinci Resolve is truly outstanding and can do everything you’ll need for making a basic video. Adobe Creative Cloud users also have access to Adobe Premiere, so that’s another option – while Mac users often swear by Final Cut.
Those are definitely the “big three” (Resolve, Premiere, and Final Cut), but there are others, too. If you’re looking for an open-source editor, I have tried many, and I believe the best one is Shotcut. Although Shotcut does not come close to the free version of Davinci Resolve, it hardly uses any resources, so it’s an excellent option for older computers.
Conclusion
Video requires a bit of a different approach than still photography, but it’s not hard at the end of the day. As always, the most important thing is to practice, since there is no substitute for learning these things in person. However, the tips here will give you a great head-start, and they’re techniques that I use every time I shoot video.
To photographers, or anyone else, who has not yet tried video, I suggest giving it a whirl. You just may find something unexpected!
Thanks Jason – your article very much reflects my entry level to videography. Very helpful!
Hi Jason,
Great article on videography tips for beginners. I still somewhat identify as a beginner in some ways, though I have fought with videography a few times over the years on projects I had to do. Your points are all very well made.
I do have a couple suggested additional tips for beginners, and a question for you.
First suggested additional tip: Practice (a LOT!) doing pans and tilts with the video fluid head before any important video shoots. The smooth tilts and pans one sees in professionals’ videos/films are NOT easy to do (at least not for me)! One needs to get this down thoroughly before shooting important clips; you need to have muscle memory of how to do this well.
Second tip: Begin shooting each clip early, to give many seconds’ worth of material before the crucial action begins; likewise, continue shooting some seconds’ worth afterward. This gives vital footage needed when editing together adjacent clips, especially when you are using long dissolve or fade effects between adjacent clips. You can always ignore any extra footage, but if you need footage you do not have, you have a real problem.
My question: I have had real challenges trying to properly expose ProRes RAW footage (shot with my ProRes RAW-modified Z7 recorded to a Ninja V) then bigger problems editing that footage (in Adobe Premiere Pro); resorted to using N-log on many projects instead. I still do not see a lot of helpful and current advice on shooting ProRes RAW (or Nikon’s N-RAW) for my new Z8, including not only how best to edit it but even moreso, how to expose it properly during production (using a waveform monitor, zebras, etc.). Do you have advice, or links to appropriate resources, on the (admittedly non-beginner topic) for exposing & editing ProRes RAW and N-RAW? I (and likely many others) would be most grateful.
Thanks again for this excellent article.
Mark Renner
Wow … thanks so much for this video primer. It’s just what I’ve been looking for. We just returned from Ecuador, and I was fortunate enough to get great slo-mo footage of the beautiful hummingbirds with the combo of my Z9/600 TC. I need to do some basic editing to clean the clips up and this article was just made for me! Thanks again.
Thanks for this great article Jason. I know nothing about video at all, because I photograph with the Nikon DF (bought second-hand from Nasim at the time) and it had no video function. I picked up my new Nikon Zf this week to be able to make videos, especially in nature. I know some great places where I can photograph Squirrels, Beavers and the Little Bee-eater nearby and few or no people go here. I also purchased the z50mm f.18 and the z 24-120mm f4 and with the adapter the AFP 70-300mm from Nikon F mount Full-Frame version. I hope these are sufficient for video? thanks for answer.
If you can get close enough, the AFP 70-300 would work pretty well for video. Video also requires a bit less resolution so if you shoot in “4K Resolution”, then you can crop it 2x to get 1080P resolution — which is fine for most viewers anyway. You can also activate a video “crop” on your camera to get more reach. It’s a feature on your new Zf. Check it out here:
onlinemanual.nikonimglib.com/zf/en…72_34.html