Underwater photography is a whole new world, where infinite photographic opportunities present themselves. It is also where even experienced photographers struggle at the beginning. Every aspect of photography becomes more complicated underwater. In this article, I will share some of my favorite tips to help you understand the basics of underwater photography and skip the initial struggle.
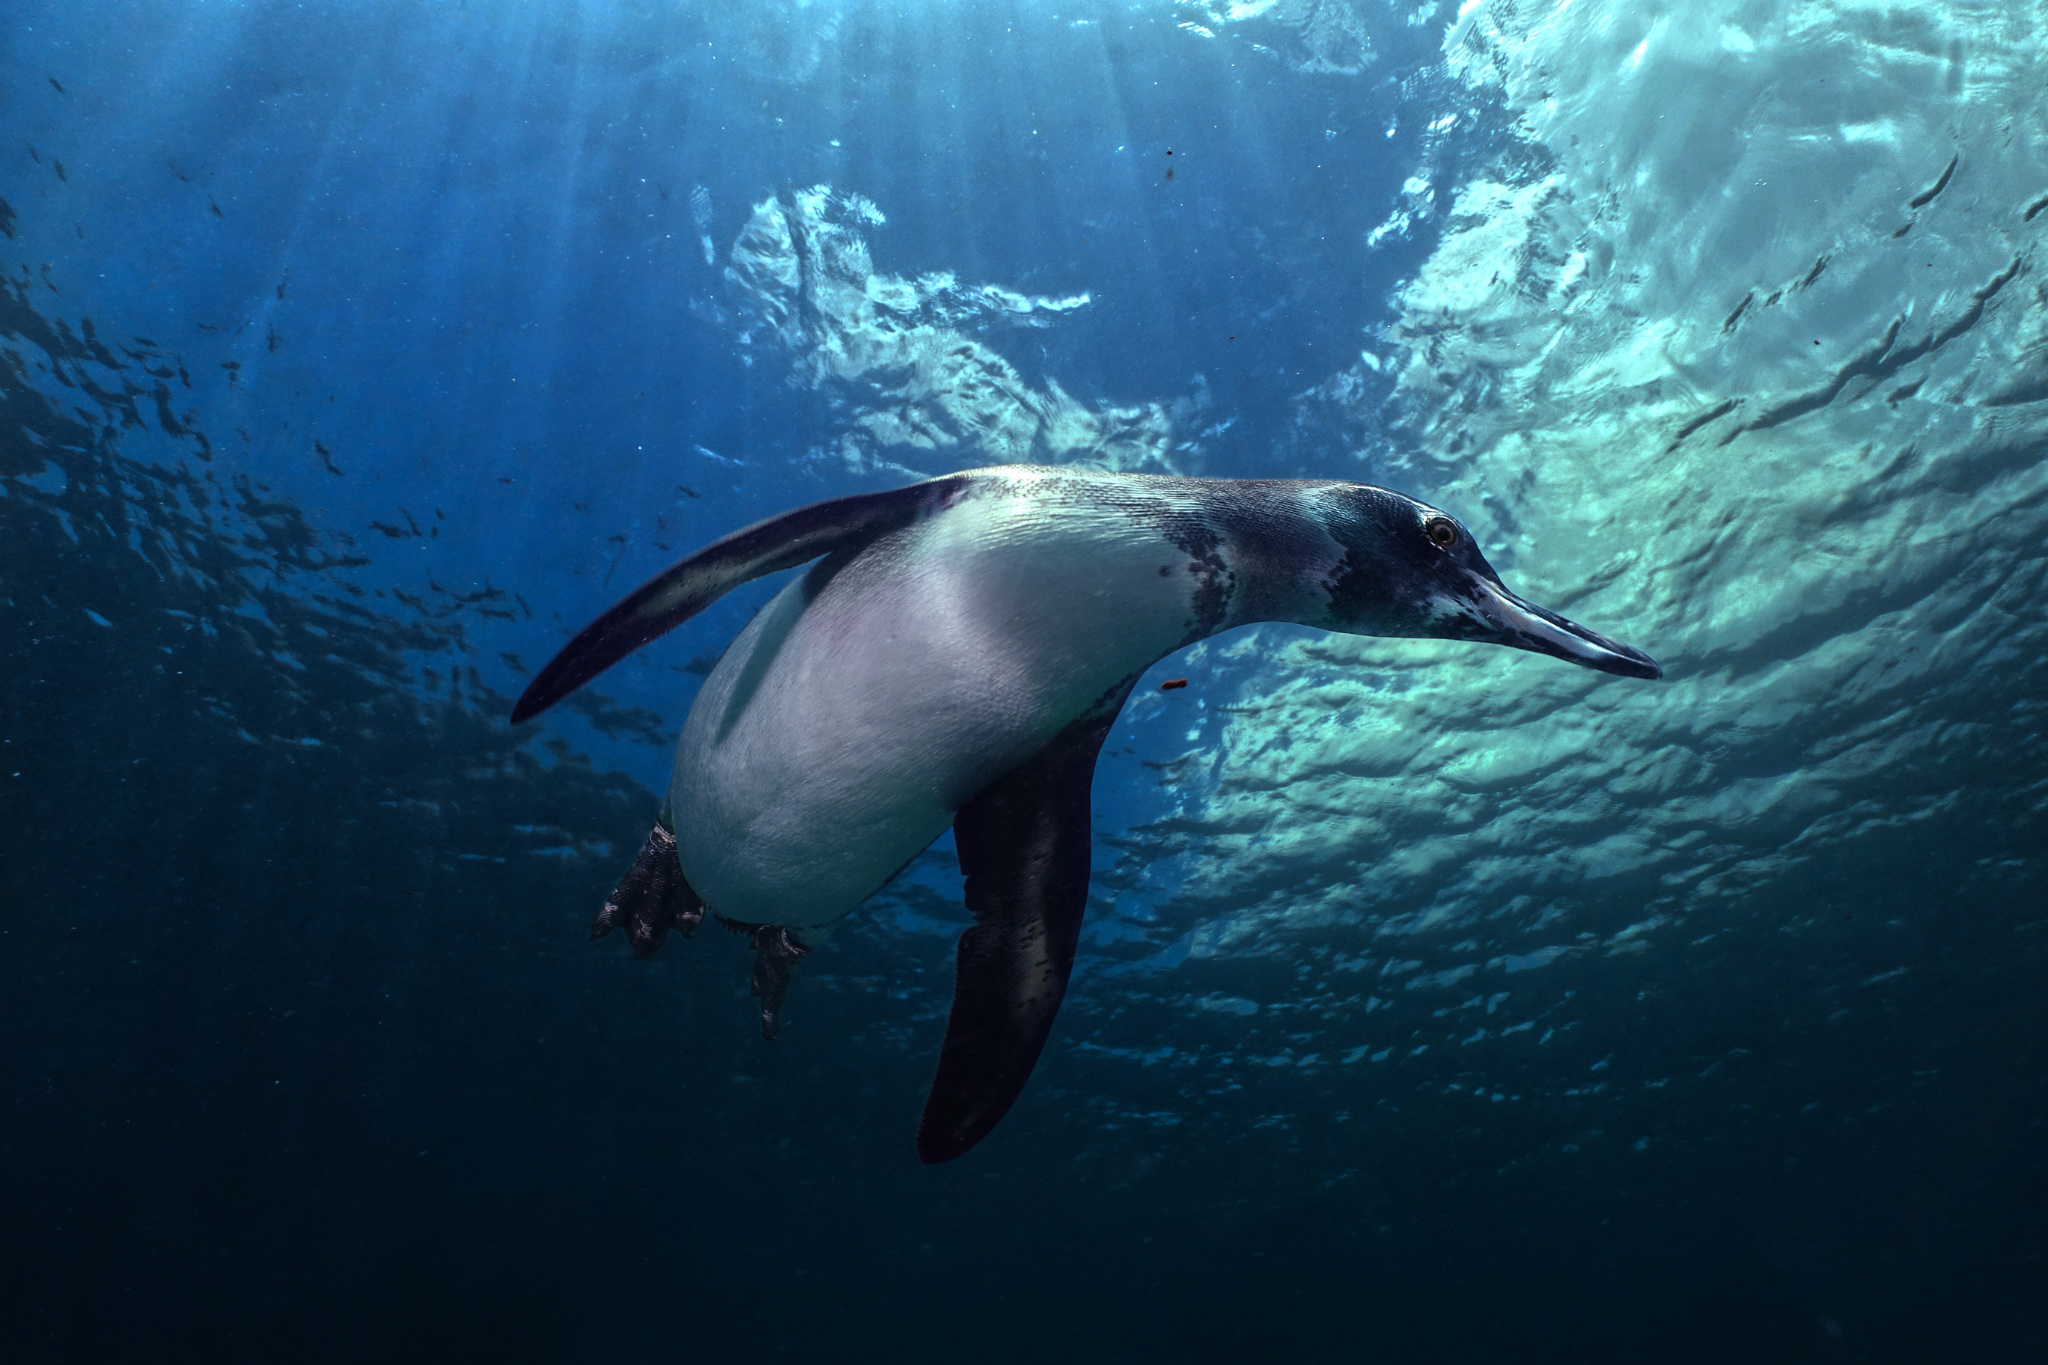
Table of Contents
1. Understand How Light Behaves Underwater
Light behaves in fundamentally different ways when it travels through water instead of air. This has major implications for underwater photographers.
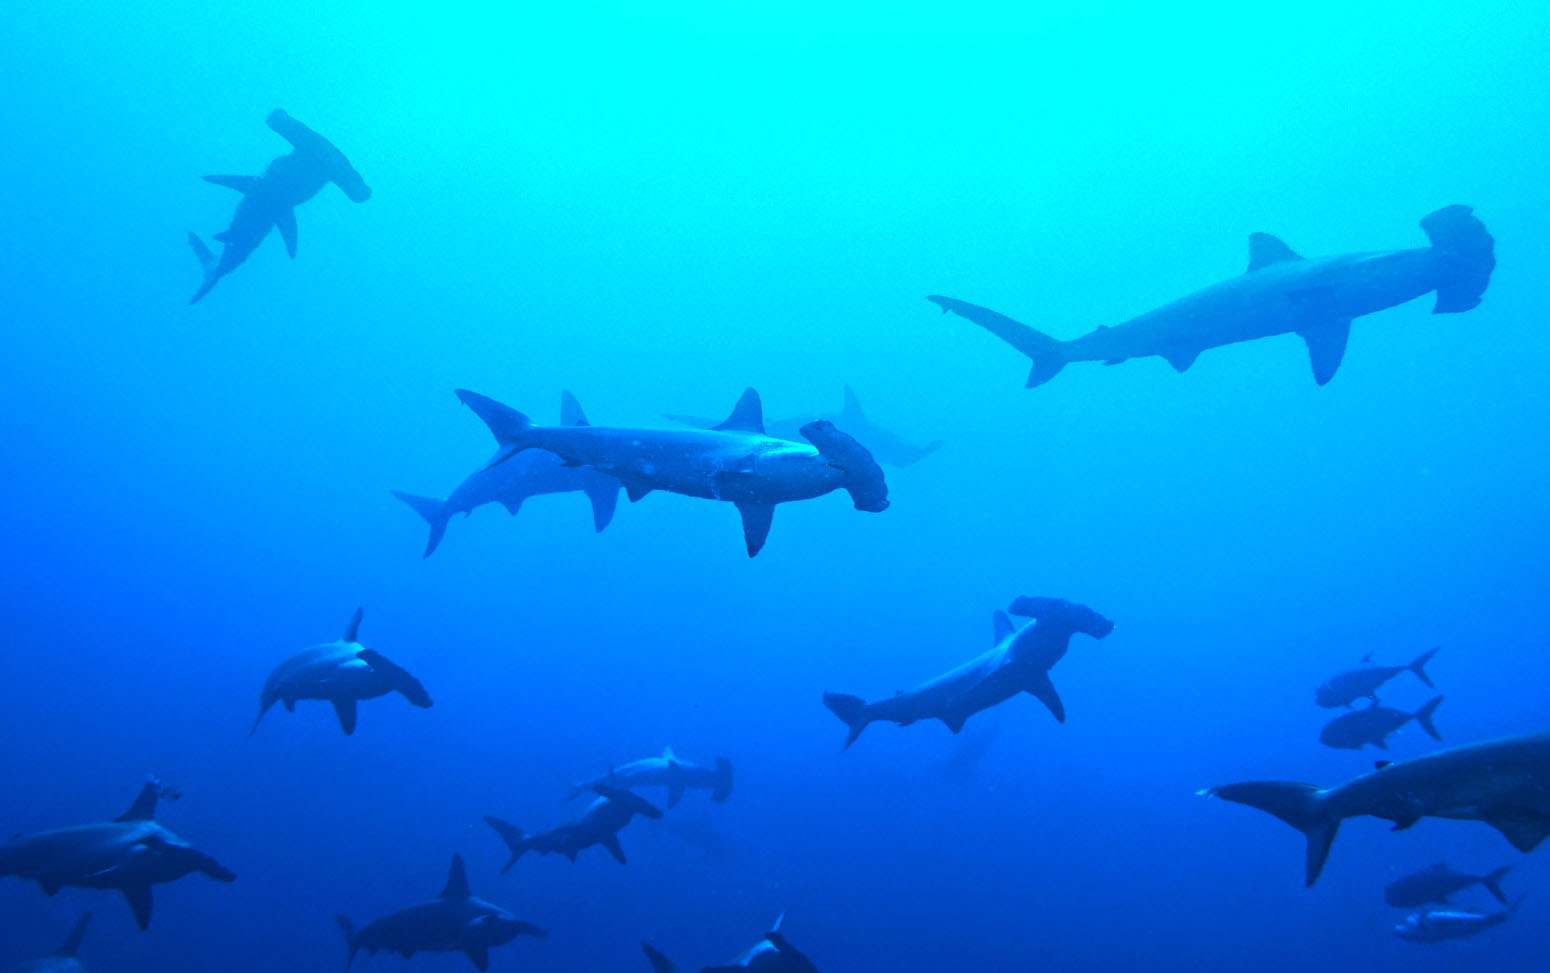
The most apparent difference underwater is that everything is blue! As an object gets further away, it will appear more and more blue. Likewise, as you dive deeper underwater, blue begins to replace all the other colors.
The color red is especially susceptible to this change. Objects that are red at the surface will look very dark and desaturated at moderate depths, even if you hold them directly in front of your eye. They will also look darker at the surface if they’re far away from you.
Consider the graphic below:
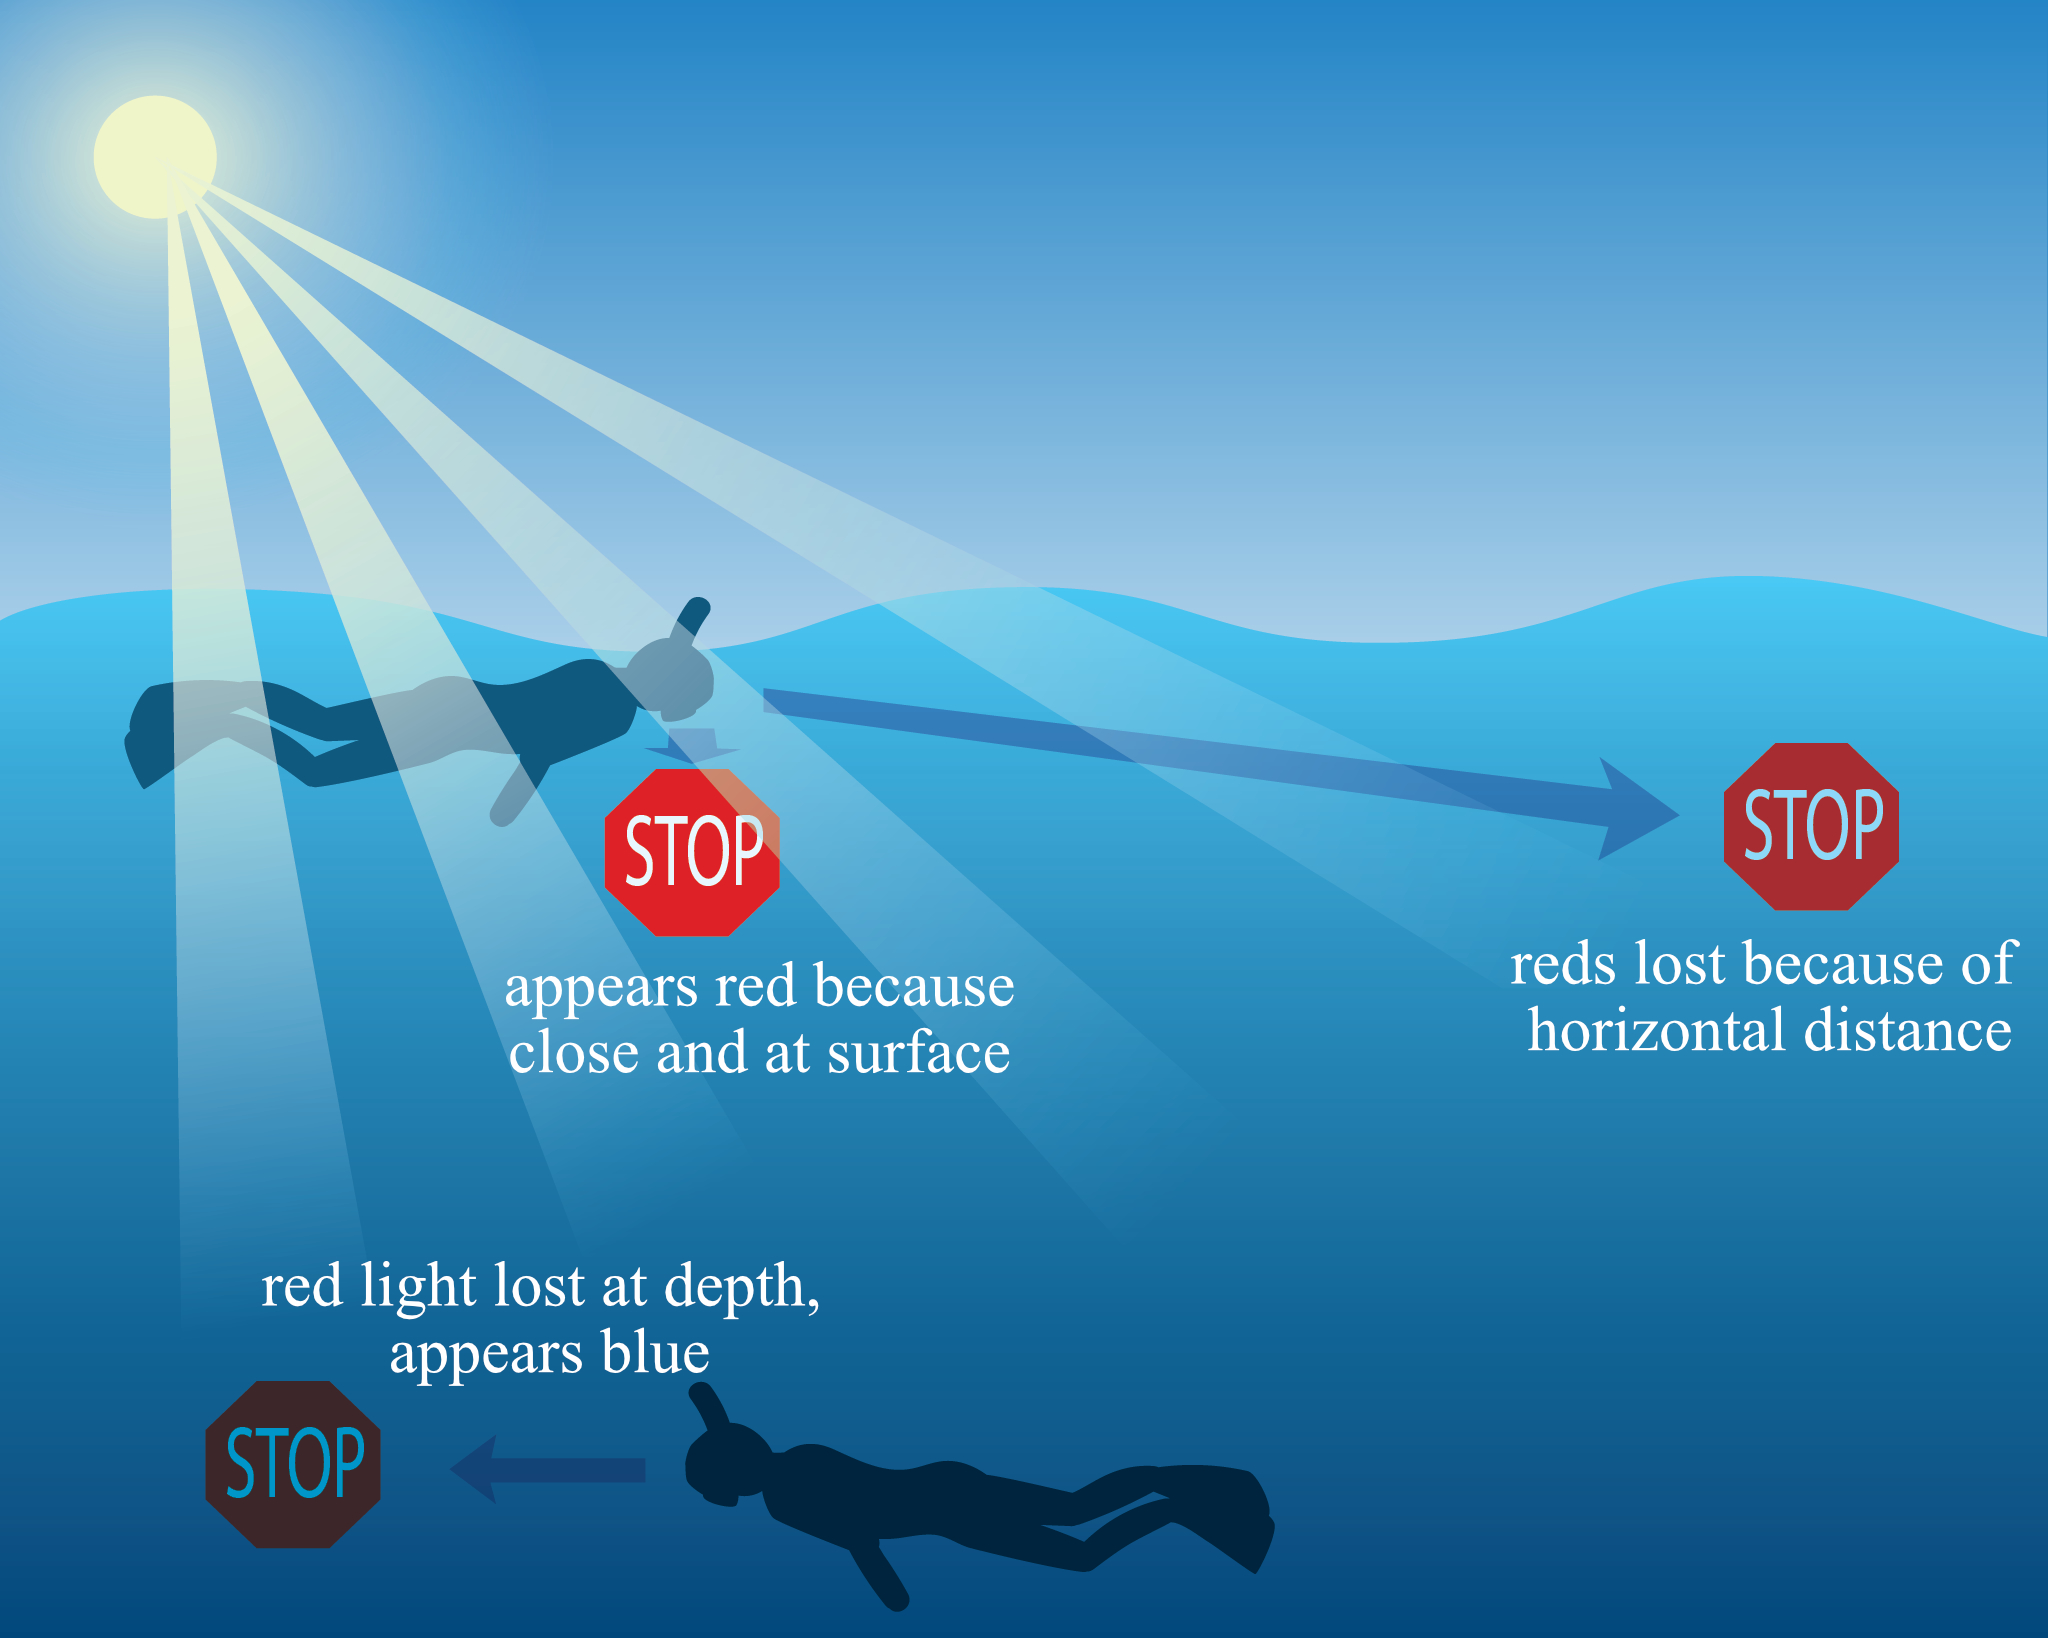
Although this is most obvious with the color red, the entire spectrum of sunlight is absorbed by water molecules. The first wavelengths to be absorbed are reds, and the last are blues, but eventually the blue light is also absorbed, and everything becomes black.
This takes us to our next concept: Light is lost underwater.
As you dive lower, everything gets darker. This happens faster than you would expect; our eyes account for this difference, so it can be hard to notice. On a sunny day about 30 feet / 9 meters below the surface – a typical depth for recreational scuba diving – you may need to start pushing the limits of your camera settings to get a properly exposed shot.
All of this means that a lot of underwater photos look blue, dark, and low in contrast. Many of the next tips below talk about ways to solve these issues.
2. Change Camera Settings As You Change Directions
One challenge about exposing images underwater is that shooting downwards is totally different than shooting horizontally or upwards, in terms of your exposure.
At the same settings, shooting downwards may be extremely underexposed, while shooting upwards is too bright. So, when you’re doing natural light photography, I suggest shooting in aperture priority mode so the camera accounts for these differences on the fly.
You can also take advantage of Auto ISO menu settings to set a minimum acceptable shutter speed, like 1/200 second, and allow the camera to raise or lower ISO as needed. Aperture priority mode + Auto ISO is a good combination that still gives you full control over both your aperture and your minimum shutter speed.
3. Know the Direction of the Sun
Underwater, it’s not always immediately obvious which direction the light is coming from. However, the angle of the sun is just as important underwater as on land, because it affects the appearance of light and shadow on your subject.
Beyond that, if you’re shooting toward the direction of the sun, you’ll get substantial backscatter due to particles in the water, lowering contrast. Even when you shoot horizontally and the sun seems to be directly overhead, shooting toward the slight angle of the sun can lead to the same problem. For this reason, I try to shoot with the sun to my back for natural-light photography underwater.
That said, the silhouettes and backscatter from shooting toward the sun can sometimes be a desirable look, thanks to the moody atmosphere it creates. Like most things in photography, there are exceptions – but even then, you can’t exploit these exceptions unless you’re aware of the direction of the sun.
4. Make the Most of Underwater Flash
Using a flash underwater is a double-edged sword. It can bring light – and the color red – back from the depths. But it can also reflect particles, creating bright spots and backscatter. The more particles, the worse the backscatter.
The best way to avoid backscatter is by increasing the distance between the light source and the camera (note – the camera, not necessarily the subject). This prevents the particles from reflecting light directly back to the camera, making them less apparent. Unfortunately, this is only feasible with an underwater strobe with separate arms coming off the camera. It’s best to avoid using the on-camera flash unless everything in the photo is extremely close to your lens.
Strobes attach to the camera by mounting your underwater housing to a tray table, onto which you connect a flexible arm, which attaches the strobe. Next, the strobe is triggered by a fiber optics cable attached to the housing in front of the flash.
Strobes can illuminate shadows which allows you to shoot sunrays while still exposing your subject. This technique requires fine tuning strobe strength, position, and settings so that the sun rays are not over-exposed and the subject is properly lit. To avoid backscatter, it is recommended not to let the strobe flash brightly.
Buying a strobe, arm, tray table, and fiber optics cable is not a cheap investment. However, it makes a huge difference shooting underwater – especially when at depth or if color is important. I should also note here that advanced underwater photographers typically shoot with two strobes! It nearly doubles the price but gives better light and fills in shadows.
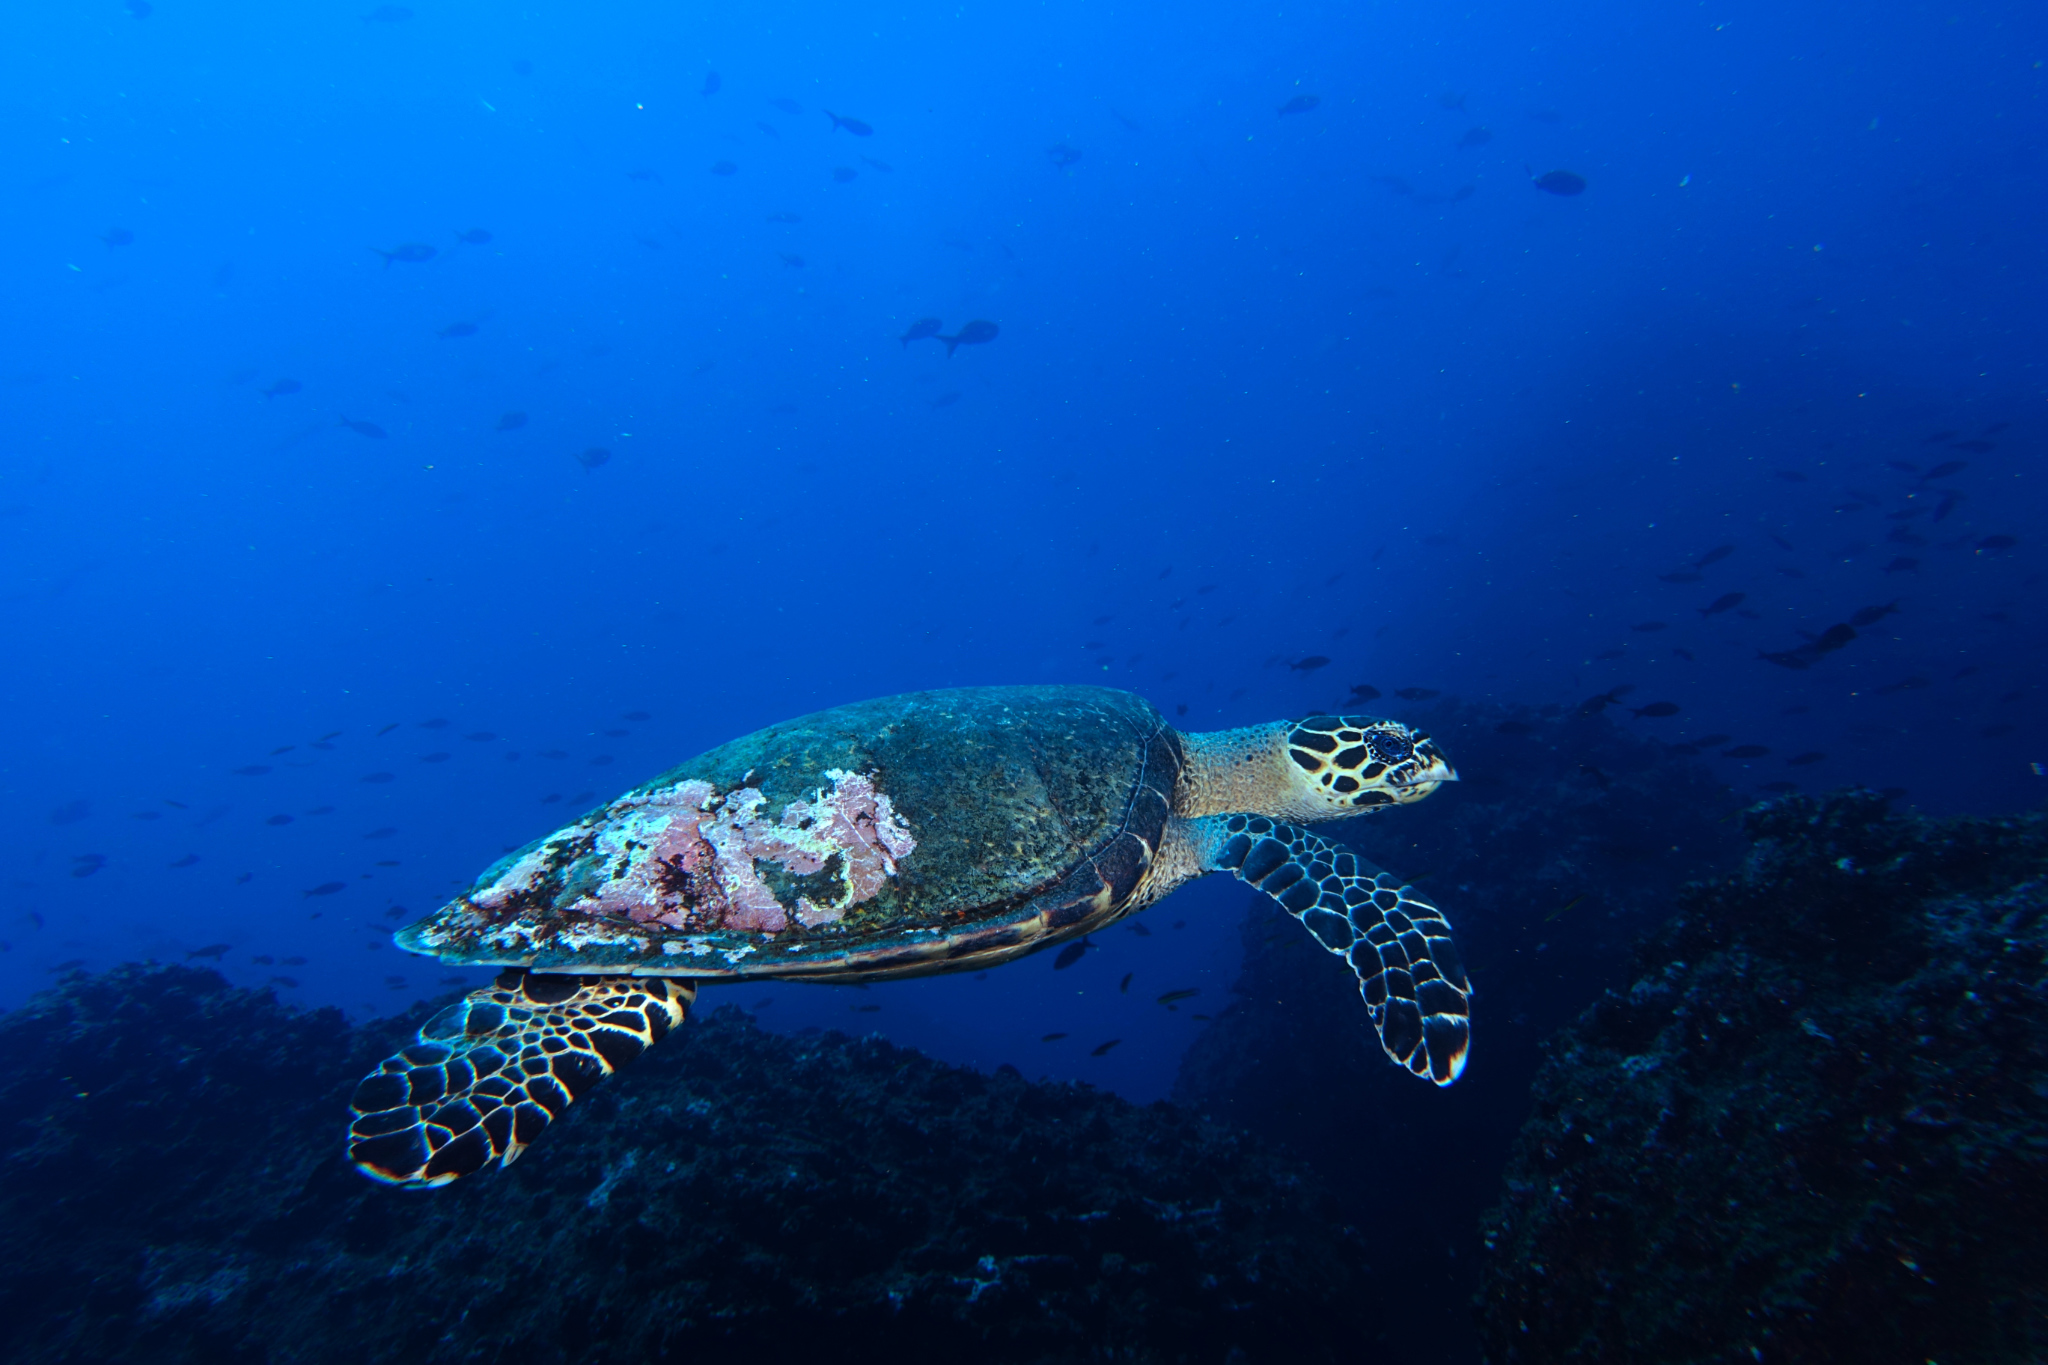
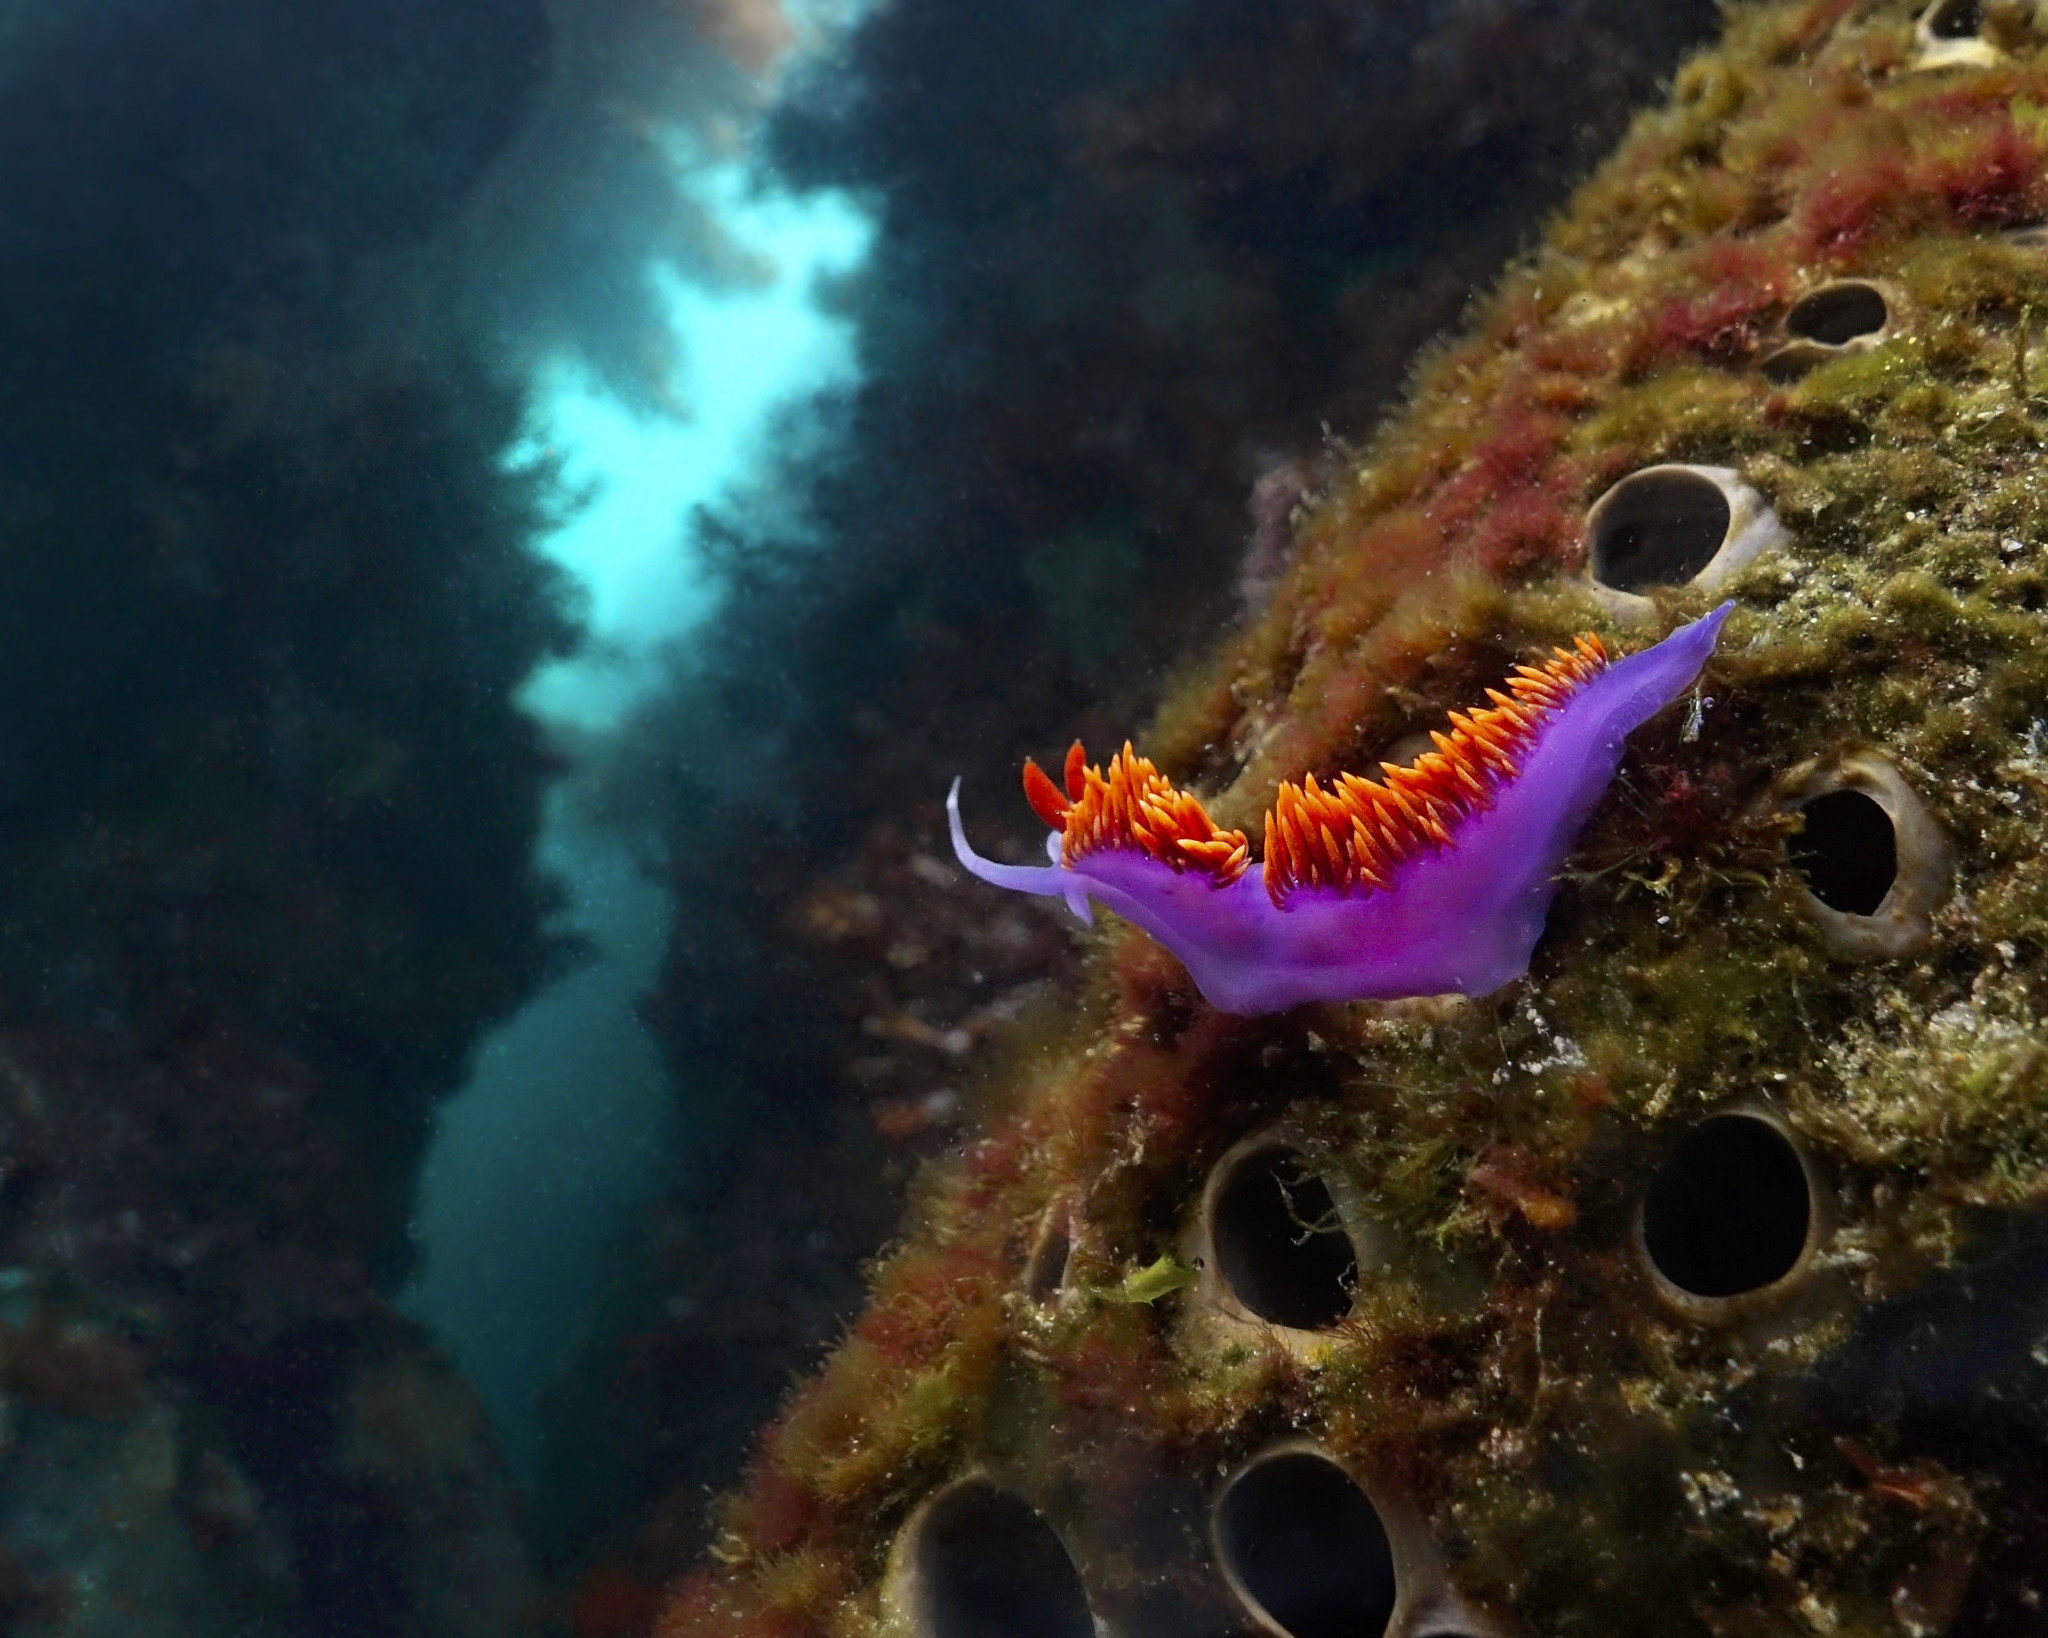
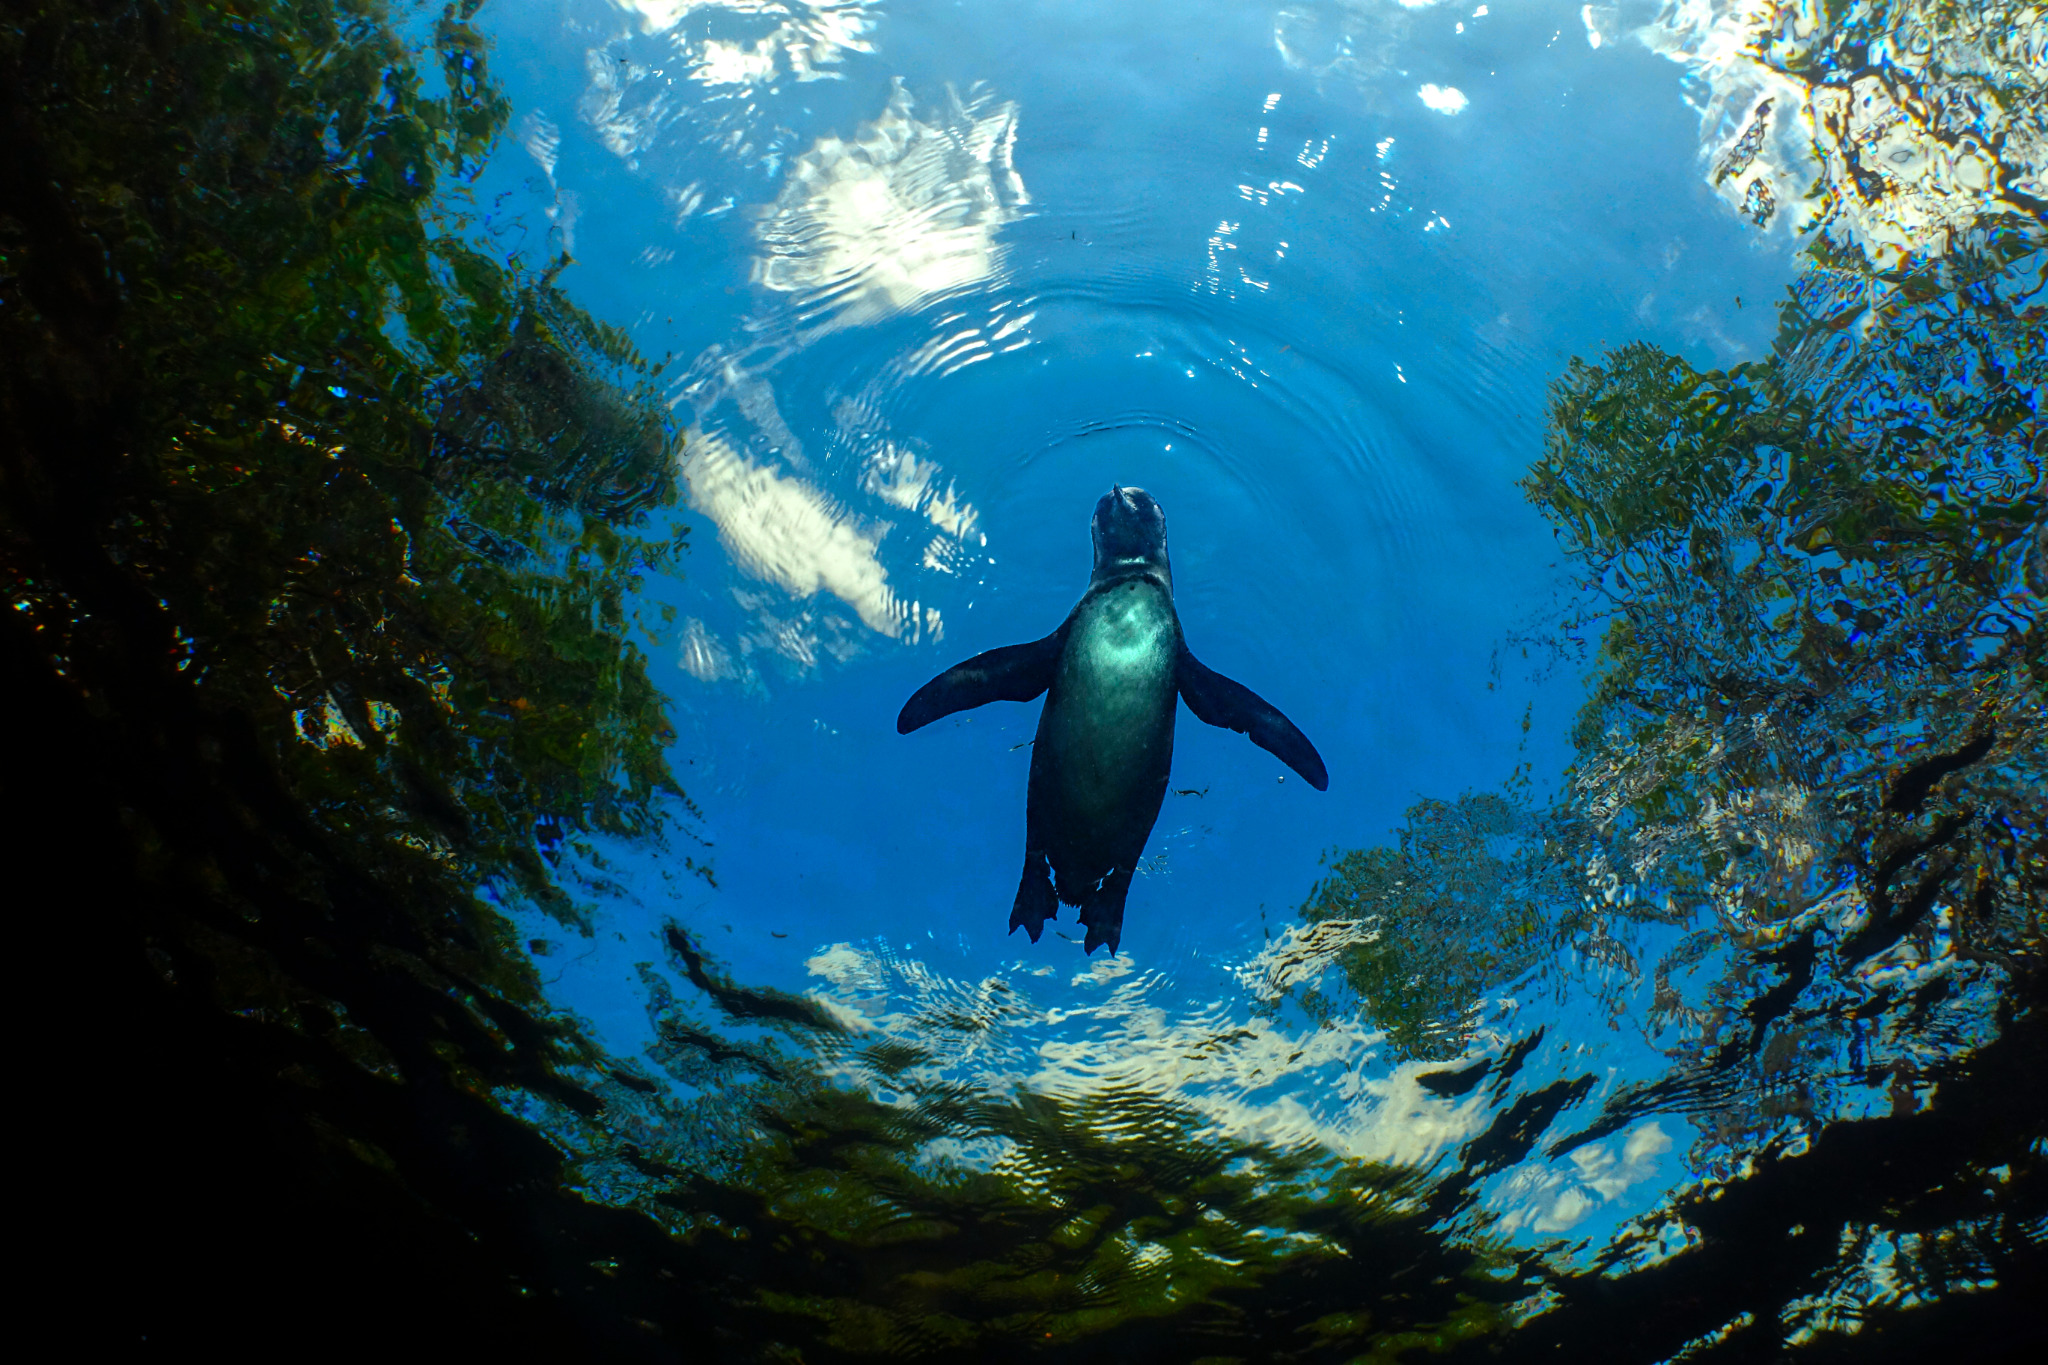
5. Get Under and Up-Close
The amazing thing about being underwater is that you can basically fly! Use that to your advantage when shooting underwater. Shooting from the surface is the best way to take boring underwater photographs. There is much less contrast when shooting downwards, and it’s unlikely to be the most attractive angle for your subject. Even in just a few feet of water, diving down means you can shoot horizontally, which will capture more contrast and more of the background.
Often, you’ll want to get as close to your subject as possible. This goes back to the first effect of shooting underwater, which is that distance harms your contrast and colors. This is why most underwater photographers shoot with ultra-wide lenses, even fisheyes: to get as close to their subject as possible.
6. Don’t Scare Your Subject
The last thing you want to do when photographing an animal underwater is to chase it. That’s the best way to get no more cool photos, and ensure the only photo you get is of its tail or butt.
It’s better to stay as calm as possible and keep movements to a minimum. This will make any animal more accepting of your presence. Usually, animals hang out in a certain area for a reason and will not want to leave. Animals might even swim toward you out of curiosity if you just hold tight.
If you’re snorkeling, I recommend getting the hang of diving down while holding your breath to make the most of these encounters. You should also stay as still as possible to keep your body from spending precious oxygen. Practice in a pool if you need to.
You can also dive much more comfortably (both snorkel and scuba) if you equalize the pressure in your ears every three feet / one meter or so, to counter the water pressure. You can do this by pinching your nose and gently exhaling through your nose. You should hear a pop and feel the pressure release.
If you do that, you can dive more comfortably and enjoy the encounter without flailing around and scaring away the best subjects.
7. Check the Water Conditions Beforehand
Especially in the ocean, successful underwater photography requires favorable water conditions. Visibility is the measure of how far you can see underwater. Visibility can be really good most of the year in some areas like the tropics, or very poor for most of the year except a few times a year like on the west coast of the United States. It all depends on the amount of particles in the water, typically sediment or plankton.
If going with a dive operator, be sure to ask how conditions have been lately while keeping in mind they may be exaggerating visibility because they want your business. Ask lots of direct questions; you don’t want to pay big bucks for a trip just to be met with murky water with zero photographic opportunity.
Especially in temperate (cooler water) zones, plankton blooms occur seasonally, which can turn the water almost completely murky and green. Every area has different seasons with the best and worst conditions for plankton. Before planning a trip, research when the preferable time of year for diving is.
A less predictable aspect of the water conditions is how much sediment is churned up by waves. If entering the ocean without a professional, be sure to check the surf forecast to see if large waves may hitting the area you plan to do underwater photography. Because waves often travel a long distance before hitting shore, surf forecasts can be pretty accurate several days in advance. You want to go in the ocean when the waves are smallest (preferably under 2 ft). Using a surf forecast can help you schedule a dive trip on the ideal day.
And I suppose now is the best time to say it: Never enter a body of water if there are unsafe conditions! Do plenty of research on the location and current conditions where you are planning to enter the water.
8. Edit Your Underwater Images
Editing is a crucial part of underwater photography. Remember my first tip about reds and contrast being lost underwater? Underwater images require the right care to turn into good results. The curves adjustment in your editing software will be your best friend.
If you are planning to do a lot of underwater photography, it is definitely worth investing in editing software that allows you to process RAW files and that does a good job at color correction. A well-edited GoPro image will look much better than a poorly-edited shot from the best underwater setups.
The two most important steps in editing underwater photographs are correcting for the loss of reds and increasing contrast. Typically, a RAW or unedited JPEG is overly green/blue and flat.
Here are the steps I tend to follow:
- First removing the green by adjusting tint or the curves adjustment until the photo looks slightly too magenta.
- Next remove the blue using the white balance bar or curves adjustment (and this should correct for the extra magenta, too).
- Finally, use levels or curves to increase the reds, if needed. It is important to note that if the water removed all the red from the scene, adjusting the red levels will not have an effect.
- Do all other post-processing adjustments as usual.
Adjusting white balance, curves, and levels will increase contrast slightly as a side effect, but usually this is desirable as well. Pro tip: when a more dramatic contrast adjustment is needed, adjusting the white and black levels/curves can do a more effective job than a basic contrast slider.
Do be careful when editing, though! It is easy to go overboard with high contrast or overly saturated images.
9. Prevent Flooding
The word “flooding” – meaning that your underwater housing stops being water-tight – brings fear to the hearts of all underwater photographers. Most have had their experience with flooding in one way or another. It is as tragic as it is expensive. Luckily, there are a couple ways to reduce this risk.
First, always check your O-rings and seals. Before closing housing (or the battery compartment), be sure to examine the seals closely to make sure no sand, hairs, or damage is visible. It just takes a small disruption in the seal to allow water to gradually seep into the electronics. Do not take this step in a rush; do it calmly in a well lit area. Likewise, never open a seal or expose your O-ring on the beach or when your hands are wet.
Second, take care of your O-rings and seals. Neglect will lead to their degradation, which eventually ends up with a flooded camera. Maintain your O rings by applying O-ring grease after each use, and follow all maintenance directions by the manufacturer of the housing. Never bring your camera underwater if you have any suspicion your O-ring or seals are damaged.
Beware of the depth rating. Because water pressure increases with depth, you can only take your camera so deep. Be sure you know the depth rating and try not to push your luck while diving. A lot of GoPros and underwater cameras do not have a particularly deep depth rating without an extra housing.
Along those lines, get an extra housing even for GoPros and waterproof cameras. Although they do not require a housing to shoot underwater, a housing reduces the risk of flooding electronics to almost zero. You can also go deeper with an extra housing. It is well worth it, if just for the peace of mind.

10. Prevent Fogging
Fogging occurs when water condenses inside the glass of your underwater housing or camera lens, ruining photos. The worst part is, once it occurs, there is nothing you can do but wait.
Fogging is most likely to happen when humidity gets trapped within the seal. A large temperature difference between the air and water makes things worse. This is a common problem I see all the time in beginners with GoPros and waterproof cameras. Luckily, it is pretty easy to prevent this issue.
If you use an underwater housing, you can slip in a desiccant pack, which pretty effectively prevents fogging. Be sure to use a new or dehydrated desiccant, because they can become saturated and stop working. These can be found online – or, if you’re traveling and in a pinch, stuffing tampon fluff in the housing works too. Beware no fibers or packs get caught in the O-ring!
There is no space to insert a desiccant pack in GoPros or waterproof cameras unless you purchase an extra housing. One more argument to do so!
Still, there are ways to reduce the risk of fogging for naked GoPros and waterproof cameras. If possible, close housing (including battery/charging ports) in a dry, air-conditioned space. However, if you must change batteries where there is no AC, make sure your hands are completely dry, and no droplets fall within the seal. This limits the humidity in the camera. Do not leave the camera in the sun or allow it to heat up, as this increases the chance of fogging.
Conclusion
I hope these tips make diving into underwater photography a smoother process for you than it was for me! Learning the quirks of underwater photography is an extremely rewarding process. If you’ve struggled with underwater photography in a way I forgot to mention, leave a comment below, and I’ll do my best to give you some tips to make your next venture go more smoothly.
Thank you. I appreciate the time you took to share this information and your expertise.
This is such a well written article. I will never do underwater photography, but I enjoyed reading about it and certainly loved your beautiful photos. Well done.
Thank you so much! I’m glad you enjoyed it!
Thank you for this helpful article Nicholas
Given that shooting underwater is considerably more challenging, what are the advantages and disadvantages that you see from using a flash or strobe versus using an LED light?
Hi Larry,
Using LED lights or video lights to shoot still photos is also a popular method! One advantage is that no camera-strobe communication is necessary. Another advantage is that you will know immediately what the image will look like so it is easier to position the light source, and balance settings.
The major disadvantage, and why flash firing strobes are usually preferred for photography, is that strobes will be brighter and flash quickly, which freezes movement. Video lights/LEDs are another method that works, especially if you want to shoot video!
Thank Nicholas.
Being underwater, having one less item to adjust and set exposure for would be a great benefit.
But for an experienced diver/photographer, using a flash and having the advantages as you described will likely be less of an issue.
Larry, I’ve run into this exact same dilemma in macro photography. Some macro photographers can get away with the convenience of video lights, but I’ve always gotten better results with flash (after ironing out problems like proper diffusion). They’re potentially hundred of times brighter and freeze the motion on their own, without necessitating a fast shutter speed. Even though a flash is more work than a constant light, I still recommend it whenever possible.
Great article. I remember someone saying: “It’s not IF water gets into your housing, it’s WHEN water gets into your housing…”. I wish housings were not so niche and expensive. To take my R5 below the surface with a strobe or two I would need to fork out north of £6,000 which is hard to justify when it is just a hobby!
Thank you! It is always a very scary thought, especially for how expensive the stakes are.