Having a good understanding of the digital camera modes is essential to control the exposure in photography. Whether you are a beginner or an advanced amateur, you should know what each camera mode does and when it should be used, under what circumstances. In this chapter of Photography Basics, I will explain everything you need to know about camera modes!
What are Digital Camera Modes?
Digital camera modes allow photographers to control the parameters of an exposure, specifically, Shutter Speed, Aperture and ISO. While certain modes can fully automate the camera exposure, there are other modes that let the photographer manually control some or all parameters of the exposure.
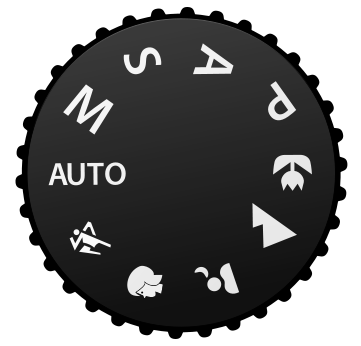
On most cameras these days, there is a dial called the “PSAM” or “PASM” dial (the order depends on the camera) where you can change your camera mode. It is one of the most important dials/options on your camera. You can see an illustration of the PSAM dial to the left.
Back in the old days, there was no such thing as a camera mode or a PSAM dial – everything was manual. Photographers had to manually set the aperture, shutter speed and choose the right type of film for their cameras. To evaluate the intensity and the amount of light, they used to carry special light metering devices that measured the light and provided the exposure information, which they would then use in their cameras. In 1938, Kodak introduced a film camera with an integrated light meter and in 1962, a Japanese company called “Topcon” introduced the first SLR camera that measured the light coming through the lens into the camera.
What this meant, was that photographers no longer needed to carry special light meters with them – the camera would do it for them. New “Automatic” camera modes started appearing on cameras, which would evaluate the amount of light that passed through the lens and would automatically pick the right exposure parameters to produce a properly-exposed picture.
Today, most digital cameras have various types of camera modes that can be used in different situations. While most point and shoot cameras concentrate on automatic modes for simplicity’s sake, more advanced cameras feature modes that allow both automatic and manual exposure control.

NIKON Z 6 + NIKKOR Z 35mm f/1.8 S @ 35mm, ISO 100, 1/250, f/5.6
Types of Camera Modes
Here are the four main types of camera modes that can be found in most digital cameras today:
- Program (P)
- Shutter Priority (Tv) or (S)
- Aperture Priority (Av) or (A)
- Manual (M)
Program Mode
In “Program” mode, the camera automatically chooses the Aperture and the Shutter Speed for you, based on the amount of light that passes through the lens. This is the mode you want to use for “point and shoot” moments, when you just need to quickly snap a picture. The camera will try to balance between aperture and shutter speed, increasing and decreasing the two based on the intensity of light. If you point the camera to a bright area, the aperture will automatically increase to a bigger number, while keeping the shutter speed reasonably fast. Pointing the camera to a darker area will decrease the aperture to a lower number, in order to maintain a reasonably fast shutter speed. If there is not enough light, the lens aperture will stay at the lowest number (maximum aperture), while the shutter speed will keep on decreasing until it reaches proper exposure.
I personally never use this mode, since it does not give me much control over the exposure. There is a way to override the camera-guessed shutter speed and aperture by moving the control dial (on Nikon cameras it is the dial on the back of the camera). If you rotate the control dial towards the left, the camera will decrease the shutter speed and increase the aperture. If you rotate the dial towards the right, the camera will increase the shutter speed and decrease the aperture. Basically, if you needed to get a faster shutter speed for freezing action, you would rotate the dial to the right, and if you needed to get a large depth of field, you would rotate the dial to the left.
Shutter-Priority Mode
In “Shutter Priority” mode, you manually set the camera’s shutter speed and the camera automatically picks the right aperture for you, based on the amount of light that passes through the lens. This mode is intended to be used when motion needs to be frozen or intentionally blurred. If there is too much light, the camera will increase the lens aperture to a higher number, which decreases the amount of light that passes through the lens. If there is not enough light, the camera will decrease the aperture to the lowest number, so that more light passes through the lens. So in Shutter Priority mode, the shutter speed stays the same (what you set it to), while aperture automatically increases and decreases, based on the amount of light. In addition, there is no control over subject isolation, because you are letting the camera control the depth of field.
I try not to use this mode either, because there is a risk of getting an overexposed or underexposed image. Why? Because if the amount of ambient light is not sufficient and I set the shutter speed to a really high number, my exposure will be limited to the aperture/speed of my lens. For example, if the maximum aperture of my lens is f/4.0, the camera will not be able to use a lower aperture than f/4.0 and will still shoot at the fast shutter speed that I manually set. The result will be an underexposed image. At the same time, if I use a very slow shutter speed when there is plenty of light, the image will be overexposed and blown out.
Aperture-Priority Mode
In “Aperture Priority” mode, you manually set the lens aperture, while the camera automatically picks the right shutter speed to properly expose the image. You have full control over subject isolation and you can play with the depth of field, because you can increase or decrease the lens aperture and let the camera do the math on measuring the right shutter speed. If there is too much light, the camera will automatically increase the shutter speed, while if you are in a low-light environment, the camera will decrease the shutter speed. There is almost no risk of having an overexposed or an underexposed image, because the shutter speed can go as low as 30 seconds and as fast as 1/4000-1/8000th of a second (depending on the camera), which is more than sufficient for most lighting situations.
This is the mode that I use 95% of the time, because I have full control over the depth of field and I know that the image will be properly exposed under normal circumstances. The metering systems in most modern cameras work very well and I let the camera calculate and control the shutter speed for me.
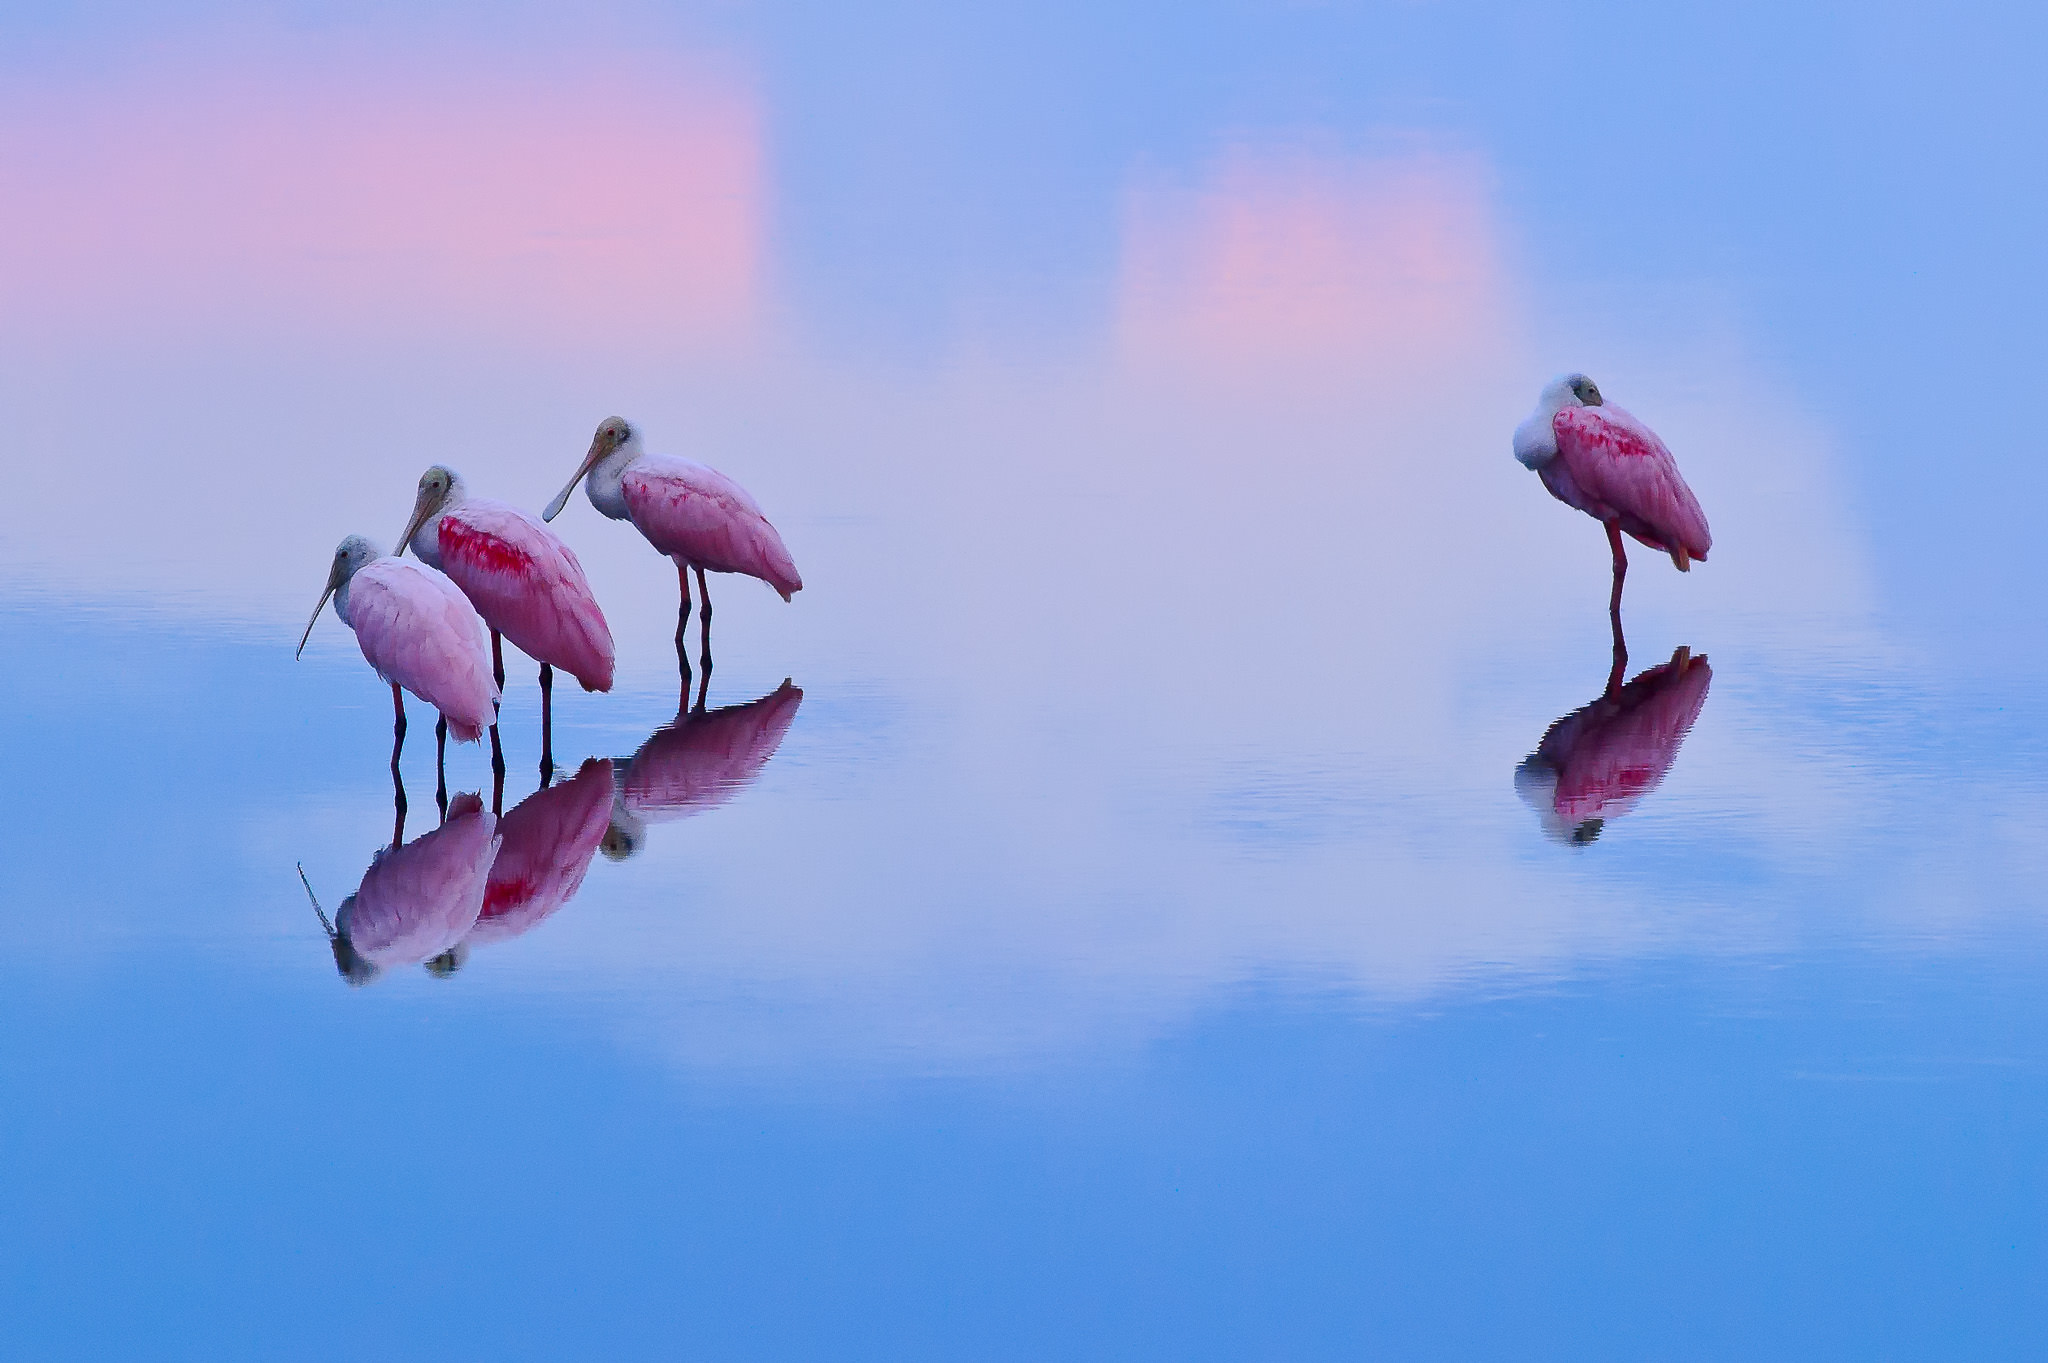
NIKON D3S + 300mm f/4 @ 300mm, ISO 3200, 1/250, f/8.0
Manual Mode
As the name suggests, “Manual” mode stands for a full manual control of Aperture and Shutter Speed. In this mode, you can manually set both the aperture and the shutter speed to any value you want – the camera lets you fully take over the exposure controls. This mode is generally used in situations, where the camera has a hard time figuring out the correct exposure in extreme lighting situations. For example, if you are photographing a scene with a very bright area, the camera might incorrectly guess the exposure and either overexpose or underexpose the rest of the image. In those cases, you can set your camera to manual mode, then evaluate the amount of light in darker and brighter areas and override the exposure with your own settings. Manual mode is also useful for consistency, if you need to make sure that both shutter speed and aperture stay the same across multiple exposures. For example, to properly stitch a panorama, all shots that you are trying to put together need to have the same shutter speed and aperture. Otherwise, some images will be darker, while others are lighter. Once you set the shutter speed and aperture to the values of your choice in manual mode, your images will all have consistent exposures.
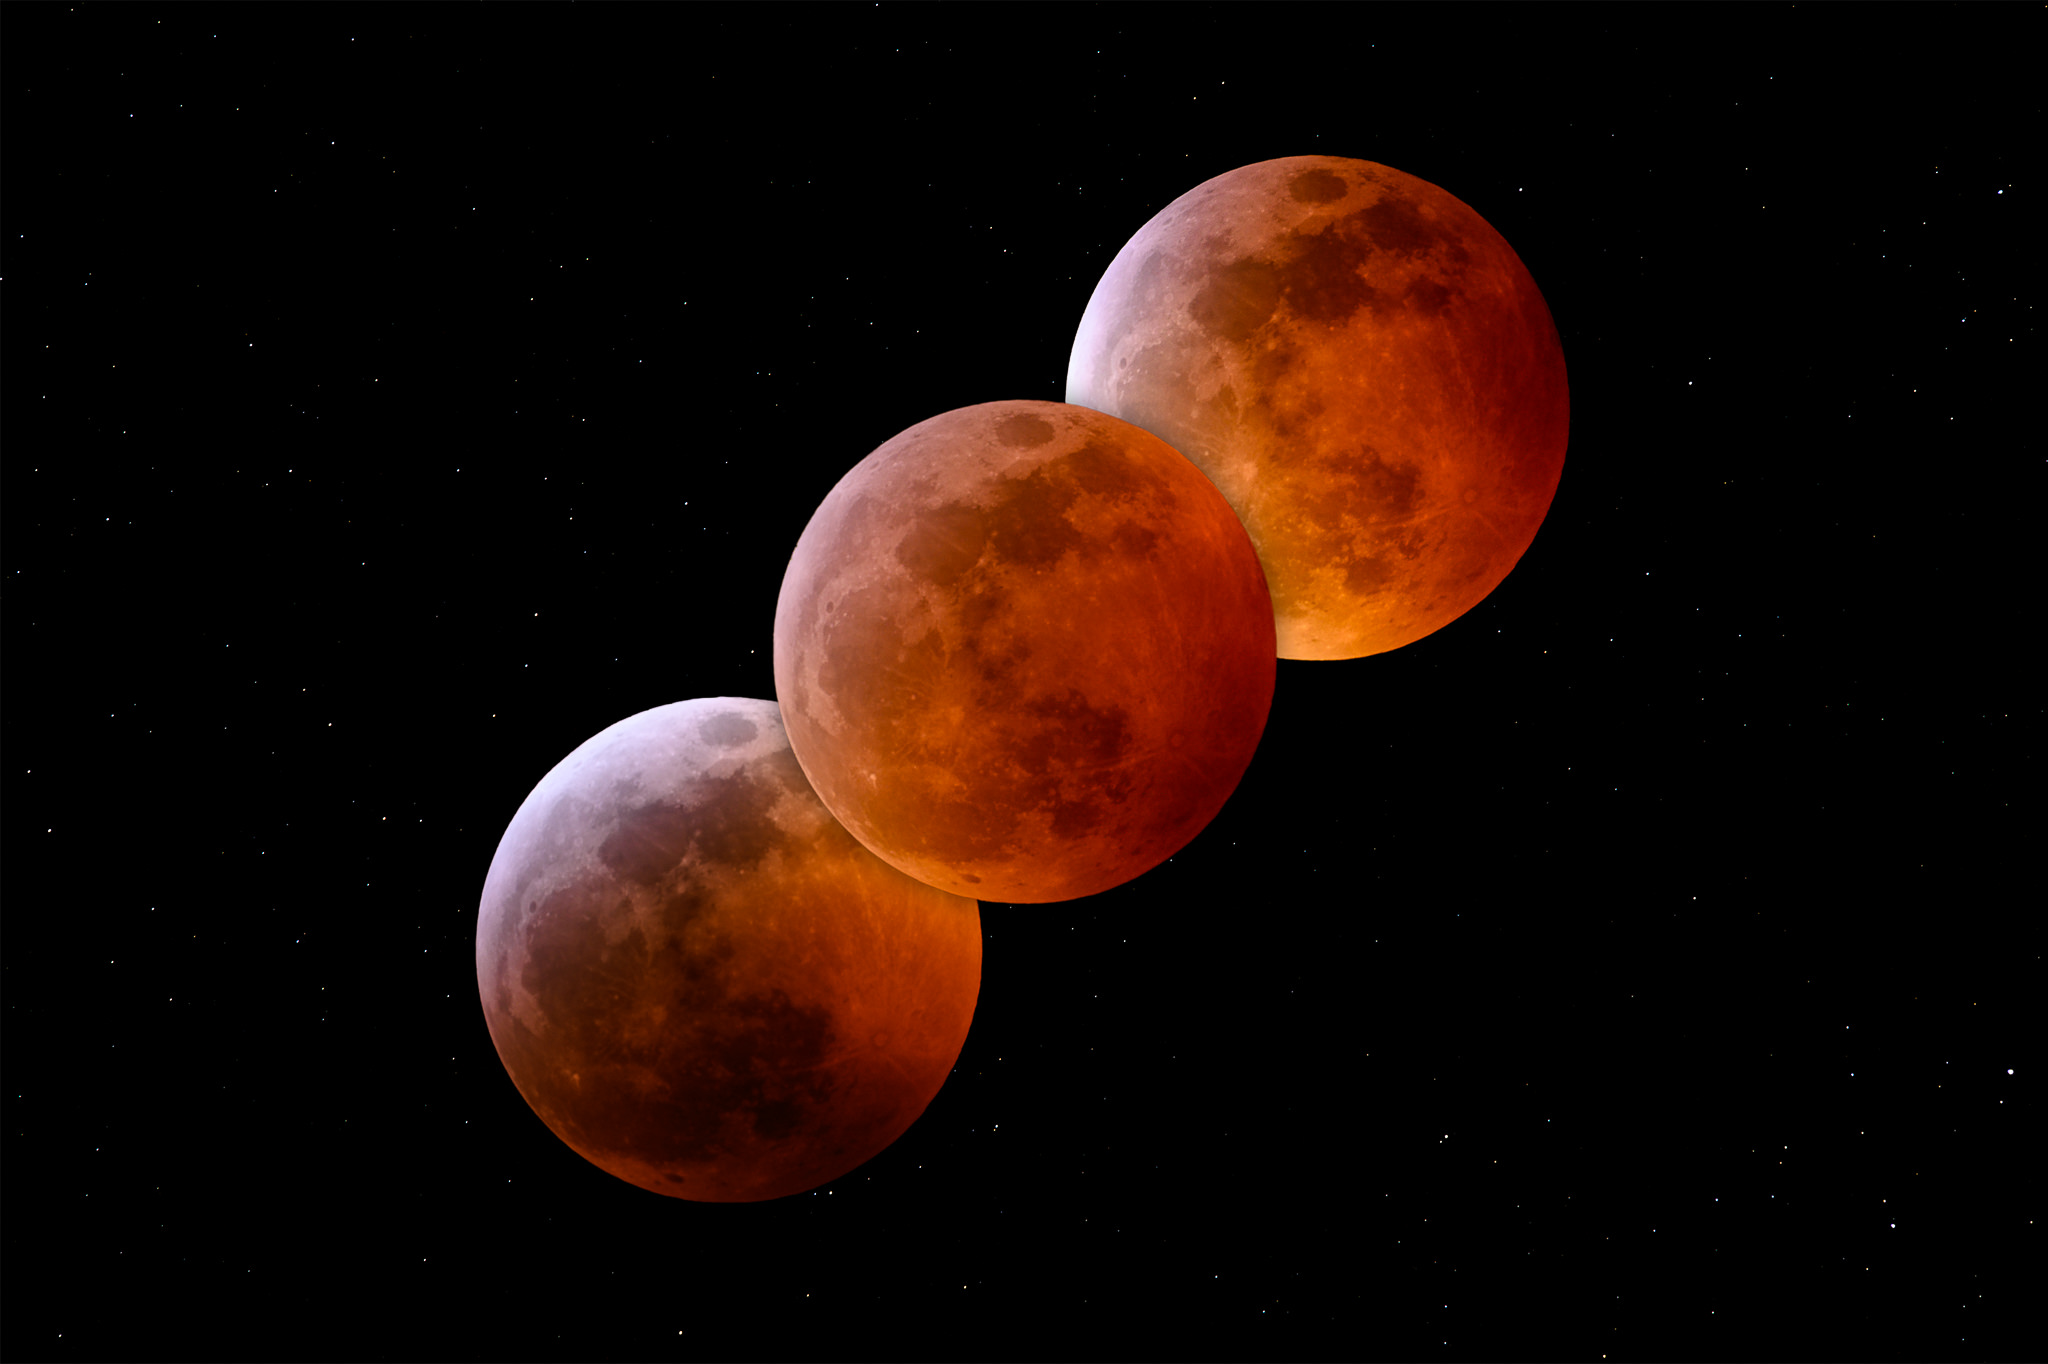
NIKON Z 7 + 300mm f/4 @ 420mm, ISO 200, 10 sec, f/8.0
I only use this mode in extreme situations, when shooting panoramas or when using on-camera or off-camera flashes.
Where Can I Set the Camera Mode?
The camera mode dial is typically clearly visible on all entry-level and semi-professional cameras – it is a large rotatable circle that has the modes listed as “P”, “S”, “A” and “M” in Nikon DSLRs and “P”, “Tv”, “Av” and “M” in Canon DSLRs. Here is a picture of the mode dial on the Nikon D5000 DSLR (highlighted in red circle):

And Canon 50D:

On professional cameras, the mode dial might not look the same. Take a look at the picture of the Nikon D300s, where it is a small “Mode” button on the top right hand side of the camera:

What About ISO?
In most DSLR cameras, the ISO does not automatically change in the above camera modes, so you have to set it manually. If you do not want to manually set the ISO all the time and have an “Auto ISO” feature in your camera, enable it, then set the maximum ISO to “800-1600” and your minimum shutter speed to something like 1/200th of a second. If you notice too much noise, change your maximum ISO to a lower number. If you do not have an “Auto ISO” feature, then set your ISO to the lowest ISO number and increase it in low-light situations.
What About Other Camera Modes?
Many of the entry-level and semi-professional cameras have other modes such as “Auto,” “Portrait”, “Landscape”, “Macro”, “Sports” and “Night”, depending on the camera (professional cameras do NOT have most of these modes). I won’t go through any of these modes for three reasons:
- They are simply a combination of the above four modes plus a shift in whatever direction the camera guesses is correct (like a faster shutter speed if “Sports” is set).
- Different cameras have different custom modes and you should not get used to any of them. If you ever switch to a different camera brand or get a professional camera, you might get lost, just because you relied too much on a specific custom mode.
- All of these custom modes are evil! They don’t give you any real control over how your photo turns out, just the illusion of control. Stop using them and learn the four main camera modes explained in this article instead :)
If you have any questions or feedback, please post your comments in the comments section below.
Download as an eBook
I’ve received many requests over the years to download Photography Basics for offline viewing. As of 2025, I’m excited to announce that I now have a dedicated eBook version of Photography Basics! The eBook covers the same information but is optimized for offline reading/printing, with a beautiful design and updated text. Photography Life members get this eBook included with their membership ($5/month, cancellable any time) alongside a lot of other benefits – including a Q&A group if you have questions about the topics I’ve covered in these articles. You can read more information about our memberships here.
