Photographing formals during weddings can be very tiresome and stressful to all parties involved. It’s the part of the day both the guests and the photographer often want to get past as quickly as possible. Friends and family want to enjoy the cocktail with others. Bride and Groom are tired from standing far too long and a looking forward to get some rest before the reception. Could anyone blame them?

On some occasions, I have been even asked to skip the formals in hopes of avoiding guests from stress and chaos, which sometimes can happen during the formal session. While not everyone might enjoy this experience, it is also understood that taking formal pictures is an essential part of wedding photography. This is how the memories are preserved. This is a precious way for a bride to remember her family for many, many years to come; in her happy state. So, the challenge remains for the photographer to make sure that the time allocated for the formal portraits is spent efficiently and as quickly as possible. In the eyes of the wedding guests, a photographer is a miracle worker, control freak and a very sweet person who can turn a very difficult session into something magical. So, my dear magician friends, let’s get on to it. You are the expert and what do you do next?
There are steps you can take to achieve your goal and have everyone happy on your watch. Your first step would be to make sure that the watch doesn’t go over 30 minutes for any formal session.

1. Talk to the bride and groom before the wedding. Do your research and get to know your subjects earlier. Let’s admit that there is no way for you to get to know so many people at once. So, start early and talk it up with the bride and groom during the consultation session. Find out what their expectations are towards the formal portraits and how many people might participate in those. Sometimes it is easier to get a list of the family members who ought to be photographed alongside the bride and the groom. Ask the bride to inform her relatives that there will be a point during the wedding (if the exact timing is known, that would be more helpful) when they will be asked to get photographed. Keeping everyone informed will help you gather people around efficiently. Always make sure to ask the couple if there is anything you need to know about their families and have a strategy worked out to take care of any potential problems.
Usually, close family make it obvious for you to notice them. Walk around them, be a regular guest and interact with them before the formals, so that you are “familiar” to them. Let the guests talk and meet and have fun while you steal a few of them to get photographed. This way, everyone can be engaged all the time by either you or by other guests. It will only help you get those sincere emotions naturally, with much ease.
Also, keep in mind that you do not have to fit every single guest into a formal session. Friends and distant family members can be photographed all along the wedding reception and cocktail hour.
2. Help your subjects relax. People are often intimidated by photographers and their big cameras. And then there are bags hanging off our shoulders, with some of us using big D3’s and Mark IV’s with those giant 70-200’s. Intimidating at best… I find that being honest with my subjects helps me relax them very easily. Talk to them and communicate that you might be shooting them, but not with a rifle. You’re not dangerous, you don’t bite or bark at people, and the big bazooka-like tool you have in your hands is only intended to make them look fabulous. That’s right – joke! This will also allow the sincerity of your subjects to shine and will allow you connect with them in a different, emotional level.

3. Make a good use of maid of honor… and/or your second shooter. That’s right! Often these beautiful ladies are family or a very close person to the entire wedding party. With her help you can gather people quickly and use her as a reference point if you need names and information of guests. If there is no maid of honor, an aunt will be an excellent “go to” lady. Second shooters or assistants come in very handy during formal sessions, too. If trained properly, they can help you organize the groups to be photographed (look for grandma and grandpa who decided to go for a walk before the reception, locate an uncle at the bar, etc). They can help you set up and hold your lights, reflectors, etc. Your second shooter should not photograph with you during the formals, as it often distracts everyone.
4. Spot a good location with great light. Usually a quick glance at the area of the wedding ceremony and reception should be sufficient for you to score a little nook to use as a suitable background for the formals. Do so as it gets closer to the actual shoot. The morning light will not be the same in the afternoon and the afternoon light will not be the same during and after the sunset.
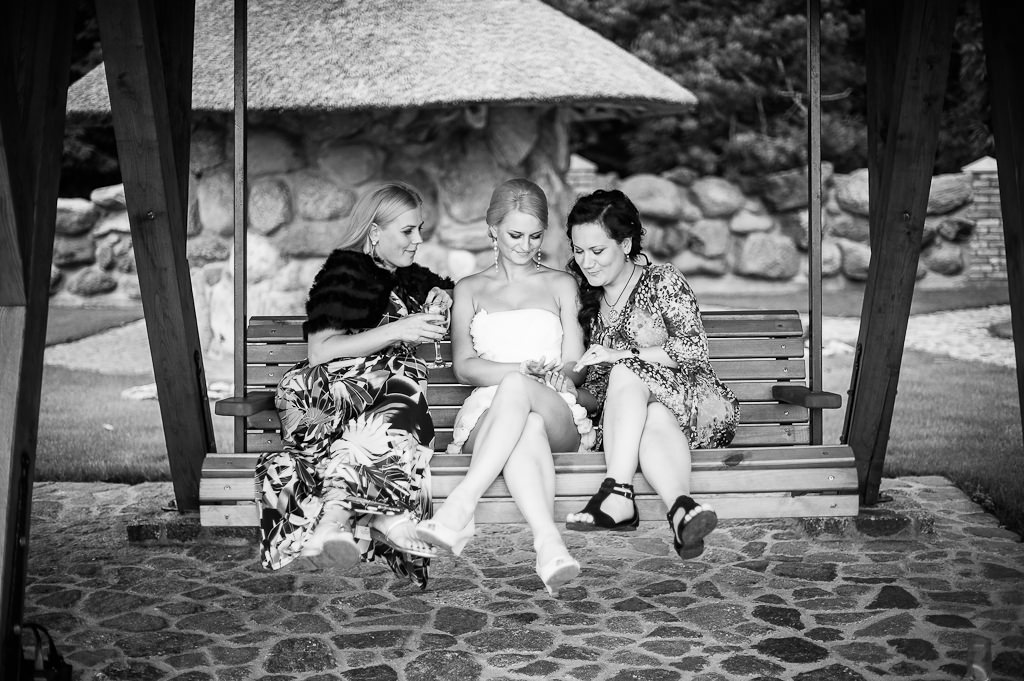
You should try to locate a nice spot with natural, soft light to illuminate your subjects. If an outside location does not work for some reason, a covered patio/gazebo or a room with big windows can be good potential candidates for the session.
5. Be at the ready to take a photo-journalistic approach. If you are storyteller, you can photograph your subjects without being noticed or without orchestrating every single thing. Be always ready and shoot away when you see a moment. Capture the emotion and love every second of it.
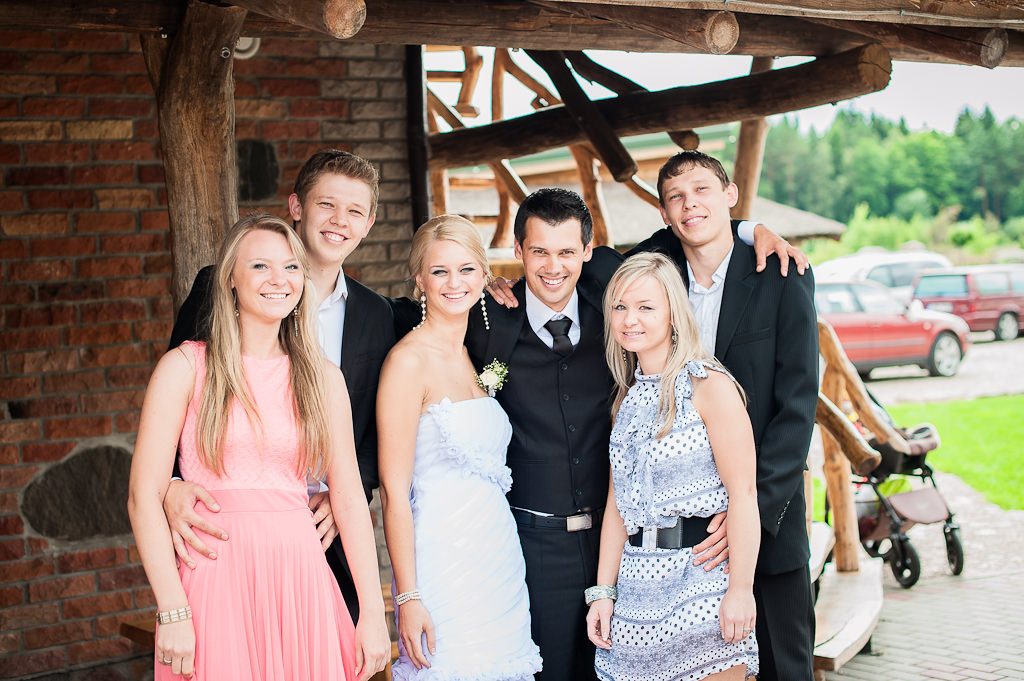
6. Go from large to small. Start out with a large group of people and then narrow the group down as you shoot along, leaving the closest relatives to photograph at the end – they will typically have more patience than others. It is much easier to gather everyone for a group picture at the beginning of the session. You do not want people to wait too long on the side while you are taking pictures of others.
")
Hi what lens did you use for the above photos?
The points that you make and the discussion were very valuable. Thank you.
But the photos illustrating the article seems to have been taken by guests. All the work on this site usually looks great – what happened? (Eyes closed; awkwardly holding pocket books; backgrounds that include cars and strollers; people posed every which way in groups; etc. ad nauseum.)
Hello Nasim,
Your works are amazing. This is a very nice blog. Information available at all levels of photography.
I really like the 3rd photo in this article(Four guys picture). Could you please let me know how did you take this picture and the post processing technique. Thanks in Advance. Keep up your good work.
Prem.
I’m very intrigued by the starting off with a big group and leaving the closest relatives to last tip.
My experience is a bit of the opposite.
First of all, here on the French Riviera where I shoot weddings the group shots are done during an outdoor cocktail. Getting the people together is always part of the problem and for this I always get the help of two YOUNG people, one for each side of the family. Usually this is a brother or sister who knows everyone that’s on the (pre-made)list. Once the photo session starts people automatically start flocking closer to the bride & groom and become interested by what going on. Thus I find it easier starting small and working bigger as the longer you wait, the less people have to go around looking for other people.
Furthermore, the bride and groom get quite tired. Thus it’s important getting the most important shots done first, as after a while they start sinking in (up until the shots with the friends where you can start doing fun/crazy things). I’ve often found that having them sit down has a triple advantage:
1 – It lets them rest
2 – Not all of the heads are on the same height, avoiding the only-standing-match-sticks problem.
3 – Extreme height differences of people or bride & grooms don’t stick out as much as you can have them bend over/sit on something.
I may be because of the timing of the weddings I shoot on the French Riviera, but one tip I missed in this list is that setting up flashes & doing that beforehand is a must at times. You can get away without flashes on a few occasions, but I’ve had sessions end up in the dark with no other light, or with extreme shadows coming from a late afternoon summer sun. Sometimes I hesitate about setting up stands & remote triggers / CLS system, but ever time the pictures have benefitted from it. Besides, using light will bring out the people a lot more as well let you control the background colors. Pocketwizards / Radiopoppers aren’t really necessary for this, Nikon’s CLS system usually does the trick.
Nasim, love your website. Really enjoy the detail nature, but honest and matter of fact posts. I’ve learned a lot and I’ve only just discovered this blog. You also seem like a humble dude! One question…I’m stumped on which focus mode to use for portraits…AF-C or AF-S. How do you shoot? I’ve got a D800.
Hello Nasim.
I am not entirely but I am new to the photography world. I have always craved to do photography so I began cause it makes me very happy and free. I was asked be the photographer for my cousin’s prom day, to take photos of her til she departs to the actual prom. I am so captured in the crisp, clean, noise free photos of prom day that other photographers have taken. I want to give her just that, because prom is a very big and magical day. I have a Nikon D5100 with the default 18-55mm lens along with the 55-200 Nikkor lens. Do you have any tips on camera settings, lighting and lens to use to have the sharp look in her prom photos? Your articles are amazing by the way and I’ve been learning a lot.
Thank-you for everything you do for us beginners. :)
Hello. am i newbie in using DLSR, just over a year. and I have found your website really really really useful.. I am learning a lot from your articles. thank you so much. May I also take this opportunity to consult you. I have a 1-year old Nikon D90. Since I am new to DLSR & photography, my plan is to maximize using this and learning all its features before upgrading to an FX camera (like the D700 or D800). I am giving myself around 3 years before I upgrade (I am a weekend hobbyists, since I am employed 8-5 Mon to Fri). Meanwhile I am looking for just one good zoom lens for low light, portraits (using ambient light) as well as for all around travel, landscape, and street photography. Is AF-S 17-55mm f2.8G IF-ED DX the best one for this? or is the 24-120 F4 VR ok to use as well for my D90?
Nasim,
Thanks for the nice tips. I am getting into the world of event photography and going to cover a function in May at my local Church. I have a question regarding hot shoe flash diffusers. I’ve always used the diffuser that came with my SB-900 but looking to upgrade to something like Demb diffuser. Any recommendations? Btw, this is for a communion and I will be taking pictures at close range (about 10-15 feet away) and there is low ceiling or wall to bounce the flash. Please advise.
Thanks
Liju
Good pointers – I always work from large groups to small and it works well every time!
Hi Nasim,
Great post I have just started back doing weddings, portraits and reportage style work after a 12 year gap. Things have changed a lot in this time. The transition to digital has been a struggle, but I’m finally mastering it (sort of). Your posts are superb and I look forward every day to checking my bookmark for a new article.
Thank you for devoting your precious time to educating and sharing your knowledge. Your honest straight forward unbiased writing style is refreshing.
Thanks Mark from Scotland