Food can be photographed anywhere and anytime, given that a photographer has the right tools for the project. Photographing in a controlled environment indoors like in a full professional studio or a mini self-made studio can take a lot of effort to set up and can be very costly. But what if you do not have the required tools for the job or cannot afford a good lighting setup initially? You resort to using natural daylight, which is free for all, thankfully. And while daylight is available for us every day to use, it can be challenging to work with. In this short article, I will provide some tips on photographing food outdoors and talk about using very inexpensive tools that will make a huge difference when dealing with harsh lighting.

Table of Contents
1. Timing
If you are planning to photograph outdoors for a paid gig or as a personal project, your first step is to time the photo shoot correctly. While there are some great tools available that will come to your rescue if need be, selecting a desirable time of the day to photograph the process will always give you more flexibility and quicker results. Generally, food photography calls for soft, less contrasted and very appetizing frames. To achieve such look in a natural environment, pick a time during early mornings or late afternoons, when the light is very soft and the sun is not too direct and harsh. If it is a cloudy day, that’s even better, since clouds do an excellent job of diffusing light (with clouds, you can shoot any time of the day, no matter where you are). Simple and basic, but it works!
2. Location
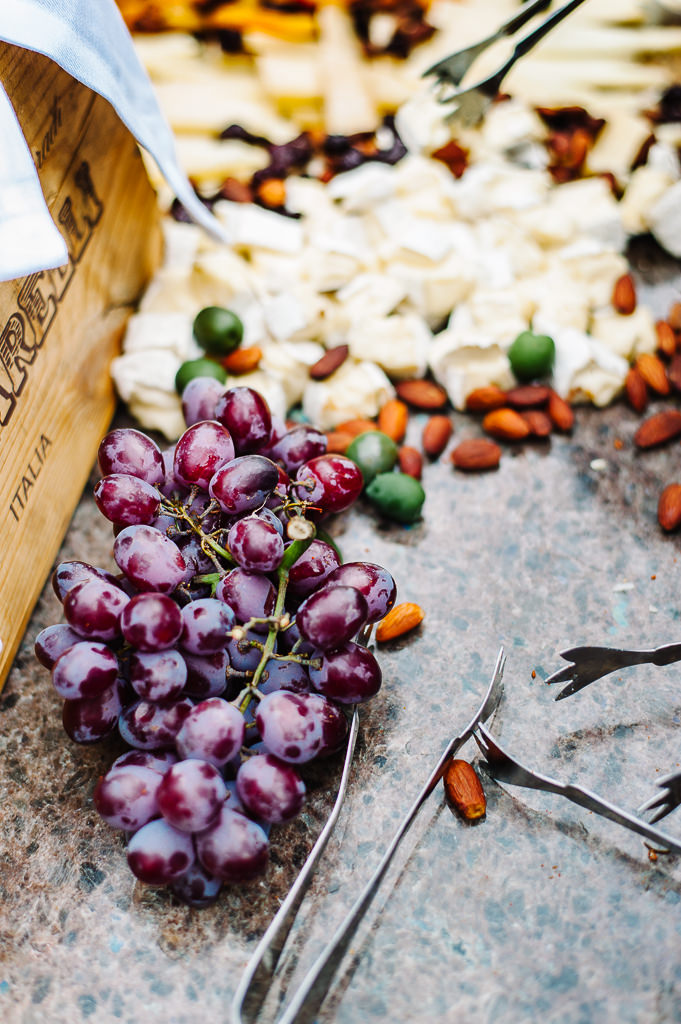
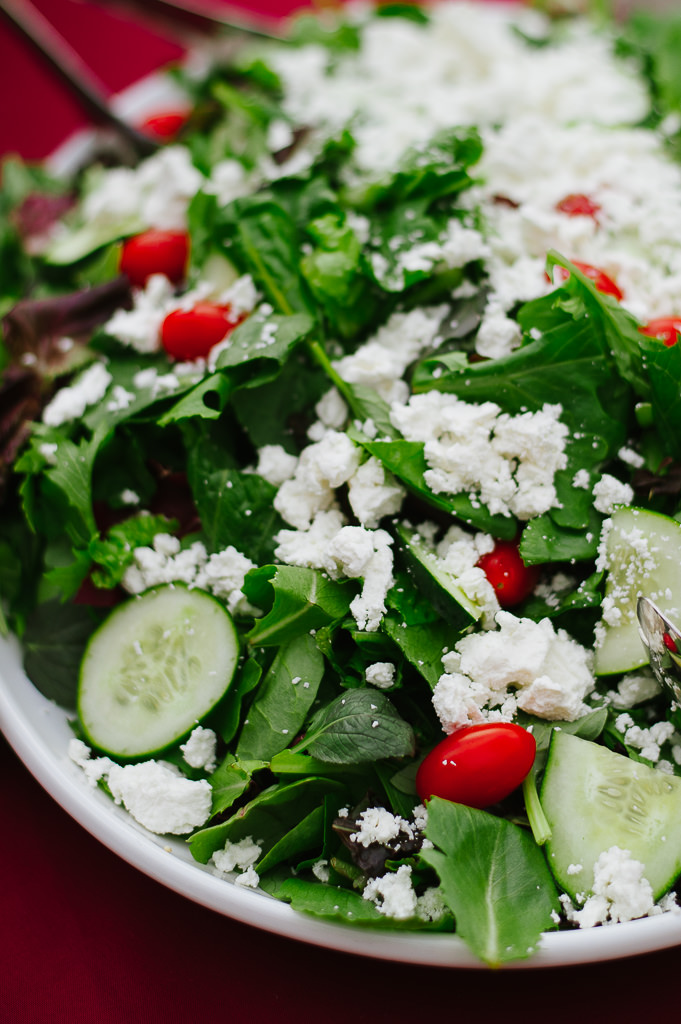
For commercial shoots, your client may not think about consulting you about the location of the shoot. But I would highly recommend scouting the place prior to the project day. If your clients want amazing photos, they should consider what you have to say, and most (if not all) clients will welcome your input. Much like you enjoy eating in a shaded area, rather than under a bright, burning sun, photographing under a large shade is ideal. If the timing of the shoot is not ideal, make an effort to choose a location under a large tree or a patio awning. This will give you beautifully wrapped light, as if you are photographing in a room with big windows (more on this later).

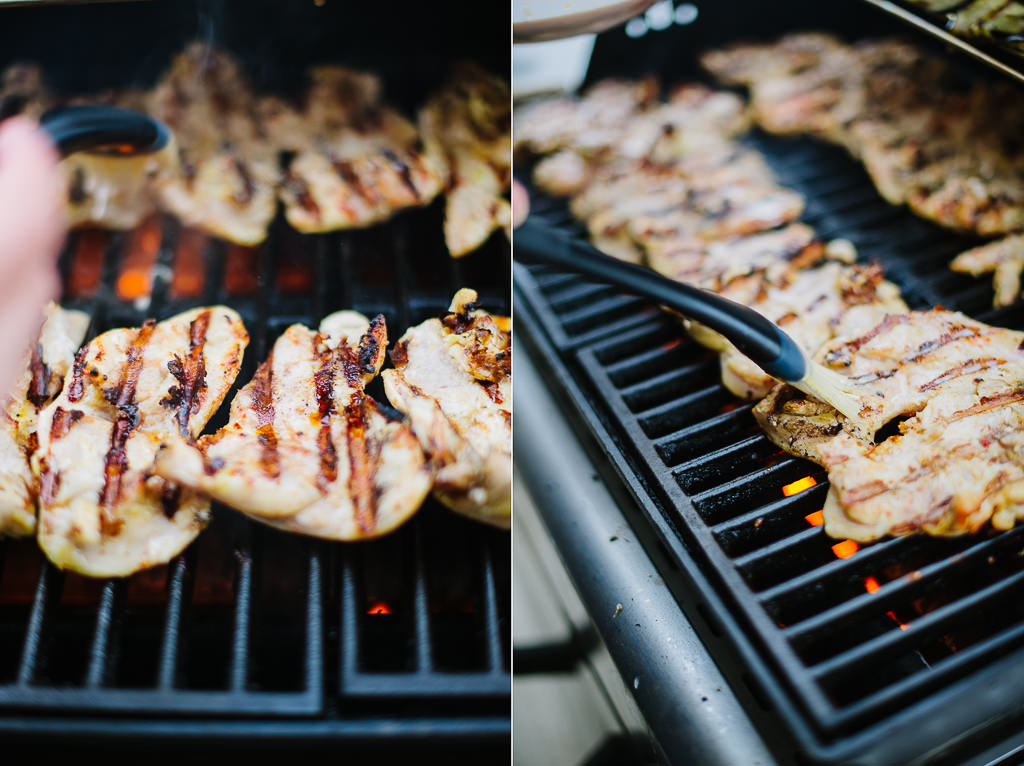
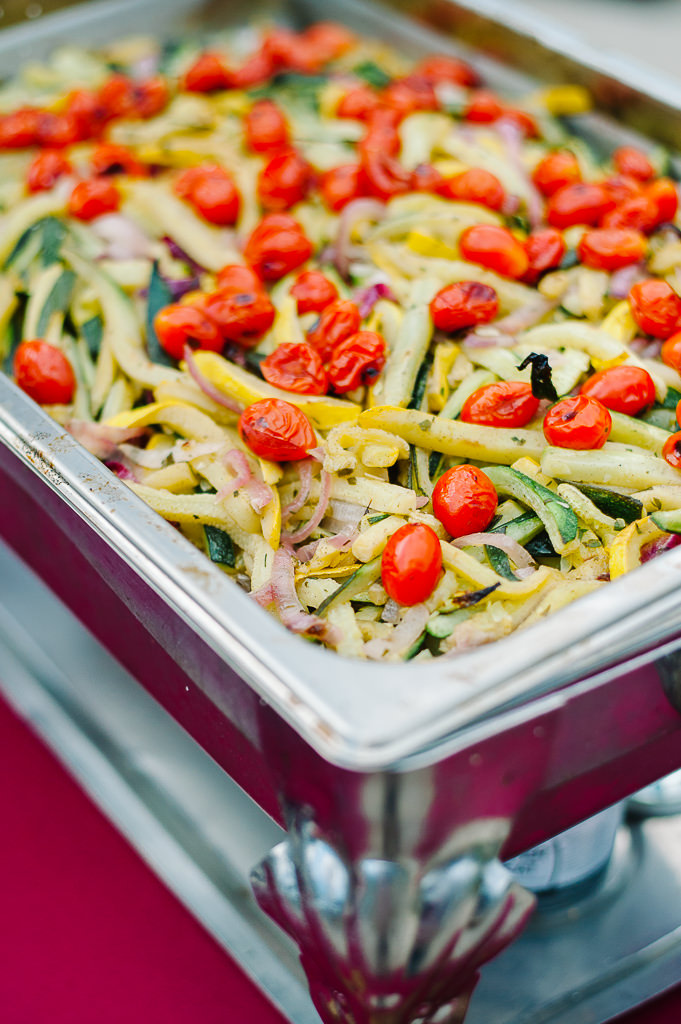
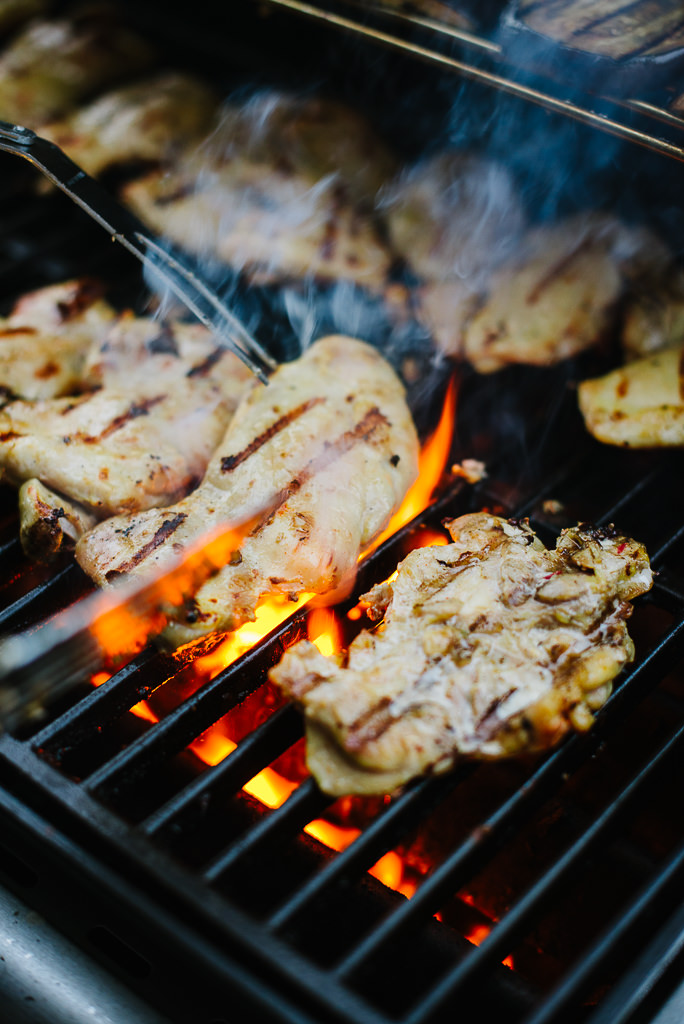
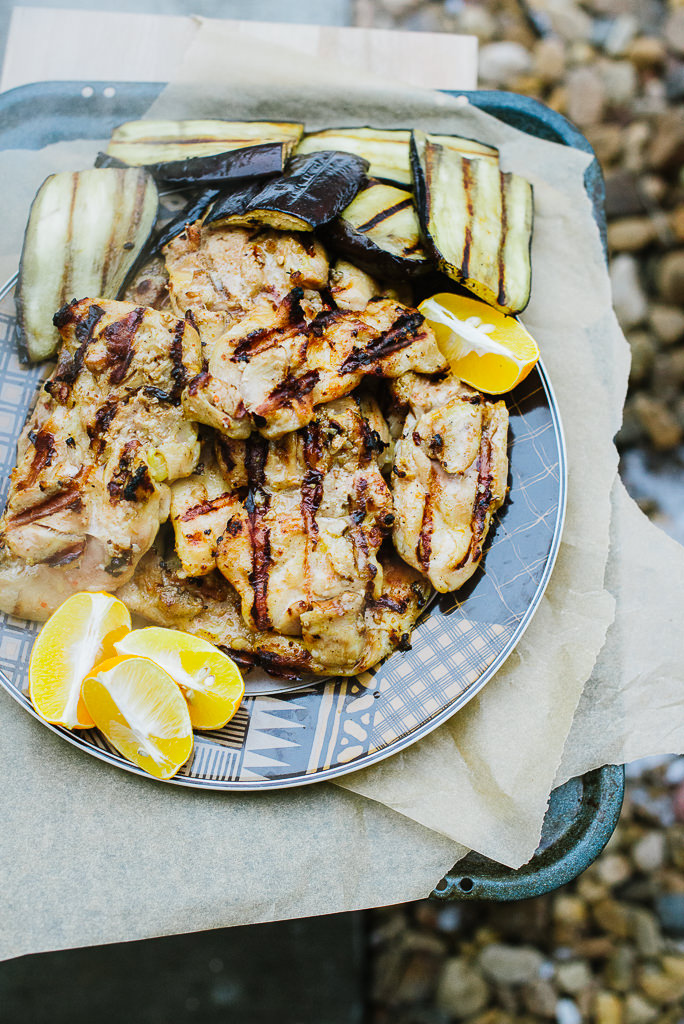
Here are some sample shots taken outside in a shaded area as illustrated in the above diagram:

3. Equipment
While you may like using flash as fill light sometimes, I do not see much use in it when there is an abundance of natural light. What might be helpful during an outdoor shoot are silver reflectors, light diffusers and panels. In fact, if you are planning to shoot food outdoors, I wouldn’t leave the house without these nifty tools (you can get some “all in one” reflectors or reflector panels for cheap). A silver reflector is a great tool to give a beautiful fill and bring out the details from the shadows of the overall presentation. If you are bouncing direct light, a simple white reflector would serve the job better, since silver might be too powerful. Much like panels, simple white reflectors / diffusers will play a huge role if you have an issue of overabundance of direct sunlight. Both translucent panels and diffusers will shield the harsh light and give you an opportunity to photograph in a more controlled environment. Using these tools will ultimately make your job much easier and result in great looking and appetizing food.

Please note that the above diagram represents a reflector and a diffuser panel over the top of the subject, effectively softening sunlight. So you are looking at this diagram from the side, not the top. I could not find a way to illustrate this in 3D, but hopefully you get the idea.
4. Post Production
Ideally, you do not want to edit food photos too much. It is OK to remove unwanted objects in post, but try not to add too much texture, saturation, vibrance and sharpening – those could end up damaging your image. The closer to the natural, the better in my opinion. What I would pay a great deal of attention is the white balance of your photos. White Balance is not an issue if you shoot RAW, but if you choose to shoot in JPEG format, then make sure to set up your white balance in your camera before you start shooting. Play a tad bit with curves to add an instant punch and a little saturation of colors, if needed (again, make the food look natural). I wouldn’t recommend adding too much contrast to your photos as it may make the food look a little unappetizing.
I hope you find these short and simple tips useful. More to come!
I need help with the best angles to shoot food or the composition for a better word.
I have trouble controlling light and getting people to commit to being my subject. I turned to product and food photography for practice. I don’t have to worry with no shows and complaints. Your blog is very helpful! Thanks for taking the time to show us your tips.
Love the photos; I hope someday to be as good as you. Just a couple questions from a curious amateur though – (1) in what situation would you select a diffuser over a reflector and vice-versa, (2) how do you select what color reflector – white, silver or gold – to use and in what situation would you? Thanks.
Dear Lola
I fear you may be selling yourself short. You are obviously a skilled photographer, well equipped to deal with the fast pace that food photography demands. From the moment the food leaves the kitchen/ grill/prep area, it is deteriorating. Fat congeals, greens wilt, sauces run or thicken. To shoot it at its best you have a few minutes, perhaps seconds.
Your suggestions on simple, natural lighting can not be argued with. But can I suggest to your readers that to match the quality of shots on display here, requires good team work as well as great lighting.
Oh Lola,
This is fantastic. Do you have any tips on how to work with things that are close in color? for example, tomatoes and carrots (mine never turn our right when I photograph them together).
Thank you for checking the above post out, Anna! Reds and oranges are pretty hard to photograph. I feel like adding couple of more colors help to balance out the orange and reds in photos. Post processing also plays a big role with those colors. Try to de-saturate the reds and oranges give a little vibrancy to the overall photo and sharpen a little. Do not use too much contrast and it should work out well. I also think that photographing these colors in a dimmer light works best versus well lit environment.
those are some great tips, i find photographing food one of the most difficult things to do!
Hi Gregory, thank you for your comment. I think it can be mastered pretty quickly. The hard part for me is usually styling it and with time you can master that, too.
Great food photos and good info. but… You didn’t say anything about how to keep the bugs away from the food while you are working. I don’t photograph food but I have had to edit out mosquitoes and flies from my photos of pets while shooting in heat of summer in Louisiana. And can barely eat any melons outside without having trouble with bees and wasp coming after the fruit.
Joni, I am afraid there isn’t much you can do to avoid critters from flying around your food. Unless you can have one dedicated person with hand fan to keep the area clean for you. You can also use a big electric fan to serve your purpose but your garnish would fly around, too :) Best suggestion would be to keep the food indoors and photograph it by the window light.
God! Does that food look good!
I didn’t read your tips, but I looked at the food 10 times. Getting hungry. Going downstairs to make lunch and have un po di vino bianco freddo (Pino Grigio).
What brand/type grill do you use?
Hi Peter! Thank you for a very nice comment :)
We use a Weber Grill and love it to bits.
Hi Lola thanks for this great article. I wish to know more about ideal camera settings or at least the most often used and lenses you use most for this kind of project. Do you shoot it hand held or in a tripod?
Many thanks for any advice you could bring me.
Regards,
Mauricio
I was curious too. A quick review of the EXIF data shows she used a combination of a D3S with a 50mm 1.8 and a D600 with a 50mm 1.4 with varying apertures of f/2.5, f/2.8 and f/4 depending on the depth of field she wanted. The shutter speeds are all fast (between 1/125 and 1/1250 and and the ISO’s are cranked up between 500 and 4500 (I love my D600 too!) My guess is she was able to hand hold these shots. Easy peasy as long as you have some some good light (vs. setting up six flashes, that is…)