Summertime for wedding photographers in the northern hemisphere can be quite hectic! Since the beginning of May I have been shooting 3-5 portraits sessions and 1-2 weddings per week – that means before I have little time to process, edit, and complete a session/wedding before I am already onto the next one. It goes without saying that good time management is crucial for not falling behind. In this article, I will share a few time savings tips for busy photographers like me.
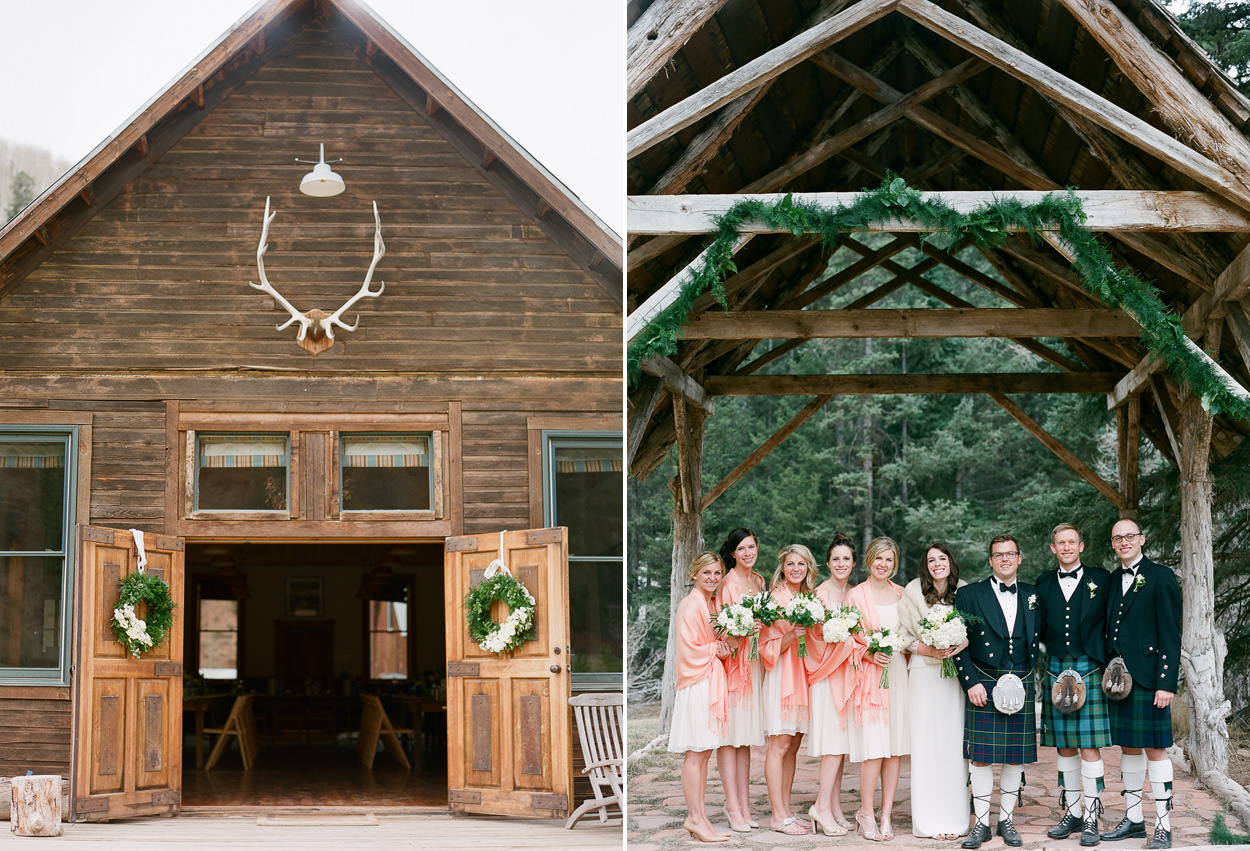


Table of Contents
1) Be smart about culling images
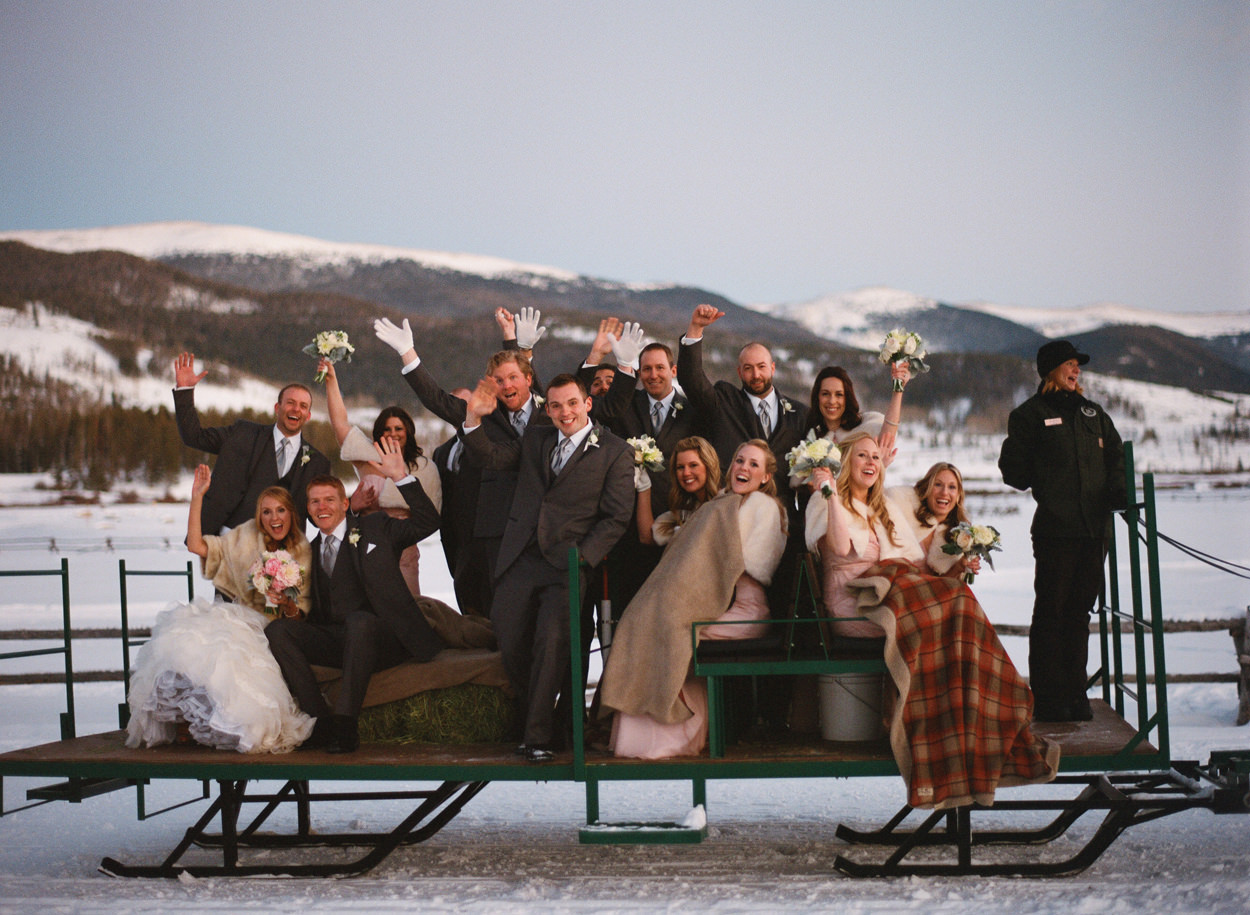
The more images I pull to give my client, the more work I need to do to process and edit them. I try to present my client with the 600-800 BEST images from the wedding day. Not the 3,000 images that my assistant and I photographed. They don’t need the images where they are blinking, or the light isn’t quite as flattering. They don’t need 5 copies of the same exact pose. What I find my clients want (and what I would want if it were my wedding!) are all the best photos. I do not get rid of entire sections of the wedding, but I am selective with the photos that I DO give my clients. Also, when AT the wedding, I am selective about what I am shooting as well. I try to be intentional with my shots, and am aware to not over shoot.


2) AutoLoader for Photoshop
We all know that Lightroom is a wonderful tool for batch editing. But if you still prefer Photoshop, or if a job requires you to do edits in Photoshop, AutoLoader is a valuable time saving tool. AutoLoader is a Photoshop plug in which allows you to select a folder where you want to pull images and to select a different folder where you want your edited images to be saved to. Then with just the stoke of a key (mine is programmed as F1), AutoLoader opens the image in Photoshop from the source folder, automatically runs any actions you want it to run (I have mine set to run a levels and curves adjustment), allows you time to do any extra edits, and then with the push of F1 again, it saves the images in the edited folder and opens up the next image. This means you do not have to open and save each image individually. It’s a time saving trick when your edits require you to use Photoshop.
3) StoryBoard tool for blogging
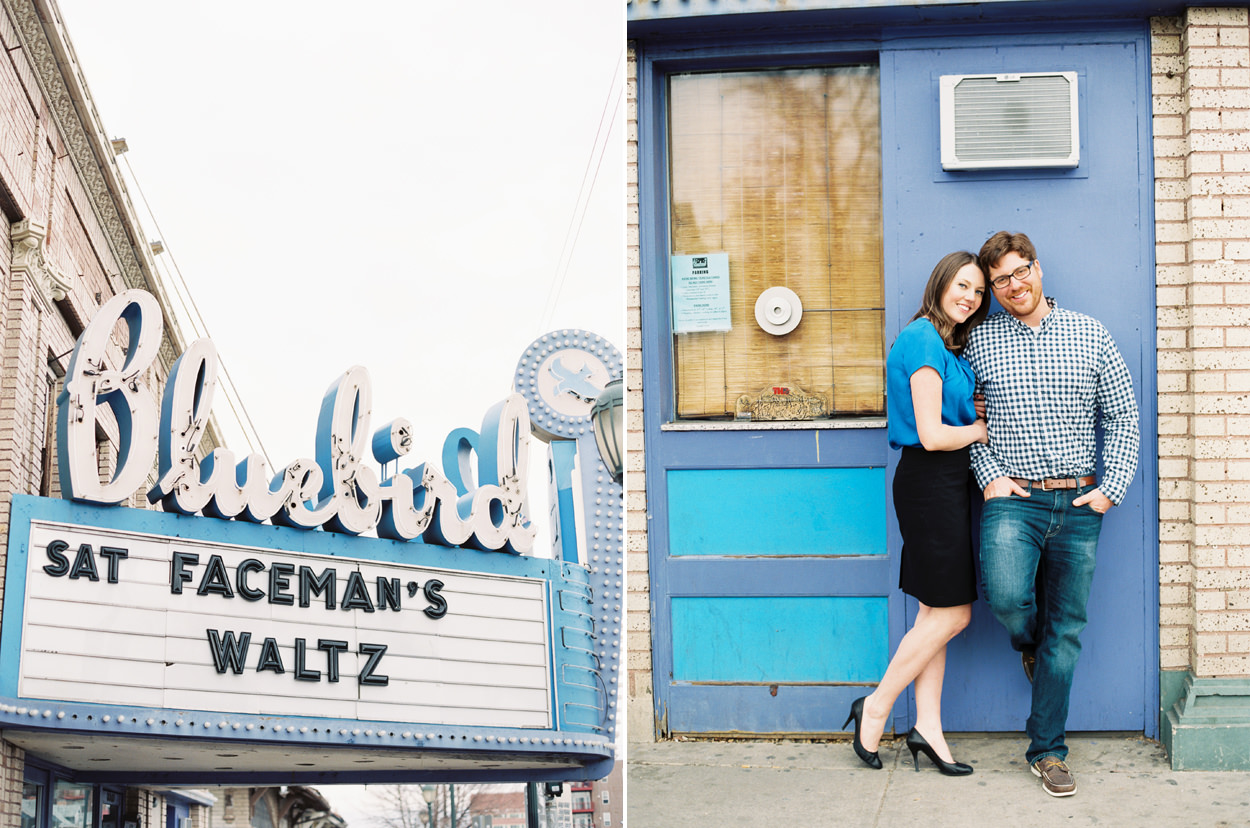
Blogging is an important part of running a successful photography business. Readers want to continually go to your site to see new content. Something that has been a huge time saver for me is using the Photoshop plugin StoryBoard by Code and Hustle to create my blog posts. As you can see in my blog posts on my photography blog, I like to have a lot of diptograph (meaning two images shown side by side). StoryBoard creates those diptographs in an instant for me. I programmed StoryBoard to open a folder when I hit the F2 key. Then I select two images that I want side by side in a post, and StoryBoard creates the diptograph for me. I have preprogrammed that I would like the diptograph to be 600px across with 5px in between the two images. You can also do this for resizing high res images to smaller sizes as well. Or you can also create 3 images side by side … whatever you want. It is completely customizable and much easier for me to create my blog posts, than doing everything manually in Photoshop.
If you do not want to buy a third party tool like StoryBoard, you can also do the same thing in Photoshop manually. But be prepared to spend more time taking this route, as there is a clear difference in the number of steps involved in the process.
4) Transferring images from Second Shooters
One of the things that most my second shooters find interesting is the method in which I get their images (speaking of second shooters, I hope you had a chance to read Lola’s excellent article on hiring a second shooter). They always ask me afterwards for the name of the device I use. I use a Sanho HyperDrive to collect my second shooter’s images at the end of the night. Its very small and light—it only weighs 10 oz, so it fits easily into my camera bag (unlike a heavy, bulky laptop). And it plugs straight into my computer via a UBS port, so I can upload their photos in an instant. I used to lug around my laptop, drop their photos into my laptop with a card reader, then pull their images onto an external drive, and then hooked that external drive to my main desktop computer. It was time consuming! I know some of you have your second shooters use your memory cards and then you keep the cards. This device is handy for when your second shooter is shooting on their own cards.
Hope you have found these tips to be helpful! Please feel free to share your time saving tips in the comment section below.
Amazing pictures…incredible work!!!
I read your post and I really like it, Thanks for sharing useful information.
I agree with your thoughts. Wedding photography is not just about talent in photography but it also about being business savvy.
Thanks for the great tips!! Definitely both fresher and the experienced photographer would get benefit from your tips.
600-800! Yikes, that’s still a lot for the “Best” photos. Try cutting it down to about 400-500. You can tell a full day story without having to edit filler images that are really not needed or ever going to be looked at more than once. I definitely need to learn how not to over shoot. I am terrible for that, and it does take a lot of time sorting through them. I kick myself everytime. Thanks for the post :)
Laur,
that’s true for some of us. But the amount of images you give to your clients (and take during the actual shoot) is a very subjective matter for both photographer and the couple. I rarely take more than a thousand photographs per wedding. Sometimes over a thousand if I do Brenizer panoramas. Usually, I get one out of 2 or 3 as a keeper, so that’s 300-500 photographs. I already think that’s quite a lot, but I also know photographers who give twice as much and their clients never complain.
Yes, I agree it is subjective. At our wedding, our photographer gave us over 1200 images (maybe a bit too many!) … everyone is different and it all depends on what works for you! :)
That’s pretty impressive to shoot only 1,000 images and get about 400 great photos! I also agree that it is very subjective, but given the topic was how to time save…I was going more towards that direction. I firmly believe it is quality over quantity (obviously you do too, if you only hold the trigger down for a selective amount). So if you cut down the filler images/duplicates etc, you have more time to individually edit your images rather than batch editing.
– Invest in a fast computer, a second screen, max your computer’s memory, use an SSD drive, replace your DVD drive by an SSD drive (for laptops)
– Avoid your hard drives going over 50-70% full (performance really degrades after that)
– Hire someone to help you retouch images
– Use auxiliary software such as SteerMouse, xGestures, Cinch, and SizeUp (this doesn’t speed up your photo editing, but everything else around it such as emailing and browsing)
– Use a gaming mouse and program some keyboard shortcuts into it
Optional:
– Do not give DVD to clients buy only deliver digital copies to be downloaded through your client website
Robin,
Good extra time saving tips. I didn’t know about the 50-70% hard drive limit. I usually try to keep them under 80% and then go for a new one.
On the option to not give DVD for clients, I find it useful for my portrait clients but many of my brides want the physical disc. Since the weddings are a much larger package than the portraits, I go ahead and give them a nice disc in a beautiful case.
Thanks Tim and Robin for the tips! I like the hard drive tip as well! :) And yes, I agree, keyboard shortcuts are quite handy! :) :) THANK YOU for sharing!