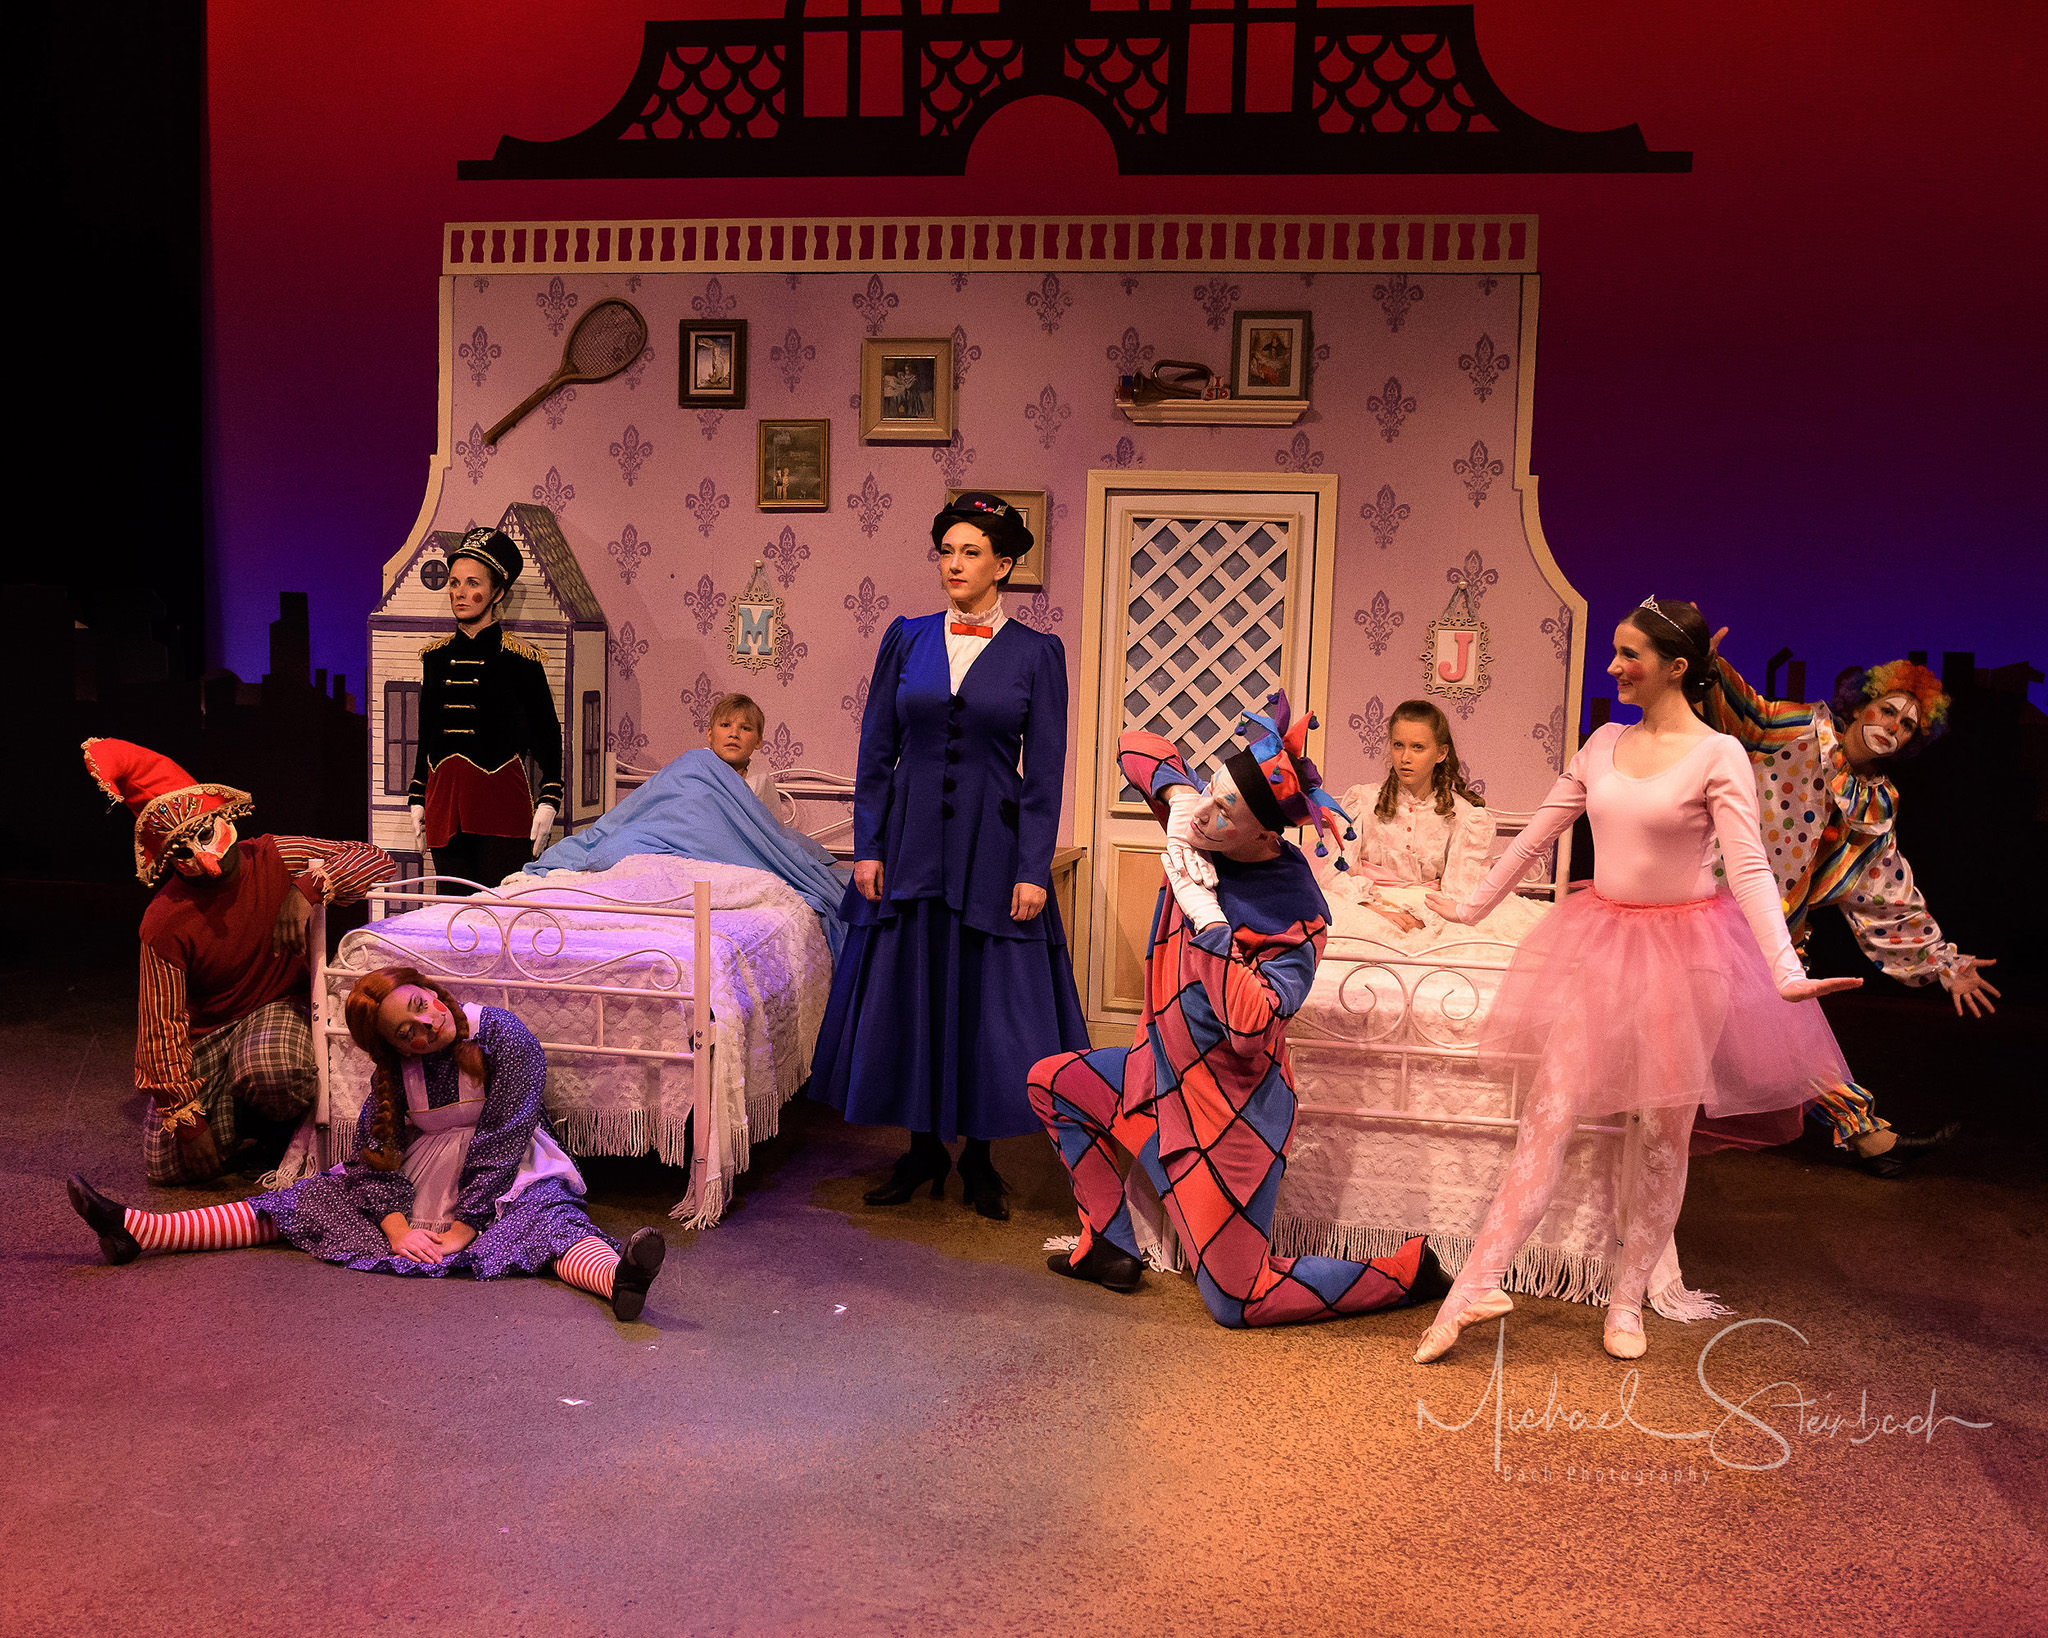
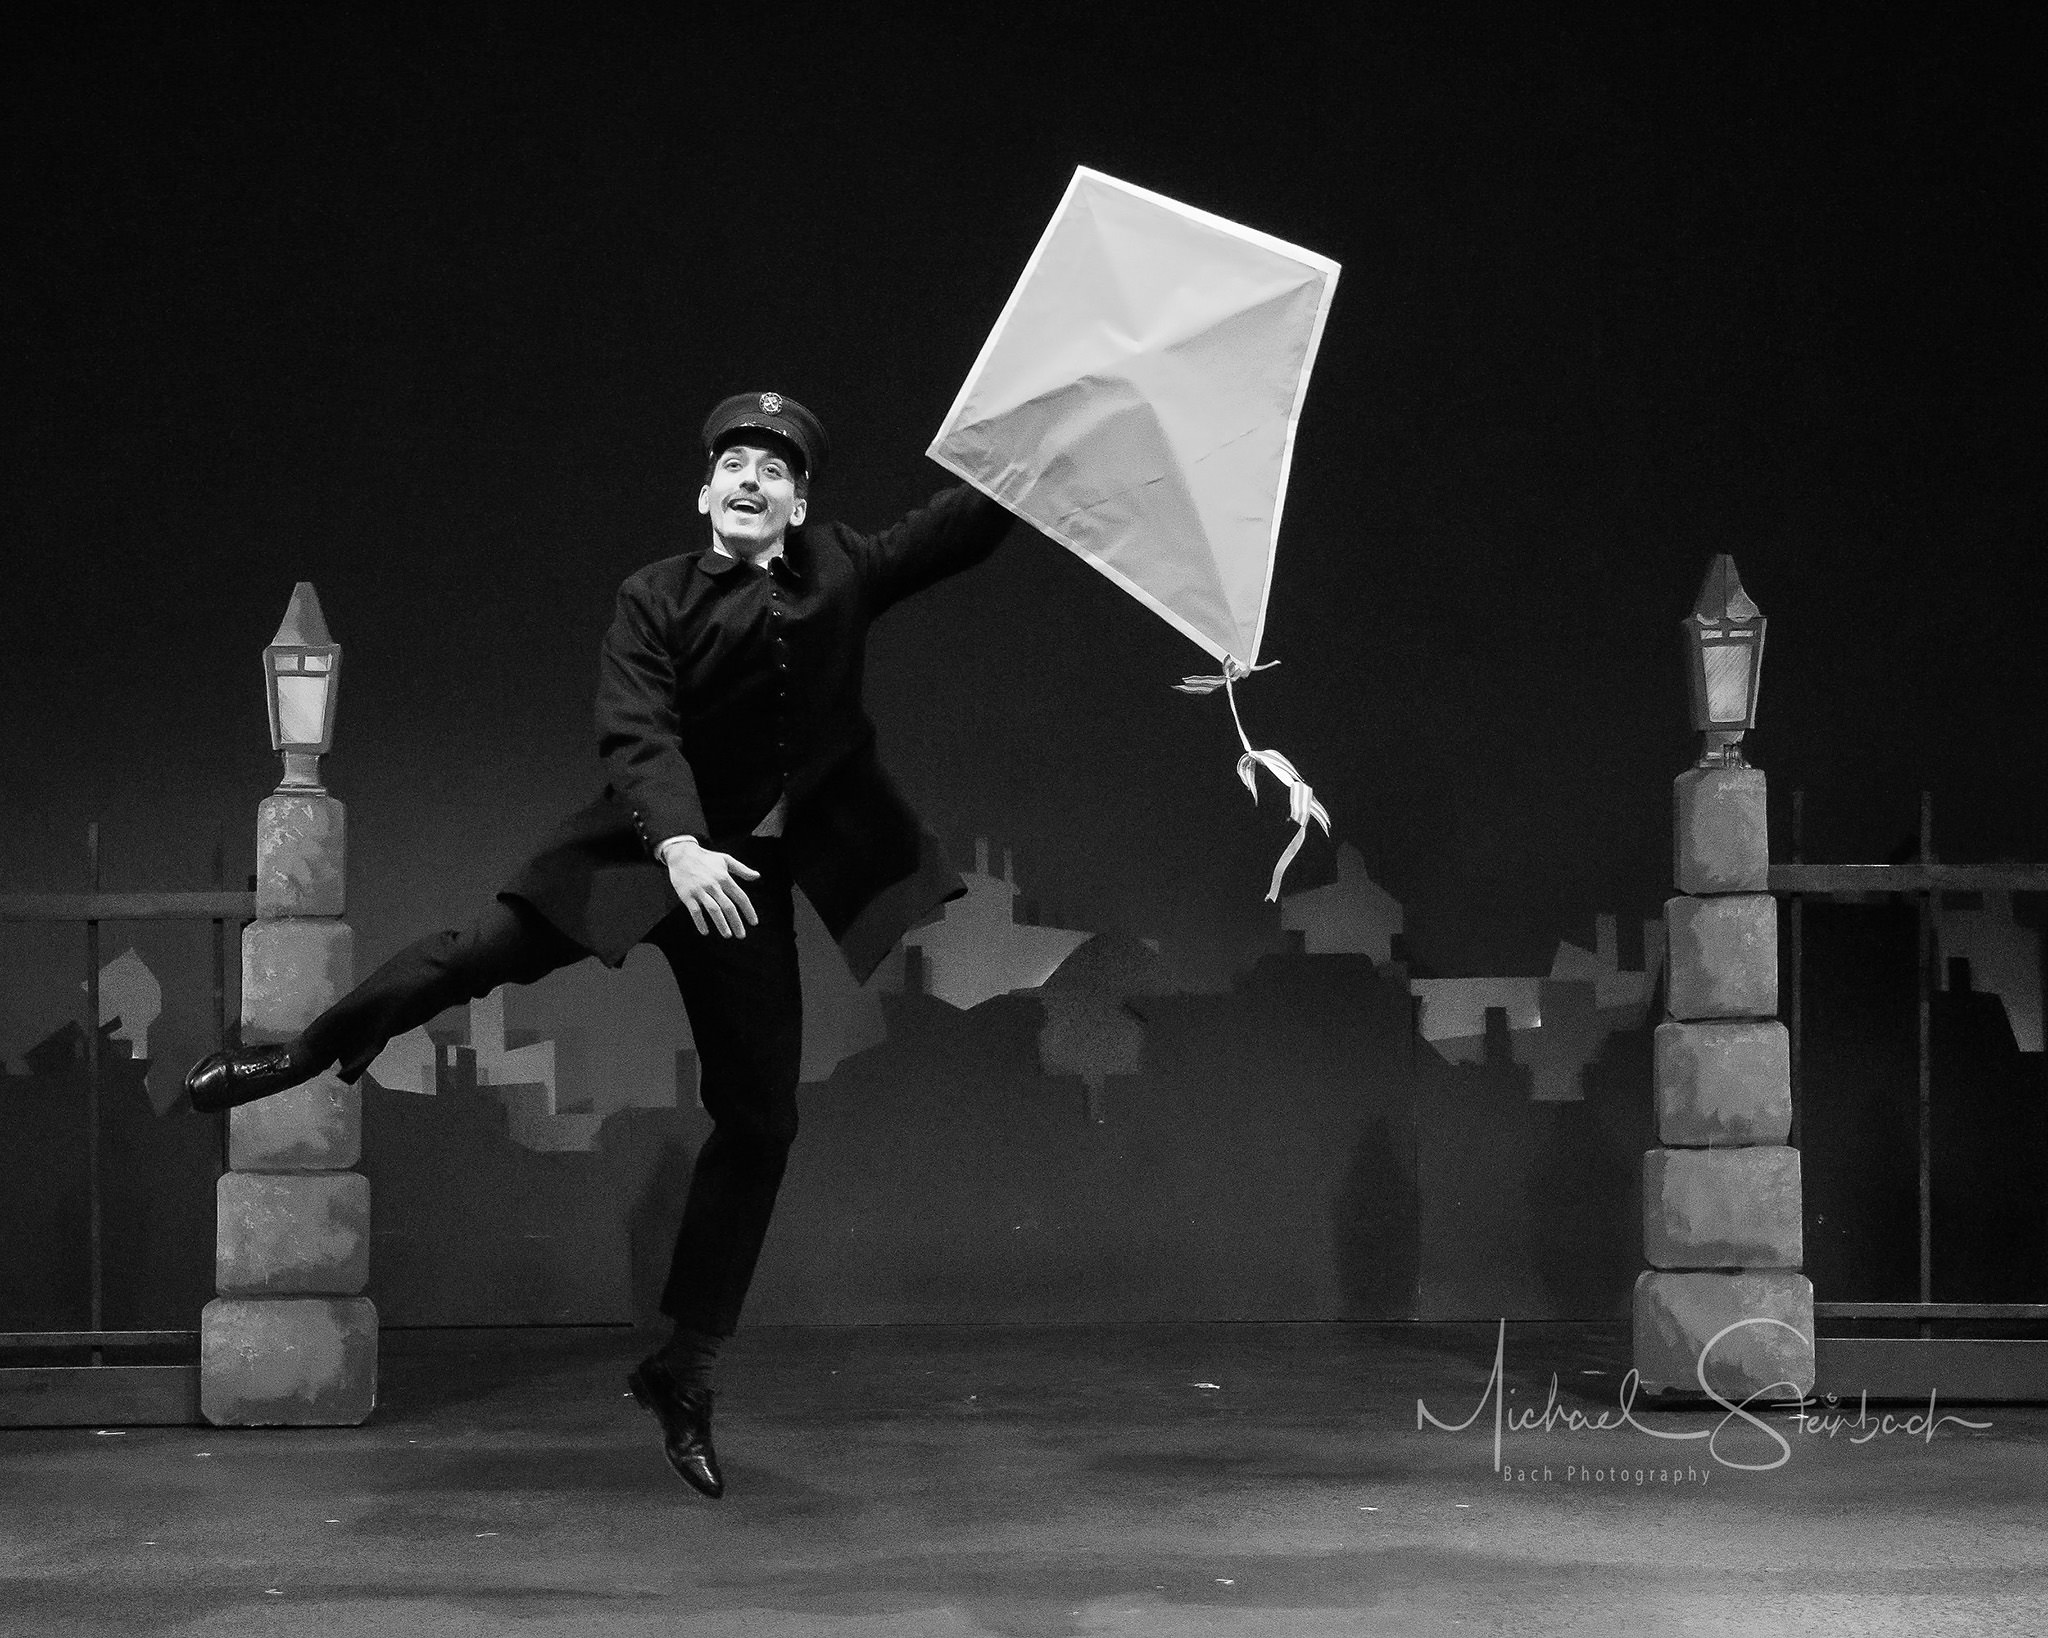
Theater photography involves providing images that are concise and maintain the integrity of the light and the vision of the director. Over the last several years, I’ve worked with local theater groups in our area to provide promotional images and headshots, as well as archive images of their productions. Archive images are used by the actors, set designers/builders and costume designers to represent their work. I have learned during these last few years to apply time saving-techniques such as the use of manual camera settings, manual white balance, targeted depth of field and post-processing tricks.
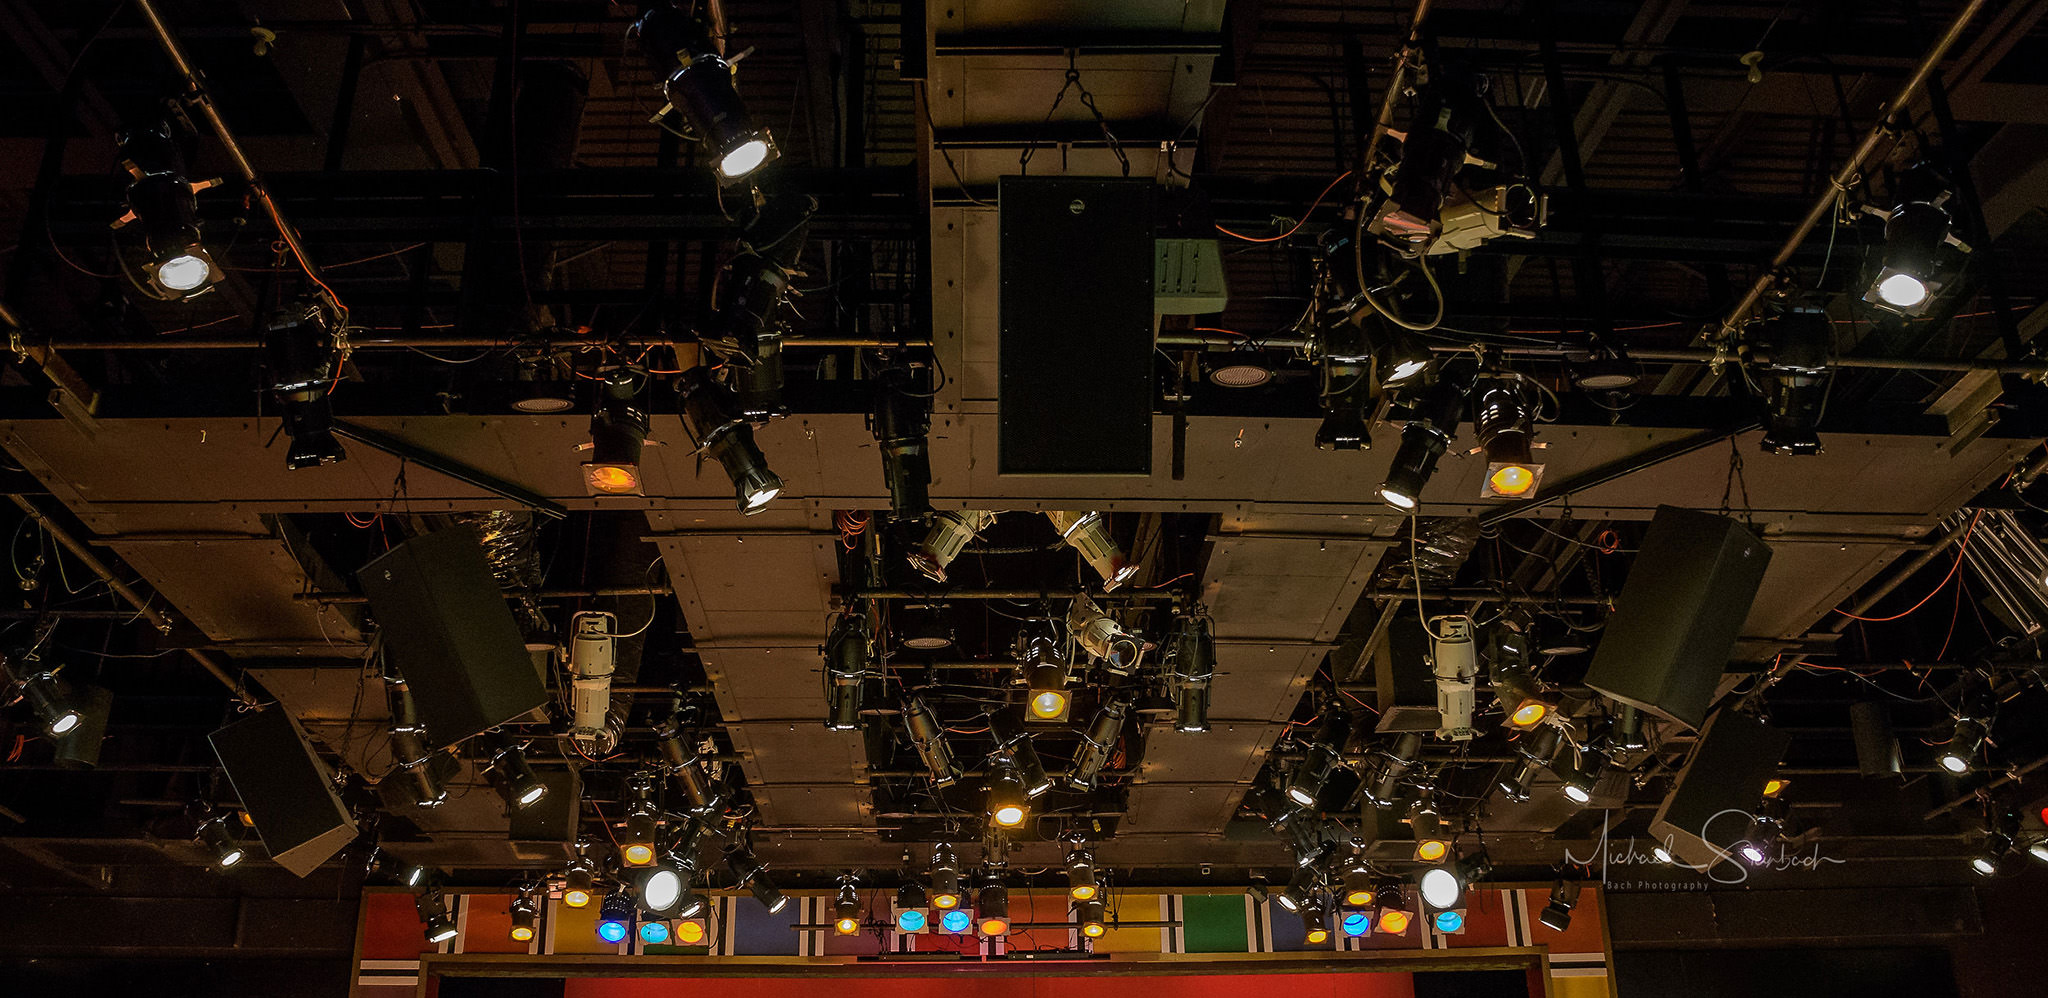
Photographing theater is slightly different than any of my other photographic sessions. I don’t have control of the lighting and am subject to the vision of the lighting director with the light being an integral part of the theoretical storytelling process. The light has been created to provide drama, it can be harsh and unflattering with dark eyecups and severe shadows. Changing that though would be an affront to their work. The following is how I preserve their dramatic vision.

Let’s start with the camera settings. I prefer to shoot manually for both aperture and shutter speed leaving my ISO on auto. Metering is set to center weighted – I find it to be more accurate and less likely to be fooled by dark areas and backgrounds, but I still find that most of the shots will require heavy negative exposure compensation to keep the highlights from being blown out. Subjects are usually static for these shoots so a shutter speed of 1/60th to 1/125th of a second with an image stabilized lens is good.
An aperture f/4.5-f/5 using the Nikon D500 provides enough depth of field. That is subject to change, of course, based on the image. I have found that the difference between shooting with a full frame camera vs a crop sensor is moot with the depth of field equivalency of a larger aperture on the crop sensor camera making up the difference. The predominate lens used is the Nikon 16-80mm f/2.8-f/4E VR.
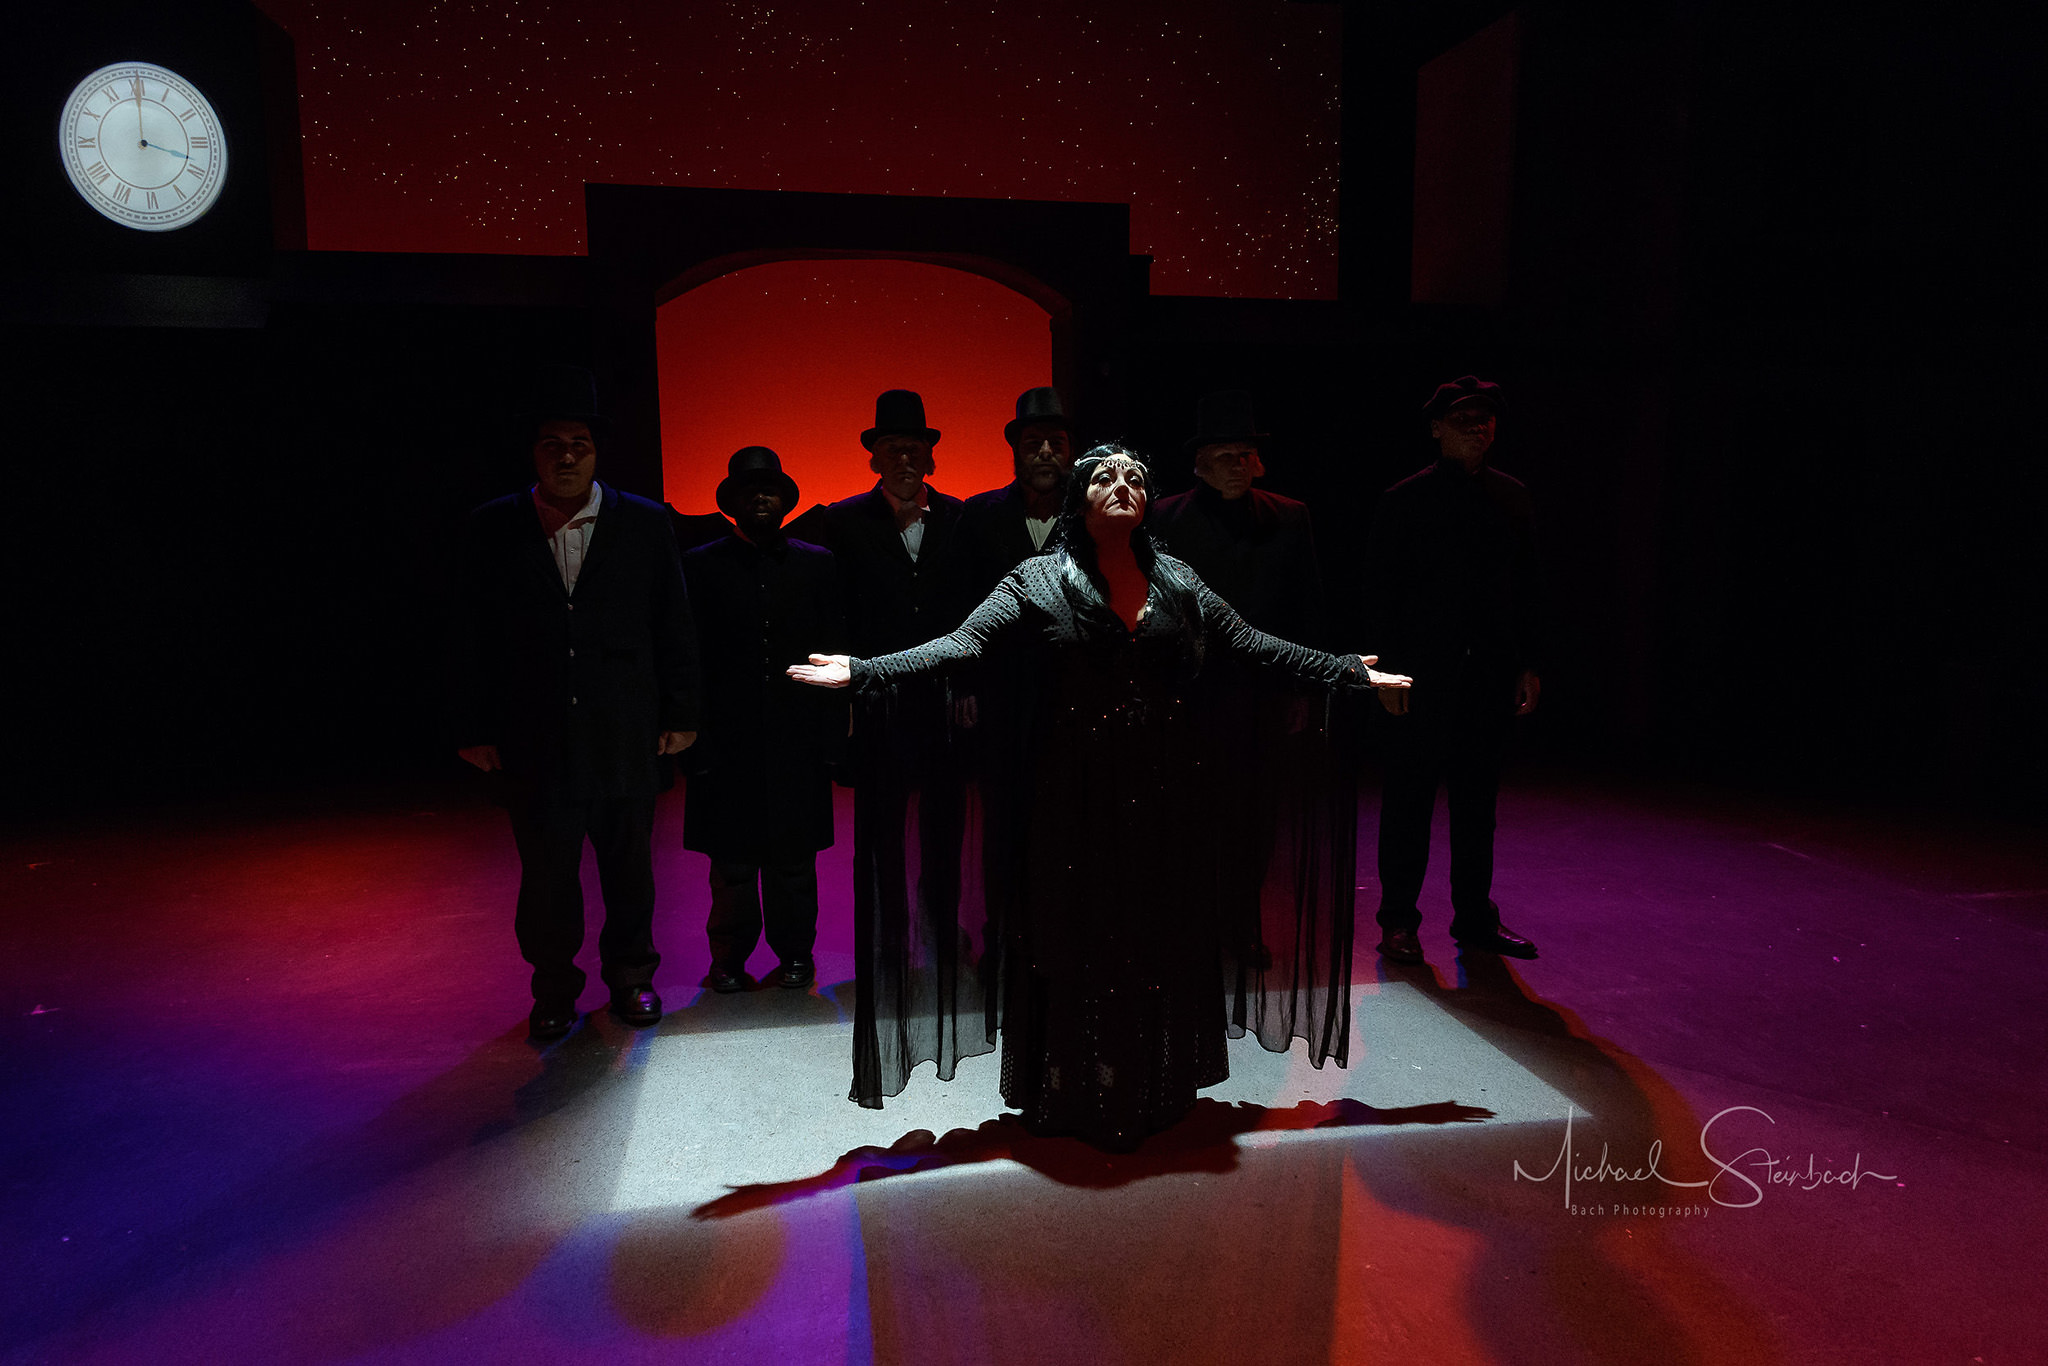
Conserving the unique look to the theater light involves a bit of a hands-off attitude. White balance is set using a custom WB setting using an ExpoDisc 2 with a #2 blue added to keep the skin tones a bit warmer for the main lighting source, which is tungsten base light with a blush gel. I also take an image of my X-Rite color checker for reference later if needed. Remember that the color added for the performance is key to their vision, so we don’t want to change that. Exposure in the final image should closely reflect the mood of the set at the time, a very common mistake is to correct it. Lastly, this should go without saying, no flash or added light!
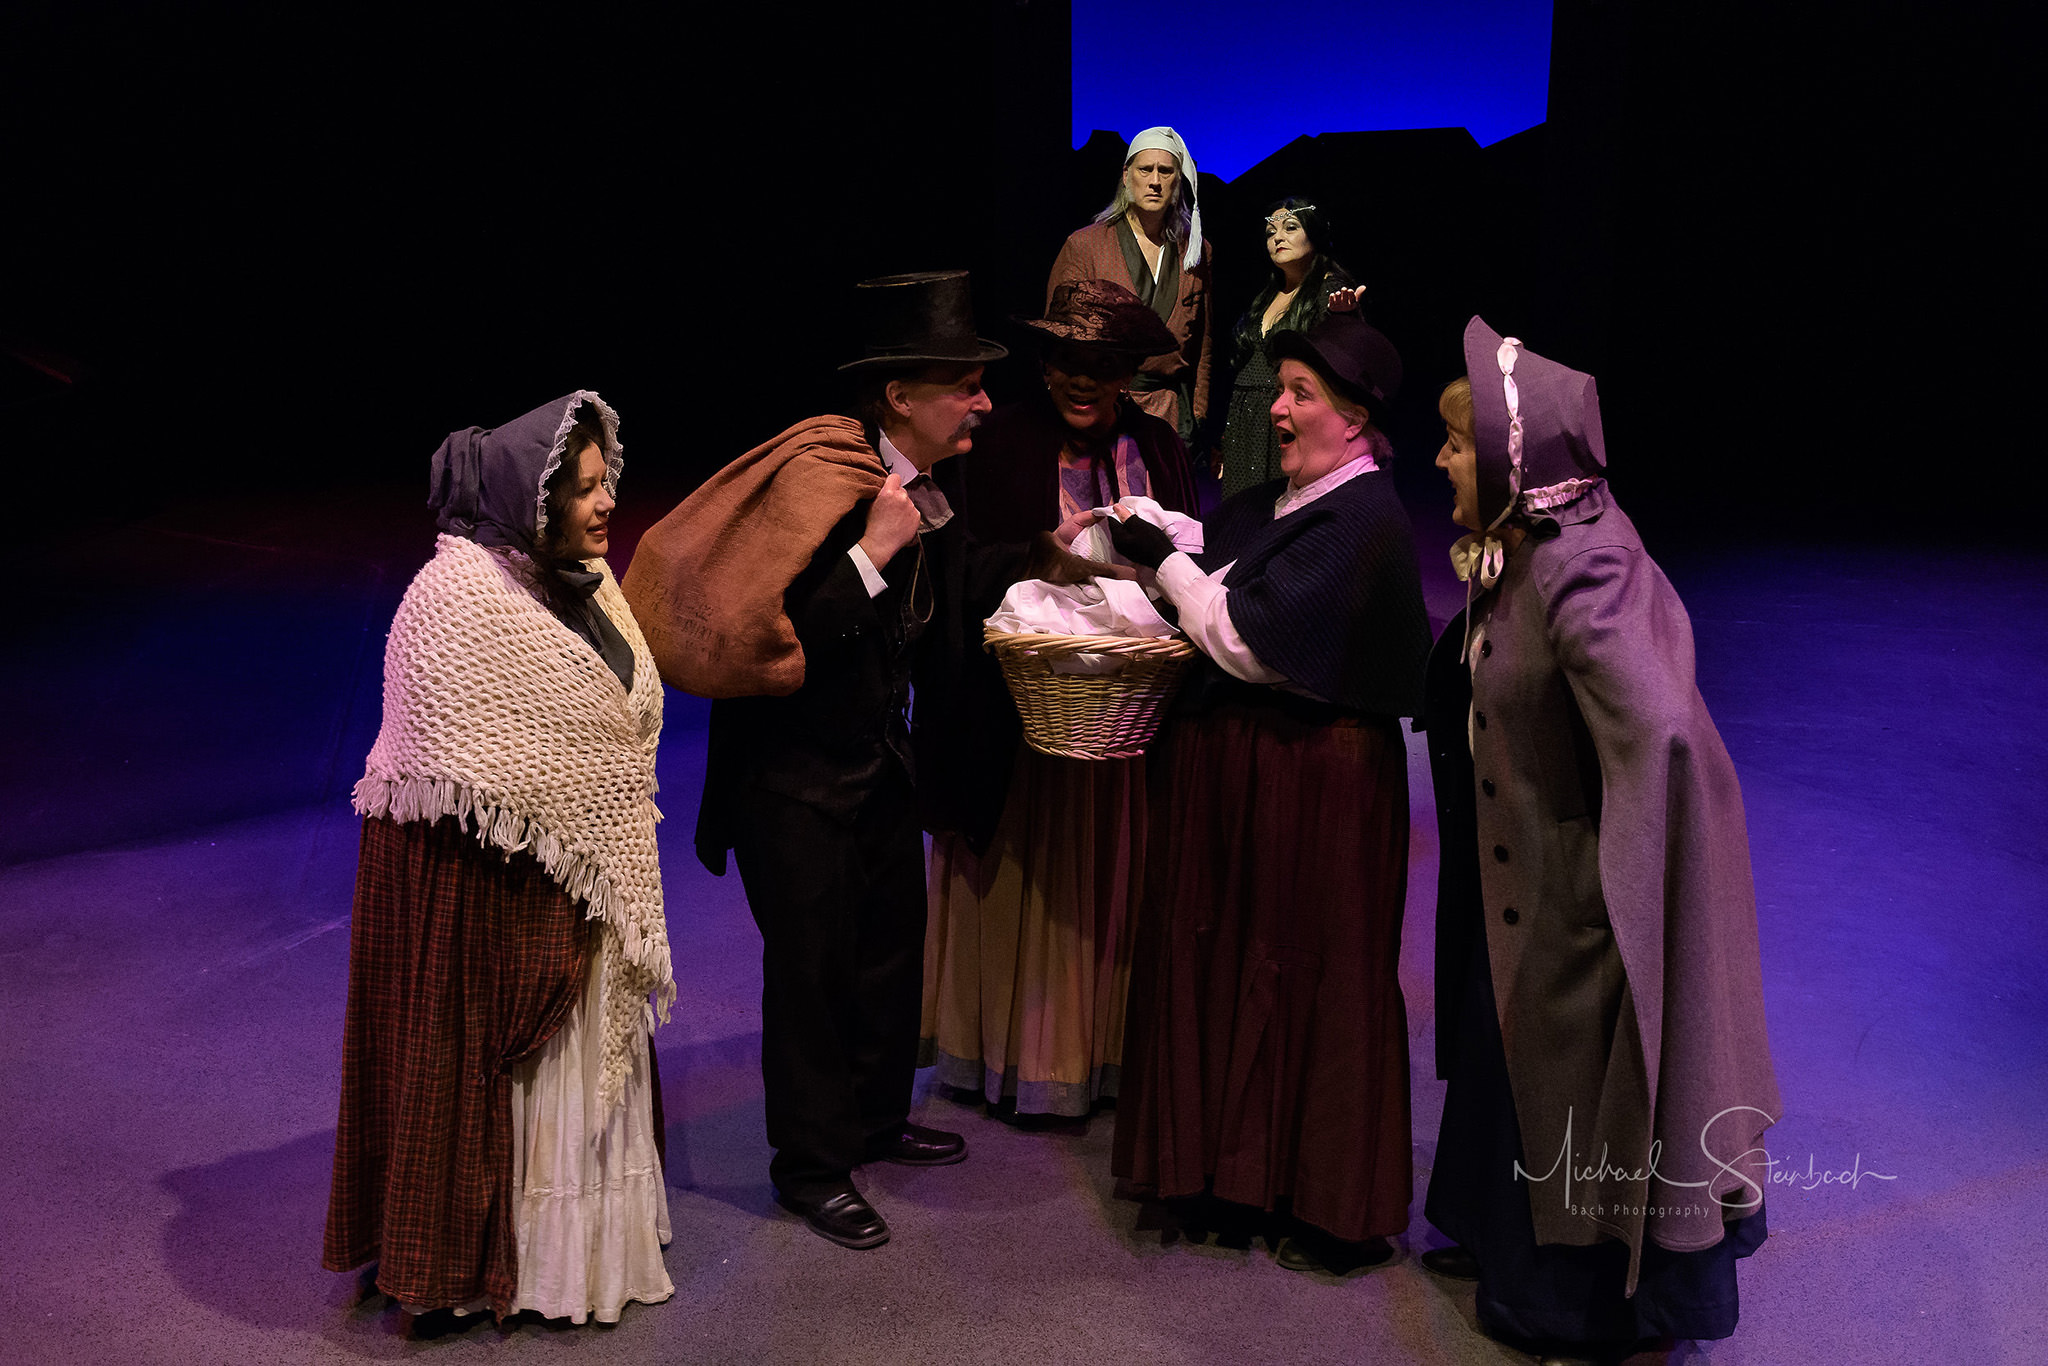

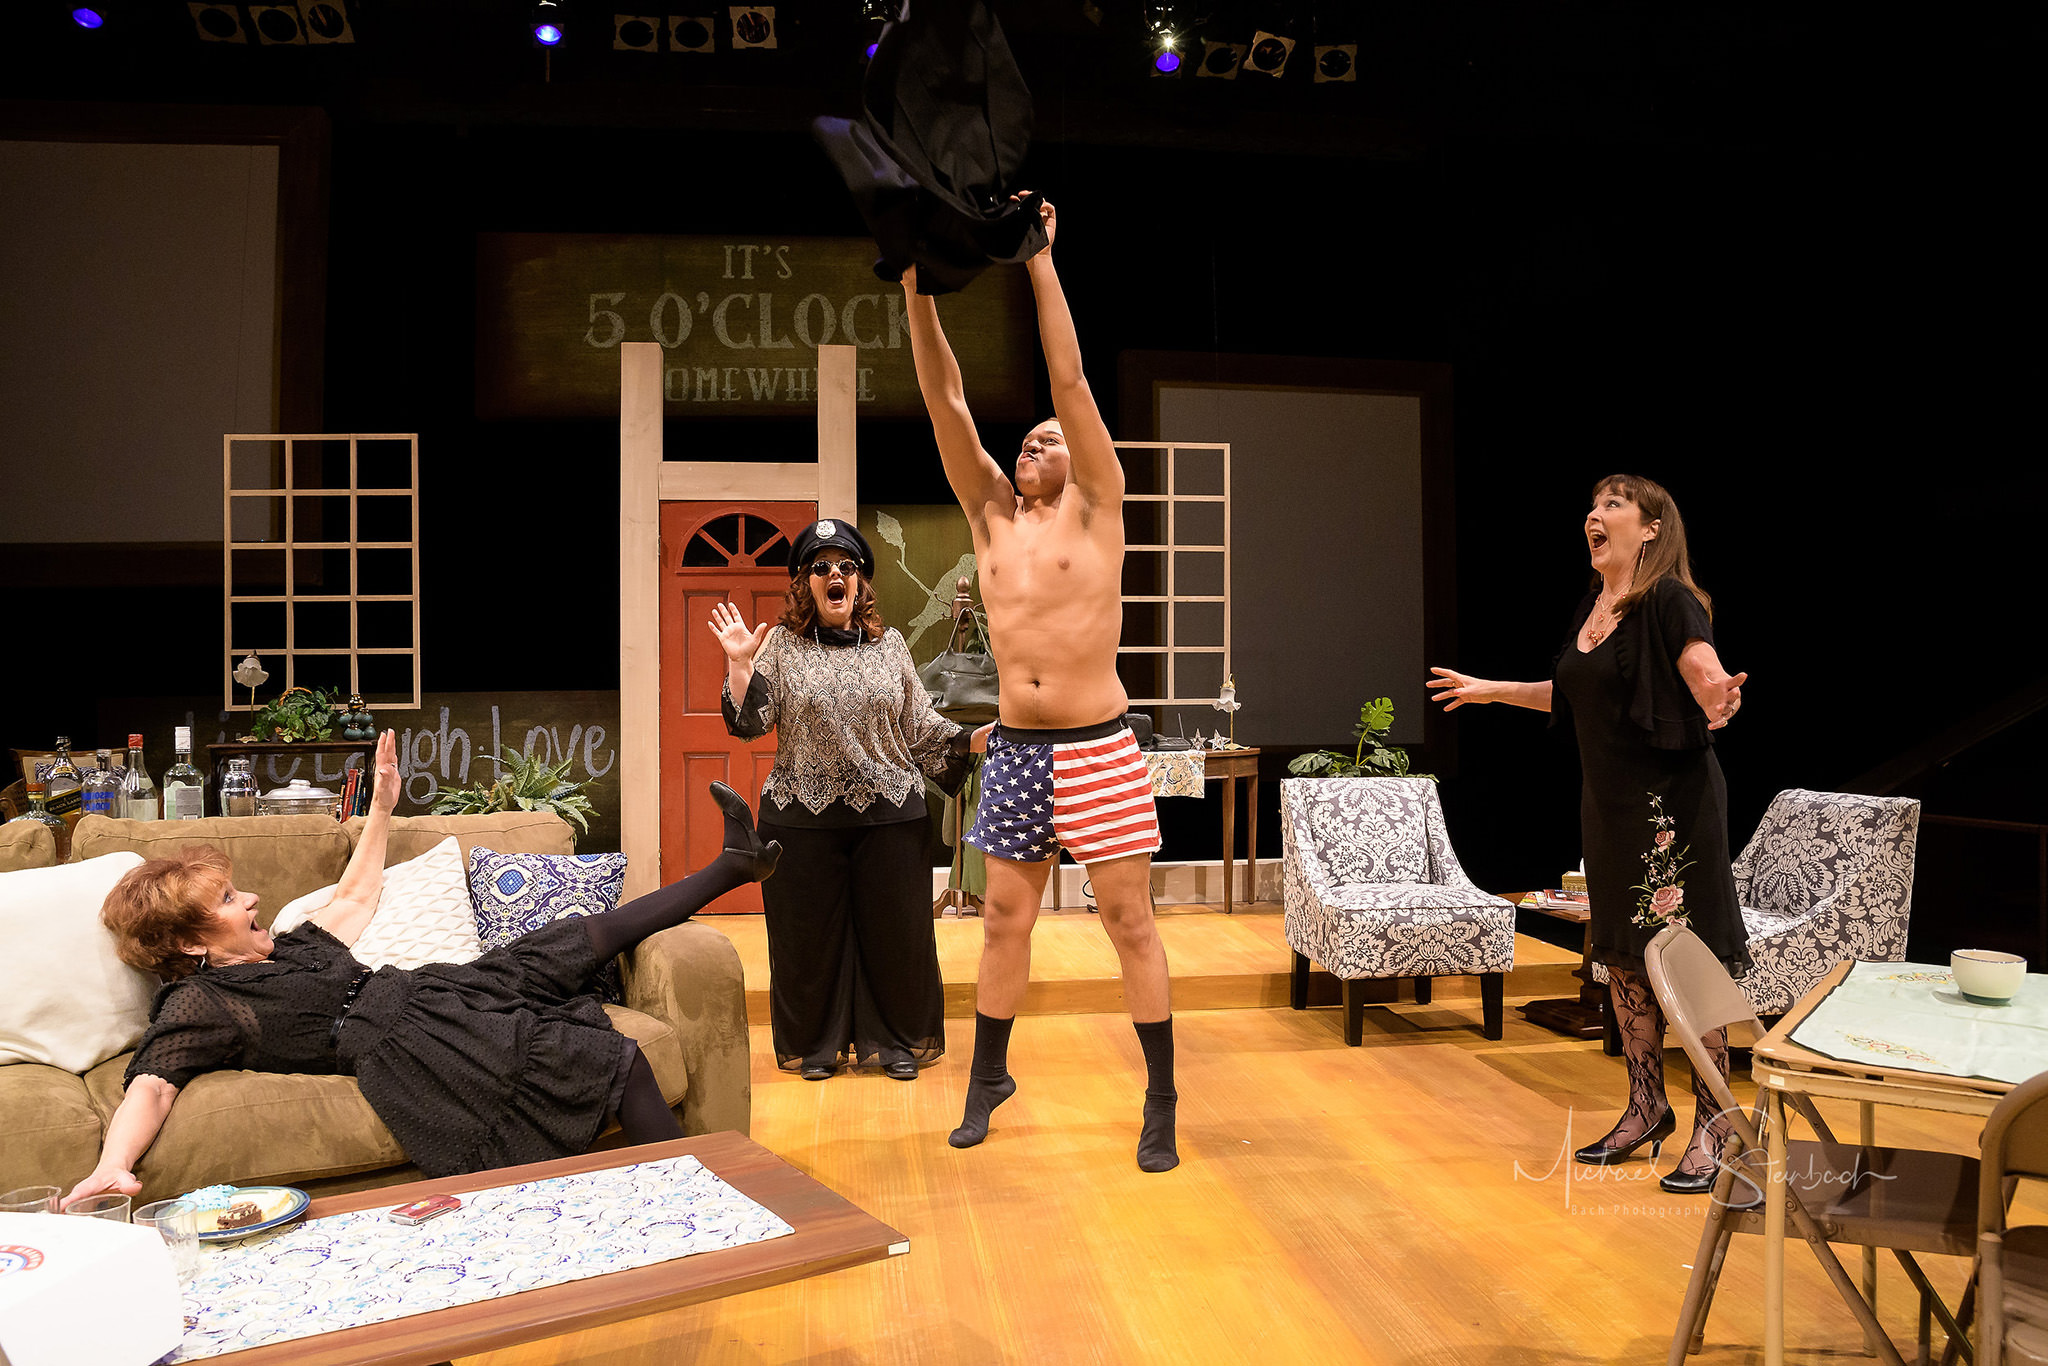
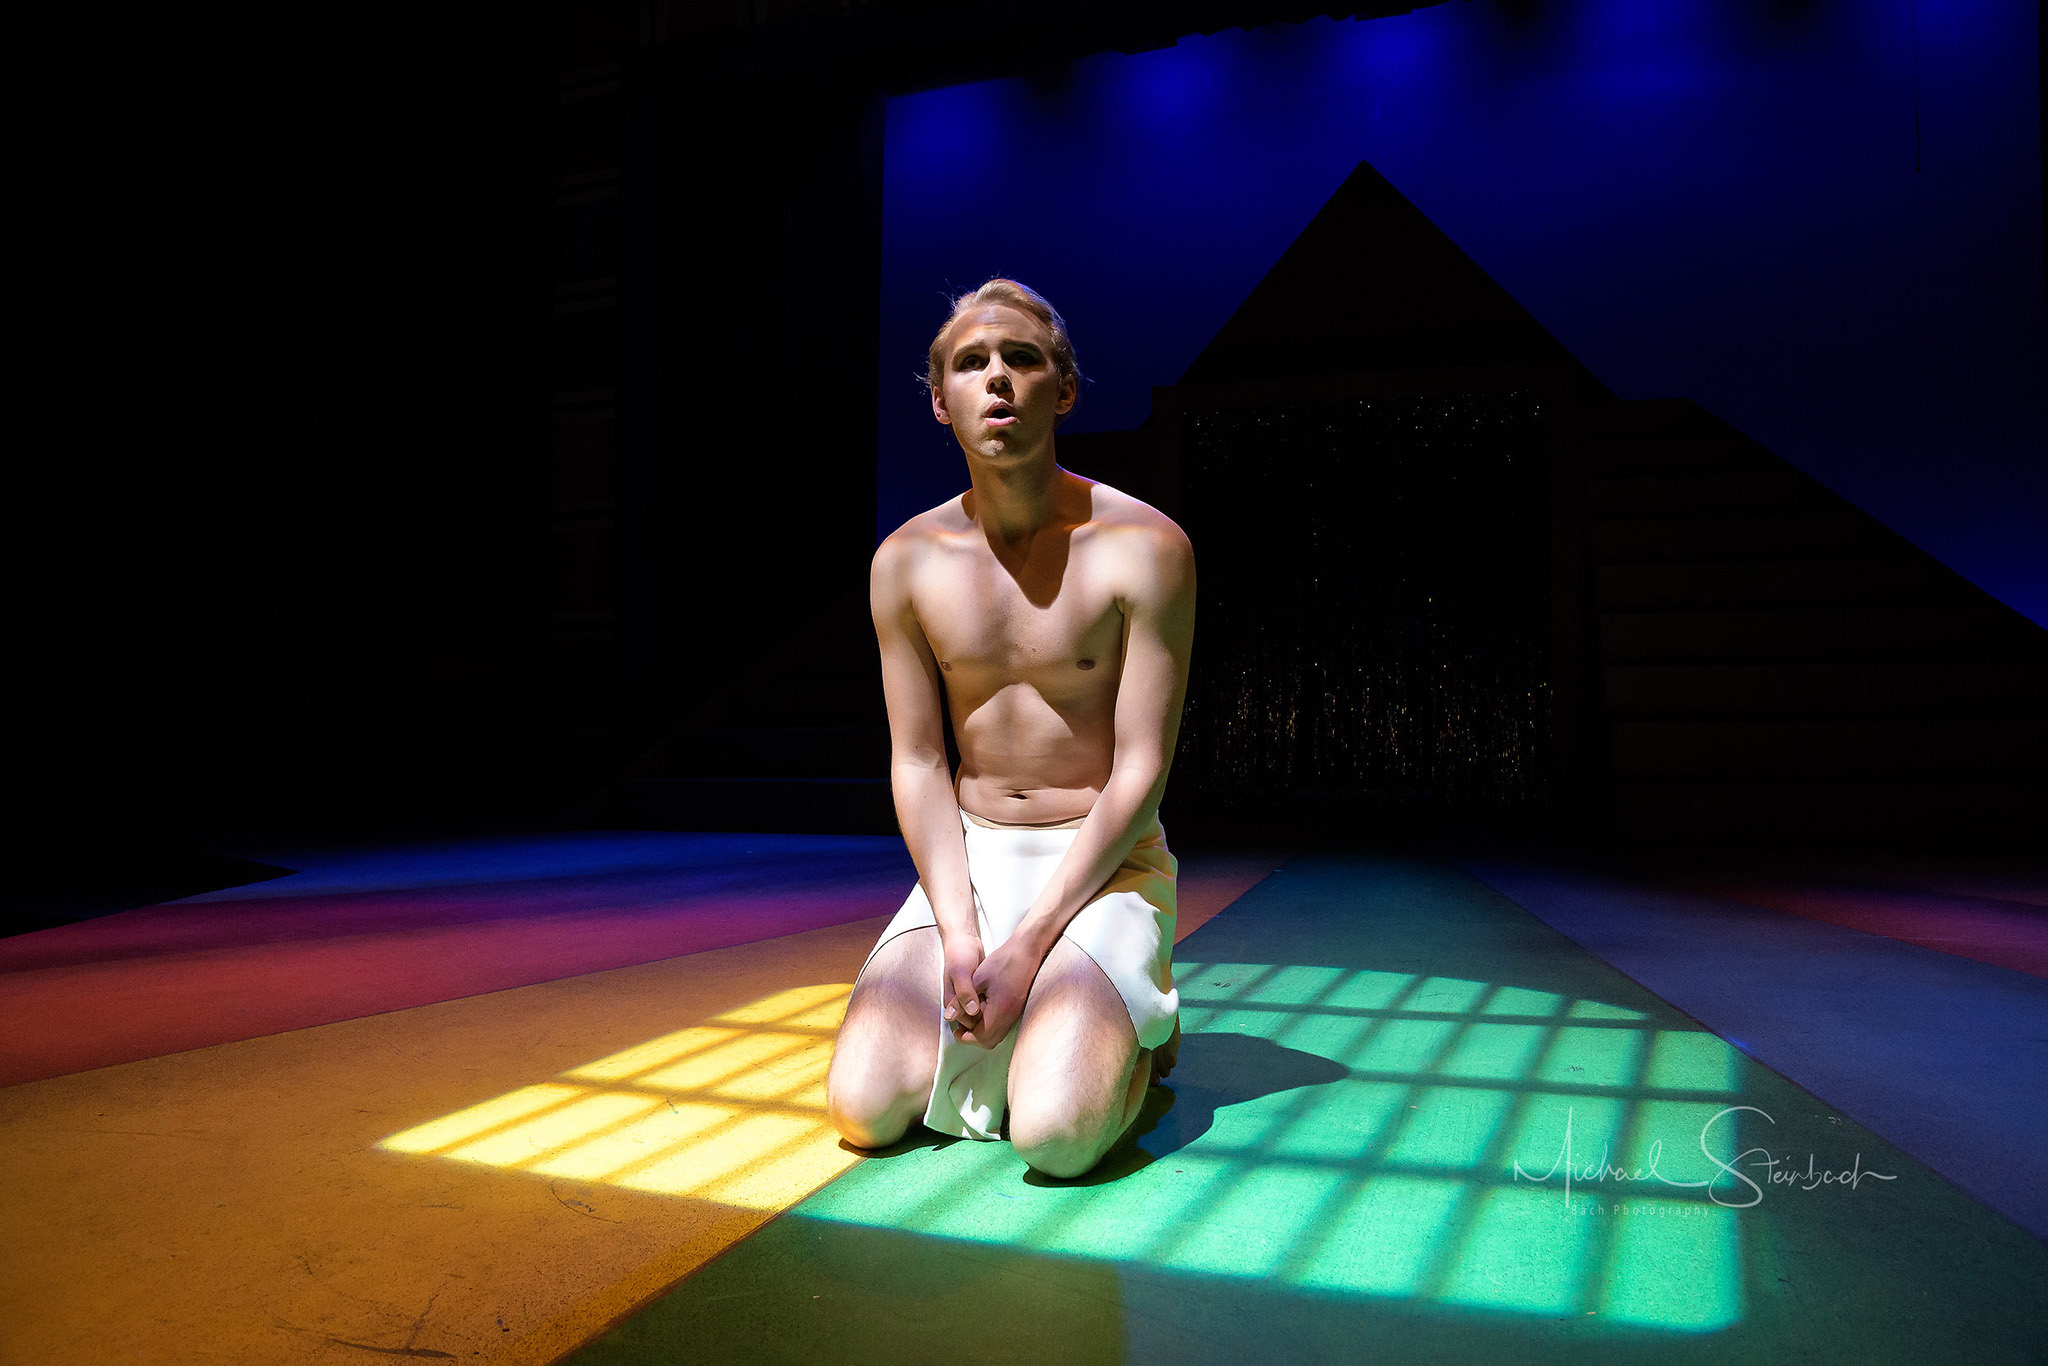
The performers are the main subjects and they want to be seen as clearly as possible. With that in mind, depth of field is important. This is one of the areas that we can cheat, bring players closer together and more on the same plane as to allow all subjects to be clearly visible and sharp. I’ll also ask them to turn faces slightly to the camera to make them recognizable. There are times where it is important to focus on a primary individual and put the others in the background out of focus, but not often. It’s dealt with by maintaining the distance between the actors, reducing the aperture and increasing the focal length for less depth of field.
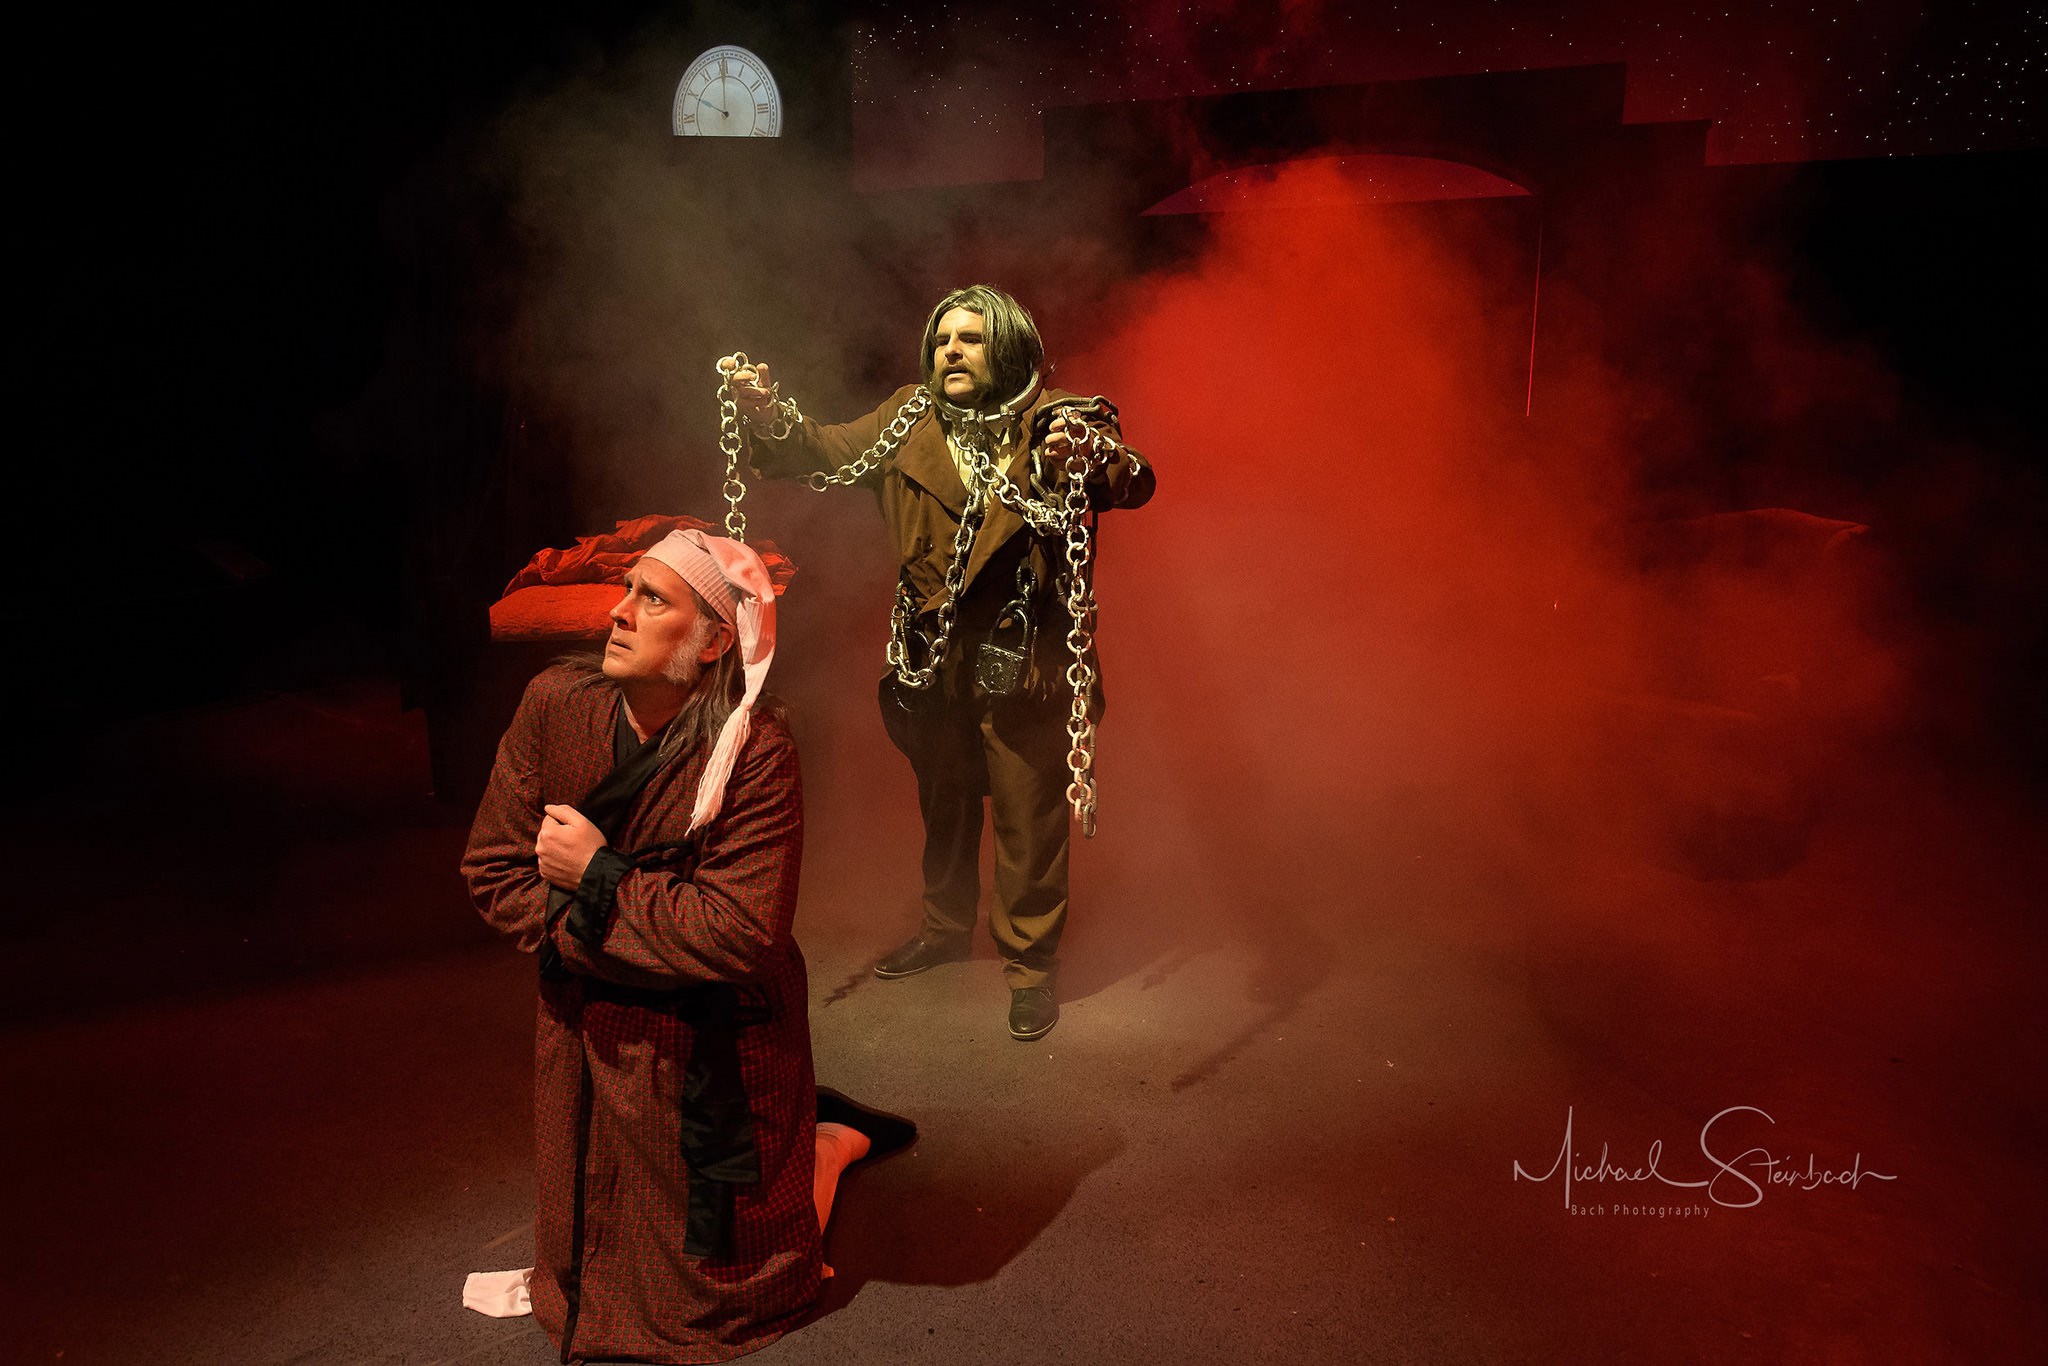
Post-processing is where we even the playing field. Having a manual white balance preset, there is usually very little that I’ll change in post in that area. The dramatic and uneven lighting on the other hand, can be several stops different across the scene and while not wanting to change the look too much, I still want to be able to reveal the actors in the shadow areas. This is where we get to cheat again. In these cases, I rely on the Gradient Filter or Adjustment Brush in Lightroom to alter the difference in brightness to a plausible level.

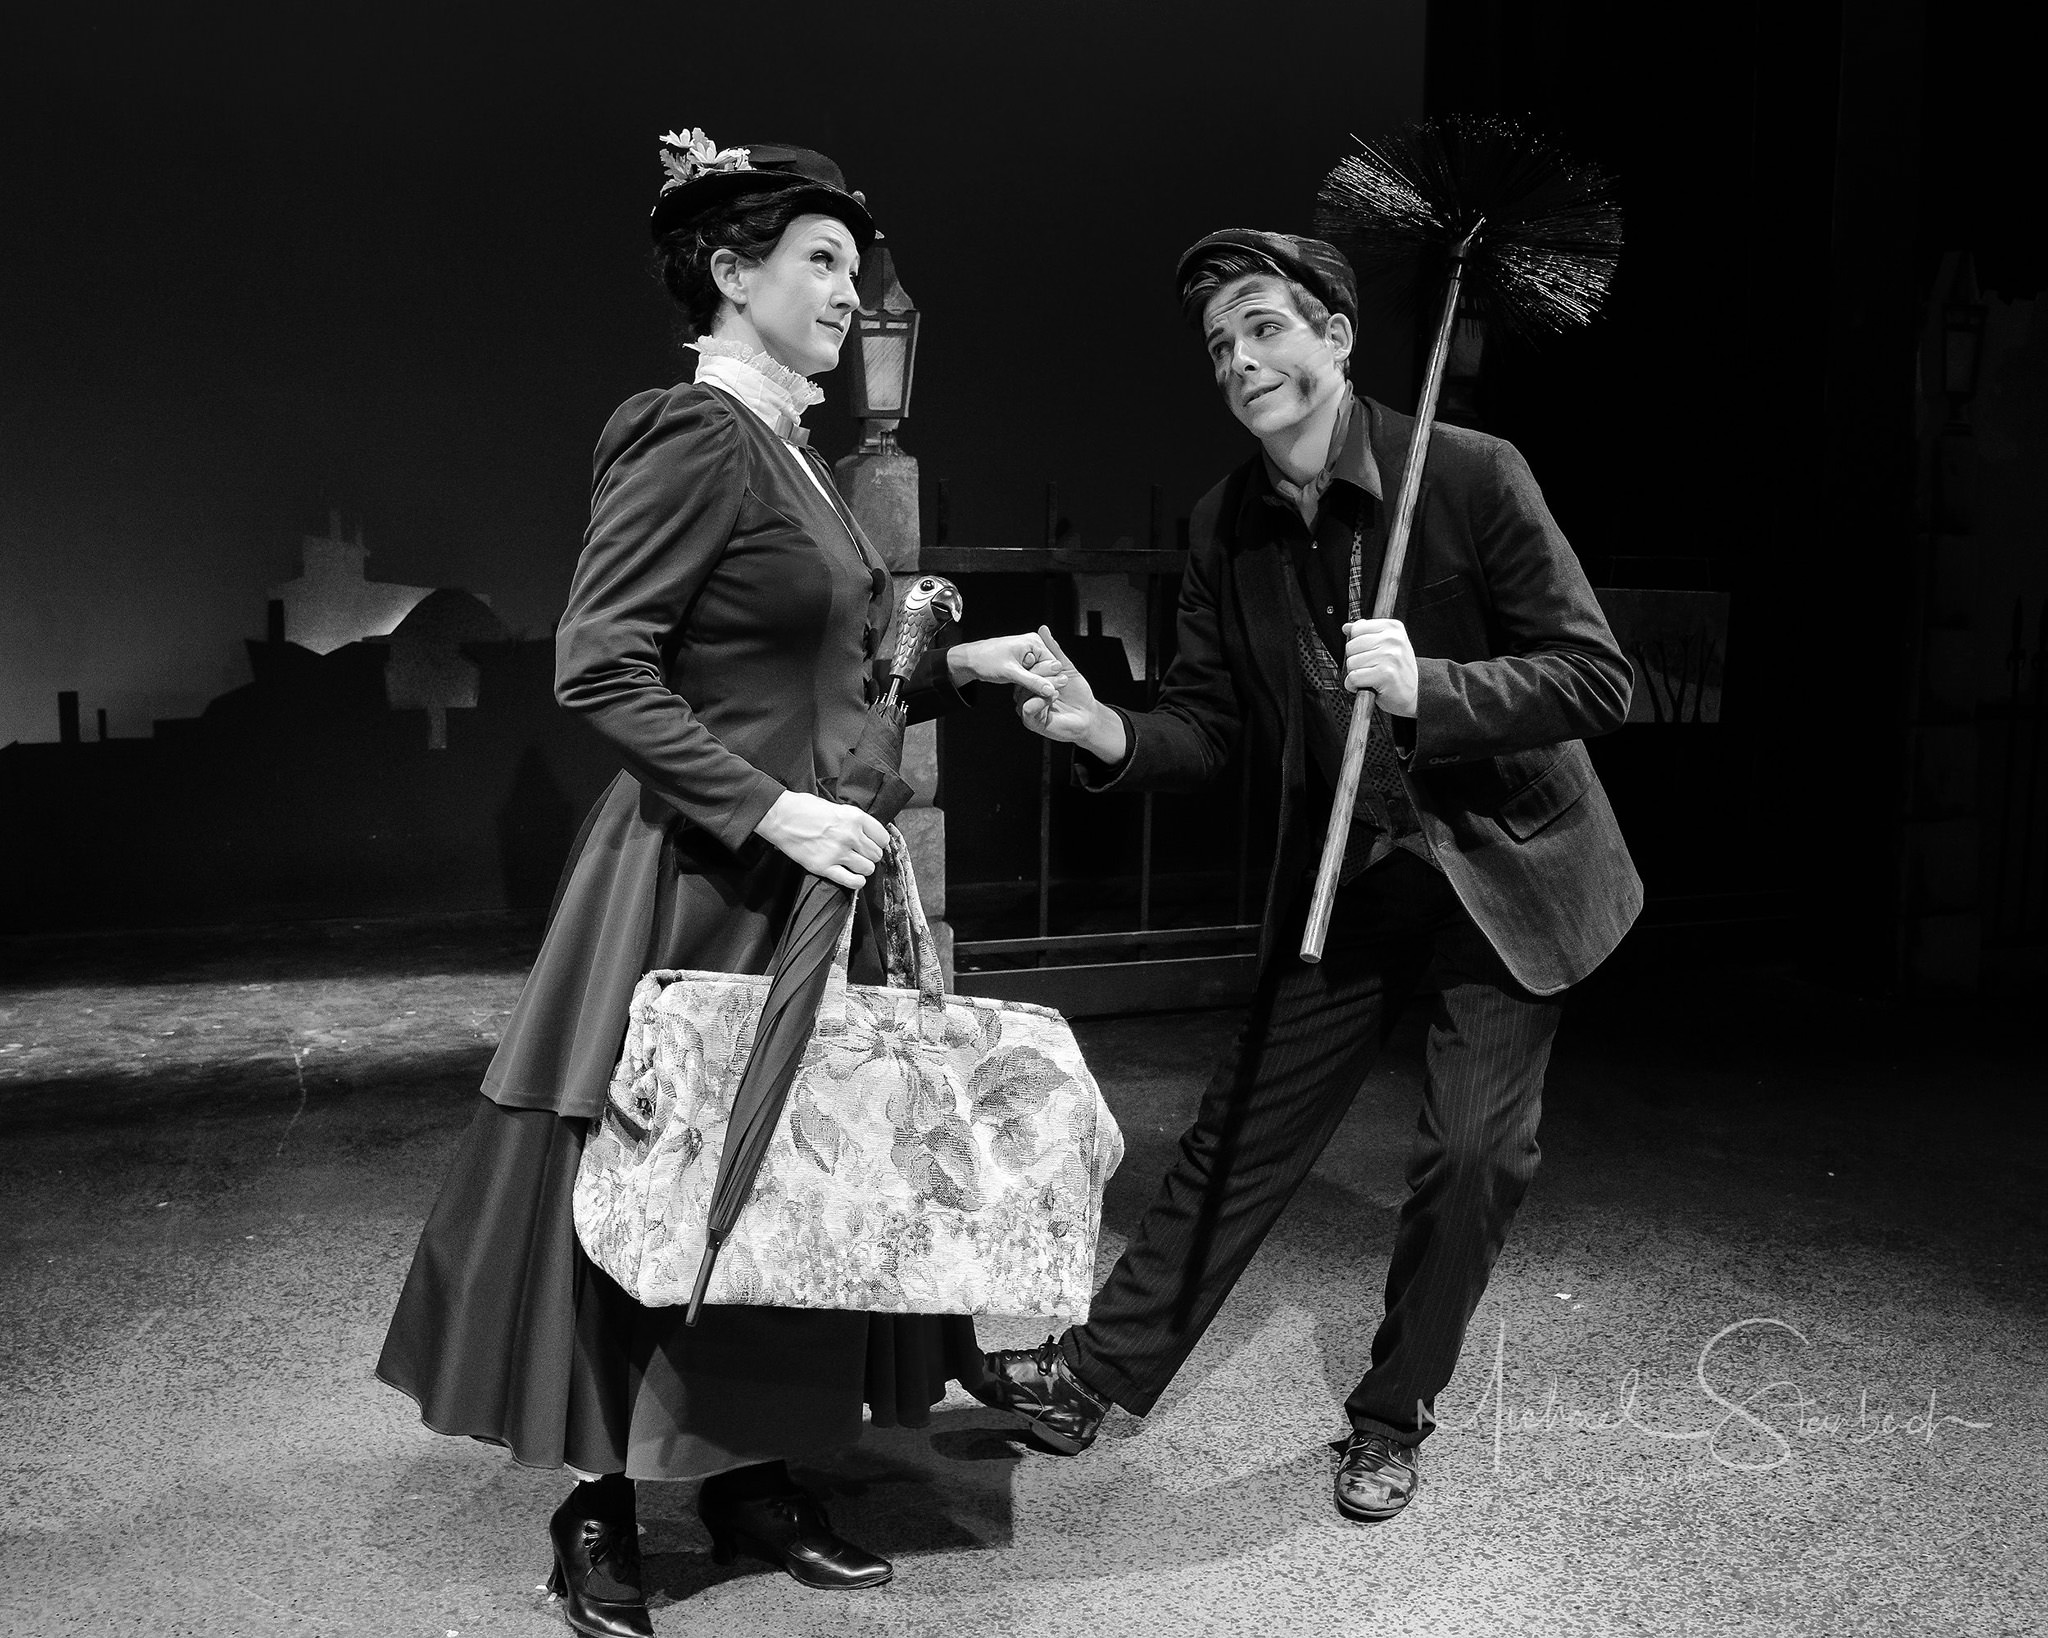
Headshots are done with a single light setup, a Paul C Buff Einstein into a softbox, (no cinema lighting here, simple and flattering) with a popup background. Minor global adjustments, vignetting and light retouching is done. Duplicates are made of all the images needed for promotional display and converted to black and white with Photoshop via a channel mixer action I’ve made that works well with skin tones. This is tweaked as needed to accommodate varied facial tonal qualities.
With a tight two-day turnaround delivery, I prefer to print the images myself. 8×10 prints of the promo B&W images are done through Lightroom to an Epson P800 using Red River luster paper. Images are also uploaded to a gallery for the performers to see and download.
Hopefully, this will help some of you to improve your shooting of theater or even concert venue shoots. Live shooting may require a bit faster shutter speeds, but the basis still applies. I hope you’ve enjoyed this article and I’ll try to answer any questions you may have in the comments section below.
This guest post was submitted by Michael Steinbach. Michael has been a photographer for 34 years specializing in weddings, senior and family portraits, commercial and corporate photography. You can check more of his work at his website Bach Photography.
Hmmmm. You state “I don’t have control of the lighting and am subject to the vision of the lighting director” yet the lower photos use lights and softboxes. Hmmmmm……………
Thank you
Hi Michael, thank you so much for sharing your experience, I am not a professional photographer. I have a Canon EOS RP and am weighing up buying a new lens for photographing my daughter who is in a dance school. They will have shows at some stage after this pandemic slows down. My question is around focal lengths and aperture.
If I pick up an f2 vs f4 in a 70-200mm do you think it will be ok if I’m shooting from the front row or a few seats back?
I can pick up a used EF 70-200mm F4 USM L for around €500 to €600 which is way cheaper than the new RF F2 equivalent for about €3000. I know there’s a weight and size difference as well but I guess it’s about bang for buck as I’m not a professional but want great shots of my little girl on stage.
Hi Michael,
Sorry for the really late reply. I’m not sure of the distances that you will be dealing with so that makes this a bit of a shot in the dark. I’ve never used my 70-200 in the theatre setting and have noticed that I’m usually using the wider end of my focal lengths. The 70-200 may have too much reach for your needs. The f4 version should be fine though if you choose (probably already have) to go with the 70-200.
Thankyou so much Michael! I’m just starting videoing live theatre and live choir concerts etc on a full-frame mirrorless, (Panasonic S1), and this helps so much!!
Hello, this is a very nice article. Thank you.
My question is how do you use ExpoDisc 2 in theater? I mean where do you stand and where do you point the camera to take the first shot with ExpoDisc to measure the custom white balance?
Sorry for the delayed response… When using the ExpoDisc I ask that any gelled or color enhanced lights be turned off so that the light hitting the stage during that show is what I’m correcting for. Rarely do they have the overall lighting set to full on and as these are still mainly halogen and tungsten they get warmer (color wise) as they turn them lower but I’m looking for the most used setup to correct for. I then point the camera with the ExposDisc towards that lighting and capture the reading.
Things will change as they move to LED lights as they can be any color temperature they want.
Beautiful topic. I enjoyed every bit of it. On the very date of its posting I was shooting a live drama performance. I have made so many mistakes. If only I had put the ISO on auto mode, my photos could have been much better.
I was shooting with Nikon D7000 + Sigma 17-50mm.
My photos are full of noise even at ISO 1600 and 2000.
How do you control the noise so nicely at such a high ISO as 8000?
Hello Himadri,
There is a pretty big difference in the noise levels between the D500 and the D7000. The D7000 was introduced nearly 8 years ago and there’s been 4 cameras introduced between then and now: the D7100, D7200, and most recently the D7500. So that is part of the equation. I also use noise reduction in post of 25 Luminance and 25 color, and I don’t hesitate to go beyond that if needed. The use of the images doesn’t require very large prints so it’s less noticeable. Besides that I like the grain look when not to overdone.
Darn it! I could have used the info in this article 3 weeks ago. But next time for sure!
Thanks!
Your welcome Thomas!
If I’d have met my self imposed time line for this article you would have read it in January! The contest pushed me to (finally) get it out the door:)
Dear Michael
Nice subject, very few people dare to touch this due to its unique requirement and plus you must have some idea + taste about theatre movements.
to add this if you are shooting professionally for some theatre then try and got to the rehearsal then you get to know what will be actual position in the show.
Going to back stage rehearsal helped me a lot while shooting in actual situation .
regards
Mayank
Hey Mayank,
For the most part it comes down to time, I really need to move to meet their deadlines so while I’d love to watch the rehearsal, it’s time that I just don’t have. Very good points though.
Thanks, very nice article!
I am now starting theater and jazz club performances photography, so very helpful!
I am also trying to decide what would best suit my needs – NIKON D500 (or D7500) + 16-80mm f/2.8-4 or NIKON D750 + 24-120mm f/4.
Currently I can get both options for around the same price. Any thoughts regarding this?
Hi Filipe,
Any of your choices will work well. I’ve used the D750 but prefer the D500 with its slightly better focusing system. The reservation I would have with the D7500 is the lack of dual card slots, I have the cameras set to record to both cards as a backup, that and the focusing system is similar to that of the D750. I personally love the 24-120 equivalency of the 16-80 Nikon for the speed that we need to work.
I am friends with a number of stage actors so more and more asked to shoot their performances. I had to do it live so shutter speeds are needed to be higher than your static shots but otherwise do the same, all manual, using a D800 which is too loud for some scenes, where I switch to my Dx D7000 which is much quieter. There are 330 theaters within walking distance of my St Petersburg city center apartment so the calls for photography keep increasing. I don’t charge for it and it does take time for processing so some of your tips such as the manual WB using the references is something I need to do. Professional theater set design and lighting is a key part of the performance so capturing the often intentionally unflattering light is preferred by the director but not the actors so I make adjustments to please both in separate shots.
If one has access to real dress rehearsals, where the full lighting plan is executed in real time allows using the louder D800 and from positions never permitted in a live performance.
Concerts are very different, higher speed, less access, poor choice of position and need for higher shutter speeds that push the limits of ISO so I approach them differently and them as very different animals than theater. Concerts are more like sporting events, and the same lighting…local or amateur will have very poor low light and televised professional sports will have good light.
Stan,
Because nearly all of the work is static and without an audience, noise hasn’t been an issue. That is until just recently. The theatre also hosts a Jazz series that I’ve been covering on and off where noise is not welcome. So far I’ve been using a Fujifilm XE3 with a 18-55 in electronic shutter mode. Truthfully I’m very impressed by that combination. I’ll be exploring the XH1 with its IBIS, could be killer.