It has been more than a year since I published my Skylake build for the ultimate PC build for photography needs, and it is time to update this article to include Intel’s latest Kaby Lake architecture. While the underlying technology behind the CPU and chipset architecture has not changed all that much between Skylake and Kaby Lake, there are a few changes worth moving up to. For example, the new Z270 and X299 motherboards support Optane Memory, which can provide incredible caching opportunities and help speed up applications by a huge margin, especially for those who will be using slower hard drives in their system. The biggest benefit of Kaby Lake, however, is the 4 extra PCIe lanes, which make a difference when using those amazingly fast M.2 NVMe drives (read about M.2 NVMe below), as they won’t have to share their bandwidth between devices anymore. Plus, using M.2 drives will still leave plenty of storage connectivity options for other devices, so it will be possible to run M.2 NVMe devices without worrying about them disabling SATA ports. Lastly, many Z270 and X299 motherboards now have two M.2 slots and some even support up to three, if that’s the route you want to take.
As before, I will be presenting two different builds – one based on a full tower case, which gives a lot of flexibility in terms of space, storage and future expansion options, and one based on a very compact build for a lightweight setup that occupies minimum space. Although I have always been using large cases, I have been leaning towards more compact options lately – primarily because it is now possible to build small, but powerful machines.
1) Chipset and CPU
For this build, I initially wanted to concentrate on the latest X299 chipset, paired with the Intel Core i7 7740X. Although X299 is a superior architecture compared to Z270 (ability to run high-end X-series CPUs with more cores, up to 128 GB of RAM and better components) and the 7740X CPU is priced pretty much the same as the Intel Core i7 7700K at roughly $349, I decided to go with the Z270 chipset instead, primarily because of few X299 motherboard options and their much higher price tags. Perhaps with time things are going to get better, but as of today, X299 motherboards are significantly more expensive compared to Z270 and their availability is pretty low. In addition, considering that neither Photoshop nor Lightroom are optimized for multi-core CPUs and the clock speed is still the biggest performance factor, the Intel Core i7 7700K (Amazon) is my top choice, especially when it comes to its price/performance ratio. With a total of 4 cores and 8 threads and 4.2 Ghz clock speed (4.5 Ghz Maximum Turbo Boost), it is an excellent CPU for photography needs.
As for the CPU cooler, I don’t think there is a better air cooler than the Noctua NH-D15, which has dual 140mm fans. Unfortunately, such a massive fan is not going to work for the compact build, which is why it is going to be best to pick something much more compact, such as the Noctua NH-L9I.
2) Motherboard
Unlike X299, there are lots of great motherboard options available for the Z270 chipset at the moment from many different manufacturers. When building PCs, I don’t bother with picking either a low or a high-end motherboard, since the best value is in the mid-range. I don’t look for features such as WiFi and Bluetooth, since those are not needed for photography needs. As long as the motherboard has a good layout with at least two M.2 slots and good connectivity options, it should work out great. As for the choice of brand, I have tried many different brands including ASUS, MSI, Gigabyte, ASRock, Intel and SuperMicro, and I always keep coming back to ASUS.
Based on the above, the below two motherboards are my top contenders for the builds:
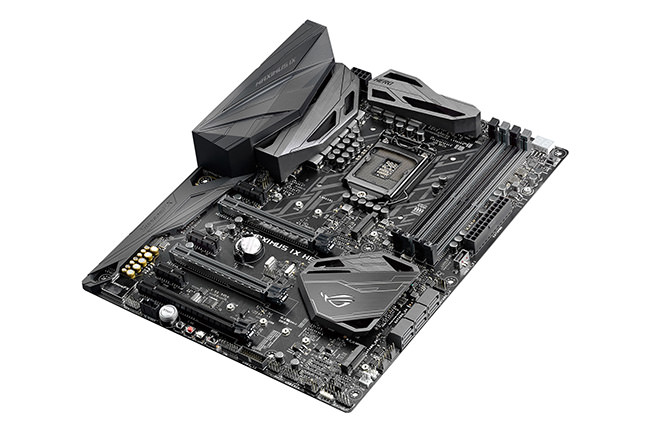
- Full Tower Build: ASUS ROG Maximus IX Hero (Amazon) – a very solid motherboard with lots of connectivity options (including the new USB 3.1 Type-A and Type-C ports), two M.2 ports and excellent audio.
- Compact Build: ASUS ROG Strix Z270I (Amazon) – a great, compact mini-ITX motherboard with two M.2 slots, dual channel memory architecture (up to 32 GB of RAM), built-in LAN, WiFi and Bluetooth. You also get a high-end audio chip, 6x USB 3.1 ports, 4x USB 2.0 ports and more.
3) M.2 NVMe Selection
As with the earlier builds, I will be including M.2 NVMe drives as part of the build. If you don’t know much about M.2 NVMe SSD drives, you should do some research and understand what you have been missing all these years. M.2 NVMe drives are incredibly fast – there is simply no comparison between SSD and M.2 NVMe SSD! Some of the best M.2 NVMe SSD drives today can deliver up to 3,500 MB/s read speed, while the best SSD drives will cap at 500 MB/s, if that. That’s 7x higher performance you would be getting with an M.2 NVMe SSD drive! So imagine booting up your operating system in a matter of seconds and using that extreme performance for cashing and other read/write-intensive operations. You know where your Lightroom catalog would live!
When shopping for M.2 drives, you must make sure to buy either NVMe or AHCI and not SATA drives (M.2 is just a form factor).
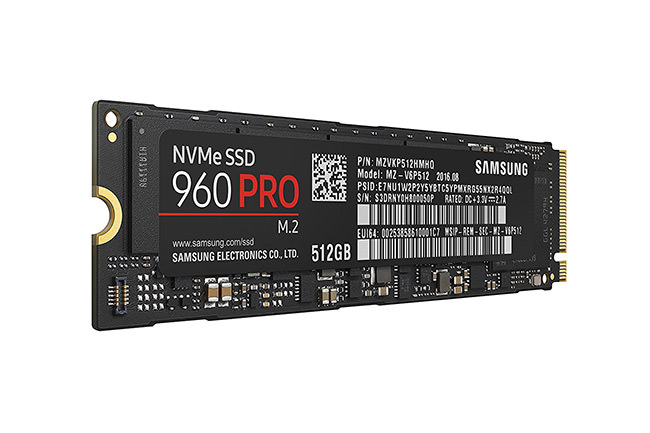
Without a doubt, the best and the most popular choice for M.2 NVMe drives are Samsung’s 960 PRO NVMe. With an impressive 3,500 MB/s read speed and 2,100 MB/s write speed, this is one of the fastest drives you can buy today. If you don’t mind the slower write speeds, the Samsung 960 EVO NVMe drives are also great and cost a tad cheaper.
Size-wise, I would not settle for anything less than 500 GB. Yes, that’s pricey, but 250 GB won’t cut it for large catalogs, especially if you are planning to generate full size JPEG previews (and you should, if you want ultra-fast Lightroom performance – see this article for more details).
For the second slot, I personally would get another 960 PRO M.2, but that’s obviously going to get pretty expensive. Just imagine pairing these up in a RAID 0 configuration! (Note: you will need to have RAID support enabled from the motherboard BIOS in order to be able to boot a pair of M.2s in RAID 0) Absolute insanity!
4) SSD / HDD Storage
If you don’t mind the high price tag, my top choice would be the Samsung 850 EVO 1 TB SSD (Amazon) drives. Until new, faster and larger drives hit the market, the 1 TB 850 EVO still gives the best value at the moment, going for less than $400 a pop. If budget is not an issue and you want to double that storage, the 2 TB version currently retails for around $750.
If you don’t have a lot of photos, go for the 500 GB version instead, which is much cheaper. Why not go for the 850 Pro series? Because it is overkill for photo storage in my opinion. However, if budget is not an issue, go for the 850 Pro line instead, as you will get a bit more performance out of those. If you find other brand SSD drives with similar performance, those might be worth looking into as well – sometimes you will find great deals on Crucial, Intel, SanDisk and other brand SSDs. Another advantage of SSD is that you won’t have to worry about heat dissipation issues, as they do not get as hot as regular hard drives.
If you have a lot of photos that you like keeping on the same volume and you do not want to buy expensive 1-2 TB SSD drives, then go for two 6+ TB hard drives. Just make sure that you don’t buy one of those green drives – go for 7200 RPM drives with a good amount of cache, similar to HGST 8 TB drives. For the full tower build, I would recommend to get four of these drives to use as backup / RAID 1 / RAID 5 storage.
5) RAM
With Kaby Lake, you will need to go for DDR 4 memory and depending on whether you are building a full tower build or a compact build, you will need to get between two to four RAM sticks. Personally, I would go for at least 32 GB of RAM (choose 2×16 GB sticks for either build). If you want to future-proof your build, go with a 64 GB configuration that can handle anything you can throw at it. If you stitch huge panoramas, you will benefit from a 64 GB configuration.
Here are a couple of good options I found:
- Full Tower Build: Corsair Vengeance LPX 32GB 3200Mhz DDR4 (2x16GB) or Corsair Vengeance LPX 64 GB 2666Mhz DDR4 (4x16GB)
- Compact Build: Corsair Vengeance LPX 32GB 3200Mhz DDR4 (2x16GB)

6) Video Card
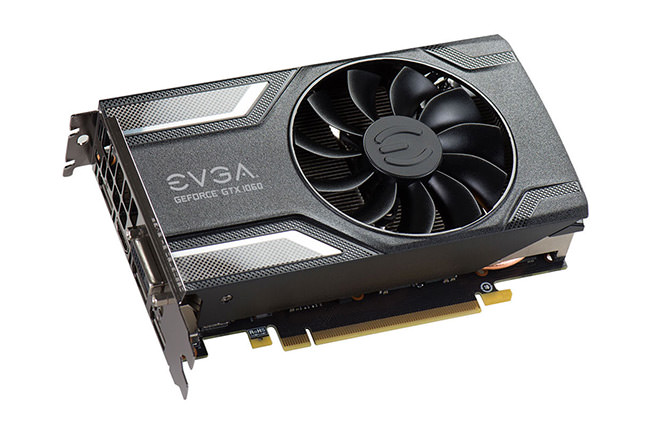
Since Lightroom and many other applications can take advantage of GPU rendering, the speed of your video card certainly does play a role in how fast applications render images / video and respond. If you want to take advantage of this additional benefit, I would get a high-end video card that can easily handle the load. While those with deep pockets and a desire to run a 30-bit workflow should look into NVIDIA’s Quadro-series video cards (which can get pretty expensive), I would recommend GTX-series video cards for most photographers instead. I personally chose the NVIDIA GTX 1060 video card, which is super fast and easily handles the load I throw at it. At this time, I do not see the benefit of a 30-bit workflow setup for my needs and I cannot justify spending over $1K on a Quadro-series video card, which is why I went this route. So here are my two top recommendations:
- Full Tower Build: EVGA GeForce GTX 1060 SC
- Compact Build: Gigabyte GeForce GTX 1060 Mini ITX
I chose a smaller profile video card for the compact build, because it leaves plenty of space for cooling and cables.
7) Power Supply
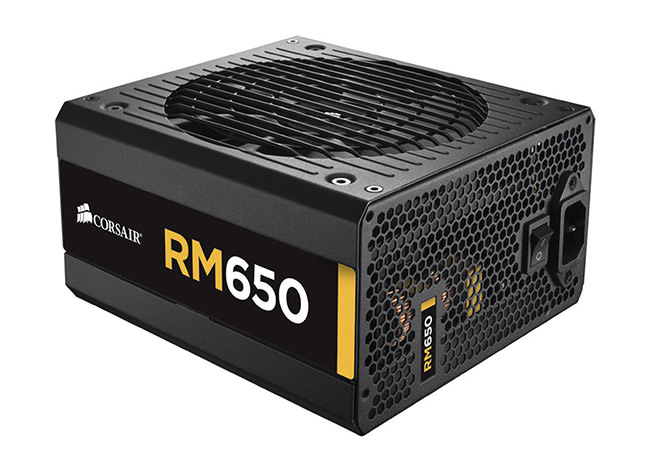
Lots of options for power supplies too and you certainly want to make sure to get a solid power supply that is modular. With a modular power supply, you only add as many cables as you require and you don’t end up with a lot of dangling cords inside the case. My personal favorite has been Corsair CX and RM series PSUs, which are solid performance and are of great value. Here are the two I would recommend for the two setups:
- Full Tower Build: Corsair RM650x Modular PSU. A great choice with plenty of power to connect SSDs and Hard Drives.
- Compact Build: Corsair RM550x Modular PSU. An excellent PSU and should be sufficient for the compact build.
8) Case
Now that we have picked a motherboard, CPU, PSU, RAM, storage and a video card, it is time time to pick a case for each setup. Again, the below choices are based on my personal preferences. If you like other brands and models, please feel free to share you opinion in the comments section below.
- Full Tower Build: Cooler Master HAF X (Amazon). I have been using Cooler Master HAF-series cases for some time now and I love these. Lots of room, plenty of cooling and many options to add lots of storage. If you do not want to go with a tall tower, another recommendation is to go for the HAF 912 mid-tower (Amazon), which is also a very nice and much more affordable case.
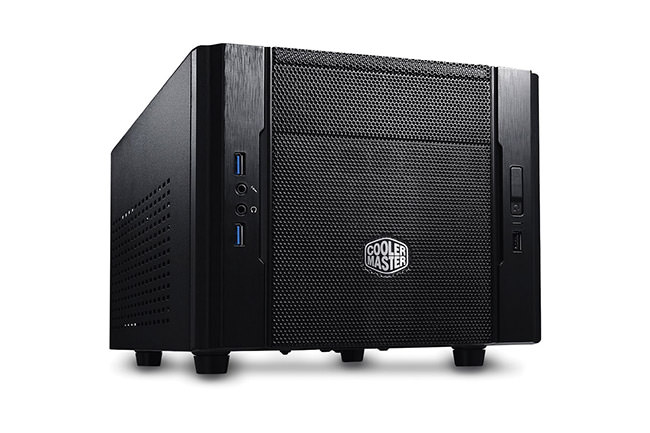
- Compact Build: Cooler Master Elite 130 mini-ITX case (Amazon). I have done a lot of research before picking this case. So far I have not found a case that I like better and I have already built 3-4 machines with this case, with impressive results. For the price, it is the best mini-ITX case in my opinion.
9) Monitor
Although a monitor is optional and you can use the current monitor you already have, having a nice 4K monitor with an IPS panel would be sweet for such a high-end setup. I have been personally using Dell’s IPS monitors for the past few years for photo editing and I really like them, but they do have their problems as highlighted in our article on calibrating Dell monitors. The last good monitor was the Dell U2413 and even with that one, you must make sure that it has good uniformity and performance.
If your budget allows, go for a solid NEC PA-series monitor like the NEC PA242W. While it is an older model that does not have 4K resolution and other fancy features, it is a superb professional monitor with excellent color reproduction and hardware calibration options. If you can step up to a 27″ monitor, the NEC PA272W is also a superb choice.
10) Assessing the Damage
Let’s take a look at both setups and assess the damage:
| Component Type | Component Choice | Price |
|---|---|---|
| CPU | Intel Core i7-7700K | $304 |
| CPU Cooler | Noctua NH-D15 | $90 |
| Motherboard | ASUS ROG Maximus IX Hero | $225 |
| 2x M.2 NVMe SSD | Samsung 512 GB 960 Pro NVMe M.2 | $586 |
| SSD Drive (Optional) | Samsung 850 EVO 1 TB | $365 |
| 2x HDD Drives (Optional) | HGST 8 TB 7200 RPM | $560 |
| RAM | Corsair Vengeance LPX 32 GB DDR4 | $295 |
| Video Card | EVGA GeForce GTX 1060 SC | $235 |
| Power Supply | Corsair RM650x | $114 |
| Case | Cooler Master HAF X | $169 |
| GRAND TOTAL (WITHOUT MONITORS AND OPTIONAL STORAGE) | $2,018 | |
That’s a bit more expensive than the previous Skylake build, but not by a huge margin. Obviously, the price goes up if you add the optional drives and dual monitors, but those are optional and depend on your needs / what you already have. And you can certainly change a component or two to reduce the price even further, especially if you lower the M.2 card storage, which is what represents the bulk of the cost above.
If you are wondering how this would compare to a Mac, it will obliterate pretty much any Mac out there. Even the best Mac Pros won’t stand a chance against the above configuration (expect to pay $5K+ for an outdated high-end Mac Pro).
Now let’s take a look at our compact configuration:
| Component Type | Component Choice | Price |
|---|---|---|
| CPU | Intel Core i7-7700K | $304 |
| CPU Cooler | Noctua NH-L9I | $40 |
| Motherboard | ASUS ROG Strix Z270I | $180 |
| M.2 NVMe SSD | Samsung 512 GB 960 Pro NVMe M.2 | $293 |
| SSD Drive (Optional) | Samsung 850 EVO 1 TB | $365 |
| RAM | Corsair Vengeance LPX 32 GB DDR4 | $295 |
| Video Card | Gigabyte GeForce GTX 1060 Mini ITX | $270 |
| Power Supply | Corsair RM550x | $90 |
| Case | Cooler Master Elite 130 mini-ITX | $49 |
| GRAND TOTAL (WITHOUT MONITORS AND OPTIONAL STORAGE) | $1,521 | |
Just like the full tower PC, this small-factor PC will obliterate pretty much anything out there, except for higher-end setups with the X299 chipset that cost a lot more. Nothing comparable from Apple either. The setup is pretty much identical to the full tower, except you are going for a smaller PSU and potentially less storage options.
Please note that I did not include the cost of the operating system.
Table of Contents