I enjoy taking panoramic images of landscapes, cityscapes, street art or any other time when the view exceeds the frame. While an increasing number of cameras (particularly smartphones) are offering an in-camera panoramic mode, individual images and good stitching software is essential for high quality images.
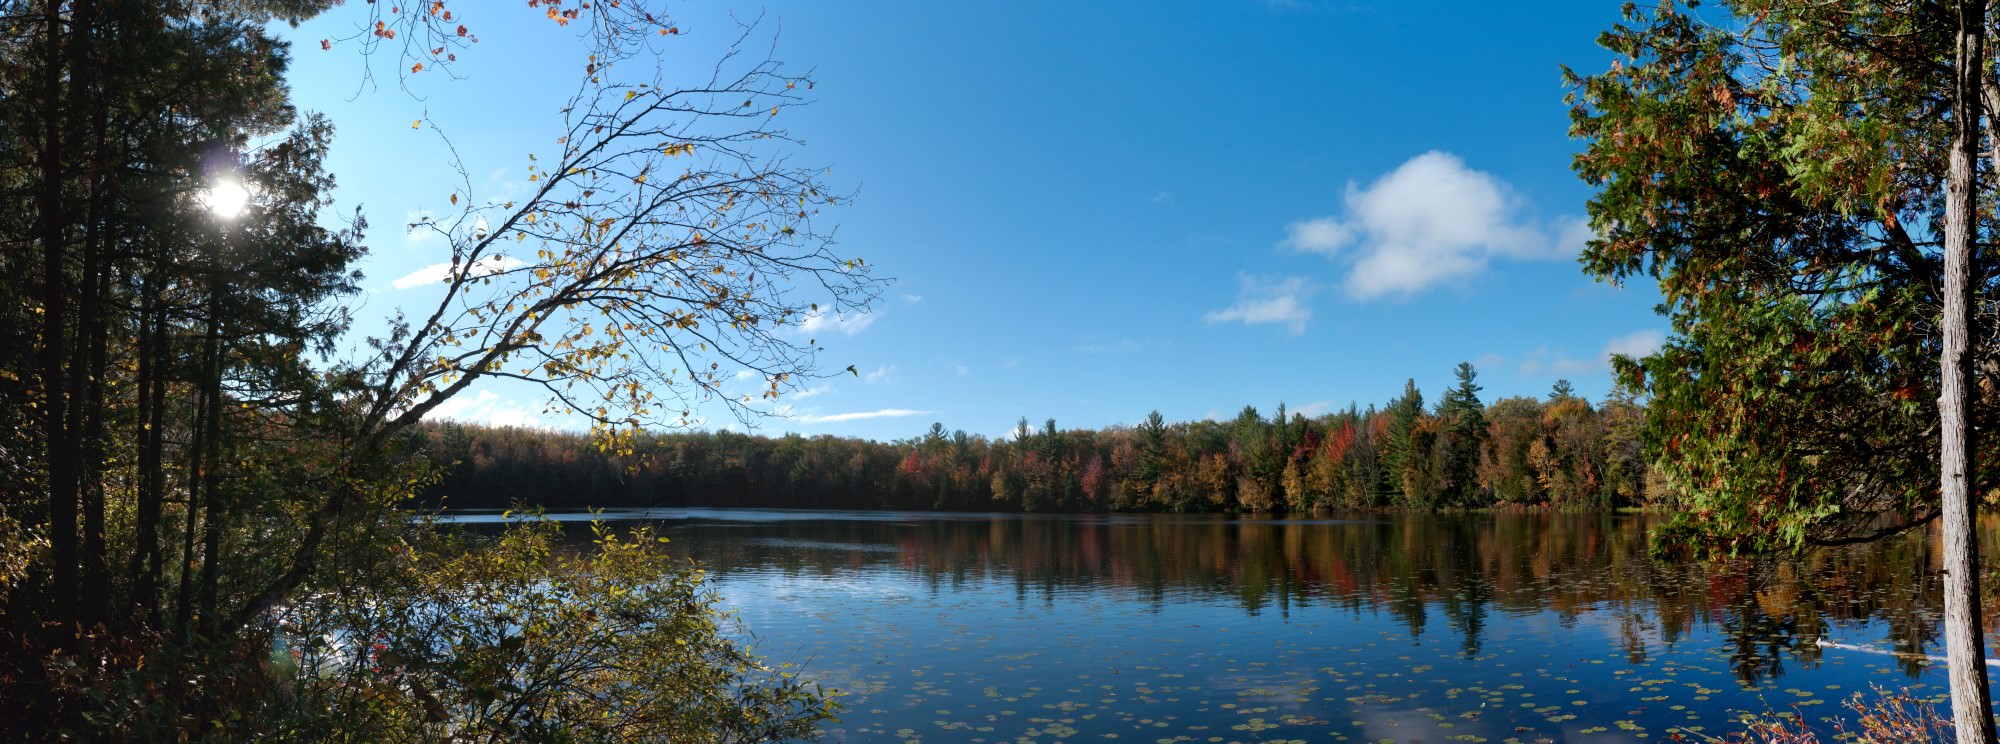
I don’t intend to cover the process of taking images to build a panorama, as Nasim has already done it before. I will just go over a few basics. While the hardcore will note that a tripod is a requirement (with an offset mount so the point of rotation is at the aperture), good stitching software can handle handheld images just fine. There are a couple of caveats. First, if you wish to take a full spherical image for interactive VR-style use, then a tripod with a good mount is important. Second, if you are in a situation where parallax (the relative movement of foreground objects against background objects) is significant, then a tripod is also key. For example, I once did a panorama handheld in a forest with mediocre results due to the strong parallax between the near and distant trees.
The single most critical aspect of shooting for panoramas is to have sufficient overlap between photos and absolutely no gaps. One good way to do this is to borrow from the “rule of thirds” and overlap each image by one third of the prior image. If you are shooting a multi-row image, be sure to do this both vertically and horizontally. Tripods are helpful in multi-row panoramas to ensure consistent overlap on each row.
Reasonably consistent exposure is also valuable, but I don’t hold to the rule of setting a fixed exposure for all shots. Between post-processing and good stitching software, I have not had a problem with panoramas made from varying exposure. Pretty much all that you see here was shot with some level of varying or automatic exposure.

A few years back, I spent a lot of time playing with different stitching software options. This included various free and commercial options. At the time, much of the alignment was by hand using match points and the blending was hit or miss, particularly with moving objects in frame. Then I came across an academic project proof of concept called Autostitch out of U Washington. It was both automatic and often superior to some of the commercial solutions. Eventually Microsoft research released a tool called Image Composite Editor (ICE). It was free and, in my testing, superior to even commercial options for my needs (there are some very advanced commercial options that I’m sure meet more demanding needs). After a few years of no news, Microsoft just released a major update (2.0) with a new user interface and many additional features (most notably making panoramas from movies). You can download the software at Microsoft.com.
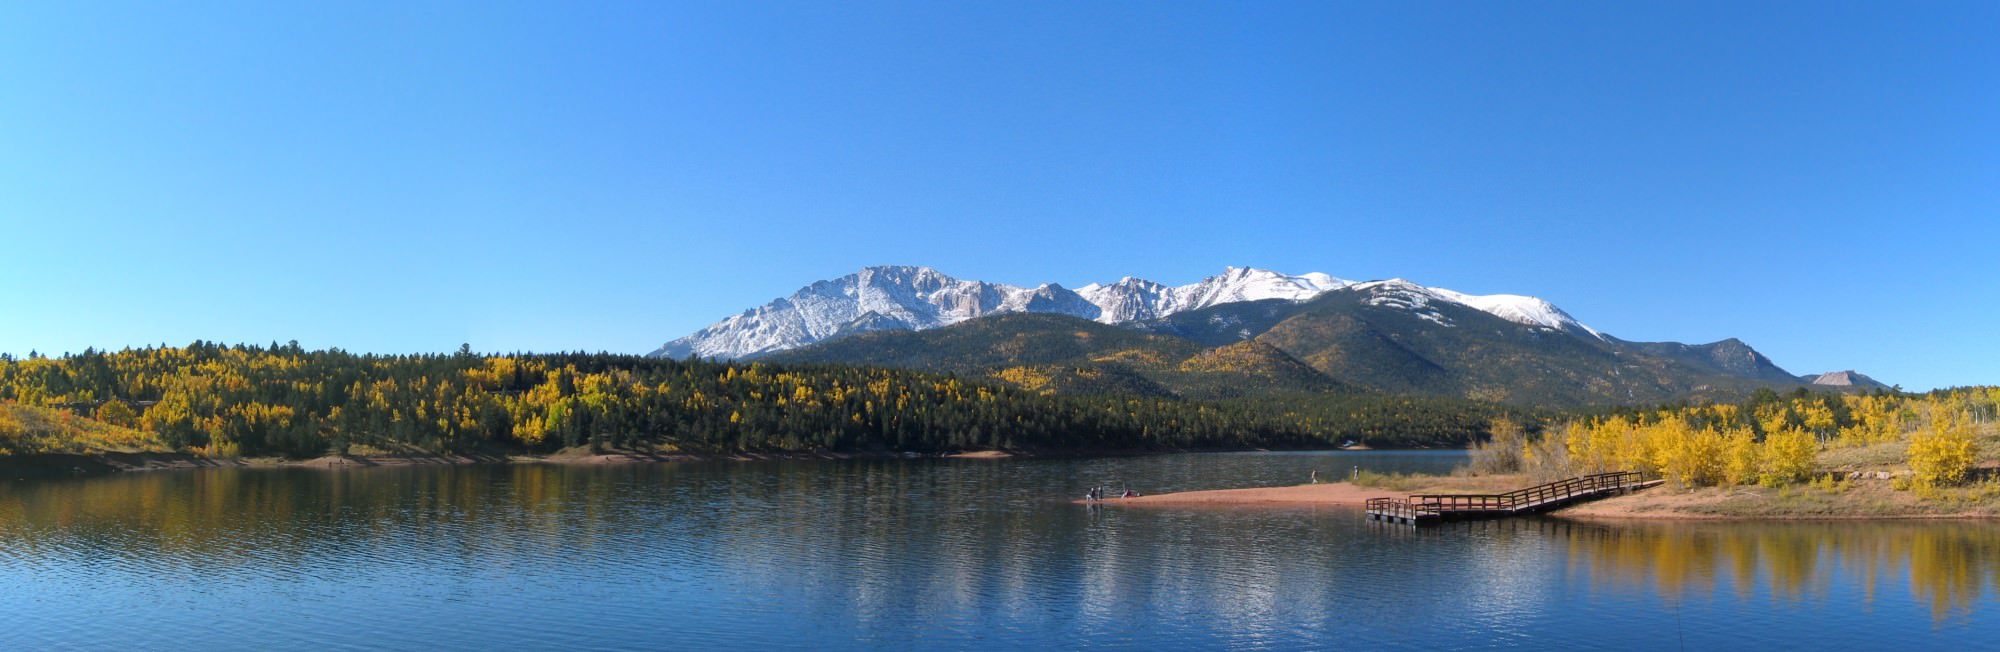
MS ICE can accept most image formats, including RAW. Direct RAW reading requires either Windows 8 (which has RAW codecs) or a third-party RAW codec. On Windows 7 I use FastPictureViewer Codec which keeps up on new camera releases pretty well and is only $15. While direct RAW use in ICE certainly limits your post-processing options, it can work quite well. ICE does allow you to select alternative projections when using RAW images. This image was direct RAW into ICE with no processing afterwards. In fact, all images in this article came directly out of ICE with only resizing after export for better online posting.
Once you download and install the software, it launches to a screen with some advertising and three options: new panorama from images, new panorama from video and open existing panorama.

Choosing a new panorama immediately prompts you to select the files you wish to use. Select all of the images in your panorama set and it will show you the set in the import screen.
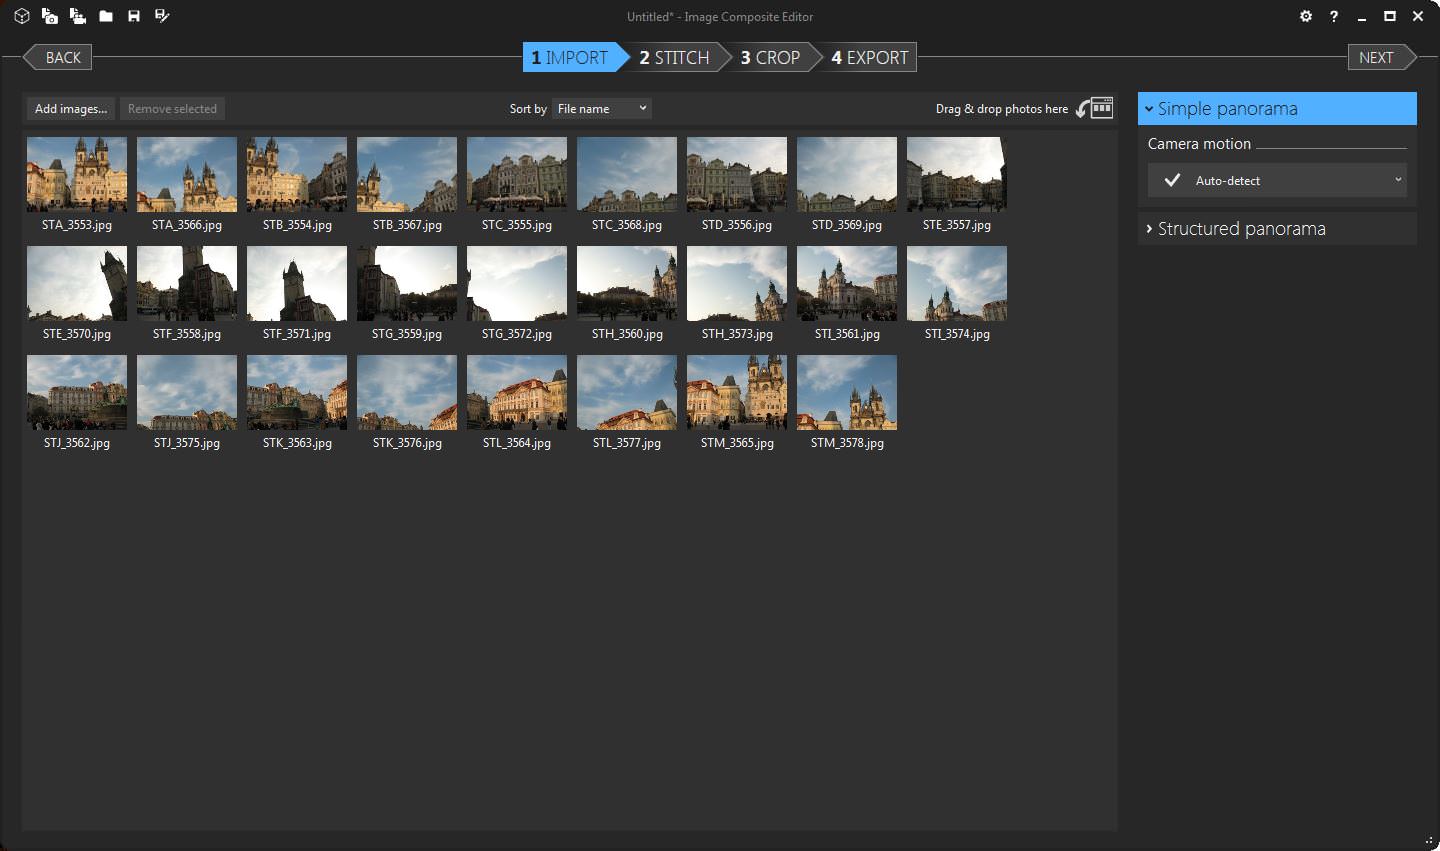
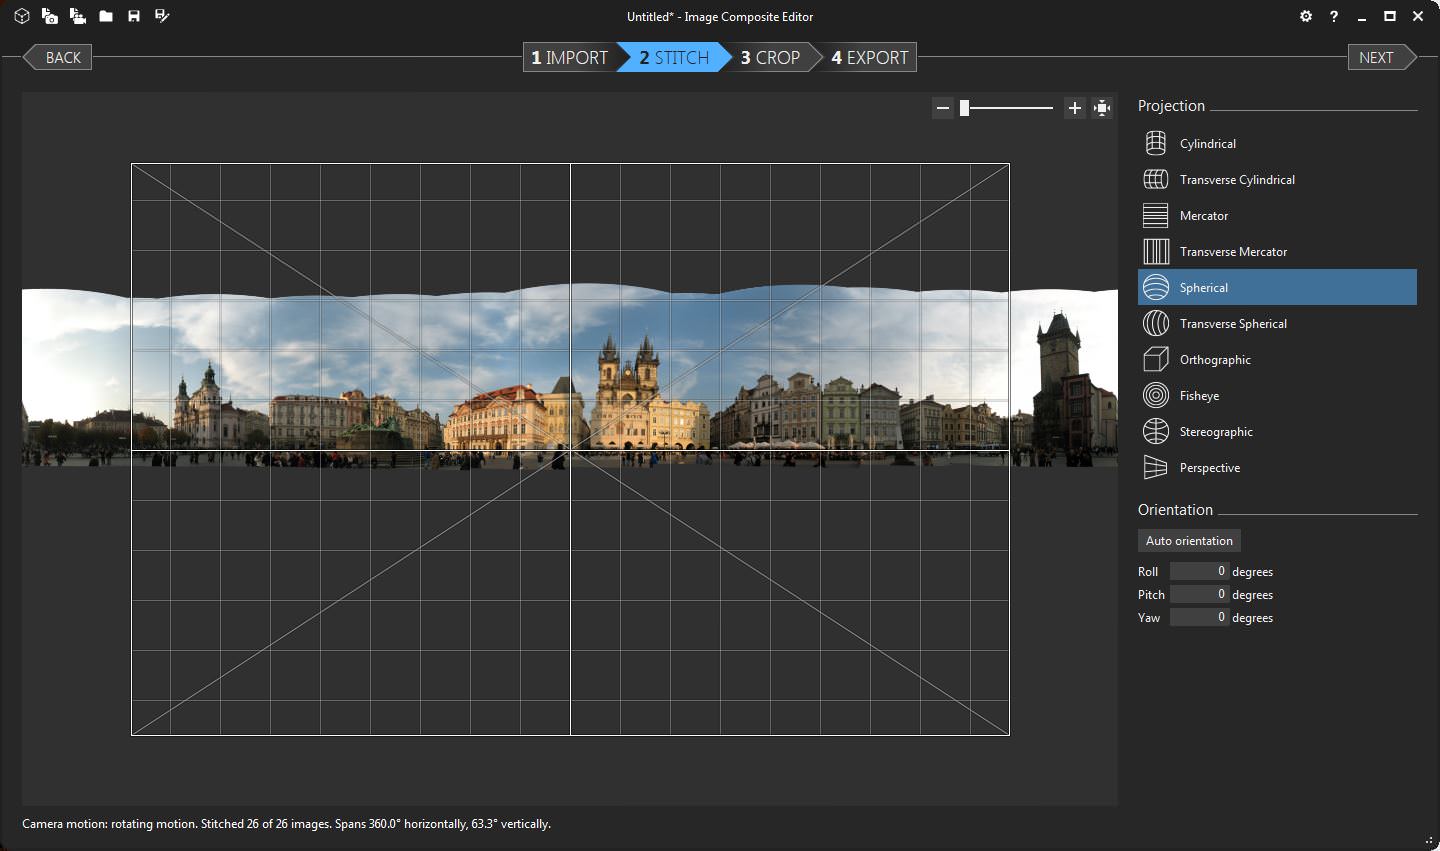
If you have a multi-row panorama, it will give you the option of more advanced “structured panorama” mode, but I recommend trying “simple panorama” first. Much of the ICE magic is in how easily it makes high quality output. Click “Next” and ICE will automatically align and blend. Once the initial processing is complete, you will have the option to choose alternative projections. Experiment and see what looks best. Single-rows will typically default to cylindrical and multi-row panoramas to spherical. When your cursor is over the middle of the image, it will have up and down arrows, indicating you can click and drag up and down to adjust some “flex” in the image. To tilt the image a bit, move your cursor off the edge of the grid until it forms arrows pointing up and to the side. If you have a 360 degree panorama like this one, you can also move the image left and right to choose the framing for the output.
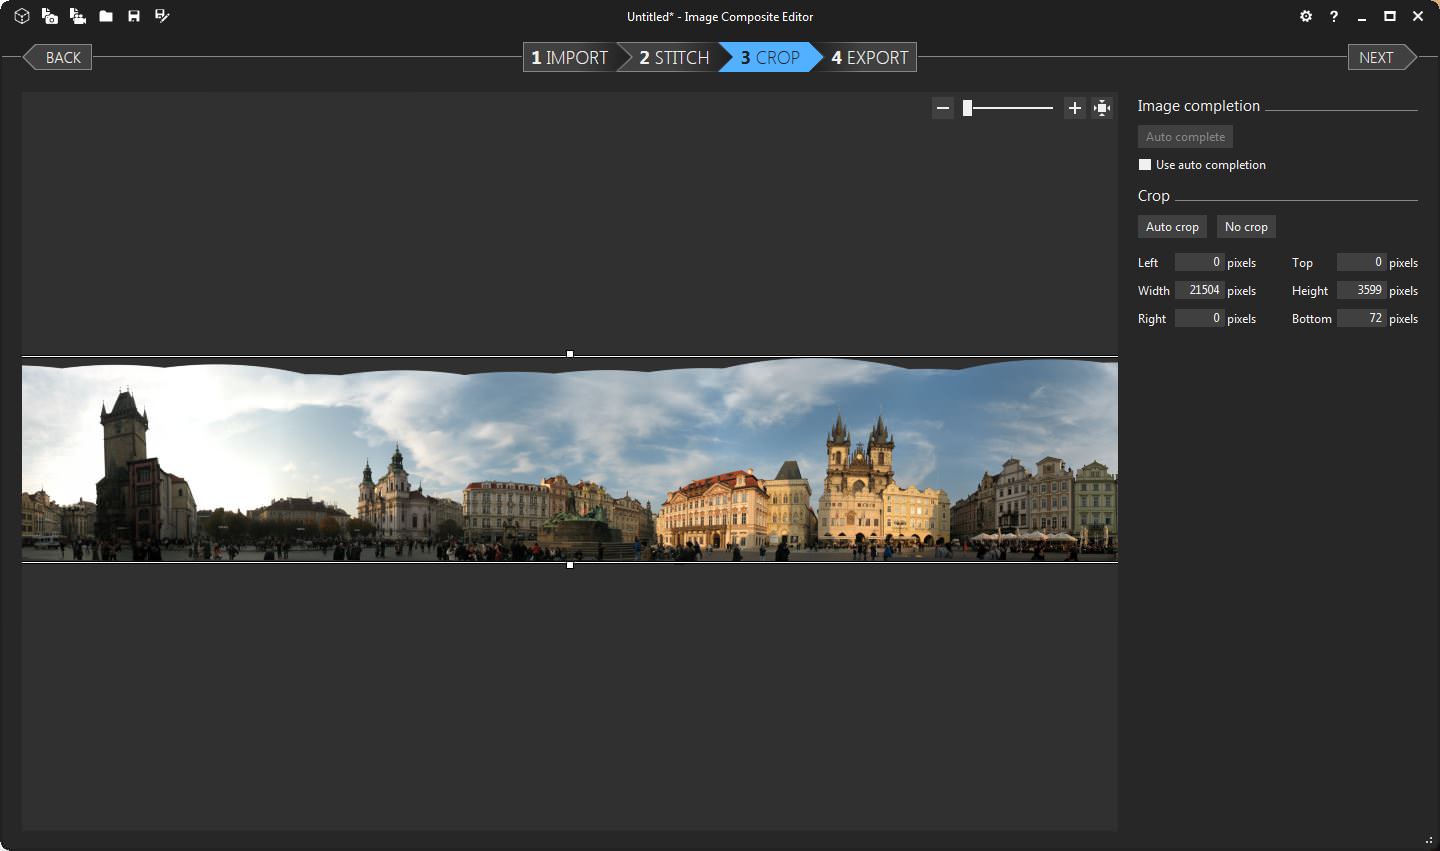
Once you have chosen your projection and adjusted the framing, clicking “Next” will take you to the cropping options. Auto-crop will conveniently crop to the maximum dimensions without including any blank space.
ICE has an “auto complete” function that is similar to Photoshop’s smart fill features. In my testing so far, it works well for sky, but not well for much else. Here you can see how it helped to give a bit more height to the image with a decent sky auto complete.
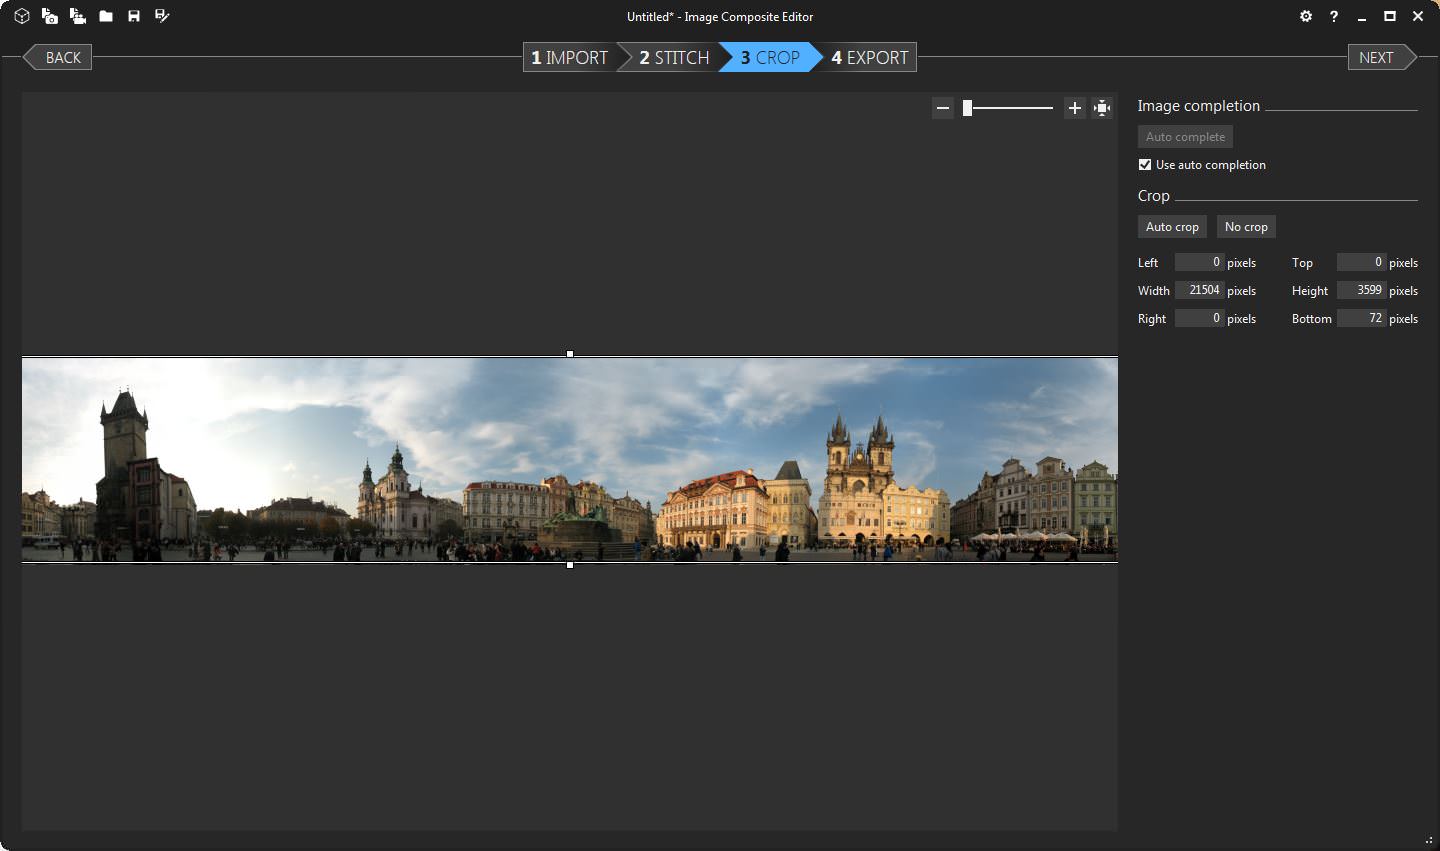
If you choose auto-complete, it will fill in all blank space to make a rectangle to the maximum dimensions of the image. I wish it would just fill to the current crop selection as I find I have to carefully re-crop to exclude any bad areas of auto-complete. Naturally any cropping can be done in your favorite editor after exporting. After clicking “Next”, you will see the export screen.

Here you can choose to scale the image and the output file type (JPG, BMP, TIFF, PNG, PSD) and save. It also includes the options for using the DeepZoom webpage and directly to the PhotoSynth site (Microsoft account required). Here is an output from the images I’ve been using in the above screenshots.

All told, it’s a high quality, easy to use stitcher at the perfect price (free). The only real competition in my mind is Hugin, which is also free and does good work, but the user interface isn’t as easy and it doesn’t handle moving items like people as well in my experience. ICE 2.0 also brings bonus features like panorama from video and RAW stitching.
This guest post was contributed by Brad Judy, an amateur photographer in Colorado who enjoys photography out and about (travel, nature, street, etc). He also loves experimenting with photography from designing and building medium format pinhole cameras to legacy lenses and bellows on modern mirrorless cameras.
Great, thanks for sharing this tutorial with so many splendid images. Also has an article about how to stitch the panorama with Microsoft ICE, hope this can help veer.tv/blog/…-panorama/
ICE’s results are amazing!
The only issue is the inability to command line invoke project->process->export result
I believe the last step of saving the image is not offered via the command line which can be very helpful when you need to batch process many panos.
If anybody has command line invocation and save with ICE like stitching please let us know!
Neat, thanks! I can actually wrap my head around ICE, this is fun.
Very impressive program, but when I view my panorama in ICE it’s crystal clear and after exporting, even in superb quality the image is not clear at all. Any ideas on how to fix?
Thanks,
How do I place more than one video into ICE screen?
After reading this advice I’ve switched over from Hugin to Ice. Honestly, the results are fantastic! The platform seems much more stable, and faster than Hugin has to offer. Very happy with it.
I’ve used ICE for years. About 40 years ago I took a sequence of photos, using an old instamatic camera, of my family and close friends; I remember saying at the time that I’ll stick them all together so it looks like one photo of us all together and being told that would be impossible (it was, I knew nothing of nodal points then, I was about 8 yrs old!). About 5 years ago I found the negatives in an attic clear-out, which I scanned and processed. ICE did a fantastic job of stitching them together, almost seamless even though they barely overlapped and were rather misaligned.
I highly recommend ICE.
outstanding….really powerful software. I’m having better experience with ICE than with Hugin.
How important is the ‘offset mount’ for your tripod?
I don’t have my D600 at hand right now, but if I recall correctly the mount is already ‘centred’ with the optical path.
Not directly ‘below’ the aperture of course.
1) I suppose software like ICE can deal with pictures made with a tripod which has no offset mount? How important is it?
2) If it is important, then how do you figure out where your lens aperture is exactly? (Or did you mean front element?)
If you have objects in the foreground, you have to offset the lens to its no parallax point. If you don’t do that, you will likely get weird stitching artifacts. This means moving the camera back from the tripod head’s center of rotation. How far? You find out by experiment. Once you have the camera mounted on a rail which can slide, you set up two objects, one about a meter from the lens, and the second another meter or so beyond (depends on focal length how far they should be). Then you watch the objects while rotating the head. if they move relative to one another, you are seeing parallax. Slide the camera on the rail and repeat, and see if the movement became more of less. When you can rotate the camera and see no relative movement between the two objects, you have found the NPP. Note that the NPP offset will be different for each lens. You can further experiment to see how far you have to be from an object in order for there to be no visible parallax with the lens you are using. Hope this is clear.
All of my photos were taken hand-held. The only that struggled was within the woods where I was surrounded by trees. In most situations, simply having it on a tripod will reduce the parallax enough to stitch properly. Don’t worry about an offset mount until you encounter a real parallax problem.
The offset mount should place the rotation point exactly at your aperture. Unfortunately, this is not typically marked on the lens itself. The trial and error method that Aeroengineer mentions is a good approach to finding the right spot.
>> I’ve exclusively used ICE for several years now and have found that it does a suburb job. Other programs that I was using would crash or I would see some distortion in the join area. ICE has done an excellent job of managing the large files, lots of files and I’m especially happy with the join and ultimately the final product.