As I’m fairly new to photography as a whole, I’d like to dedicate this piece not to the common PL reader who is already more than knowledgeable, but rather to someone who is only getting interested in this amazing passion that is photography, specifically on how to approach it even with limited experience and budget.
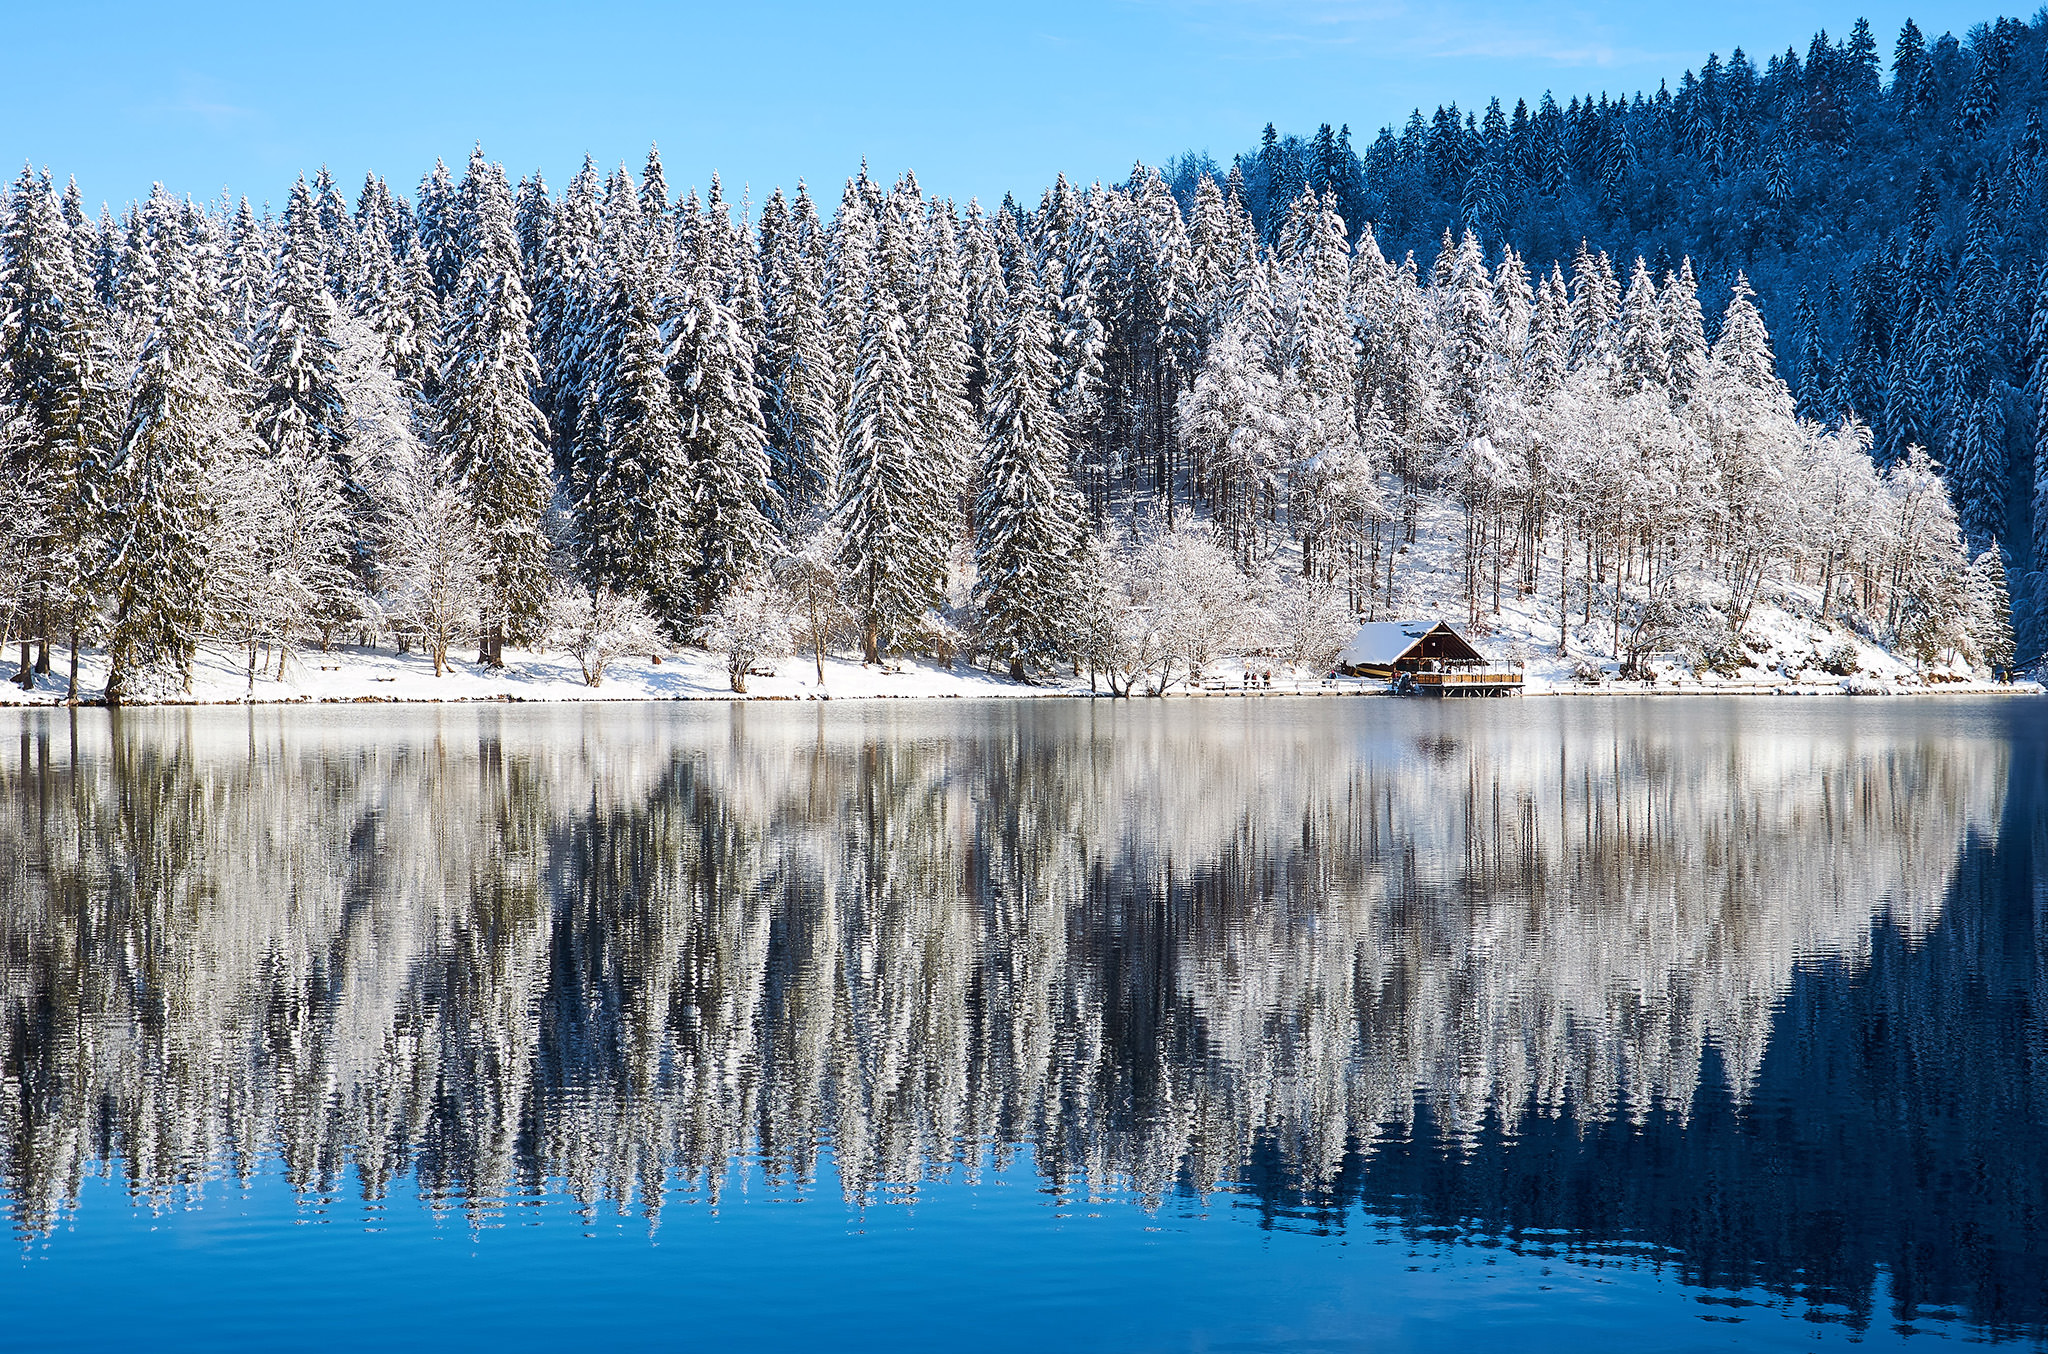
Table of Contents
You Can Start Off with a Smartphone (with a Caveat)
Yes, you read that correctly, and let me explain. I myself didn’t really have the money to buy both a smartphone AND a dedicated camera, and, while I appreciate that this wouldn’t be a problem for everyone, it can be the case for someone who is tentative about photography and isn’t willing to fork over a few hundred dollars/euro over the most basic equipment.
The caveat I mentioned is: get a phone with a pro/manual mode. Phones like the Google Pixel, for instance, won’t let you try anything by yourself as they assume (wrongly so) that they always know best.
A phone with a manual mode will let you tinker with enough settings to make you curious about the possibilities with even more control in your hands (as you’d have with a full-fledged camera) and will also let you understand whether you really want to get into photography or not. Some phones will even let you shoot Raw, which will give you much more editing latitude!
Granted, there also are third party apps that have manual controls but the problem with them is twofold: the first being that results are usually inferior to the phone’s stock camera app and that, if you needed to open a different app every time you wanted manual controls, it’d take away some of the immediacy that is crucial to the smartphone photography experience.
I still use my phone for photography in specific occasions, like when I’m out for my daily run. I know I could have better results with a DSLR, but I’m not going to bring it with me during such times, for obvious reasons.
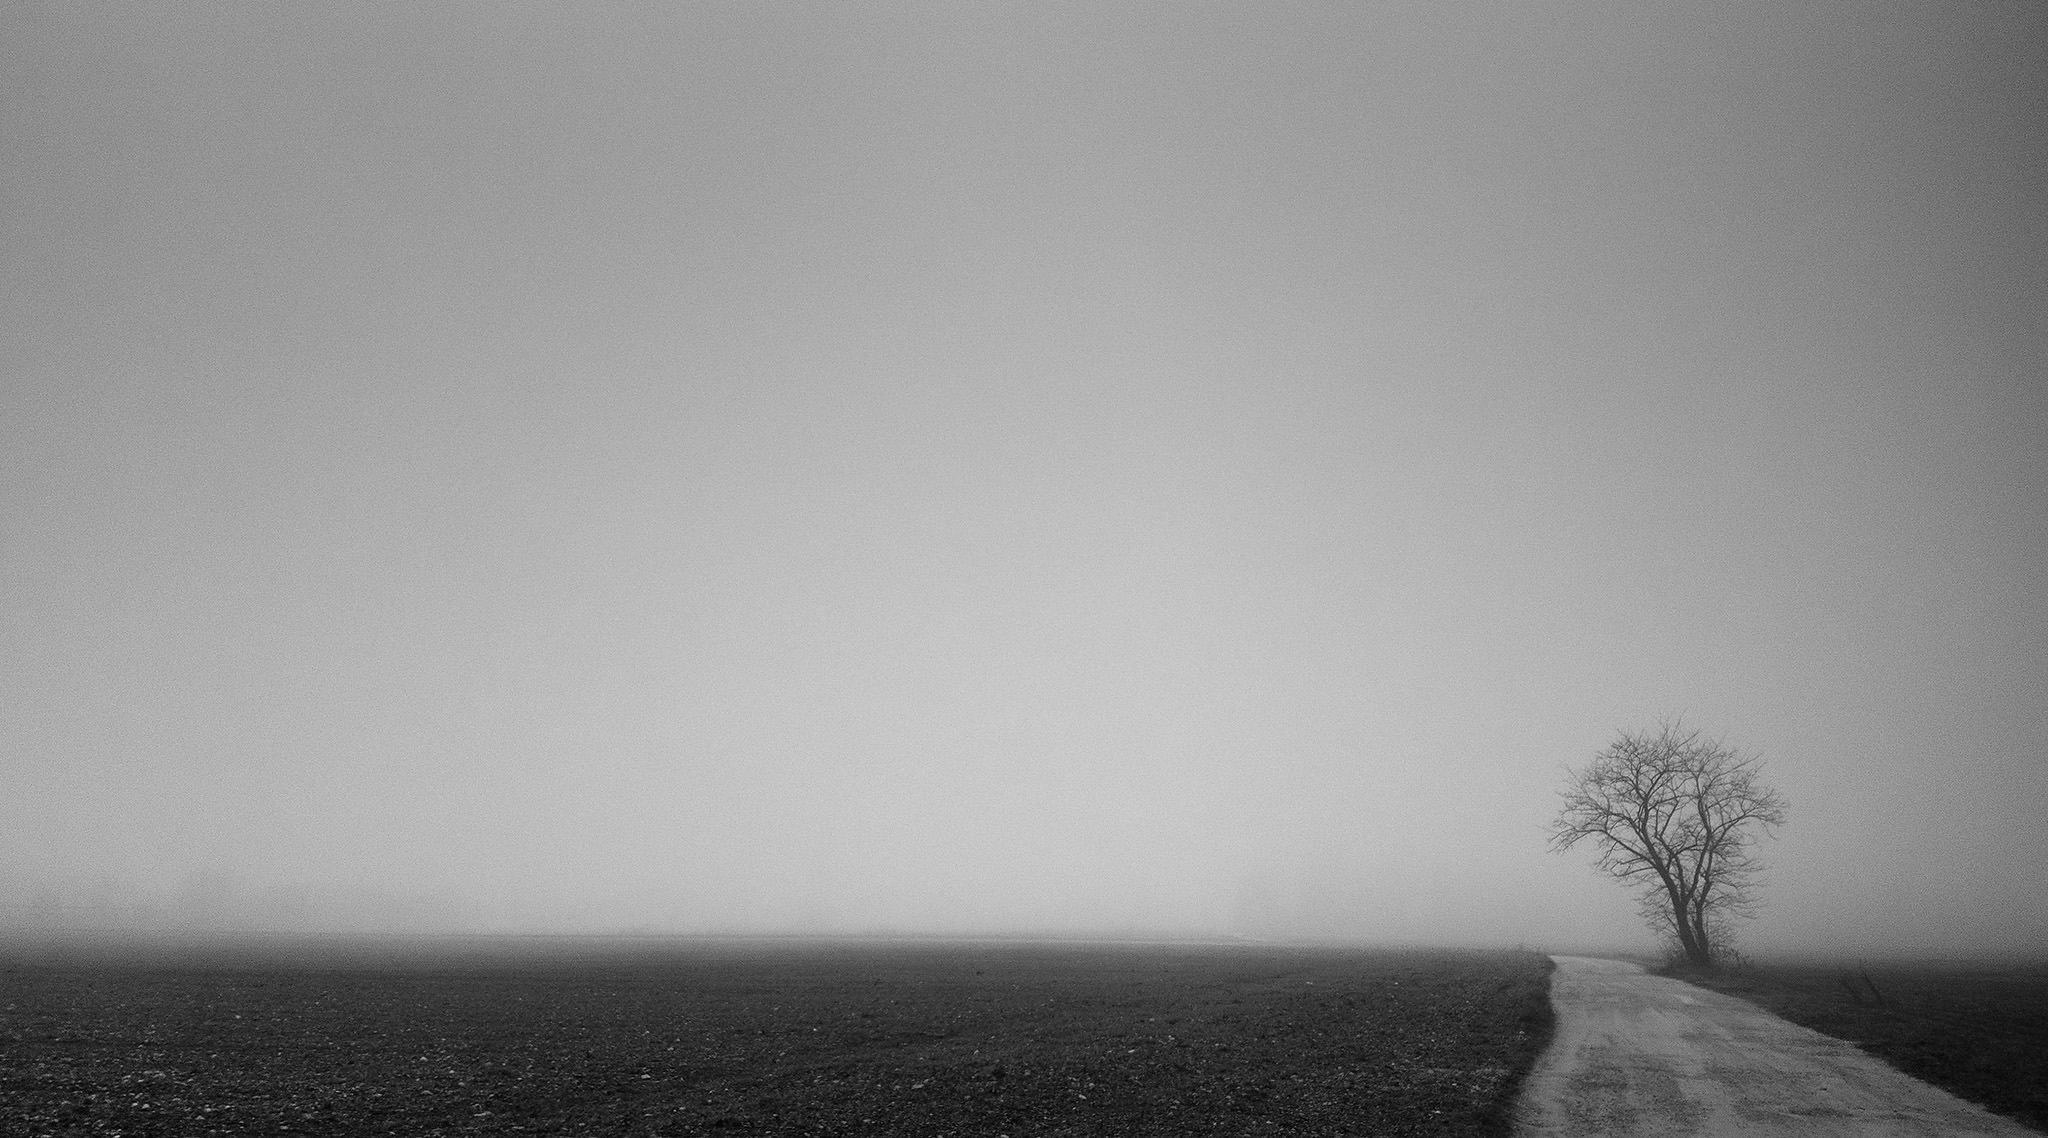
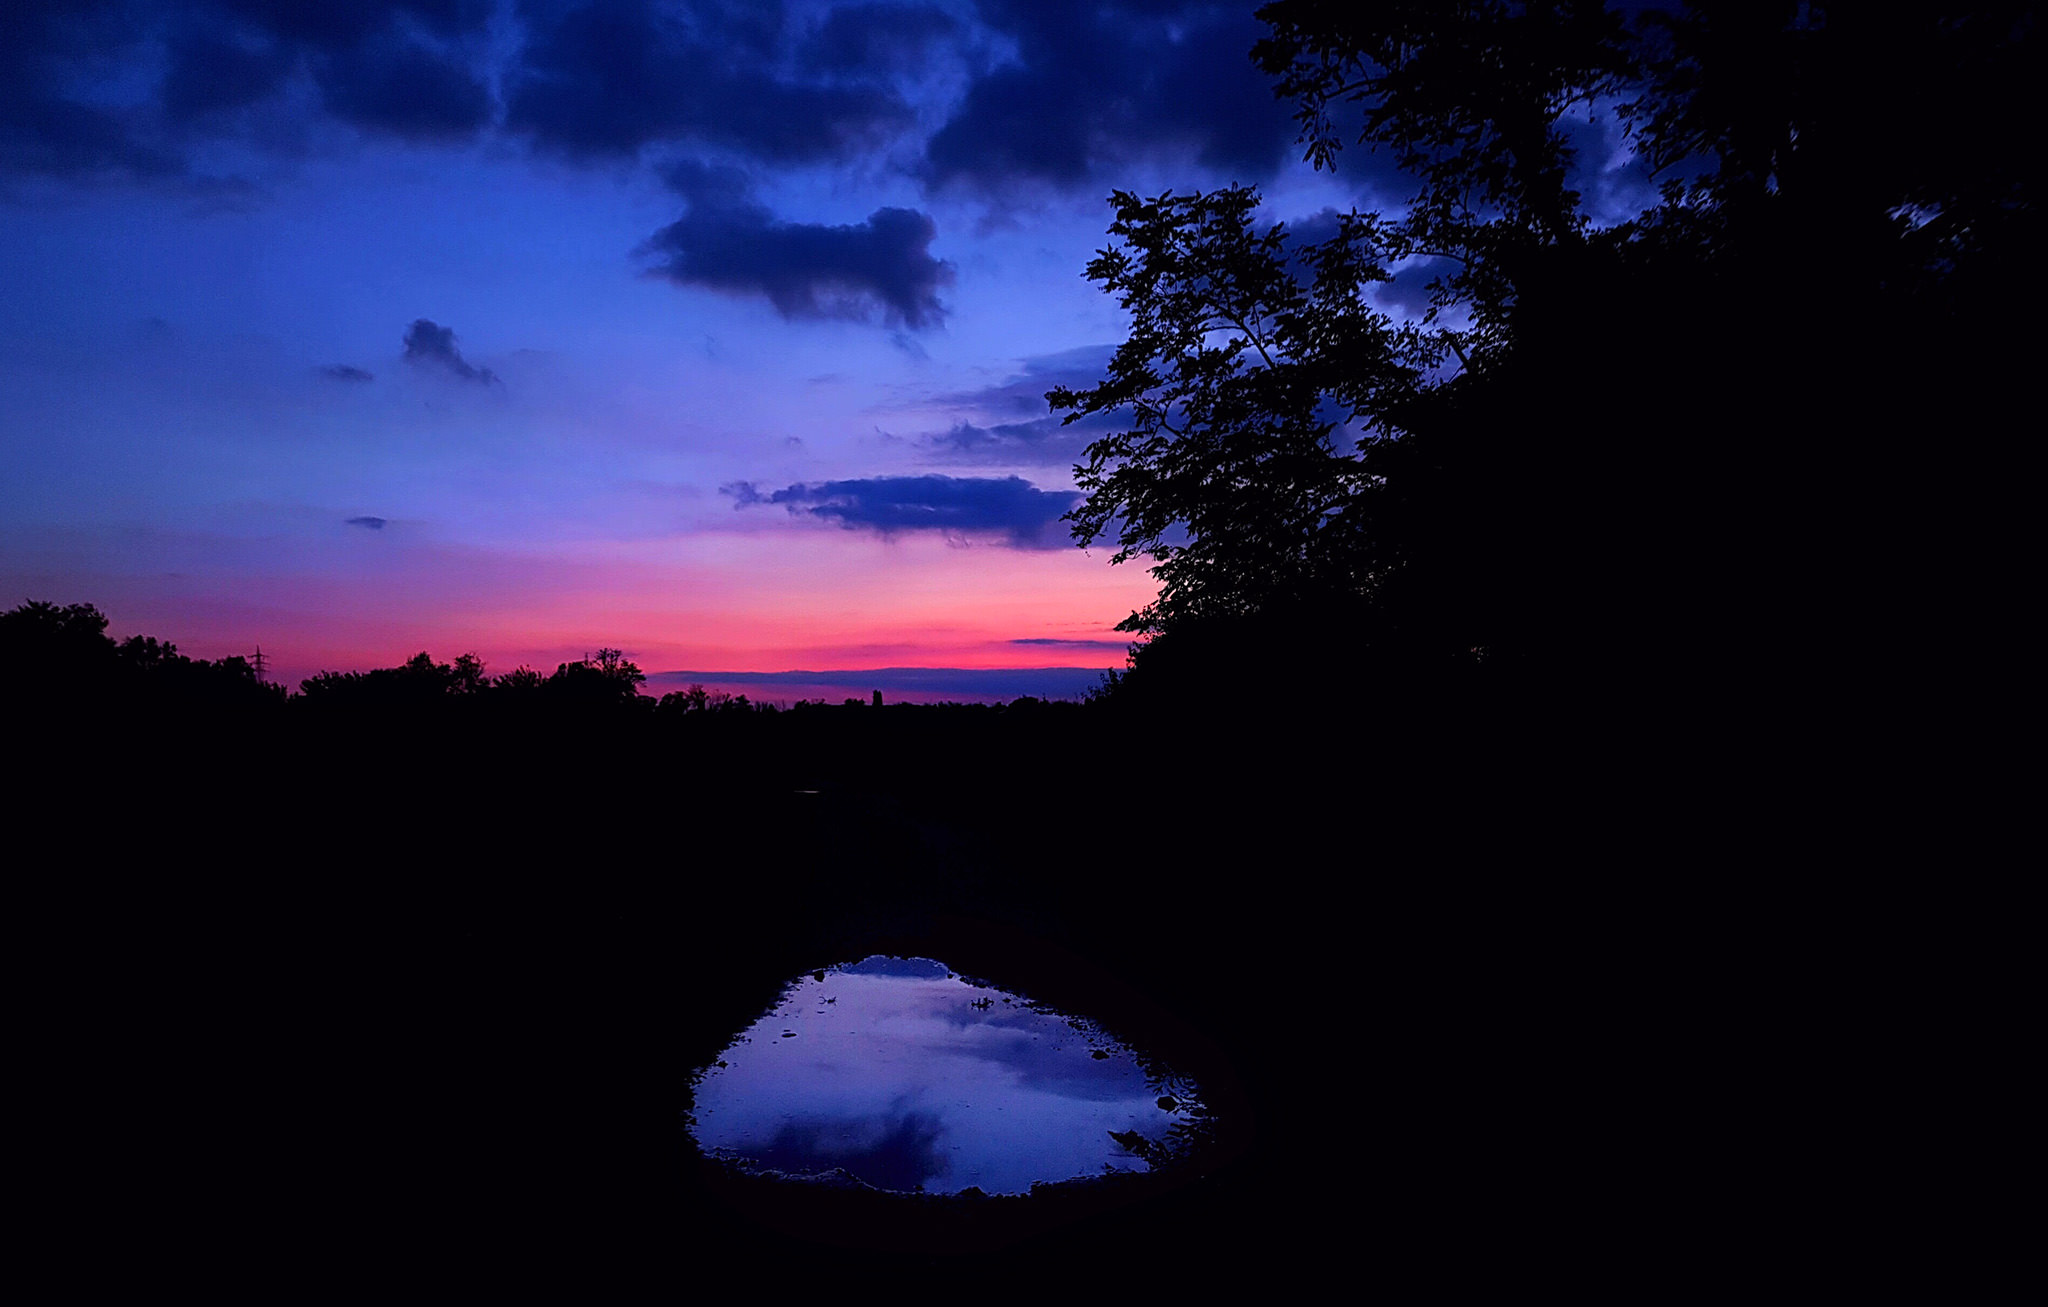
Just for fun, there are a couple of pictures taken with my phone in this section of the article. It is not that they have as much detail as the other photos, but my point is simple – I still like them just fine for what they represent, even though the quality is not the best I could have achieved.
Don’t be Afraid of Entry-Level Cameras
No one really likes the sound of “entry-level model,” for obvious reasons. In photography, though, that term – especially these days – is not felt as being immediately pejorative as it is in other fields. Almost every picture on this article was taken with a Nikon D3200 with an 18-105 kit lens, a camera that came out in early 2012 and that was thoroughly used by the person who kindly lent it to me (my sister, an art student). If you know how to buy used, you’ll pay a pittance for such a model, and even a brand new D3400 or a Canon equivalent will not set you back much and still be great.
I’ll also add that all these pictures were edited on a 2012 laptop that, even when I bought it, was meant to consume as little battery as possible rather than running Capture One as smoothly as possible.
To sum it up, don’t be reluctant to get what your budget can afford, even if that something is the entry-level model.
Stick Close and Learn to Visualize
By that I mean that you can stick close to where you live but that, if you do it, you need to study the places you visit, if you do visit them often. Maybe you can’t travel a lot, but that doesn’t mean you can’t find a beautiful place that will reward you with plenty of worthwhile sights and pictures. However, if you have to (or decide to) stick to a few places nearby, it is important to study them as thoroughly as possible. Writing down or memorizing when sunset and dawn occur is a clear starting point – as is the position of the sun during different seasons.

Golden hours may be theoretically perfect, but what if you want to take a picture of a subject that actually looks better right when the sun is in a certain position? The best time of day to take pictures of certain scenes isn’t always near sunrise or sunset.
The same holds true for different seasons: If you’ve been to a place often enough, you’ll know that certain weather conditions can cause interesting patterns in your scene. For instance, a light fog may rise from a lake in the morning, and it could be backlit by the rising sun, making for a much more stunning occurrence.
A tourist or another photographer may stumble upon such occasions by chance but if you already know where to be and at what time, that’s already half the job done. Visualization is indeed one of the most important things in photography and a skill that you can hone even better by practicing it in locations you know like the back of your hand.
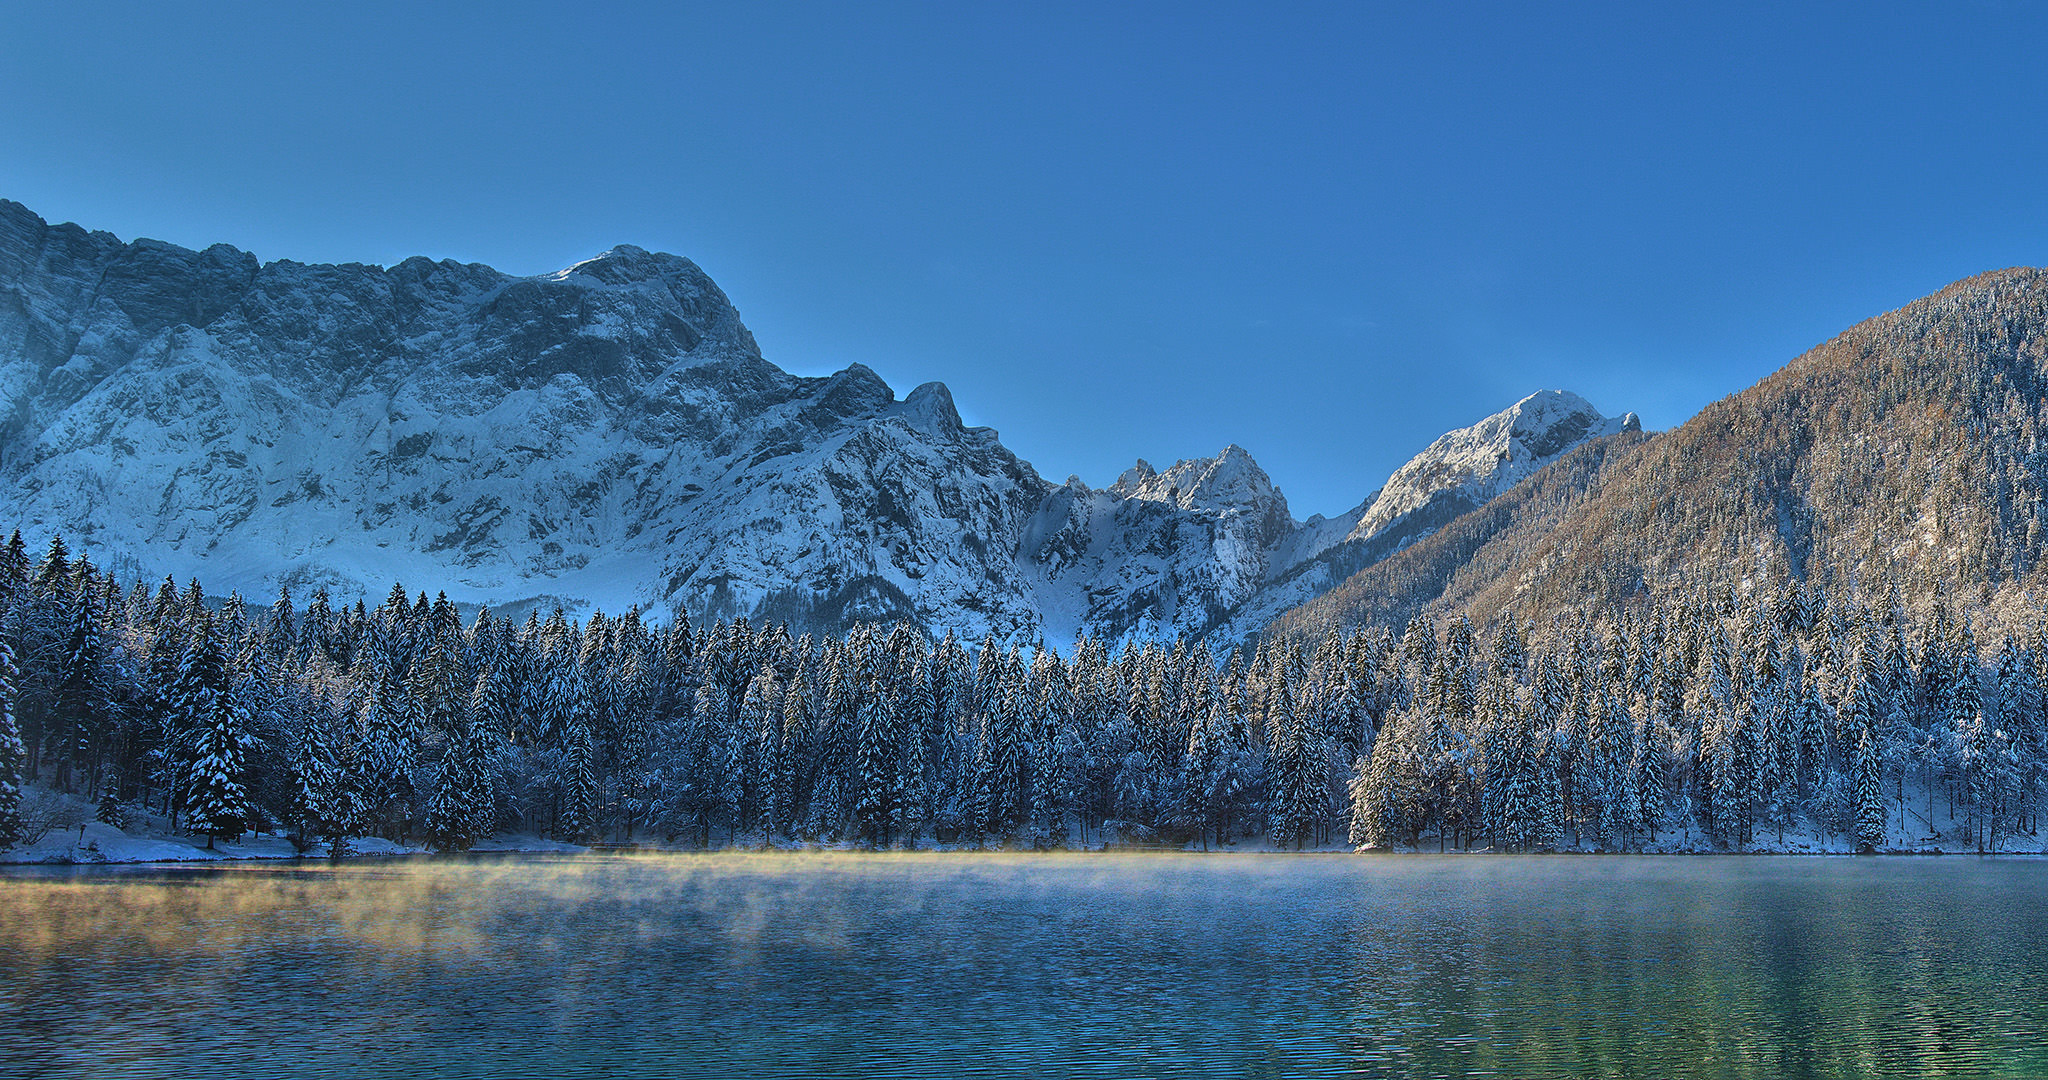
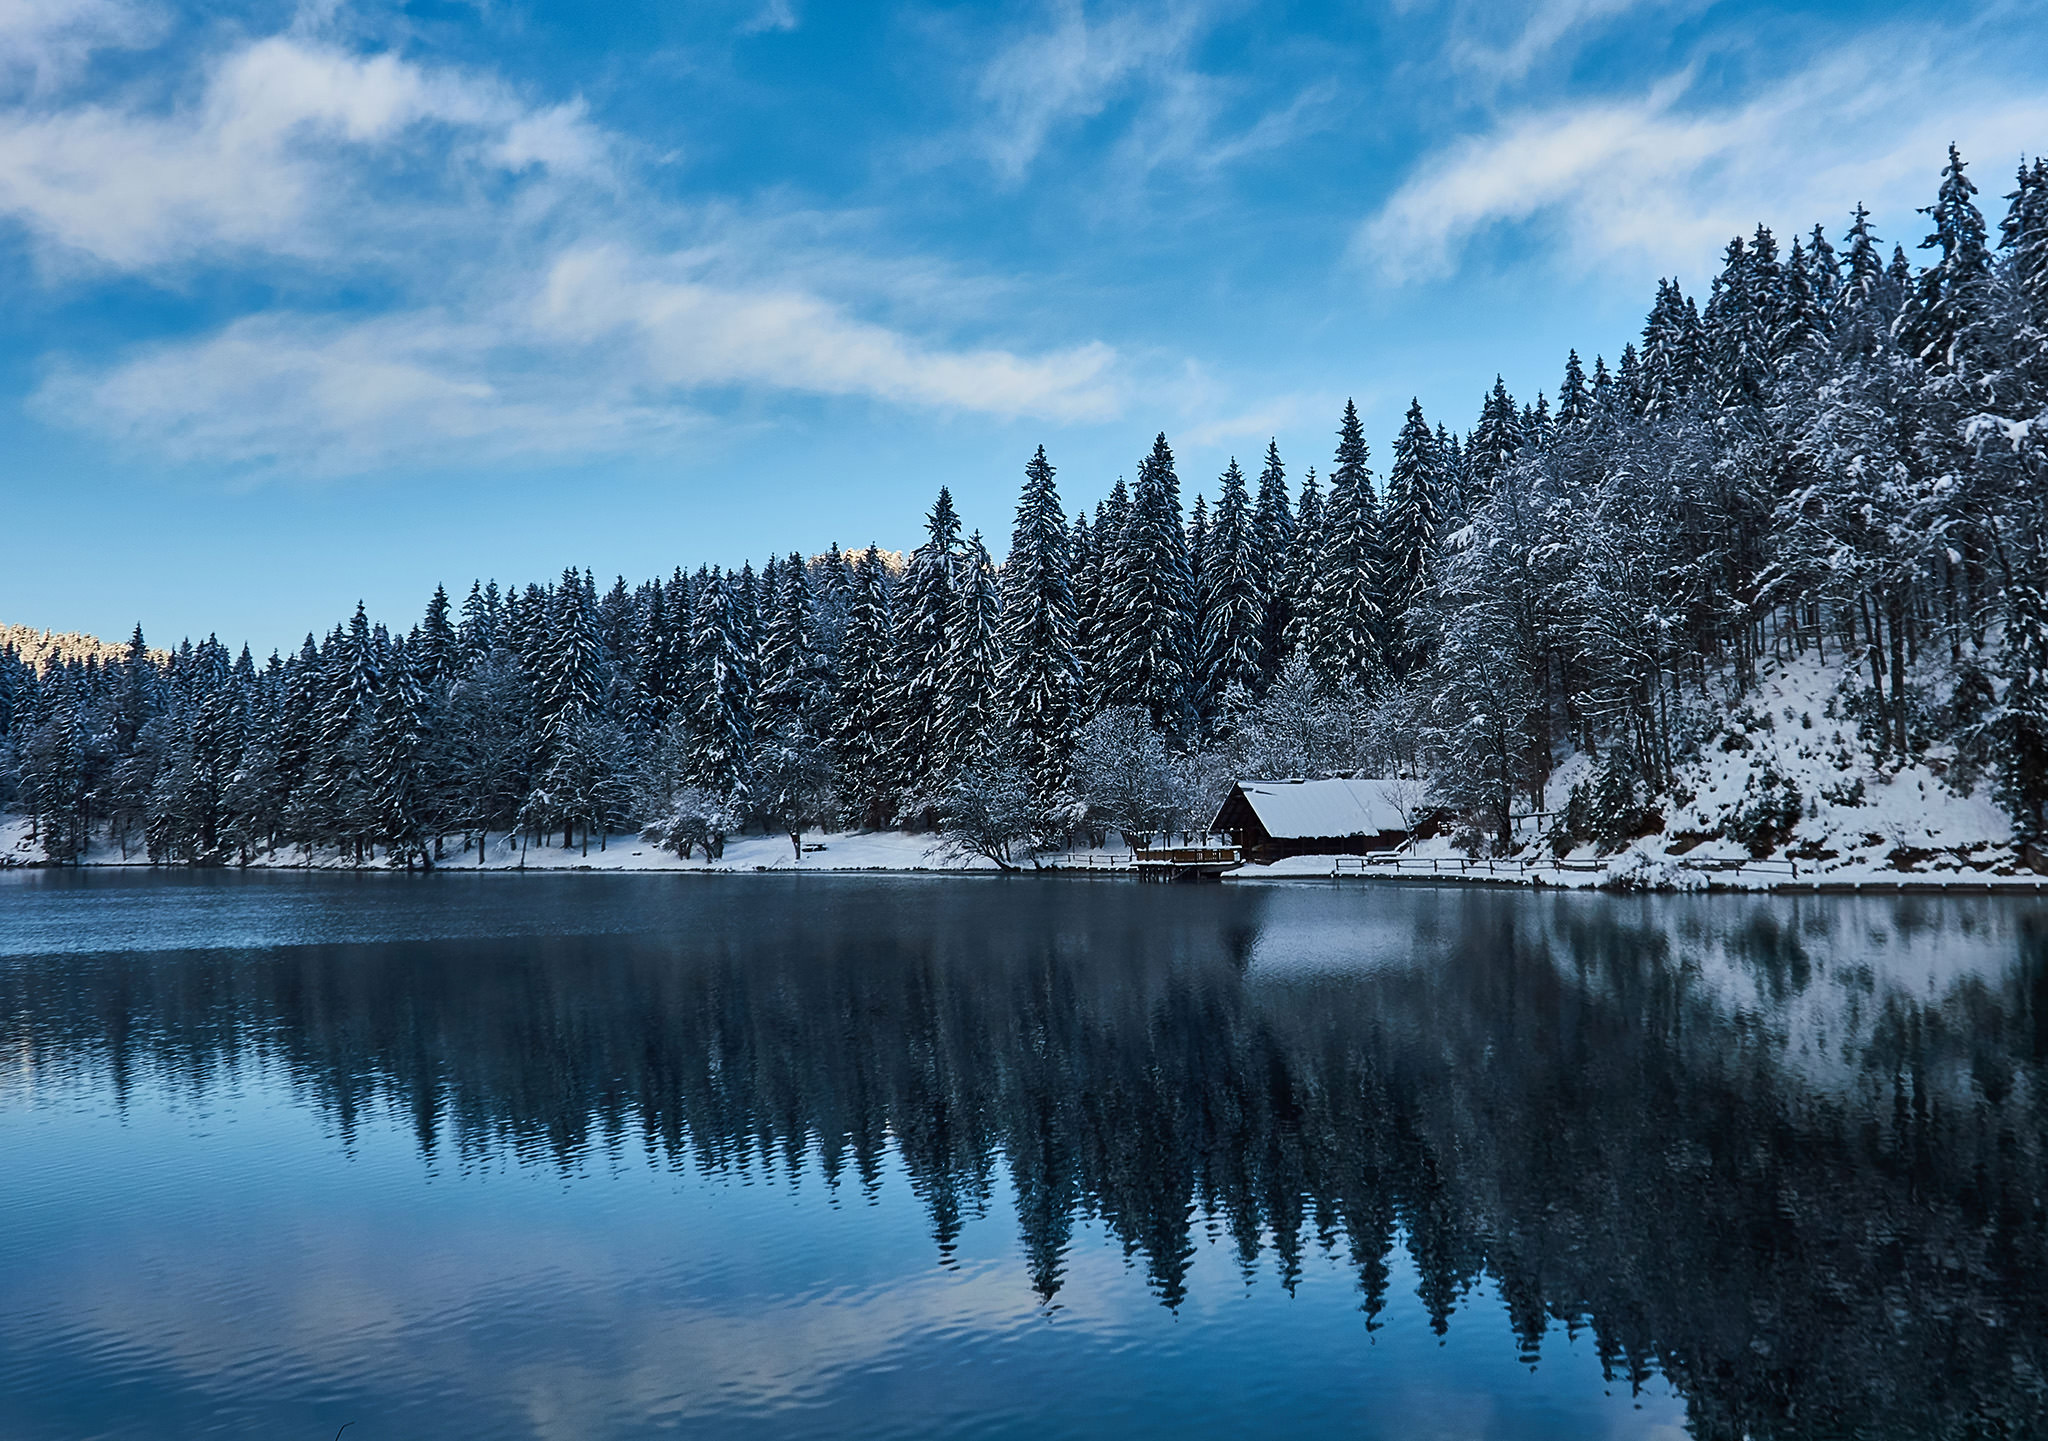
Nikon AF-S DX NIKKOR 18-105mm f/3.5-5.6G ED VR @ 18mm, ISO 100, 1/400, f/10.0
Get Creative With Buying Gear
I already mentioned buying used, but to expand on that, there has never been a better time to buy a used camera. Since the transition to mirrorless, you can find truly amazing deals on DSLR and DSLR lenses that still work perfectly well.
In addition to used gear, the market on cheap but new manual lenses has exploded since 2020. Several manufacturers like TTArtisans have come out with very affordable, manual focus lenses that actually perform pretty well.
Use Free Software
There was a time when Adobe was the only player in town. The cheapest subscription Adobe has for Lightroom is still 10 dollars a month, which does add up over time. Instead, check out darktable or Rawtherapee, two free Raw editing programs that will help you save your money for (cheap) lenses instead. For a Photoshop substitute, try the GIMP instead. All of these programs run on all three major operating systems.
With those points, I’ll add a few more notes that I think every beginner (which I still am, make no mistake) should consider:
First, familiarize yourself with your gear. You’ll read often on sites like PL about how a particular aperture is ideal in a given situation, and – while they’re obviously right about the given circumstances – you need to try by yourself, with your own camera body and lens, in order to internalize how the photo changes from f/3.5 to f/8, for instance. This may sound silly, but it took me long enough to realize that – while perhaps ideally correct – the aperture I was using in certain situations was clearly not the right one for my lens.

Second, don’t idealize your photos. Learn from your mistakes. Speaking from experience, even after having read hours’ worth of content on PL’s beginner section, the first time I used a DSLR, I set ISO to auto, and (for some reason I can’t fathom), set the shutter speed at 1/1000th of a second… to photograph trees. I thought I knew best back then, but today it is disconcerting to look at old pics and wonder just why.
Last but not least: practice, practice, practice. That’s the most obvious advice for quite literally anything in life, but it bears repeating here as well. Even with the best gear and perfect visualization, you might miss the perfect moment if it isn’t second nature to use your camera. There’s no better way to improve the quality of photos you take.
This guest post was contributed by Tomaso Da Rù. You can see more of Tomaso’s work on his 500px page.
I still have my D3200. I converted it to IR and with good glass it’s a great camera with professional results.
As a hobbyist I have collected my own photos from the age of 10. A mantra for me was the fun of both taking and displaying my efforts. I have seen the pictures taken by those who have $3,000 cameras with the very best lenses. Those pictures usually have been no better than mine. Of late my wife’s iPhone photos are as clear as those taken by those ultra expensive SLRs. When we were at Monet’s home outside of Paris there was a couple struggling to change the lens on their SLR. So my light weight super zoom camera brings me happiness without any concern about the correct lens or a large, heavy, and bulky camera. Can you say the same?
I remember (before digital) the photo segment of my undergrad art foundation class. We were required to have a basic Pentax with no bells and whistles–required to have the most basic possible camera so we would be able to keep our focus on the basics of photography rather than the gear.
Yet what still sticks with me today, and can be achieved for less than a dollar–an empty slide frame.
Since physical photography film is considered dead, some folks might not even know what this means, but it’s essentially a small card stock thickness that a single piece of film would be placed within so the film contents could go in a projector to be viewed on a screen or wall. Without the film in it, with this “picture frame” you could look through, it helped you learn how to choose your composition. Now that’s a dead basic that will carry you through the life of your interest.
Learning composition, and how just a slight shift one way or another of your frame of reference–what you are capturing in your viewfinder–is a more solid fundamental in my mind than worrying about equipment. If you can grab a piece of card stock or even sturdy paper, you can make a small 2″ x 2″ square, and cut out your “view finder” within the frame. Then stick it in your wallet and anytime you have a few spare minutes, or see something you want to photograph, pull it out and try different angles and perspectives of the subject/view.
Being given one of those for the first week of photo class really hammered home the importance of framing a shot while given us oodles of cheap practice. Framing can make such a difference between a good shot and an ok one (as well as terrible!) We carried them with us everywhere, and were constantly pulling them out to “frame” various things.
I also concur that for a dead basic beginner, any $20 point and shoot will do to help them build confidence and keep the passion building.
Obligatory old fogey comment: It’s a lot cheaper to learn from your mistakes now. Once you get past the hurdle of a computer to download your files (if you don’t use a smartphone) and whatever starter camera. You can take oodles of bad shots that will hold lessons, and it’s not like you’ve just wasted even the film roll in the learning, let alone the printing.
A good article. I started with a low end DSLR that I was given as a gift. It wasn’t long though before I felt limited and have upgraded a few times since (I now have 2 full frame bodies).
That said I have also purchased a compact camera that allows me to capture those spur of the moment photos that I love. It is great to becable to go out and not have to think about (or carry) which lens you will use etc. Just point, click and enjoy the moment.
Chris
www.family-photographer.co.uk
Great article, I really enjoyed it. Thanks for sharing!
Great article for beginners. Thank you for sharing with us.
Ajith Rajapakshe
No mention of mirrorless cameras?
What’s a good but economical square filter kit to get started with for landscapes?
Thumbs Up! Digital cameras nowadays, whether flagship or entry level, embrace most common functions. Knowing all these functions, in particular, ISO, shutter speed, aperture and white balance, are very important to get good pictures, rather than professional cameras.
Amen, Guest Poster! The Nikon D3300 got me a tremendous number of professional-quality photos when used with pro savvy. If I had to add just one recommendation, it would be this: “Subject movement is EVERYTHING!” Pro photographers NEVER trust the “one-over” so-called rule (i.e., with a 200mm lens, shoot at 1/200 sec.). They always shoot at the fastest possible shutter speed. A stabilized lens will NOT stop a running deer. :-) Beginners are amazed when they see how much better their photos look, and how many more usable photos they get, when they set the shutter at 1/500, or preferably 1/1000 or higher for everything (landscapes, architecture, and statues excepted). Of course, indoors the rule must be adjusted – I get a very high precentage of “keepers” shooting stage events at 1/125 to 1/800 as the lighting allows. I use a Fujifilm X-T20 that deliver surprisingly good quality at up to ISO 12,800. See this photo, shot at ISO 8000: www.lwsphotos.com/Livin…-knDbSzz/A.