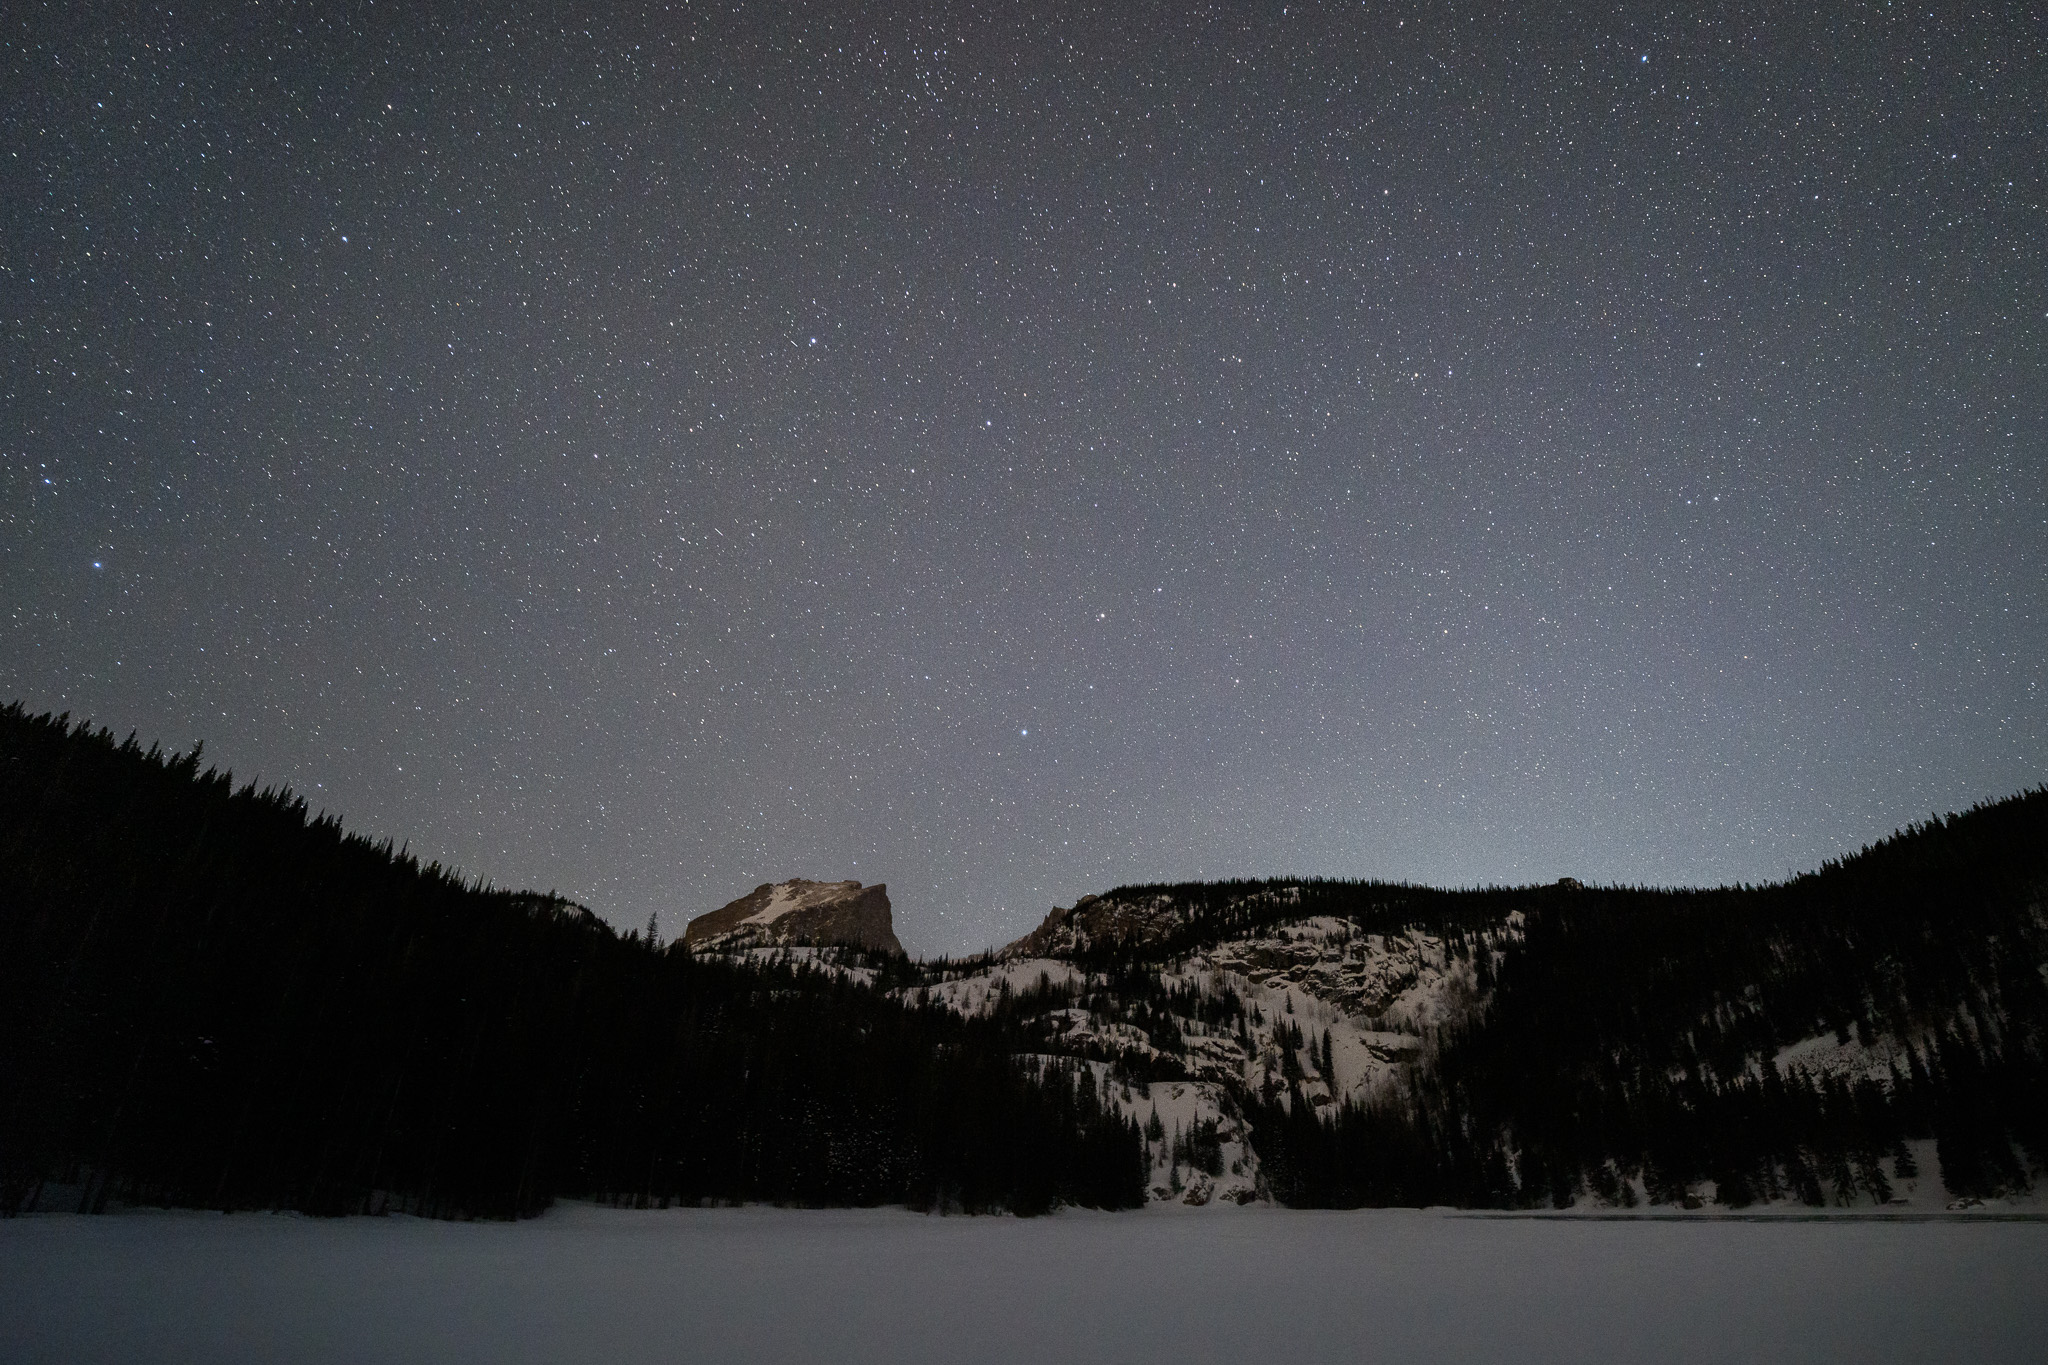
In January, I went on a road trip to Zion National Park in Utah. Only recently did I realize that I hadn’t destroyed (yes, destroyed) the best photo I took there, of star trails at night. How did that happen? It’s entirely my fault, but at least the story, and the results, are encouraging.

I love Zion National Park and have been there a few times, with my January trip being the most recent. It’s a playground for landscape photographers, with sandstone cliffs, meandering waterways, and drooping cottonwood trees.
Along with filming a video for our YouTube channel, the main reason I went to Zion National Park this time was to practice using ultra-large format (ULF) film. If you haven’t read my earlier article, ULF film is anything larger than the traditional 8×10 format. These sizes are in inches, so each ULF photo is exposed onto a material that’s more than 8 inches tall or 10 inches wide – a significant departure from the 1.5-inch wide sensors we know as full frame.
I have two ULF cameras, and I brought both to Zion: 11×14 and 12×20. I never intended to own more than one of these cameras, and I still don’t: I only got the well-made 12×20 after being disappointed in my 11×14’s build quality. However, to avoid wasting anything, I’ve decided to keep the 11×14 until I go through all my boxes of 11×14 film.
On the trip to Zion, I took a total of six ULF photos: four with the 12×20 and two with the 11×14. Each photo at this size is expensive and time-consuming to make, both in the field and in development, but six is still on the low side for a week-long trip. Blame it on some extra time spent testing digital equipment for upcoming reviews! In any case, after developing the photos at home, this was the result:
- 12×20 #1: Decent photo
- 12×20 #2: Similar to the prior photo but worse composition
- 12×20 #3: Ugly light
- 12×20 #4: Boring composition
- 11×14 #1: Failed development
- 11×14 #2: Failed development
Not a resounding success. I was especially annoyed at the two 11×14 photos, both of which I thought were promising compositions. The first was a picture of a silhouetted tree with an interesting rock formation in the distance; it turned out faint and very uneven thanks to my lousy development skills.
The second 11×14 photo was even more interesting to me. To figure out the limits of ULF film, I had attempted to take a picture of star trails over a mountain at night. I remember sitting in my car in the freezing cold, just outside Zion National Park, for more than two hours while my camera took a very long exposure – or, at least, while I hoped it did. Since it was pitch black, and I didn’t want to risk turning on a flashlight, I had no way to know if the Copal shutter had actually tripped correctly.
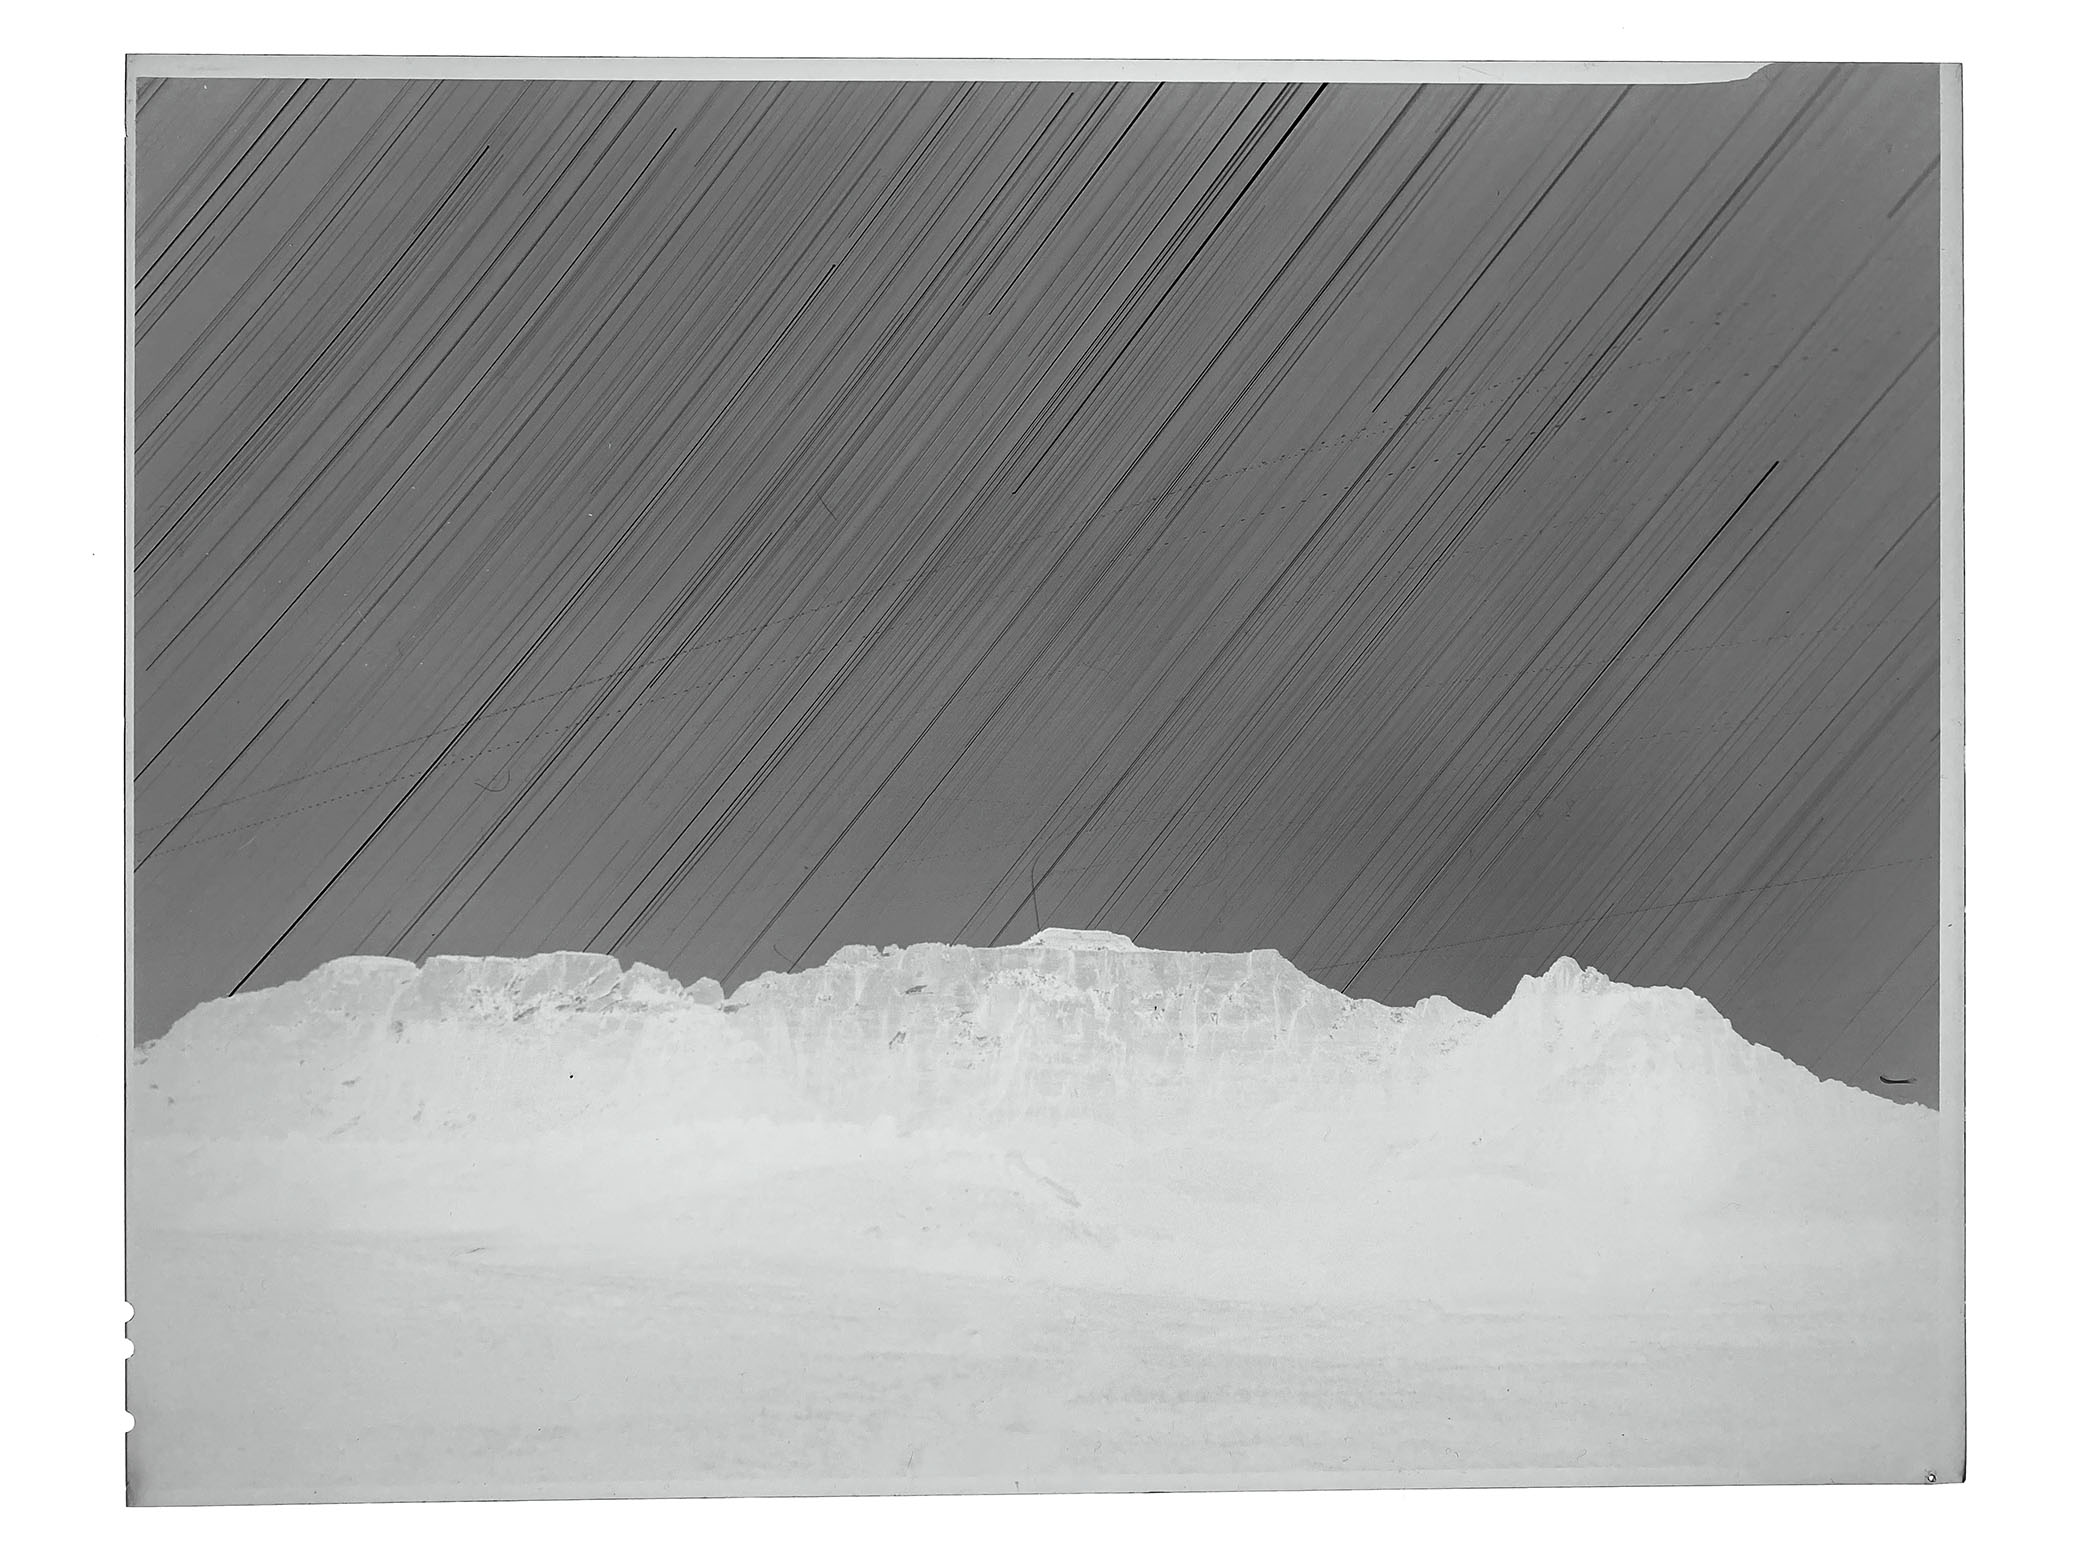
To my dismay, when I developed the photo a few weeks later, it was completely blank, aside from a few ugly, uneven areas on the sheet of film, shown below. Nothing resembled star trails or the outline of a mountain.
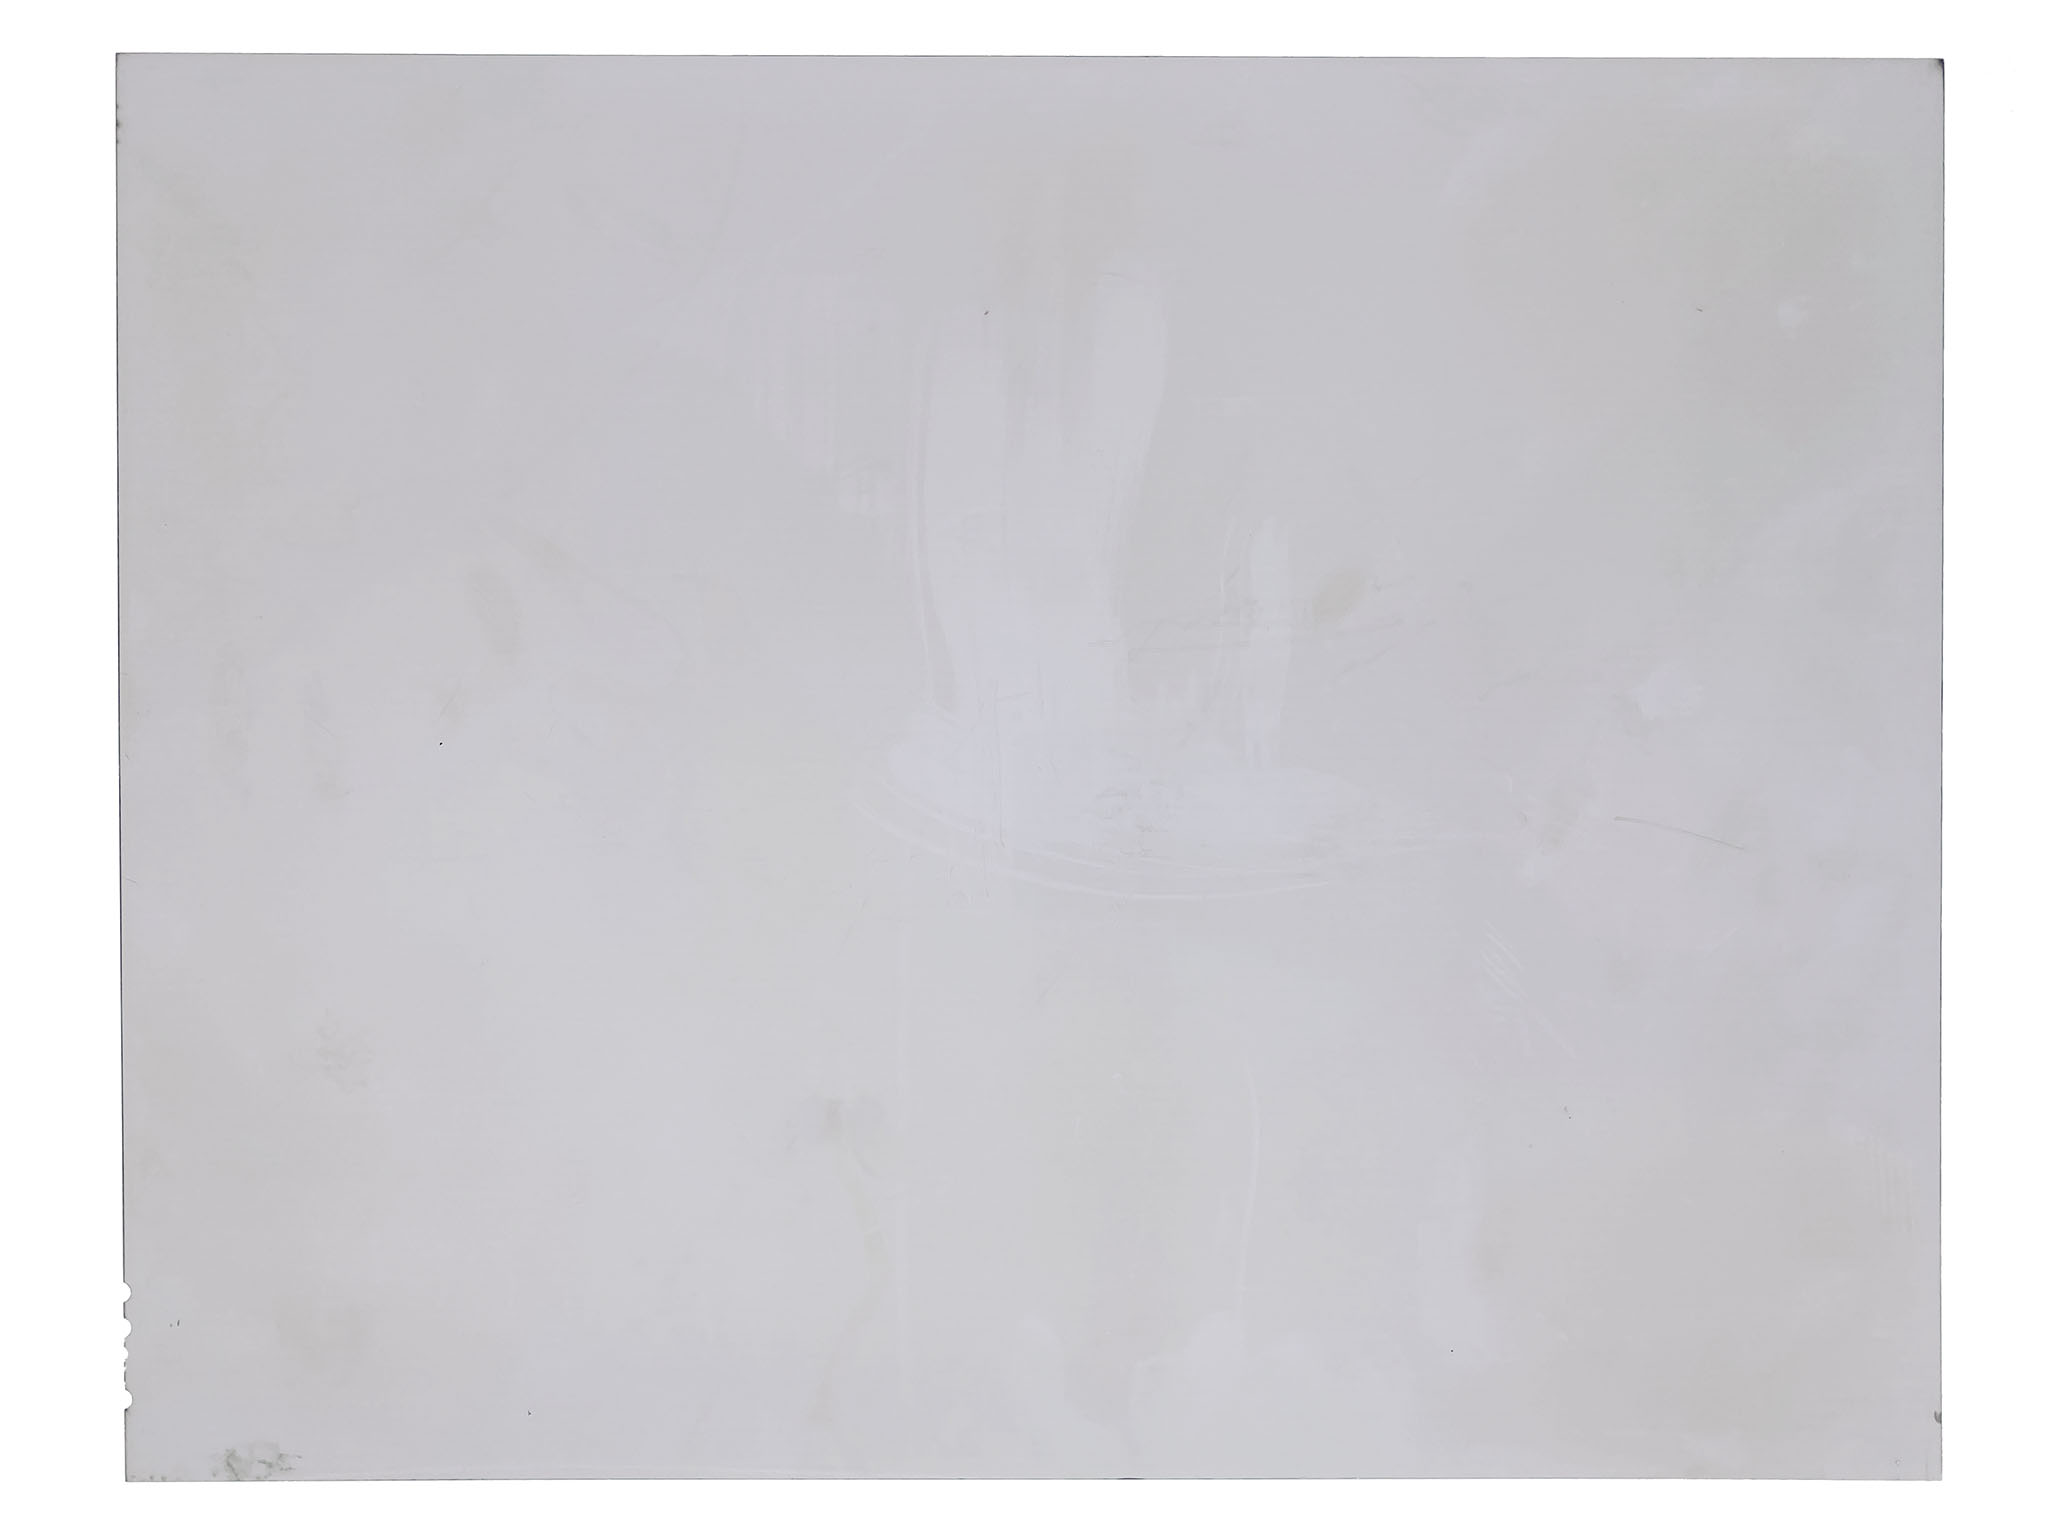
Clearly something went wrong, and not just because the negative lacks an image. The unsightly smears and scratches above are proof that my tray development technique was awful for this shot, even ignoring everything else. My guess was that I had destroyed the image in development, although I knew it could have been an error in the field, too, such as a shutter that didn’t fire.
In any case, frustrated though I was, it was in the past. At least I learned some things in Zion about ULF cameras, even though my photos weren’t very successful. In recent months, I’ve fixed most of the lingering issues with tray development, and I haven’t screwed up a ULF negative in a while. I’ve even considered re-shooting the star trails image, too – if not in Zion, then somewhere closer to home in Colorado just to see if it’s possible.
Some months passed, and I mainly shot with the 12×20 along the way. The next time that I wanted to use the 11×14 camera, I decided to double-check my film holders in the darkroom before loading them again. Good thing, too – because lo and behold, one holder that I expected to be empty had a sheet of film inside.
I couldn’t figure out where the sheet of film had come from. I could only think of two possibilities. First, maybe I had loaded it earlier without marking it down in my notes. Or, second, maybe I had marked it down in my notes, but I mislabeled it. If the latter was true, there was only one possible photo it could have been: the true star trails picture from Zion.
Most of the way convinced that I’d get another blank negative, I set up my film development trays anyway. Even a small chance was worth trying for. After half an hour developing the mystery sheet of film in the dark, I turned on the light and saw a thin – yet properly-developed – negative drifting in the fixer.
This was the first time that I’ve literally jumped for joy when seeing a developed sheet of film. To me, it was an image brought back from the dead.
A few days later, I had enough time to make prints, and I spent a full night working on this photo. Ultimately I settled on Adox Lupex silver chloride paper, a glossy darkroom paper meant for contact printing (where the negative is placed directly on the paper, as opposed to being magnified in an enlarger). Contact prints are sharper than enlarged prints, and low-sensitivity contact printing paper like Lupex can produce a wonderful range of contrast, even more than most silver gelatin enlarging papers.
Because this photo is from an 11×14 negative, the print size is, inevitably, 11 by 14 inches large. I can’t make a different-sized print from this negative, except by scanning the picture and printing it digitally on an inkjet printer. Likewise, the only way to crop the photo is to cover the edges in the darkroom and print smaller than 11×14!
These are just some of many reasons why ULF photography is limited compared to other types of photography, even other film formats like 4×5 (which easily fit in an enlarger). But those limitations are part of the process to me, and I don’t find them a damper on my creativity.
The following is a scan of the final print I made from this negative:
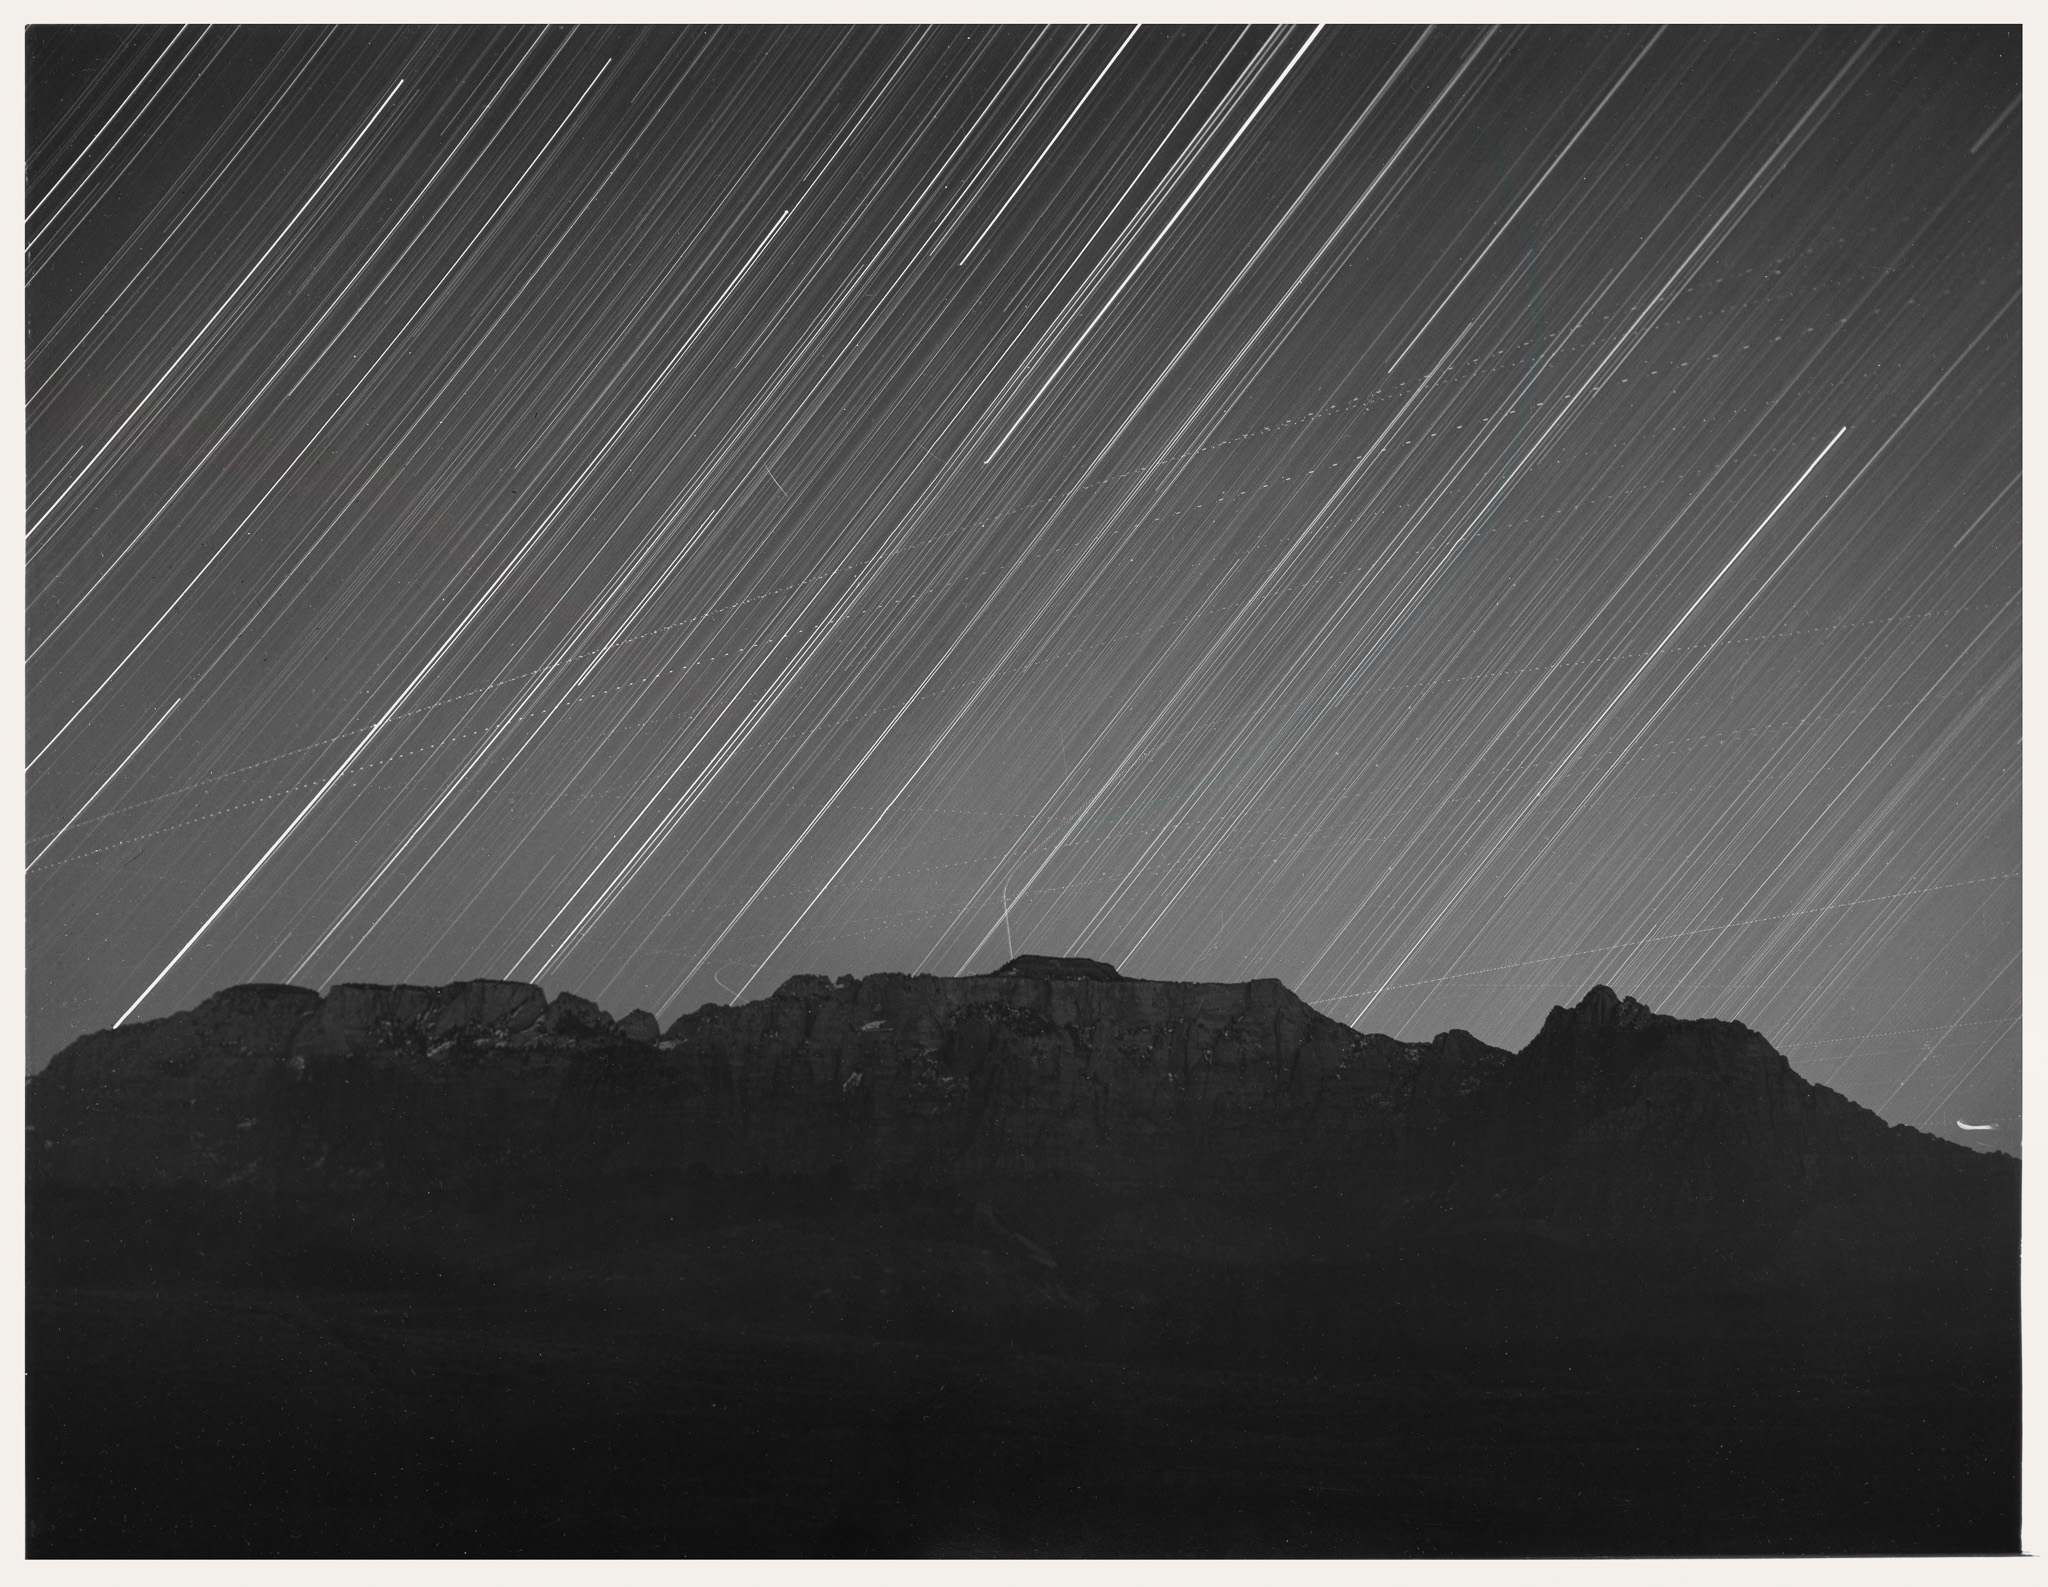
This is one of my favorite photos from my ULF endeavors so far, and it’s such a nice experience to hold the matted print. It has a pleasant, warm tone in person, and it actually looks different than any digital print I think I could make.
Part of those differences aren’t necessarily wanted. There are some airplane trails and other odd lights in the sky whose causes I don’t know (the literal definition of a UFO!) – in particular the small swoop at the very bottom right of the sky. These are always going to be in the print. Unlike digital, where I could easily clone them out, I don’t yet have the spotting skills necessary to fix them in a fully-analog process. I don’t hate them but can’t change them either way.
Likewise, you can tell that the tilt and swing weren’t 100% centered on the camera, thanks to the slightly blurrier upper-right corner. Focusing and aligning the camera was tricky in the dark, and this blurriness is the result. On a digital camera, even with a decentered lens, it wouldn’t look quite like that. It’s part of the reason why I don’t like this particular 11×14 camera and prefer my 12×20, whose front and rear standards are easy to align with precision.
But in terms of the benefits of the analog process, the detail in this print (other than the top-right corner) is fascinating in person. I think an inkjet on a low-texture paper could match it, but due to sharpening artifacts and pixelation, I’ve rarely seen a digital print look this crisp and smooth up close. The amount of contrast reproduced in the Lupex paper, too – from the darkest blacks to the brightest whites – is higher than I’ve managed from an inkjet. It’s not totally reproducible in a digital scan, but here’s an extreme close-up crop:

11×14 film (and the appropriate darkroom paper) can give you extraordinary levels of detail if handled properly, but as an analog process, it also has plenty of imperfections. In this case, I think that these imperfections – the dust, the extra lights in the sky, the slightly off-kilter edges – don’t hurt the emotional feel of the print. I find them artistically pleasing and don’t see a need to correct them.
Still, other photographers may find details like this distracting, or a bad complement to the photo’s mood. I’m under no illusions that this print is perfect or that it couldn’t have been shot on digital instead. Likewise for the photo’s composition, which I like, but still has some flaws.
That’s all beside the point to me. It’s like sculpting a figurine out of clay versus diagraming it in CAD and printing it on a 3D printer. The processes are different, not better or worse – and if one’s better in technical quality, it’s usually going to be digital. But there’s room for both in the world.
Ultimately, this print has helped inspire me to keep trying the large and ultra-large film processes, to get to a point where I can use the tools as easily as my digital cameras. It’s also pushed me to try more star-trail photography with 11×14 and 12×20 now that I know what they’re capable of capturing.
Most importantly, I’m more encouraged than ever to bring out my camera this weekend (and the next, and the next) – not just film, but my digital kit, too. All this experimentation, with the highs and lows, is reminding me that the reason I started photography in the first place isn’t because I care about chasing pixels, but simply because it’s fun to take pictures. Here’s to the artistic process and creating something new, warts and all.
Hi Spencer, on an unrelated note can I ask you if you have a review for Nikon Z 24-120mm f4 in the pipeline.
I trust your testing and would love to see your review before I make a decision on it.
Yes indeed! I’m sorry to everyone who has been waiting so patiently for our reviews to return. We’re still revamping our testing lab, but I expect to be able to test lenses again within a month.
Good to know! I was wondering what happened to the lens testing.
I’ve never shot star trails before, although I have done some astrophotography. My question is why do some trails appear to go in one direction while others seem to go in the opposite direction? I thought they would all move together.
Good question! They’re all going in the same direction – it’s just a bit of an optical illusion. For some stars, the “point” where the line stops in this photo is from the start of the exposure. For other stars, it’s from the end of the exposure.
In other words, all of these star trails are long line segments, too long for both ends of the segment to appear in the photo at the same time.
Great story, Spencer; though I have to admit, I often read your articles not because I’m necessarily interested in the subject, but simply due to your enthusiasm and your ability with a narrative.
Good work, thanks.
Thank you, Bill! I find little misadventures like this to be lots of fun at the time, and sometimes it’s tricky to convey that sense in a narrative. I’m glad it came across for you here.
Always enjoy reading about your adventures in analog photography. I just wish there was a better way for us to appreciate the scale and detail of ULF photos online – hard to tell from downsampled JPGs.
Thanks for saying so! Yeah, there’s no way to show exactly how it looks online. I do think this scan was better than average in terms of accuracy of contrast and general feel. But the lines of stars in particular look very cool in the print, with many more layers of stars visible throughout the photo (kind of like how it feels to look at the crop).
Interesting, Spencer! You are stretching your creative muscles. The key to any photo is whether it speaks to you, and this one obviously does that for you and perhaps many others. Also, I like the little airplane in the bottom right corner. To me it gives something to the photo. Well done!
Thank you, Elaine! I go back and forth on that airplane trail. I like it in the print but would probably spot heal or crop it out if this were a solely digital image. Glad to hear you like what it adds to the photo, that helps me see it in a different light.
Look at the scale of it. A massive mountain, infinite star trails, and a tiny little manmade object. Kind of like us in the scheme of things. It puts us in our place, does it not? Think how huge that airplane would be if we stood next to it. It shows us how miniscule we really are.
That sense of scale is one of my favorite things to convey in a photo, although it’s not always easy. I can see some of it here with the airplane now that you mention it. Thanks for showing me a different perspective on the image!