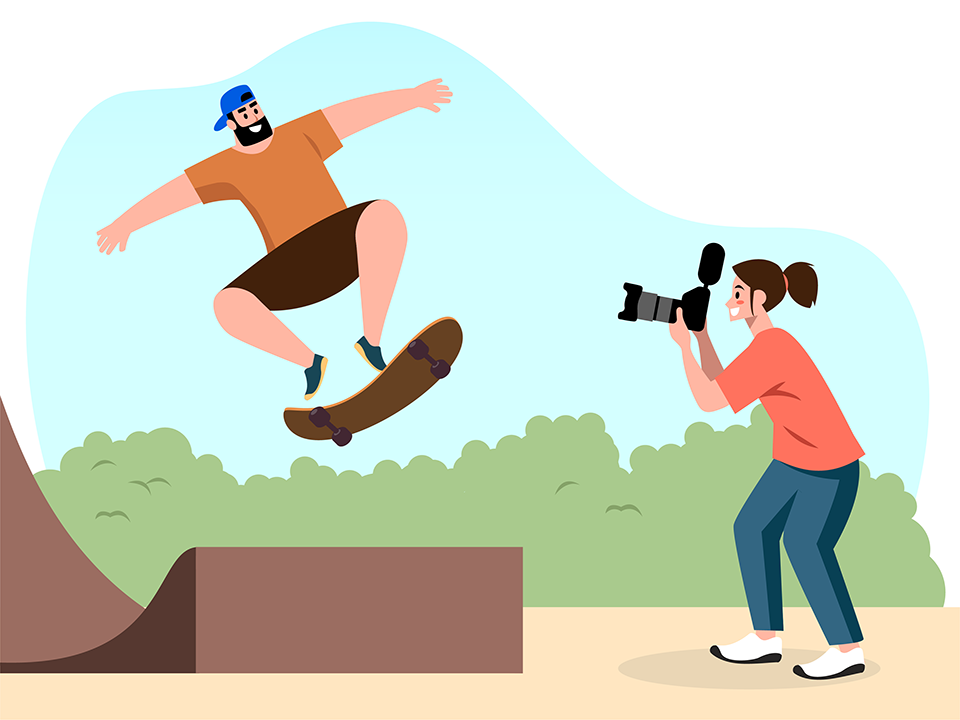
Doing sports photography of your children, friends, or teammates is a great way to capture action-packed memories while having fun at the event. With a camera, you can be in the middle of the excitement at a sporting event rather than sitting on the sidelines (figuratively, of course – you should stay off the field). This article includes several sports photography tips to improve the quality of your photos and help you take better action pictures at games and events.
Table of Contents
1. Learn the rules of the game
It is important to understand the rules of the sport you are planning to photograph. The better you know the game, the better your pictures will be. Check out online resources that teach the rules of the sport, the best shooting positions, types of images to look for, and equipment to use.
2. Learn to use your camera
If you are new to photography, then you should spend some time getting to know your camera. Shooting in full Auto leaves you with little control over the quality of your images. Take some time to practice with other camera modes, especially aperture-priority and manual.
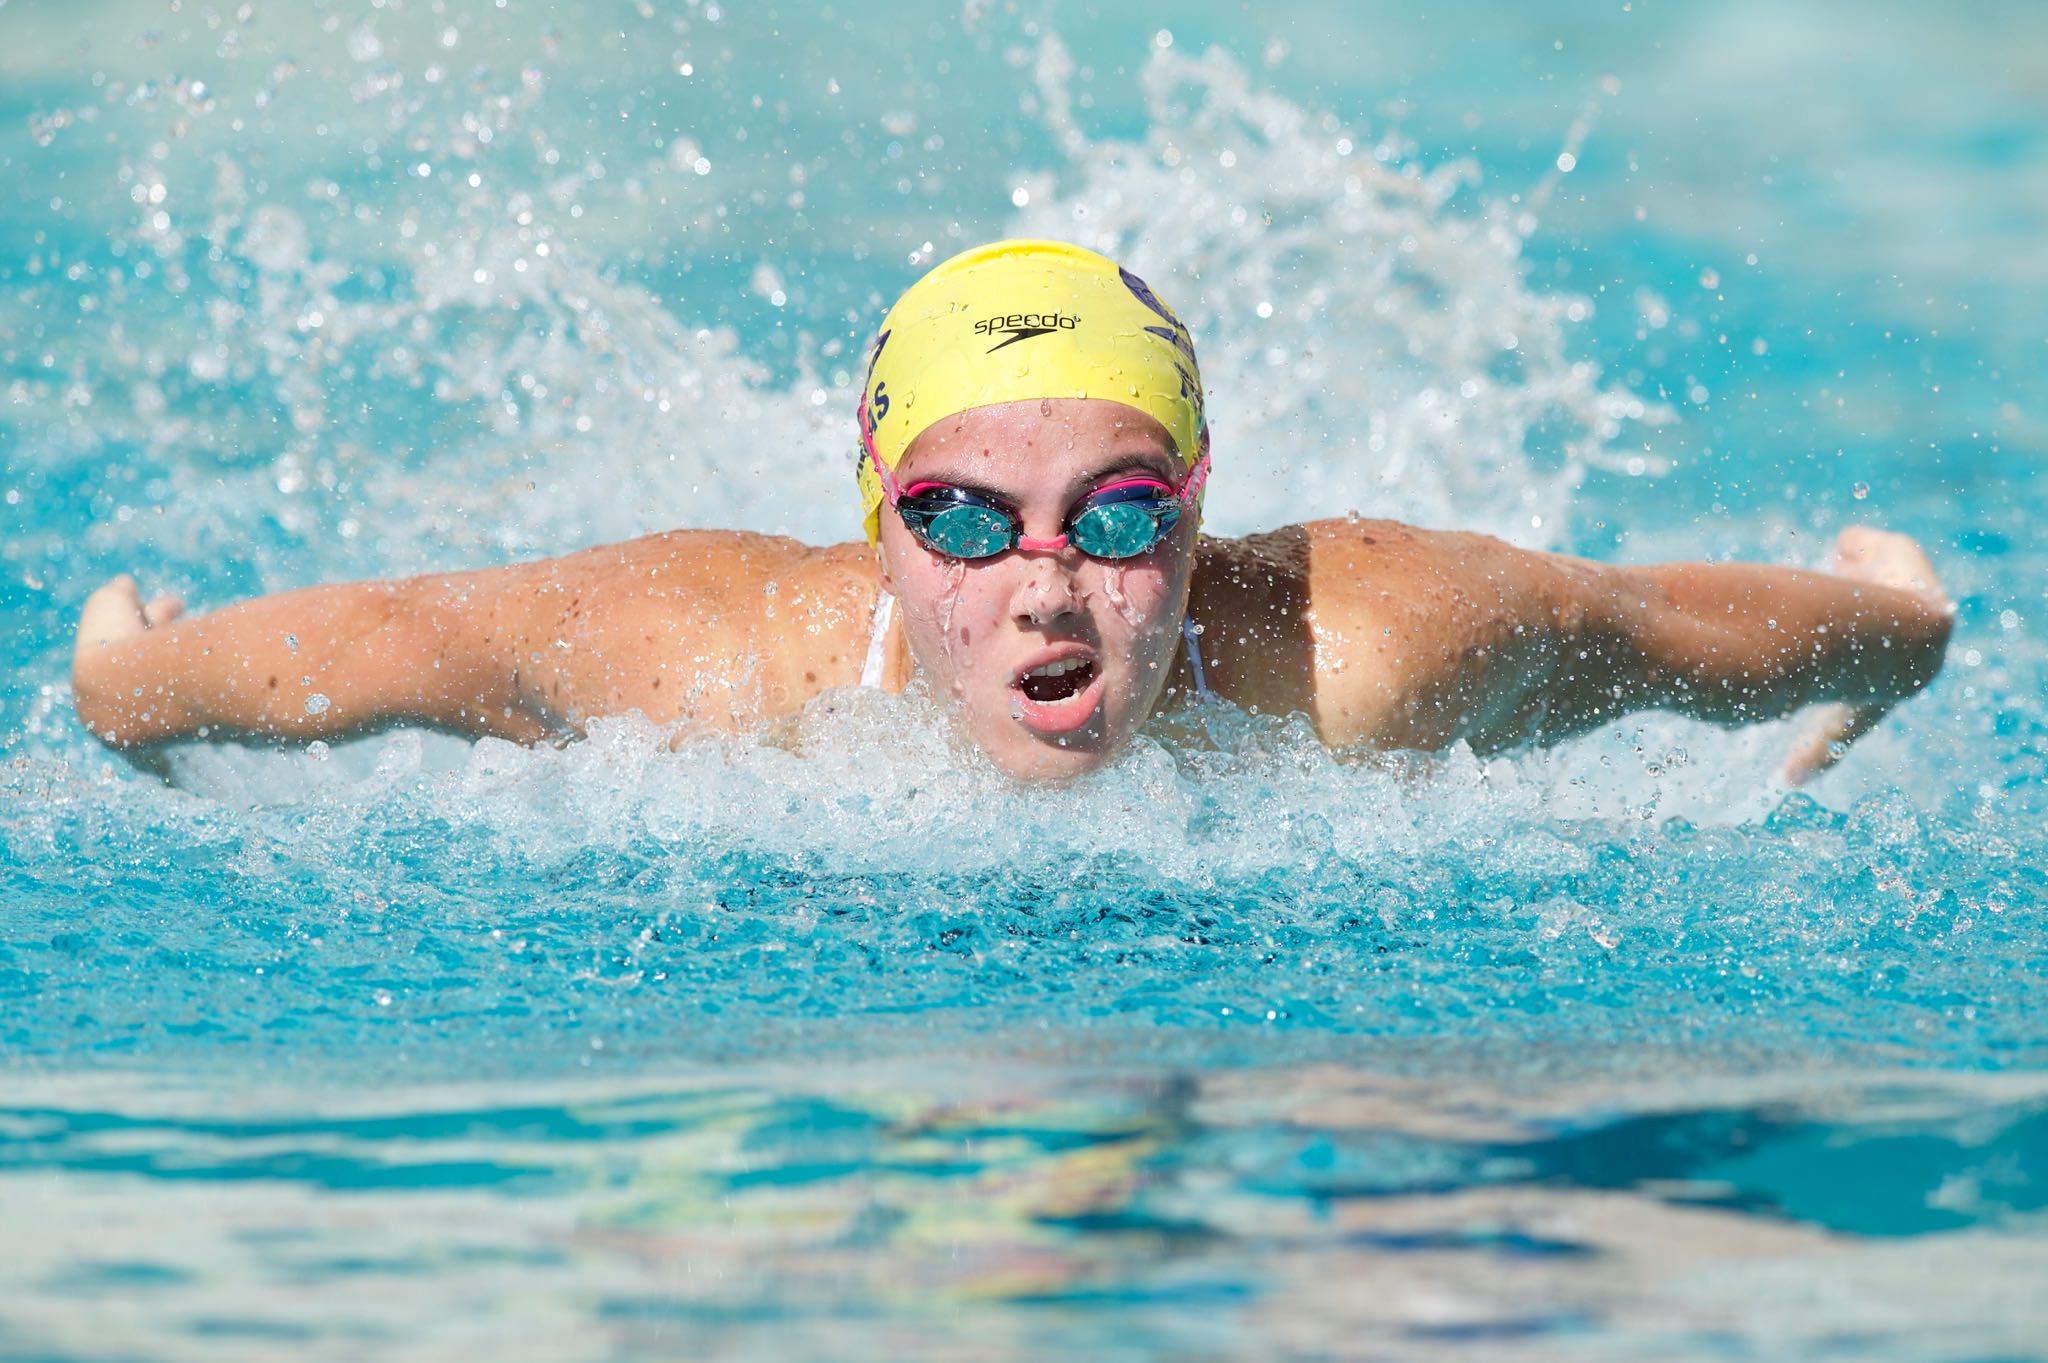
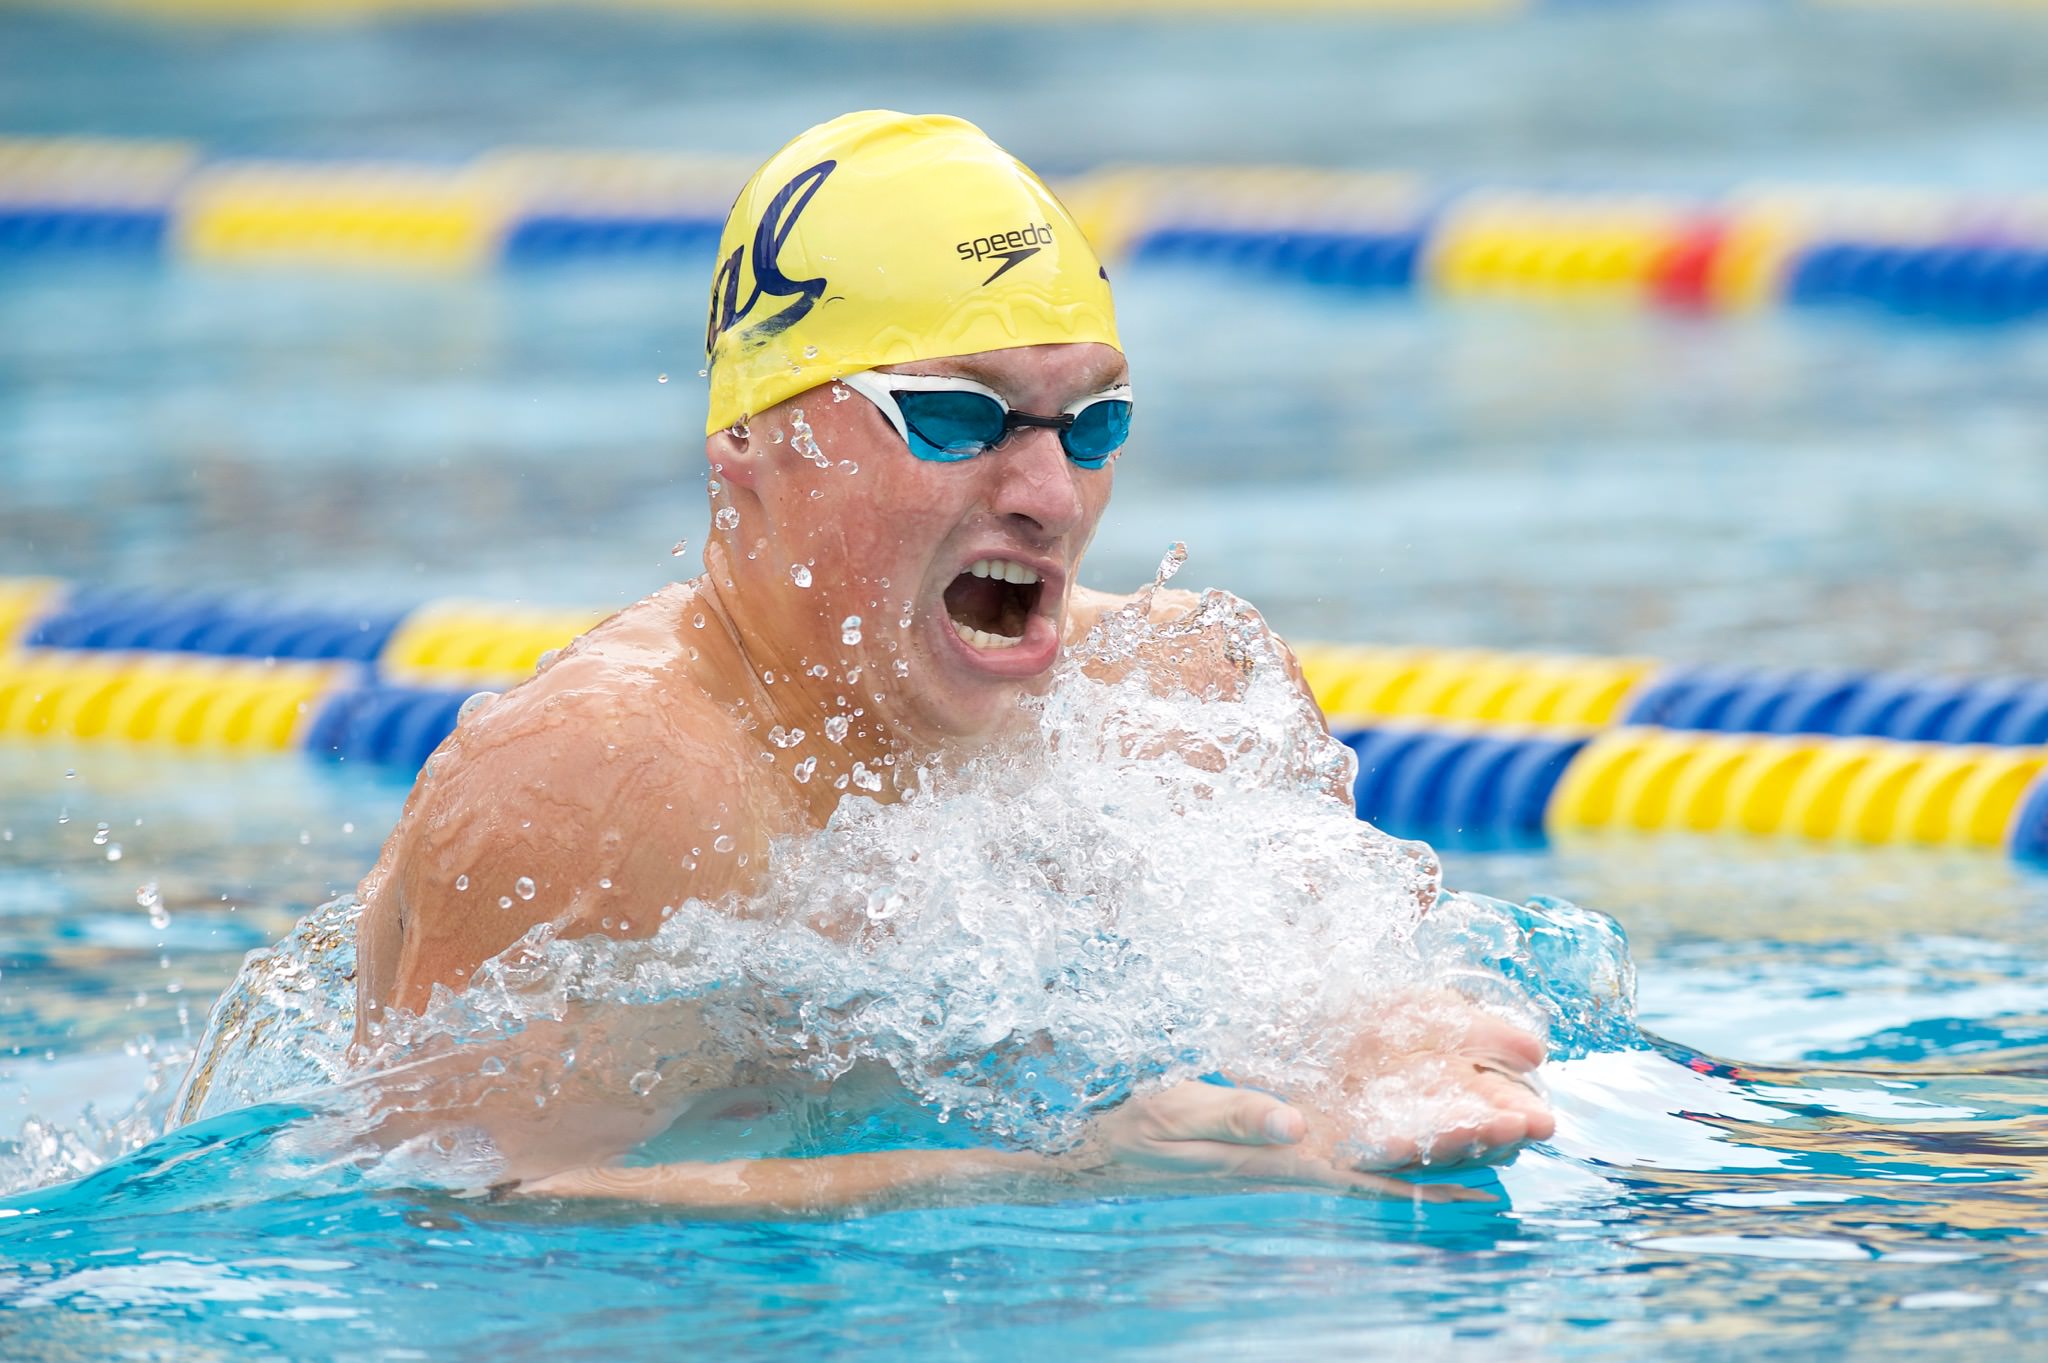
3. Use a fast shutter speed
If you want to freeze action, then your camera’s shutter speed should be between 1/500s and 1/2000s. The faster your subject is moving, the faster your shutter speed should be. For example, you can get away with a relatively slow shutter speed for swimming, but not for baseball.
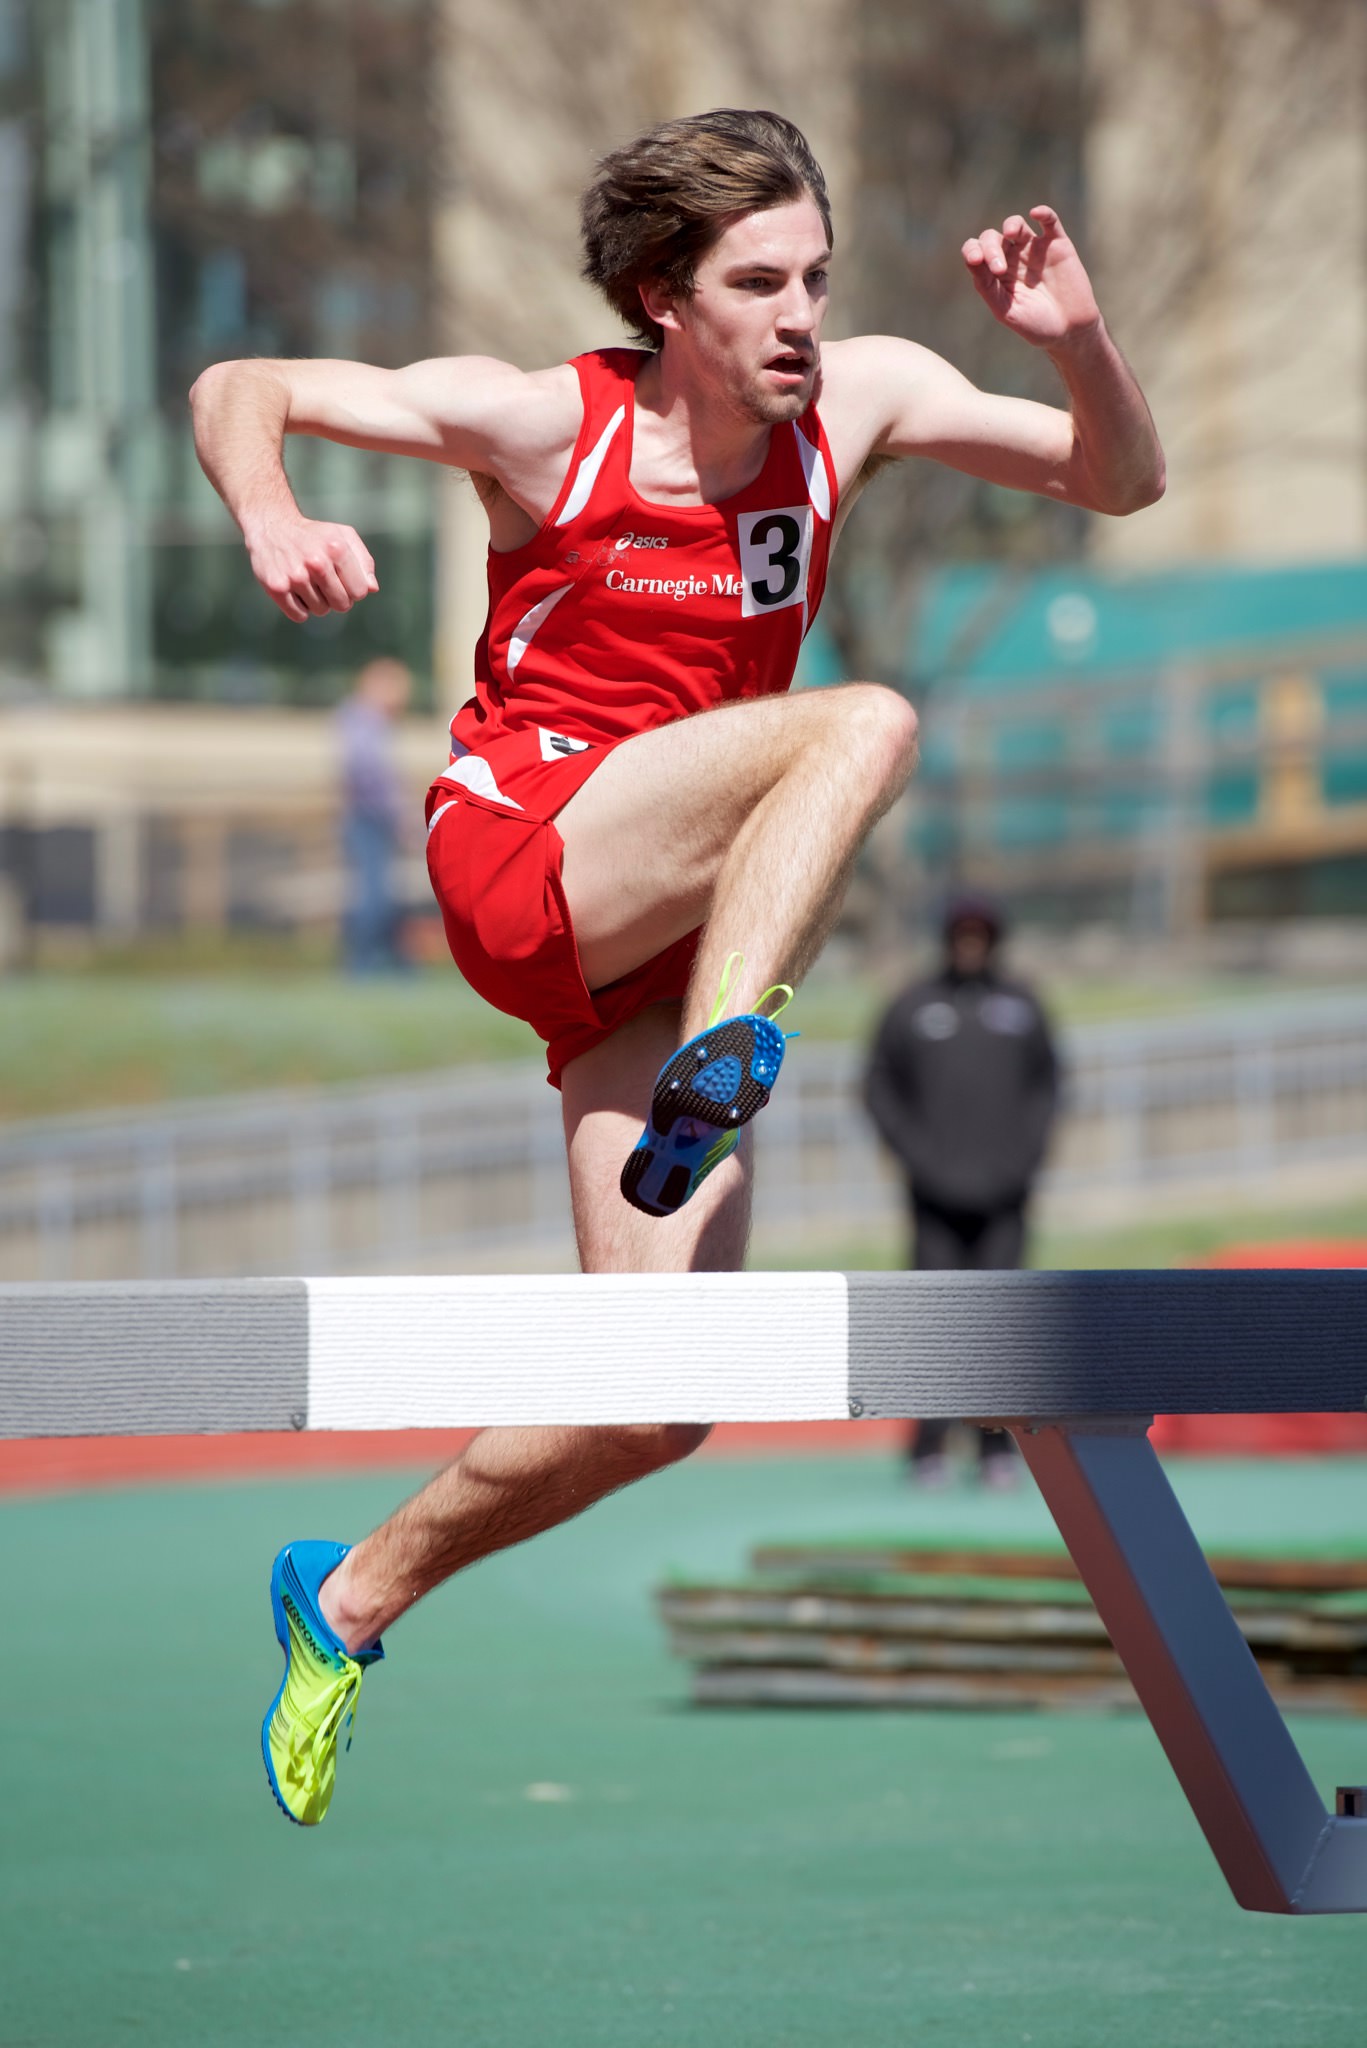
4. Plan your shooting positions
In general, you want to be in a position that puts your subject facing you. For example, during a track meet you should shoot towards a curve in the course to see the runners head-on.
5. Use a telephoto zoom lens
An entry level telephoto zoom lens costs around $200 these days. Something like a 55-200mm f/4-5.6 will give you a ton of flexibility with your shots while staying inside a reasonable budget. If you want to upgrade, check out a 70-200mm f/2.8.
6. Learn about exposure
Understanding how shutter speed, aperture, and ISO affect your images is crucial to taking your photography beyond snapshots. For sports photography, you will usually have a fast shutter speed, a large aperture, and a variable ISO depending on the lighting.
7. Respect the officials, coaches, athletes, and staff at all times
Your presence at the event is a privilege. If someone tells you to do something, do it. If you have a disagreement, leave it until after the event for a discussion. Do not be one of those obnoxious photographers that gives everyone else a bad name.
8. Pay attention to what is going on around you
For your own safety, it is best to keep your head on a swivel while at the event. Checking your pictures (chimping) or looking at your phone is a good way to get hit by a ball or for a player to crash into you. Leave that stuff until the event is over.

9. Do NOT use on-camera flash
Your camera’s built in flash, and even a flash unit attached to the hot shoe, will be ineffective at illuminating your subjects. Additionally, flash is distracting to the athletes and spectators.

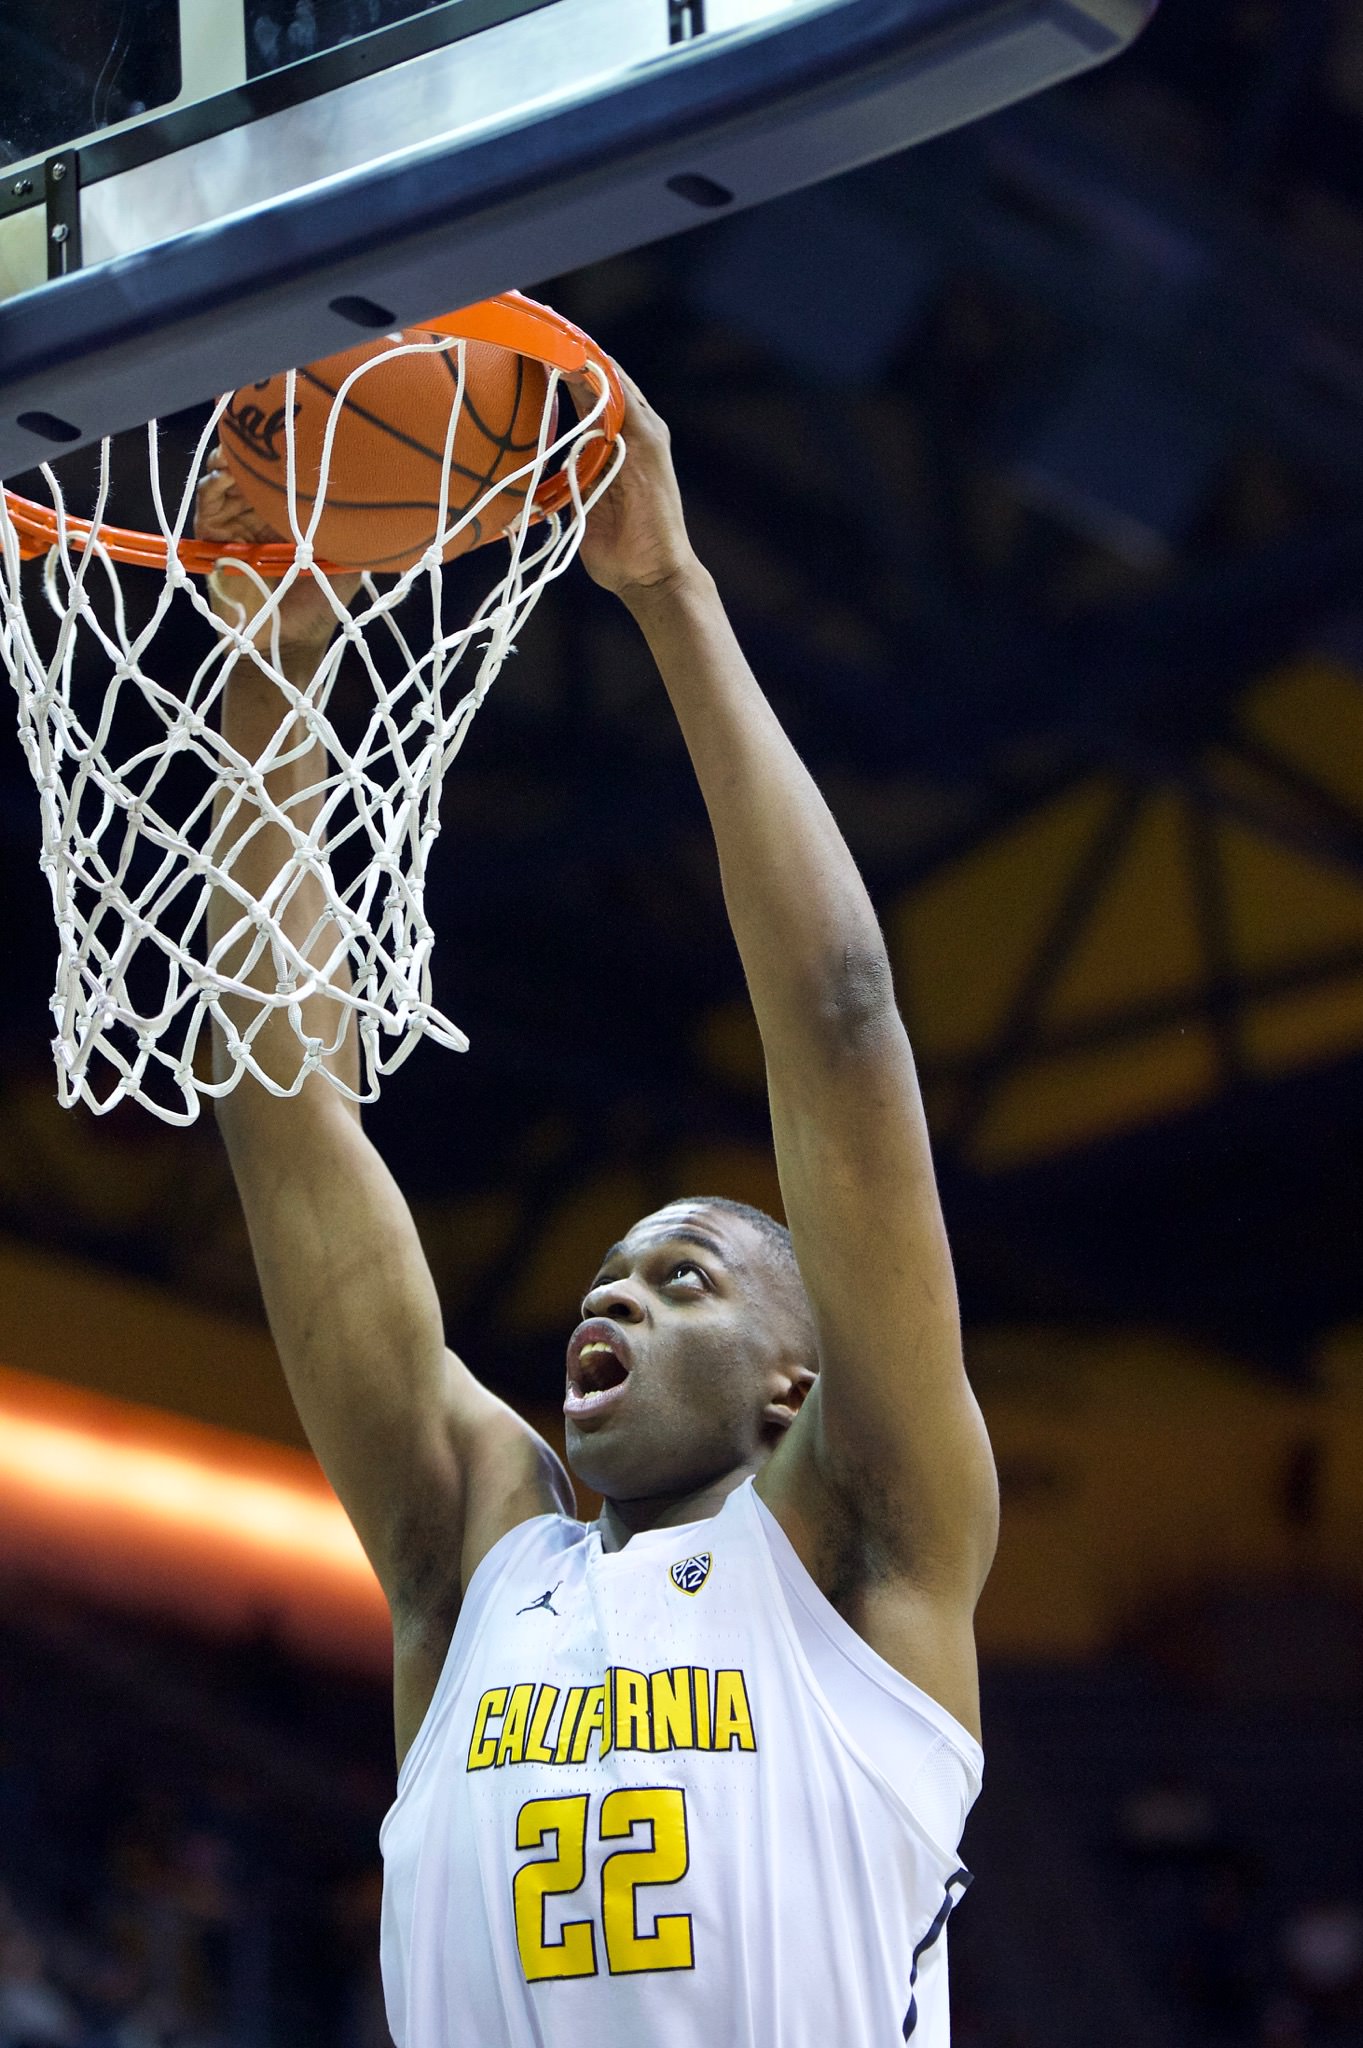
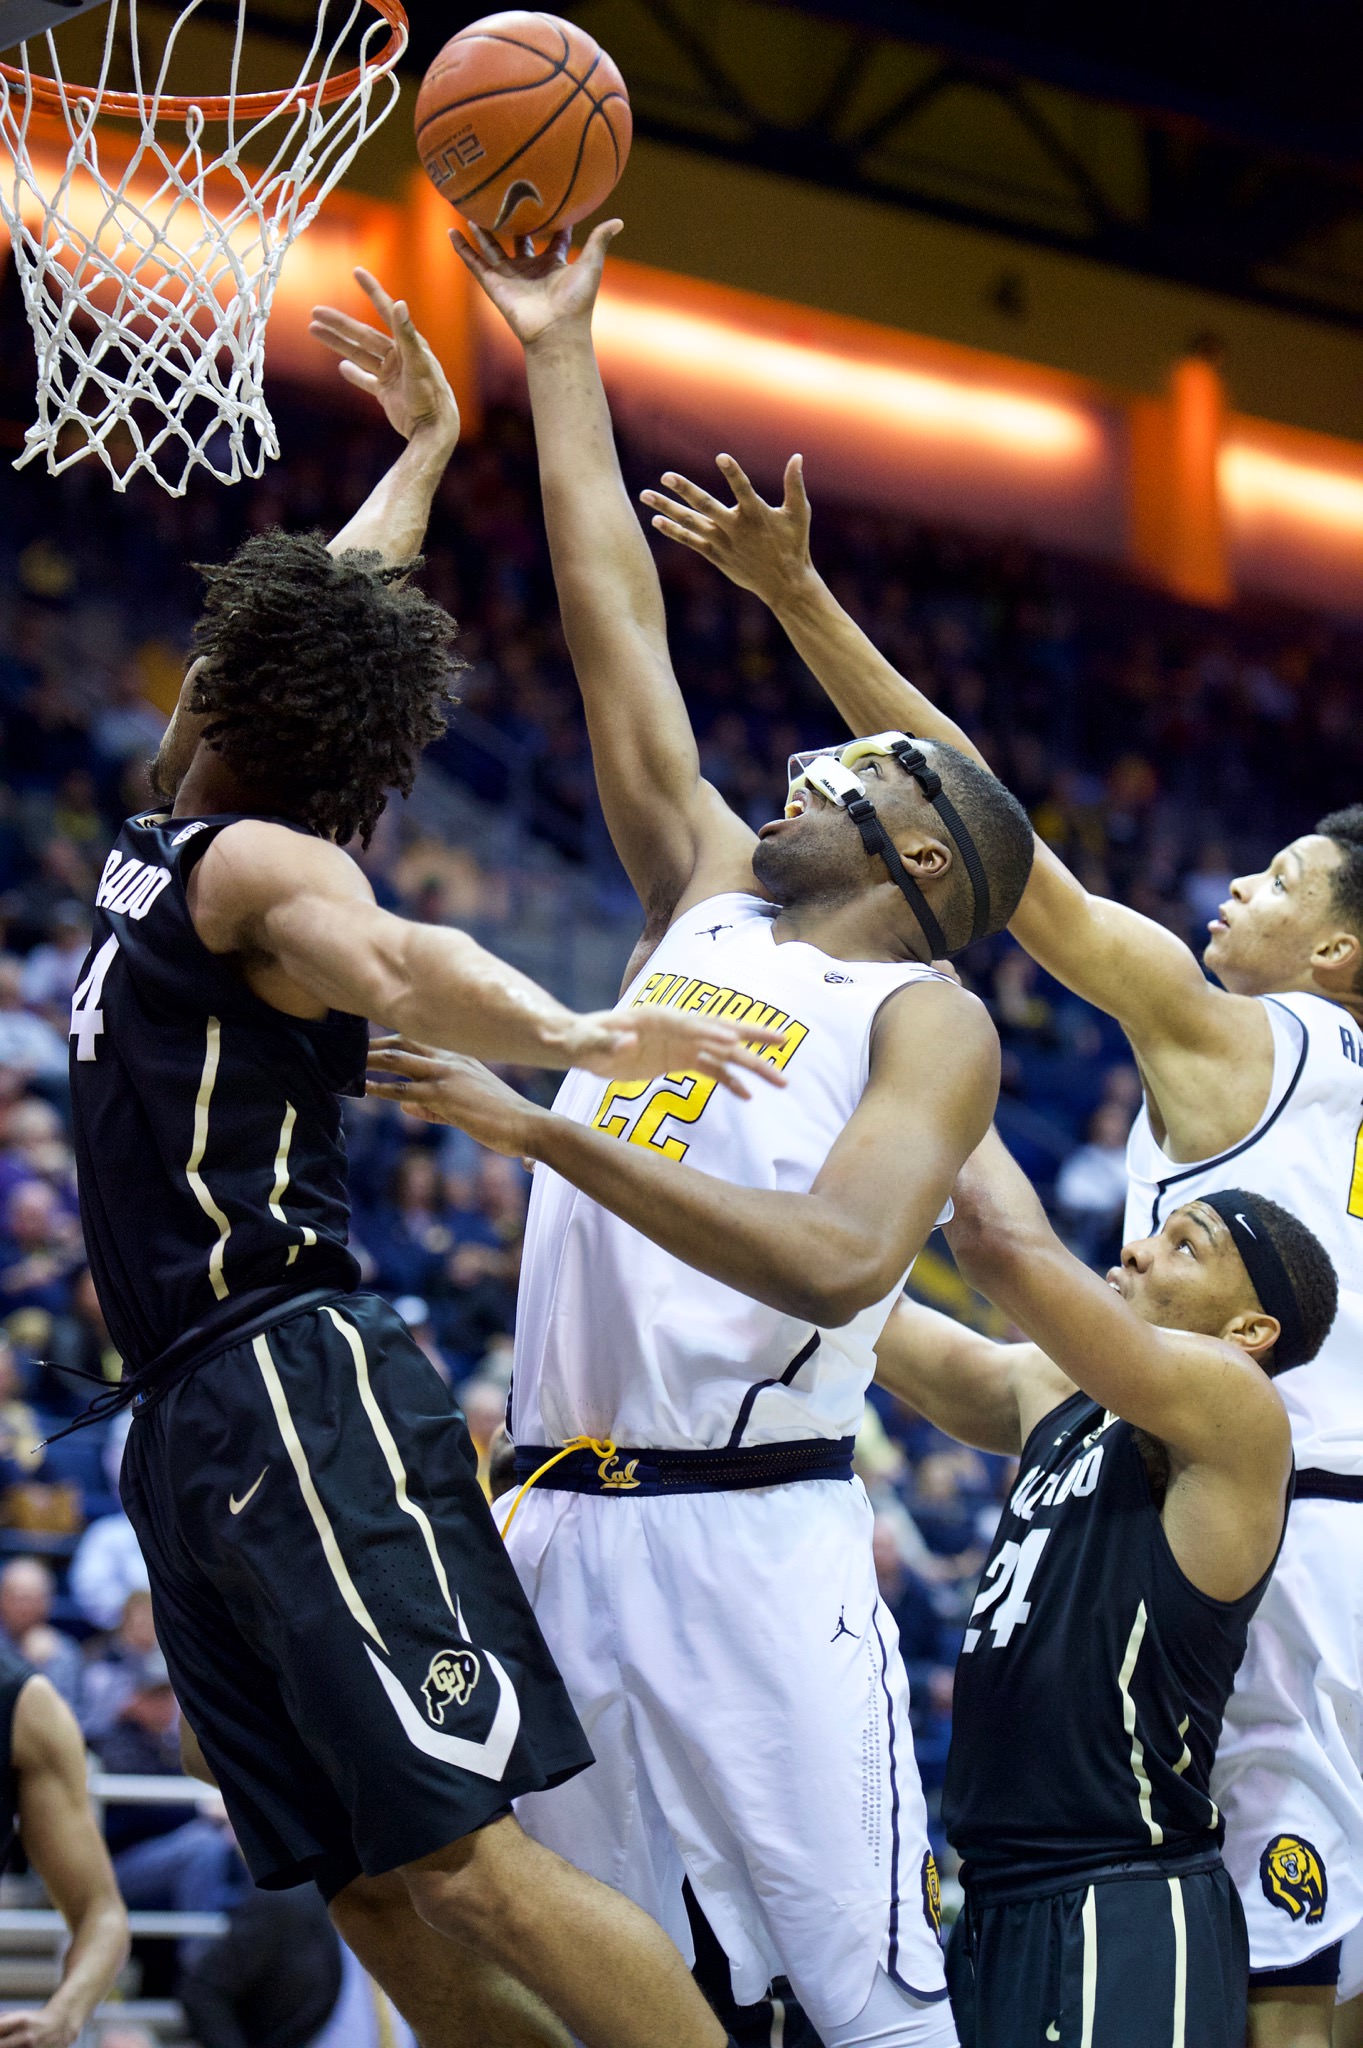
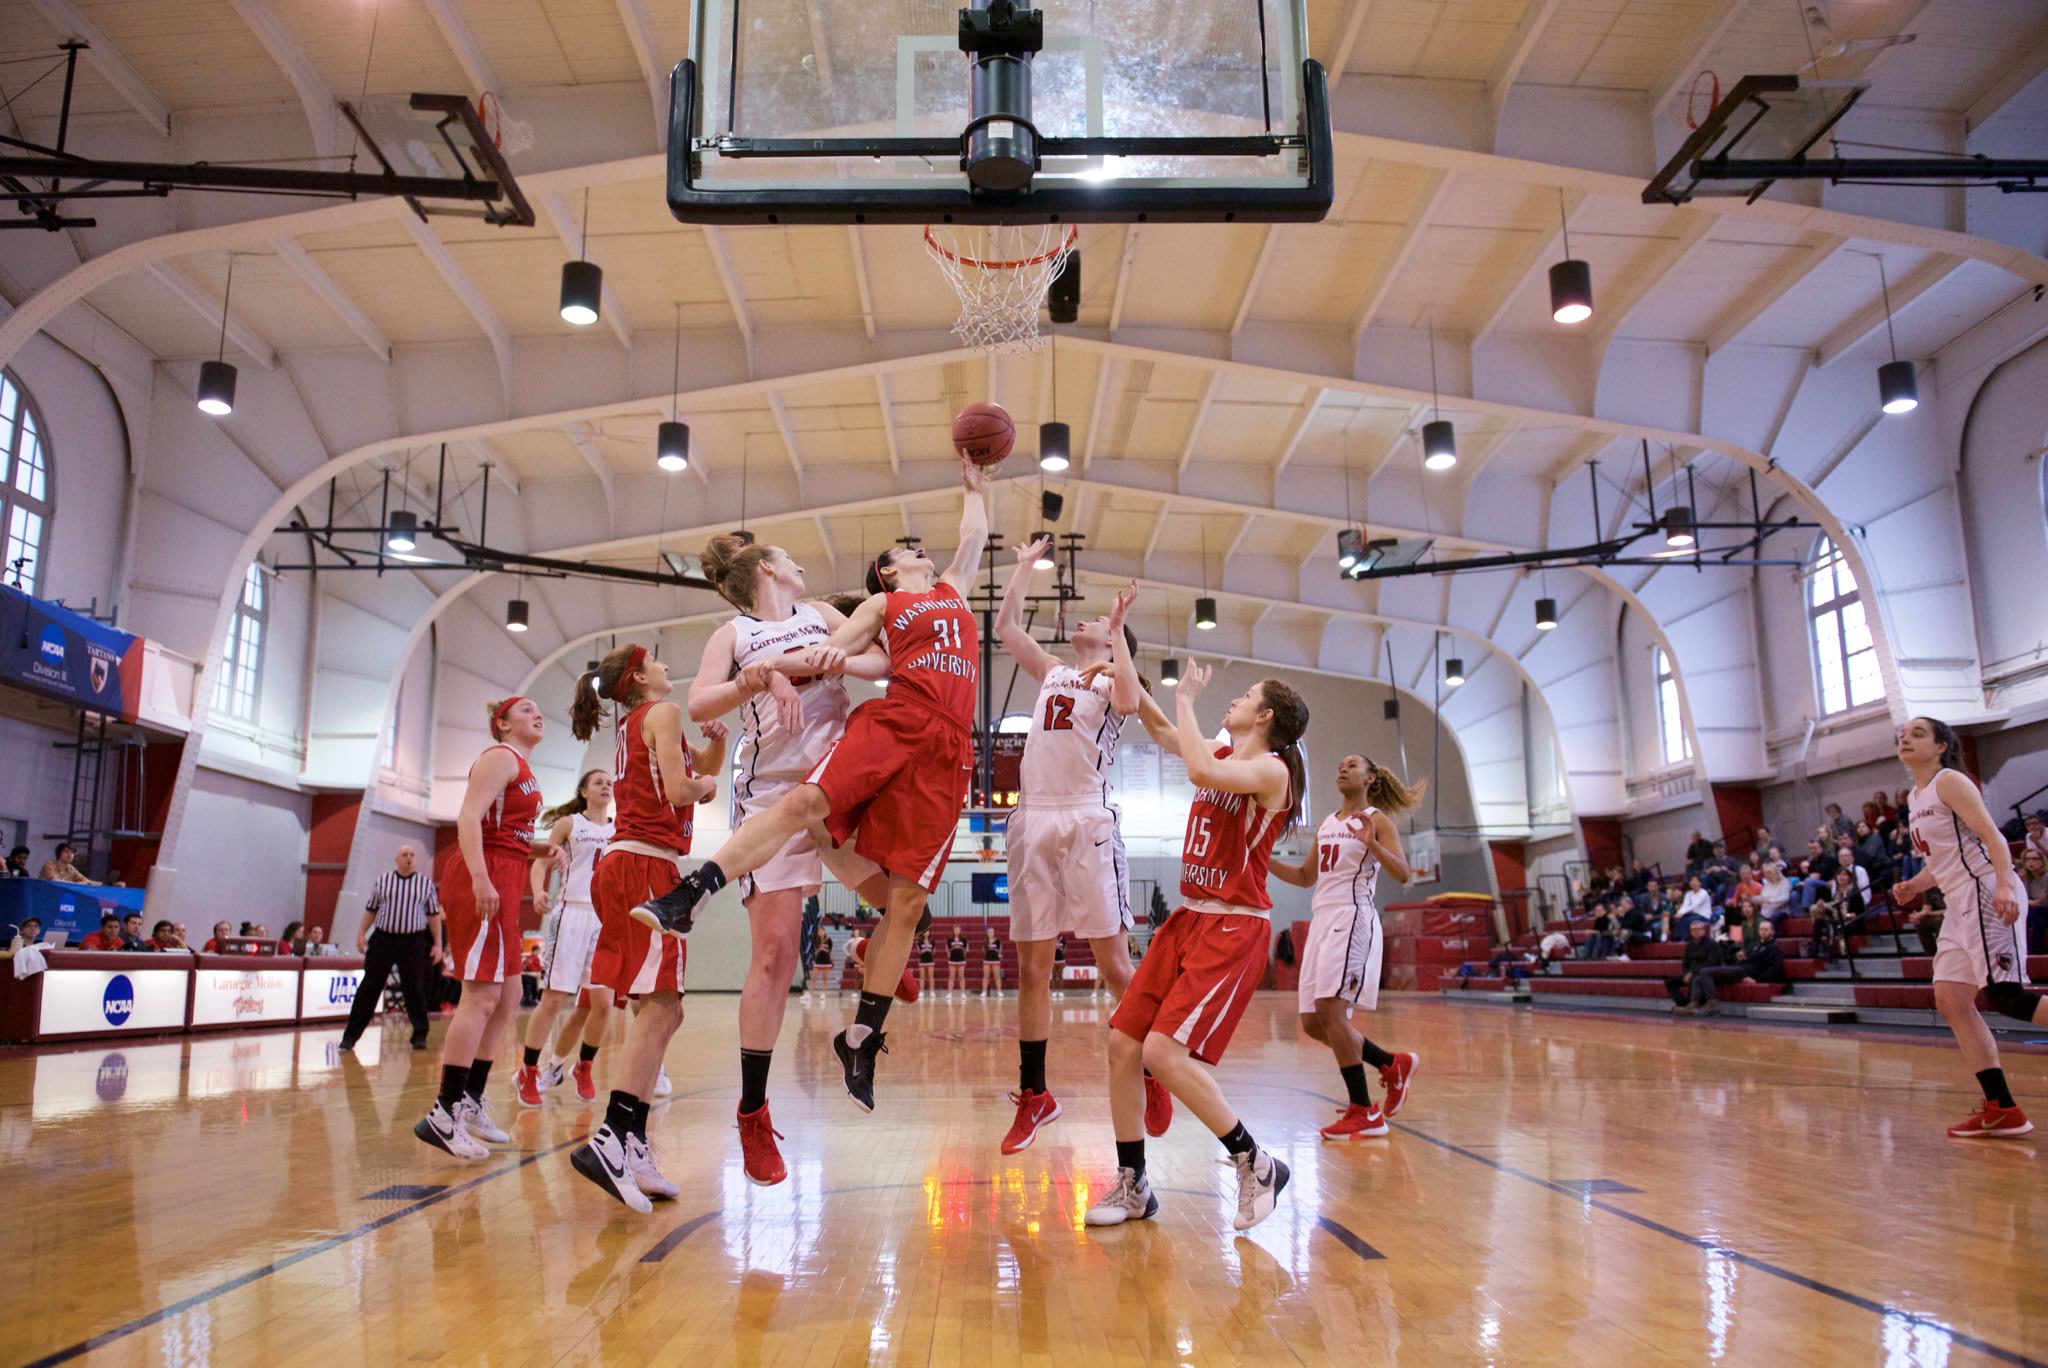
10. Use a wide-angle lens
Just because most sports photos are taken using telephoto lenses does not mean they all have to be this way. Use a wide-angle lens to put an interesting spin on your images, and make your viewers feel like they are right there on the court.
11. Analyze your images after the event
When I photograph an event, I take about 1000 pictures. Out of those, about 50 or fewer get sent to the event organizer, and only about 5 get added to my portfolio. The point is, save a few of your best shots and throw out the rest. Try to find a pattern of success and failure to understand what you need to work on and what is already working.
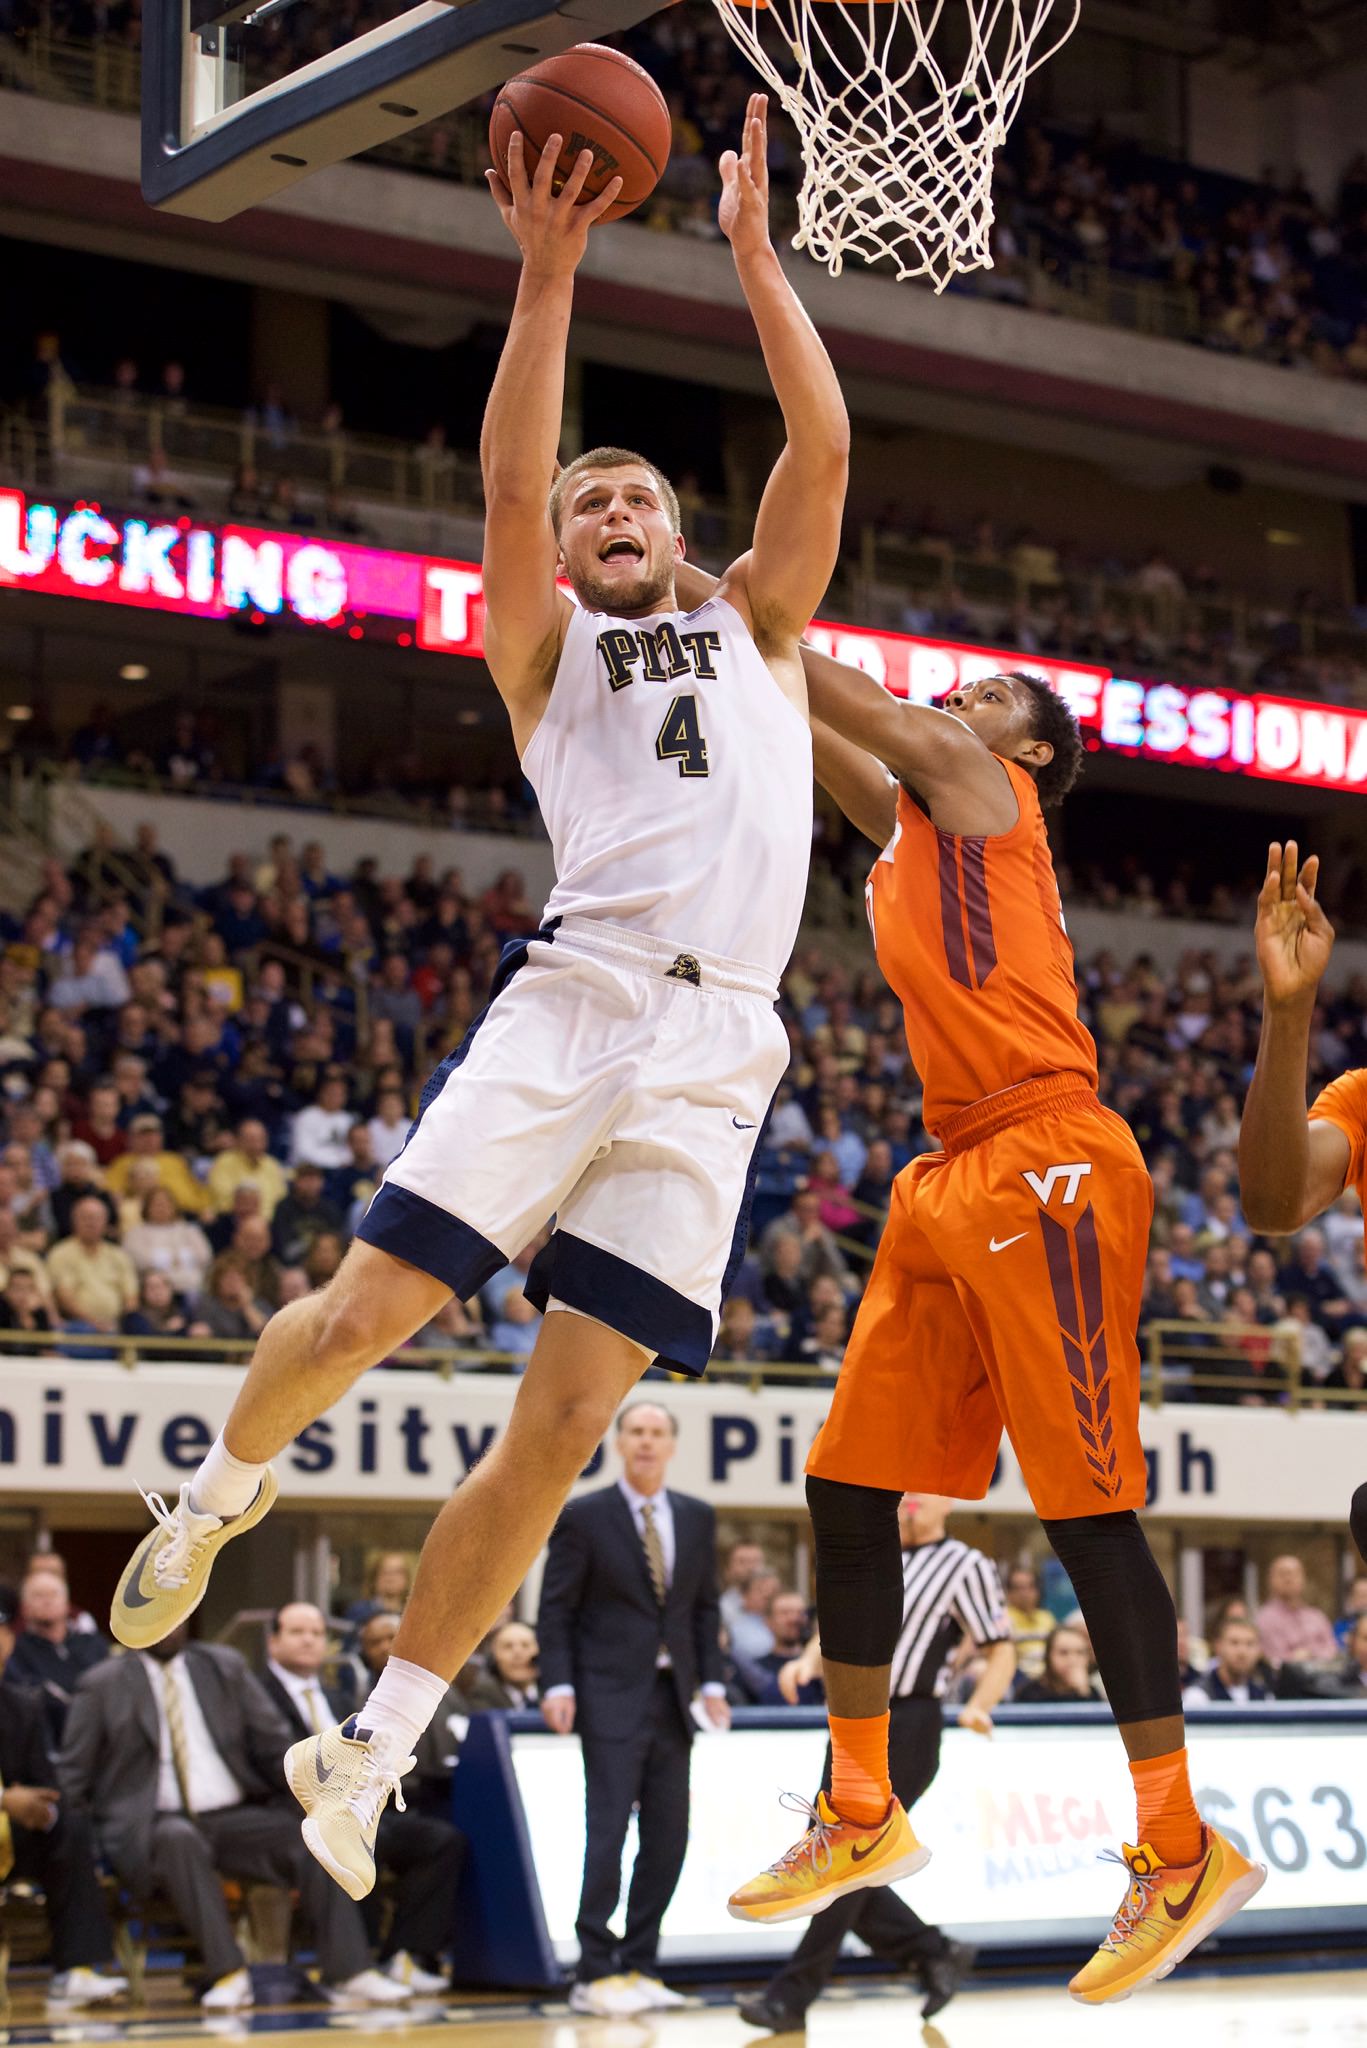
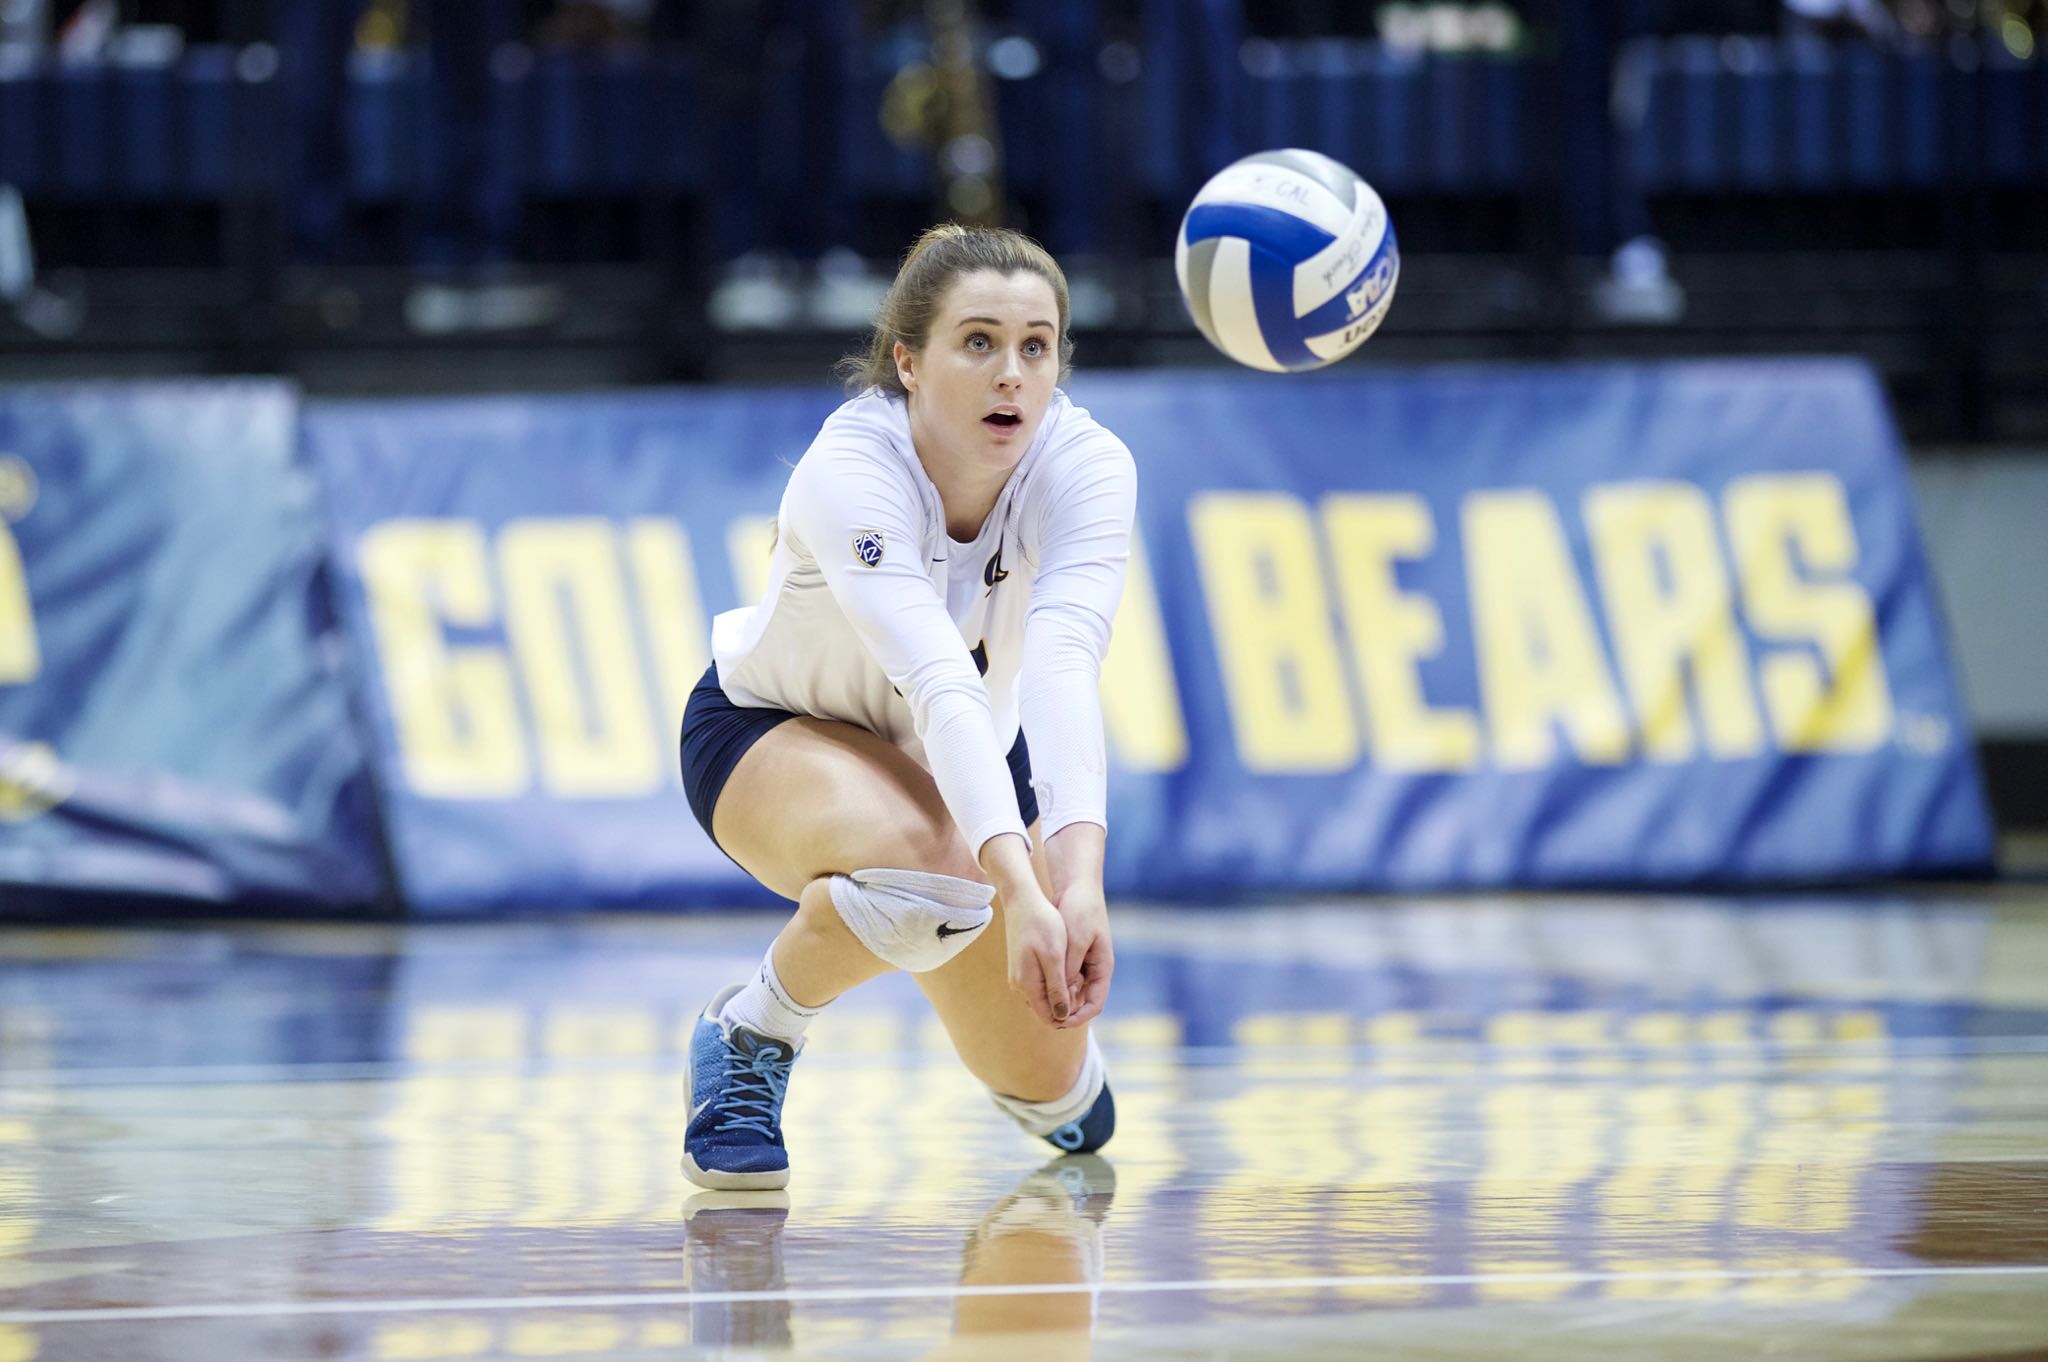
12. Focus, face, action, equipment
Experienced sports photographers often cite this, or some variation, as the formula to a great sports photograph. Let’s review each piece of the formula:
- Focus: Your image is in sharp focus, not blurry.
- Face: You can see the athlete’s facial expression, especially their eyes.
- Action: An act of athleticism or an emotional event is taking place.
- Equipment: The athlete is holding a piece of equipment, especially the ball.

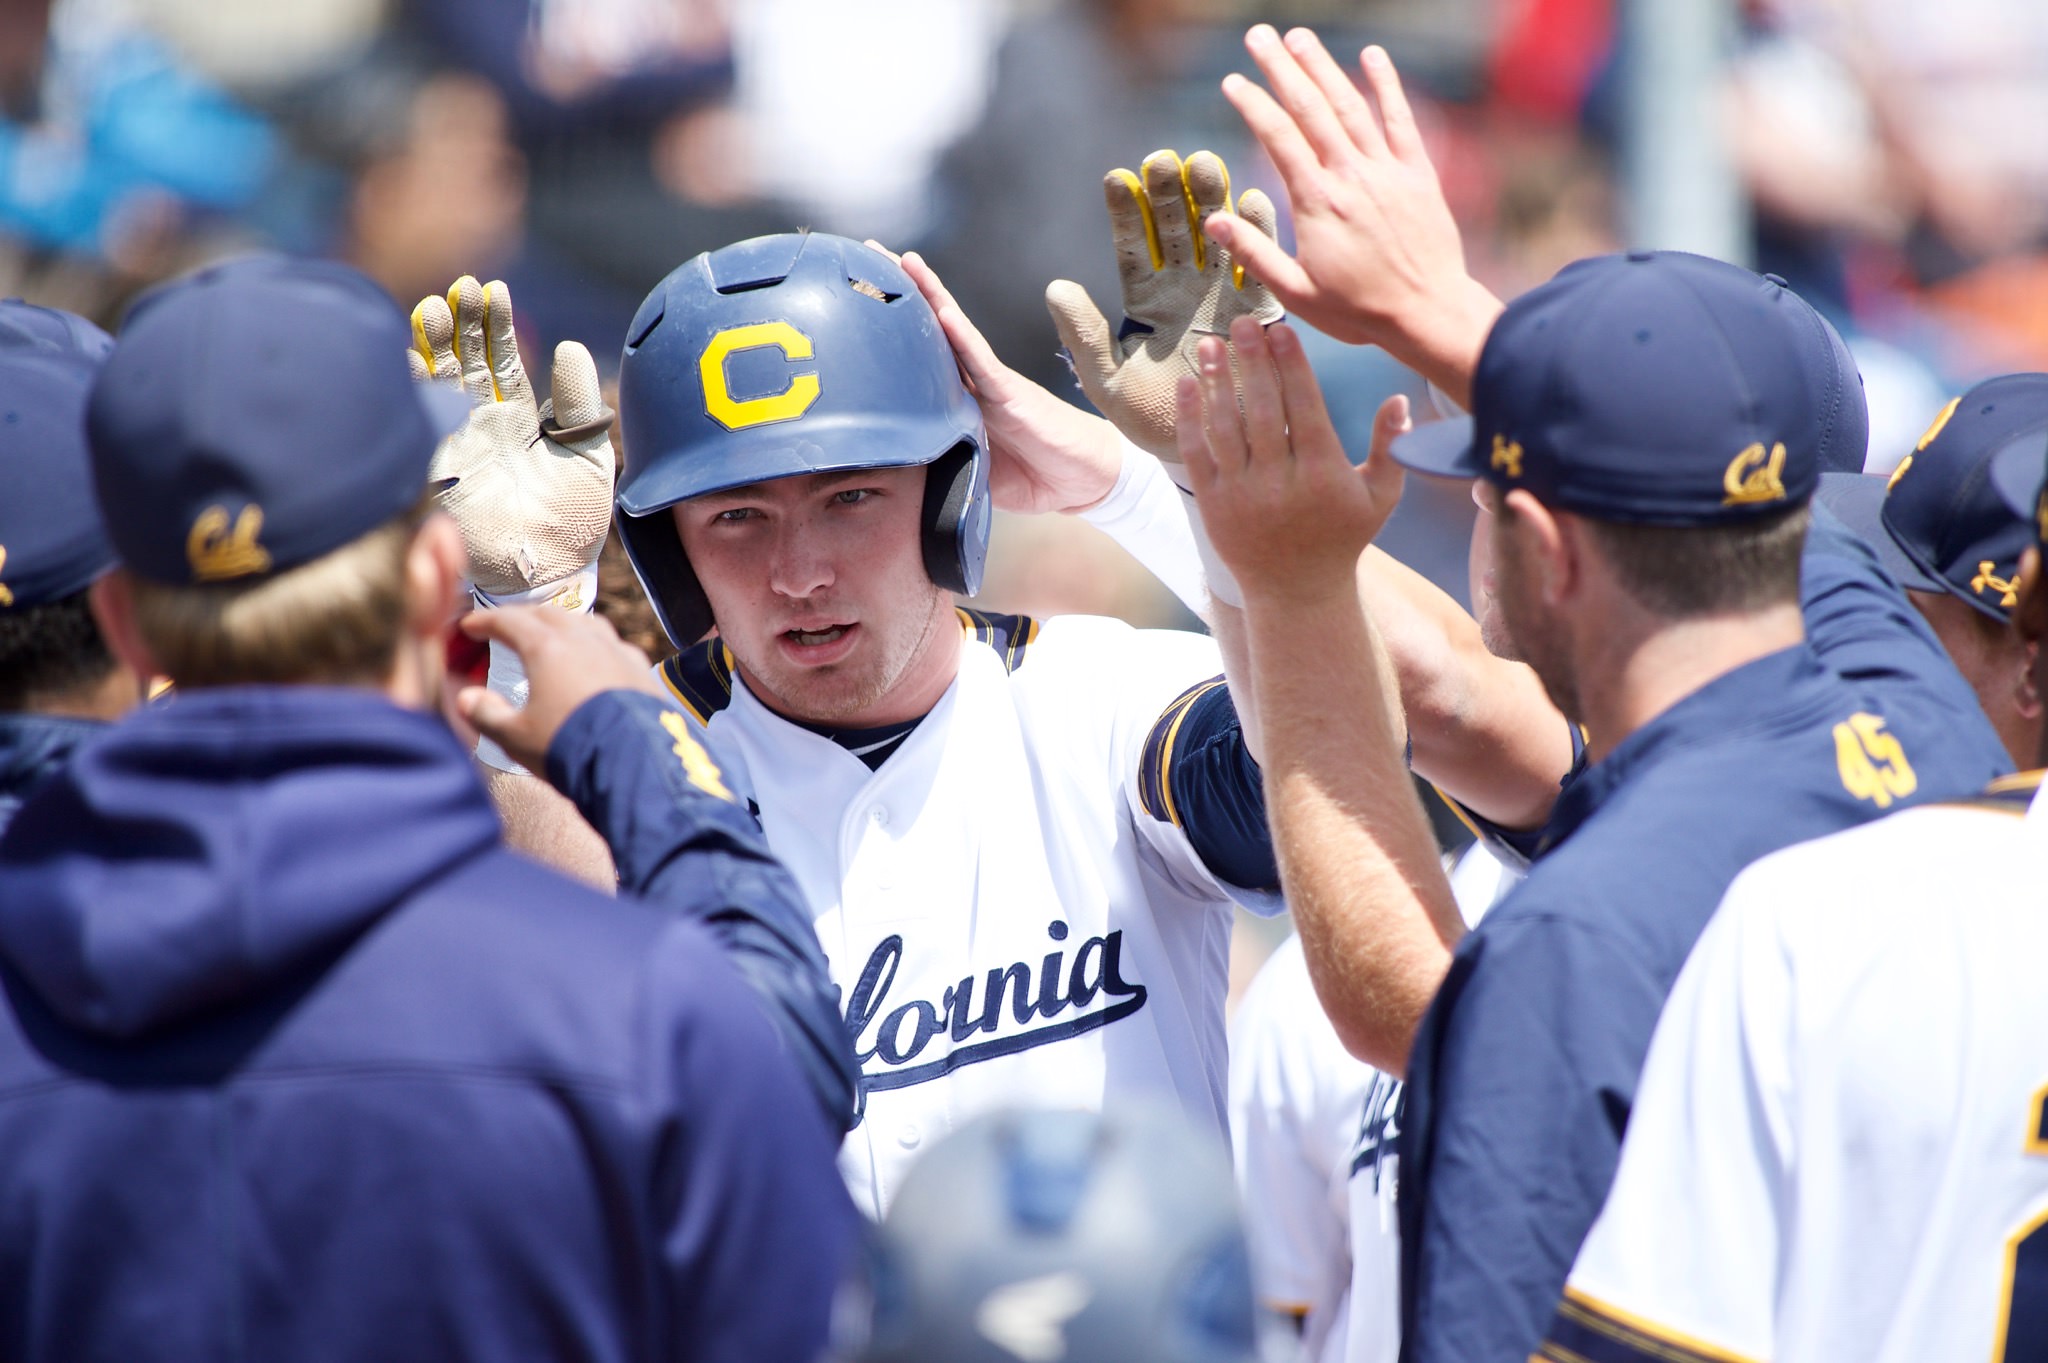
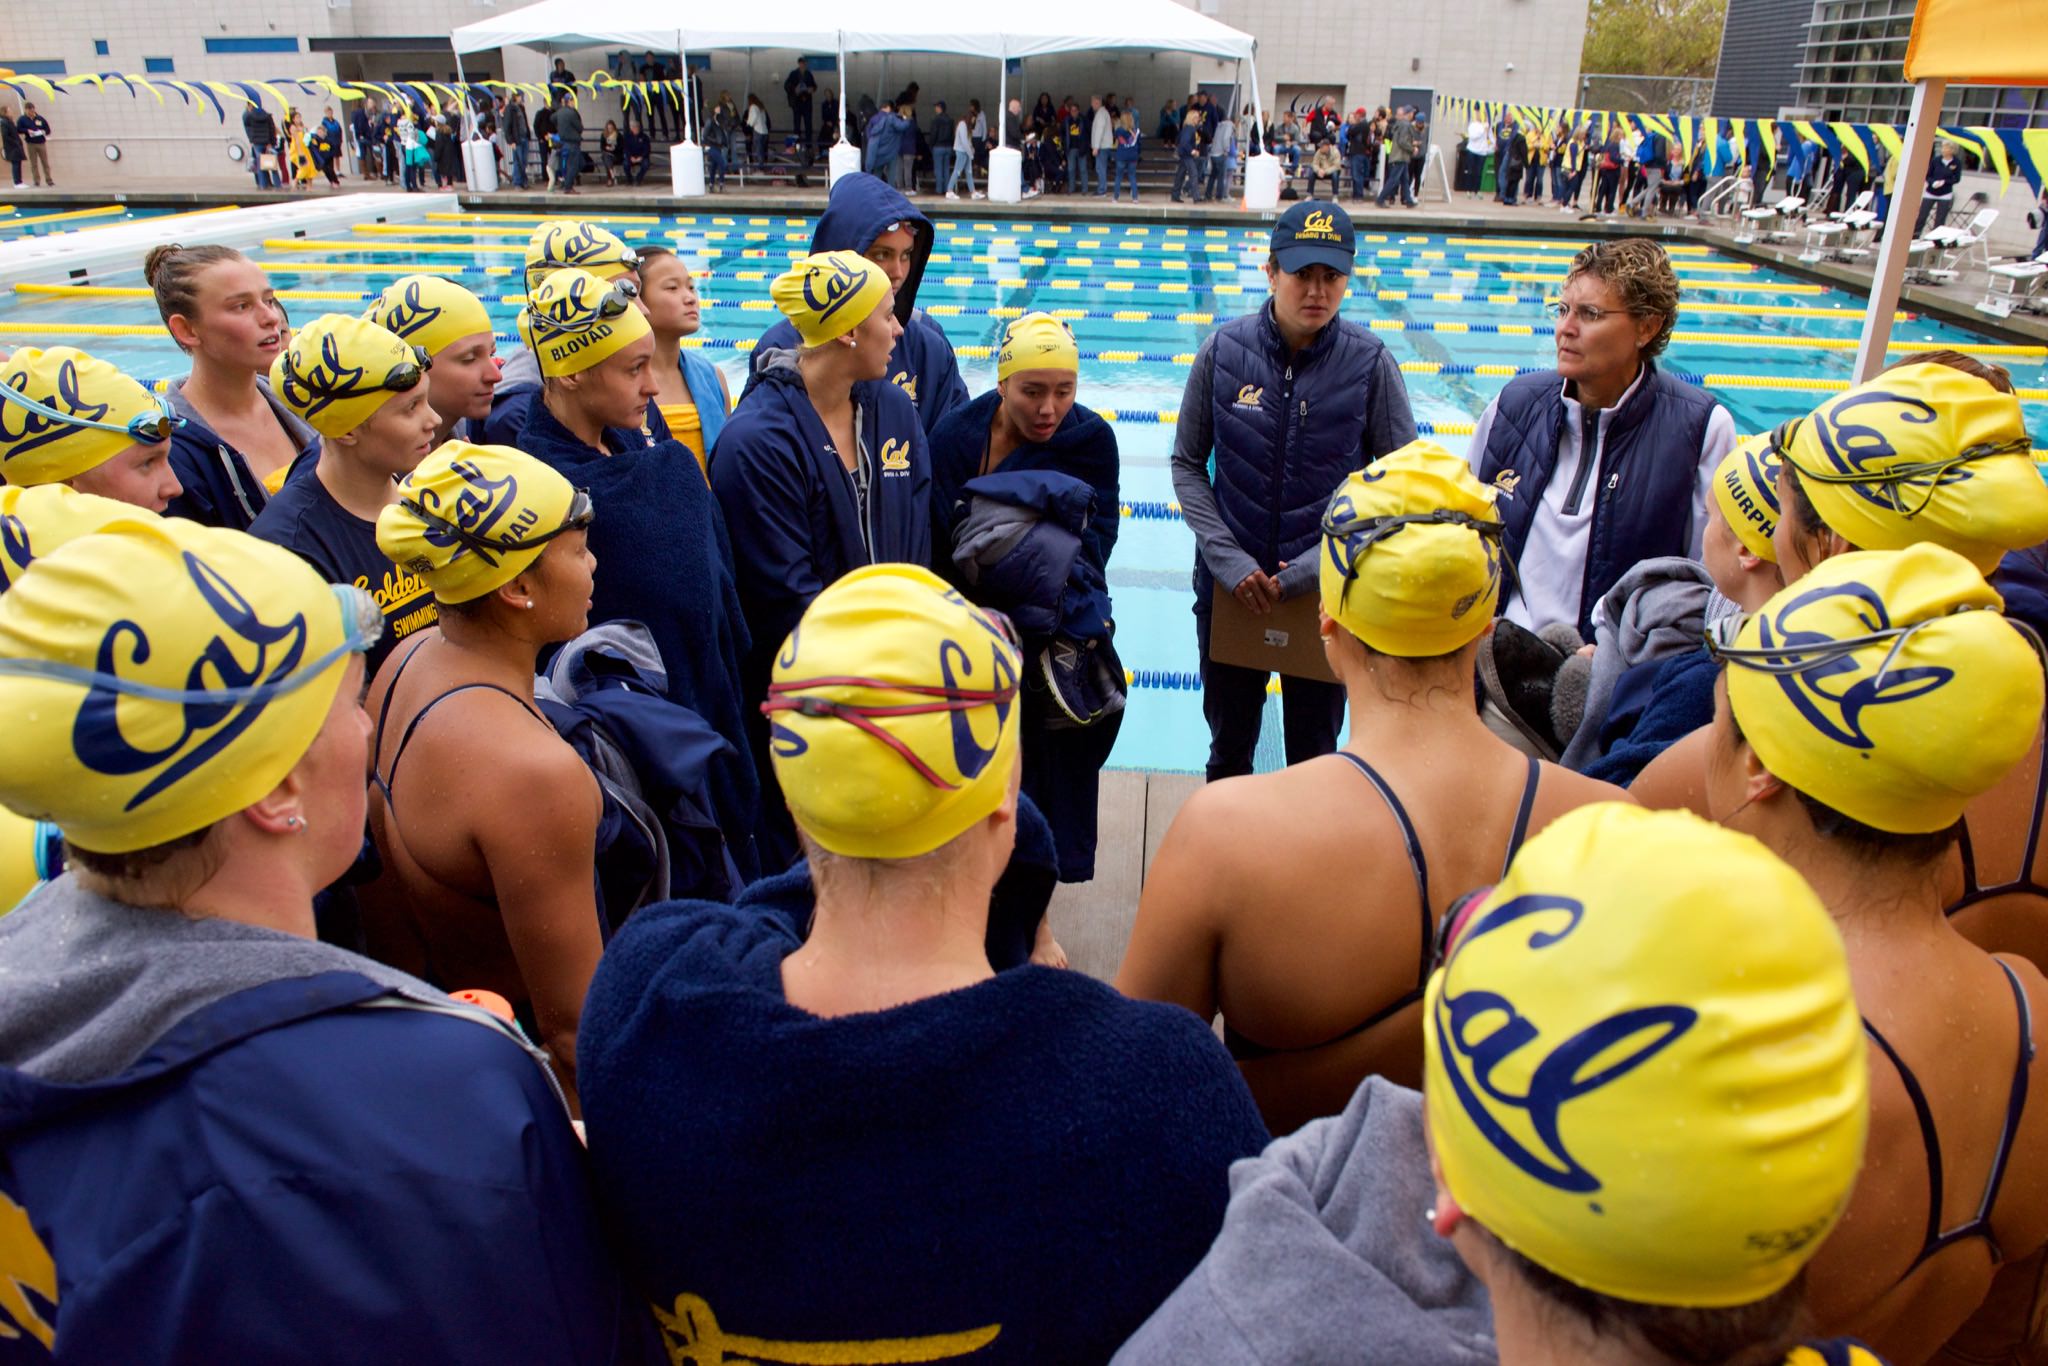
13. Tell a story
Sports photos can be grouped into two buckets: sportraits (a single athlete participating in the sport) and stories (a group of athletes doing something noteworthy). Look for emotionally charged moments, like a team celebrating their victory or two runners neck-and-neck as they approach the finish line.
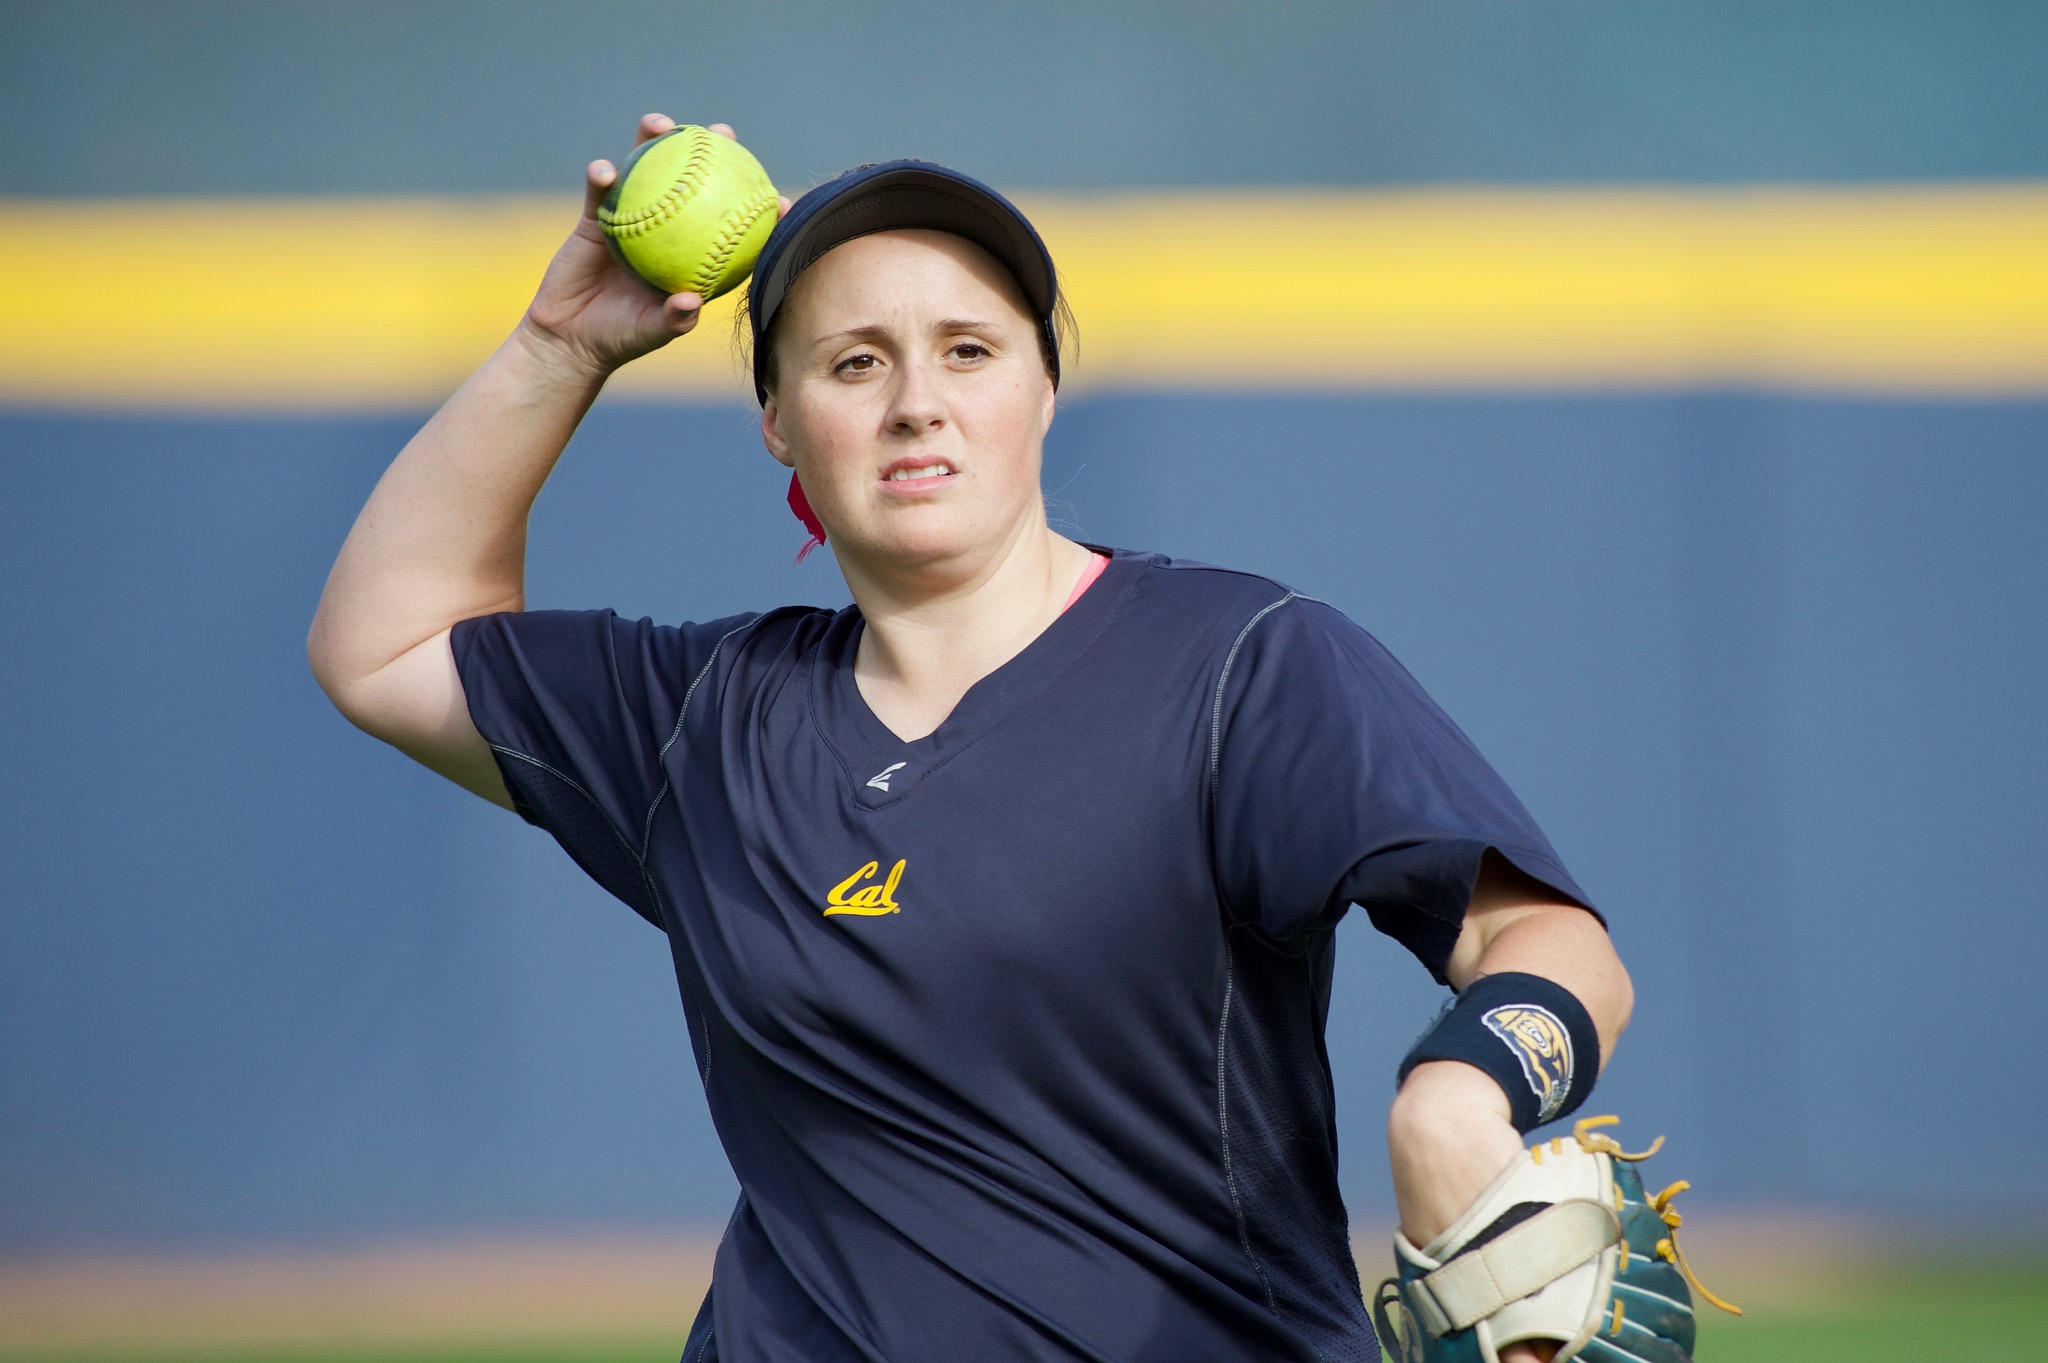
14. Keep your back to the sun
You want your subjects to be illuminated by the sun as they approach you. In photography, light is everything. If the light is in an unfavorable position, like behind the subject, then you will be challenged to achieve proper exposure.
15. Use continuous autofocus
Continuous autofocus keeps the subject in focus as their distance from the camera changes. All modern DSLRs and mirrorless cameras have this ability. See more here on autofocus modes.

16. Anticipate the action
You must be proactive, not reactive. If you are reacting to action happening on the field, then you have already missed the shot. Learn the rhythm of the sport and look for signs of impending action. For example, baseball batters’ muscles will contract as they prepare to swing at a pitch.

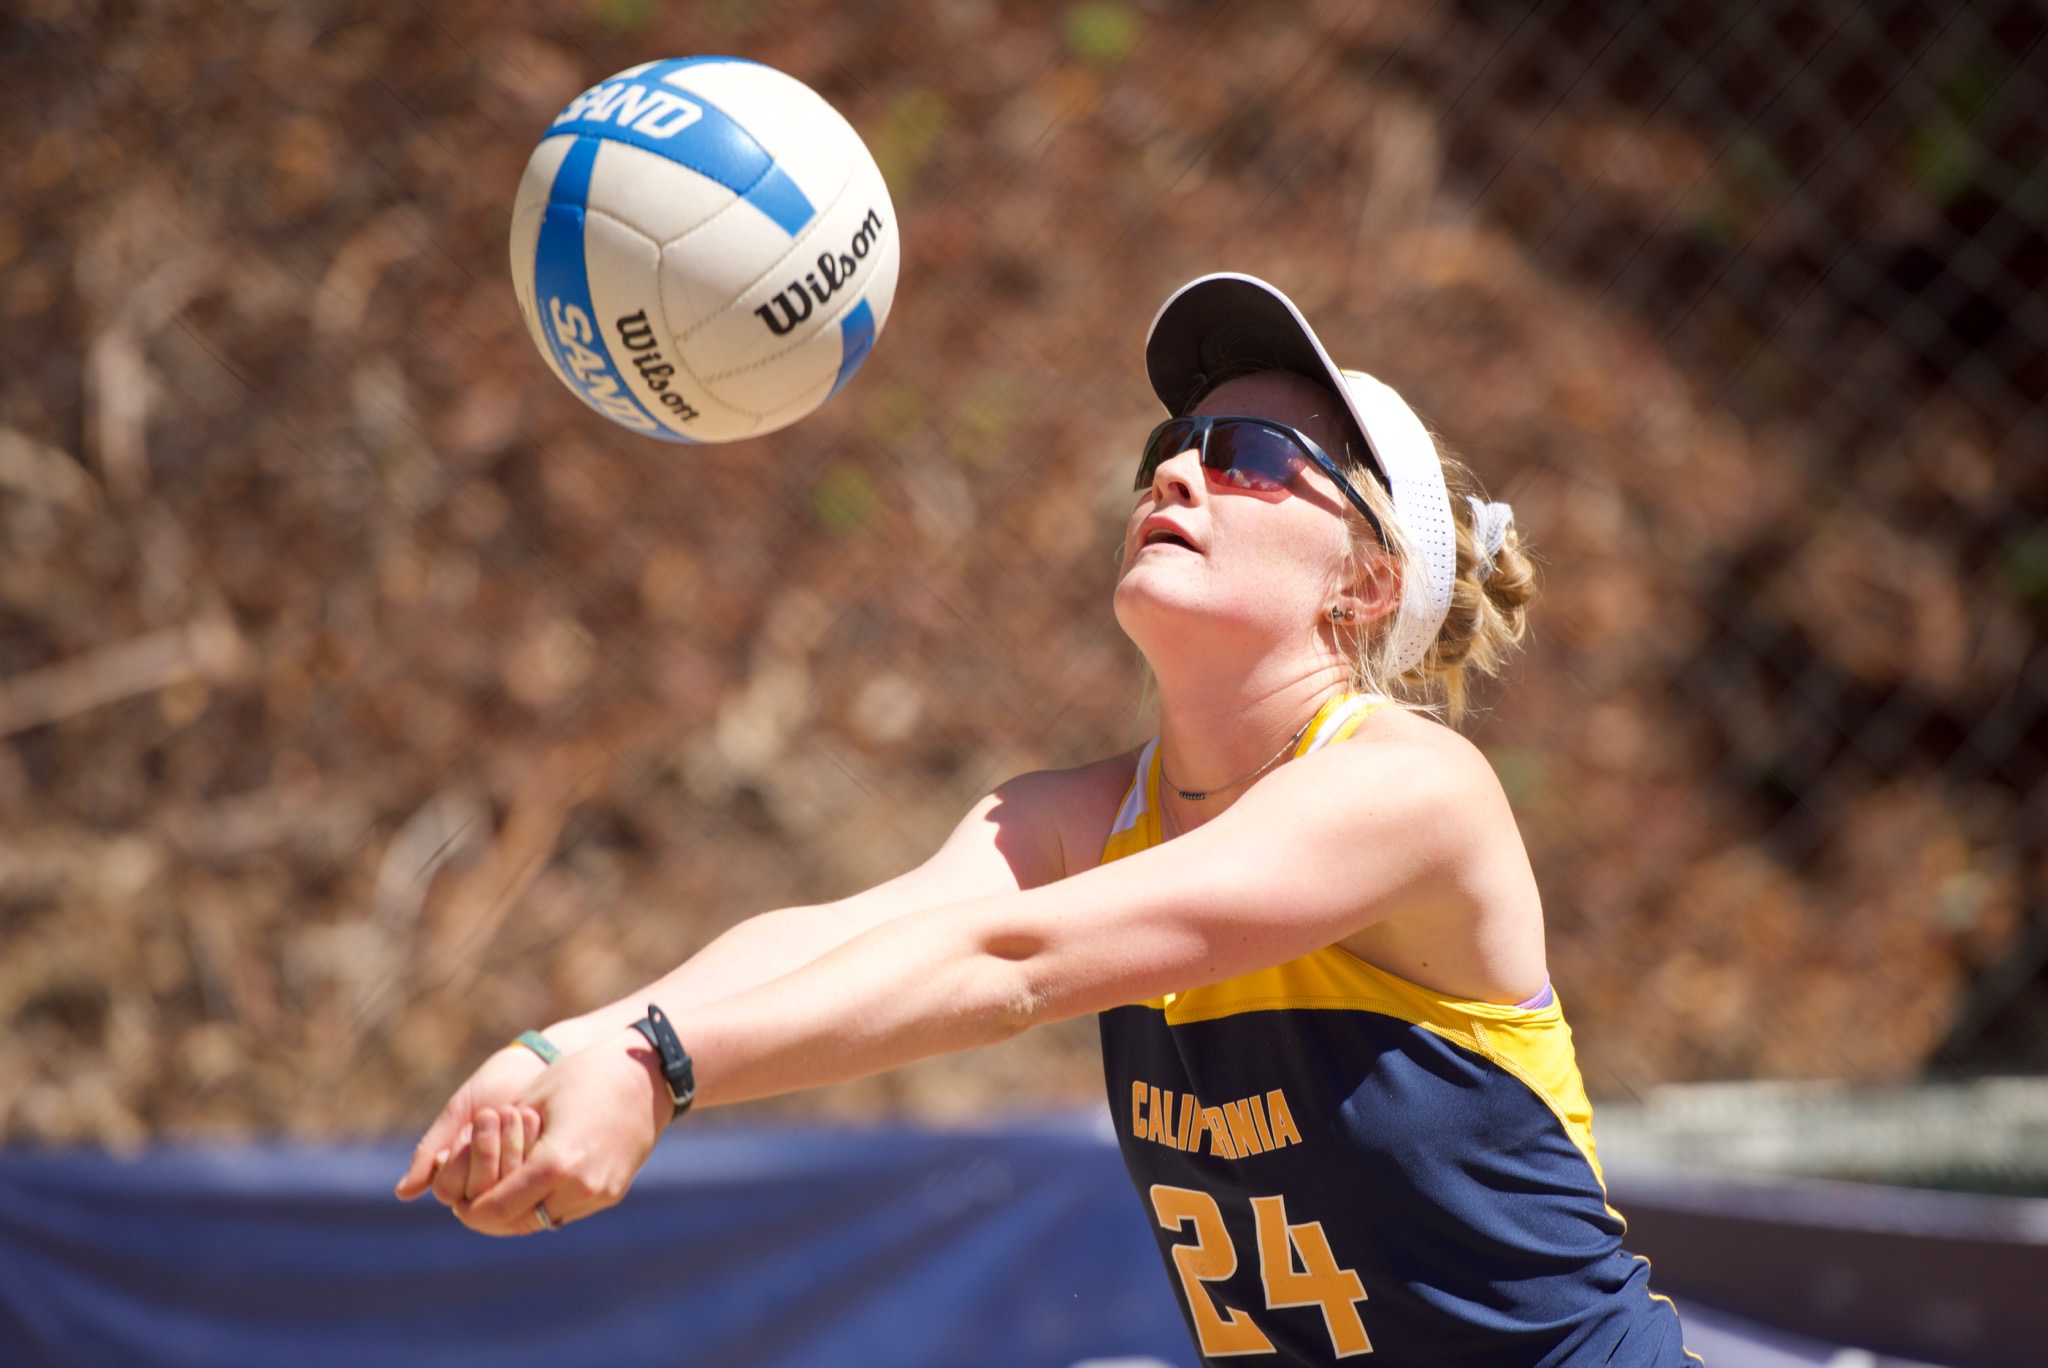
17. Know when to upgrade your gear
If you have mastered the basics of sports photography, then you may want to invest in a faster camera body or a longer lens to take your images to the next level. You will know it is time to upgrade when you become frustrated by your camera’s limitations and not your own ability to get the shot.
18. Do some post-processing
A bit of cropping and a few lighting adjustments can do wonders to your images. I do not recommend “Photoshopping” your images to perfection, but do take a few minutes to touch up your best shots for a good presentation.
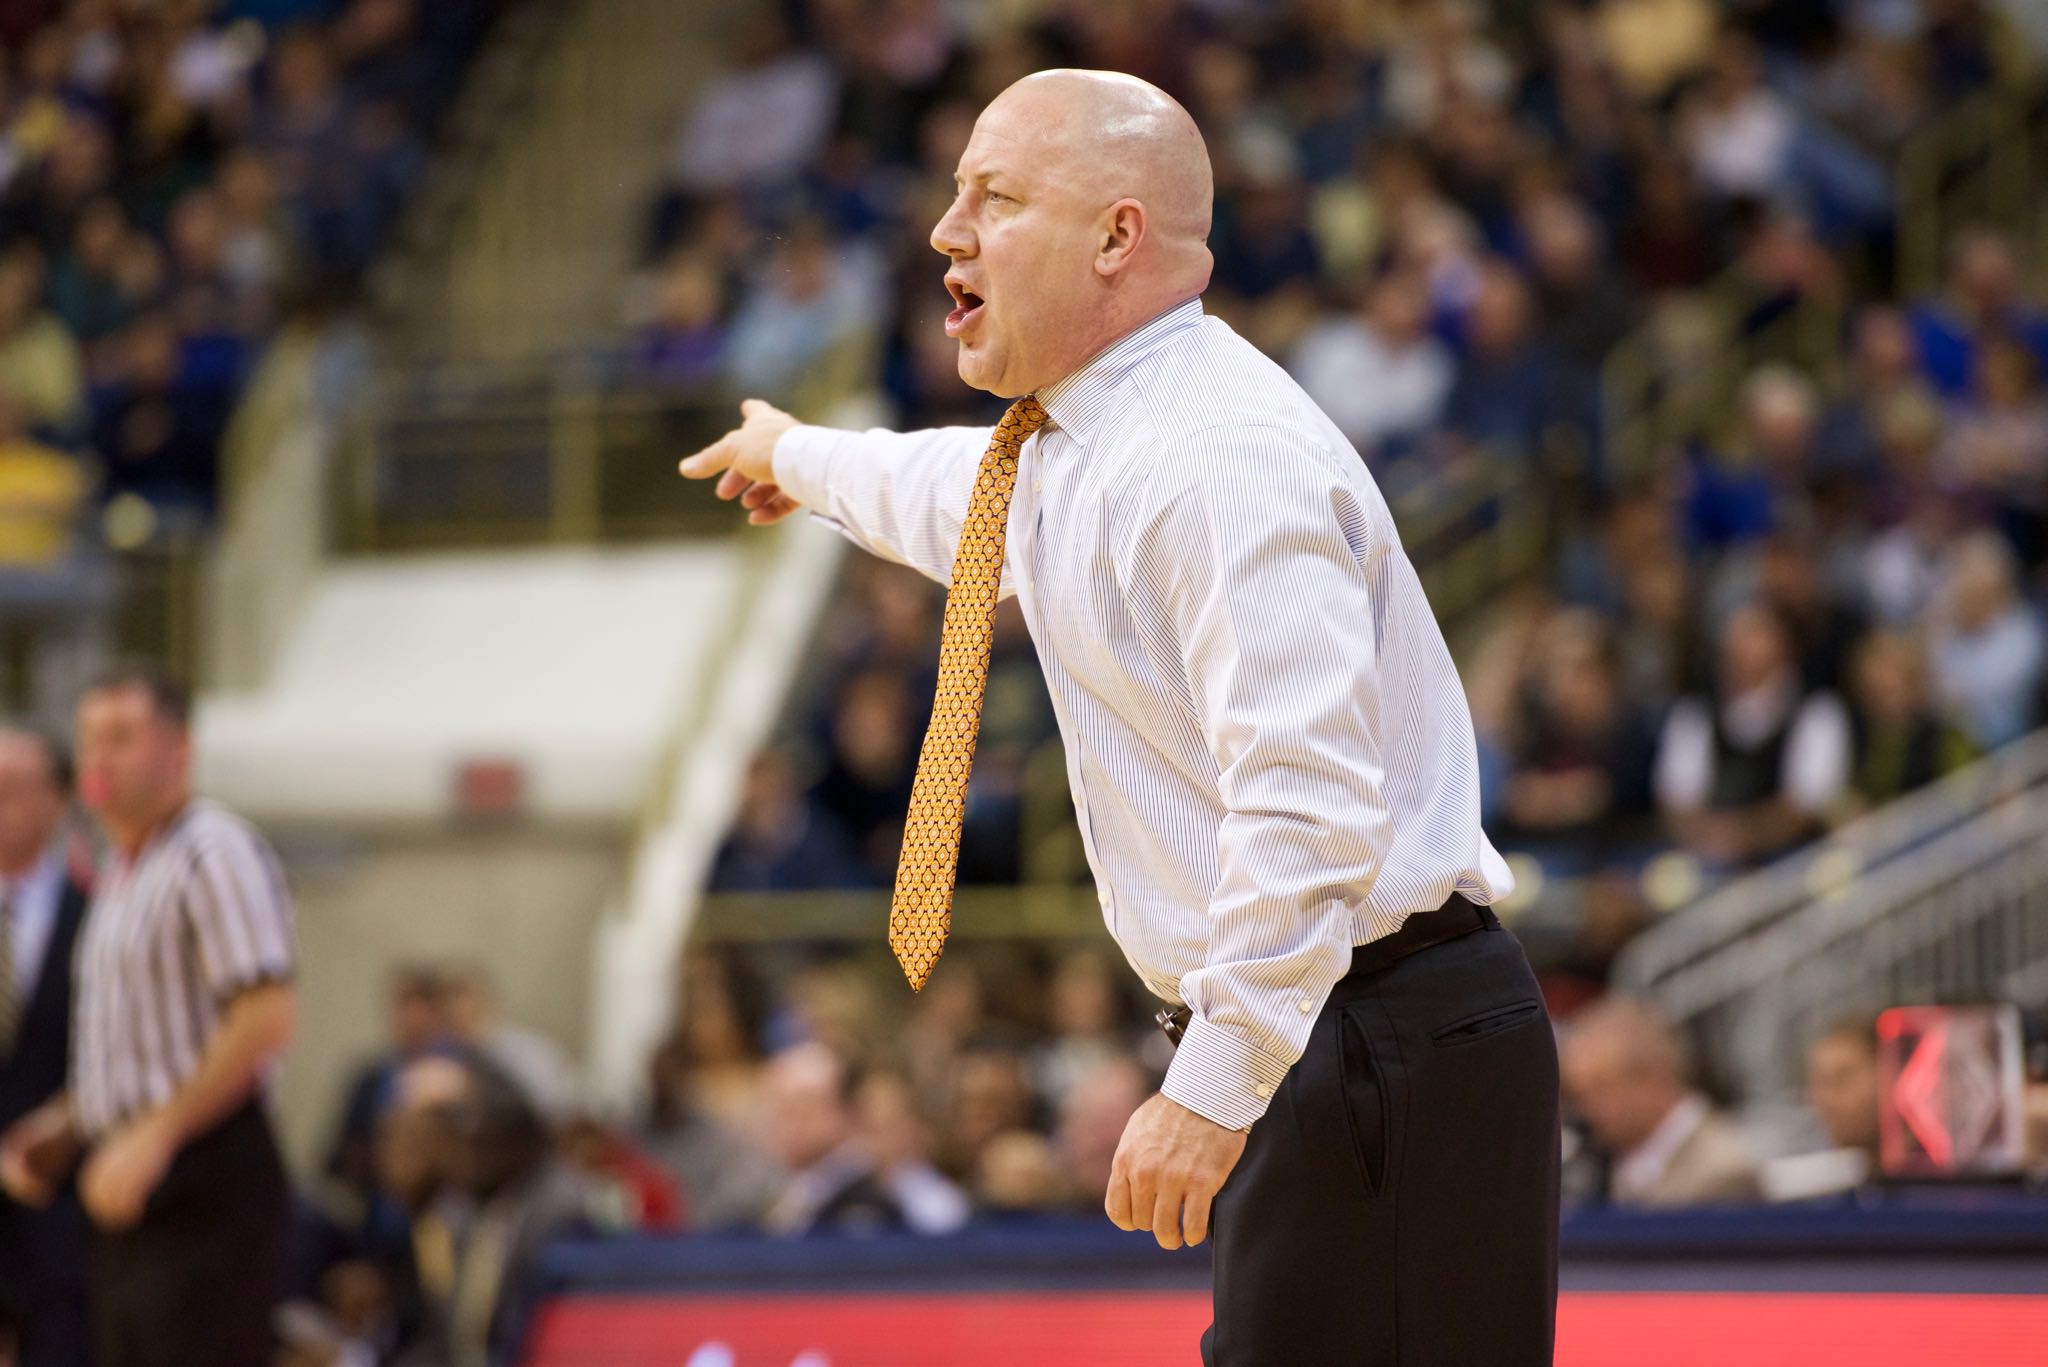
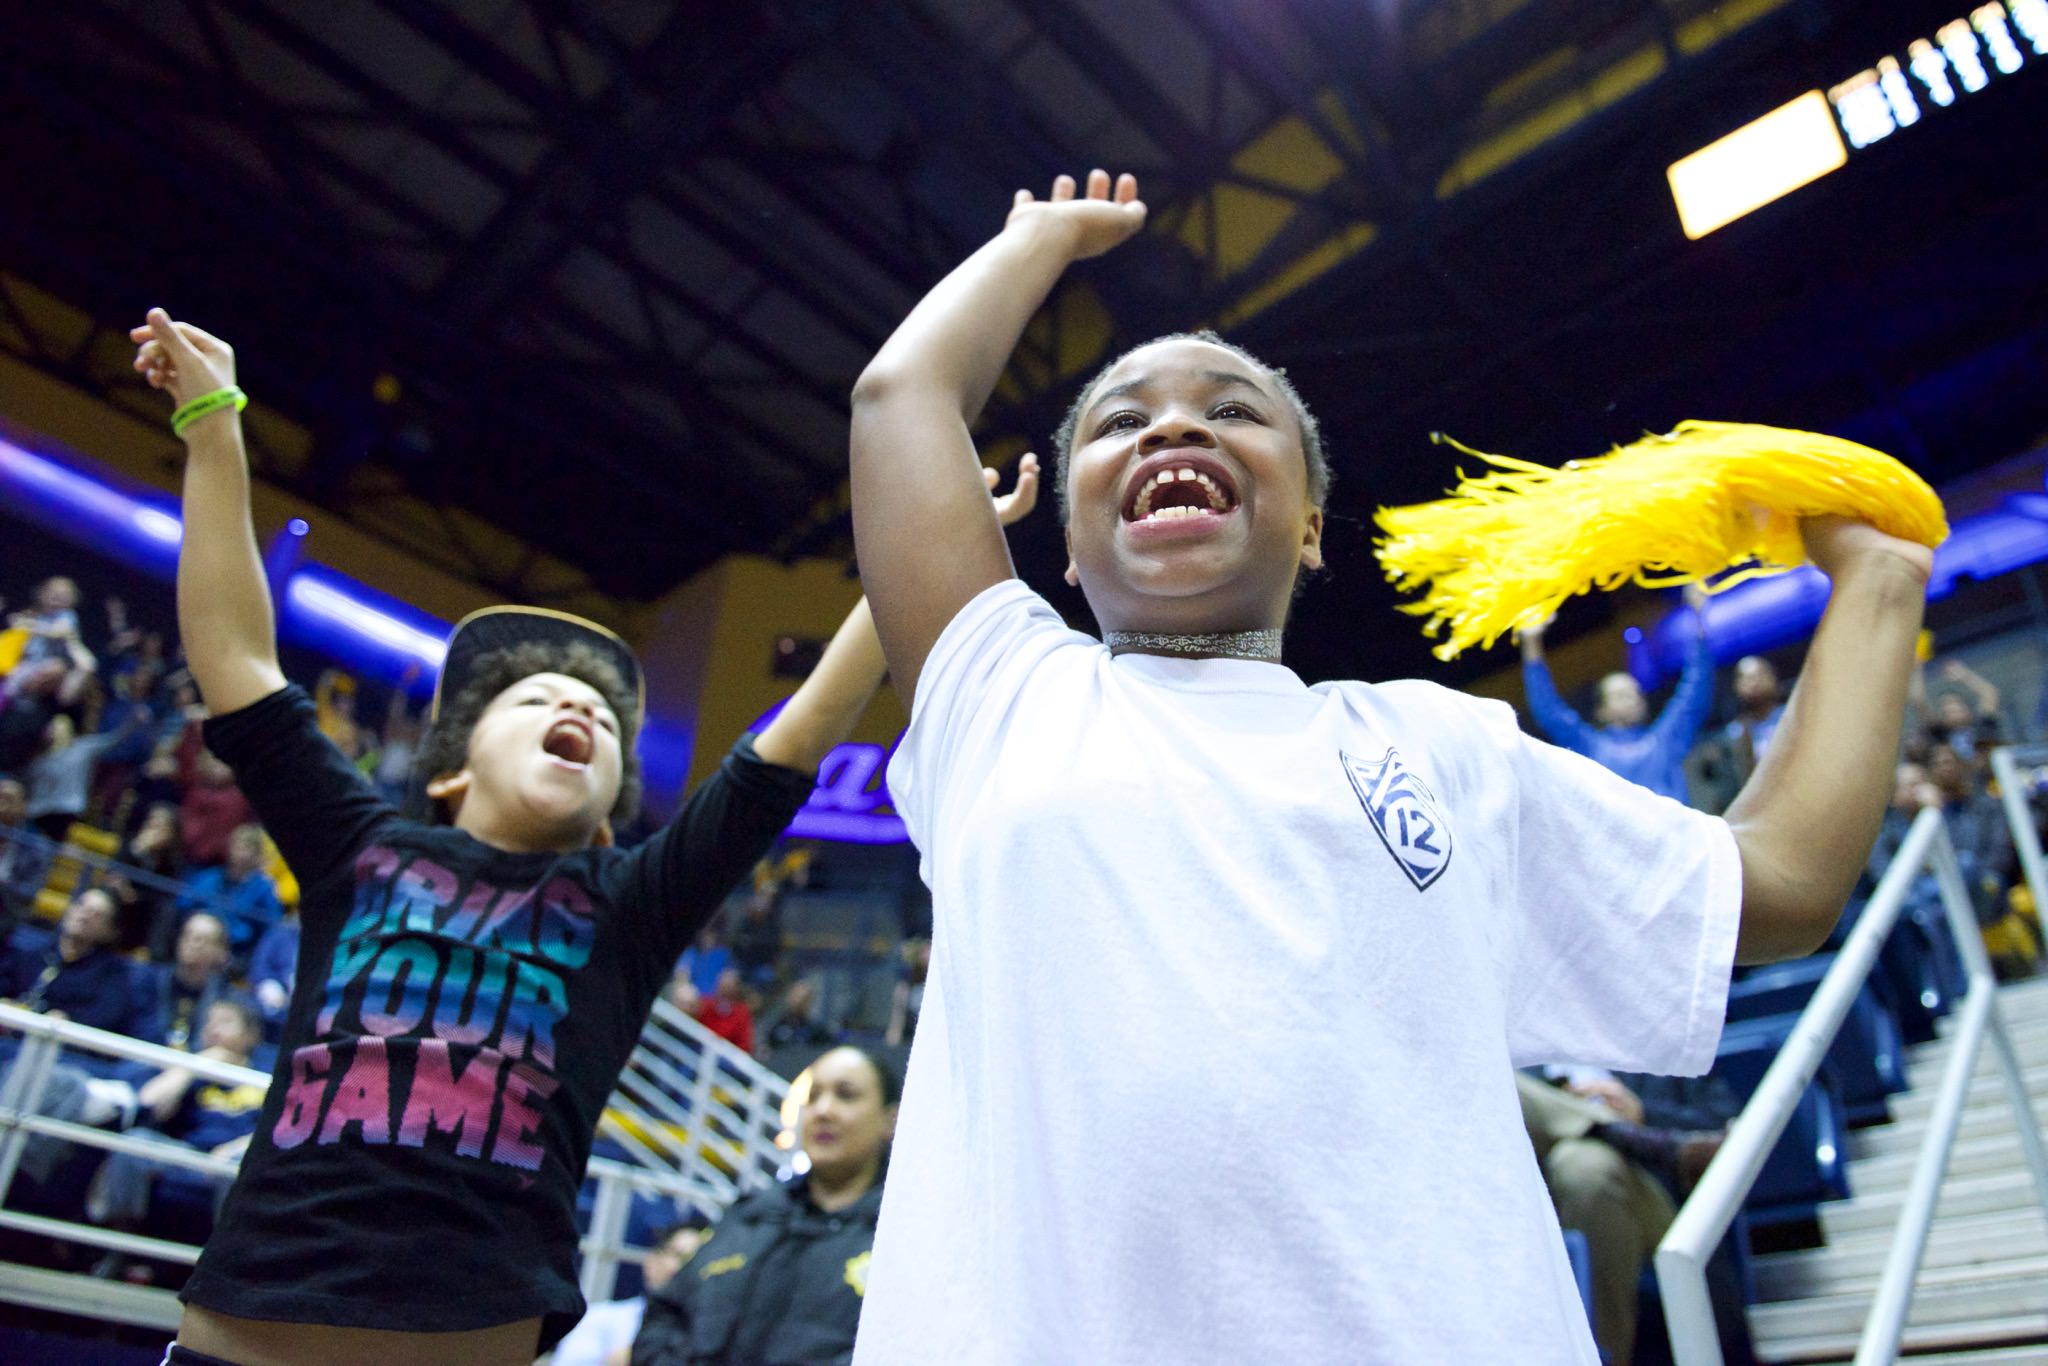
19. Look for action off the field
Fans, coaches, mascots, and food vendors make interesting subjects that compliment your run-of-the-mill sports photos. Make your audience feel immersed in the event by capturing the little details that are too often ignored by photographers.
20. Keep practicing
The best way to improve is to practice. Keep challenging yourself to be better every time you pick up your camera.

Closing Words
Photographing sports is both exciting and challenging. Sometimes it can be downright frustrating, but it’s always worthwhile in the end. As you gain more experience your skills will improve. When you get stuck or need inspiration, you can look to your fellow photographers on the field or on the internet for advice. The most important thing is to have fun and capture moments that matter to you.
My name is Esther,am from ebonyi state,am dack in completion,i love every body around me,i need this to
I’m ready
I’m ready and I love friends all to give me a company so that will not be lonely
Thanks Matt
Great article and great photographs, Matt. I mostly do sports photography, and what I truly like about it, is that every shot is unique. Whatever moment you just captured will never come again in the exact same way.
I love the wide-angle basketball shot. As you said, wide angle lenses aren’t used that often in sports, but they do give an interesting perspective!
Others have commented that the equipment, like the ball, should always be sharp and in focus. I don’t think we should blindly apply this rule. For me, it depends on what you are after. If it’s the subject’s facial expression that tells the story, the rest isn’t that important. For example, in the volleyball photo at item 17, I don’t mind not being able to read the writings on the ball: what makes this photograph successful for me is the dedication and concentration that is clearly visible on the player’s face. The ball isn’t in focus, but the player clearly is focused on the ball.
I guess one way to put it, is that for me, some shots are about the sport itself, and others are meant to show the players and how they live their sports.
Thanks so much, Frederic! If you have a link to your sports photos please share as I’d like too see.
Regarding depth of field, I agree with you that the most important thing is to get the key elements in focus; the rest doesn’t matter. To me, faces/eyes are often the thing to focus on.
All my sports photographs are of figure skating. I haven’t gotten (ou really sought out) opportunities to shoot other sports yet. My sports photography so far has been voluntary work for our local figure skating club.
You can see some of my photos in the two albums called “On the Ice” and “Shows” at: www.flickr.com/photo…oto/albums. You may have seen some of them already if you have read the post I contributed as part of the guest post contest, on figure skating photography.
Good stuff, thanks for sharing.
Thanks you Matt! :)
Good article!
Great point on suggestions that “on-camera flash” should be avoided – but not off camera flash. It depends on the sport, but in dark gyms the use of off camera flashes can make a huge difference.
It’s particularly important to know the sport and what makes a good image. For example, a right handed golfer is best photographed from the right side of the tee so they face the camera, but when a left handed players comes up, you need to look for a different image because you’ll be facing their back and their arm will block the face on the follow through. Each sport has it’s own special images.
Thanks, Eric. Good point about golfers and the small details that make a big difference.
Great article Matt.
As well demonstrated by your photos, one key factor that separates an amateur snapshot from a decent picture is the ability to reduce background distractions. Either by using a fast telephoto lens, finding a good position, choose a sport where you have few distractions in shot, or get handy with Photoshop.
Another terrific sports photography article from Photography Life. Nasim, keep them coming. Many people do sports. Ok, many people do flowers with 15 focus stacks. I do. But, the action is sports and the young people (your future) have a keen interest. Amen.
Question for Matt.
You grind out 1000 images and winnow them down to 50 keepers. Could you possibly write 50 words and describe your winnowing process.
Thank you and again a terrific article with actionable information.
peter
Thanks! I take 1000 images down to 50 in a two step process. First, I upload all the images to my computer and select all the potential keepers (in focus, good framing, interesting subjects) and I throw out the rest leaving me with about 100 images. Second, I take the potential keepers and distill them down to the most exciting moments from the event. If I want just portfolio-worthy images, I would take a third pass and select only the best of the best.
Can I ask what kind or should I say brand of lenses you are using for your Nikon Camera. I saw $200 for zoom lens while reading this thread. its cheap compared to the lenses that I usually see from an online shop. its like 10,000 PHP (equals to $200) from my country.
Hi Carlo, the images in this article are taken with a variety of Nikon lenses, mostly 300mm f/2.8 (some with a teleconverter), 70-200mm f/2.8, 24-70mm f/2.8. These are not beginner lenses, but I started with a Nikon D3300 and 55-200mm f/4-5.6.
Great article. I have been surprised by how little light exists in high school gyms. ISO is immediately pushed to the limit for a fast shutter speed. Makes it challenging so that is why I like it.