The 21st century is also known as “the era of smartphones”. Smartphones evolved rapidly in this decade and became a huge success, and so did cell phone photography. Today’s smartphones are well-equipped and loaded with features and specifications, from fast processors to high resolutions displays. And these smartphones are also quite powerful when it comes to photography, featuring wonderful built-in cameras. Despite having tiny sensors, most smartphones are integrated with small and compact lenses capable of delivering crisp images that can directly compete with many point-and-shoot cameras in terms of image quality.

Slowly, but surely, compact cameras are being replaced by cell phones as a result. Gone are the days when we need to carry a separate point and shoot – now just grab your smartphone from your pocket and you are good to go. Smartphones are so lightweight and portable, that capturing photos has never been easier. Plus, you always carry one with you.
When it comes to shooting photos with a phone, there isn’t actually much you can do – I mean you shouldn’t be expecting your smartphone to make images as good as a DSLR or a large sensor mirrorless camera with a nice prime lens. But still, you can do a lot with a smartphone. Actually, with phone photography, you don’t worry much about your gear, and your end up concentrating on your photography and composition much more, which often results in nice photos without a whole lot of effort put on the technical side, which is why I love phone photography.
I believe that phone photography is not aimed to be perfect in execution – rather, I try to capture the mood and look forward to nice compositions, which is the actual key to any good photo.
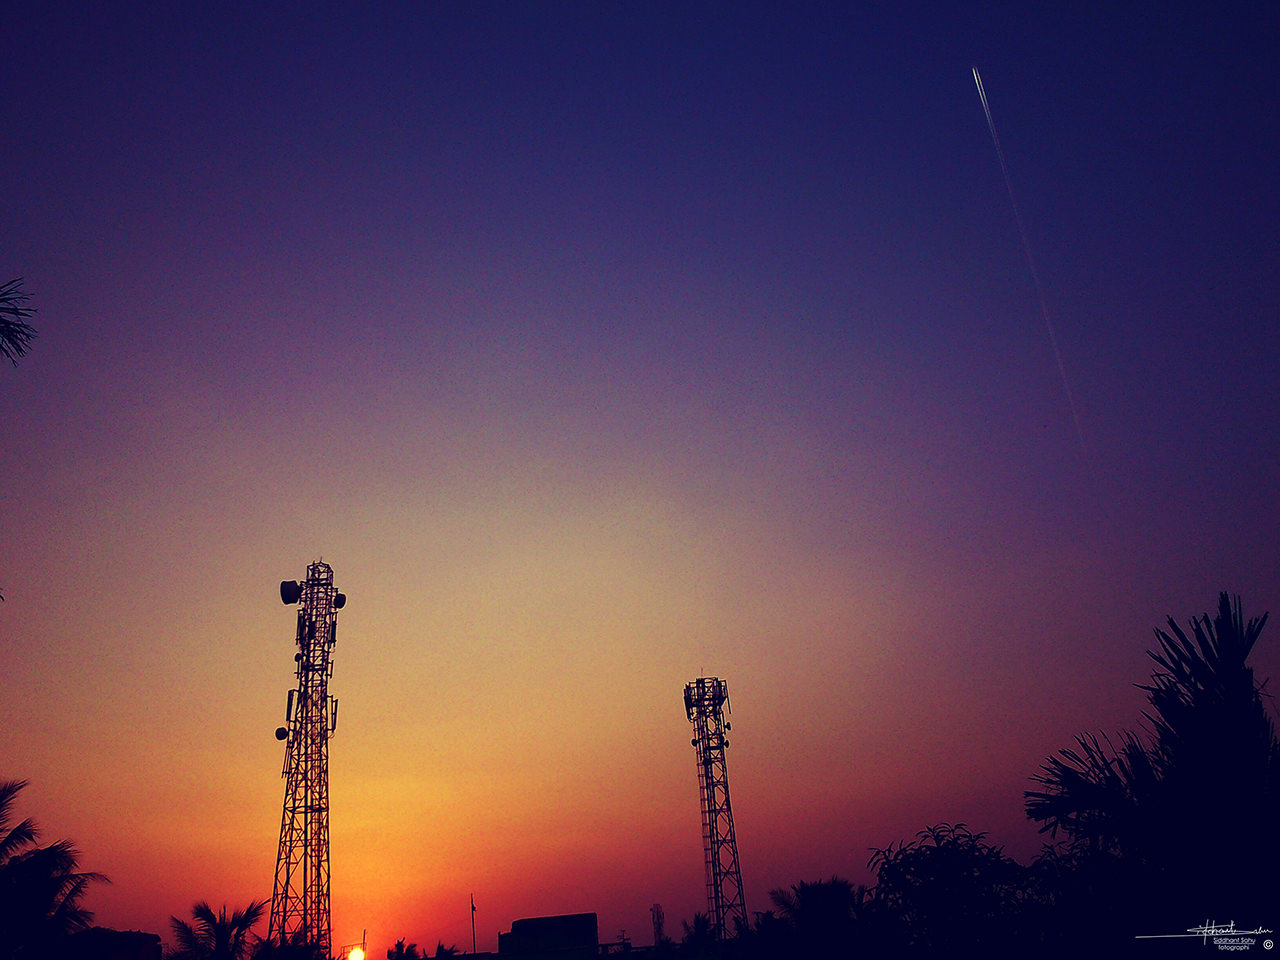
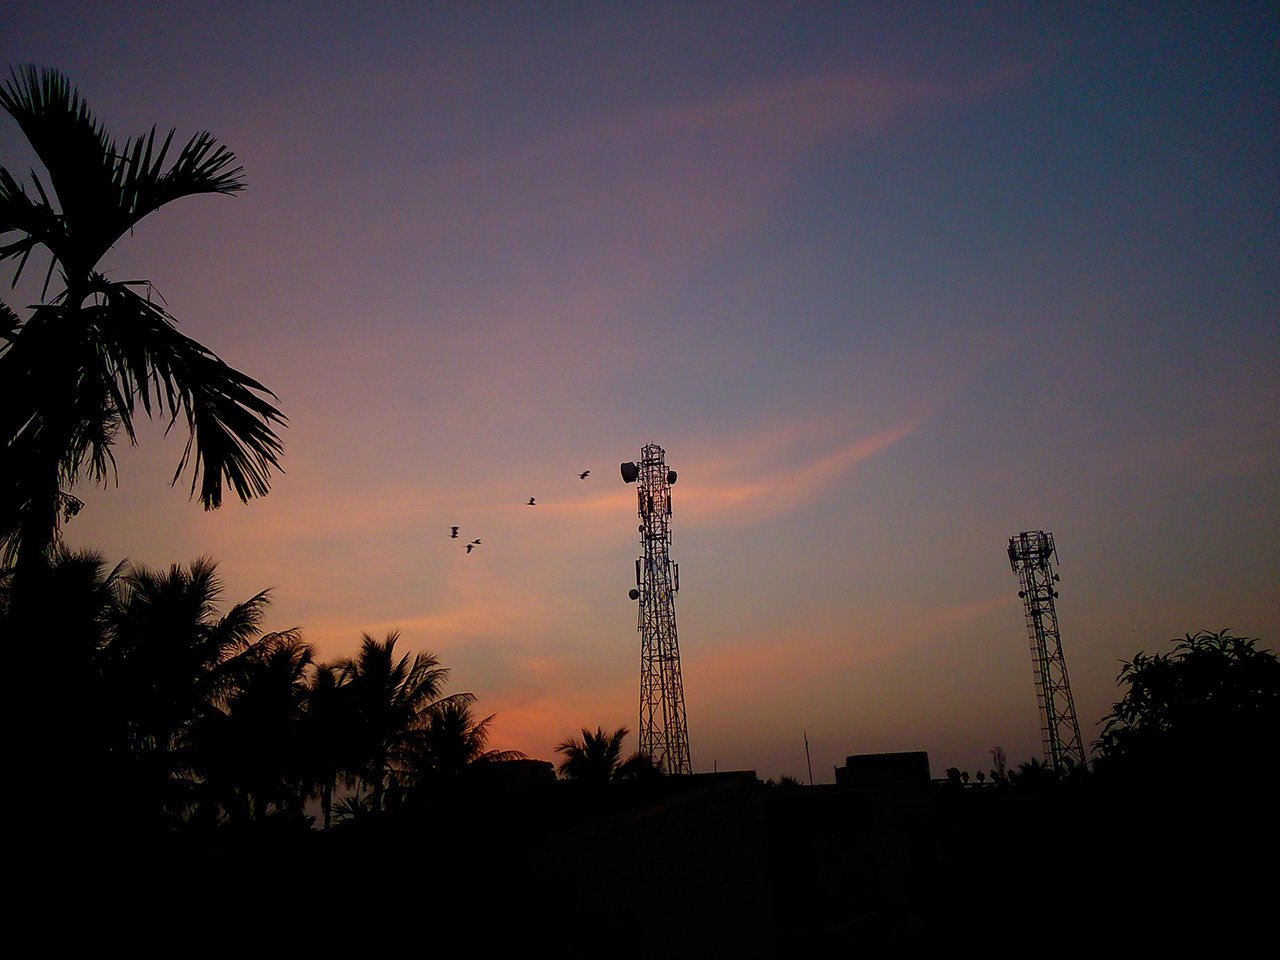
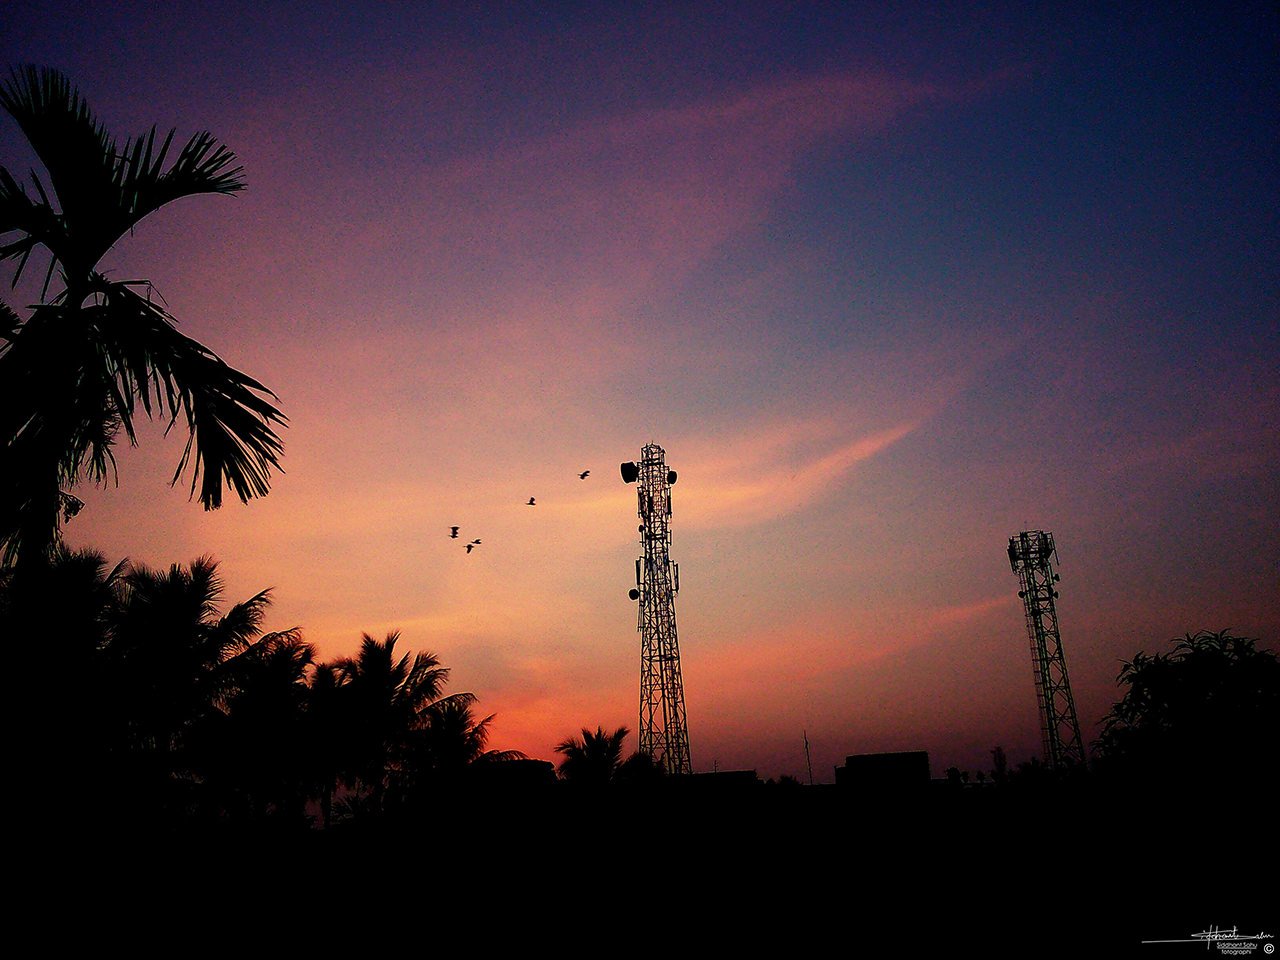
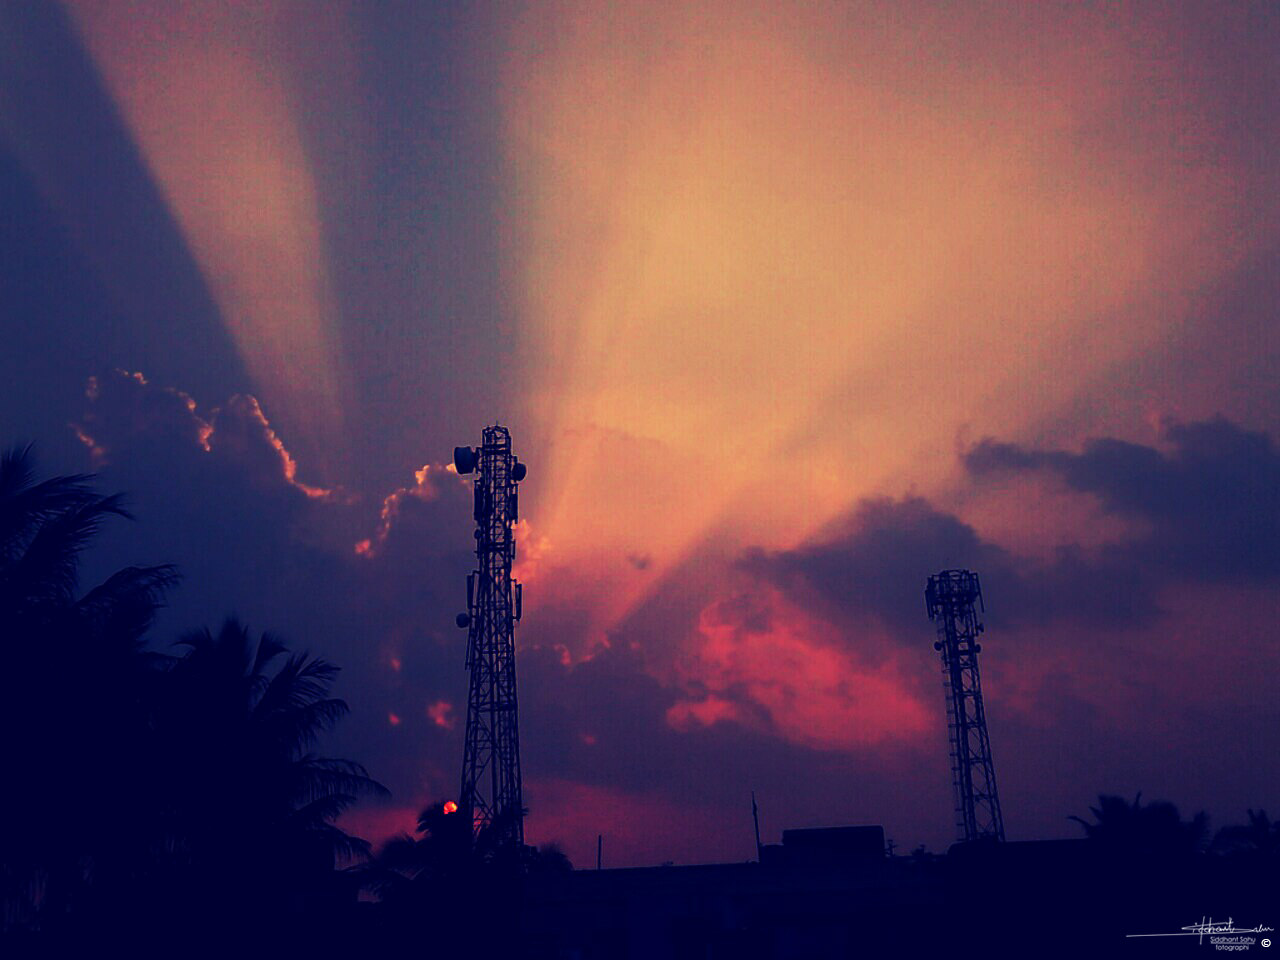
The silhouette works great with phones at sunrises and sunsets and is also quite easy to capture. With the release of the latest smartphones, you can actually set your exposure for the desired scene and even shoot in RAW. Generally, you have a completely automated mode with which most people shoot. There might be other modes available such as landscapes and portraits on some phones, but they all feel the same to me and seem more like effects rather than actual changes in exposure. I would not worry about camera effects and would rather shoot as flat as possible and alter contrast and saturation later in the post. So all you need to do is just click the capture button at the right moment. Do your best to properly frame your shot and look for a good composition beforehand. Turning on composition lines such as the rule of thirds will help in positioning your subject(s).

Phones cameras obviously lack larger cameras in portraiture. Forget about shallow depth of field and creamy bokeh, because you are dealing with a short focal length lens on a tiny sensor, so your depth of field is practically always infinite. However, for landscapes and other photography genres, smartphones work great. Phones are also unusable for capturing fast action, as they don’t offer super fast shutter speeds and autofocus speed/subject tracking are not fast enough, but still, the technology is gradually improving and smartphones are getting better.
In addition, noise levels are much higher, particularly when shooting in low-light environments. Although most phone cameras come with built-in flash units, I personally never use flash, as it adds very flat lighting on your subject and often creates really harsh shadows, which are just not pleasing to look at. So my recommendation is to turn flash off and only use it when absolutely necessary…

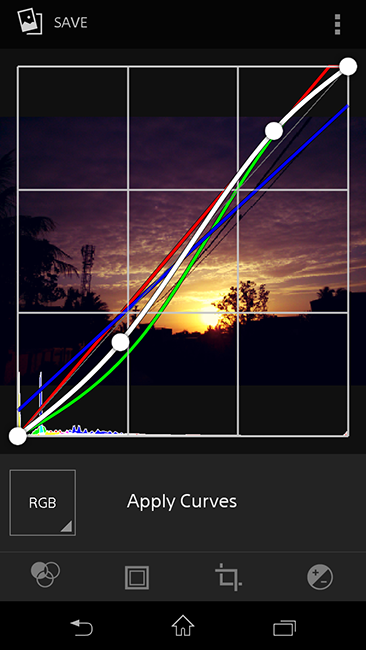
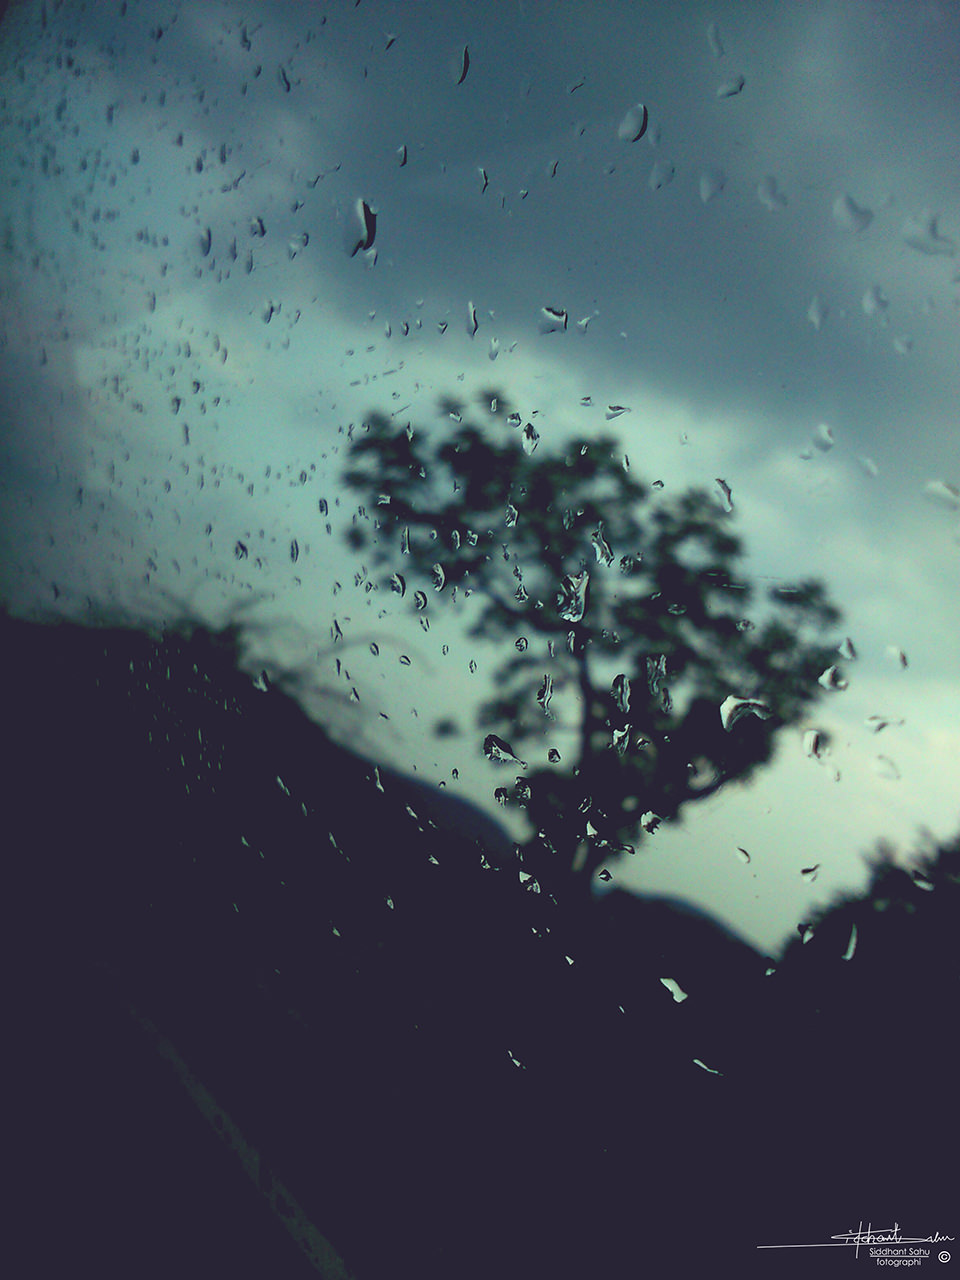
Once you have some nice photos captured with your phone, you can also process them directly with your phone. Developers created so many amazing apps for smartphones and you can do most of the editing without ever touching your computer. Most of the time, I utilize the built-in photo editor of my phone and use curve adjustments to add contrast and colors to the final images. I just draw a gradual S curve on the RGB channel and then add some blue on the undertones and shadows and a little bit of yellow in the highlights, to get that film feel to it. This is actually my basic adjustment to most of my photos. And then depending on what image I am working with, I play with the red and green channels as well. Here is a sample screenshot of curves adjustment:
You can also use different filters than are available, which can sometimes give pretty good instant results but don’t push the opacity of that filter slider all the way up. Try around 50 percent opacity and lower, and keep things very subtle.
Finally, when you are done processing your images, now it’s time to share them! There are plenty of great platforms on which you can showcase your phone photography, whether it is in the form of social media such as Facebook and Instagram, or various sites hosting photo contests specifically for phone photography. It is a lot of fun photographing with a phone and the possibilities are endless! You will never get bored, as long as you keep pushing yourself to get better and better. Sometimes it is good to limit ourselves to inferior tools – they allow us to get better with larger and more capable cameras.

I hope you find the above tips helpful. Do you shoot with your phone? If you do, please feel free to share some of your work in the comments section below! I share most of my phone photography on my Instagram page.

Here are few phone photography and i’m a budding photographer and read few of your articles, I must say they r awesome n knowledgeable. Can u please suggest me entry level dslr camera which I can buy to get started? Also some of the tips too Thank you 🙏
Today’s smart phones are indeed, very well equipped. It’s amazing you can take pictures like this from just your phone, a few years ago these would still require super fancy cameras. Now, pretty much any current smart phone can be used as one of those fancy cameras, a phone, and so much more all at the same time!
Will filters be helpful for phone photography?
i.imgur.com/9qUEoU1.jpg This photo was taken from my Ipod 5 gen through Retrica. Is is good?
Great tips and some pretty nice images too. Thanks for sharing.
Thanks natehartstudios :)
I fell in love with shooting with my iPhone in about 2012 or so. I’m really a stickler about image quality (shooting with a D810 and all of that), but I love the convenience of shooting with my phone too. Exactly as the article says, it lets me forget about equipment and just focus on capturing the scene and creating good composition. And I love the ability to edit photos right there on my phone instead of waiting to get back home and import them to my computer. All of the photos on my Instagram account are shot and edited completely using just my phone. It’s a personal rule/challenge of mine to force myself to be creative within well defined parameters. Here is my Instagram account with all of my iPhone photos:
www.instagram.com/ben_c_krause/
I mostly use Snapseed and VSCO to edit photos. Oggl is another interesting one sometimes. SKRWT does a great job of correcting perspective (vertical lines and such). The Pure camera app is another good one for full manual control when needed.
Oh, I also use the wide angle adapter lens from Moment from time to time as well. It works quite well relatively speaking. They also make a telephoto lens, but I haven’t used it.
www.shopmoment.com/
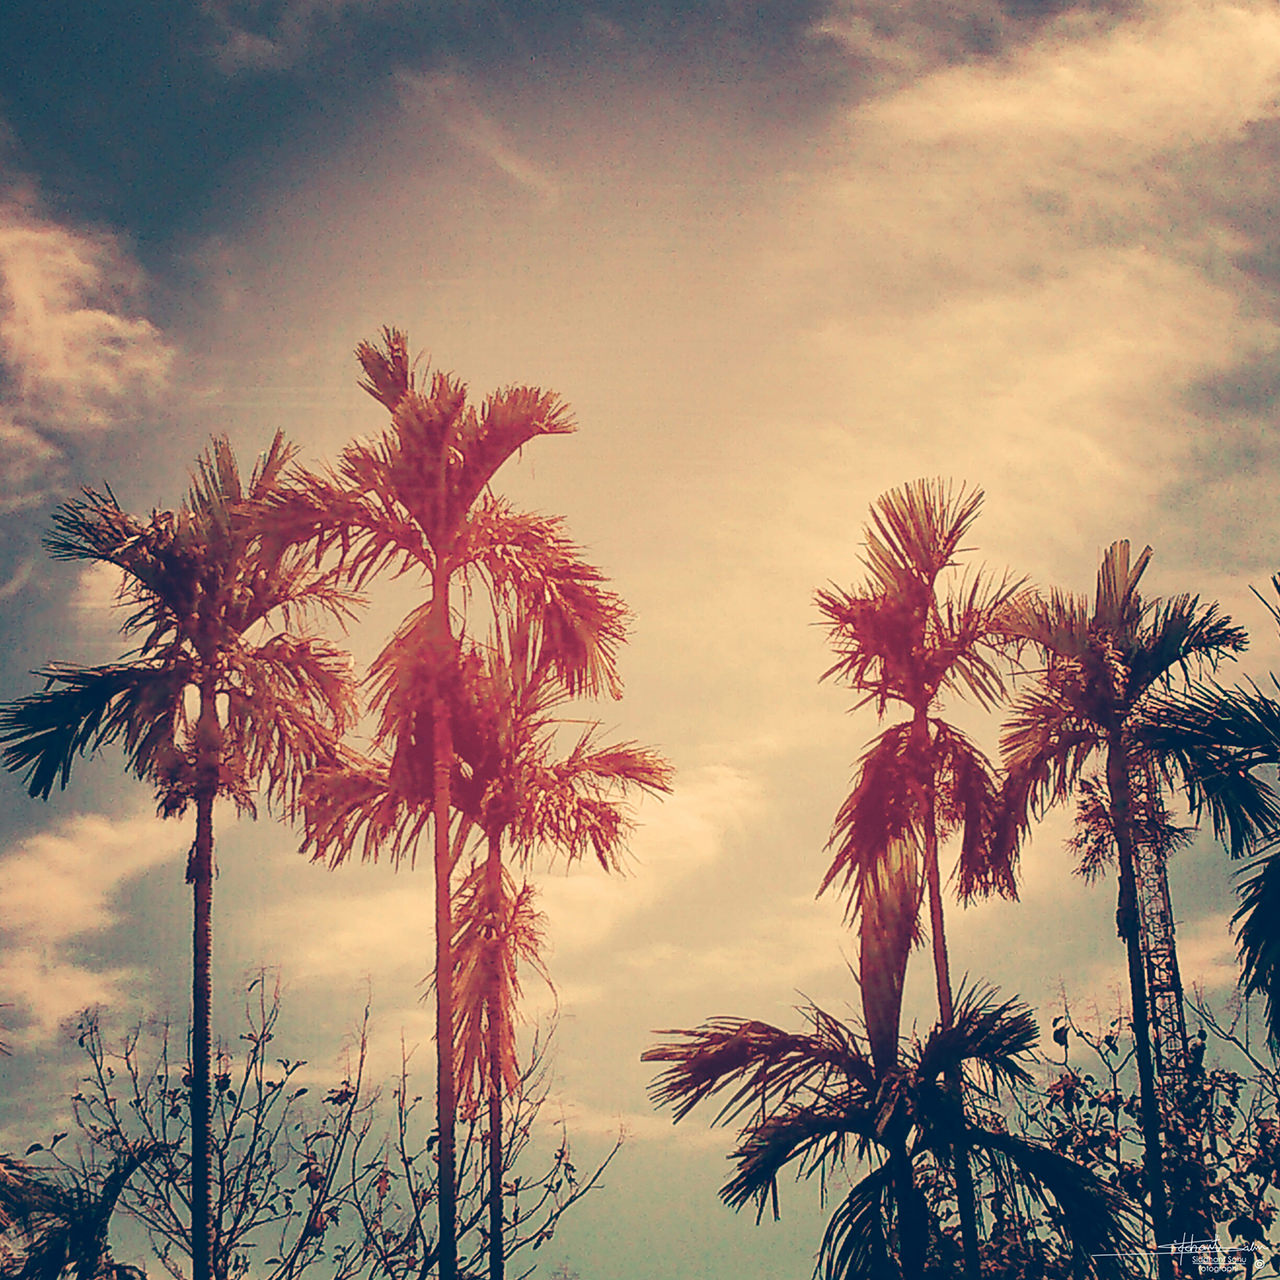
Even though the sensor technology on the phones is good, most of the smartphones have wide angle lenses. They all create images with exaggerated linear perspective – not my cup of tea. Lens is a big component of the photo set up, and smartphones have only an approximately 28 mm FF equivalent lens (maybe even wider). For me, smartphone is enough if I forgot my real camera and something must be documented but I would in no way call it a replacement for any dedicated camera, even point-and-shoot.
Surprised there’s no mention of third party apps to provide serious camera controls – not the dime a dozen filter collections but ability to do things the stock controls won’t permit. With ability to set and lock ISO, shutter speed, white balance, exposure compensation and RAW in the most recent phones, the performance really can approach a high-end compact by Canon, Nikon, Sony, etc. I use Camera FV-5 on Android, but there are other good apps. Smartphone camera photography is not Auto + crazy filters. Also, there are inexpensive tripod mounts that let you stabilize the phone as you would a camera.
Yes Albin..there are a lot of third party apps. filters available..but I find these steps more helpful in keeping things very simple. Well there isn’t much to do in photography with your cellphone as you can do with a camera :)
Which post-processing aps for the iPhone do you recommend?
Snapseed, try it, great app :)
I also personally suggest using Snapseed
Nice photos siddhant. You were born at a time when the cell phone revolution was gaining ground and now its at full swing. That must open up wonderful opportunities for young people to capture rare monents. I remember how we used to crave the nokia phones with vga cameras. Though we never could print any of those images because of poor quality. I had the opinion that one did not need to invest in an expensive smartphone because one could do very well with a $50 phone and a $100 camera. If i were born today i would surely skip a point and shoot in favour of a smart phone camera.
That’s very true Muhammad :)