In photography, you compose shots by moving your camera to a physical position in space and time. That’s obvious. But what isn’t so obvious is that very slight changes in space and time can substantially alter a composition. As a wildlife photographer, I know it’s tempting to take shots immediately when an animal makes an appearance, but that often results in something not quite right with the composition. It’s better to take a more deliberate approach and make some minor adjustments before taking the photo. In that spirit, I’d like to show you five before and after photos, with a difference of only small changes between them in the field.
Table of Contents
Example 1: Gambel’s Quail
Three years ago in Arizona, I was keen to photograph quails. Often they flew away too soon, but I found one walking, and he didn’t seem too scared:

This initial take has some very bright background blur to the left, and the quail is slightly facing away from me. I feel like the shot is also too high. The ground looks kind of interesting, though, and there is some reddish-green stuff in the distance that looks like it might provide a more uniform background.
What happened when I took a few steps to the left and lay on the ground? I got a completely different shot:
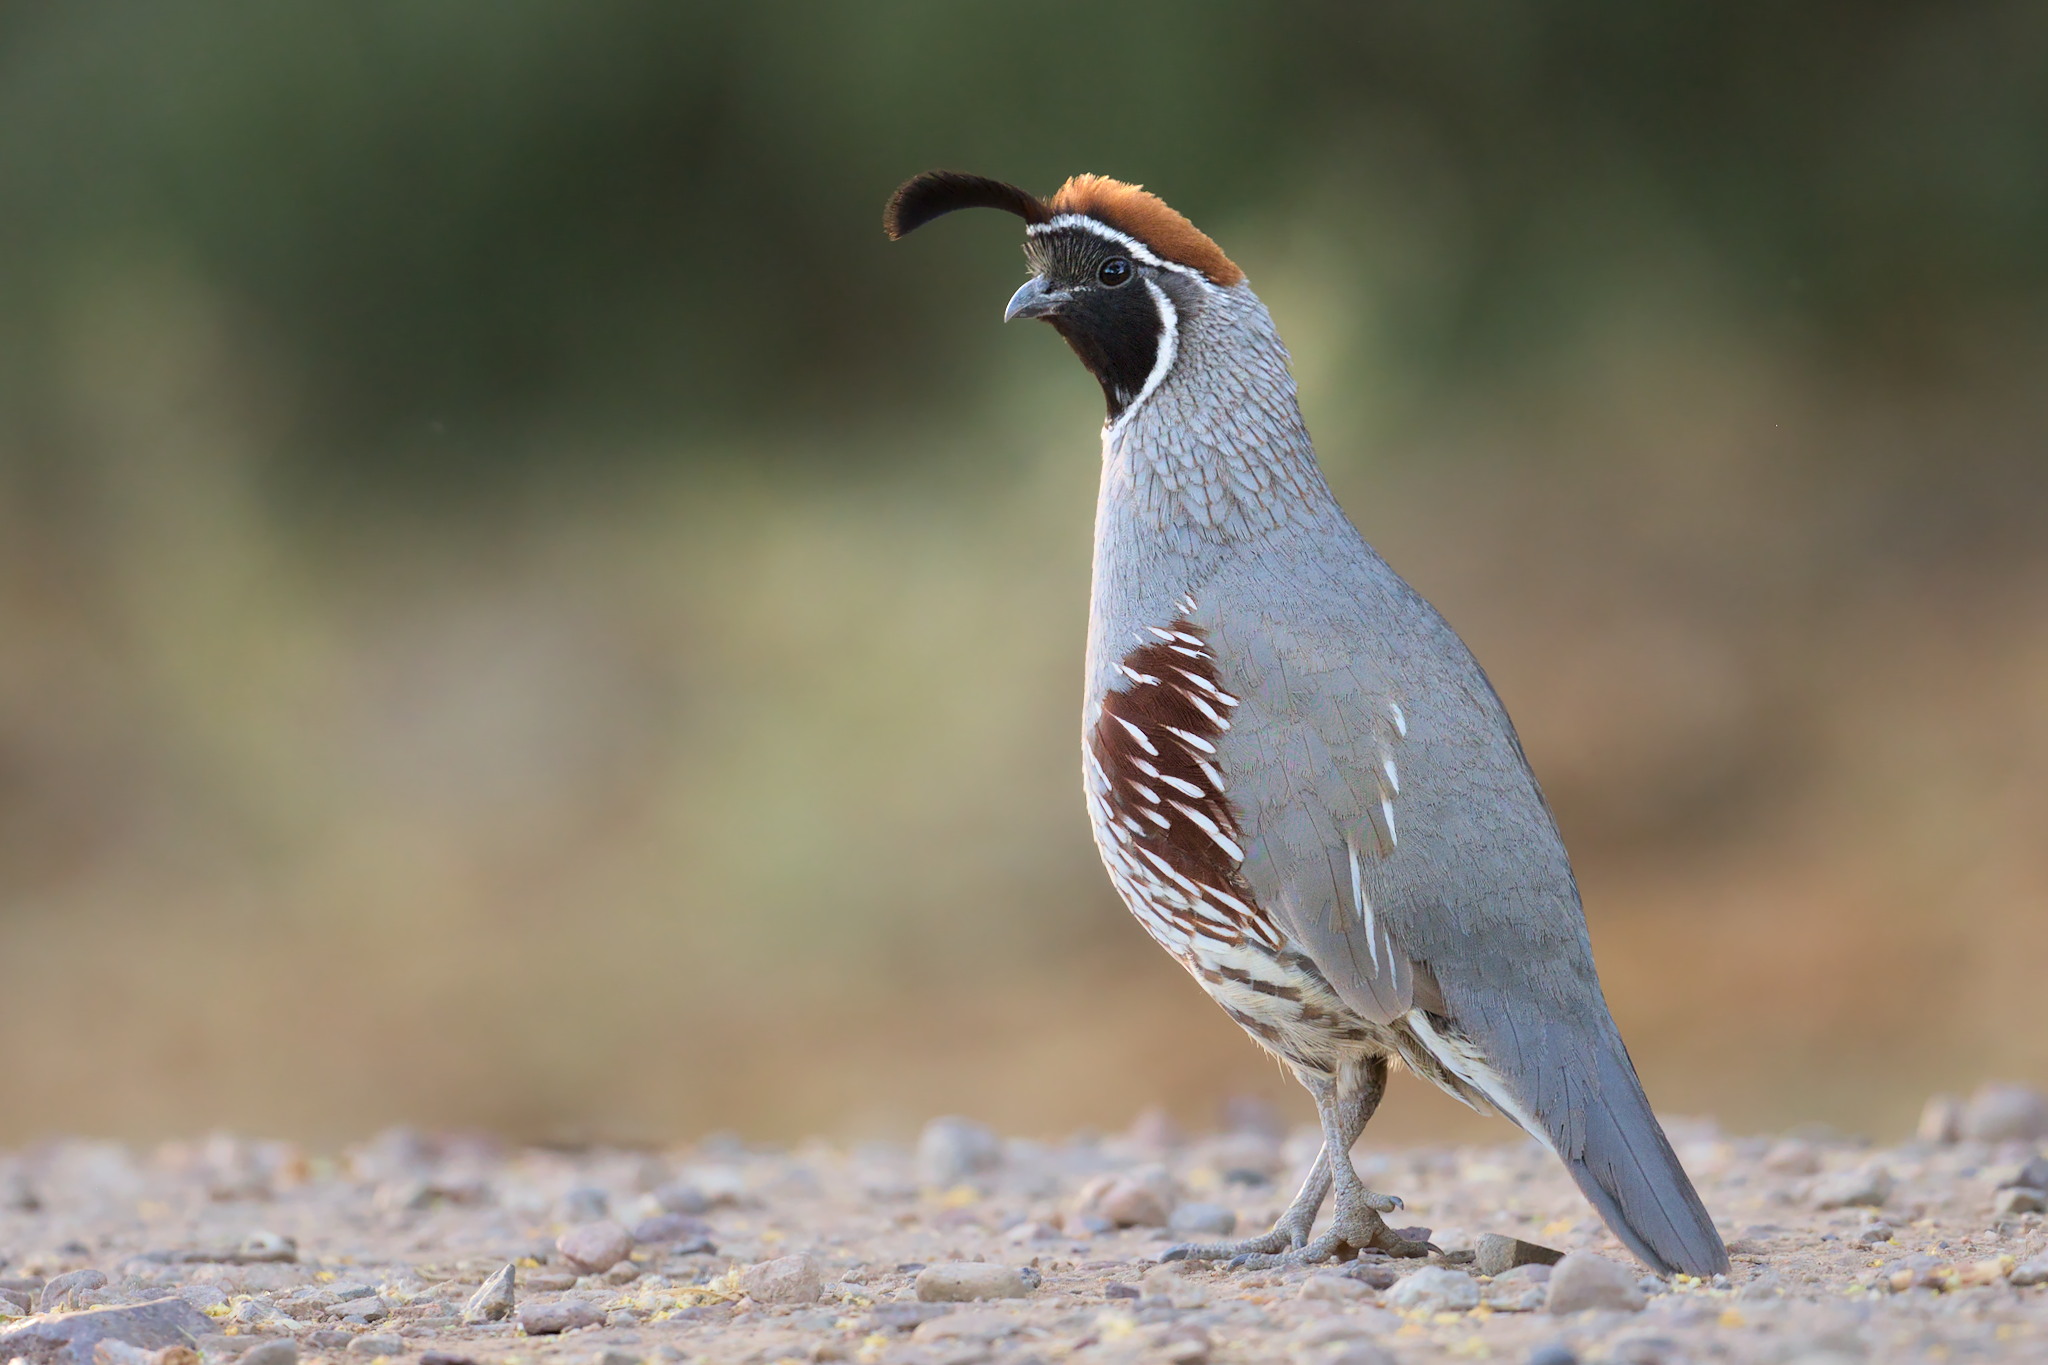
Now the Gambel’s Quail is facing towards the camera for a classic profile shot, the background no longer has that bright stuff in it, and that ground is better defined. I am much happier with this second shot, and it didn’t take any big adjustments to get there.
Example 2: Bare-faced Ibis
Recently, I came across a Bare-faced Ibis:
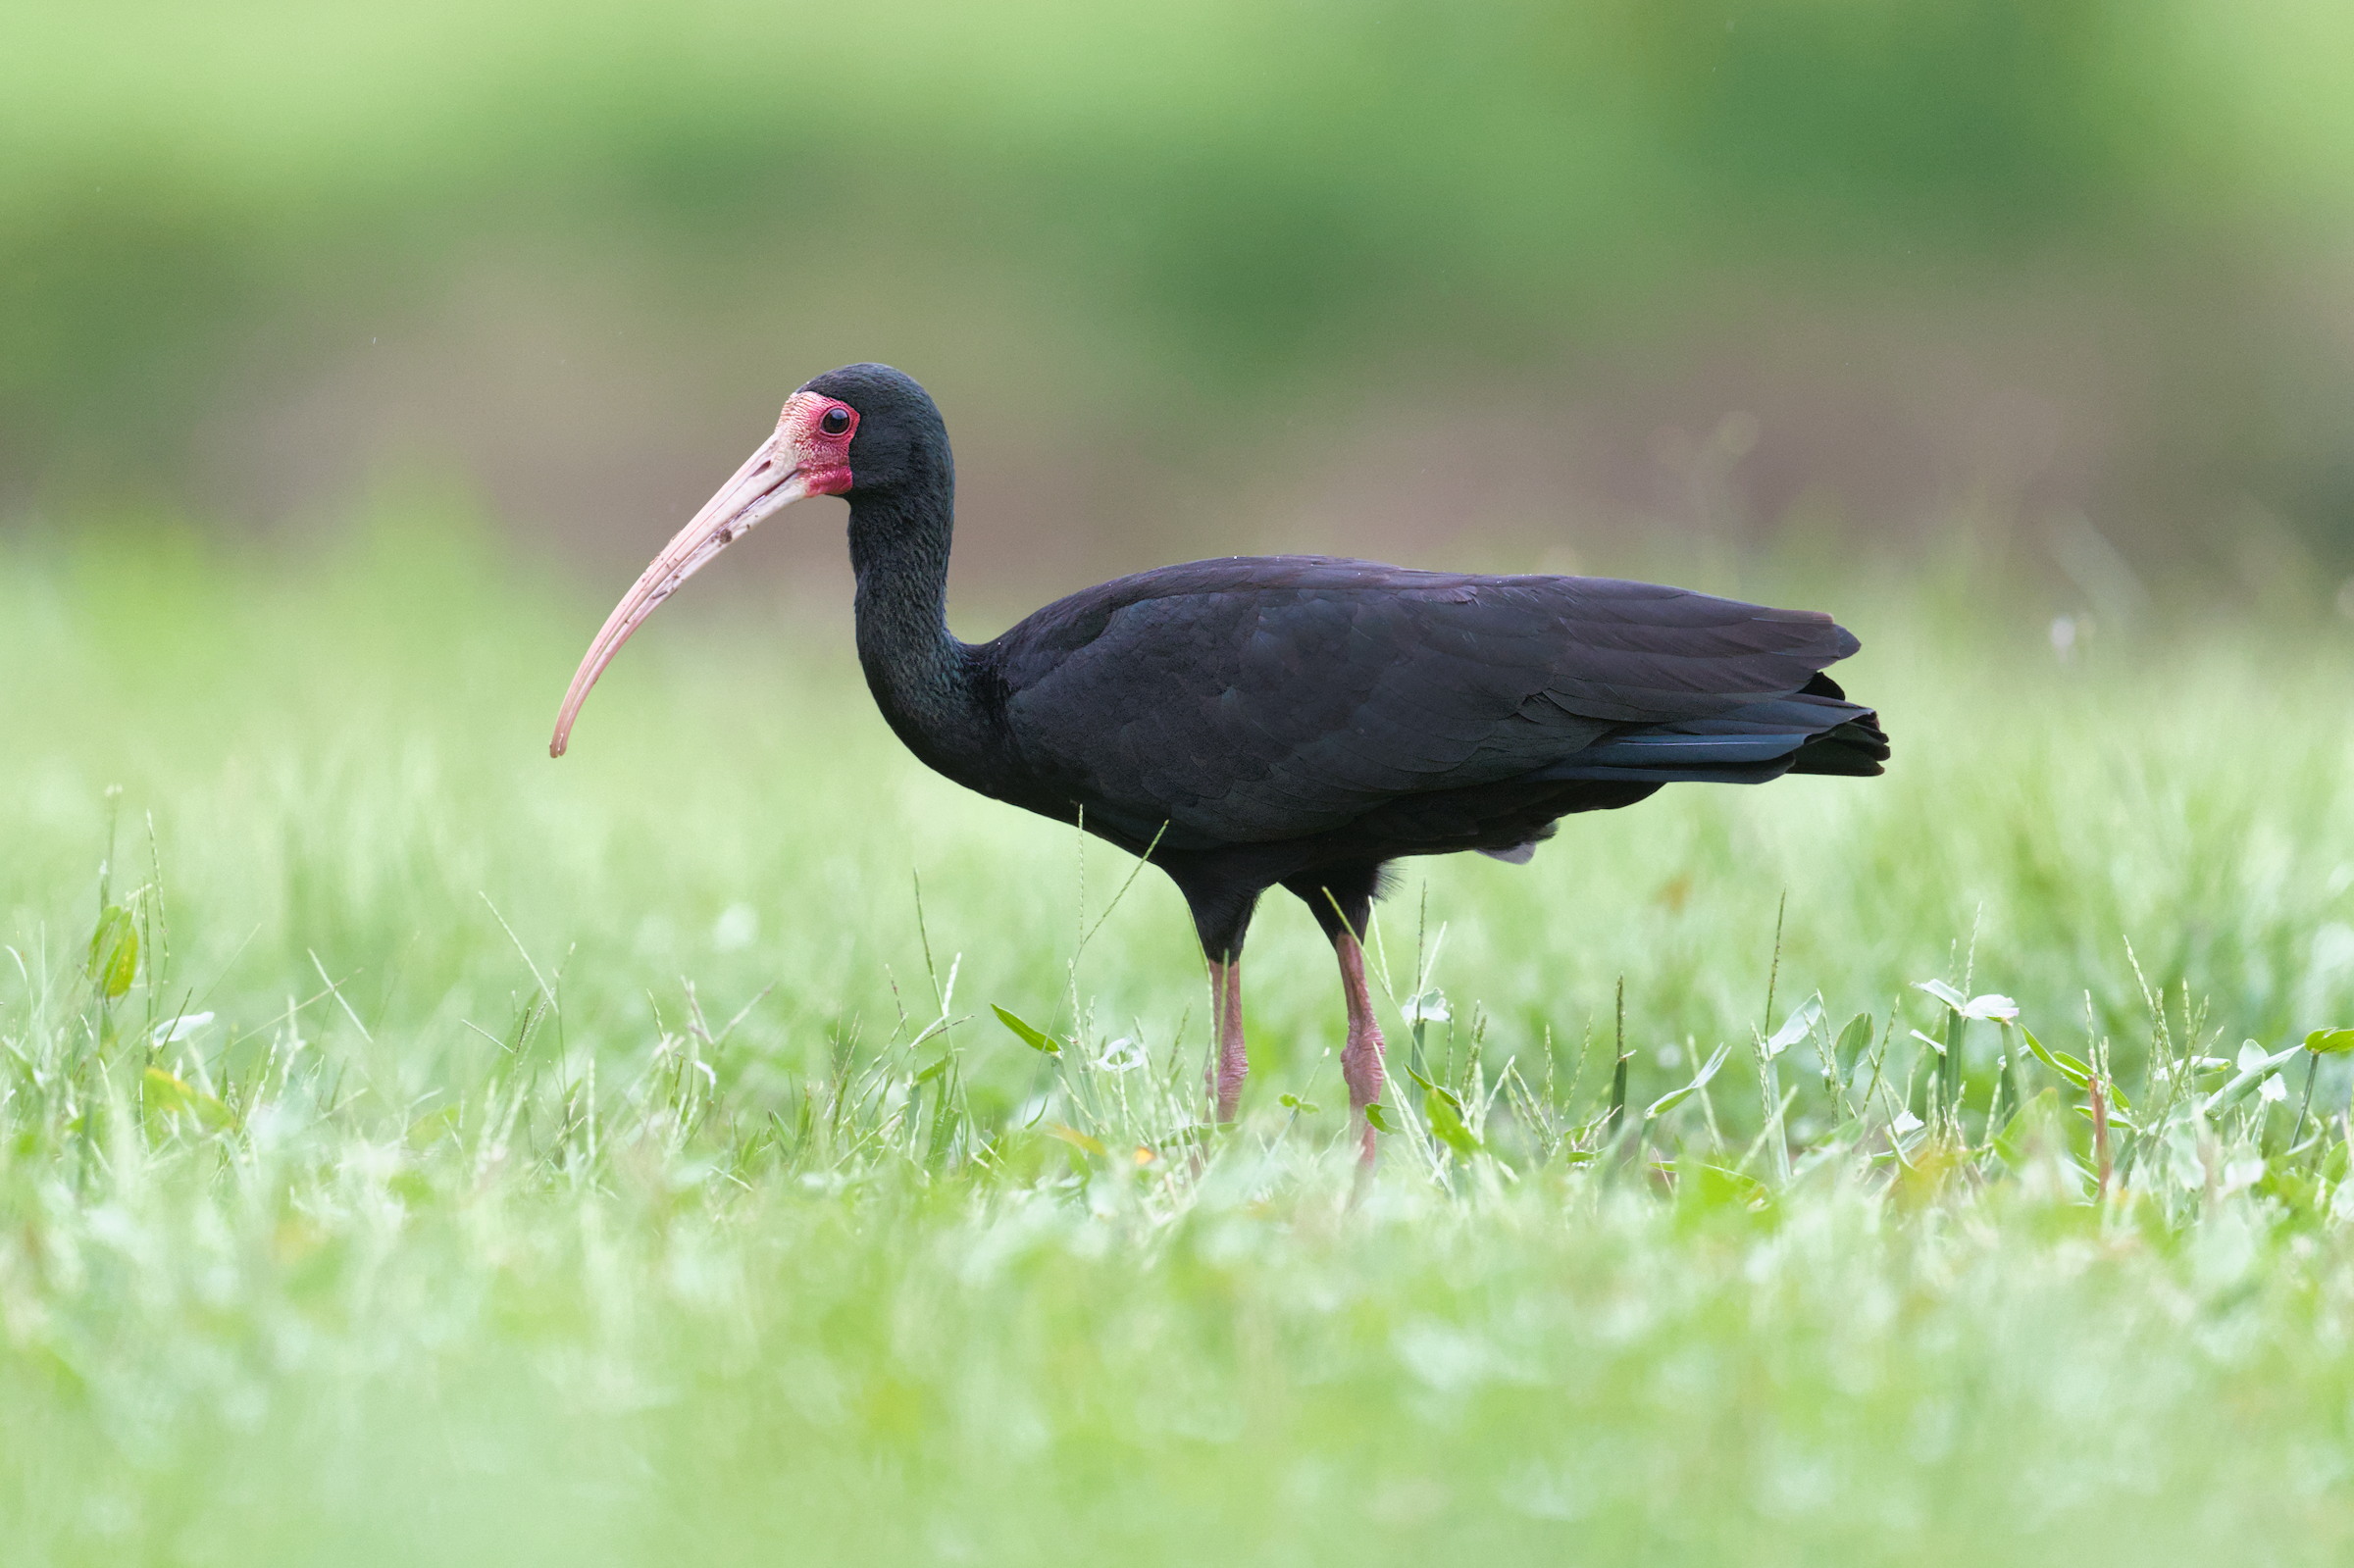
I like Ibises a lot. They have very nice bills and are quite photogenic. I think shots like this can often be nice and show the habitat of the Ibis. But what if you think the foreground is a bit too rough? One option is to lower your camera further and shoot through the grass. Watch what happens when I move a bit and lower the lens by about ten centimeters:
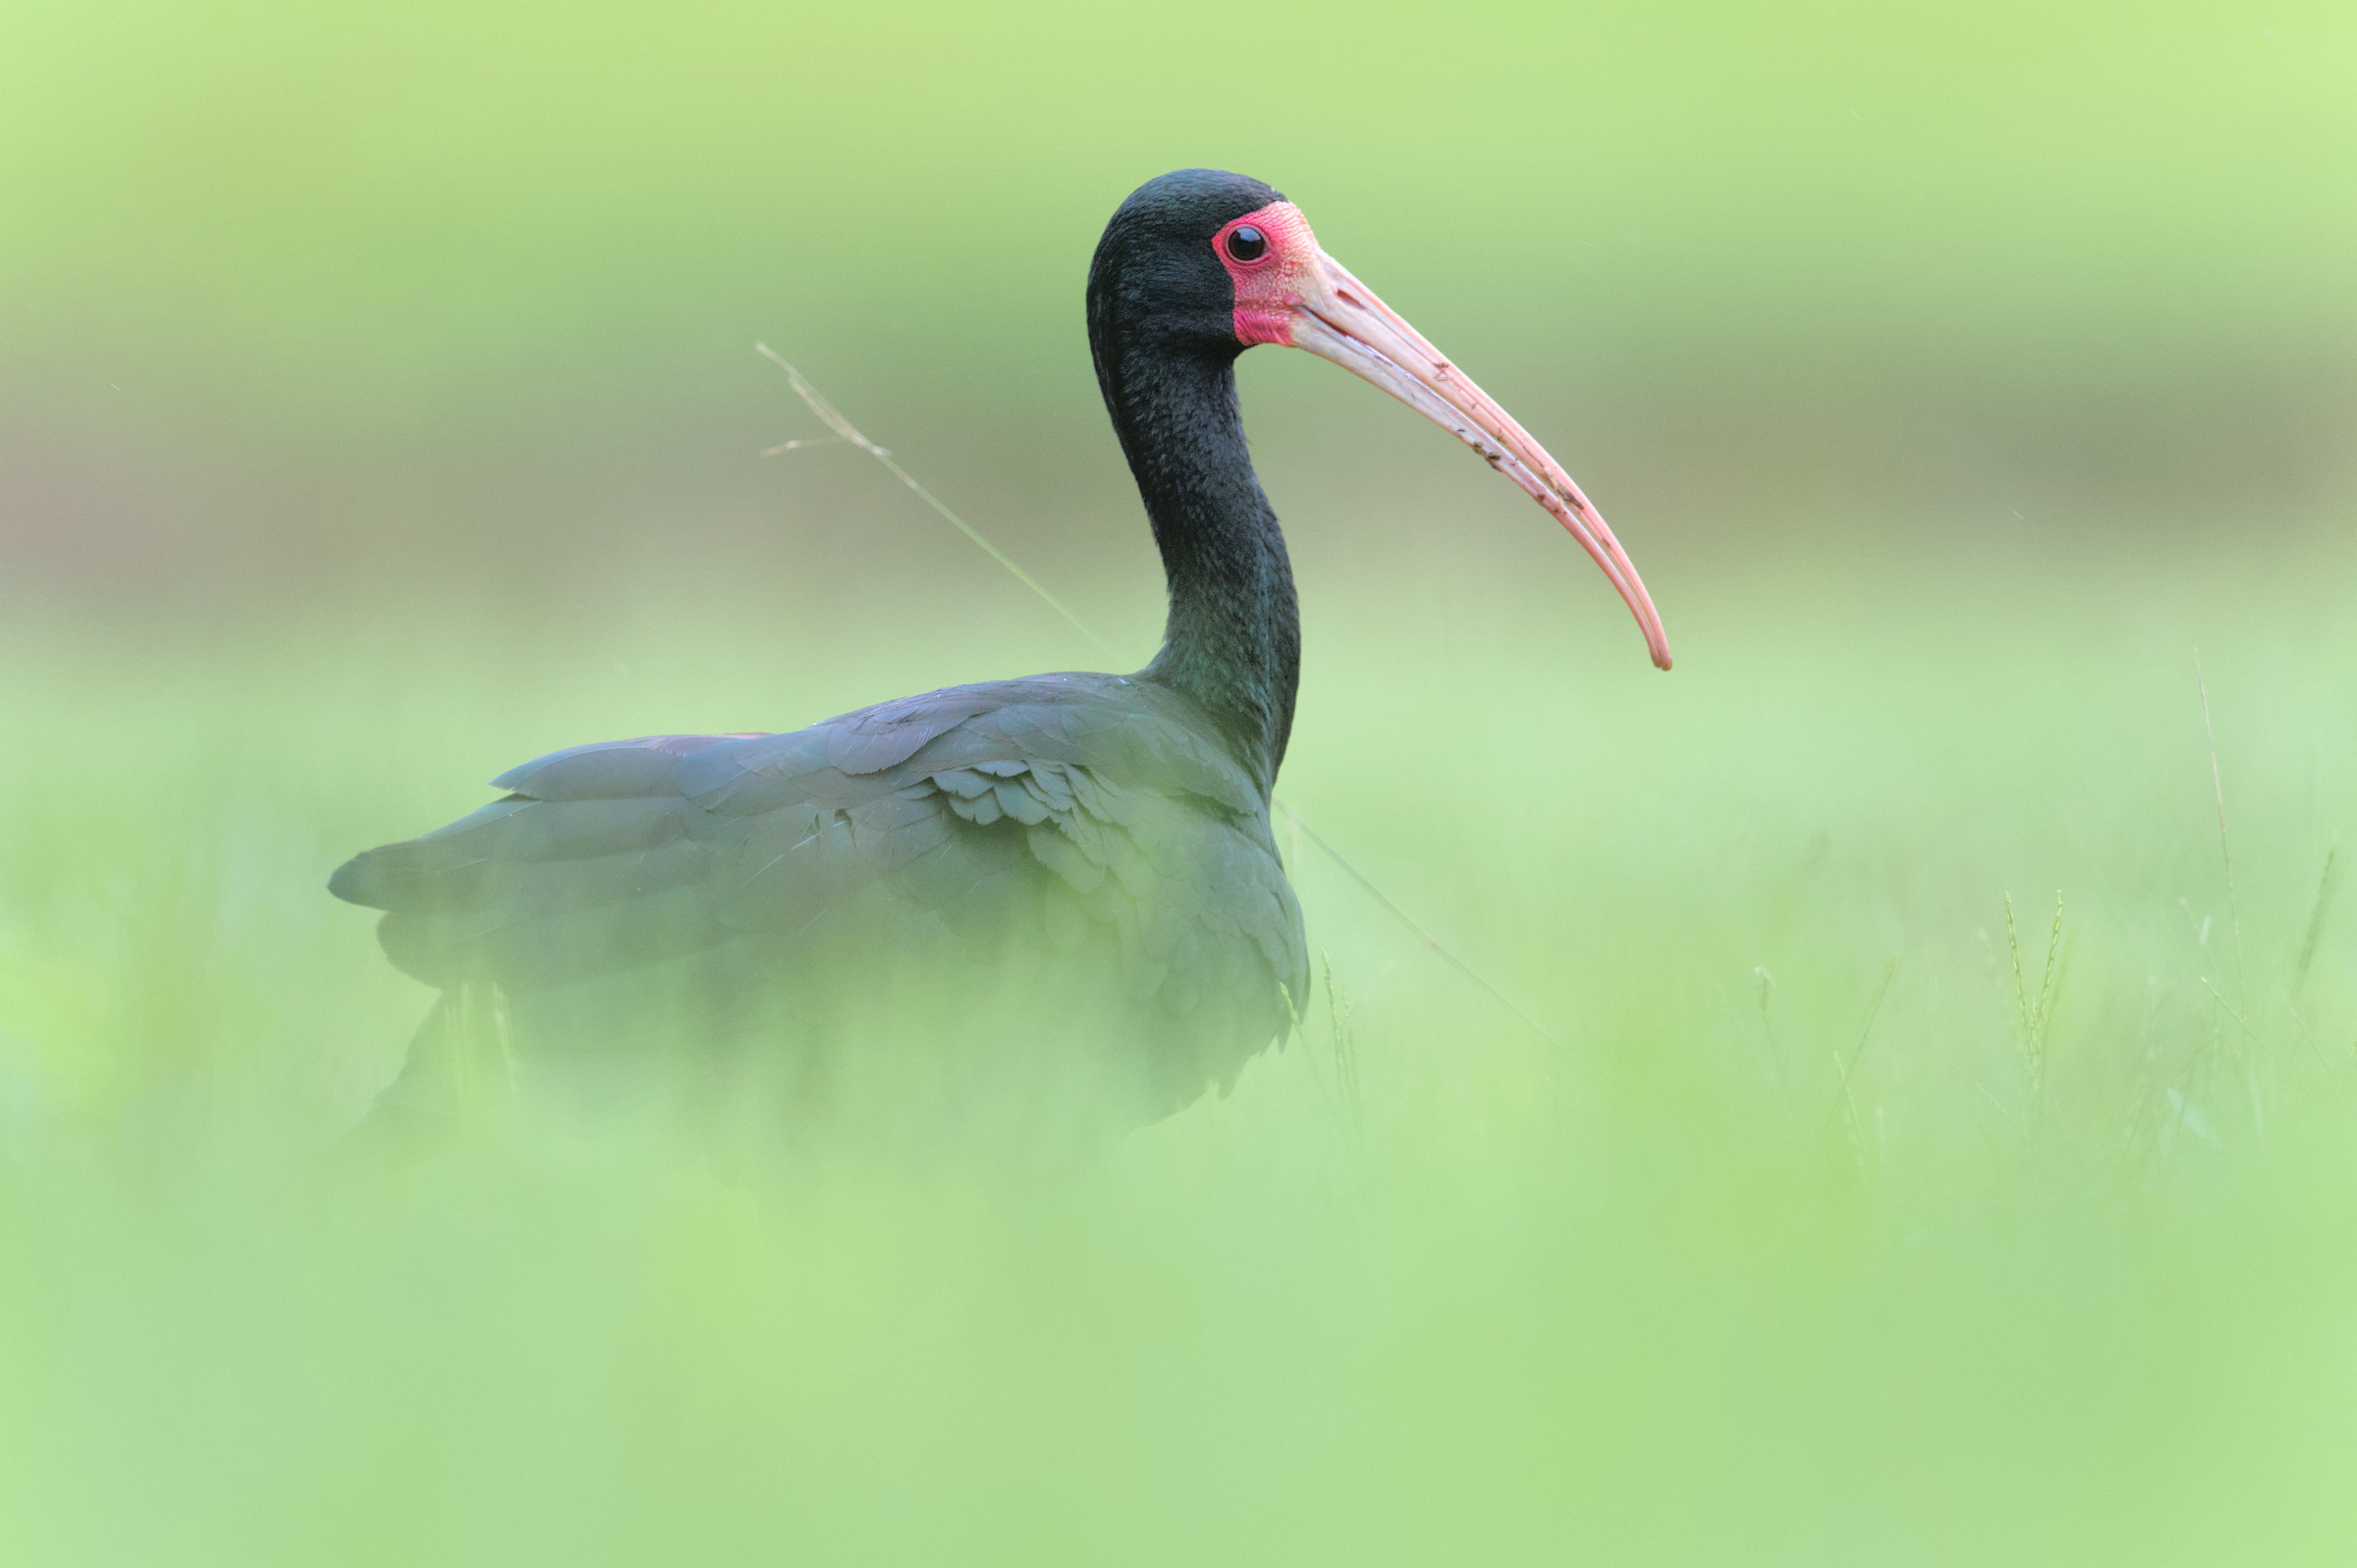
Now, the foreground is completely blown out. That’s not because I changed my aperture; it was at the maximum of f/5.6 in both cases. Rather, the lower camera position for the second photo led to more blur in nearby grass, making the bottom half of the photo a lot smoother. This technique doesn’t necessarily make every photo better, and maybe you still prefer the previous image, but it can be a nice technique to use! And it shows how such a small change in camera position leads to very different shots.
Example 3: Common Gallinule
It’s common around here in Brazil for Common Gallinules to walk around in the grass next to lakes:

They are not afraid of people and thus are easy to photograph. But I think the foreground in the image above isn’t very pleasant. By taking one step forward and placing the lens very close to the ground, I was able to simplify the distractions and focus more attention on the Common Gallinule:
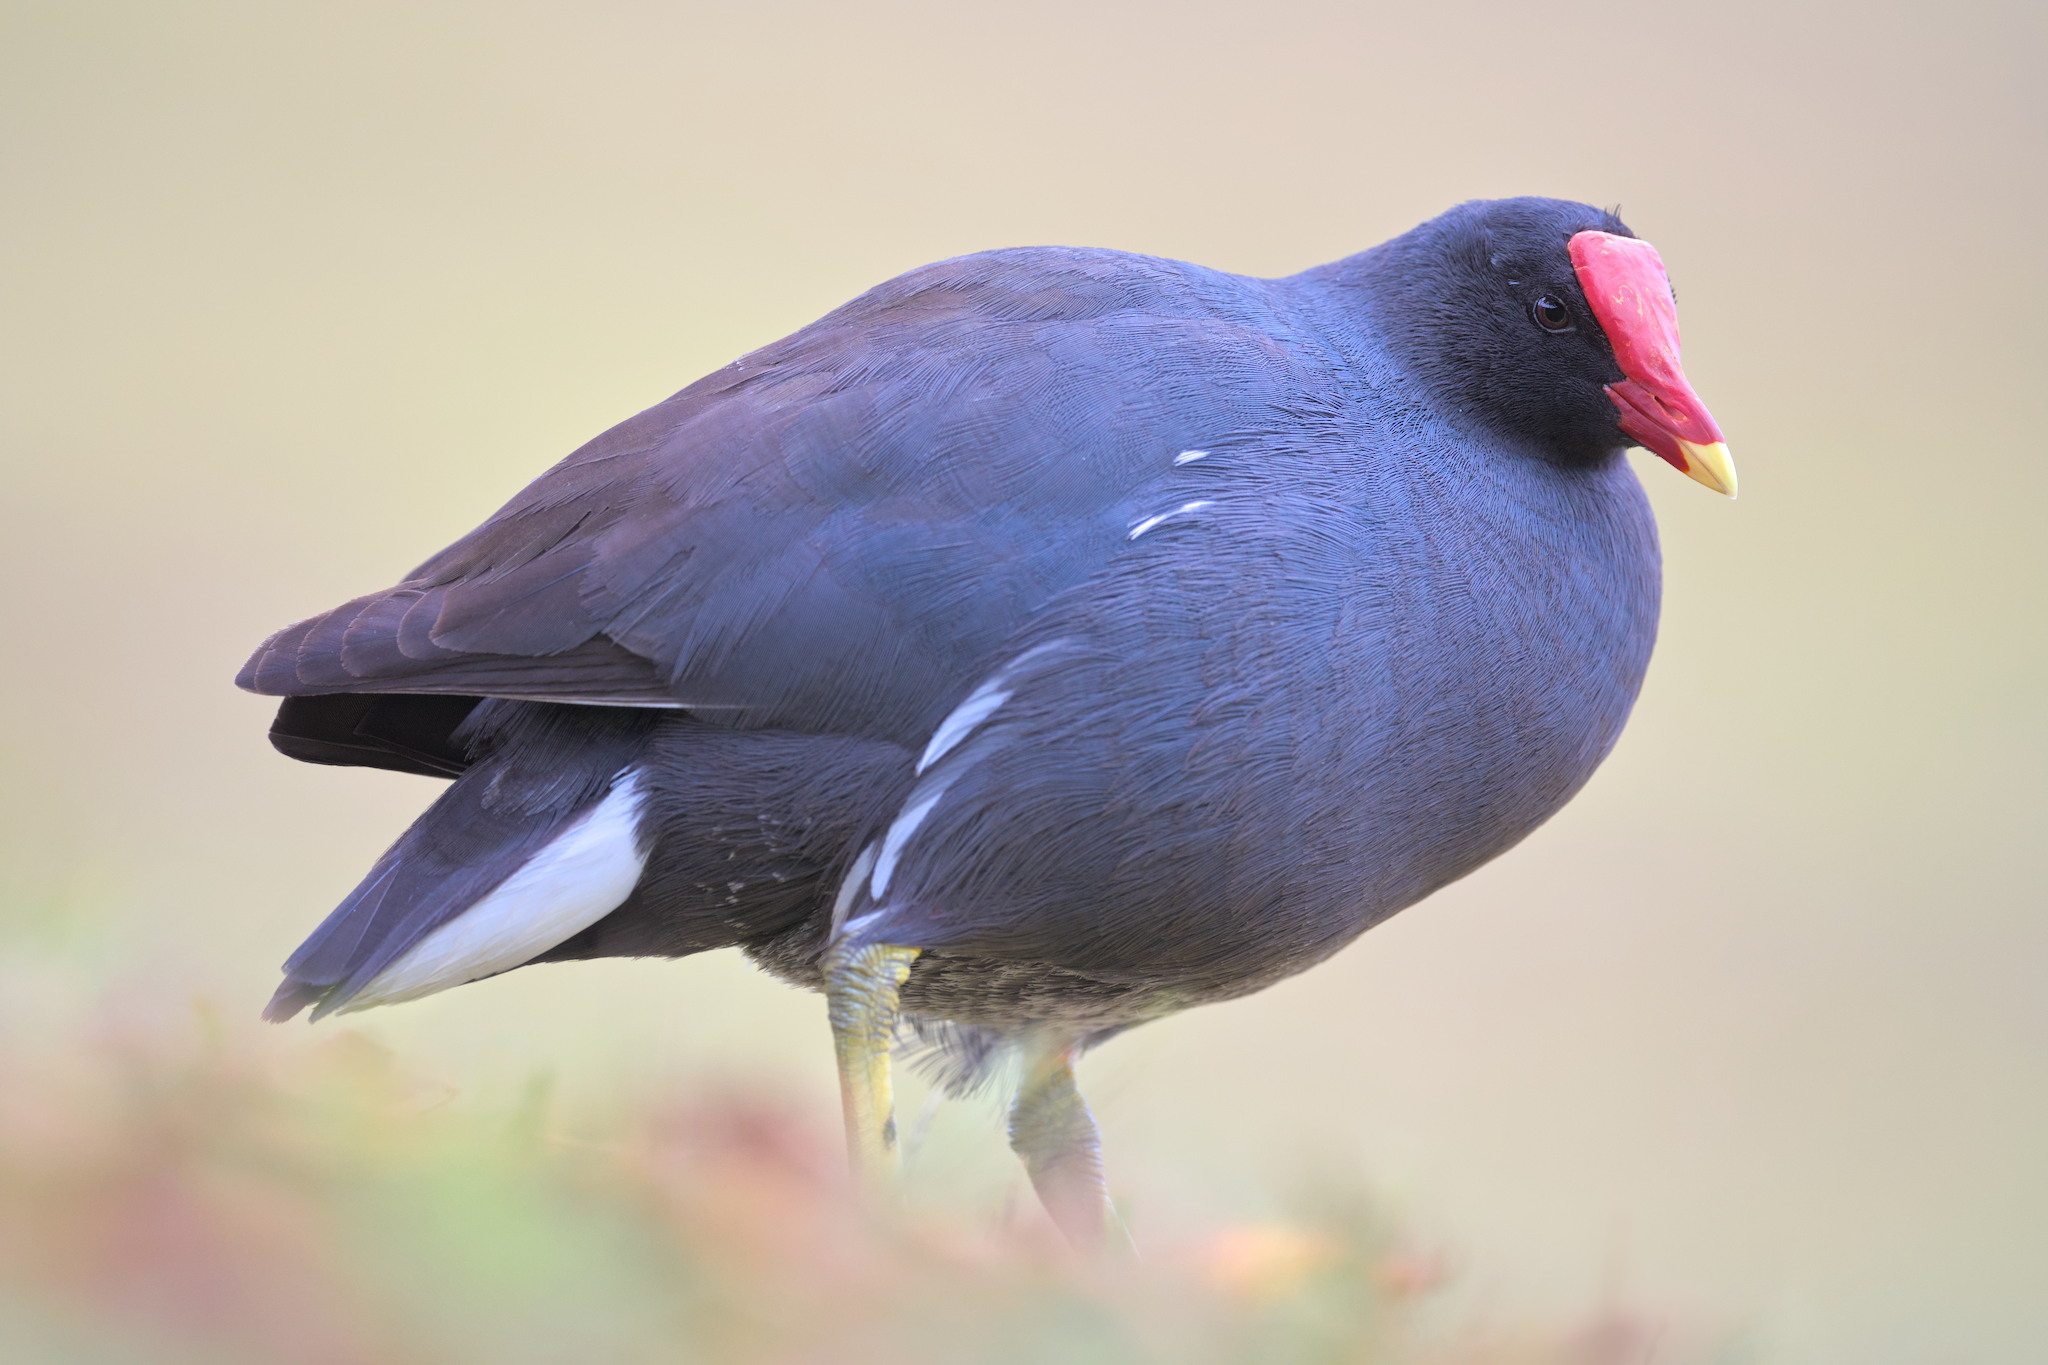
Now the foreground is made much more blurred, and the subject is more isolated. The green background was also transformed into pink due to some of the bare, reddish ground in the background. Like with the previous photos of the Bare-faced Ibis, I only lowered the camera by about 10 cm between these two Common Gallinule photos.
Example 4: Yellow-eyed Junco
I lived in Ottawa for many years, and one of the most common birds there was the Dark-eyed Junco. That made me especially excited to see the Yellow-eyed Junco when I visited Arizona! Here is what it looked like when I first saw one up close:
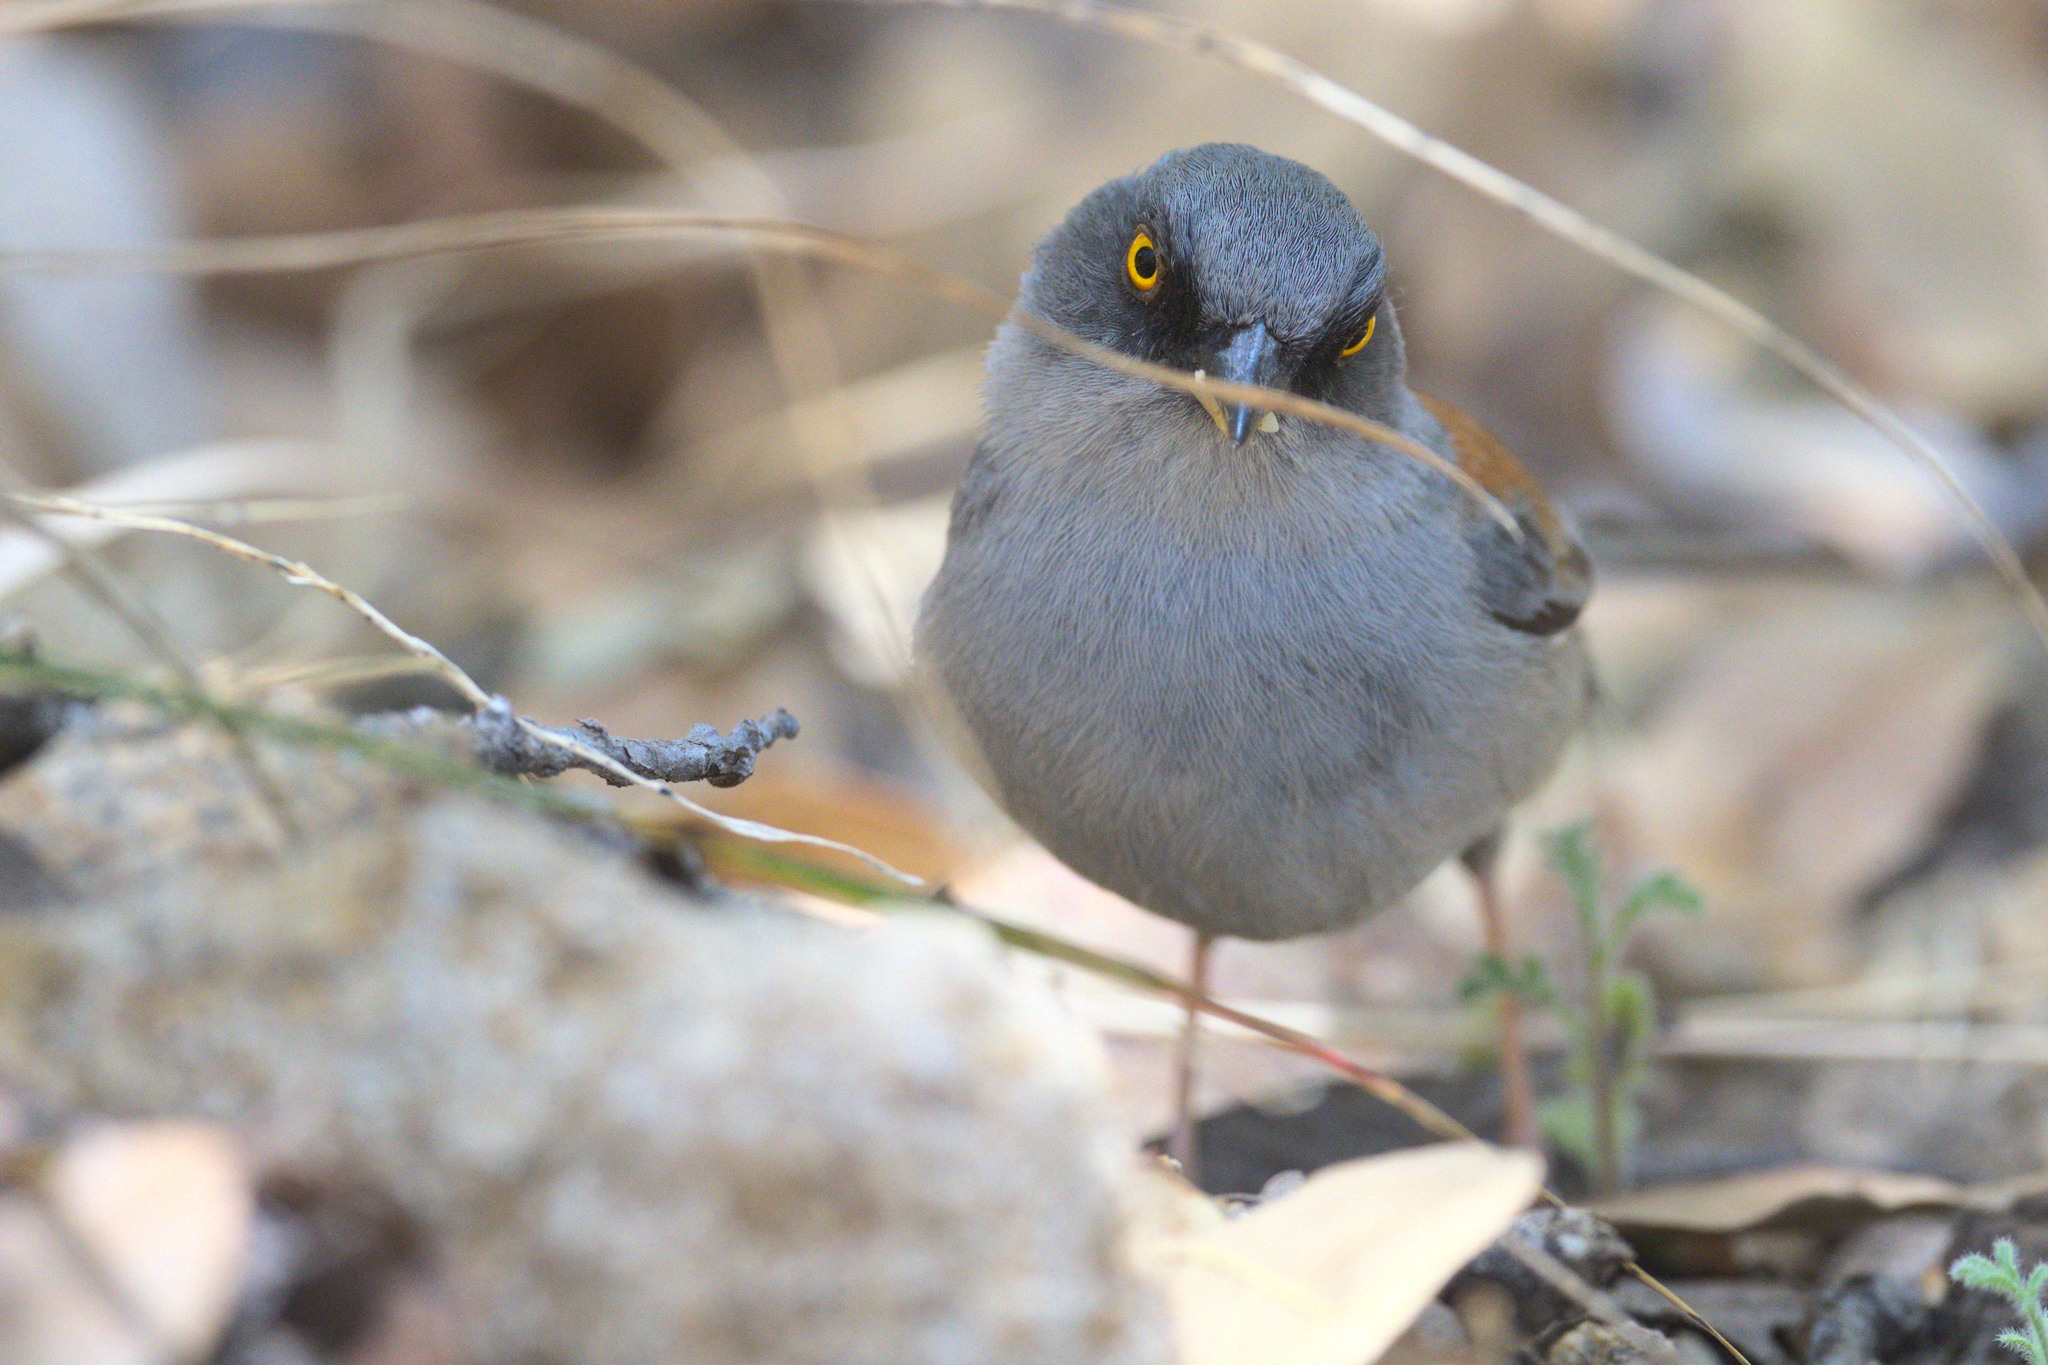
I was actually on a hill when I took the photo, and I’m looking down on it here. There’s all sorts of stuff in the way. But I quietly moved away from the Junco and took a few steps downhill. I then waited, and luckily the Junco came hopping around! I lowered the camera again (maybe you’re sensing a theme) to the point that I was lying down. By changing my position like this and waiting, I got a completely different and less cluttered scene:
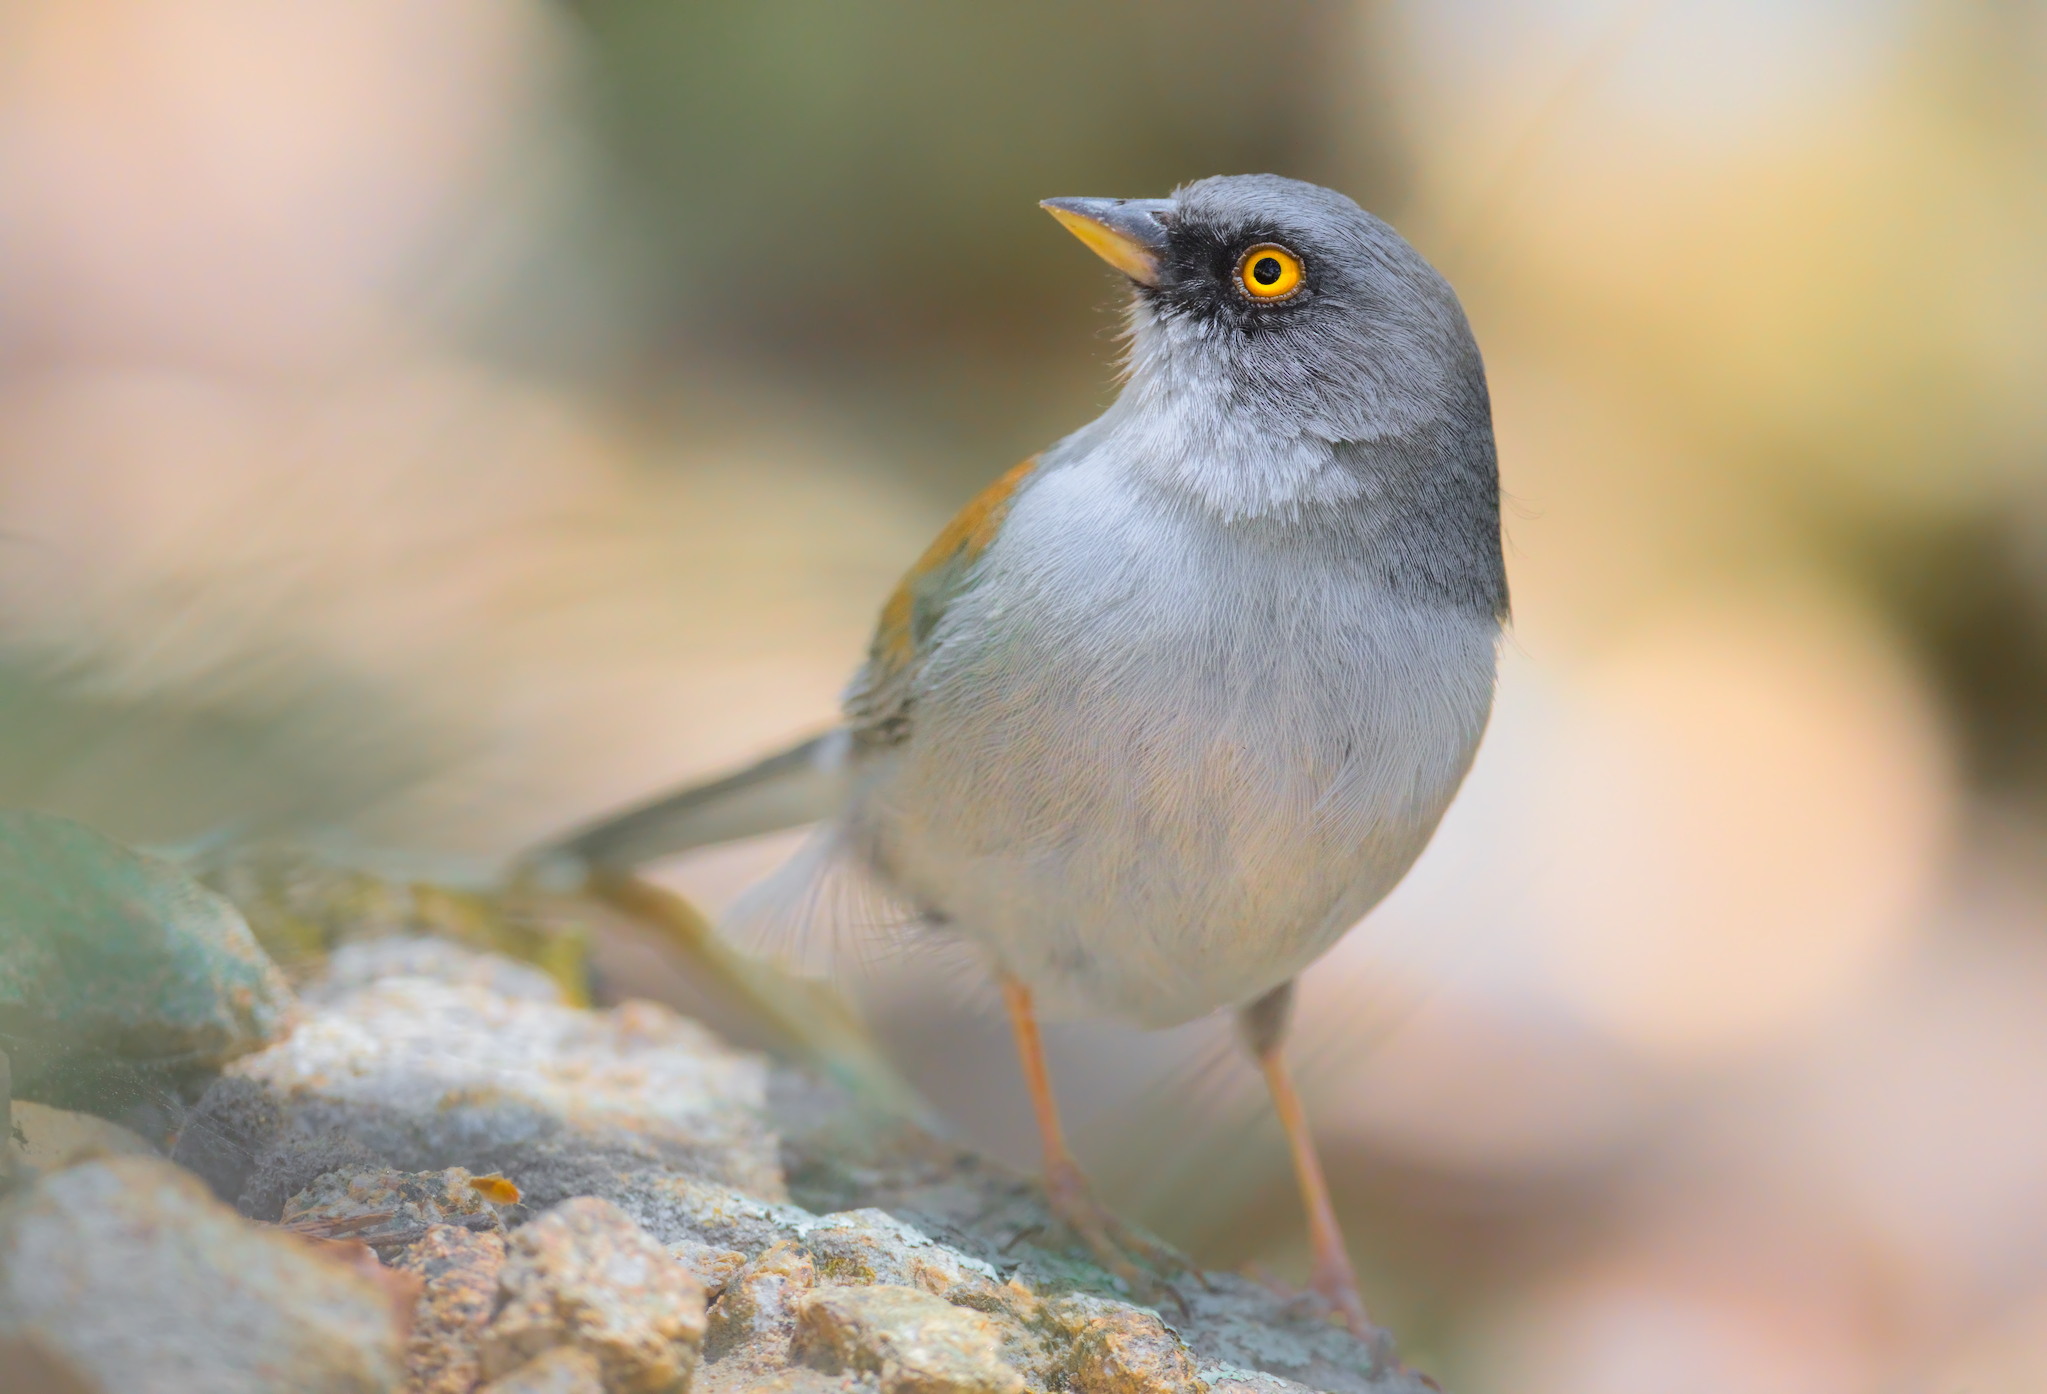
Doesn’t that show off the Junco a little better? Once again, it didn’t take very many changes in my camera position to get a clearer image. What it did take was thought and recognition that there was room for improvement in the original shot.
Example 5: Masked Water-Tyrant
I want to show one final example that doesn’t appear too different at first, but I really like one and not the other. Two weeks ago, I saw a Masked Water-Tyrant:
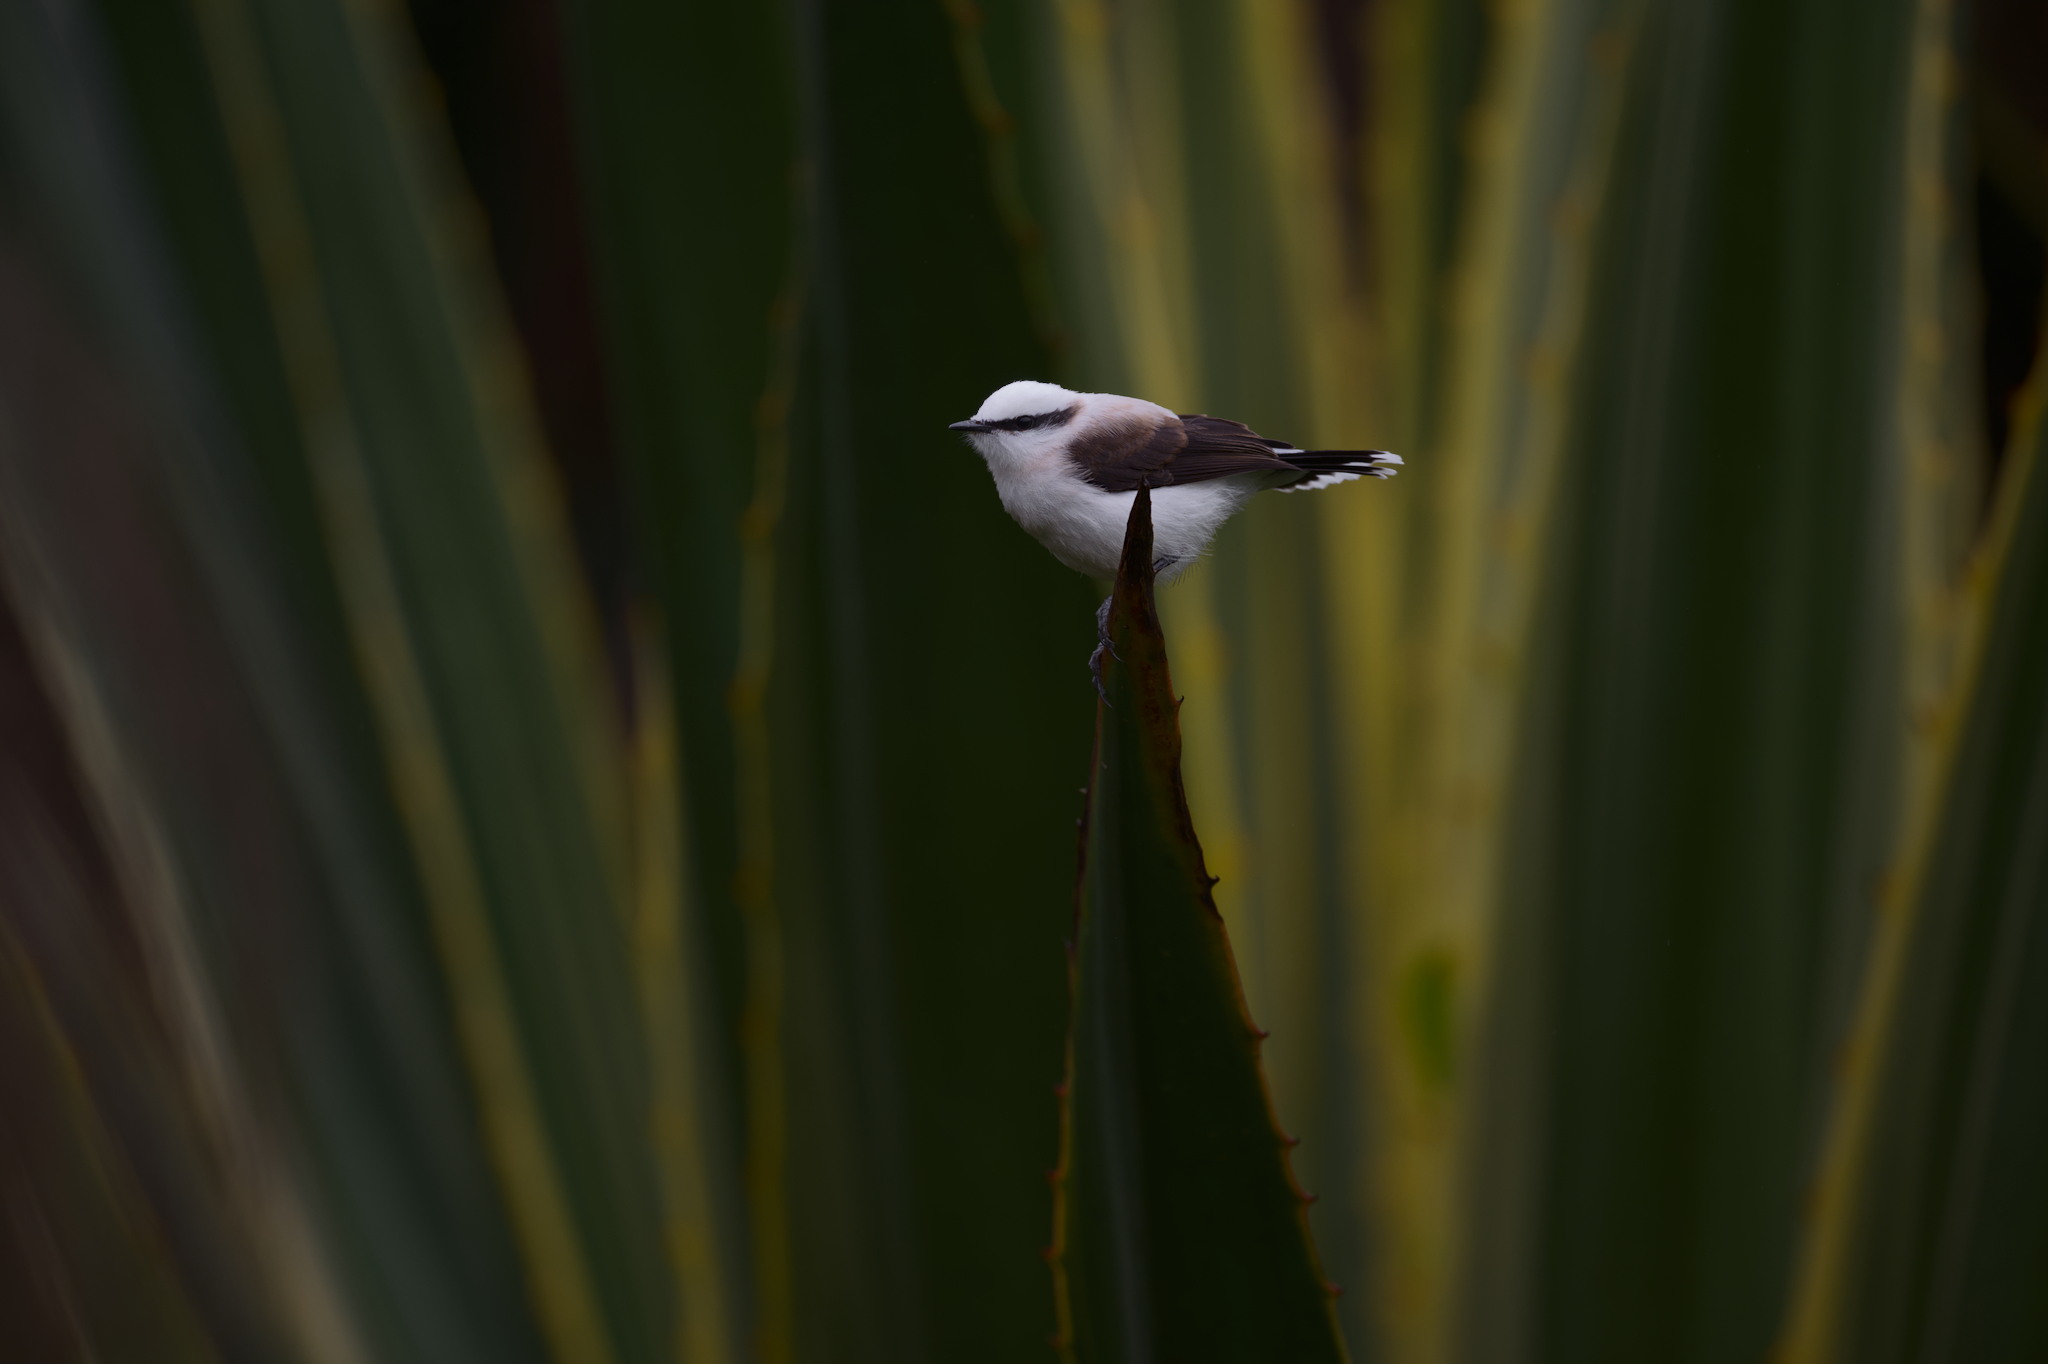
When I looked through the viewfinder and took this shot, my first thought was, “The head is too close to the bright part of the out-of-focus plant.” I also noticed a large, dark region in the top-right part of the photo that was distracting – and conversely, an interesting brownish area in the bottom-right that I wanted to include more of. So, I moved the camera about two inches to the left to get this:

It’s not a big difference. But the lack of the black void at the top of the photo creates a very different feeling for me. And, the reddish stuff on the left adds a nice balance to the photo, as well as a contrast between the bluer and greener tones in the rest of the photo. The bird’s pose is also more dynamic to me, and it stands more cleanly on the tip of the plant.
Conclusion
I hope I’ve showed you just how important it is to make minor adjustments to your composition in the field. Small adjustments can lead to big changes to your photos – changes that go beyond what can be done through post-processing.
Of course, you won’t always be able to make every adjustment that you’d like. Trust me, I know; it took me a long time to get even moderately good at making these sorts of adjustments, and realizing which adjustments would even be beneficial in the first place. I tend to be very slow and often distracted in the field.
Nevertheless, over time I’ve realized that making little adjustments – excluding one thing and including another – can be one of the most rewarding parts of photography. So, what I suggest is the next time you see something to photograph, don’t just take one photo and move on. Instead, keep a careful eye out for how various parts of the photo change as you make minor adjustments. I think you’ll find the results worthwhile!
Great info. Thanks, Jason! It seems it’s a matter of paying attention to composition. I do have a newbie question. Why is the ISO so high in many of the photos? Thanks again for the informative article.
The ISOs correspond to relatively high shutter speeds. The Yellow-Eyed Junco was fairly jittery for example, hence I used 1/1000. It was moving its head a lot and thus a slower shutter speed might cause some subject-motion blur. That being said, anything less than or equal to ISO 3200 is not a big deal for the D500 or especially the Z6 (or other full-frame camera). Also, my lens is f/5.6. Those with f/4 lenses will enjoy more light on their sensor as well :) Other situations were also a little dark. Many of them were taken in overcast light which is quite dark even with a relatively low shutter speed of 1/320 for example.
I agree with most of the changes and they resulted in improvements. However, for the Bare-faced Ibis 2nd one, there is a weed going through the frame.
That is an interesting comment. I saw that big grass there indeed. I personally found it comical becuase birds are often very regal in their poses but not so much caring for the environment temporarily getting in their way. Most of the time, when it happens, I reject the image but in this case I didn’t mind it.
Yes. Thank you.
One of the ‘tricks’ is, I suspect, to be aware of everything going on all around the viewfinder. A bit like looking beyond the end of the bonnet (hood?) after you’ve learned (learnt?) to drive.
Needless to say, I haven’t practiced sufficiently to do it. Still too busy trying to remember to change my shutter speed in manual/auto iso mode between birds on the ground and those in flight. And under-exposing for white birds that don’t predominate in the scene (the old Canon AE1 had a button that did a 1 1/2 stop under-exposure – might try programming something for a 0.7 under-exposure).
And I’m sure there’s something else I forget to remember to do.
Yeah, it’s just a matter of practice. Sometimes I still mess up the settings here and there also….
Time=patience (in many cases) × more shots (as possible) to get the choice for the best. Your article “The Quest for 5000 Birds” was one of the best for me, I did similar since 2011… But can’t compete w/ your collection indeed…
Thank you for the encouragement, Yuri! The cool thing about birds is that at least for most, there will always be one new species to see :)
Excellent article, Jason! I was amazed at the much better second photos in every case. Well.. except the gallinule. I didn’t think he looked better that close up. But by the end of the article, it came to me that you (the photographer) have to have very strong nerves to do this. The fear of losing your subject as you move must be overwhelming. And that the bird tolerates your move I think may be unique to you. For me I think it would fly away. My favorite of all these was the second junco picture. It is truly beautiful, and a huge difference from the first. I see a dozen interesting things to say about that composition. As for the masked water-tyrant, I’d crop that one a bit. I’d rather see the bird than all those grasses, which to me don’t do much for the photo. But that is, of course, personal opinion. This is a really interesting article that is very instructive. Well done!
Thank you very much, Elaine. Your comments are very much appreciated. Sometimes there is a risk of losing the subject. But these days I’ve found stayling low to the ground and approaching slowly helps with that, although it also has the side effect of getting lots of mud on my clothing. :)
Great value content. I feel like it is the same as sound engineering, small adjustments in placing microphones will get you completely different results.
Thanks, PRG. Indeed. It’s another one of my obsessions: placing the microphone. The immense variation in sound quality that can occur inside just one house is astounding!
Thank you for this article, it was really interesting.
Thanks, Sandor.