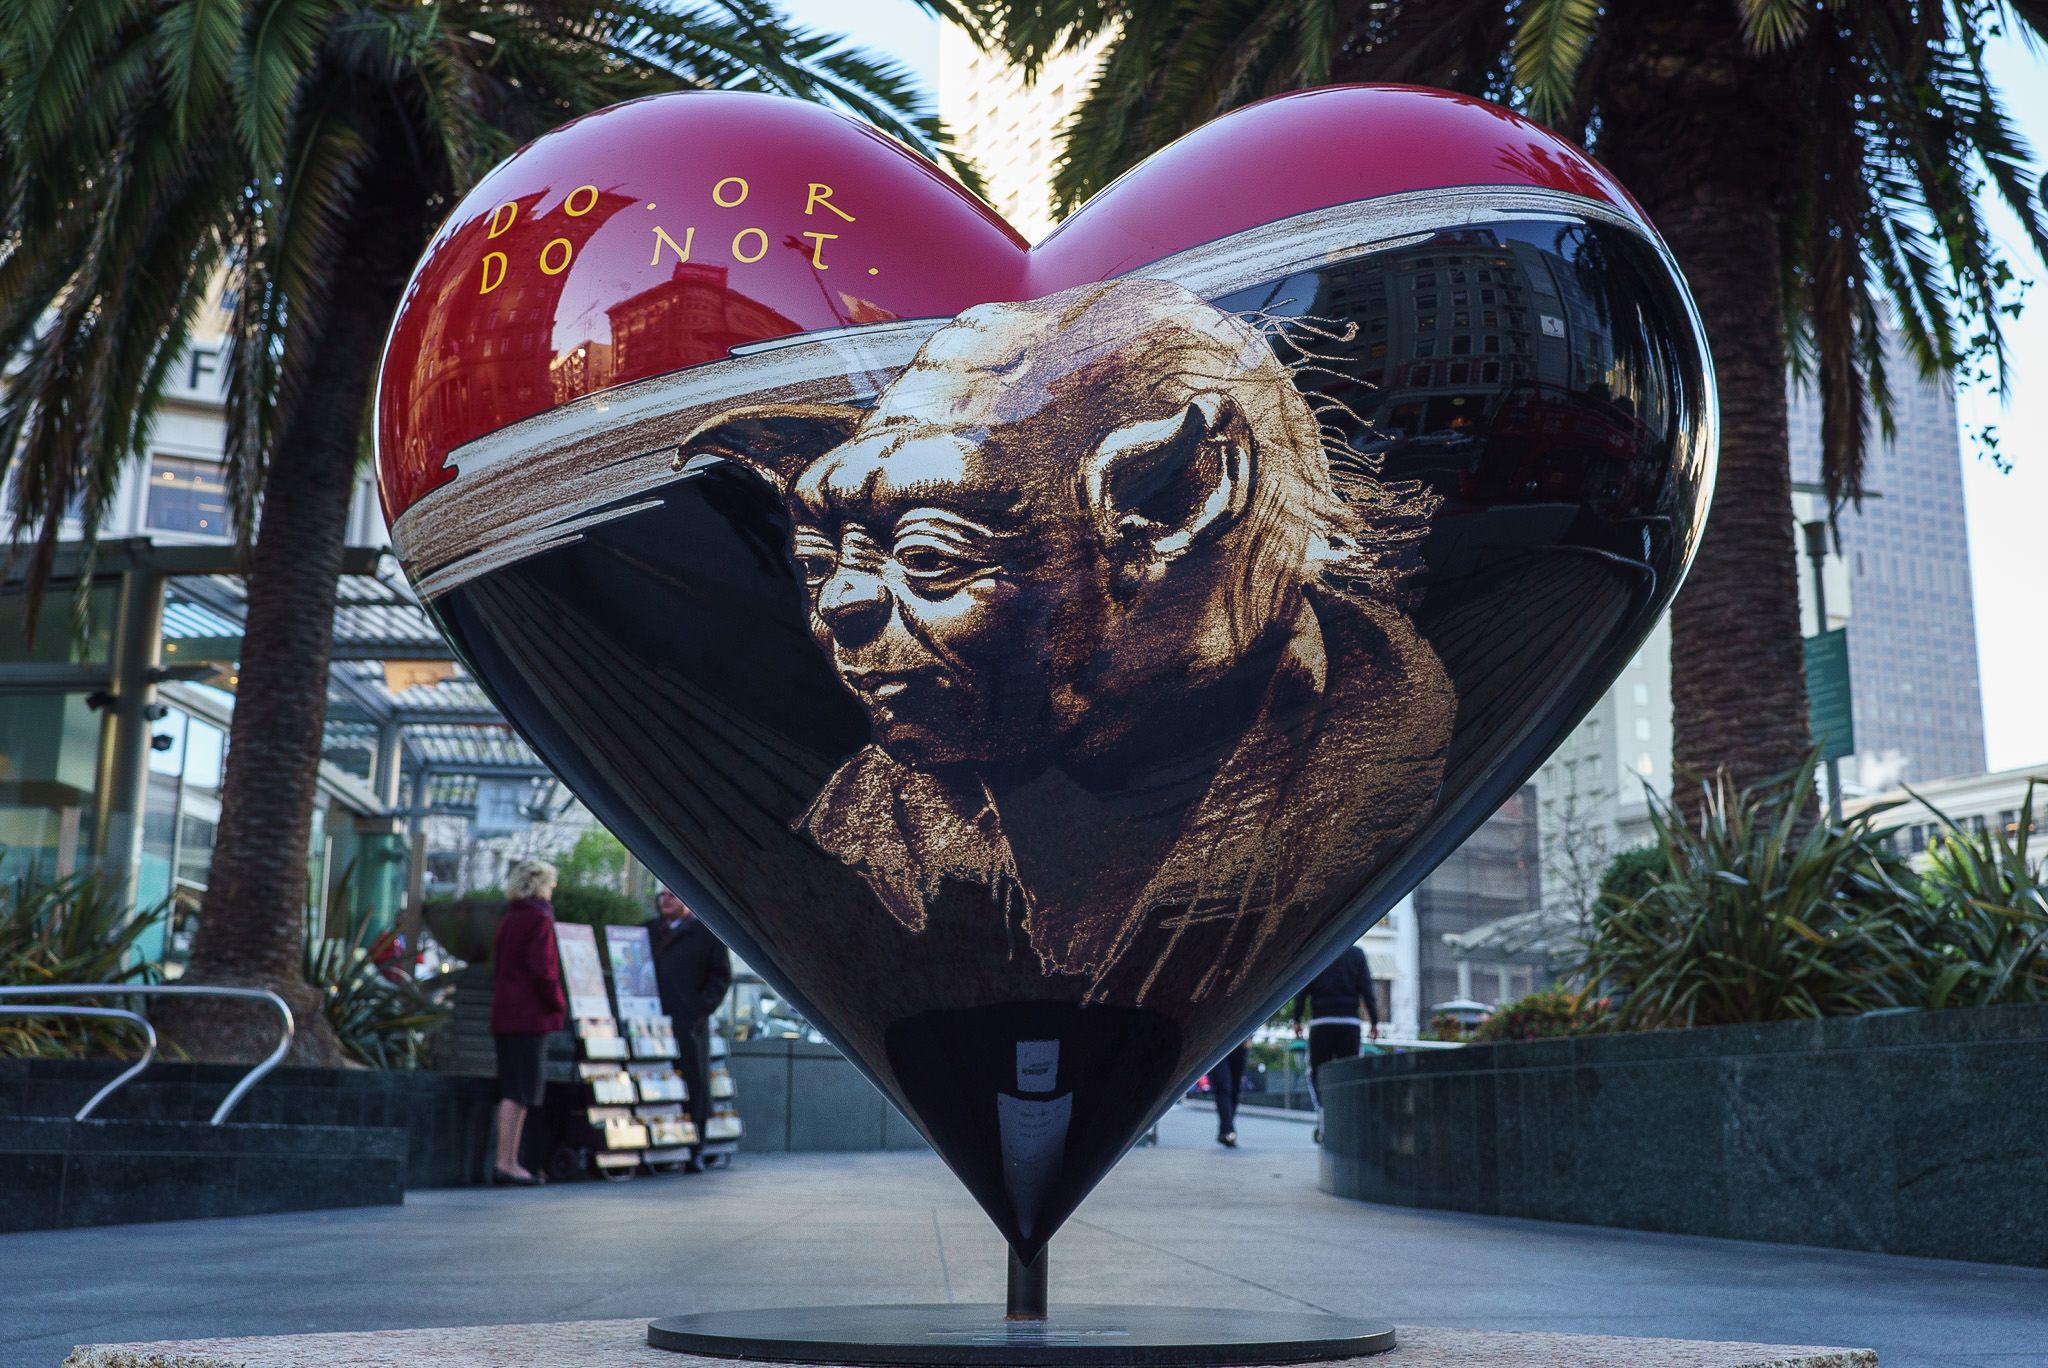
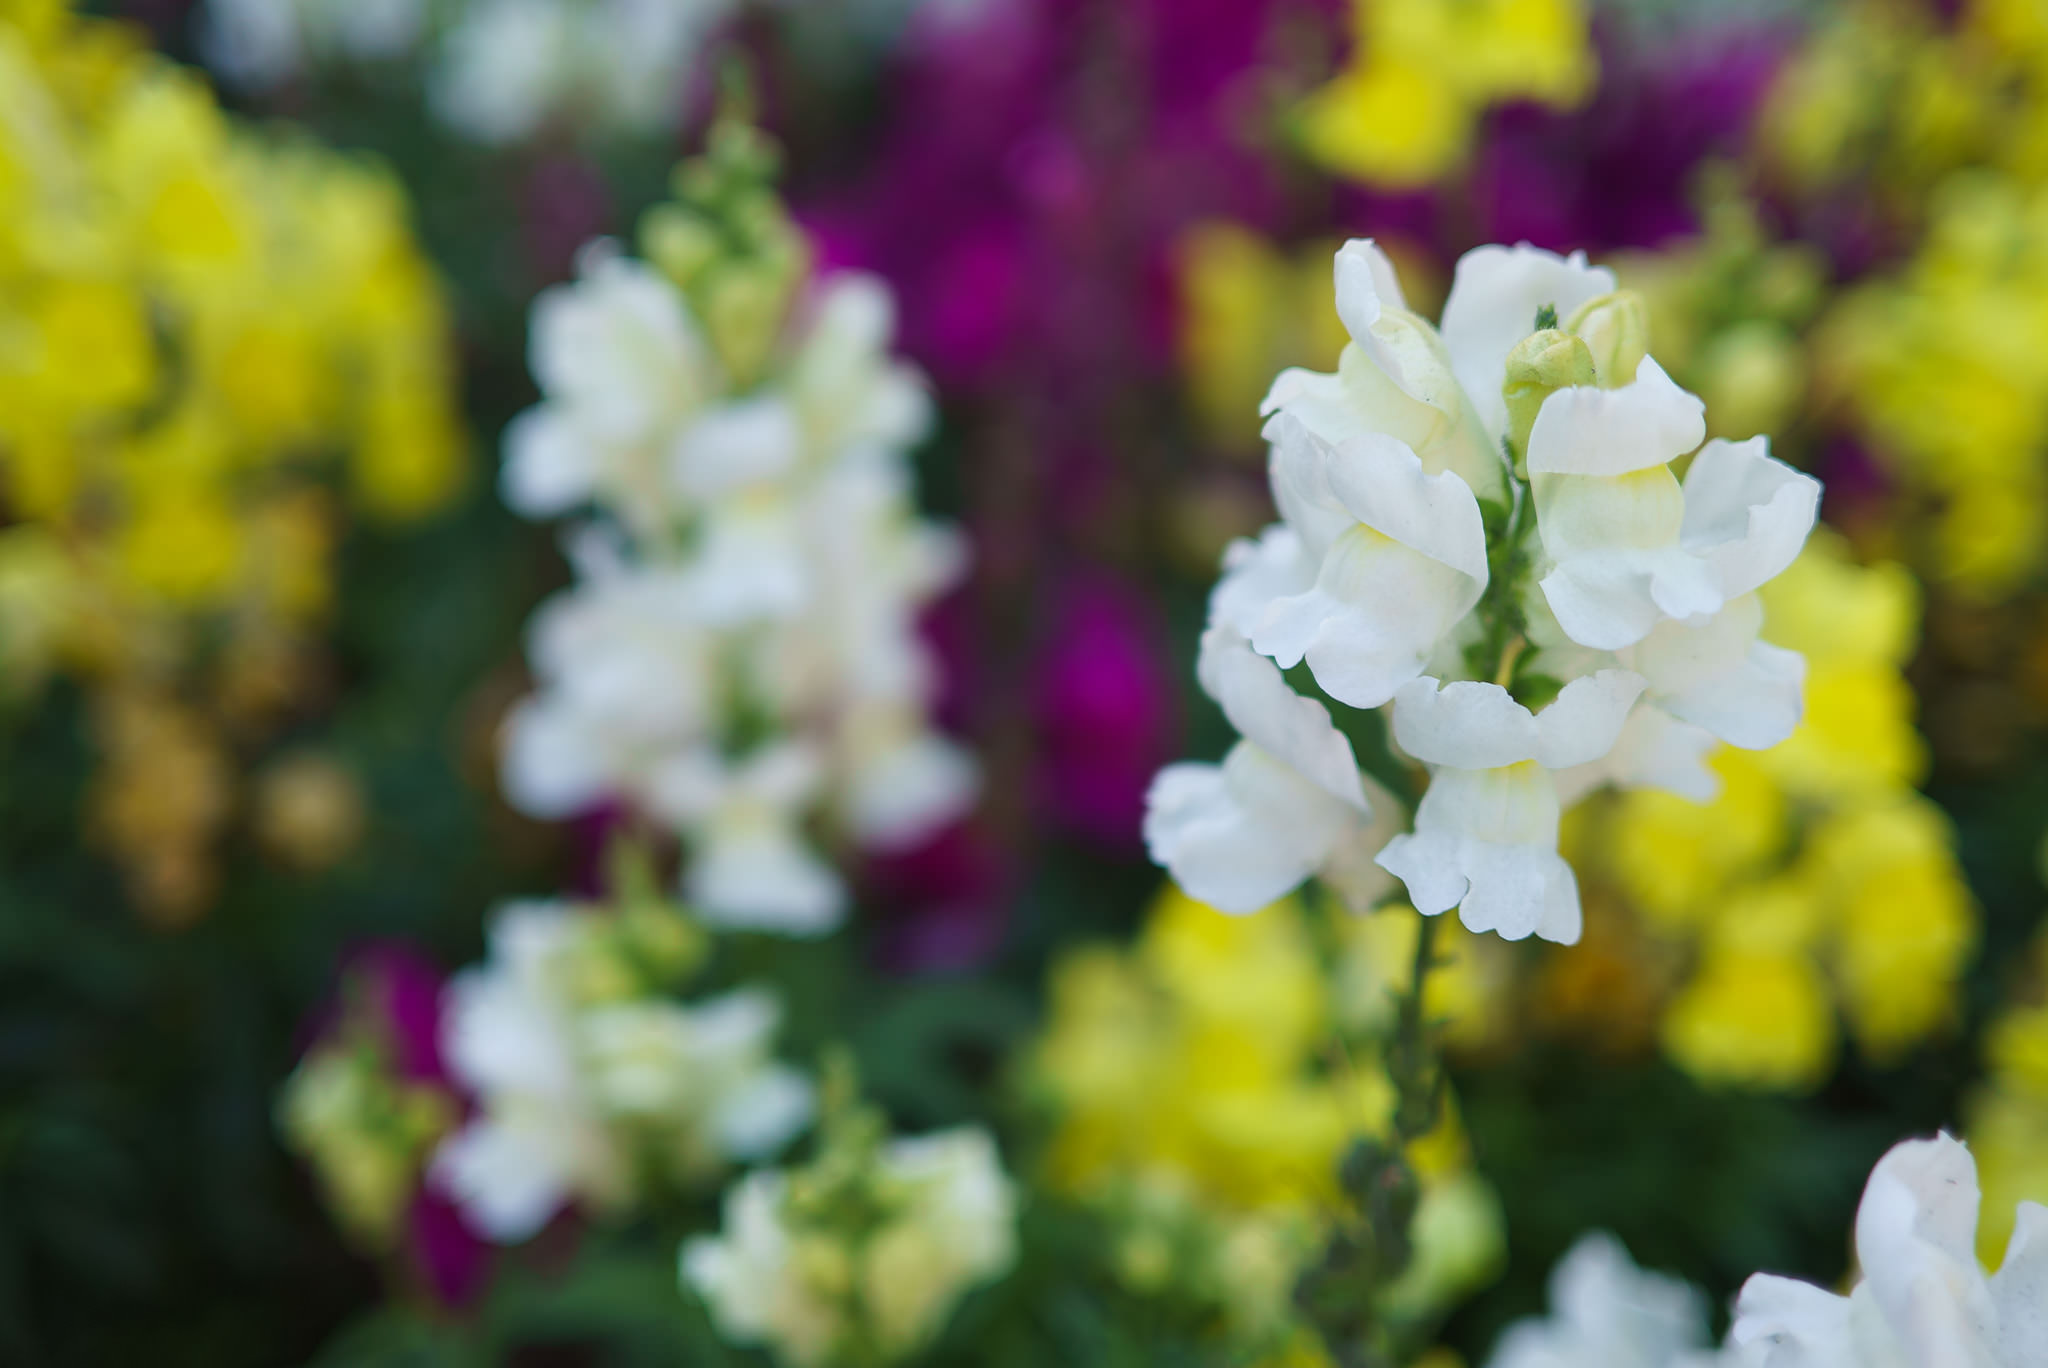
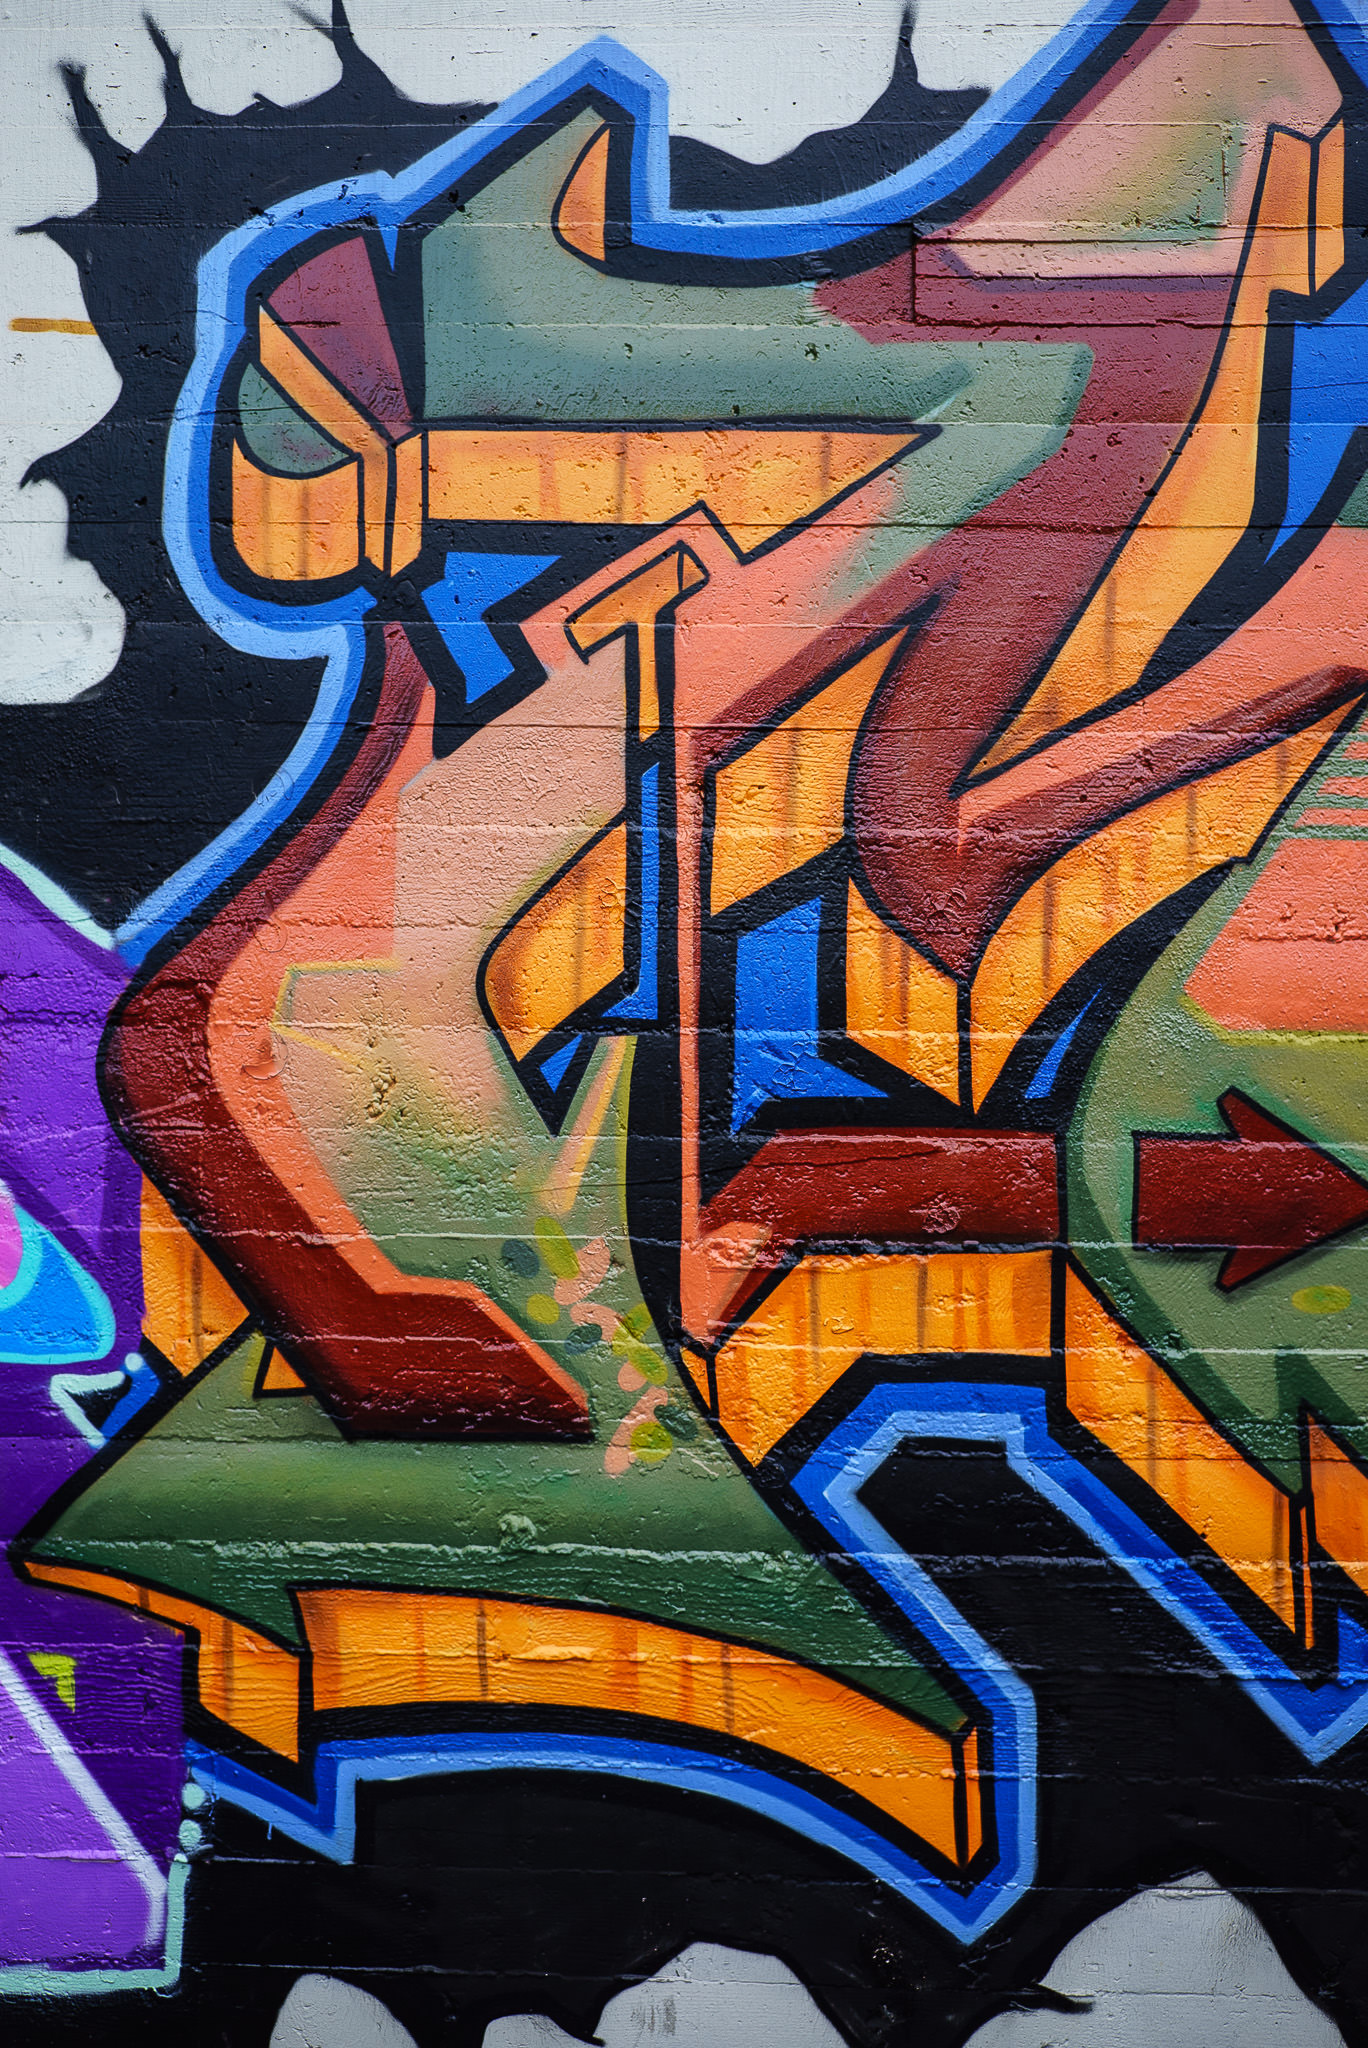
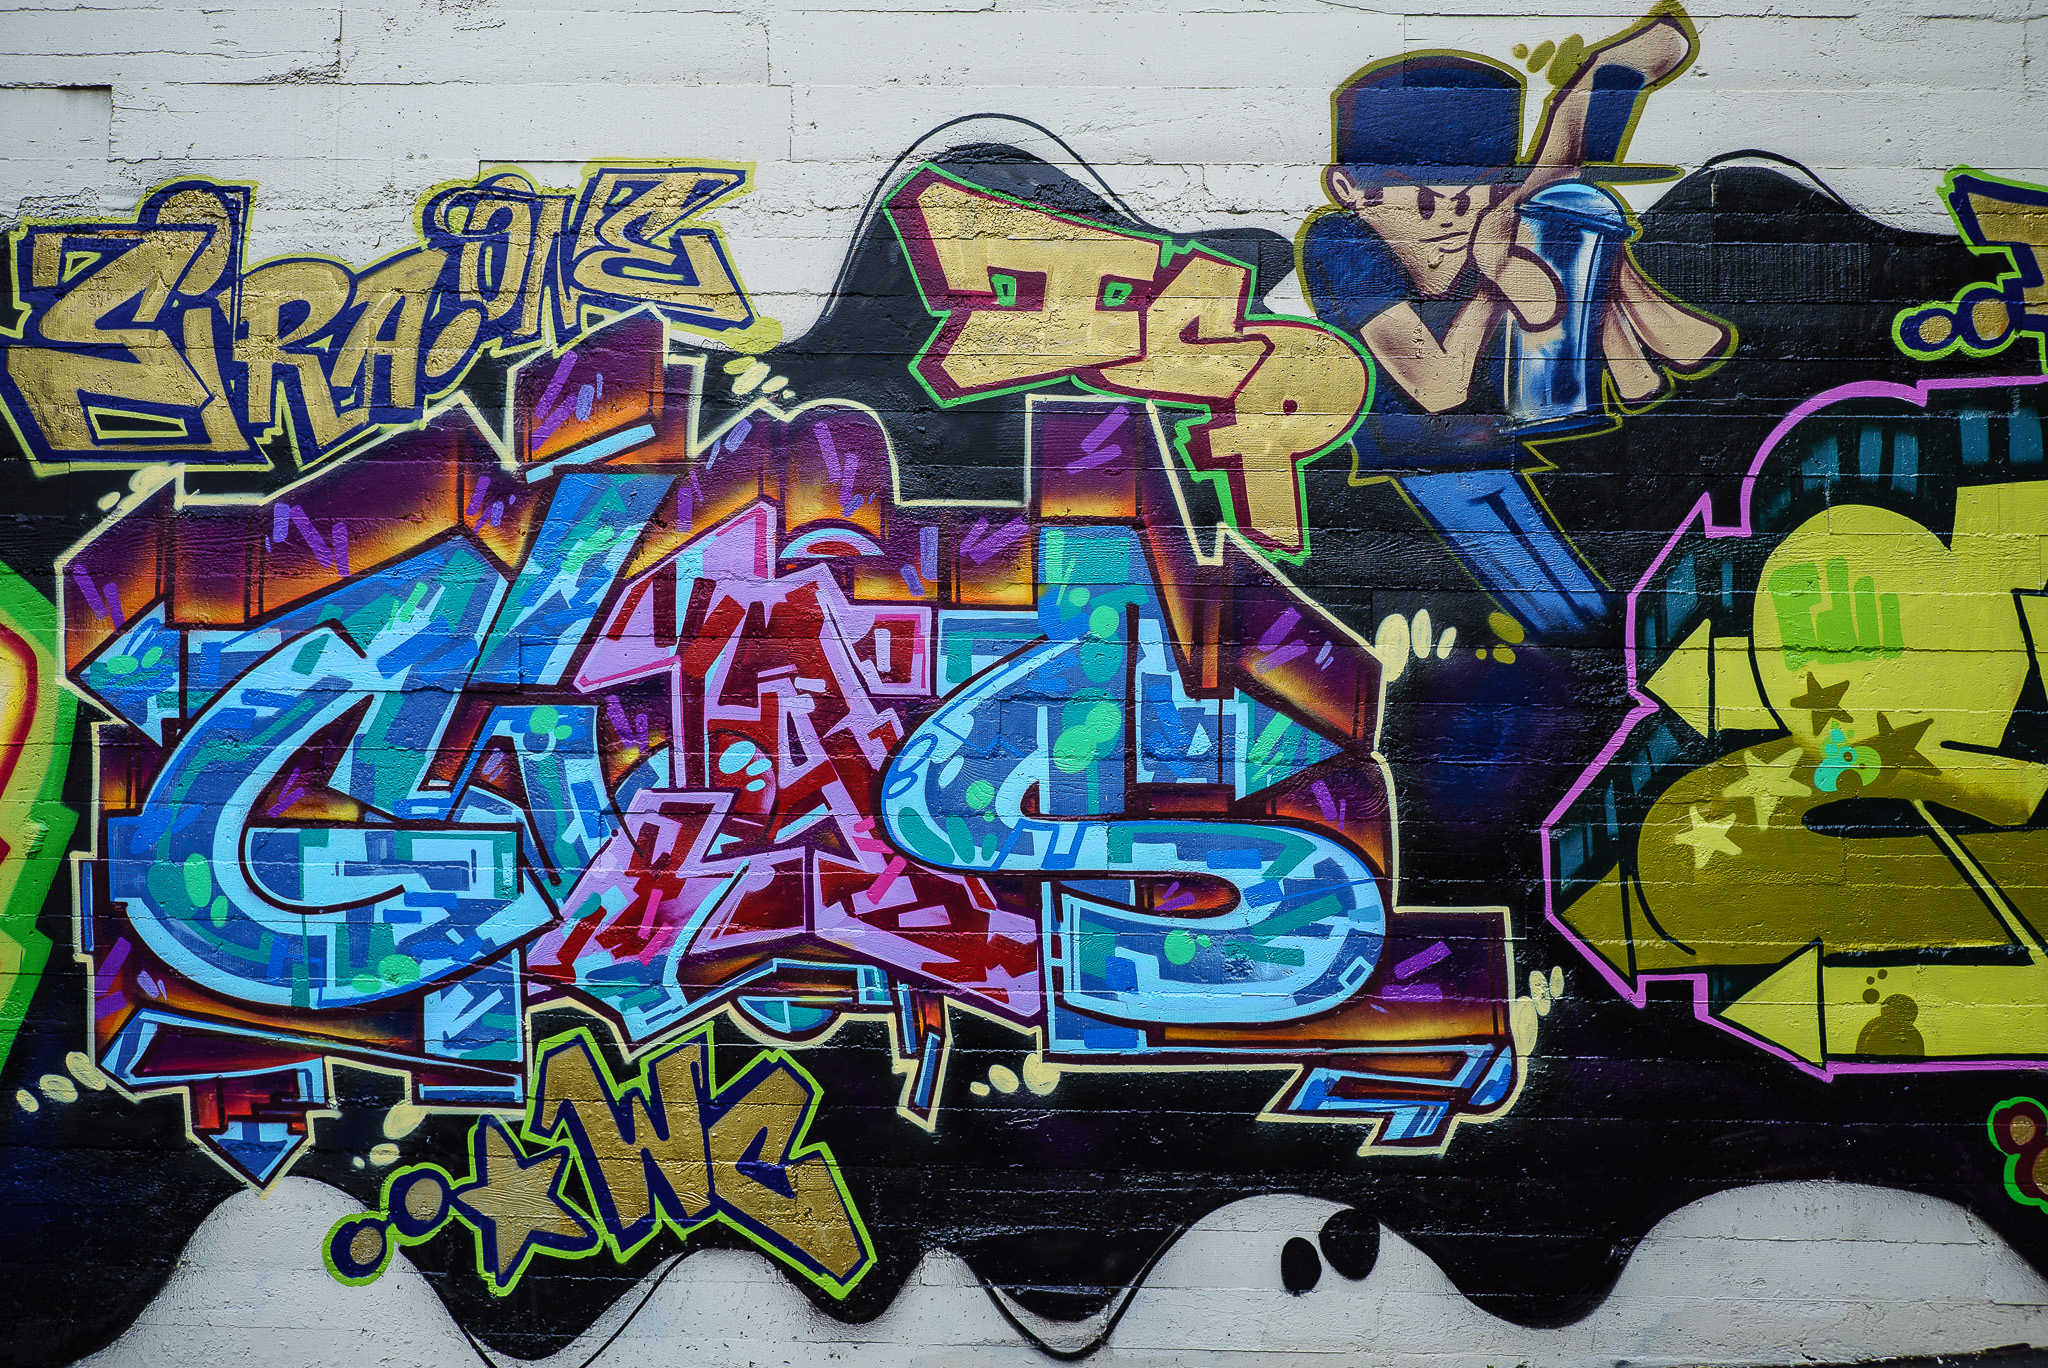
Zeiss Loxia 35mm f/2 Image Samples

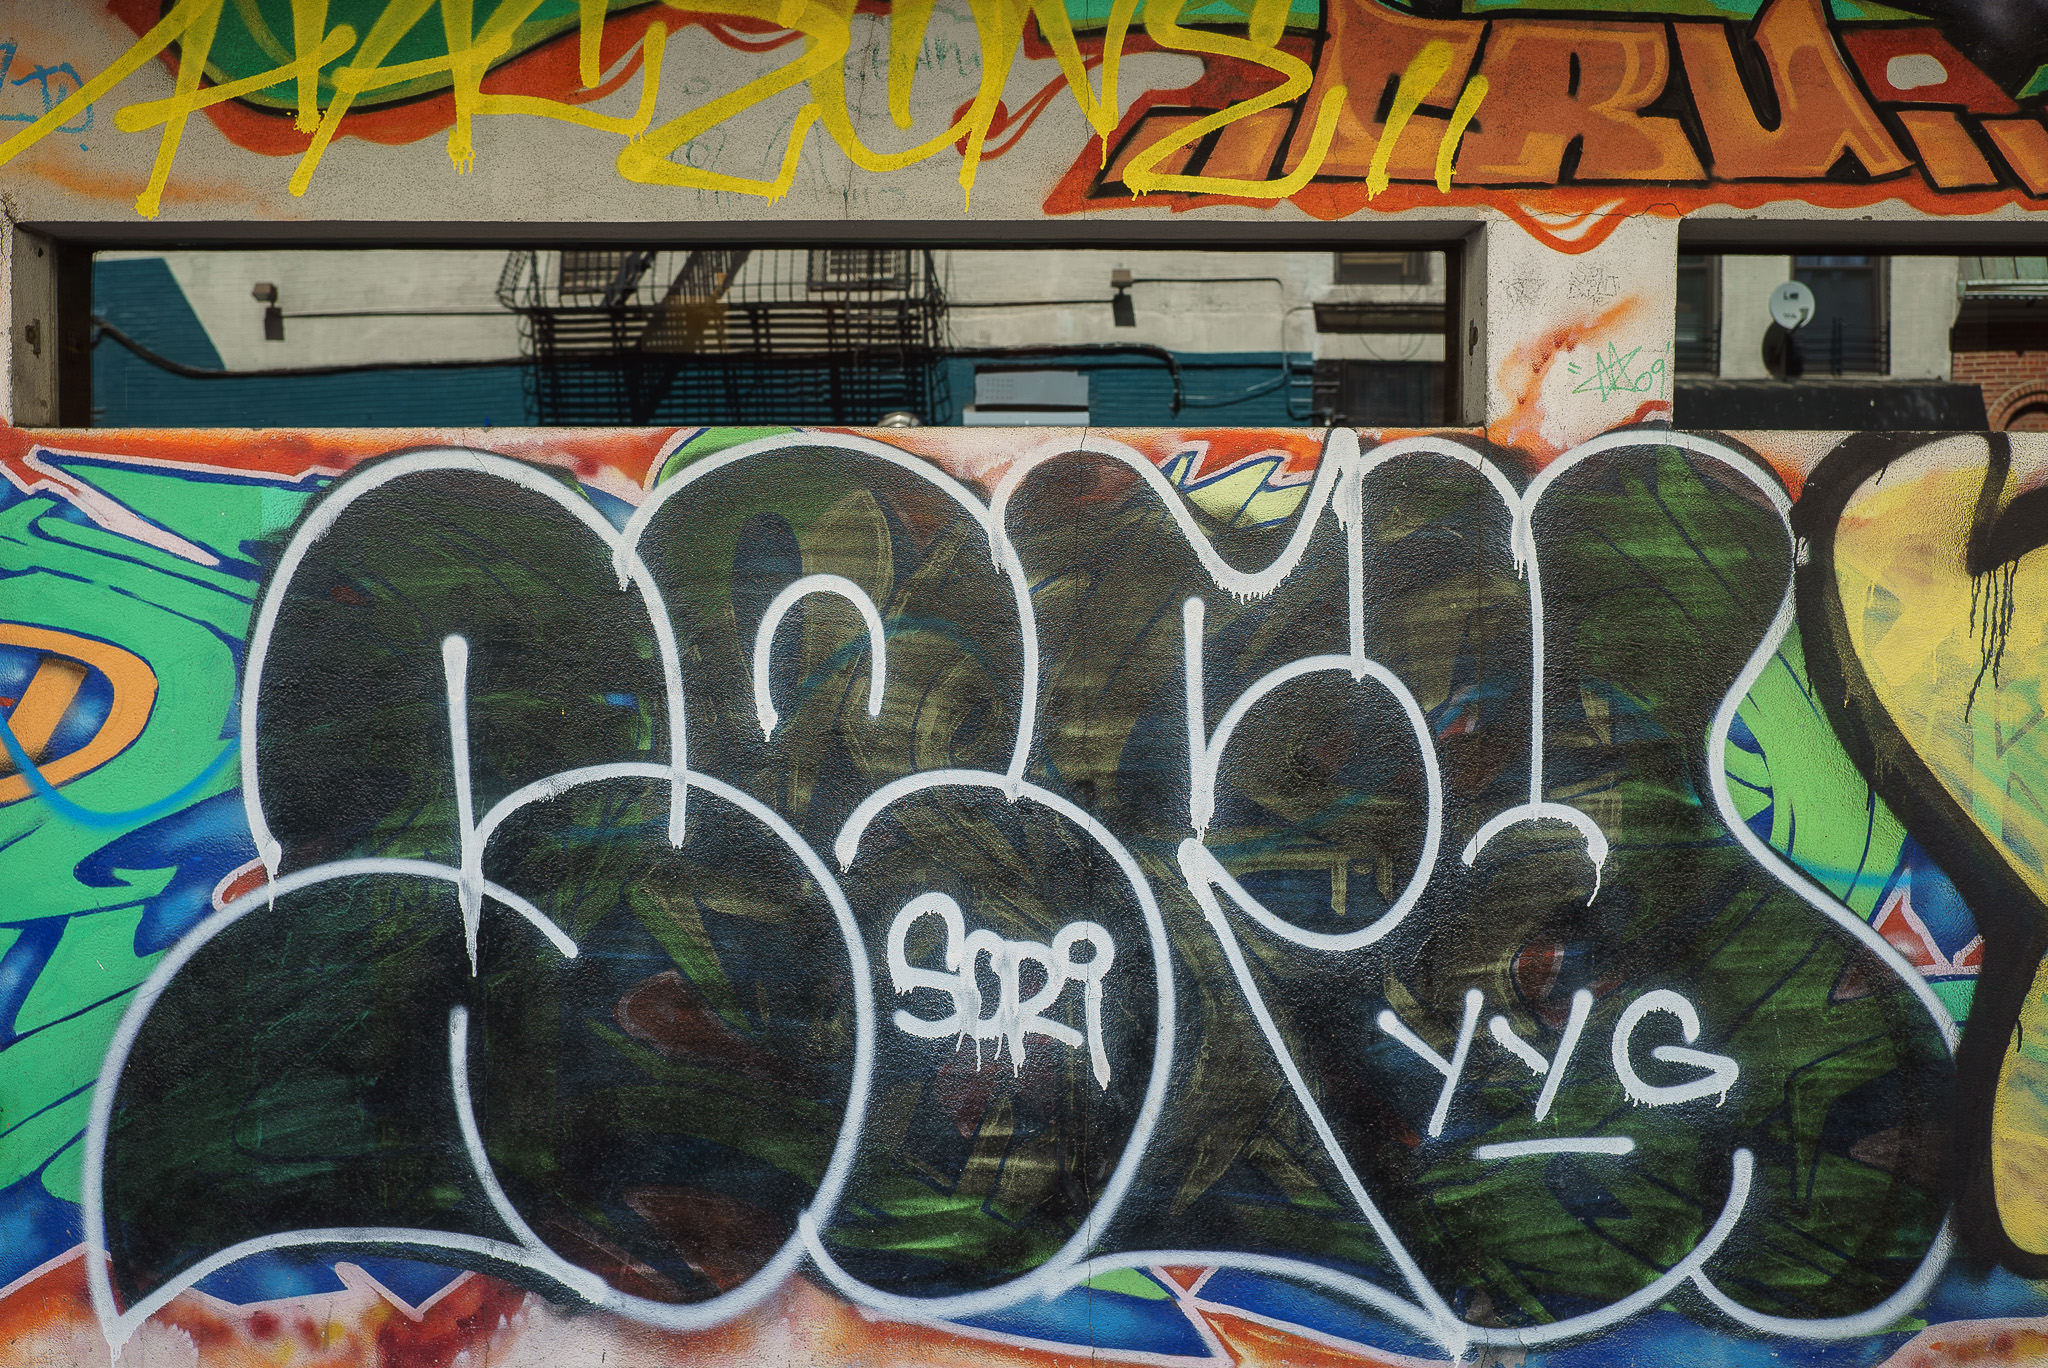
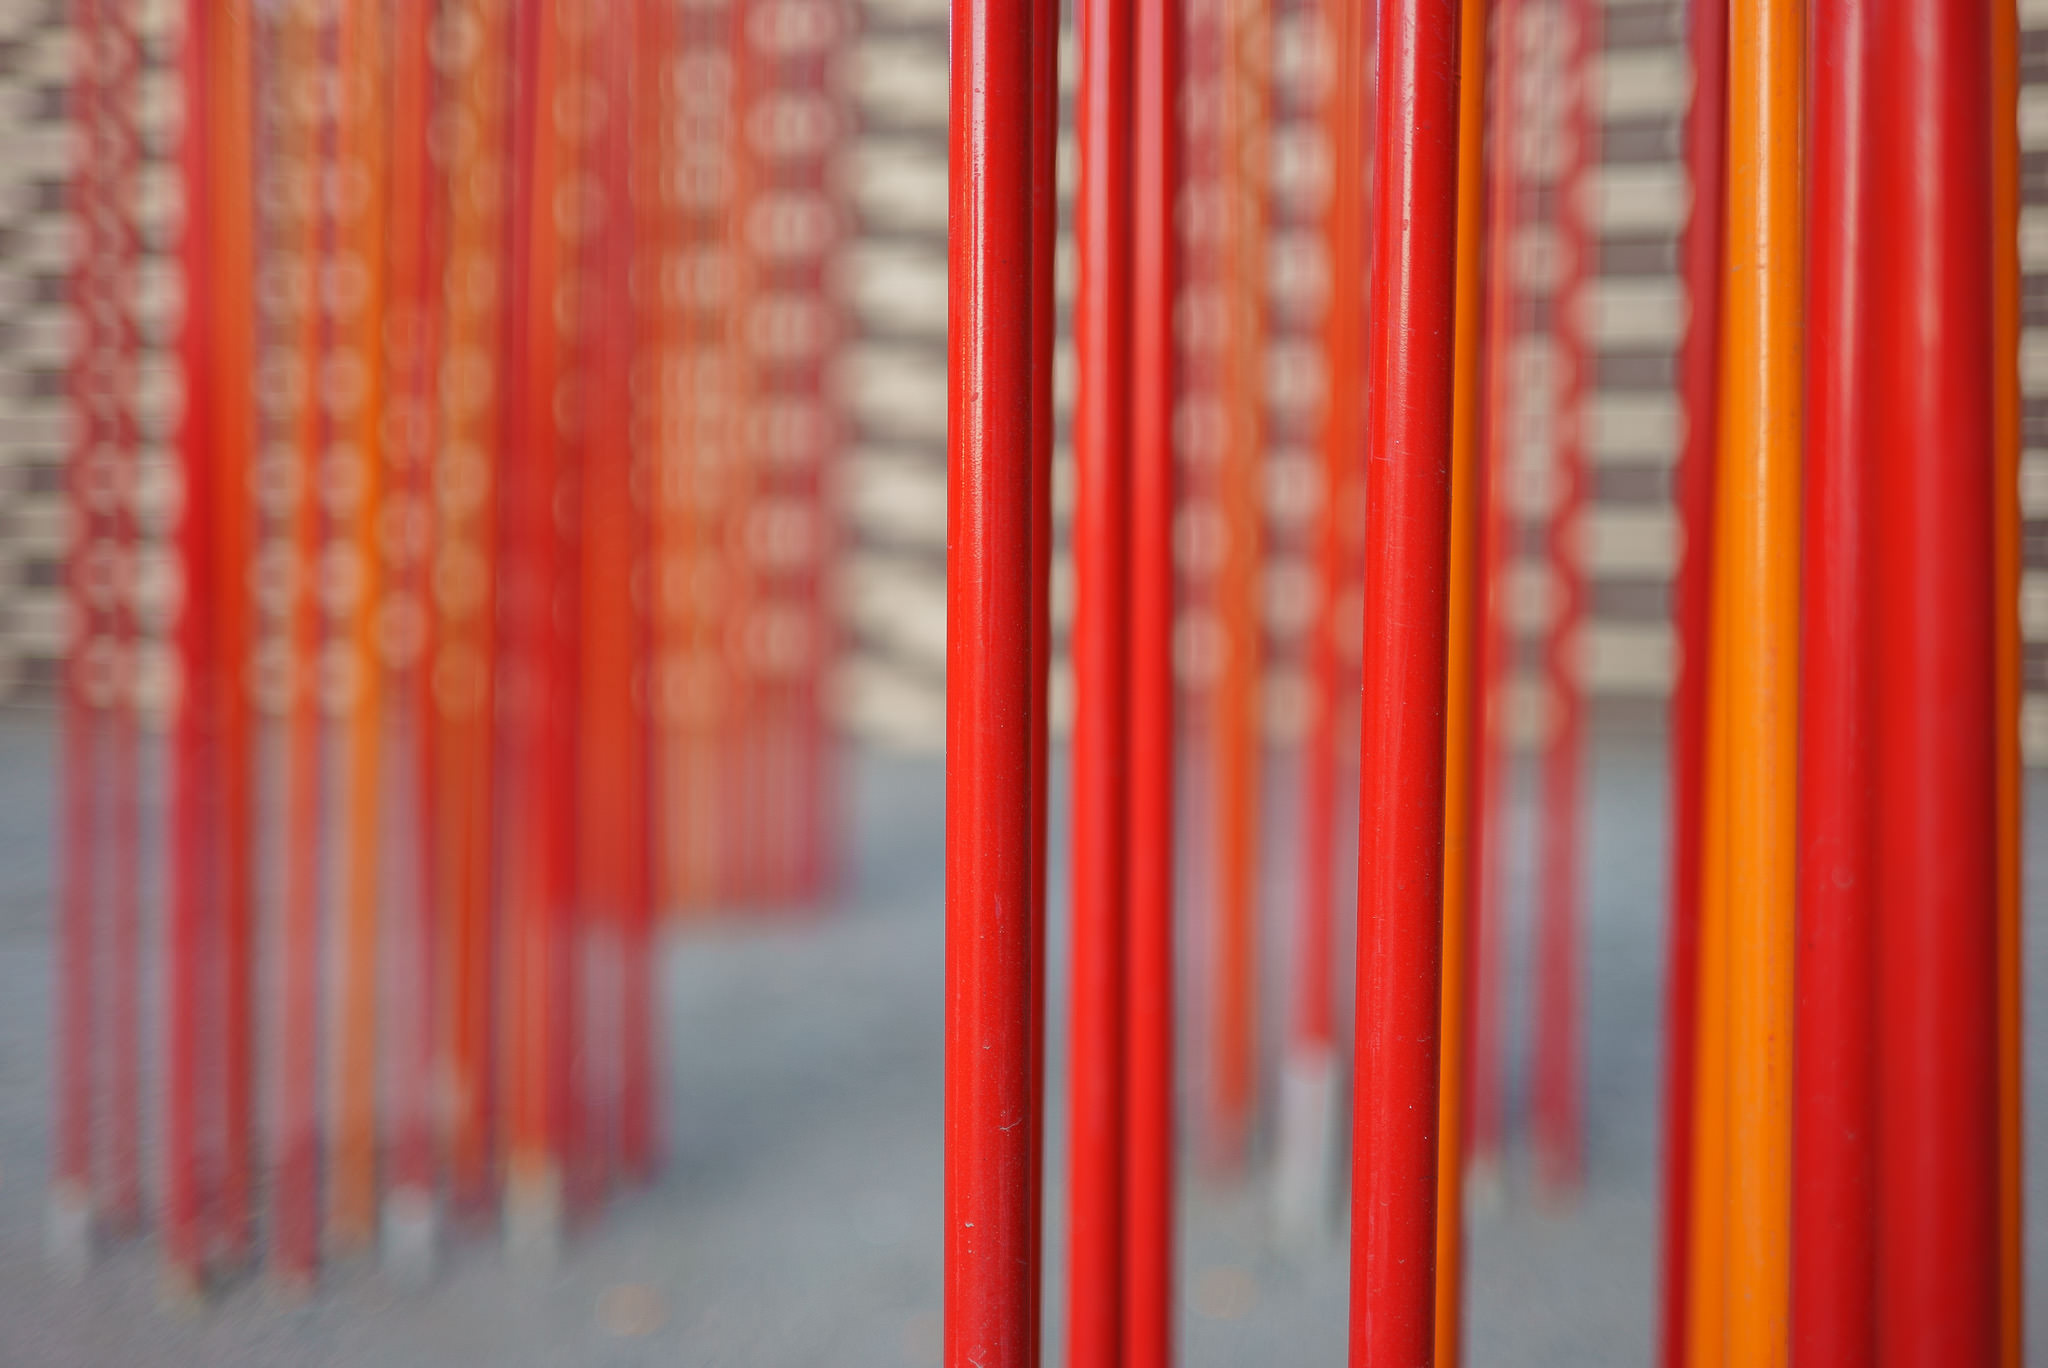
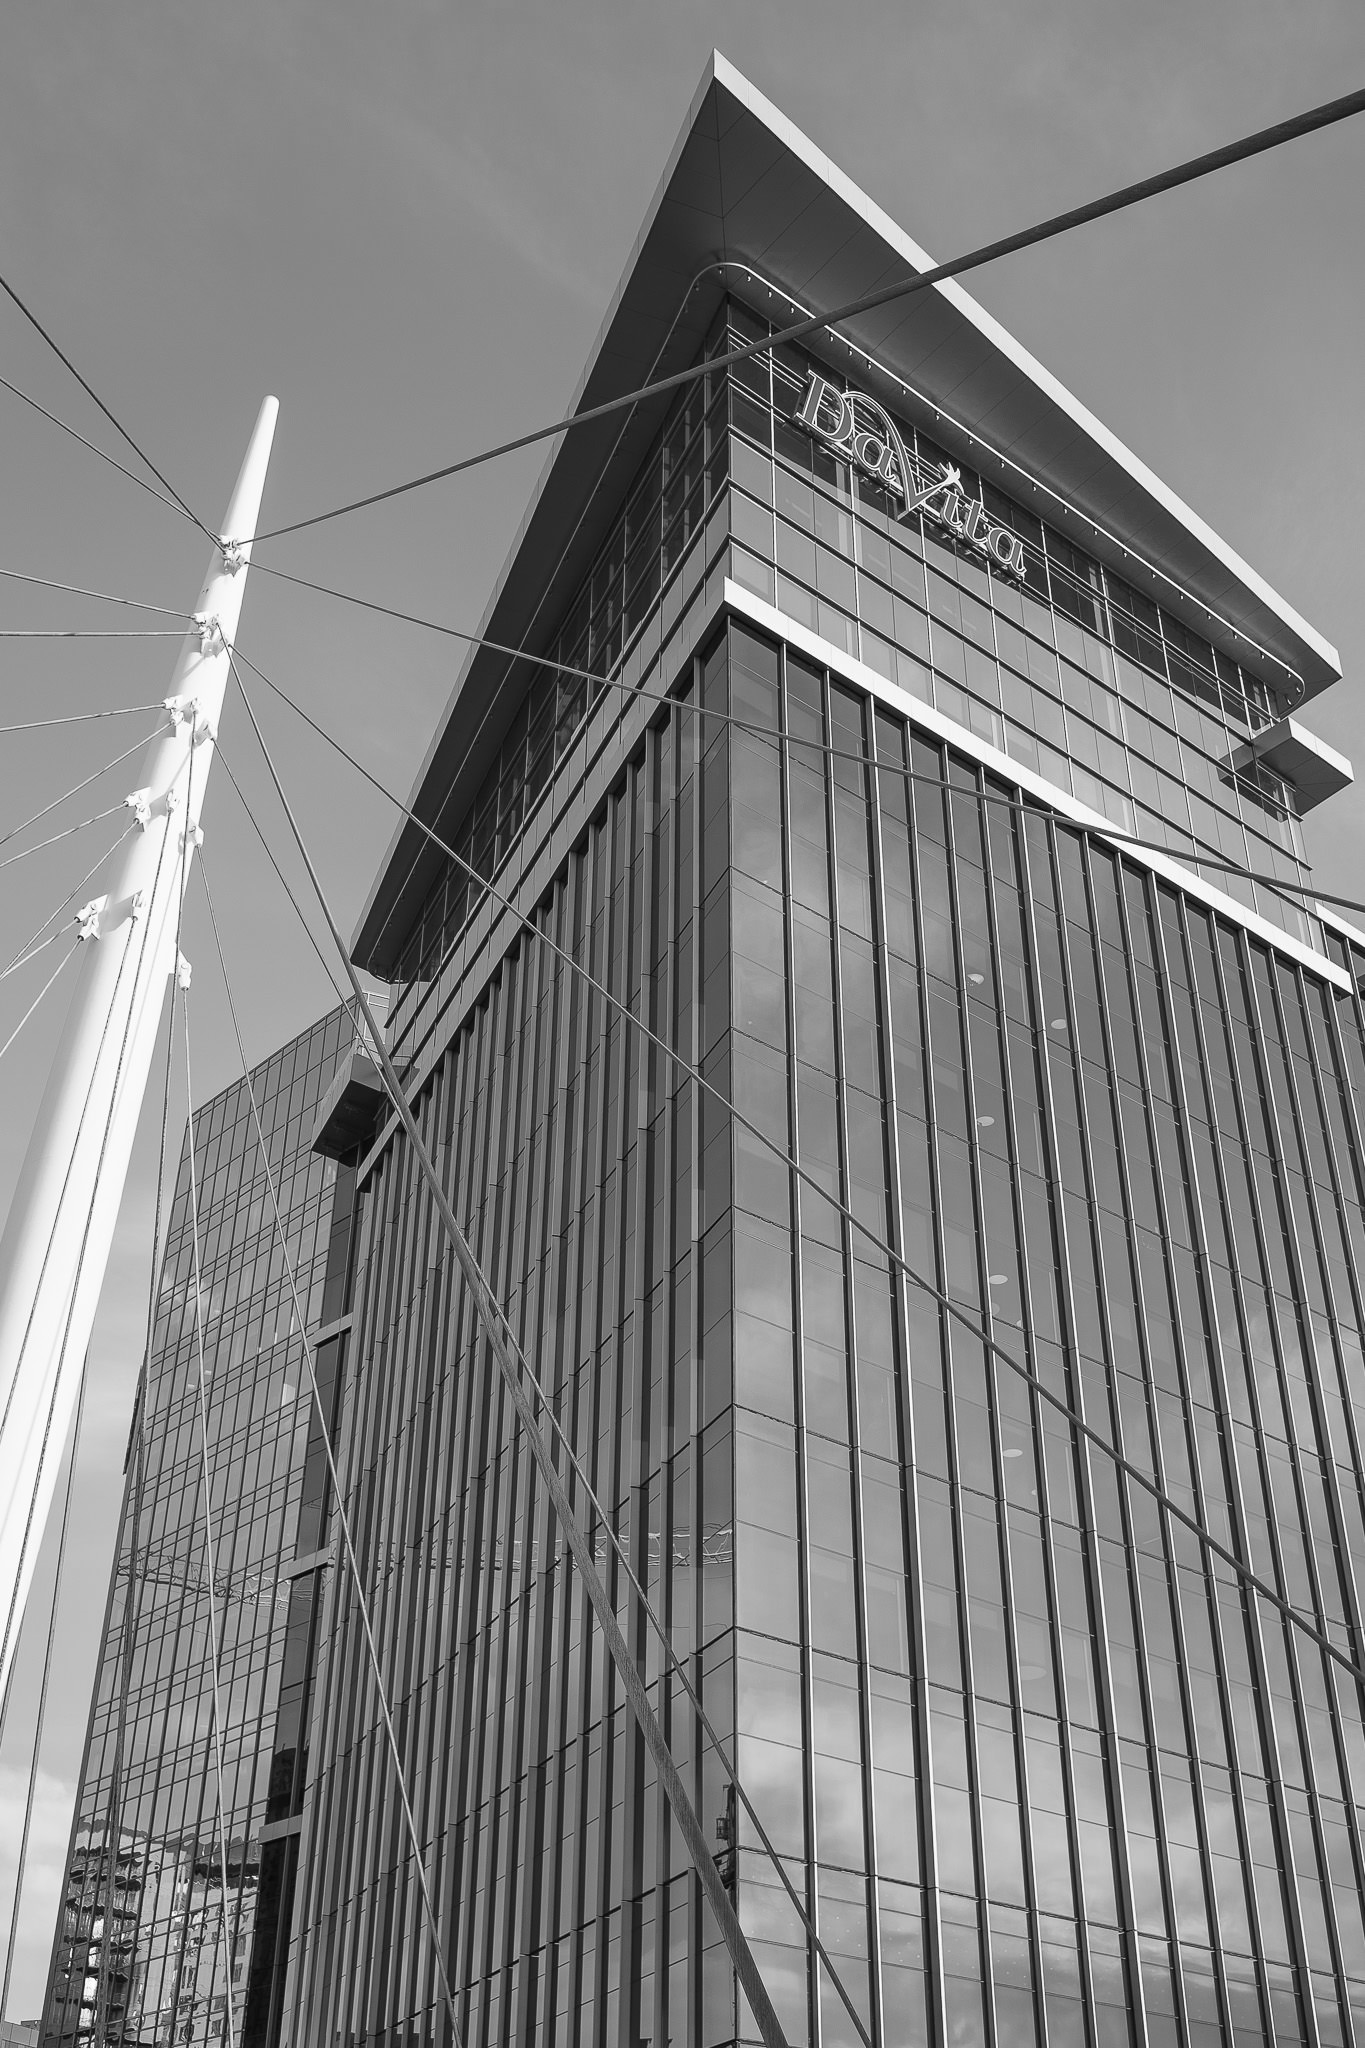


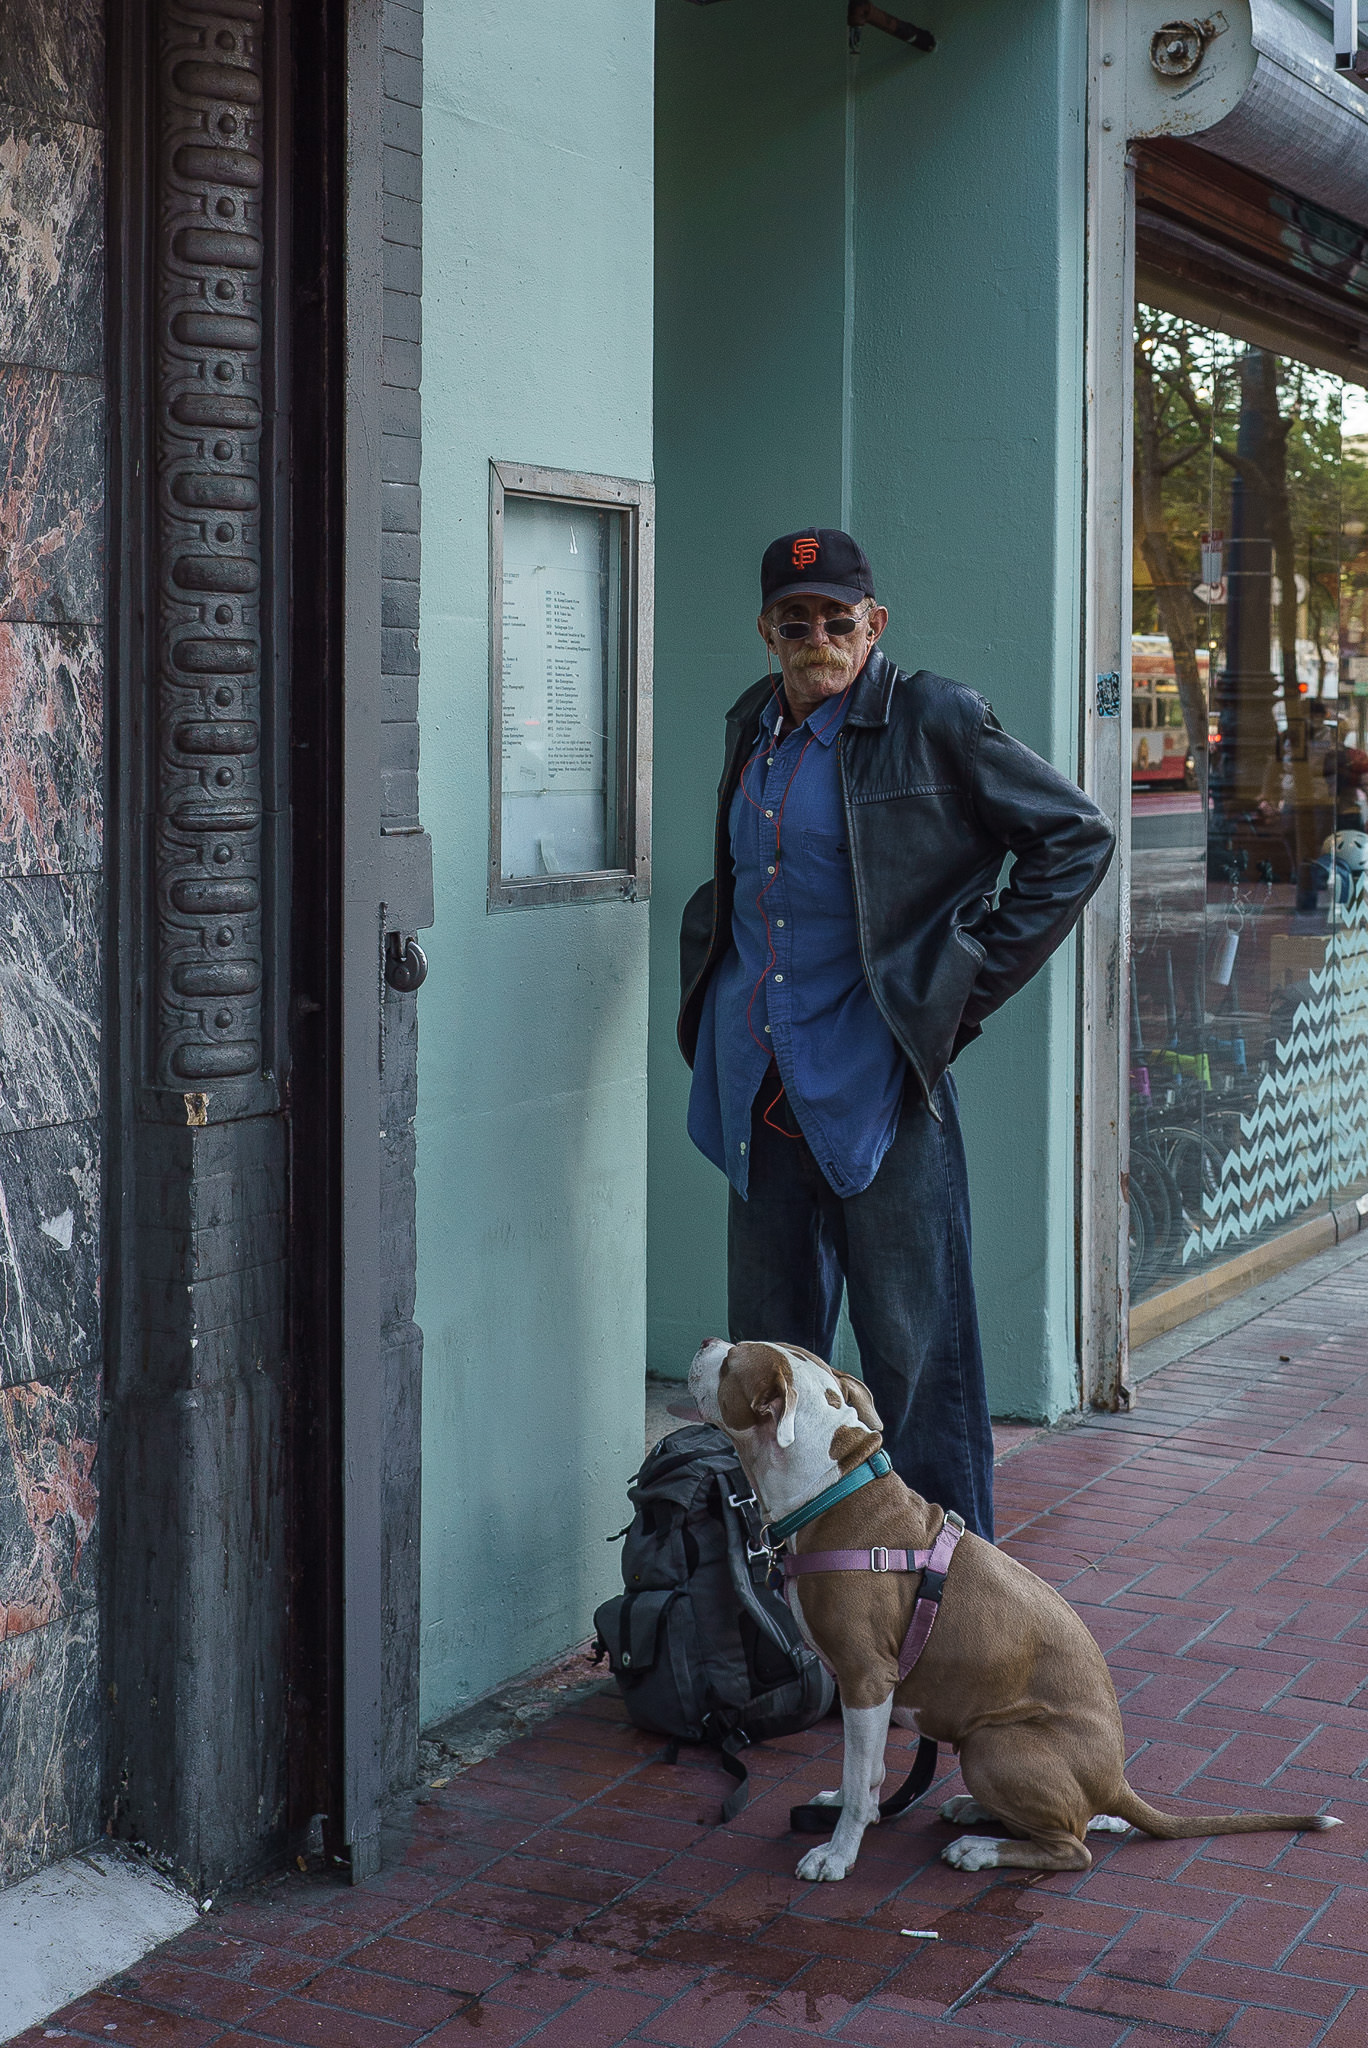


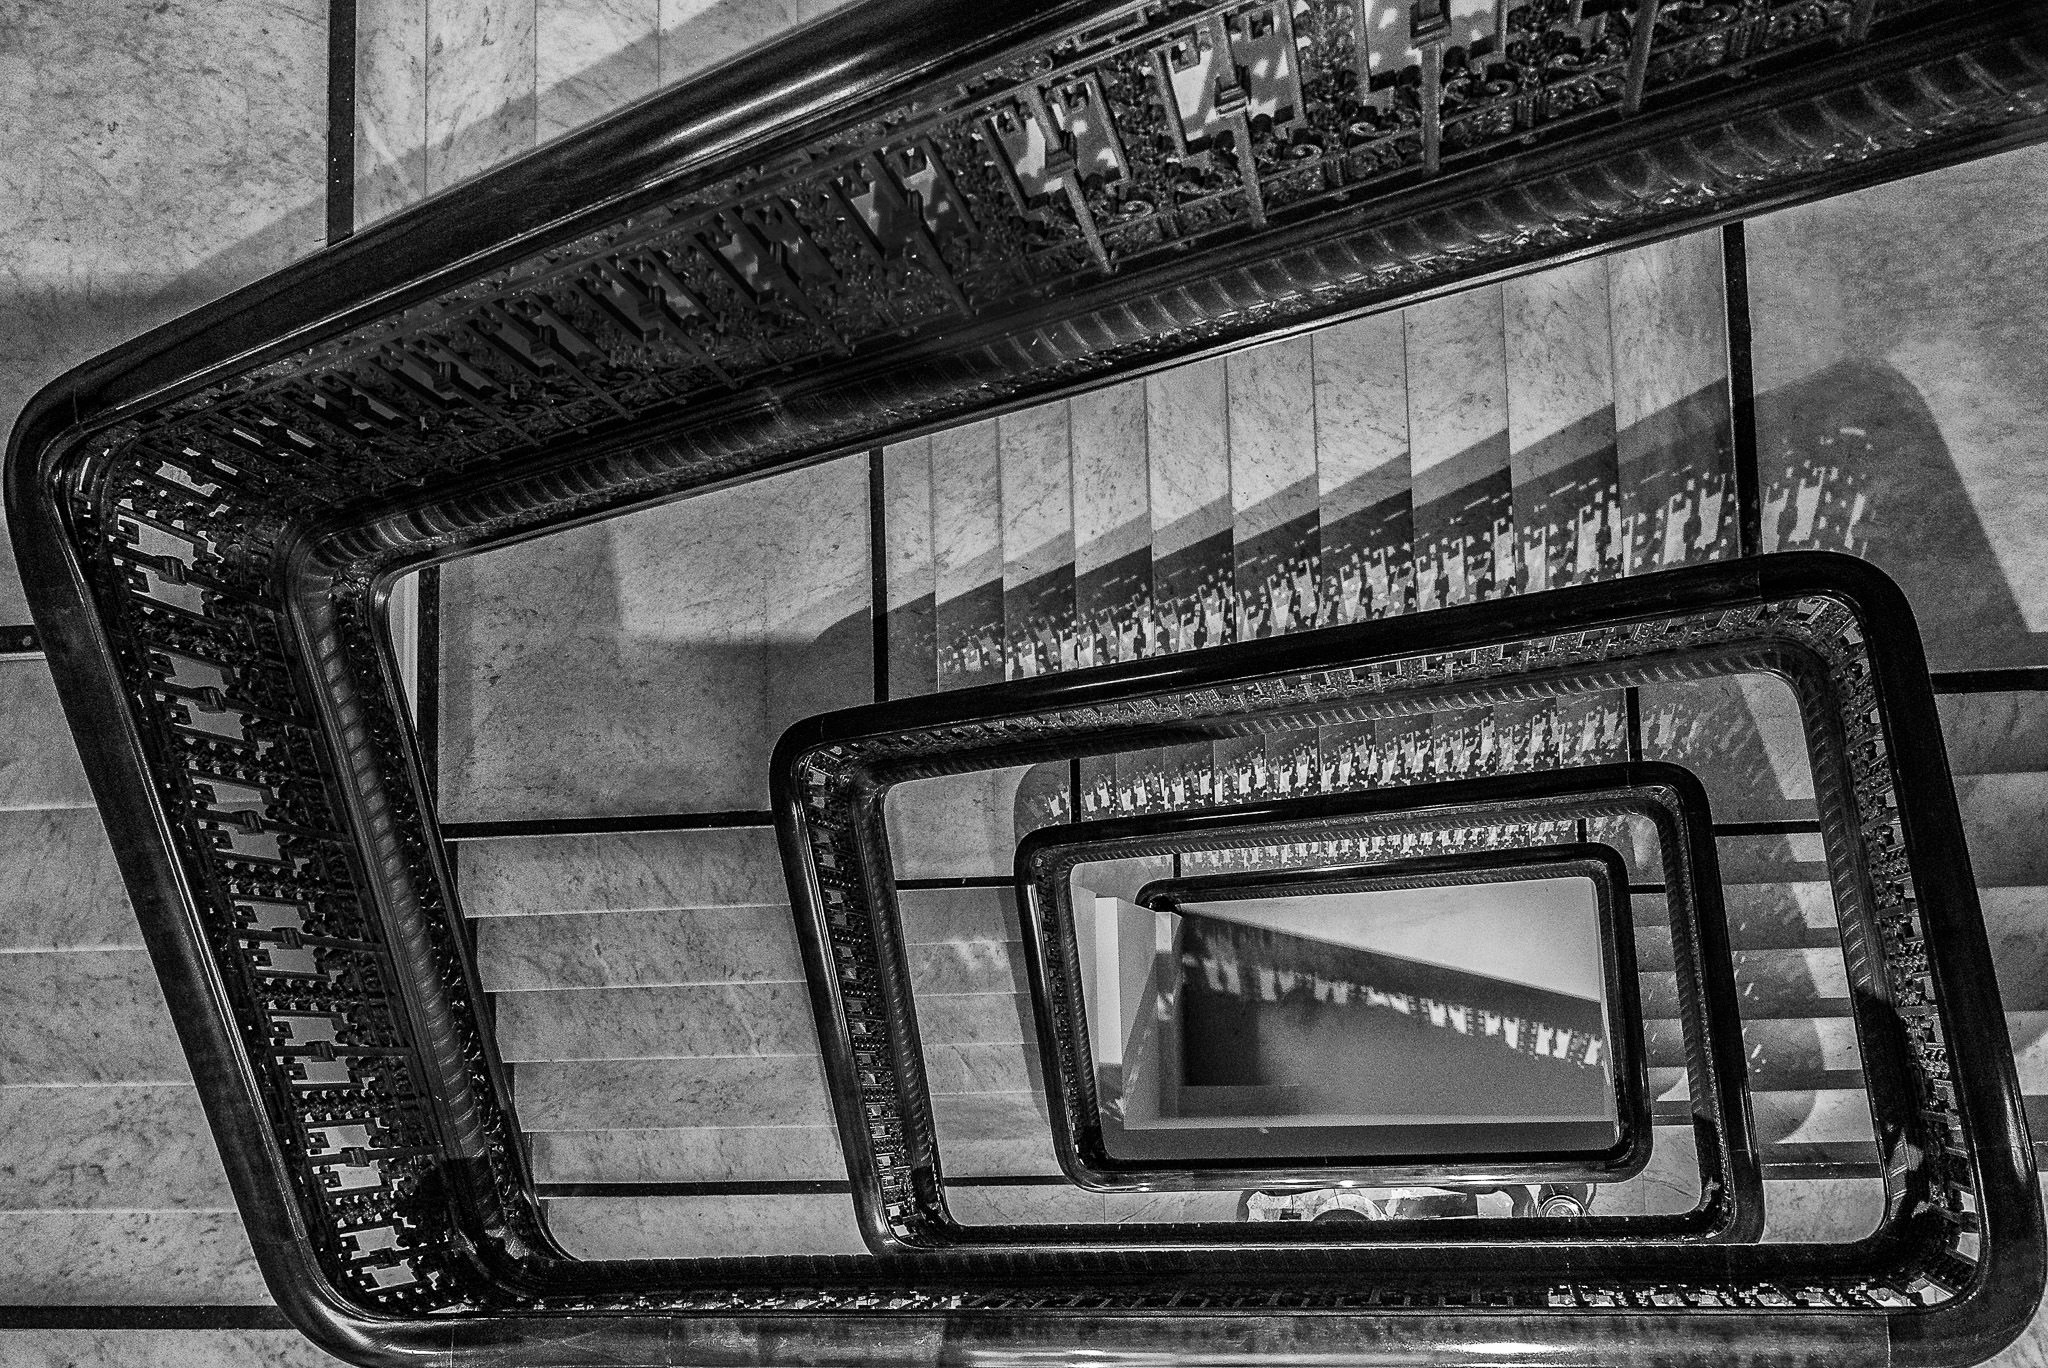
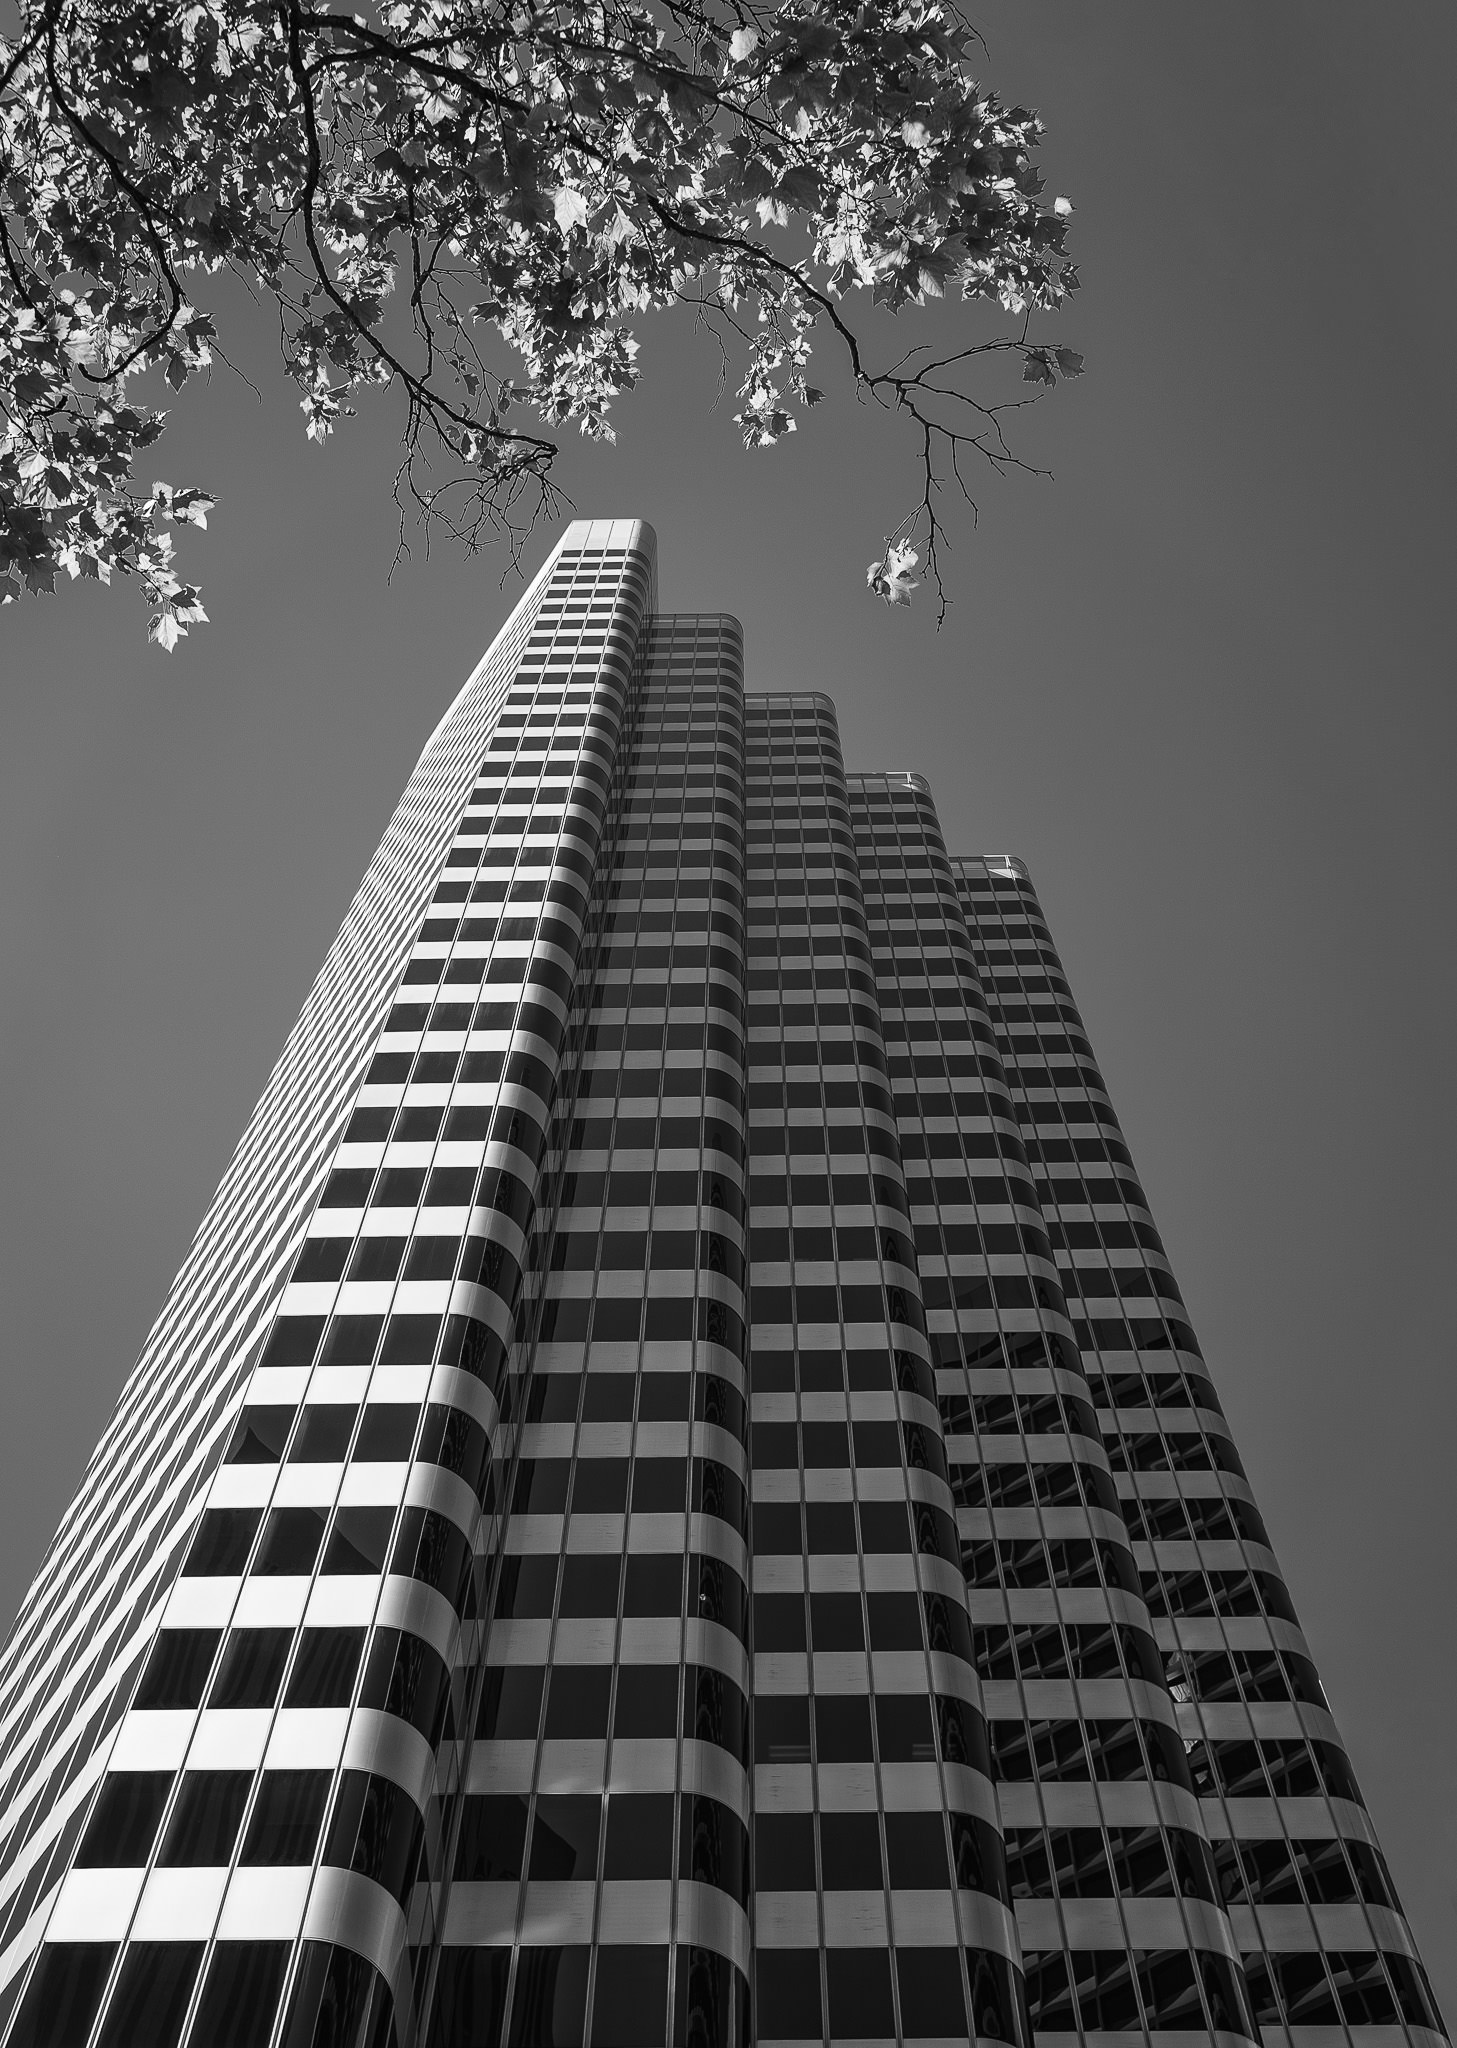
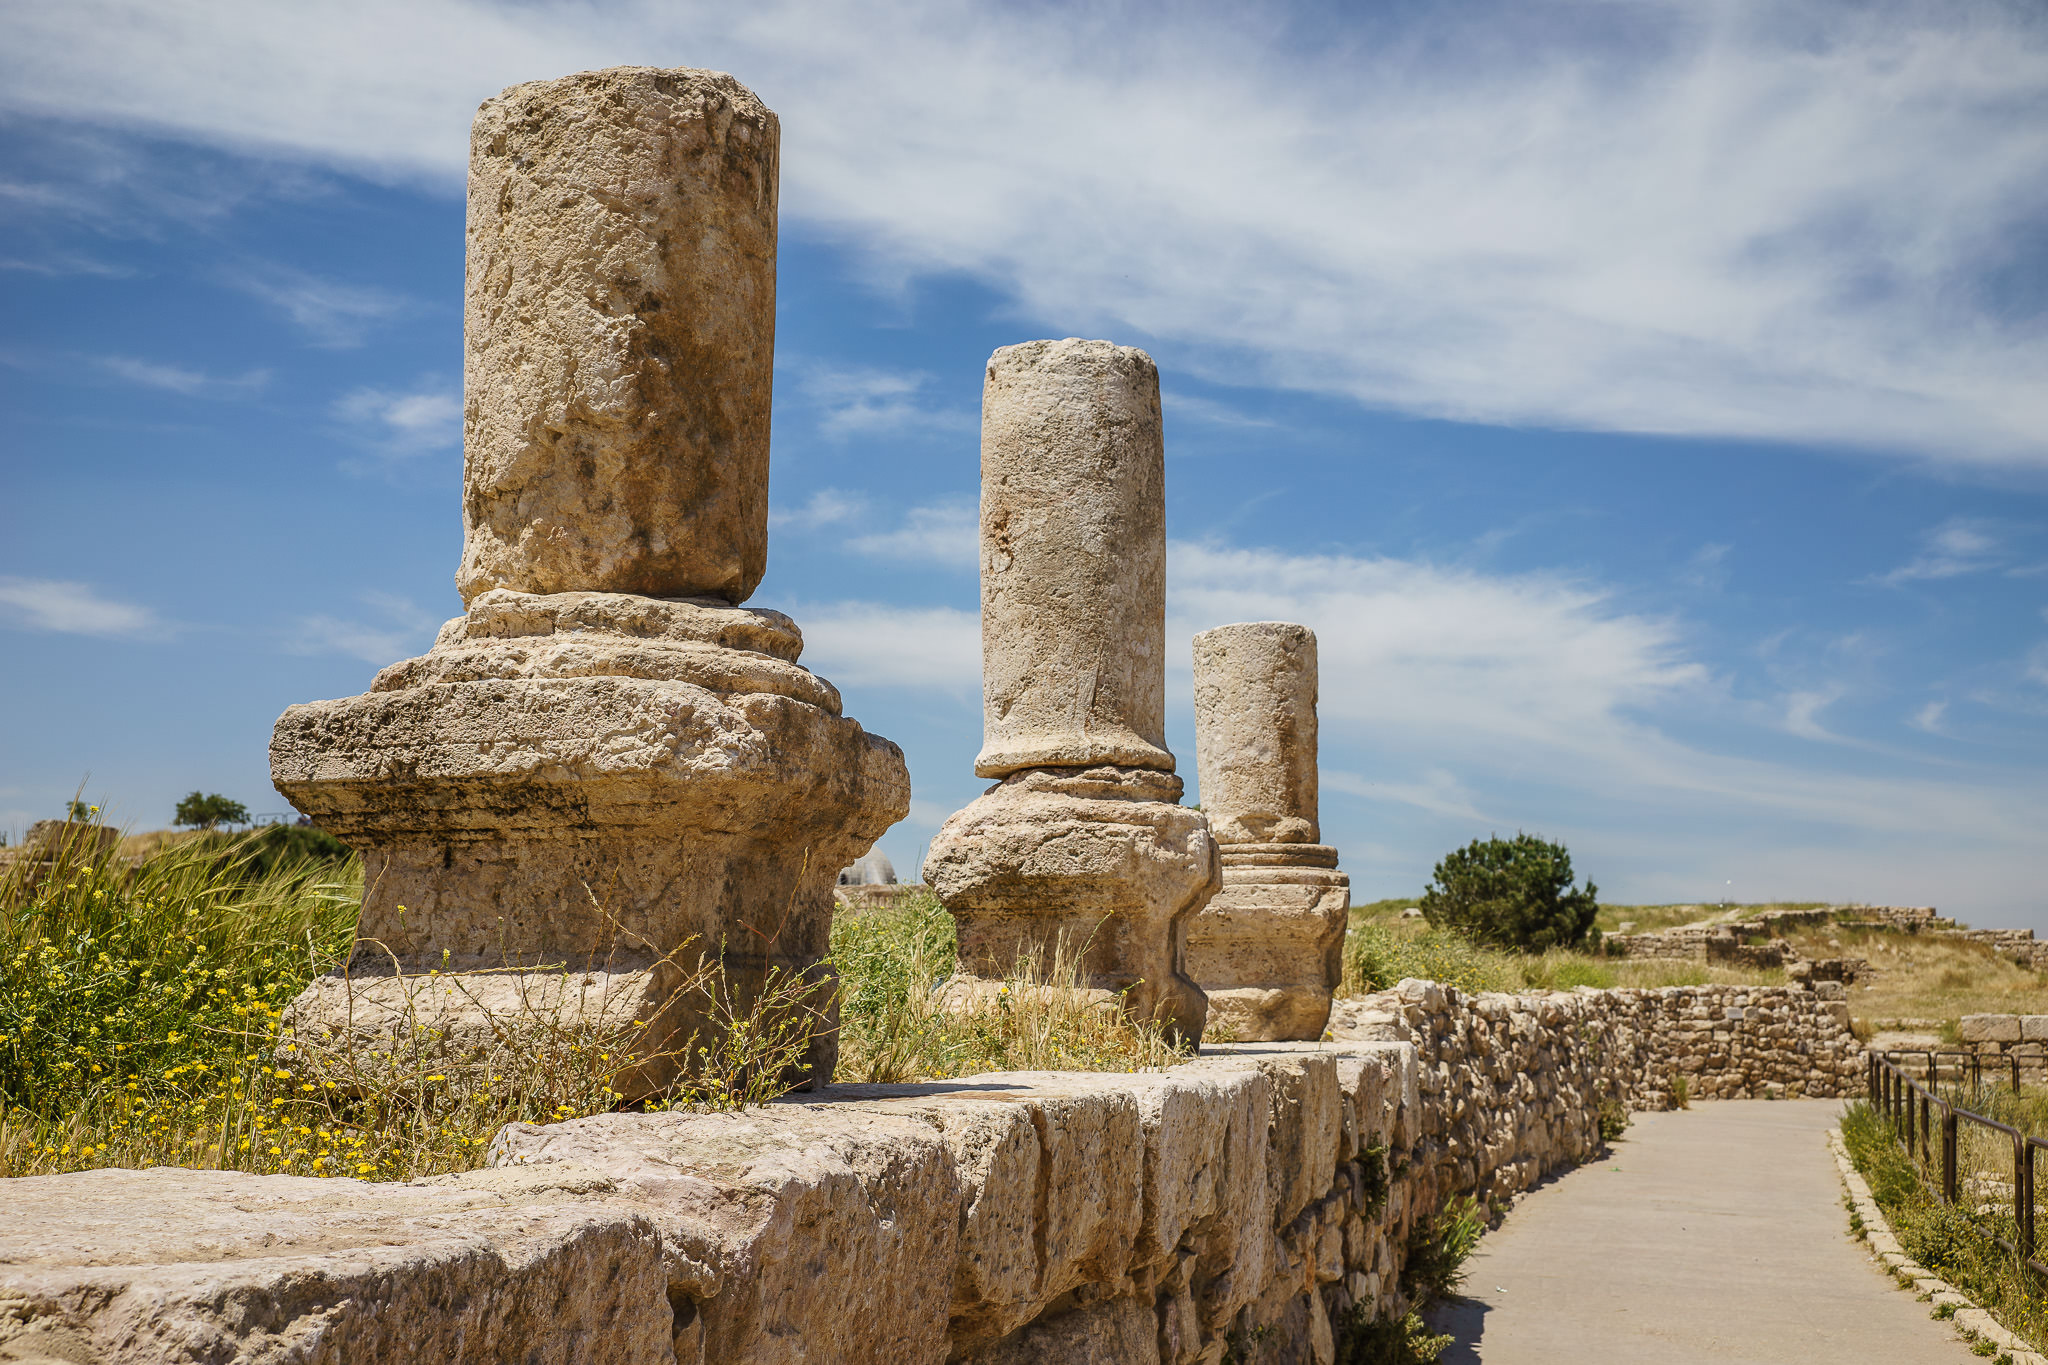
All Images Copyright © Nasim Mansurov, All Rights Reserved. Copying or reproduction is not permitted without written permission from the author.
Table of Contents
PL provides various digital photography news, reviews, articles, tips, tutorials and guides to photographers of all levels
All Images Copyright © Nasim Mansurov, All Rights Reserved. Copying or reproduction is not permitted without written permission from the author.
Table of Contents