Tamron 100-400mm Image Samples


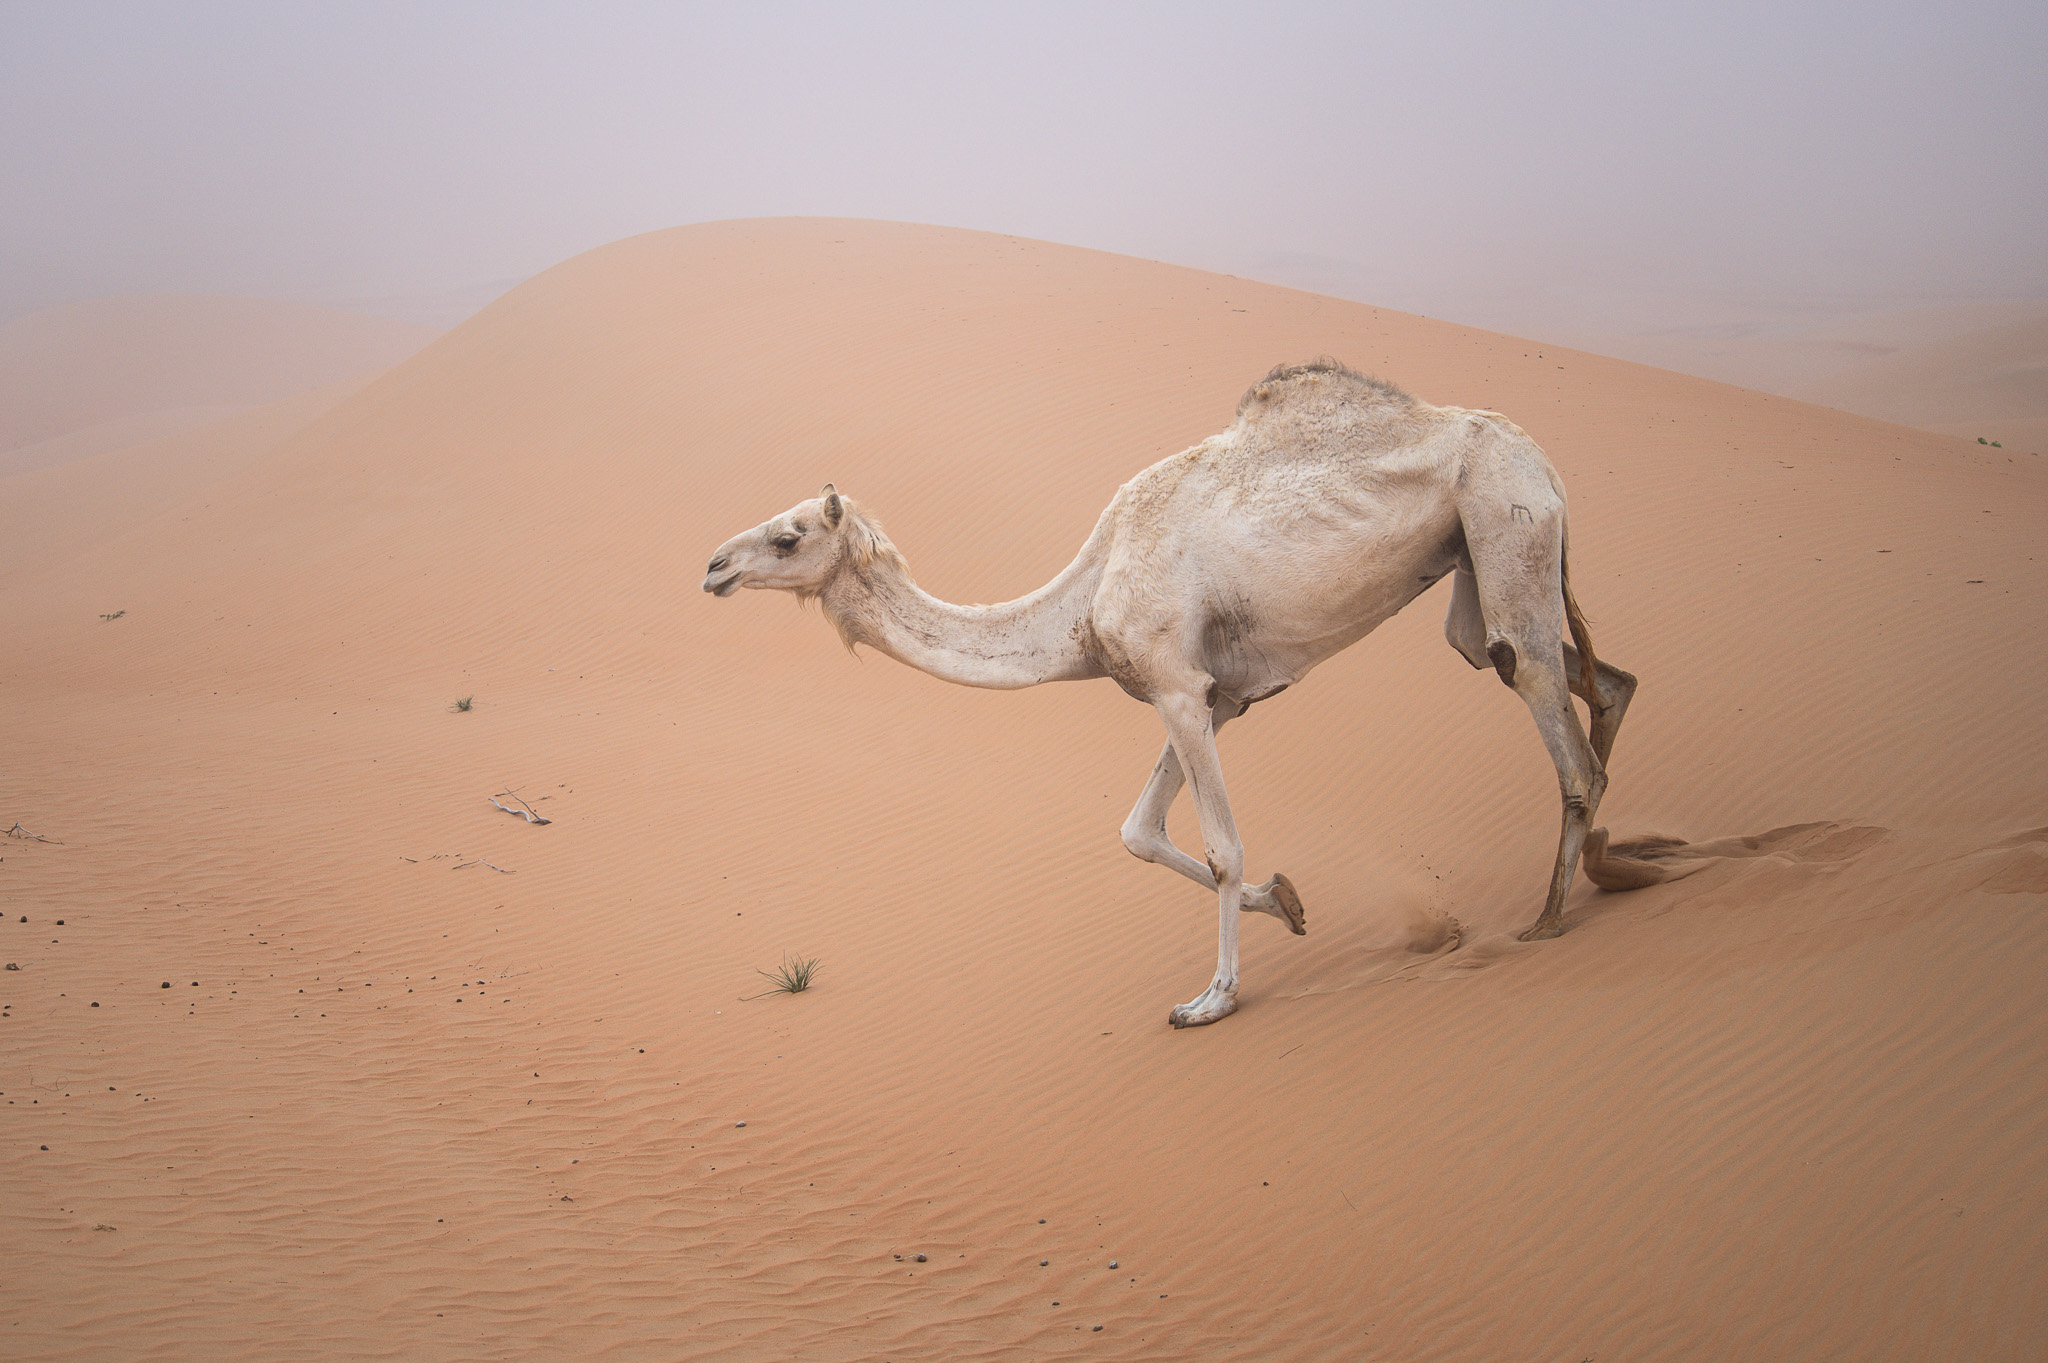


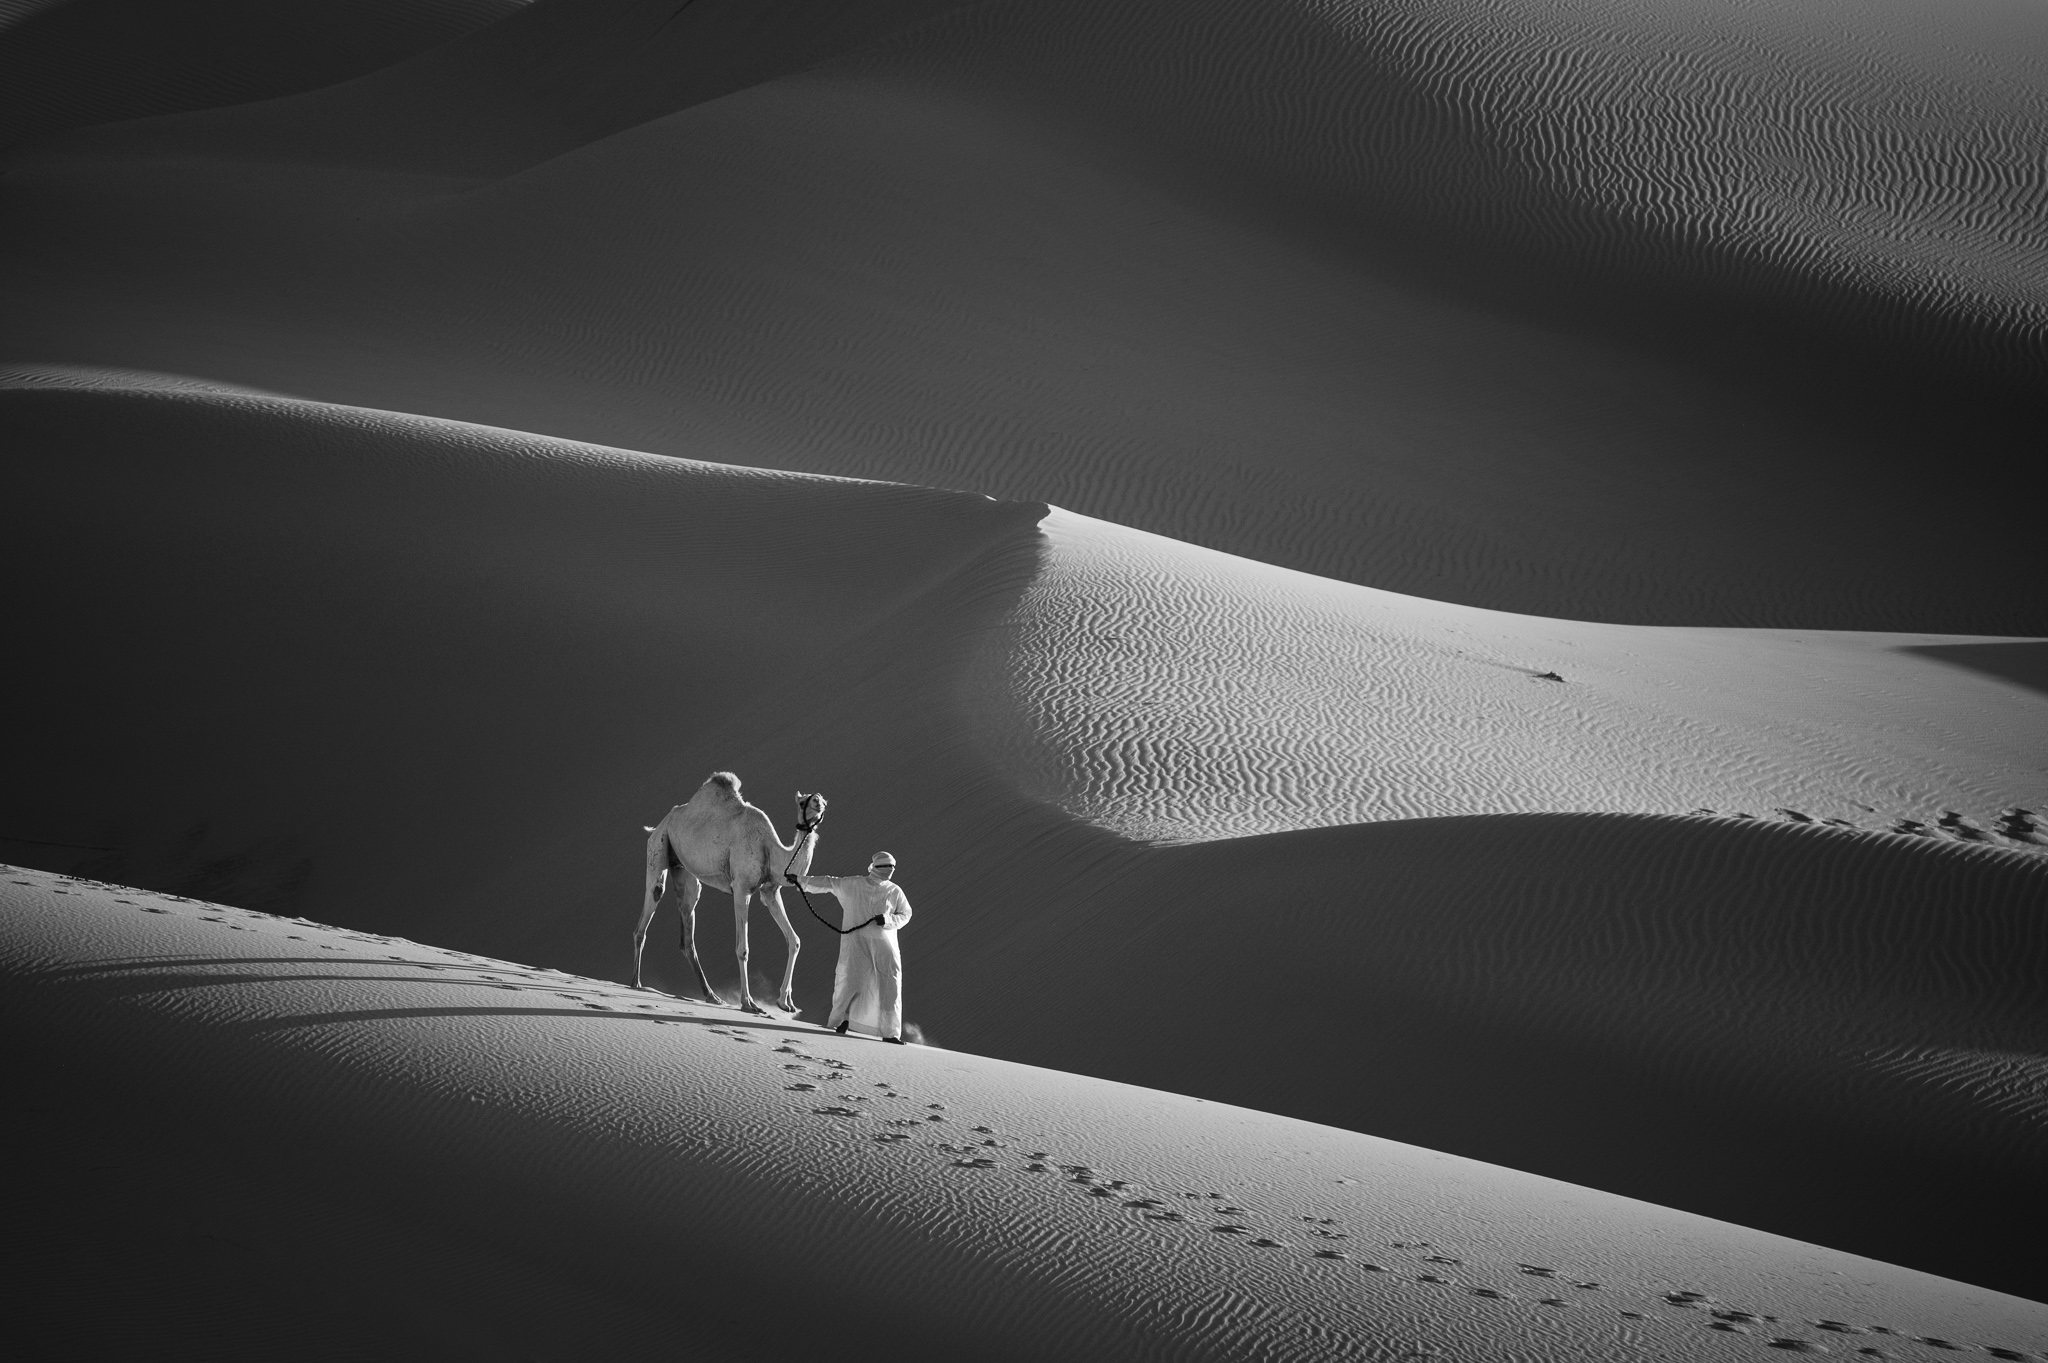


Images Copyright Dvir Barkay and Spencer Cox.
Table of Contents
PL provides various digital photography news, reviews, articles, tips, tutorials and guides to photographers of all levels
Images Copyright Dvir Barkay and Spencer Cox.
Table of Contents