Image Sensor
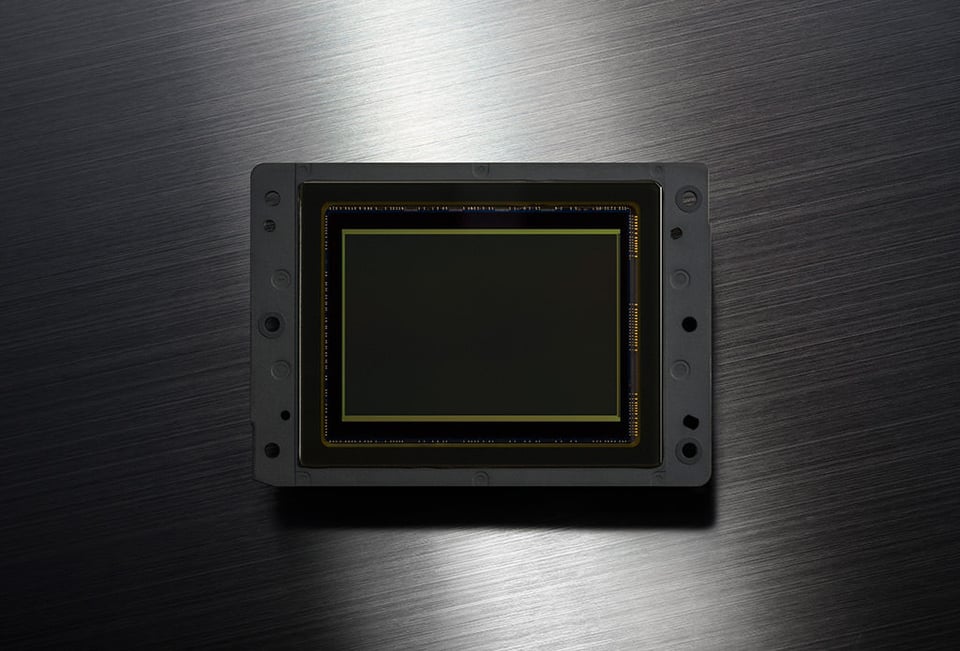
As I have previously mentioned, the Nikon D810 has the same resolution 36.3 MP full-frame sensor as the D800 / D800E cameras. However, despite having the same resolution, the physical sensor is actually not the same. Not only does the D810 have a different native ISO range of 64 – 12,800 (compared to ISO 100 – 6,400 on the D800 / D800E), but as you will see from the Camera Comparisons page of this review, noise patterns and white balance performance at various ISOs are also quite different.
I have been working hard on assessing the performance of the D810 sensor and have published numerous articles in regards to high ISO performance, dynamic range, colors, and RAW file conversion options. Below, is a summary of my findings, with links to previously published articles that show each assessment in detail. Let’s first start with RAW converter performance.
Nikon D810 RAW Converter Problems
Initially, I was quite shocked to discover that the D810 actually produced more noise at high ISOs. I photographed different scenes (both indoors and outdoors) over and over again, only to see the D800E outperform the D810. How could it have been? I could not believe that Nikon would produce a DSLR that was inferior to its predecessor, so I knew that something was wrong with my setup. I suspected that the RAW converter that I was using was perhaps bad (Adobe Camera RAW / Lightroom Beta at the time) and it certainly turned out to be the case. Just take a look at what Adobe Camera RAW was doing to the D810 images at ISO 12800 (Left: Nikon D810, Right: Nikon D800E):
And compare that to how Capture NX-D rendered the same files:
Despite the fact that I hated using the Capture NX-D software due to its limited features, messy interface and other problems (it crashed on me several times while I was working in it), it was pretty clear that Adobe’s RAW conversion was terrible in comparison. I really hoped that Adobe would actually fix the RAW converter with the final release of Adobe Camera RAW 8.6 and Lightroom 5.6, but sadly, that was not the case. Unfortunately, rendering of RAW files at high ISOs is only half of the problem – recovering highlights and shadows is comparably worse as well, especially when working with the sRAW format (more on that below).
Does this mean that I would not recommend using Lightroom or Photoshop to process Nikon D810’s RAW files? No, not really. Please note that such differences in RAW rendering performance can only be seen when exposure is pushed very high. For most standard shots in the normal ISO range and when not working with extreme highlight/shadow recovery situations, one would not see much difference in RAW conversion between Adobe CR / Lightroom and Capture NX-D. Plus, I hate the idea of completely switching my standardized workflow process just because Adobe is worse at extreme exposure settings. If I take a picture of something at ISO 6400 and above, or have a complex scene that I need to aggressively recover, I might switch to Capture NX-D to recover the image, convert the RAW file to TIFF, then switch back to Lightroom / Photoshop for further processing. Other than that, I would continue to use my standard software and hope that Adobe will eventually fix the problem.
Image Quality and ISO Performance
Without a doubt, the Nikon D800 / D800E sensor has been the best high-resolution full-frame sensor on the DSLR market since it was released two years ago. It was a resolution king for quite some time, until Sony eventually released the Sony A7R mirrorless camera, sporting the same sensor. When the Nikon D810 was announced, I wondered what Nikon would do to improve the already superb image quality of the 36 MP sensor. With the increased maximum native ISO of 12,800, I hoped that Nikon would be able to improve ISO performance by a full stop.
When I put the D810 and D800E side by side and shot at different ISOs from ISO 64 all the way to ISO 51,200, I realized that I was dealing with a completely different sensor and not just a remake with a few software tweaks. First, the “native” ISO range (which is the true sensor performance without any software “boosts”) is different, as pointed out at the beginning of this page – the D800 / D800E has a native ISO range of 100-6,400, while the D810’s range is 64-12,800. Second, the exposure was a bit off between the cameras – the D810 produced brighter exposures, by about 1/3 of a stop. Third, the white balance was also completely different. Even when converting RAW files and using the same gray card, I could not quite match the colors between the two. And it is not a bad thing by any means – in fact, as revealed on the next page, I actually find white balance performance of the D810 superior when compared to the D800 / D800E, as it renders colors more naturally. Lastly, noise performance also turned out to be different.
After messing with a couple of RAW converters and analyzing dozens of RAW images as described above, I came to a conclusion that the D810 did not dramatically improve at high ISOs – its performance is very similar to that of the D800E, with only around 1/3 to 1/2 of a stop of difference in favor of the D810 at ISO 3200 and above; not a full stop, as I had hoped to see. Well, I guess 1/3 – 1/2 of stops is still better than nothing on the already superb performer. I am sure Nikon did everything it could to push the current sensor technology to its limits, so unless something groundbreaking takes place in the sensor industry, I do not expect to see significant improvements in the near future…
sRAW Format
Similar to the Nikon D4S, the Nikon D810 also shipped with the sRAW format option. While sRAW is practically useless on the D4S due to massive loss of resolution (sRAW files are only 4 megapixels), the sRAW option on the D810 initially seemed like a good option, since it produces 9-megapixel images. If you have never heard of the sRAW format, it is basically a down-sampled / down-sized version of the full RAW file to 1/4 the resolution. As you may already know, taking a large resolution file and down-sizing it in software results in reduced noise. In addition, this process also potentially hides such problems as camera shake and slight focus problems, because you are looking at a much lower resolution file. Many photographers that did not want to deal with massive 36-megapixel resolution RAW files were excited by this option, as they thought they could shoot at 9 megapixels and have very clean RAW images. I decided to test the sRAW format in different scenarios and see how it compared to a RAW file. My research led to the sRAW format explained article, where I shared disappointing results, showing that sRAW was in fact not a real RAW file, but rather an 11-bit processed (demosaiced) file with limited options.
sRAW Format: White Balance and Recovery
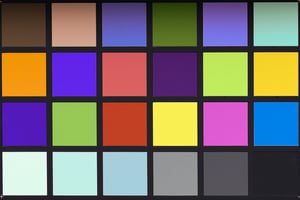
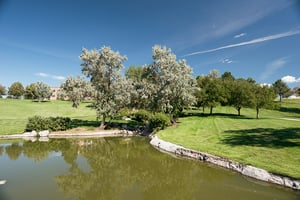
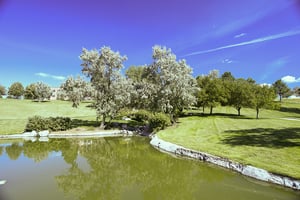
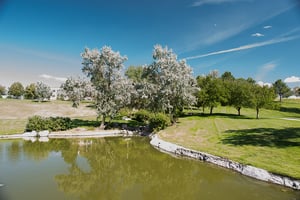
I conducted several studies, the first of which was to compare the sRAW format with RAW and JPEG in terms of white balance and highlight recovery. For the white balance test, I changed white balance to 2500K to make the image appear very blue. Next, I attempted to recover white balance to 4900K, which was the correct white balance. The results were interesting to look at – although sRAW definitely did lose some colors when compared to RAW, its WB recovery was much better than JPEG. Take a look at how RAW compared to sRAW:
And then compare sRAW WB recovery to JPEG:
It is pretty clear that 8-bit JPEG files are bad for recovering white balance. It turns out that 8-bit versus 11-bit is a big and visible difference.
This was even more noticeable when white balance was set to the other side of the spectrum, at 10000K:
Here, you can see that the JPEG format completely lost many colors – for example, it converted blue to magenta and white to light blue.
White balance recovery differences were much more evident when I took the D810 to outdoor environment. Take a look at how sRAW dealt with 2500K to 5600K conversion in comparison to JPEG (Left: sRAW, Right: JPEG):
This was an interesting discovery, as it meant that sRAW was not a bad option for recovering white balance, especially when compared to JPEG.
My next task was to see how sRAW could deal with highlight recovery when it was pushed to +3 stops from normal exposure. Take a look at how RAW recovered highlights compared to sRAW (Left: RAW, Right: sRAW):
Unfortunately, this is where sRAW clearly struggled. Many colors were lost and lots of highlights were never recovered. JPEG was a bit worse, since it had even less data to work with (Left: sRAW, Right: JPEG):
My last test was to see how well sRAW compared to RAW and JPEG in situations where an image was underexposed heavily by 5 stops (practically a black image). sRAW did quite well there, but I made another discovery – it turns out that Adobe Camera RAW was terrible at working with the sRAW format, as demonstrated in the below image on the right:
Hence, if you choose to work with the sRAW format, you should avoid using Adobe CR / Lightroom until the sRAW conversion is fixed.
sRAW Format: Noise vs Down-Sampling
The next study was to evaluate noise levels when shooting sRAW, versus shooting in RAW and then down-sampling / down-sizing images in software like Lightroom / Photoshop. This was an interesting study, because it showed how well Nikon actually performs in-camera down-sampling. At ISO below 6400, I did not see much difference in noise patterns between sRAW and down-sampled RAW files. However, at ISO 12800 and above, sRAW actually performed better in comparison, as demonstrated below (Left: sRAW, ISO 12,800, Right: Down-sampled RAW, ISO 12,800):
The same behavior was observed at ISO 25,600 and 51,200, where sRAW outperformed RAW in terms of noise levels.
sRAW Format: 12-bit RAW vs sRAW
The above test results presented conflicting information about the sRAW format. On one hand, it seems to be a viable option for producing clean, 9-megapixel images that can be recovered fairly well in terms of white balance. On the other hand, it is pretty clear that there is a loss of colors, especially when recovering overexposed images. So what is our summary? Is shooting sRAW a good idea? To give my final answer, I decided to analyze sRAW files and see how they compared to 12-bit RAW files. The results are quite interesting to share:
- On average, sRAW files were approximately 27-28 MB in size, no matter how under or over-exposed the images were. In comparison, a full-resolution 14-bit Lossless Compressed RAW file varied between 30 to 42 MB! Considering that sRAW has 4 times less resolution, I expected files to be much smaller in comparison. So you are essentially losing 3/4 of pixels, with not even 50% space savings.
- Things get even worse for sRAW if you decide to shoot in 12-bit Lossless Compressed RAW. With 1 more bit of data (which translates to better highlight and shadow recovery options) and a full-resolution 36 MP file, the average file size was between 28-30 MB, which is practically the same size as sRAW. This means that you are basically throwing away all those pixels for no practical gain.
- Lastly, sRAW files take a toll on both battery life and frame rate of the camera. Since the camera processor has to do all that heavy down-sampling from 36 MP to 9 MP, the camera is simply not fast enough to process many images at once, resulting in a significantly smaller buffer. For example, the buffer when shooting full-size 12-bit RAW files fits approximately 47 images. If you switch to sRAW, the buffer will be reduced to just 18 sRAW images! That’s worse than even shooting 14-bit uncompressed RAW files, which are over 70 MB in size. So forget about using sRAW for continuous shooting. With such long processing times, your battery will also drain much quicker.
In summary, shooting sRAW does not make much sense – you are much better off with the 12-bit full-size RAW option.
ISO 32 and ISO 64 Benefits
You might be wondering who would ever need ISO 64 or 32. Well, if you like using fast f/1.4 lenses in broad daylight, you will quickly discover that a neutral density filter is very useful in those situations. The same is true for photographing long exposures during the day, say moving people, water, etc. Sure, you can always stop down the lens to a smaller aperture, but at the expense of diffraction. Anything past f/8 on a high-resolution sensor negatively impacts image quality. If you compare the D810 with the D700, there is a 1.66 stop difference between the lowest allowed ISO setting on both – a significant difference. If your starting shutter speed at say f/8 is 1/250 of a second at ISO 100, going down to ISO 64 will reduce the shutter speed to 1/160 and going down to ISO 32 will reduce it to 1/80. That’s almost equivalent to using a two-stop ND filter in front of the lens. It is nice to have these options when working in the field. The difference is obviously diminished to 2/3 of a stop when you compare the D810 with the D800 / D800E, but it is still an advantage. Cameras usually struggle with highlight recovery a lot more than shadow recovery, so that 2/3 of a stop advantage can sometimes save the day.
In addition, flash photography fans will also appreciate the ability to lower ISO when using fast lenses and wanting to isolate the subject from the background. Since flash sync is limited to 1/250 of a second, the shutter speed cannot be pushed beyond that, or part of the frame will be rendered dark. And 1/250 in broad daylight means that one would have to stop the lens down to a smaller aperture like f/5.6 or smaller in order to avoid overexposure. Well, f/5.6 is a pretty small aperture for a fast prime lens – it obviously translates to a larger depth of field, which is not always desirable. What if you want to have a nice portrait, with the subject isolated from the background? Or perhaps you want to make those Christmas lights in the background appear like blobs with nice bokeh characteristics? Well, the only way you can do that without altering ISO is by using a neutral density filter. By blocking some of the light, you can essentially open up the lens more and decrease depth of field, which means more of the background appearing out of focus. If we look at the same 1.66 stop difference example mentioned above between Nikon D700 and Nikon D810, by changing from ISO 200 to ISO 64, you would be able to maintain the shutter speed at 1/250 of a second, while being able to open up the lens from f/5.6 to f/3.2, which is a huge change in depth of field. And sometimes even 2/3 of a stop of exposure makes a difference in darkening the sky a little when overpowering ambient light.
Select the next page below to move to Autofocus Performance.
Table of Contents
