Camera Modes
This camera is designed for the Point-and-Shoot Set, therefore features loads of scene modes and auto functions. I tried to be a good reviewer and shoot the entire first day just in Auto. I made it to mid-morning before the control freak in me started reaching for the +/- button, then soon thereafter was spinning the selector to PAS and my favorite M. What I discovered is this camera is really slow to maneuver in those modes. For instance, if you want to change ISO you have click the menu button. If it takes you to the top of the menu, then it’s seven clicks to get down to ISO adjustment, one click there to access your options, then whatever number of clicks to get the desired ISO. At least the last menu selection pops up the next time you access the menu. It would be great if this had quick ISO and WB controls.
One thing the P900 has that neither the Mighty D4s nor the Mega D810 possess is User Settings. The funny thing is, most people who buy a P900 will rarely get out of Auto or one of the scene modes. They’ll never spin the dial to “U”. On the other hand pros wish everyday they had User Settings on their DSLR bodies and swear if they ever find the knucklehead who instead programmed in the virtually useless Custom Settings Banks, that they’d strangle him with their equally useless D4s-embroidered D-Kapitator camera strap. Wow, I guess I needed to get that out of my system until the next camera review.
After spending many days bogged down trying to shoot the P900 in manual mode, I gave in and went to the Scene settings.
Landscape Mode has it’s own spot on the Mode Dial. It puts the camera in a long distance focus setting and warms up the WB a bit.


These were shot in landscape mode and Standard Picture Control with a bit more contrast and saturation added in post. I could have achieved a similar result in-camera by using the Vivid Picture Control setting.
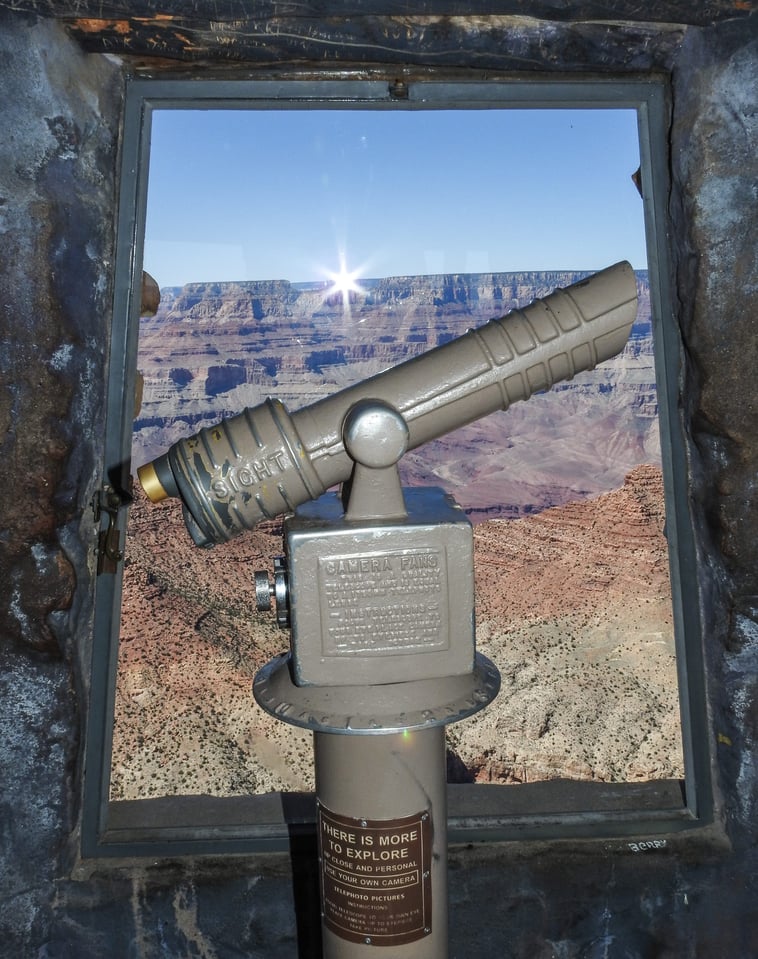
Earlier on I showed you pics of the Desert View Watchtower. I’d been to the Grand Canyon many times, but never ventured inside. Eventually I went in and was amazed at how cool the architecture was. It seemed a good place to try out “Museum” mode. This mode sets you up to shoot indoors without flash and is a lot easier than trying to do it all manually.


If you want flash you need to manually raise the flash – it won’t pop up itself in Auto Mode. The flash has no power adjustments and I found it a pain to use. It took me many tries before I got this shot right.

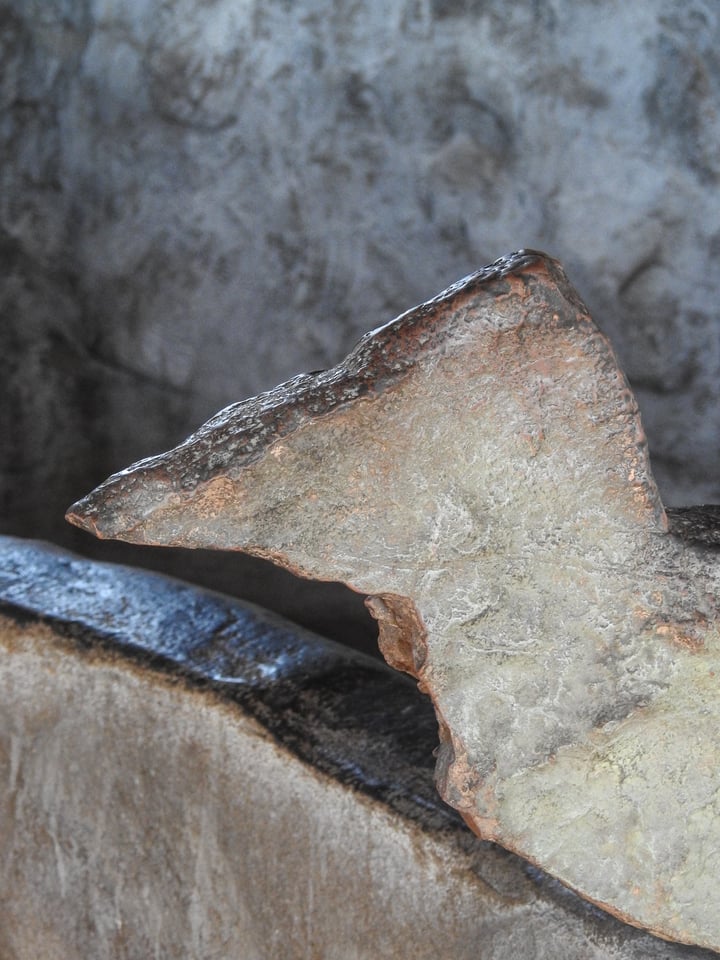
I even tried Museum Mode it in an actual museum (Tusayan Museum) where the lights are real dim to protect the artifacts and flash photos are strictly forbidden.


The kachina is a bit blurred from trying to handhold at 1/10 sec, but the other shots look good.
To work the Easy Panorama mode, just push the button, pan, and let the camera stitch the shot together.

Unfortunately, the P900 has just two pano settings – 180-degrees and 360-degrees. Even at the lower setting you have to pan in an awkwardly wide sweep to complete the picture. You need to give your self some extra space at the top and bottom and a good bit of leeway at the end of the sweep as the final file gets cropped a bit automatically. The camera will complete a pano if you only pan 90-degrees, stop, then wait 4-5 seconds for the camera to say that’s enough. If you sweep less than 90-degrees it will refuse to create the file. It would be great if Nikon added extra 90 and 120-degree modes in a firmware fix. It would also be great if the Cubs won the World Series. I think it more likely the Cubs will come through sooner.


Here’s a crop from another pano and the odd pattern you see here is lens flare repeating from the stitching process.

I really wanted a tight pano of the mountains in the back, but the P900 sets the focal length wide and you can’t change the focal length in pano mode, hence I searched for some nice grass to fill the foreground.
Next morning I wanted a pano of the wild vapor trails lit up in the sunrise, but this time the camera was tricked and gave this jumpy effect.

This was panned smoothly on a tripod so I’m not sure what went wrong.
I didn’t like the P900s pano modes, hence ended up just stitching in Photoshop for results like this.

In Birdwatching Mode you can align a bird inside a thin black frame, then push “okay” and the camera zooms to 800mm. You can then zoom in or out if desired and shoot away in either single shot or continuous mode.

I tried and tried to get a decent bird shot in bird-watching mode, but the P900 is just too slow to capture anything but a patient bird that really want’s it’s photo taken.

I ended up making my own bird mode with Auto-ISO, minimum shutter speed, 7fps burst, etc. and saving it as my User Setting. Still, my results were dismal and though on paper the P900 looked like a fun camera for bird photography, in the field it was just frustrating. Bird-watching mode seemed to work better for lizards.

The Moon Shot Mode works great. Just align the brackets over the moon, push “okay” and the camera zooms to 2000mm. Click the shutter release and it starts a 2-second self timer for the camera to stop shaking (you need a tripod for this).

Whee! The hardest bit is lining the moon up in the monitor at 2000mm.
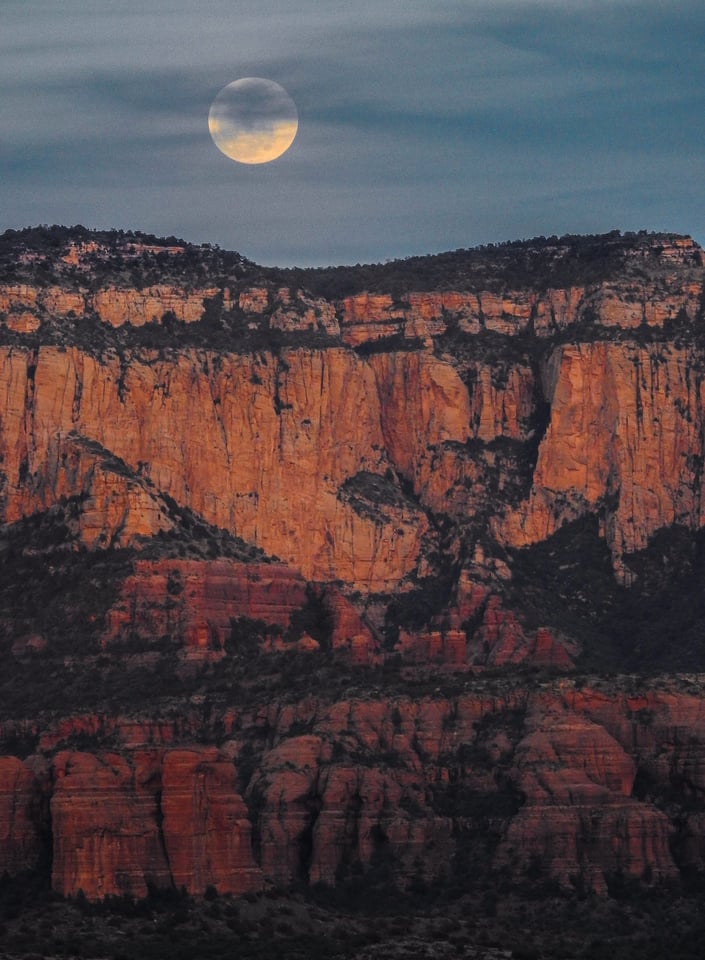
While we’re talking about the moon, here’s some shots form the night of the recent lunar eclipse. These were not in Moon Mode as I was not cropping in as tight and also the P900 had trouble autofocusing on the moon behind the haze that evening.

Big moon coming over the ridge. Little does it know what will happen later.

Look close and you can see a jet flying by.

Thin layers of cloud kept coming and going.
When the eclipse started a few hours before sunrise, I found it impossible to shoot close ups of the moon during the eclipse – I just couldn’t get a focus on it. Instead I decided to try the Night Sky Time-lapse Mode that compresses 150 minutes into 30 seconds:
If there hadn’t been the thin haze I think you would see a bunch of cool stars show up when the eclipse reached totality, however the weather had different plans.

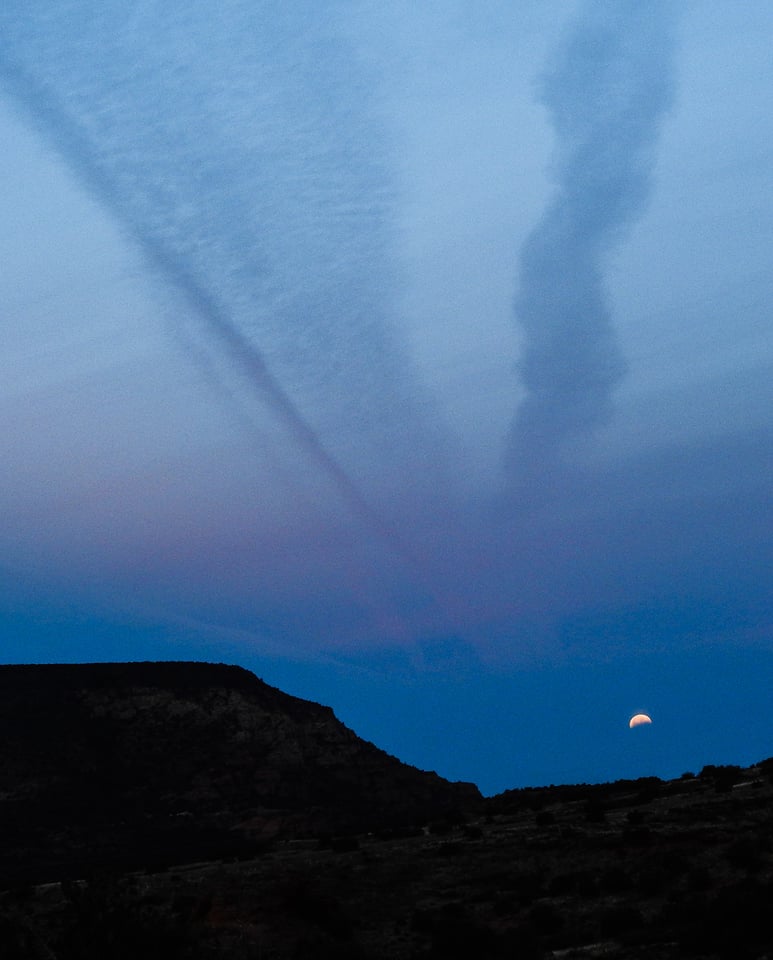
Still in partial eclipse as the moon sets. Next is a clip done in Sunset Time-lapse Mode (runs automatically for 50 minutes and creates a 10-second video):
Besides Scene Modes there are Effect Modes. Feeling naughty? Go ahead and throw out all but one color with Selective Color Effect.

Egads, I’d better do something good to make up for that. Fortunately, the High Contrast Monochrome effect comes to the rescue.

Better than that, there are more adjustable B&W settings in the monochrome picture setting menu. I did this next one by adding a red filter (in-camera setting) and boosting contrast.

Because I sometimes had trouble getting white balance where I wanted it, the black and white options were quite welcome.

Table of Contents