Lens Sharpness and Contrast
Compared to other Nikon primes, the 85mm f/1.4G performs very well at large apertures and produces sharp images at the center, with corners starting out weaker, but getting really good when stopped down a little. Having tried out a number of older 85mm lenses, I can say with confidence that this one is without a doubt the sharpest Nikon 85mm f/1.4 made to date, easily beating both AF-D and AI-s versions. It even stands its ground quite well when compared to Canon’s 85mm f/1.2L, which just does not do all that well at wide apertures. Since the Nikon 85mm f/1.4G performs so well at f/1.4, I personally do not hesitate to shoot it wide open. It might not have top-notch sharpness, but that’s not always the number one priority when photographing people anyway – the aesthetics and the overall look of the image are far more important in my opinion.

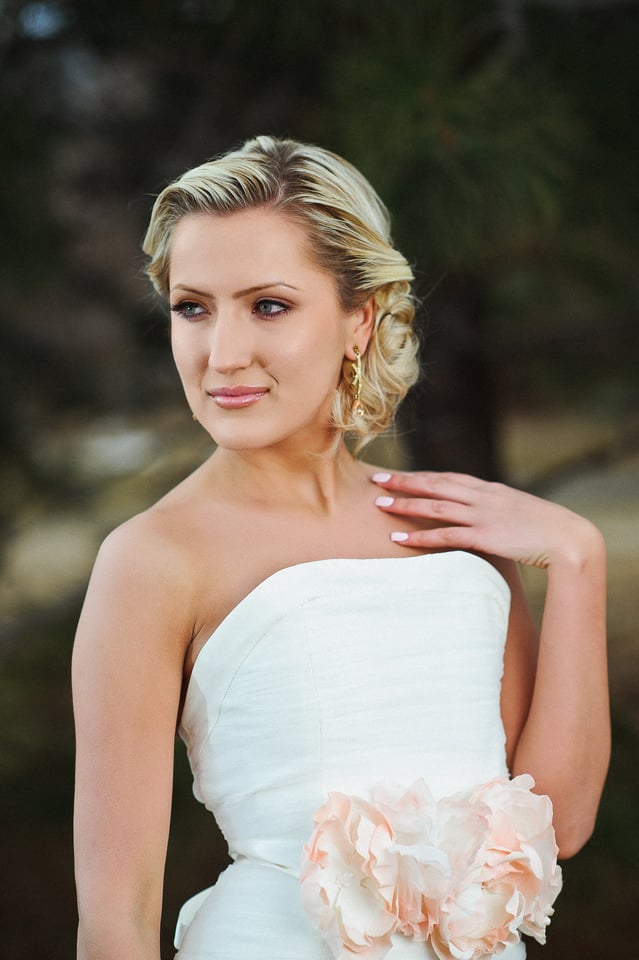
As you can see from the sample images in this review, Lola and I often shoot the Nikon 85mm f/1.4G between f/1.4 and f/2.8, rarely stopping down beyond that. Images come out tack sharp, and color and contrast were truly amazing, certainly top of the class.
Here is how Imatest measured the sharpness of the lens at different apertures:

As with most older f/1.4 lenses, the 85mm f/1.4G starts out pretty average wide open. Stopping down even a little improves sharpness quite a bit, with f/2.8 already going strong and f/5.6 reaching peak sharpness across the frame. To be honest, the above numbers don’t really mean much, since other lenses such as Nikon 85mm f/1.8G and 105mm f/1.4E out-resolve the 85mm f/1.4G, sometimes even by a pretty big margin. When it comes to portrait lenses, sharpness should not be the top criterion for determining lens quality – it is all about its rendering and bokeh capabilities, as that’s what the lens is designed to do. Still, being able to get good sharpness at wide-open apertures is expected from high-end portrait lenses and that’s where the Nikon 85mm f/1.4G certainly does deliver. Personally, I love shooting with this lens wide open. If I need a bit more detail on my subject’s face, I stop the lens down between f/1.8 and f/2.8 to get the best results.
It is worth noting that while testing the lens, I encountered a noticeable amount of focus shift between f/2.0 and f/5.6 apertures. The lens also exhibits some field curvature, because of which the corner numbers suffer. If one focuses with the lens at the edges of the frame, it is possible to yield very sharp results there, obviously at the expense of center resolution.

Bokeh
Bokeh is what high-end portrait lenses like the Nikon 85mm f/1.4G are all about! So how does the Nikon 85mm f/1.4G compare to its predecessor, the Nikon 85mm f/1.4D, which was always regarded as the “king of bokeh”? It is obviously a matter of personal opinion, but I like the bokeh from the new Nikon 85mm f/1.4G a little better – the background looks softer and has less defined edges. Take a look at the following bokeh comparison:

Beautiful bokeh is the sole reason people buy 85mm lenses and the 85mm f/1.4G is no disappointment – as you can see, the bokeh on the lens remains to be very good. Whether you use this lens for portraits, concerts, weddings or other types of photography, the Nikon 85mm f/1.4G will do a superb job at isolating your subjects, delivering exceptionally beautiful background blur.

Vignetting
As expected with any fixed f/1.4 lens, there is a considerable amount of vignetting present when shooting wide open @ f/1.4, but it is almost completely gone by f/2.8. Here is an extreme example of vignetting at f/1.4 and f/2.0 compared to AF-D:

The first row is Nikon 85mm f/1.4G shot at f/1.4 (left) and f/2.0 (right), while the second row is Nikon 85mm f/1.4D shot with the same settings. Both seem very similar at large apertures, but the 85mm f/1.4G seems to be showing heavier vignetting wide open. At f/2.8 vignetting starts disappearing and it is completely gone at f/4 on both lenses. The vignetting issues can be quickly corrected in Adobe Photoshop or Lightroom if they bother you, so it is not a big problem. However, why would you want to remove vignetting in the first place? None of the images in this review had their vignetting fixed in post for a good reason – it is part of how the lens renders images and it is absolutely beautiful. Many portrait photographers end up removing vignetting through automated tools, only to find themselves adding it back in, which is silly! The only case where I could see myself removing vignetting is if I were to use the lens for photography needs other than portraiture…

Here is vignetting, as measured by Imatest:

Ghosting, Flare and Chromatic Aberration
The Nano-Coating glass inside the lens definitely reduces ghosting and flare. Here is an extreme example with the sun in the top left corner:

Flares and ghosts show up in images, depending on the angle and position of the bright light source. I would keep the lens hood on at all times, to prevent accidental flares from showing up in images. Also, if you use a crappy filter, you might get some nasty flare even with the hood on when pointing at a bright light source, so make sure to use only the high-quality multi-coated “MRC” filters from B+W, Hoya or Tiffen for digital cameras. It is also worth noting that the Nikon 85mm f/1.4G does a very good job at handling coma flare at large apertures, which has always been a problem on 85mm lenses.
When it comes to CA/color fringing, the Nikon 85mm f/1.4G also demonstrated superb results, beating the 85mm f/1.4D in comparison:

The image on the left is Nikon 85mm f/1.4G, whereas the image on the right is Nikon 85mm f/1.4D. As you can see, the fringing on the 85mm f/1.4D is much more pronounced and the full image shows that the corners are especially bad for the f/1.4D.
Here is lateral chromatic aberration, as measured by Imatest:

Distortion
Distortion is almost non-existent, with a slight amount of barrel distortion present when shooting at longer distances. The closer you stand, the less barrel distortion you will see. Imatest measured barrel pincushion of 0.38% at relatively close distances, which is negligible. Such distortion is really nothing to worry about and the problem can be easily fixed in post-processing software using lens corrections modules.
Here is an example of distortion at close focus:

Let’s move on to lens comparisons.
Table of Contents