Optical Characteristics
Without further ado let’s go out to the field.
NOTE: I’ve post-processed these shots to my liking. Some might be cropped a bit (but only for aesthetics, not to crop away soft corners) and most have my default sharpening applied (50/0.8/50 in LR). Anything more than default sharpening is noted. These were all shot in RAW and contrast, clarity, color, white balance, dodging, burning, etc. has been done but I’m not a heavy post-processor. You are not seeing RAW images straight from the camera because what is important is can this lens deliver files detailed enough to produce good final results. If you want unretouched in-camera images of someone’s bookshelf there are plenty of other reviews out there that provide such shots.
8.1) Sharpness
The Toadstools looked cool in postcards so I headed out there. Problem is, it’s a 3/4-mile hike out there with almost 100 feet of elevation gain. Did I want to lug my standard landscape kit (D810 with 20mm, 50mm, 105mm and tripod) out there? Or just go lazy and take the D500 and 16-80mm and count on the VR to give good handheld results?

Lazy wins! Here’s a toadstool and at 80mm I didn’t need to hike any closer. At f/5.6 the main formation is looking darn sharp.
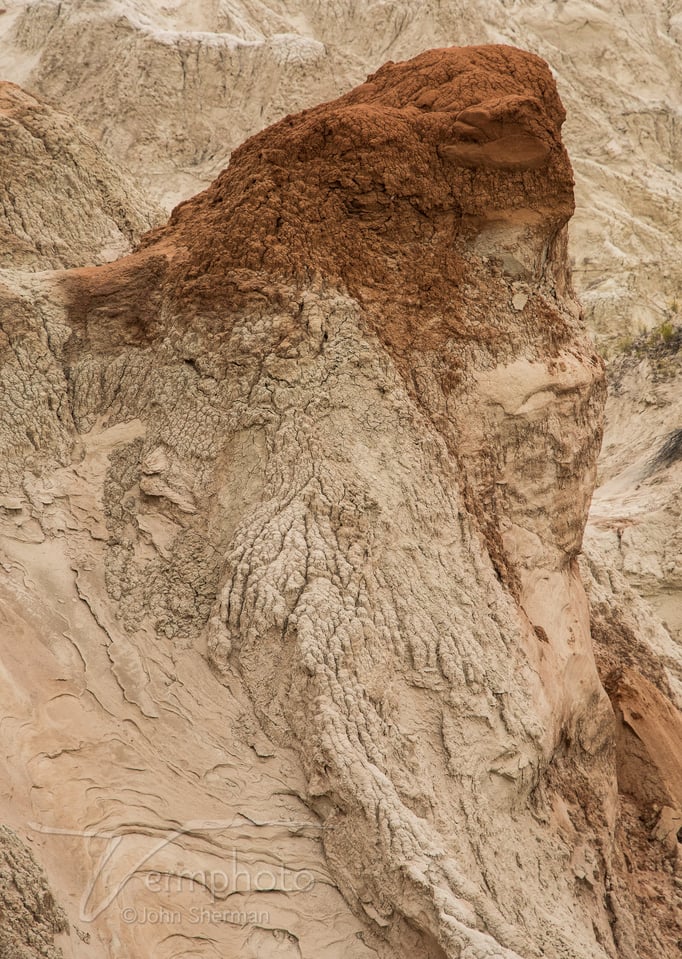
Getting closer to the subject still looking good in the center at 80mm and f/8 but some softening around the edges (some from shallow depth of field).

Another mid-range 80mm shot, this time at f/16 and without any sharpening beyond Lightroom’s 25/1.0/25 default. Diffraction is creeping in as expected with any lens at f/16.

Same shot but with 75/1.0/50 sharpening and some contrast added. Looking fine.
Zooming out through the range.
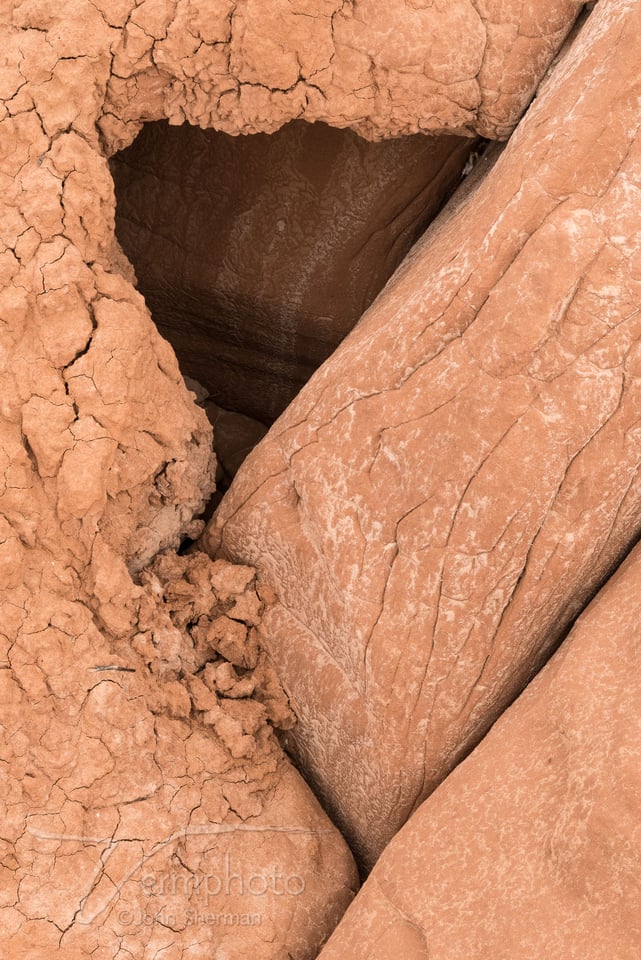
66mm about 3 feet from subject – looking good from corner to corner.
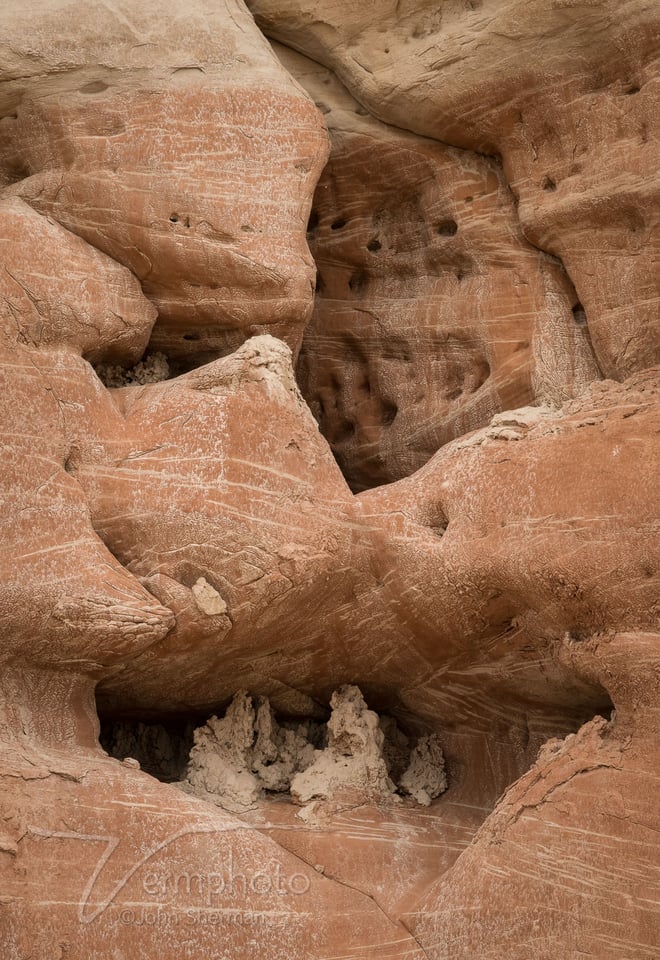
65mm from roughly 40 feet away – excellent corner to corner

50mm from 50 feet – terrific corner to corner sharpness. Something the 24-120mm lacks.
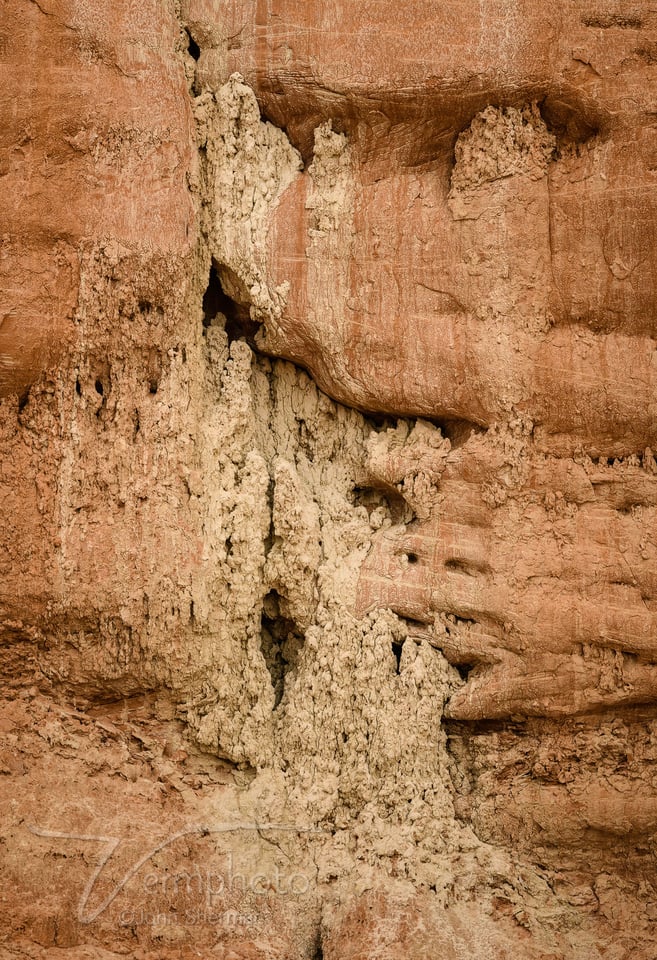
46mm ten feet away – again great from corner to corner.

46mm 3 feet away – ditto.

38mm from 6 feet – that’s right.
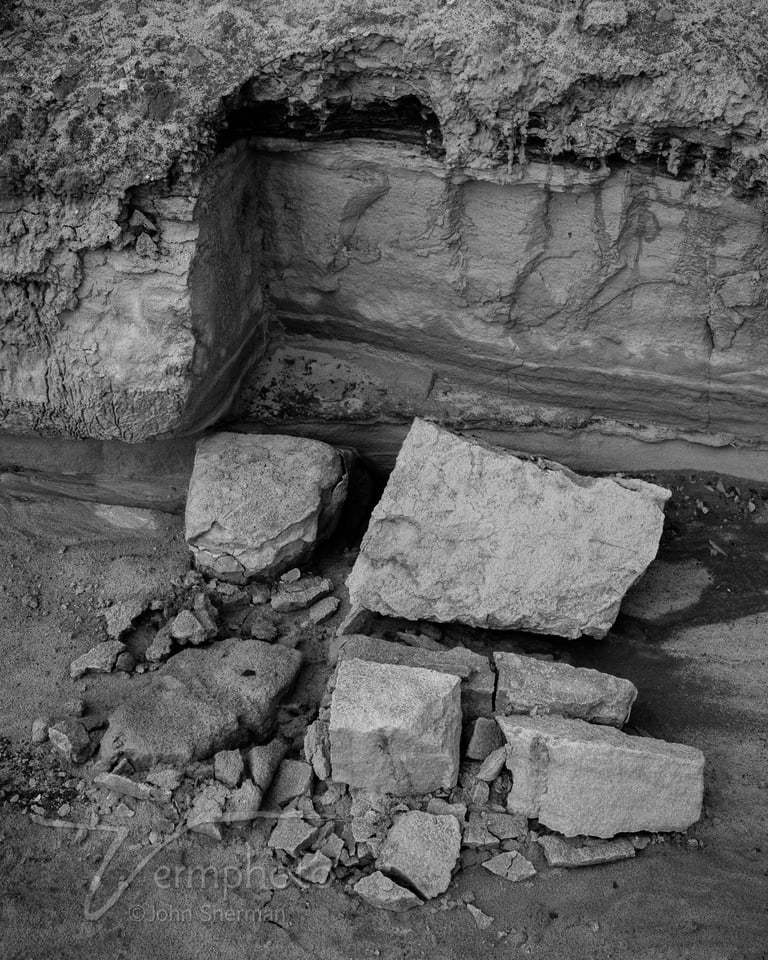
28mm from 20 feet. Yummy.

26mm from 8 feet. Anyone know of a state where you can legally marry a lens?

24mm from 20 to 70 feet. Tried this one at f/20 to push the diffraction, but sharpened to 75/0.98/50 looks better than I expected – certainly acceptable up to 11”x17”.

At 20mm this lens measures up impressively. Something tells me the indigenous folks might have a different name for this place. So tests from the toadstools left me wowed with the consistent corner-to-corner sharpness of the 16-80mm regardless of focal length or distance to subject. If there was any weakness it was slightly soft edges at the long end, but I mean just slightly soft, not “hit delete” soft. Bear in mind all these are handheld to boot. I’m liking this lens. Let’s have more fun.
Aware that the presence of a kit lens on my pro-DX body could lead to both image and moral decay, I decided I’d better head somewhere free from sin. What better locale than the Utah/Arizona borderlands in the vicinity of Colorado City?

It’s working – the photo gods send clouds. Going near-to-far with this one. 16mm f/10 and looking crisp throughout.

At 22mm and f/7.1 some slight softness along the bottom edge. f/8-9 would likely clean this up.

38mm and doing this fine landscape justice.

56mm, f/6.3 and a tad soft on the left side – maybe a very slight decentering issue? At f/8 I can’t discern this.

At last, an inferior shot sharpness-wise. Real soft along left edge. Right edge only a bit better. Stopped down to f/10 it got better but nothing I’d waste ink on printing out. Sharpness holds up well in my field tests. What about other optical issues?
8.2) Flare
With it’s Nano-coating flare is reasonably well controlled. Only with the light source in the frame did I have issues of which the above were typical.

Zoomed toward the long end and shooting into the sun would create some overall flare, but easily to eliminate by putting a hand out to extend the lens shading. Sunstars come out pretty fuzzy like the ones above unless you “pinch” the sun between objects.

8.3) Bokeh
So far we’ve been looking at Group f/64 style shots stressing sharpness throughout. Let’s shrink the depth of field and see what happens.

Now you know why I don’t shoot a lot of portraiture, but the out of focus areas look pleasingly soft in this 80mm shot.

Like father, like son, but this time at 44mm.

30mm and even closer.

Here we have some tiny donuts (doughnettes?) around the specular highlights off individual quartz grains in the sandstone this butterfly is perched on, but the background looks smooth.


Nearly wide open we get some hard-edged bokeh from the specular highlights, sometimes I got onion bokeh. I guess we have to thank the aspherical lens elements for this. This is crunchiest bokeh I managed to get.
8.4) Distortion
At 16mm there’s quite noticeable ravioli/mustache distortion.

None of this is a big deal as they are all easily corrected with one click of the lens profile button in Lightroom as above.

From 24-50 there’s not much distortion and around 65-80 there’s slight pincushion distortion…
8.5) Vignetting
There’s quite a bit of vignetting with the 16-80mm. On 99% of my shots this was quickly fixed with one click in Lightroom. However, I came across a couple files where it wasn’t so simple.
Here’s an example:

Here’s my horribly underexposed RAW image with zero post-processing by me. Oops.

Now I’ve lightened and adjusted contrast but haven’t clicked the lens profile button.

Here I’ve clicked the lens profile button and it attempted to fix the vignette but left a strange white ring which I then jacked the contrast way up so it’s easier to see. Ughh.

I tried to fix it with manual adjustments of the vignette and midpoint but this wasn’t enough. I ended up having to carefully burn in the ring to get an even sky. I wonder if this uneven vignette might have something to do with some of the lens elements. Whatever the case, I didn’t notice it until I had processed scores of files from this lens so it isn’t a prevalent issue.
8.5) Diffraction
Stop down beyond f/11 and diffraction starts creeping in as it will with any lens. Nevertheless, I wouldn’t hesitate to shoot this lens at f/16 and just add some extra sharpening in post.

This was at f/18 and 80/1.0/50 sharpening applied. I wouldn’t want to print this at 11”x17” but wouldn’t hesitate at 8”x12”. If you don’t print big or print at all (just share on the web) then this is a non-issue.
8.6) Close-Ups
Closer than 2 feet to the subject I had mixed results. This is likely user error on my part.

If I employed best practices and shot on a tripod and focused with live view this wouldn’t be a problem, but handheld I had trouble getting sharp focus. The 16-80mm has a 0.22x close-up ratio which translates to a subject about 3.5 inches wide horizontally filling the frame at 80mm and minimum focusing distance.
8.7) Astrophotography and Coma
For star shots it’s nice that the 16-80mm has a maximum aperture of f/2.8. At f/2.8 and 16mm, hyperfocal distance is about 15 feet and you get ~8 feet to infinity in focus for results like this:

At 100% view and scanning the corners of the frame I can see teardrop shapes with some of the brighter stars so this lens displays a touch of coma. The above stars have a bit of motion blur. Below are some crops from shots at a shorter shutter speed:

At f/2.8.

At f/4.

At f/5.6.
Dedicated astrophotographers will likely prefer one of the short list of minimal coma primes out there, but for folks like me who only grab a star shot occasionally, the 16-80mm does a passable job.
Table of Contents