“To hills of green and shadows cool,” wrote Rudyard Kipling in his poem A Coming May. And although green vegetation is always welcome after harsh winters, lively plants can complicate bird photography. Grass and leaves can sometimes be overpowering in their distracting randomness and in their crazy effects on background blur.
Thus, it’s not surprising that if you’re into wildlife or bird photography, you’re going to get a little green in your photo. But, there are several techniques you can use to make the green in your wildlife shots more harmonious and more deliberate. In this article, I’ll tell you about some of my favorite techniques to handle plants, leaves, and grass in wildlife photography.
Table of Contents
What’s Tricky About the Green Stuff?
Grass, leaves, and plants are natural parts of environments, and there’s nothing wrong with including them in a photo. But take a look at nine close crops from various photos I’ve taken in the past year or so:
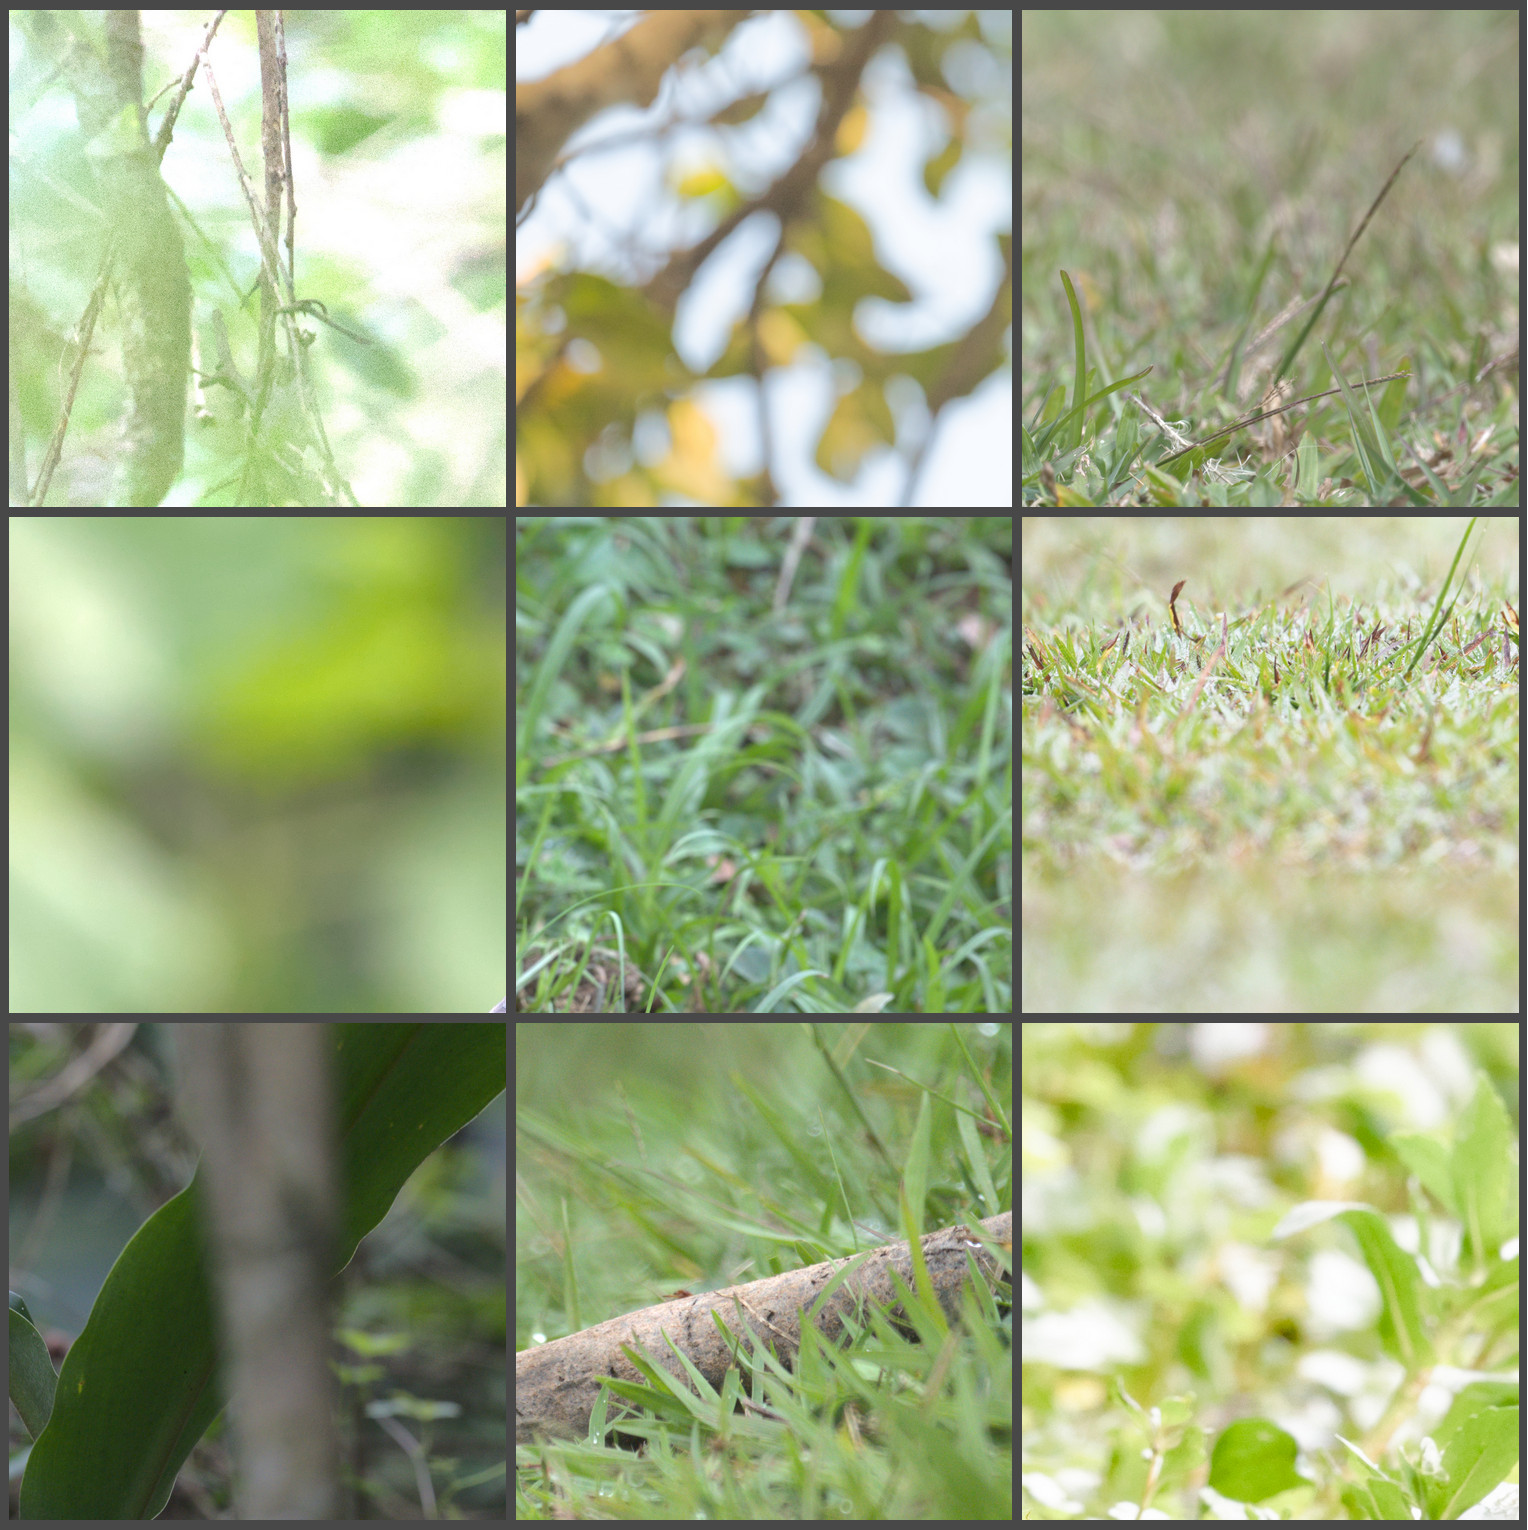
Scenes with plants have a lot going on! This complexity is not bad in itself, but it does mean that you have to give plants more than a passing thought because there’s so much going on in them. Such busy scenes can distract from your subject, create complex bokeh, and even get in the way of the most important elements in your photo.
The secret is not to avoid this beautiful source of oxygen, but to handle it in your photographs so that it feels more deliberate – and thus complements the subject instead of distracting from it.
Tip 1: Pay Attention to Backgrounds and Surroundings
People tend to focus on the animal in wildlife photographs. However, pretty subjects work best when there’s a deliberate surrounding that supports them. Thus, it is crucial to pay attention to your surroundings and background.
For example, in a tree, I recently saw a flock of Cobalt-rumped Parrotlets, a South American bird that likes to eat flowers. Of course, I took a “record shot” since the bird was a lifer for me. But then I quickly scanned the tree to find more elegant configurations of branches, hoping that one of the parrots would land nearby. It worked!

When I get to a new area, I don’t start looking for pretty birds right away! Instead, I look for spots where the plants make nice scenes for potential birds.
Without fail, when I see a scene that looks like a good composition, it still has to be fine-tuned. Walking to the left, then to the right, will give me an idea of the best way to frame the composition harmoniously.
Think about how the background relates to the subject. If there’s a darker, shadow area in the distance, it might be possible to move so that the spot is aligned with the bright head of a subject. Or, perhaps there’s a bright plant in the background that just sticks out of the left of the frame. Moving to the left and shifting the camera will exclude it from the composition.
Tip 2: Get Closer
Sometimes you’ll see a background that is too busy and crowded with plants to make for a good photo. In that case, if possible, I tend to move in close for a portrait-style shot instead. If I can’t move closer, I wait patiently for the bird to move closer. Of course, I love environmental shots as well and I don’t subscribe to the idea of blindly blowing out every background, but a good portrait is better than an unsalvagable background.
Even when you get close enough to get one of those creamy, flat backgrounds, still pay attention to the bright and dark areas that are out of focus. You’ll want the subtle, smooth gradients to work with your subject.

Tip 3: Take Many Variations
All wildlife photographers know that, often, there simply isn’t time to consider every little aspect of a scene. Animals move, and sometimes they vanish forever before you get a good photo, leaving you crying in despair. By taking more variations, you make it more likely that you nail the shot you have in mind.
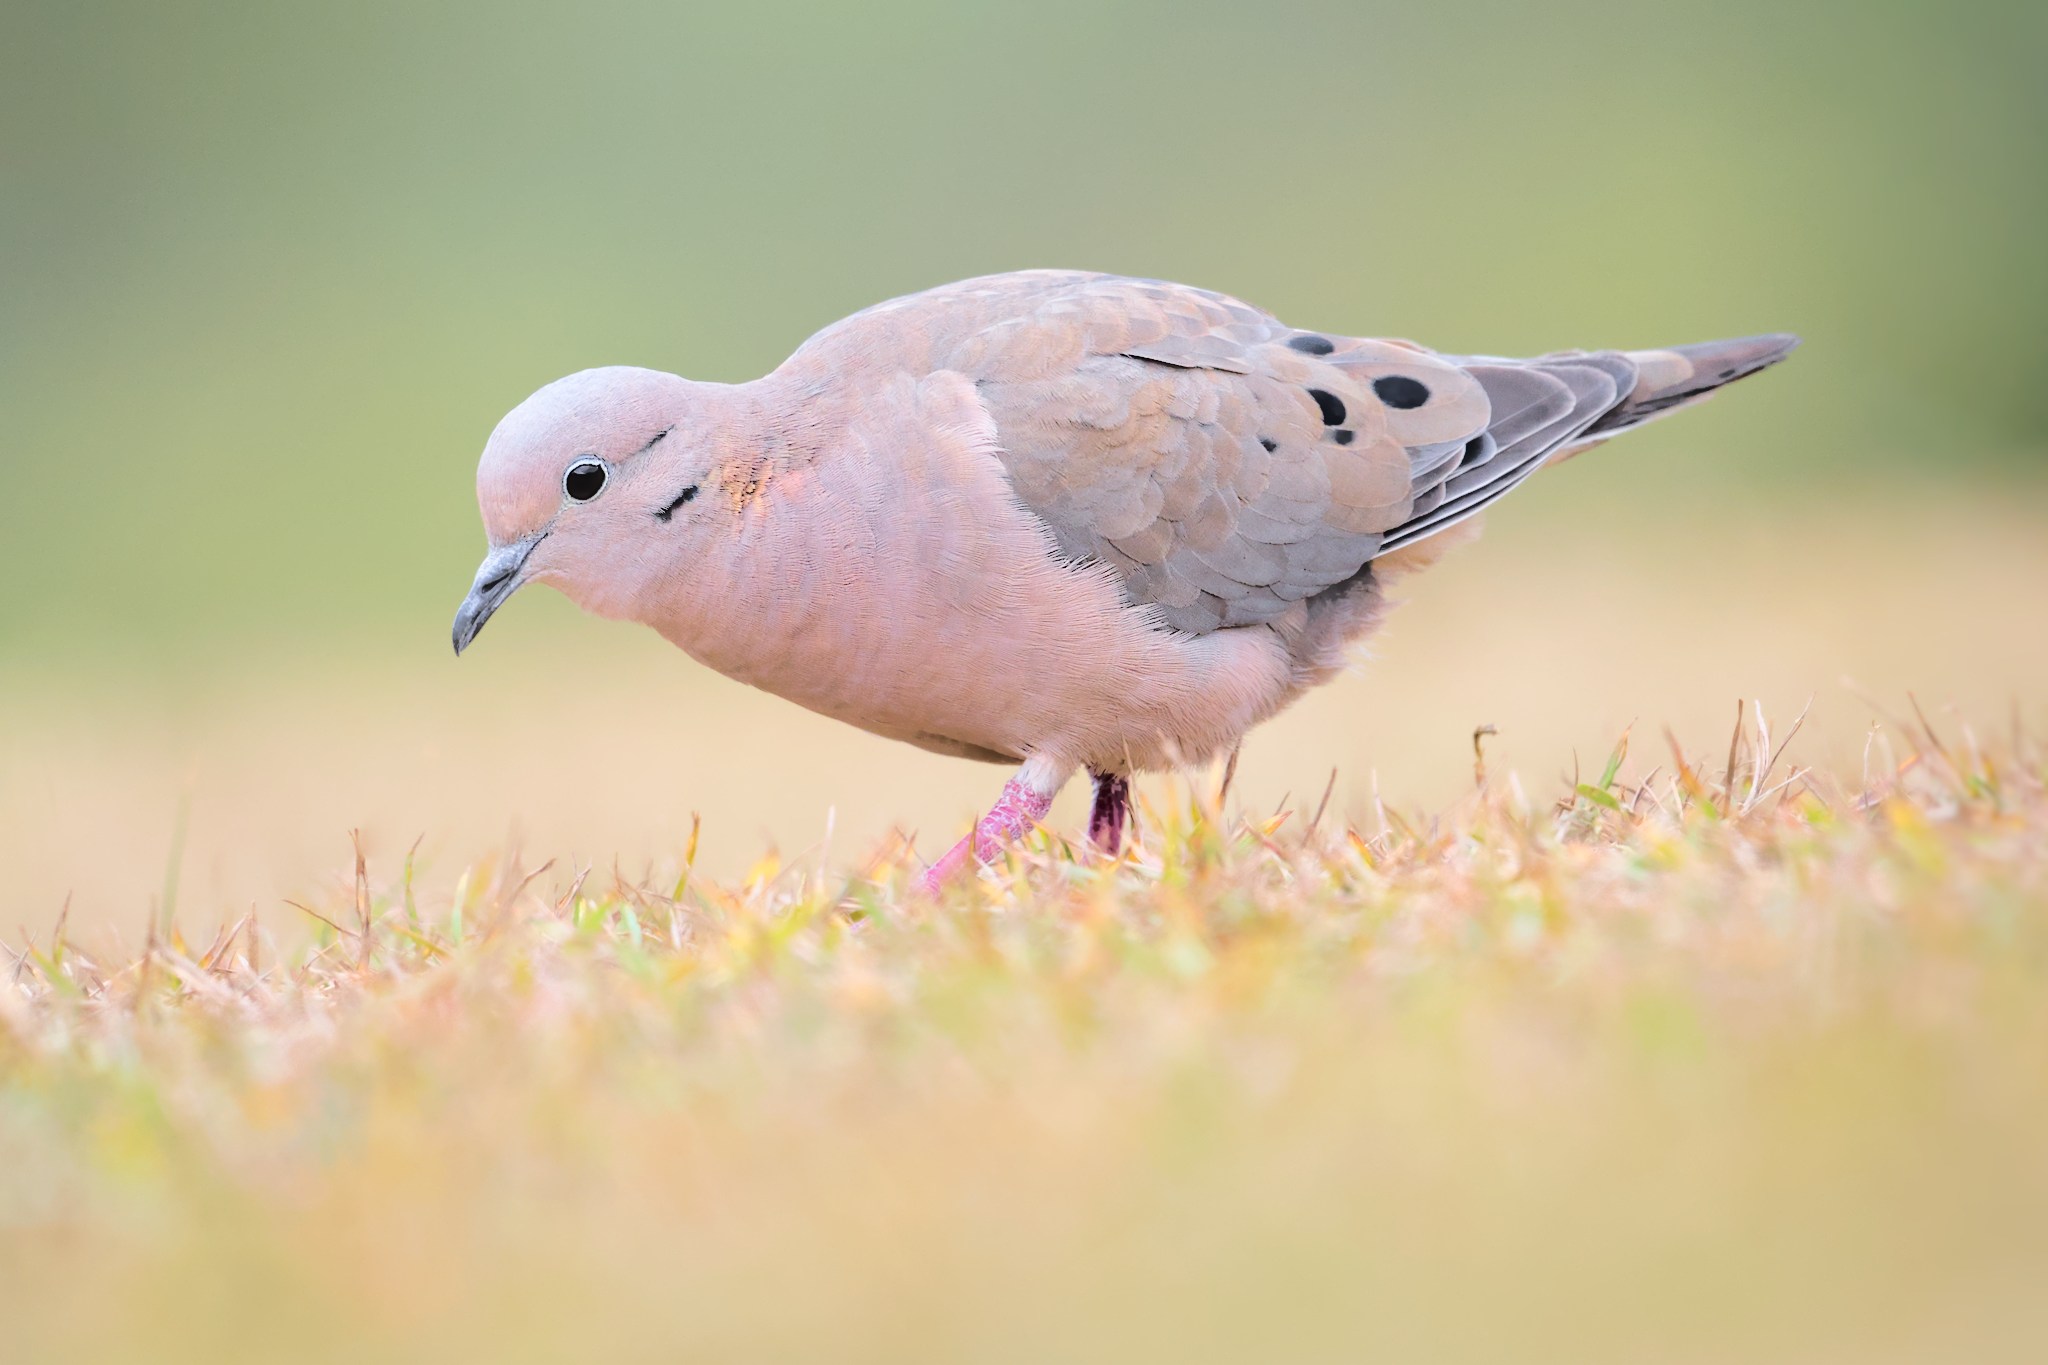
Here’s one photo of an Eared Dove in the grass, but I had to take about twenty variations before I got one that I really liked. Although I had this approximate composition in mind before taking these attempts, I just couldn’t pay attention to every blade of grass and the bird at the same time. In many of the rejected attempts, the grass was not quite right, being either a little too high or low, or there was an overpowering blade in the shot.
Indeed, in wildlife photography, it’s really important to take at least a few variations. Even if your composition is perfect, animals are never fully predictable. They may blink (or shut their nictitating membrane if they have one), or something else may come into the scene and cause compositional problems.
Tip 4: Shoot at the Right Times
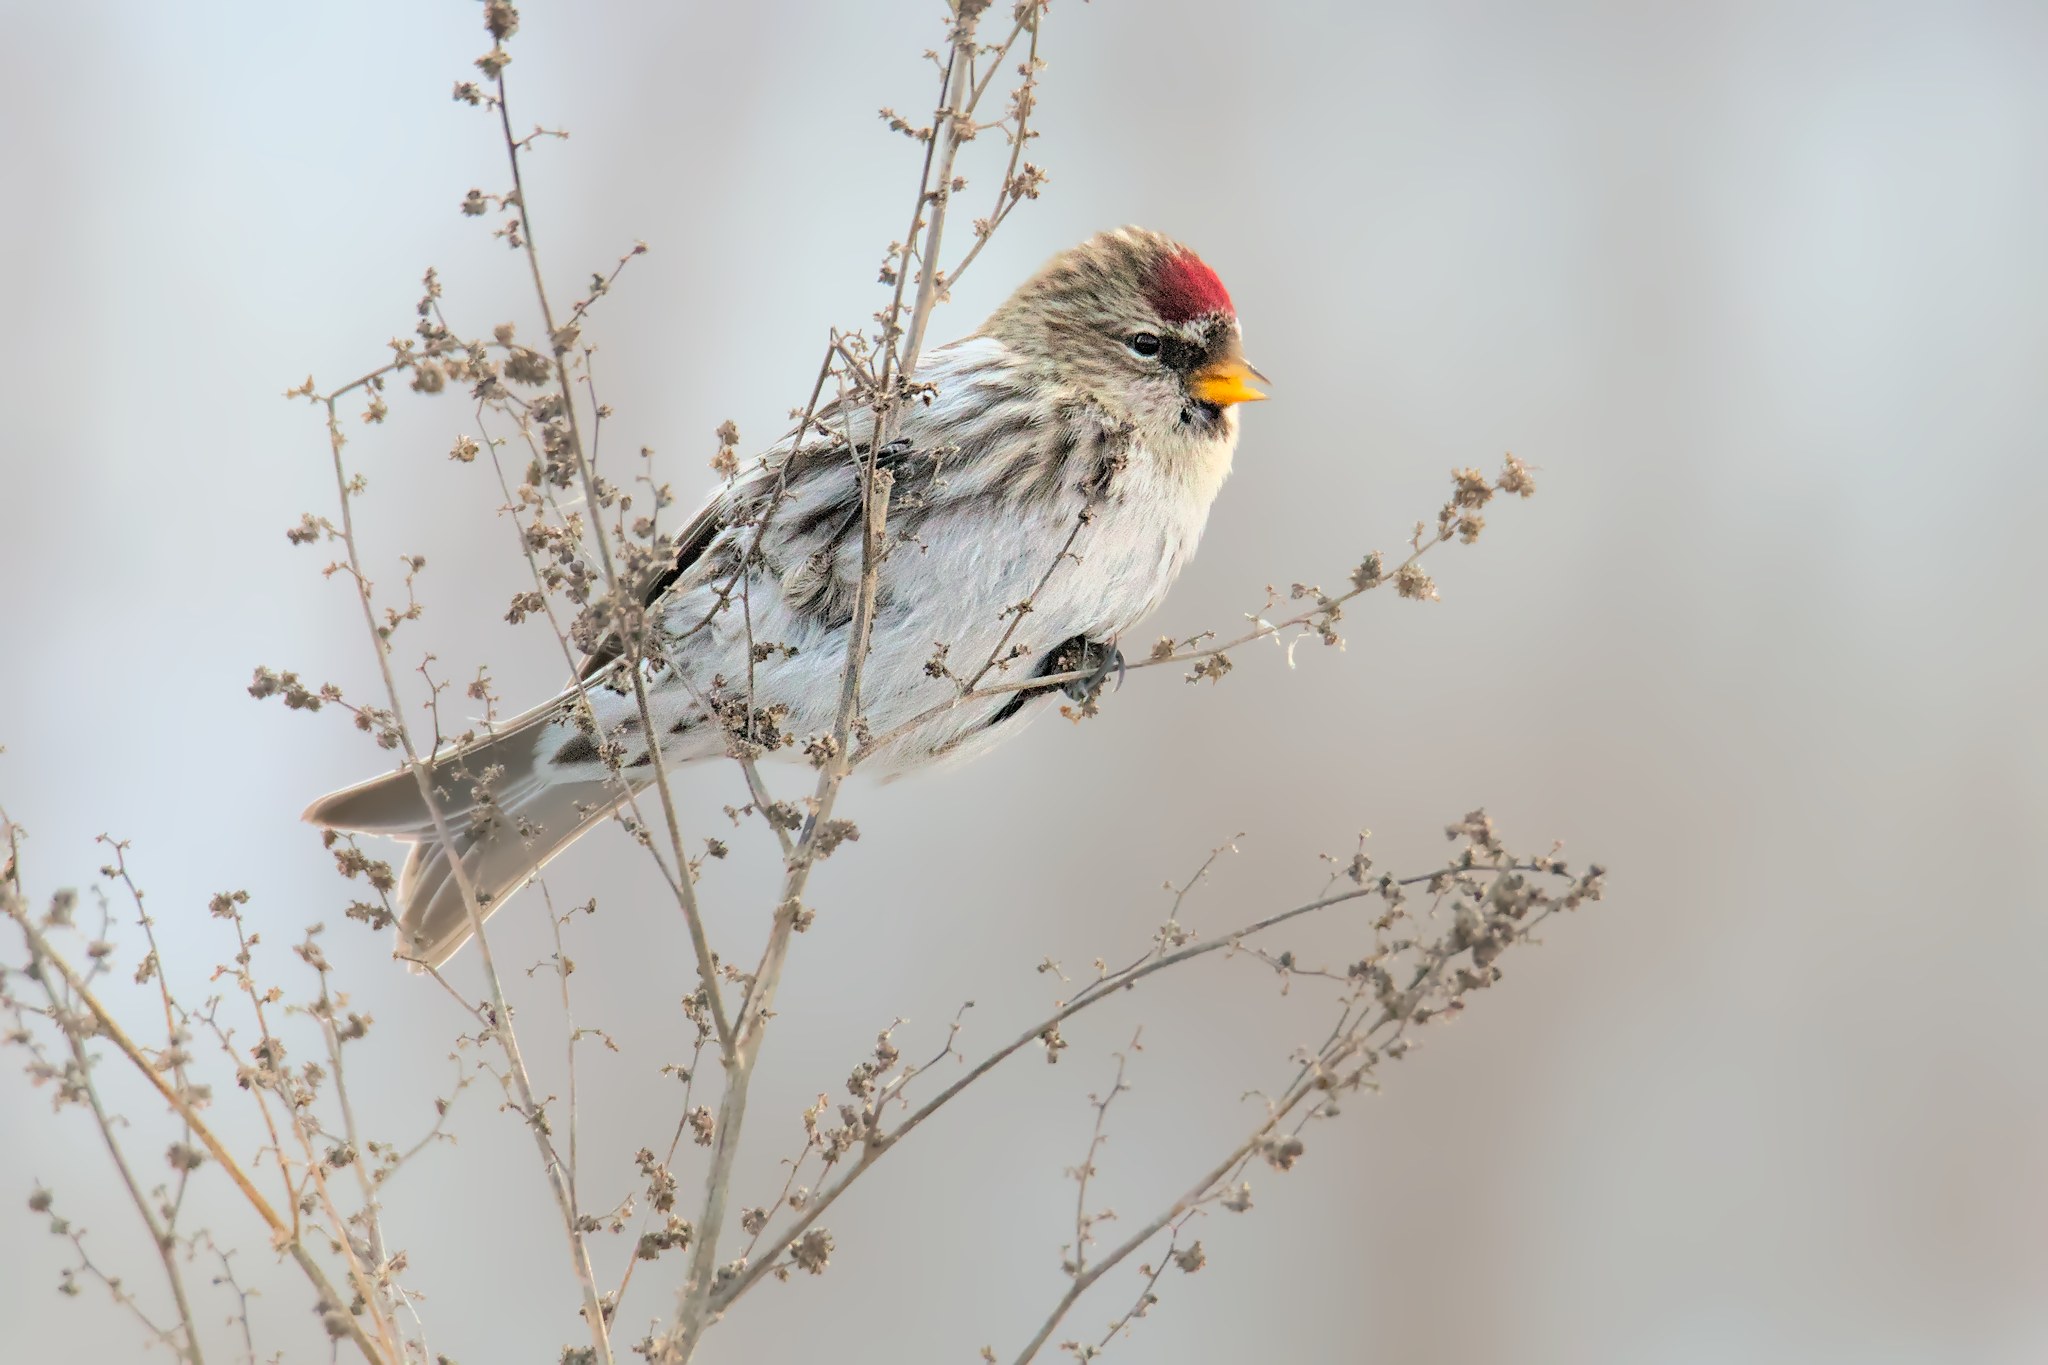
Foliage looks different throughout the year. This means that it has different moods as well as differing amounts of distractions. For example, the winter in temperate climes is a great time to do some bird photography. Yes, it’s cold, but it also means there are fewer leaves and other elements around the subject, which can allow for simpler compositions more easily.
Grass in parks is often cut very short at some times of year, making it easier to compose without distractions. Other times, it may turn from green to brown – potentially looking ugly as it dries out, but also making for a pleasant yellow background if the light shines through it the right way.
Good photos are possible no matter what time of year you’re shooting. However, it helps to consider the unique circumstances throughout the year that will contribute to different sorts of backgrounds.
Tip 5: Adjust Brightness and Saturation
When I edit photos, the question is rarely whether I should change the brightness and saturation of a color, but rather, by how much? And the greens of plants are the main consideration involved here.
For example, when you improve the saturation or exposure of your subject in a raw file, the background can shift in some odd ways. Greens may become oversaturated, or their tones could shift into an overly pure green tone that doesn’t really appear in nature.
Given that, it often pays to desaturated the green tones in wildlife photos just a little. This can be done with a tool like Lightroom’s color mixer (HSL tool), or by selecting the background and manually adjusting it. In any case, the effect should be subtle – it is easy to overdo it.
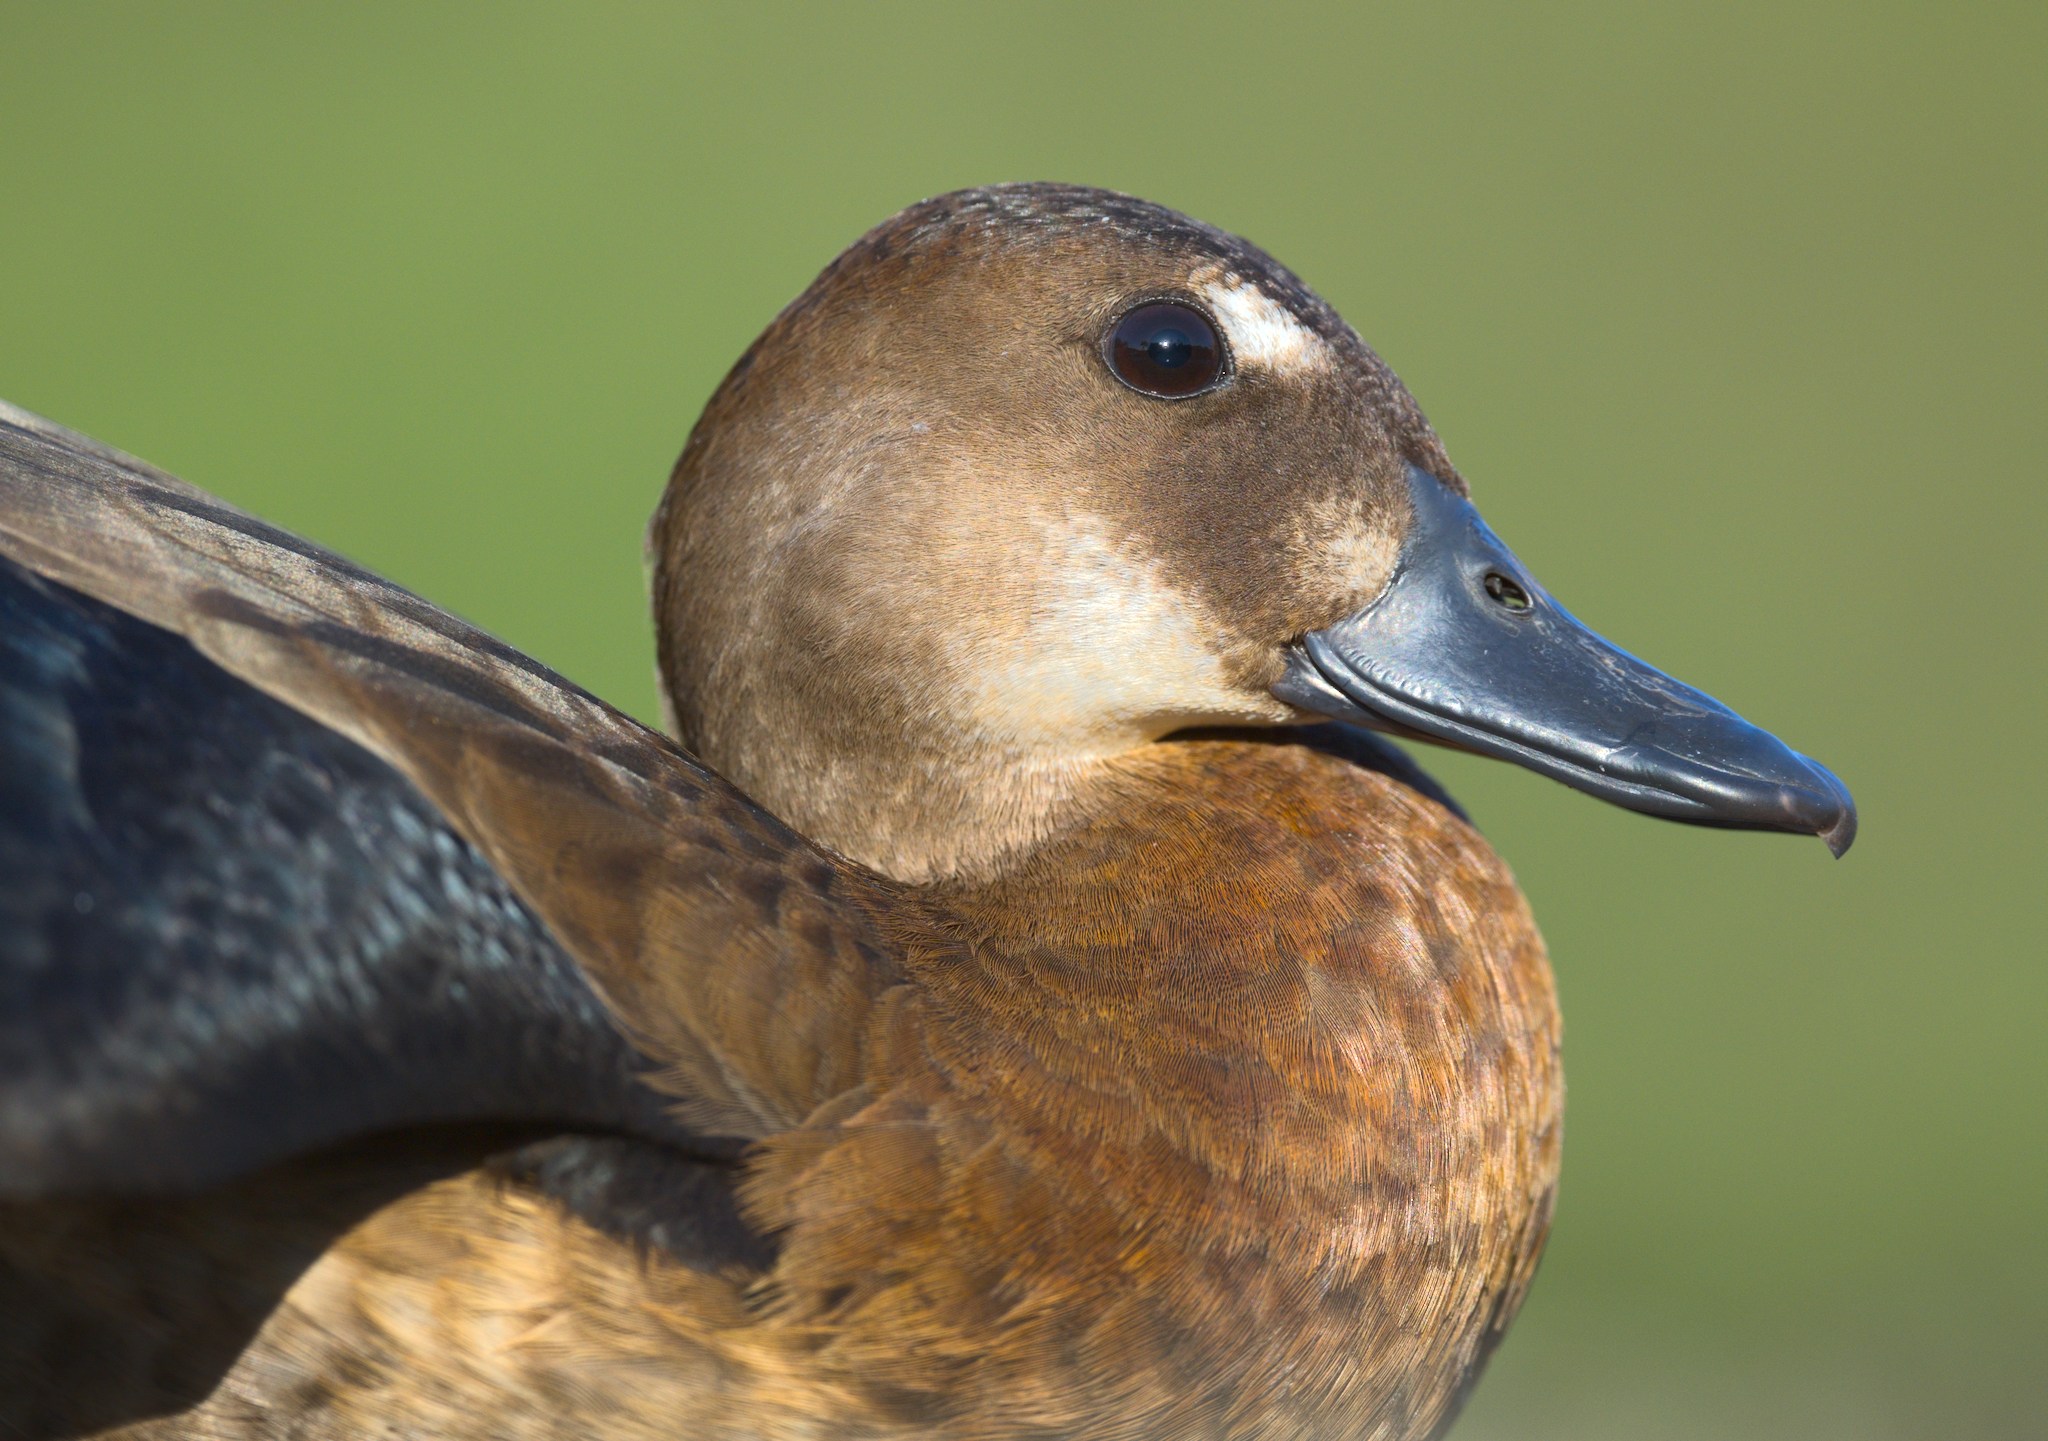
In the following shot, I very slightly desaturated the greens while slightly saturating and brightening the reds. These edits contributed to making the subject stand out a bit more.
Tip 6: Soften or Remove Problem Spots
I don’t like drastic edits or cloning, but if it’s something that could have been fixed with just a slight movement of the camera in the field, and I can fix it in post, I will. This doesn’t necessarily mean resorting to the clone tool. If I’ve got a single blade of grass slightly out of focus against an otherwise smooth background, I have no problem softening it a little, or darkening it subtly to match the surroundings.
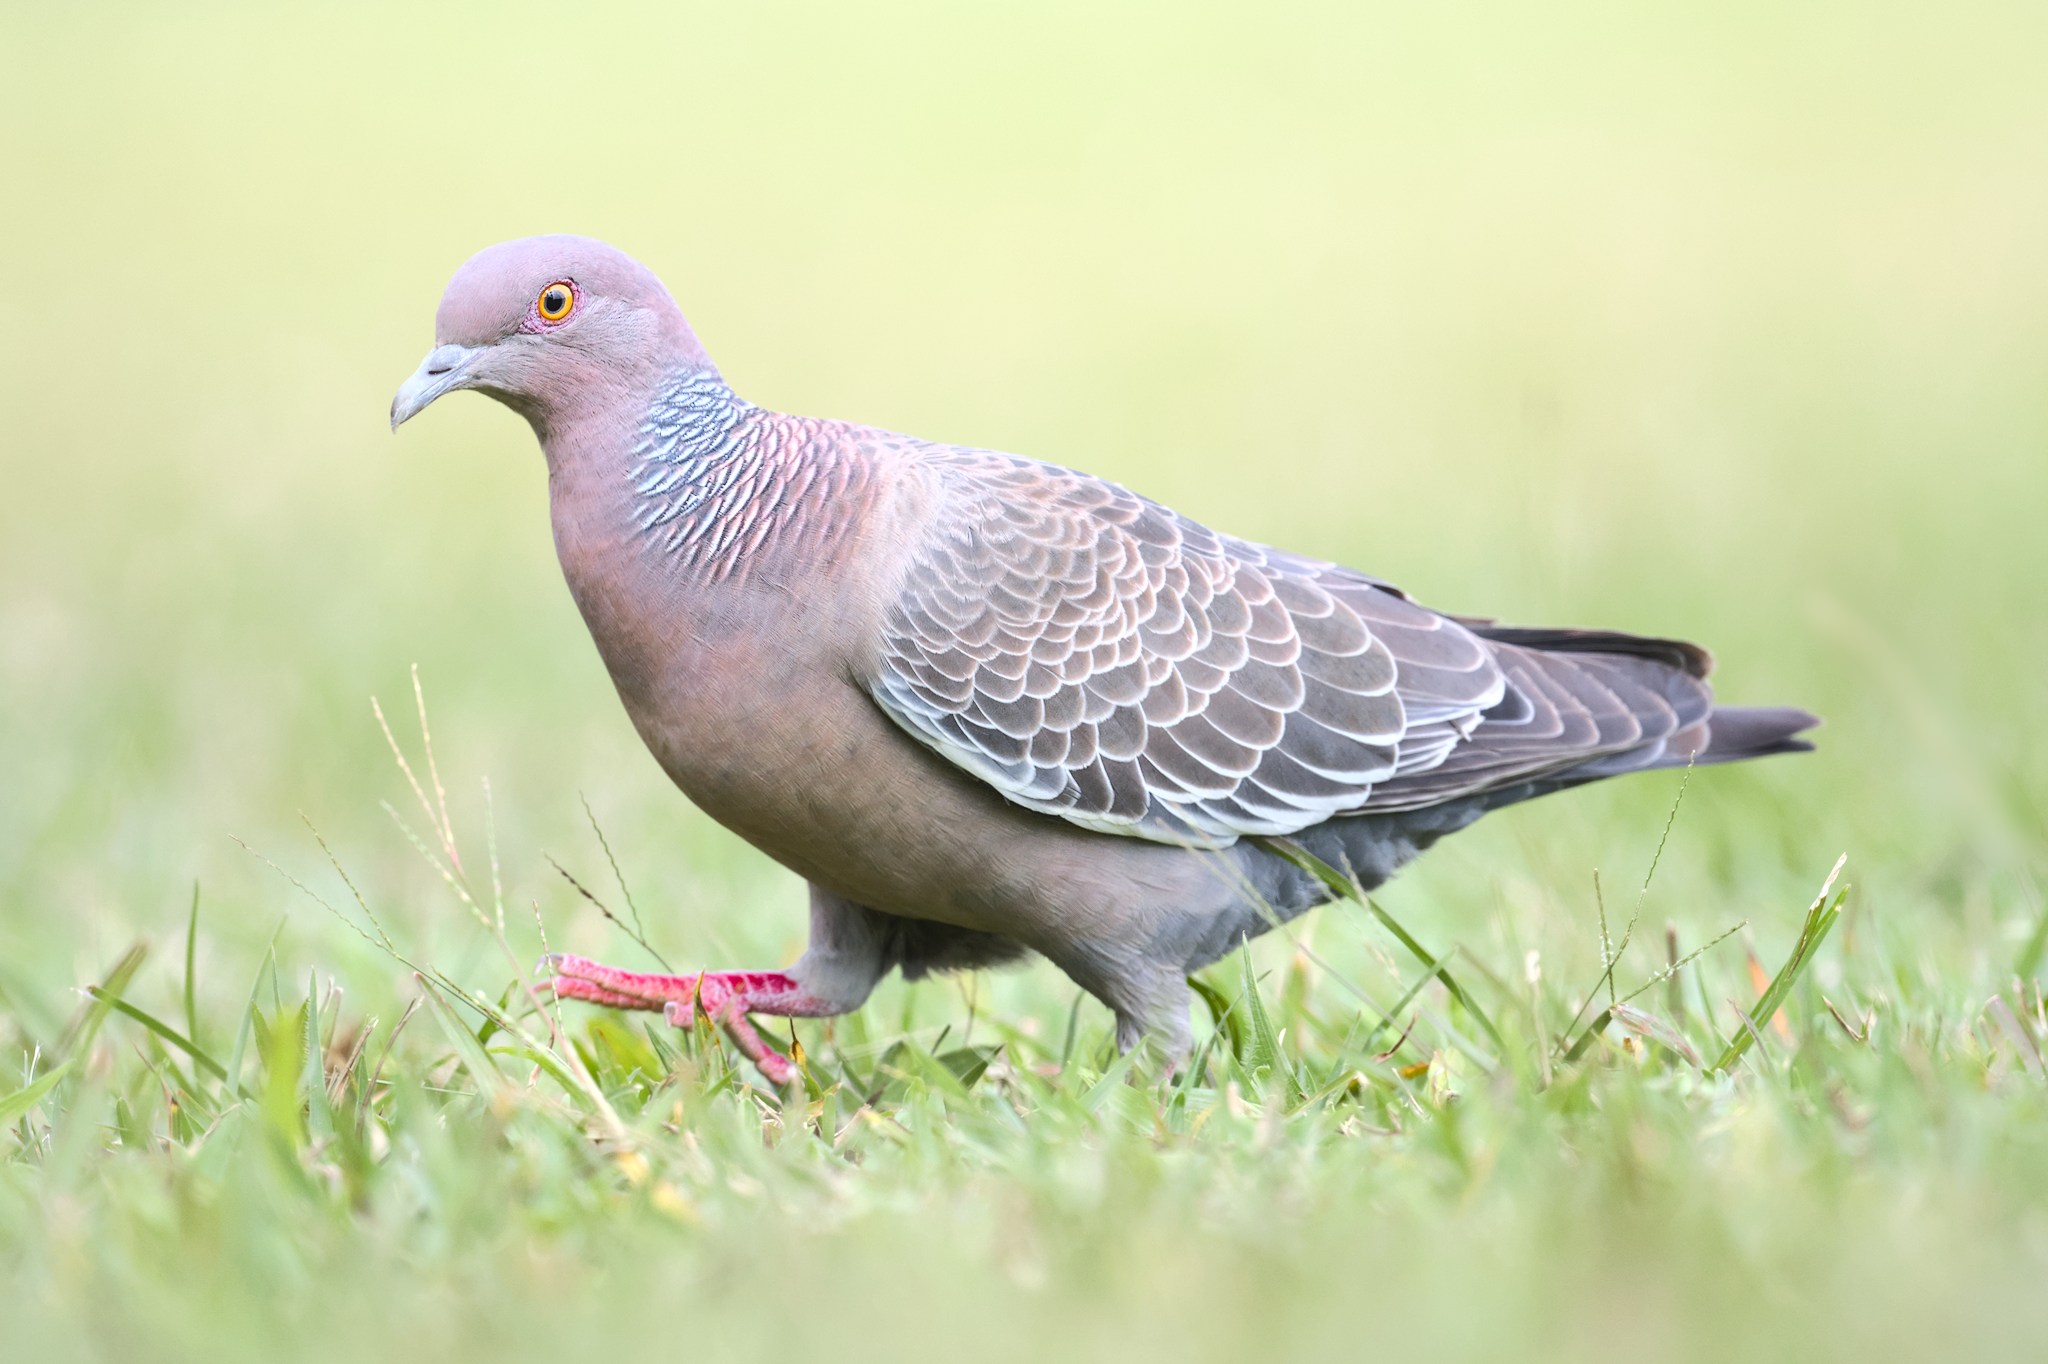
The other day, I found a Picazuro Pigeon in the grass, but there was one overpowering yellow grass strand on the very left. I blurred it out a little with the lens blur tool to make it look farther away, contributing to a less distracting background.
Sometimes it’s the smallest things that can be the most distracting. That especially goes for random grass strands or leaves at the very edge of the frame, which can be especially bothersome as they are juxtaposed against the pure vertical or horizontal side of the photo. In that case, it’s good to crop a bit differently (either tighter or wider) so that these distracting elements aren’t right at the edge.
Tip 7: Color or Split Tone
Some wildlife subjects tend to blend a little with green backgrounds, especially darker subjects against plants that are in shadow. This can mean that your subject isn’t sufficiently separated from the background. My preferred method to deal with these situations is to selectively adjust the tone or contrast in the background.
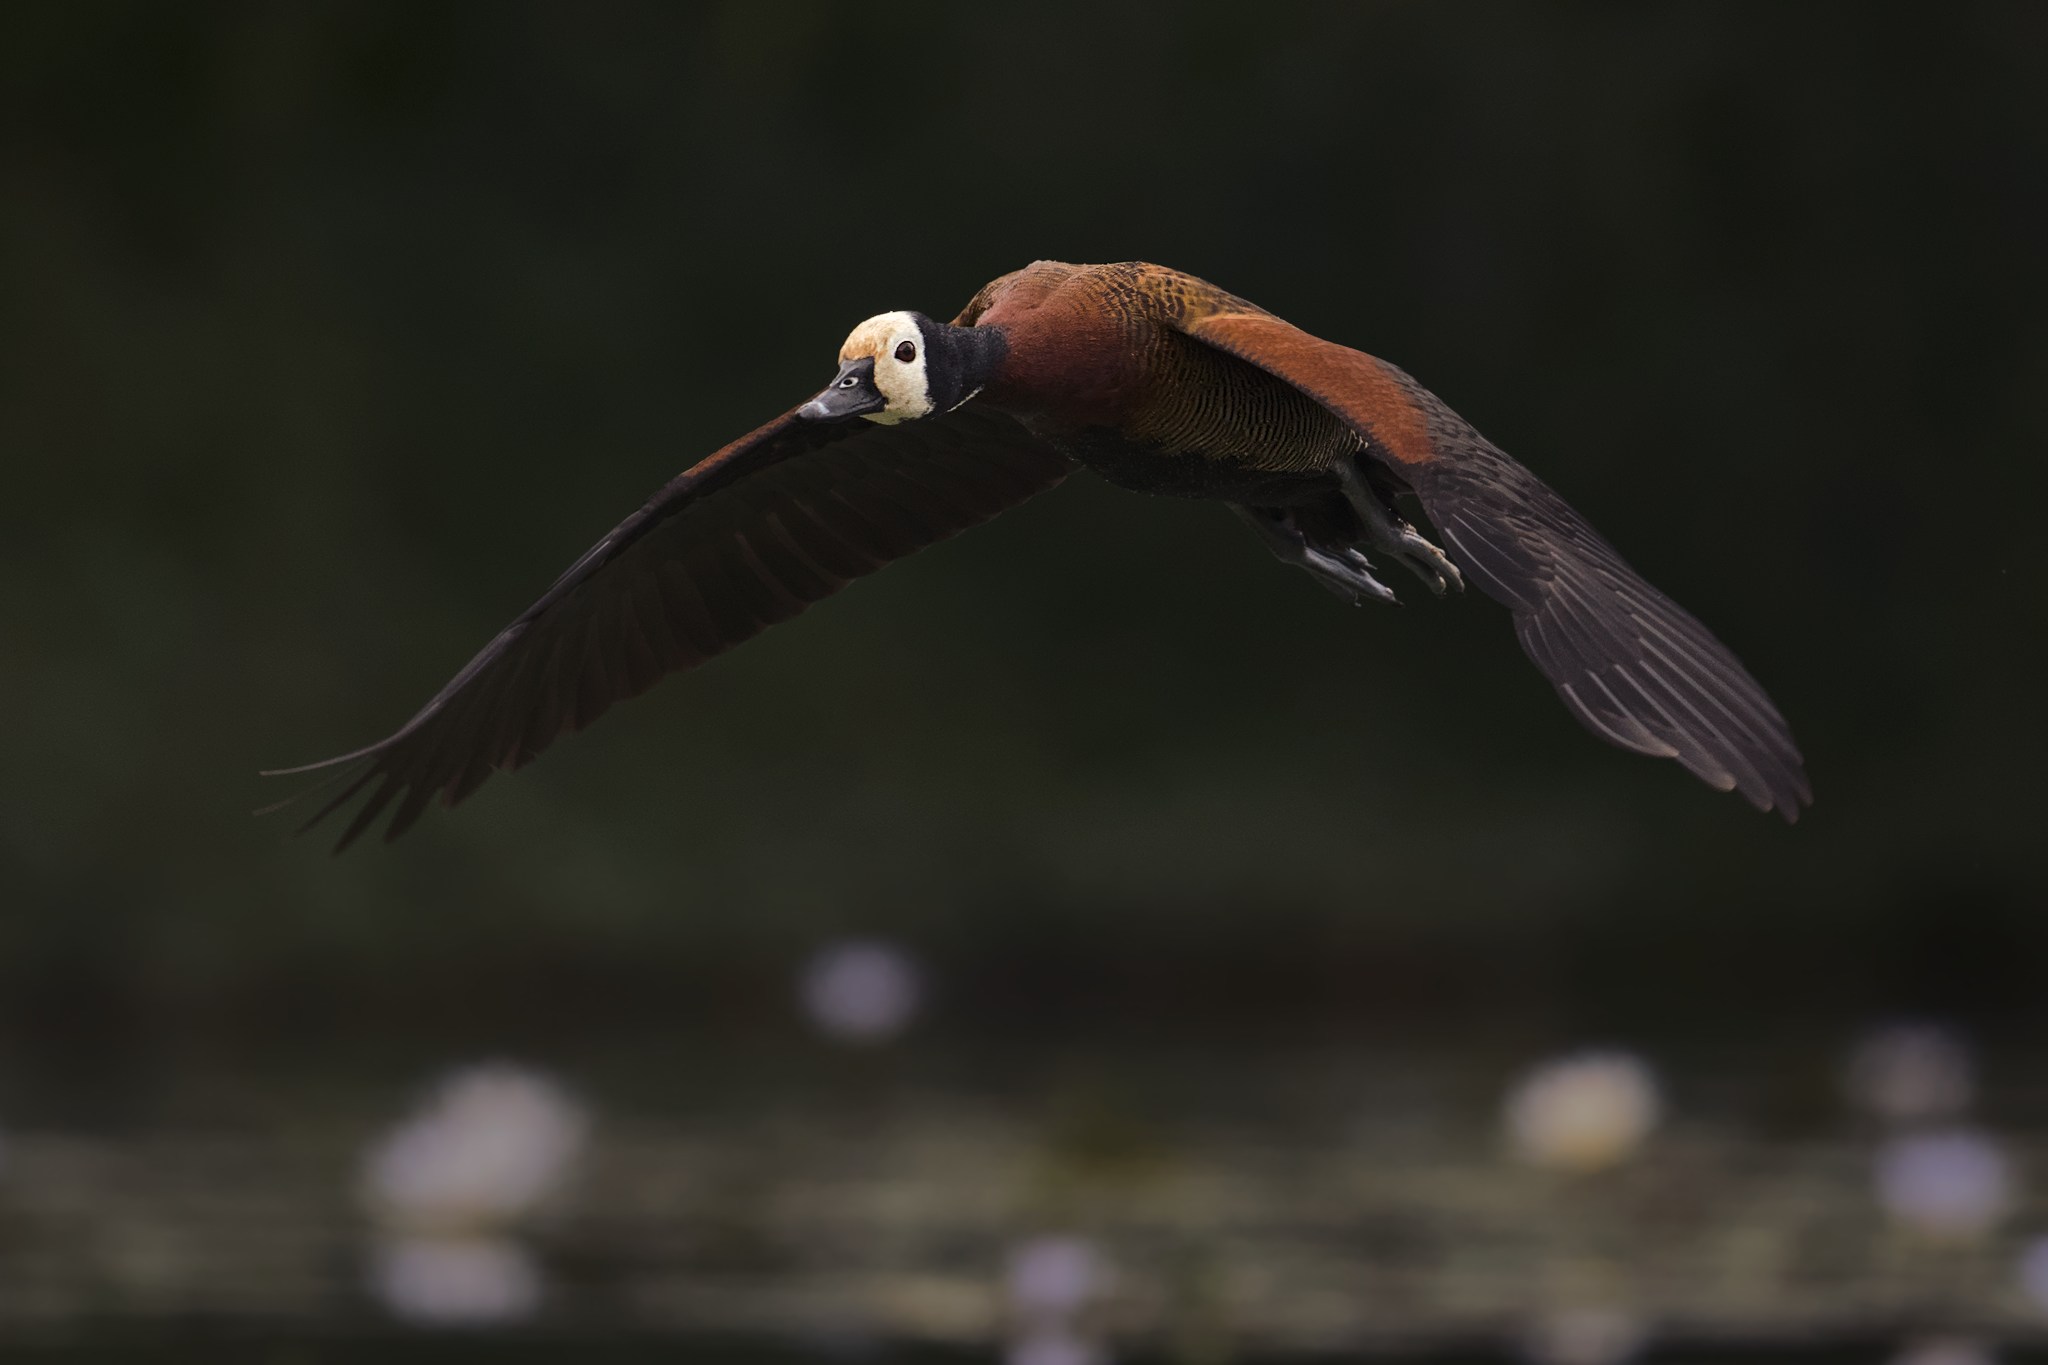
For example, I did exactly that by adding a bit of a blue tint to the shadows in this flying White-faced Whistling Duck photo. Both the subject and the background colors were pretty dark – however, the subject is more warm in tone, and now the background is a little cooler in tone. This separates the two nicely.
There is no formula that can tell you how to modify colors in an image. Instead, you’ve got to use your aesthetic sense combined with how you want to communicate the scene, based upon your experience being there.
Tip 8: Look for Contrasting Textures
The beautiful randomness of leaves and grass is not necessarily a bad thing, and it can be used as a strength in composition. Are there also smooth or regular patterns in your shot? The freeform nature of plants can provide a wonderful contrast against this regularity.
In the following shot, I started off photographing the American Robin in the grass, but then I noticed a nearby path. I though the smoother, grayish cement provided an interesting contrast against the yellowing grass, which was a little more interesting than the grass all by itself.
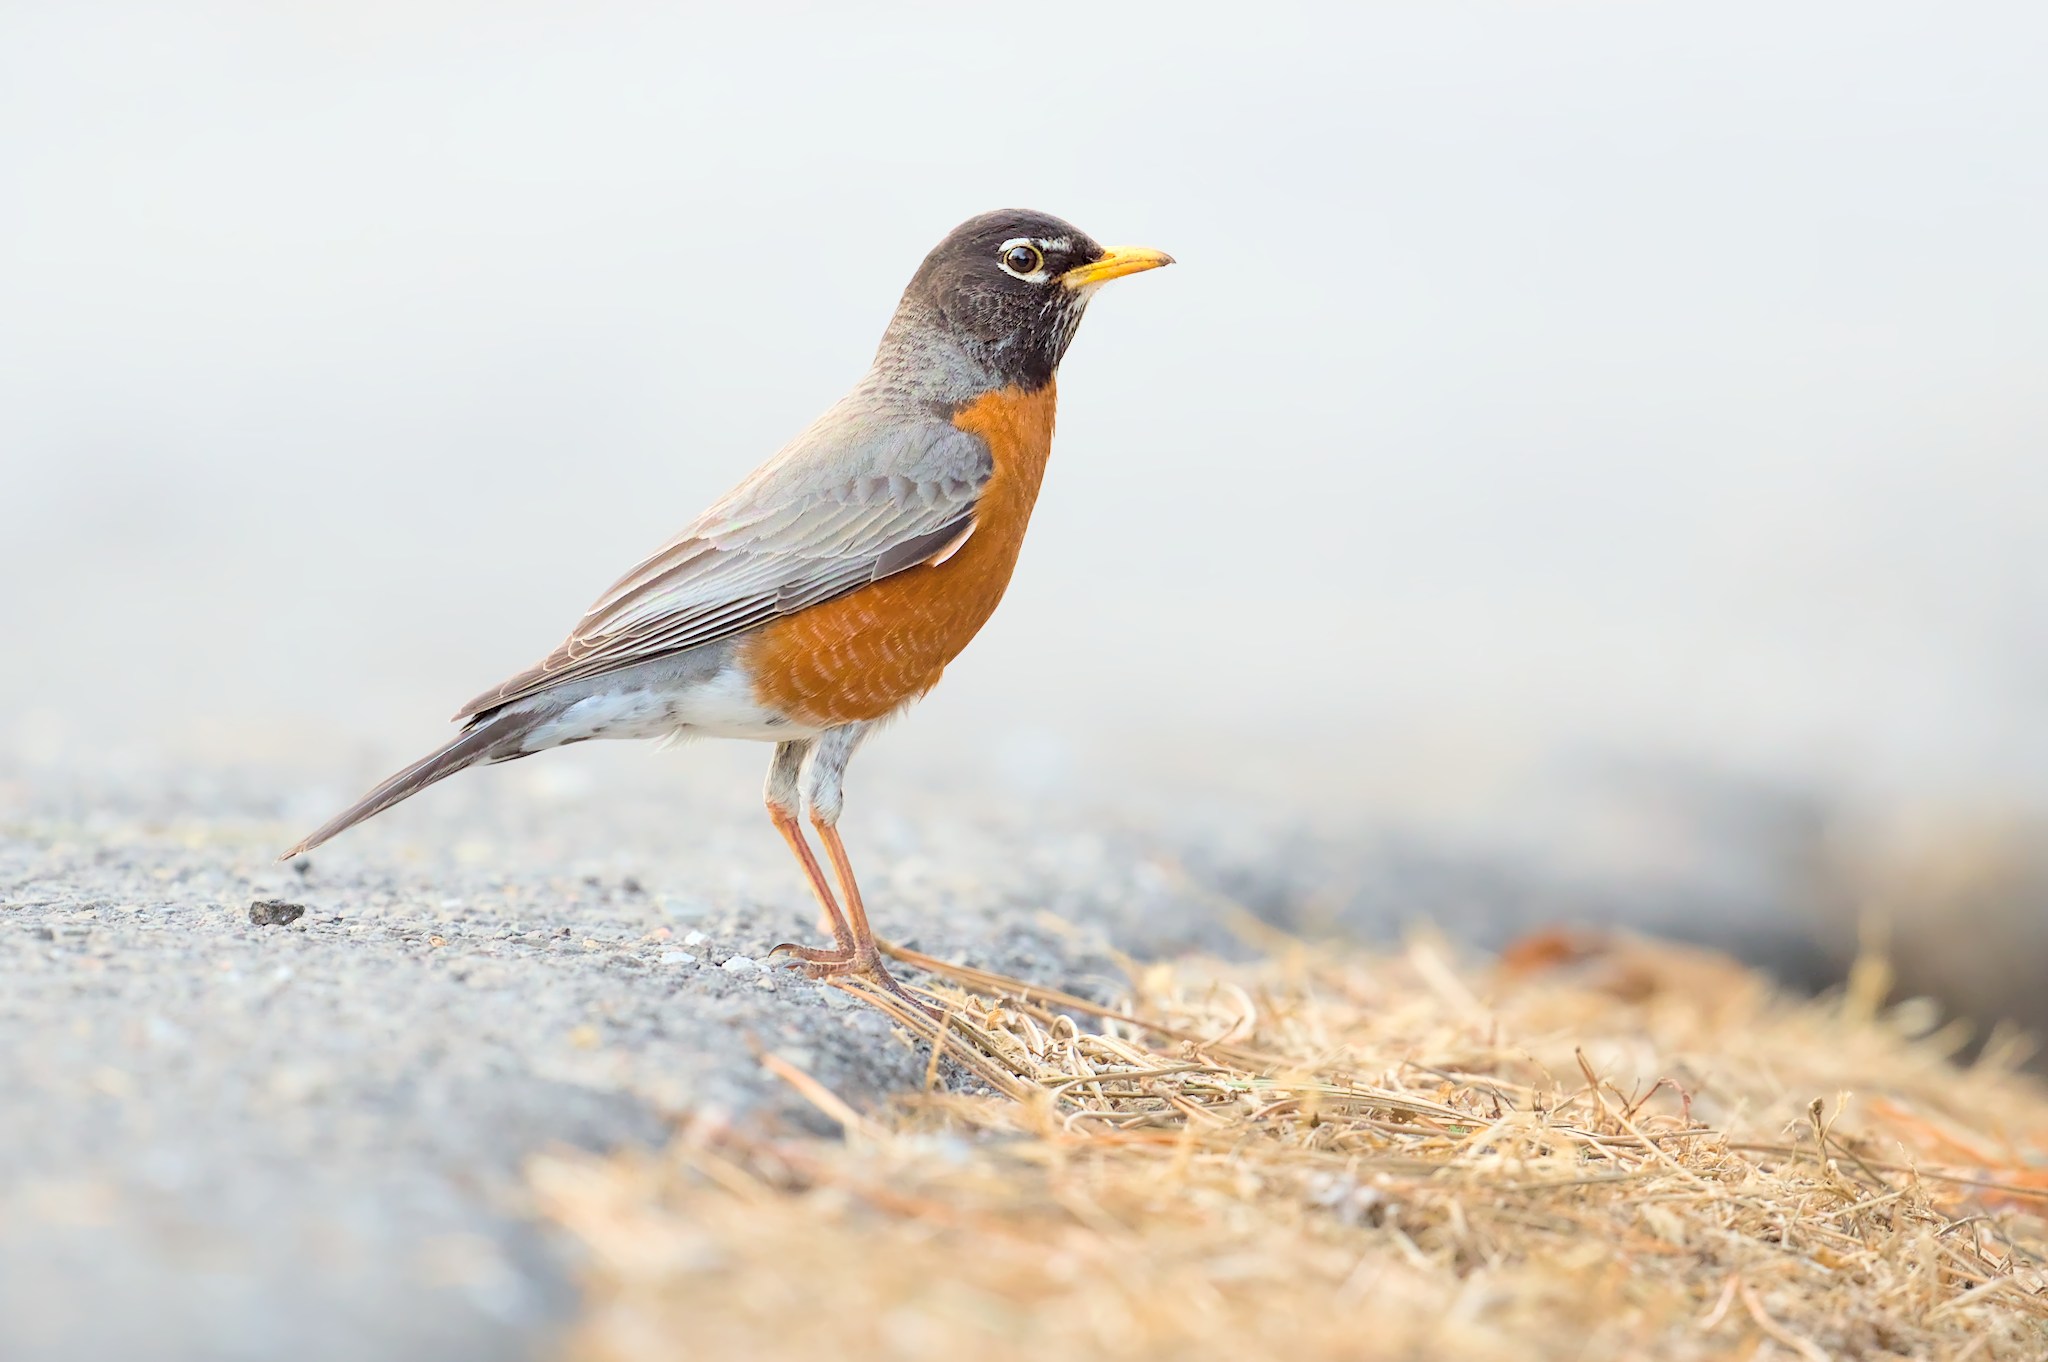
Of course, I had to wait for the bird to step where I wanted. But when it did, it was possible to compose a photo where the chaotic grass was not a distraction, but rather an interesting contrast within the environment. A little element of complexity in a wildlife photo is not always a bad thing.
Conclusion
If I had to name the most difficult part of composing a wildlife photo, it would be the plants – arranging them in such a way that they complement the subject instead of stealing attention from it. But plants don’t have to be frustrating elements in a wildlife photo. Because of their complexity and endless variations, they can add beauty and interest to your photos, too. The goal is to use them to express your art.
Do you have trouble with plants in your wildlife photography? Let me know in the comments how you deal with them as a wildlife photographer and work with them in your own photography!
I tire of seeing dime-a-dozen closeup record pics of birds. I enjoy seeing wildlife in an artistic composition. That’s my way of agreeing with your good article Jason.
Thanks, Steven! I’m glad you liked it. It’s temping to take record shots sometimes but it’s worth it to seek out novel compositions.
i’d only add why narrow it to plants? for me, photography is about the story telling. plants are certainly one of the many side-stories which can distract from a subject. pebbles, water, rocks, shadows, waves, power lines … people and other wildlife … similar principles apply. what’s the subject doing, why is it there, what story are we trying to tell? is this bird looking for a meal? hiding from a predator? seeking a reprieve from the sun?
how is it we can better tell that story by way of filtering, burning, and dodging the distractions from the perspectives of our viewfinder?
the clear ‘take-away might be if one is photographing for purpose, be clear about the purpose, and thread the beads in such a way which that it’s not simply about fine art aesthetics — but about telling interesting stories. thanks Jason, and JMO. :)
Why narrow it to plants? Well indeed, the other elements you mentioned should be considered also. But slightly different principles apply to those other elements, and it would take longer to discuss all those different elements. Power lines might require a discussion on how to contrast lines with curves. Water would require discussing reflections, the exact point of view for eye-level framing, considering ripples, etc. Of course, all the things you mentioned are important, too!
Absolutely!!
I find that I process the background as much as the foreground and I find that this is a difficult because shifting sliders like contrast can affect a green background quite profoundly. When you’re in a hide for e.g., there’s a limit to the amount that you can change position to cater for this. But those who design a hide well will have tried to consider how the background will look.
Seeing your backgrounds in this article reminded me of Spencer’s article on three ways of processing a photo. If a chord represents your way of processing, I’d say you are a major 7.
(Sometimes I find that there are analogies between music and photography.)
Indeed. Green backgrounds are tricky. Perhaps the most tricky colour, since we see so much of it so there are a lot of expectations on what it should look like.
Yes, perhaps major 7 is not a bad description at all!
I’m so pleased that you’ve written about this important topic, Jason.
Overpowering bright greens in grass and leaves was the main reason I didn’t use Fujichrome Velvia colour reversal film. I much preferred Kodachrome and Ektachrome.
Digital photography provides us with the tremendously useful adjustments HSL or LCH, which are impossible to actualize in the form of colour filters attached to the lens.
Thanks for your comment, Pete! I find color adjustments to be one of the most fun things about digital photography. It’s also something that is also the most complex to me, and it’s still a learning process!
I was a little disappointed “embrace them” wasn’t in the list, but you included the idea in your text! :-)
Sometimes I wish birds would just embrace me!
I was referring to the plants, but I know what you mean! :-)
Oh indeed. Oops!