It’s a simple fact of life for many photographers that excessive contrast sometimes ruins a photo. If you’re photographing a scene with bright highlights and deep shadows, it can be a nightmare to expose your image properly – not losing any details on either side of the histogram. Here’s how I dealt with such a situation while taking pictures during an amazing sunrise, and how you can apply the same lessons to your own photography.
In the Field
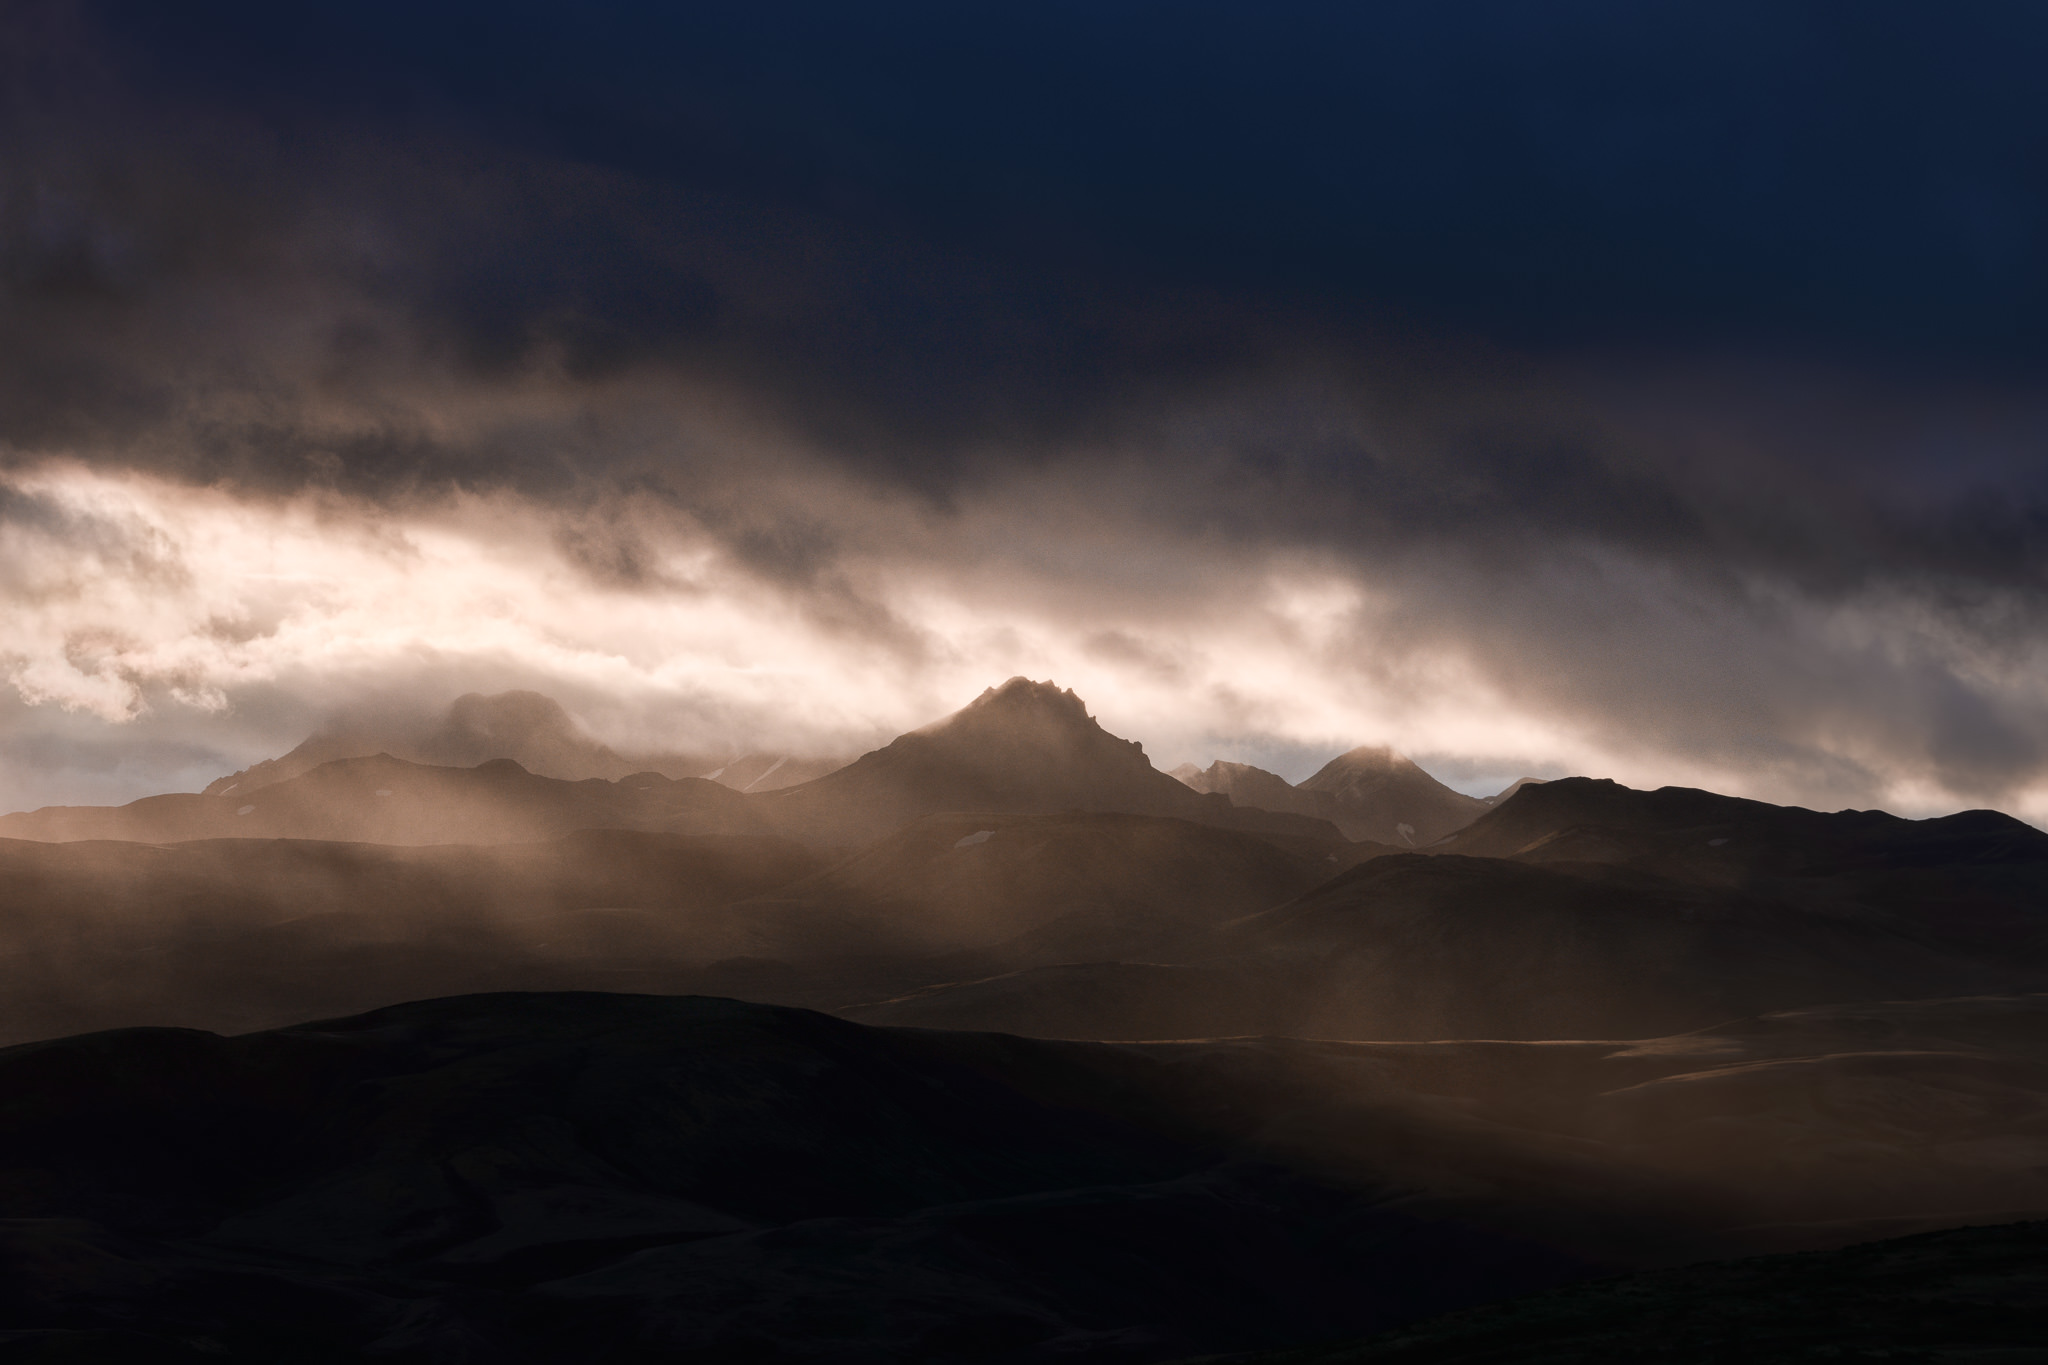
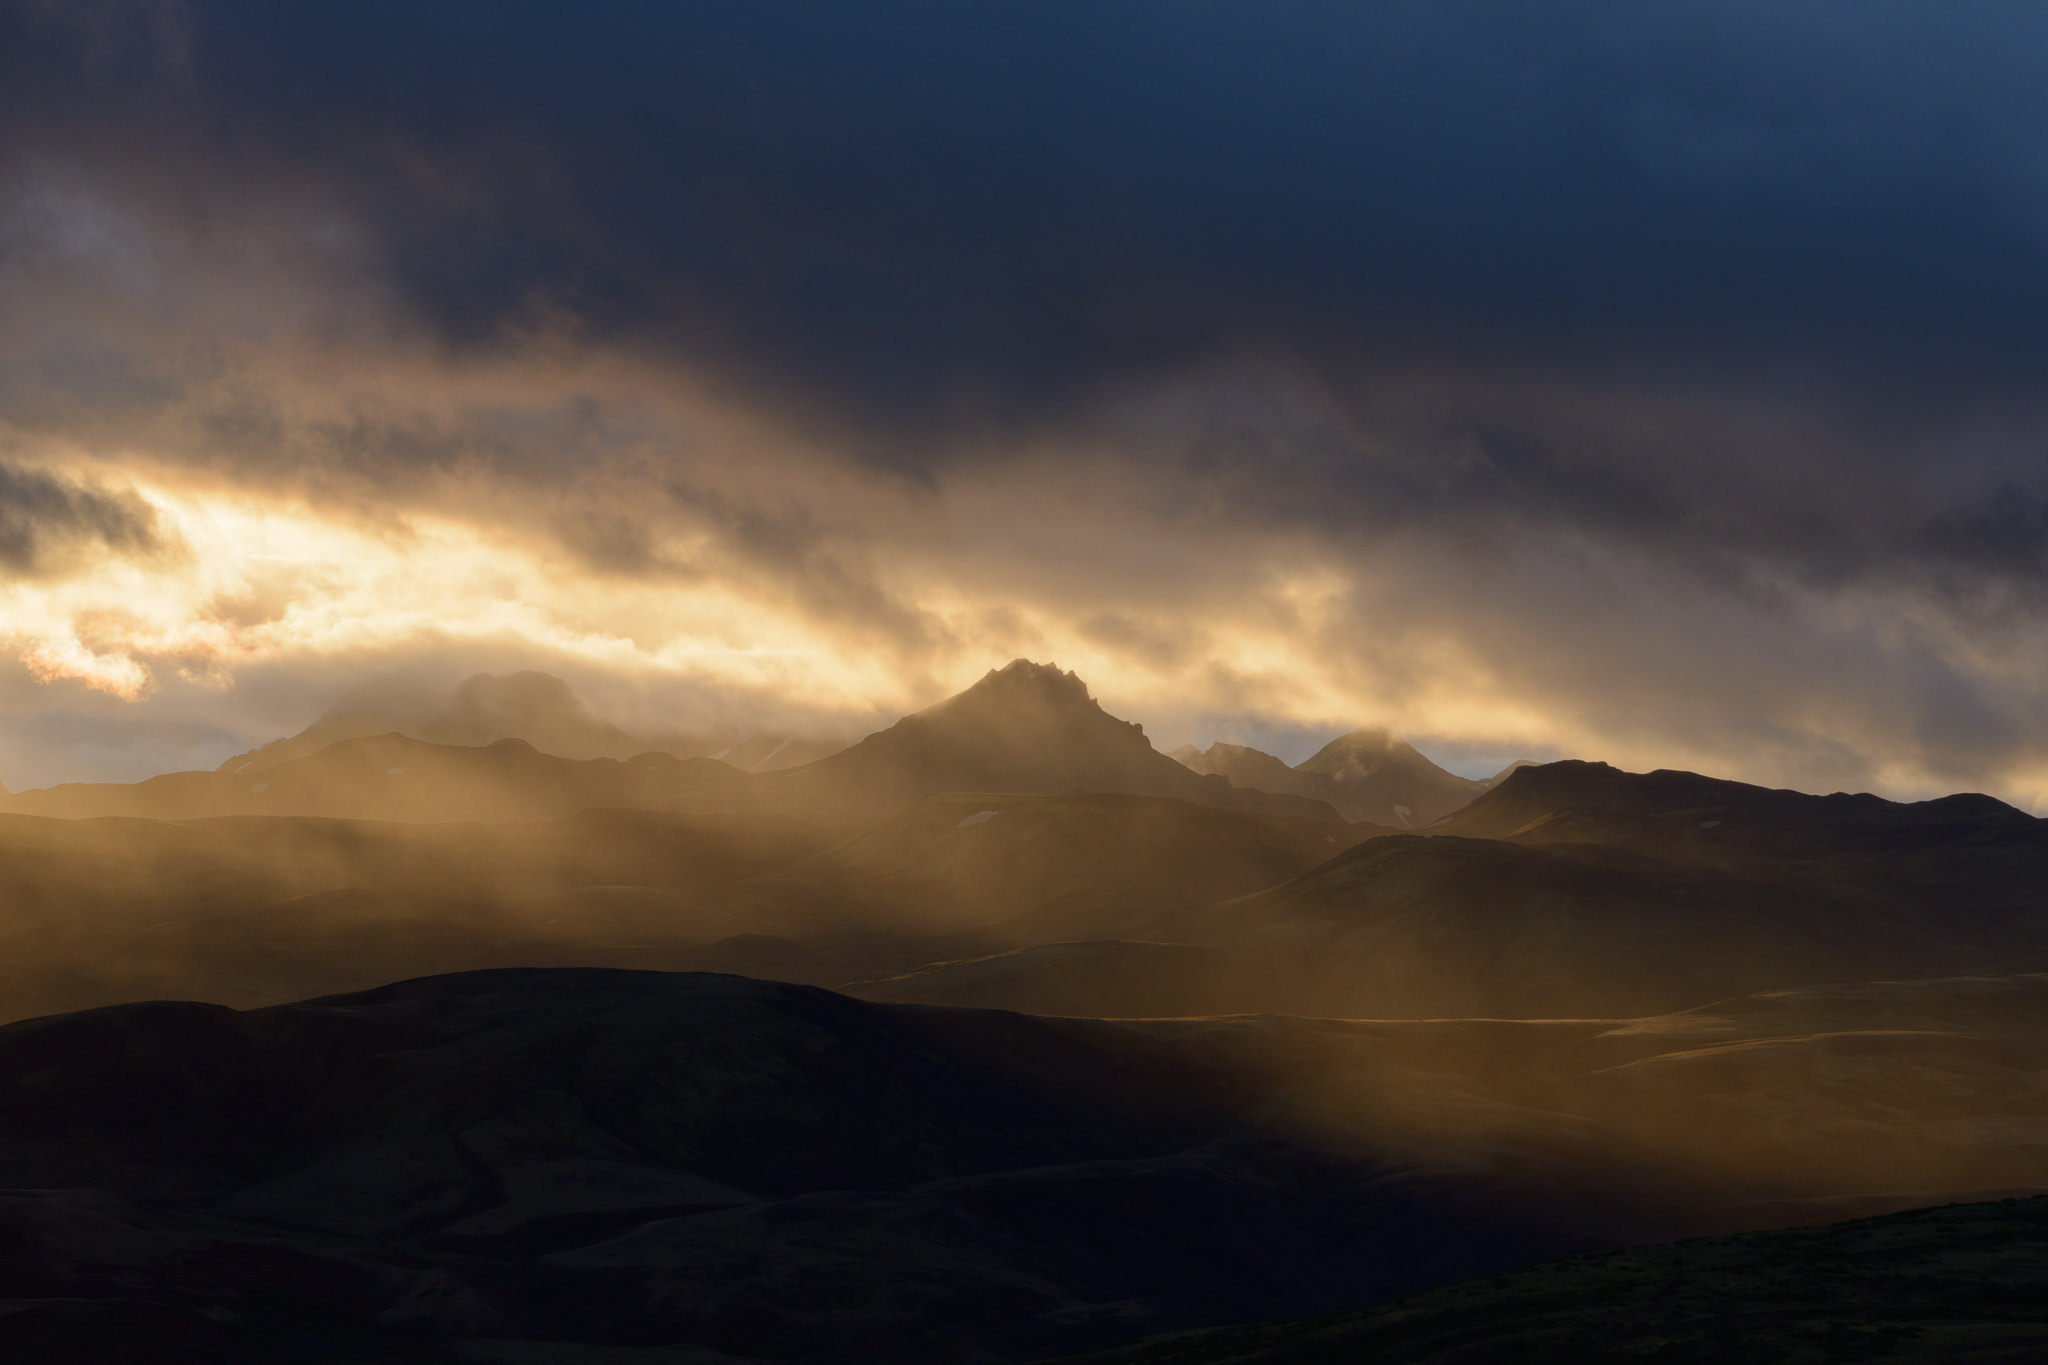
The first step, as always, is proper exposure. In digital photography, proper exposure means exposing to the right, or ETTR. Although some people think that ETTR involves capturing brighter photos than your camera’s meter recommends, the opposite is true just as often – you’re underexposing by several stops in order to keep all the highlight detail possible. (The definition of ETTR is simply capturing the brightest possible exposure that doesn’t blow out any important highlights.)
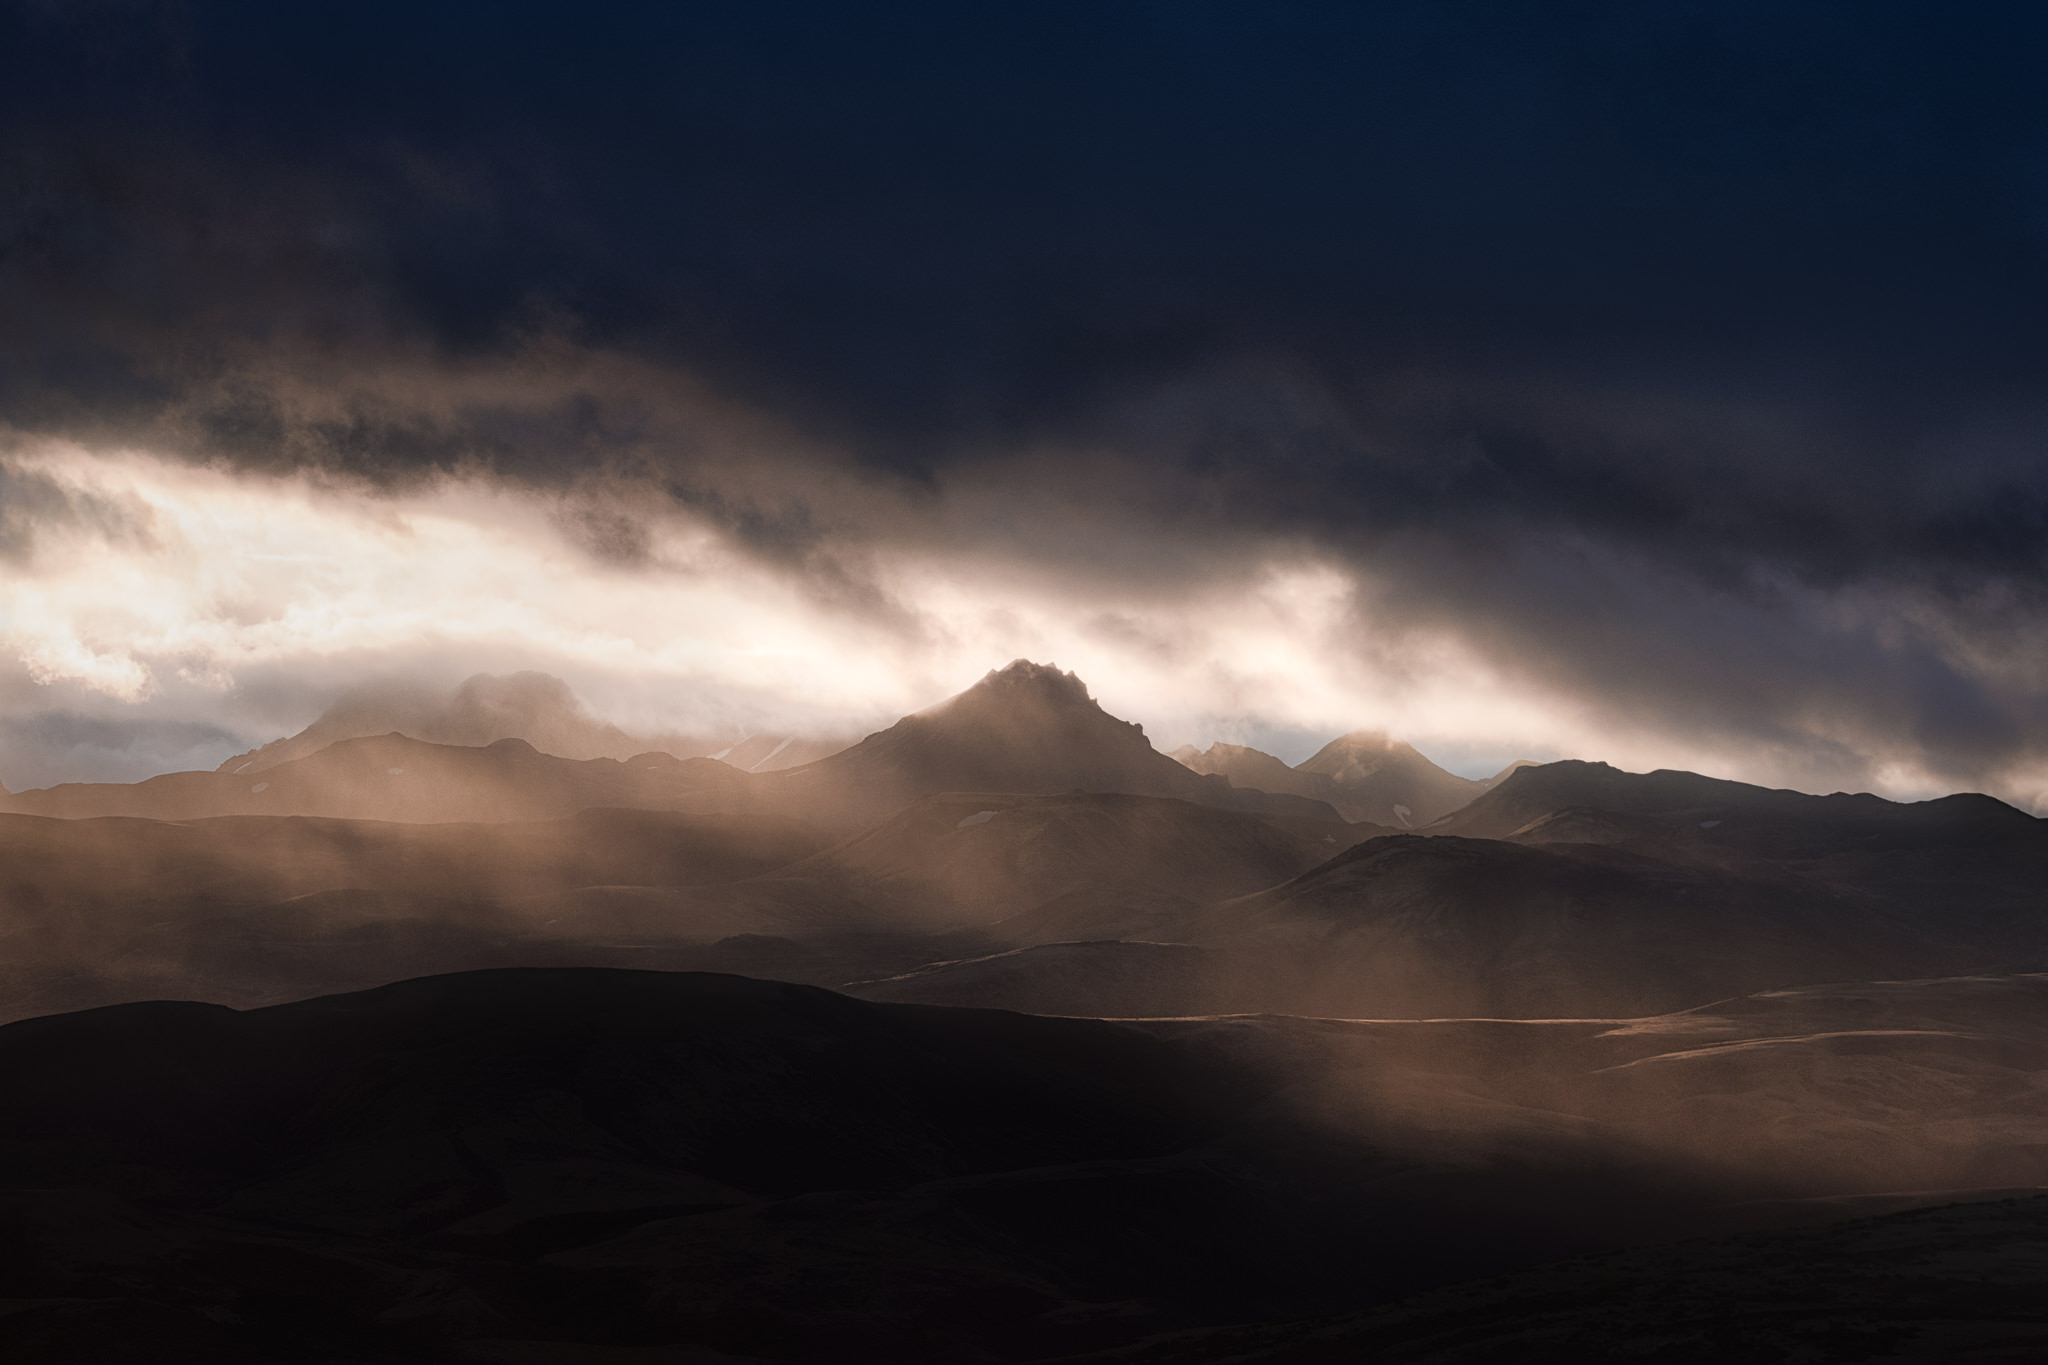
Here, I exposed to the right by using -2EV exposure compensation:

I took the image above as part of a three-shot bracket. Here are the other two photos:
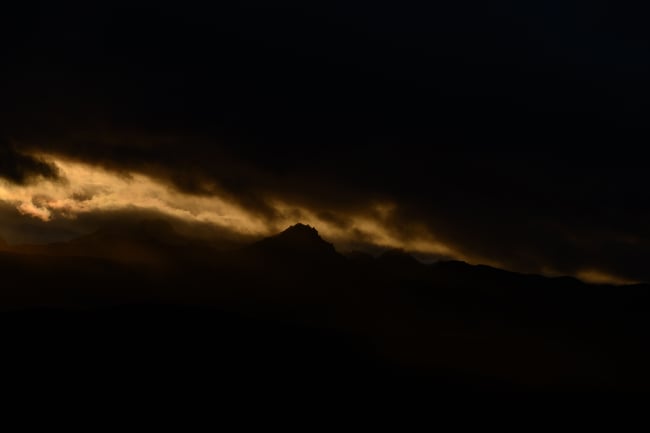
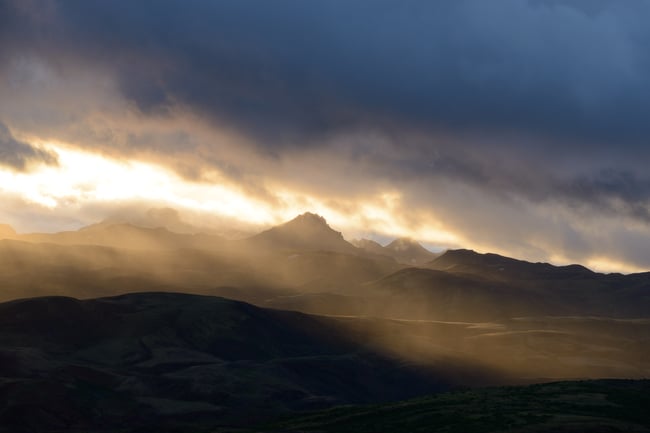
All of these are JPEGs exported from Lightroom without any editing to the RAW file, aside from my default conversion to Camera Standard rather than the Adobe Standard color profile. As you can see, the colors in this landscape were great, but the amount of contrast is absurd! In cases like this, it’s always a good idea to take a set of photos with different exposures so you can blend them later if needed.
Post-Processing: HDR Attempt
Although the title of this section is a bit ominous, it shouldn’t be surprising to hear that my first thought in this case was to make an HDR, then edit from there. So, that’s what I did. Here is the HDR as assembled in Lightroom, with some initial adjustments to demonstrate its dynamic range (+1.50 exposure, -50 highlights, +25 shadows):

The colors are a bit intense, but at least now it looks like a good starting point for post-production! So, I started editing it – a mix of color temperature, HSL adjustments, vibrance and saturation decreases, and some local edits to the clouds.
I won’t go into the exact steps here – but not because I’m trying to hide my process. Instead, when the image looked like this near the end of the editing stage…
…I noticed a fatal flaw in Lightroom’s HDR merge of this photo. Can you see it? At first, with this view, I couldn’t. But after zooming in (and brightening), the problem is pretty clear:

Yikes! The photo has moderate levels of noise in the lefthand part of the clouds, and then it abruptly transitions to an area that is completely smooth and clear. This is due to the HDR. One image from the merge (the brightest one) has noticeably less noise than the others, and the transition area isn’t smooth at all as a result.
Because of the extreme contrast in this scene, I should have adjusted my HDR technique more in the field. Specifically, it would have been better to take more than three images, and I should have used smaller jumps in exposure from image to image. As it was, my three exposures had -4EV, -2EV, and 0EV of exposure compensation. The two stop difference between each photo is a large part of what ruined the result. Even opening these images in HDR-specific software would only do so much to minimize the problem; this was an issue with the photos, not with the HDR software.
So, I had no choice but to work from a single picture. The D800e’s impressive dynamic range saved me here. Although some noise is visible in the final image, it is quite clean overall.
Post-Processing: Single Image Attempt
Luckily, my -2EV exposure was exposed to the right, meaning that none of the important highlights were blown out, but the image was still as bright as possible. Since the only other option was the -4EV image, that’s a good result. The noise in the -4EV image would have been much more noticeable after brightening in Lightroom.
Because the image was so dark, my first edit was to increase exposure and decrease highlights in Lightroom, in part just to see things better. I also wanted to do an initial crop and rotation to help visualize how the final composition would look. The photo needed quite a bit of straightening, since the apparent horizon in the image had some noticeable tilt. Interestingly, the actual landscape was pretty sloped, and the unedited version is actually closer to “level” than the final RAW photo. But you would never know that just by looking at the image.
At this point, though, the colors weren’t quite right, and I knew it would take some serious editing to help them look ideal. That’s frequently the case when you work with especially high-contrast landscapes. Recovering the shadow and highlight detail itself isn’t hard – but the colors often don’t look natural.
Unfortunately, there isn’t a one-stop fix for strange colors in your image, unless you’re planning to convert to black and white. My answer to this problem (and most post-processing dilemmas) is just to keep finessing the photograph and improving it bit by bit.
In this particular case, I wanted to have a few more slider options than what I’d find natively in Lightroom. I often like to shift gears to Nik Color Efex Pro when I’m dealing with tricky colors, and this image was no exception.
However, before bringing it into Color Efex, it’s important to revert the crop of the photo back to its original state. This is a critical step! Otherwise, any crop you’ve done to the photo in Lightroom is permanent, since Color Efex exports a TIFF file that doesn’t have any of the photo’s edit history. You can’t recover those cropped pixels without going back to your RAW file and redoing all your post-Nik edits!
So, after creating a virtual copy of the photo and resetting the crop, I opened it in Color Efex.
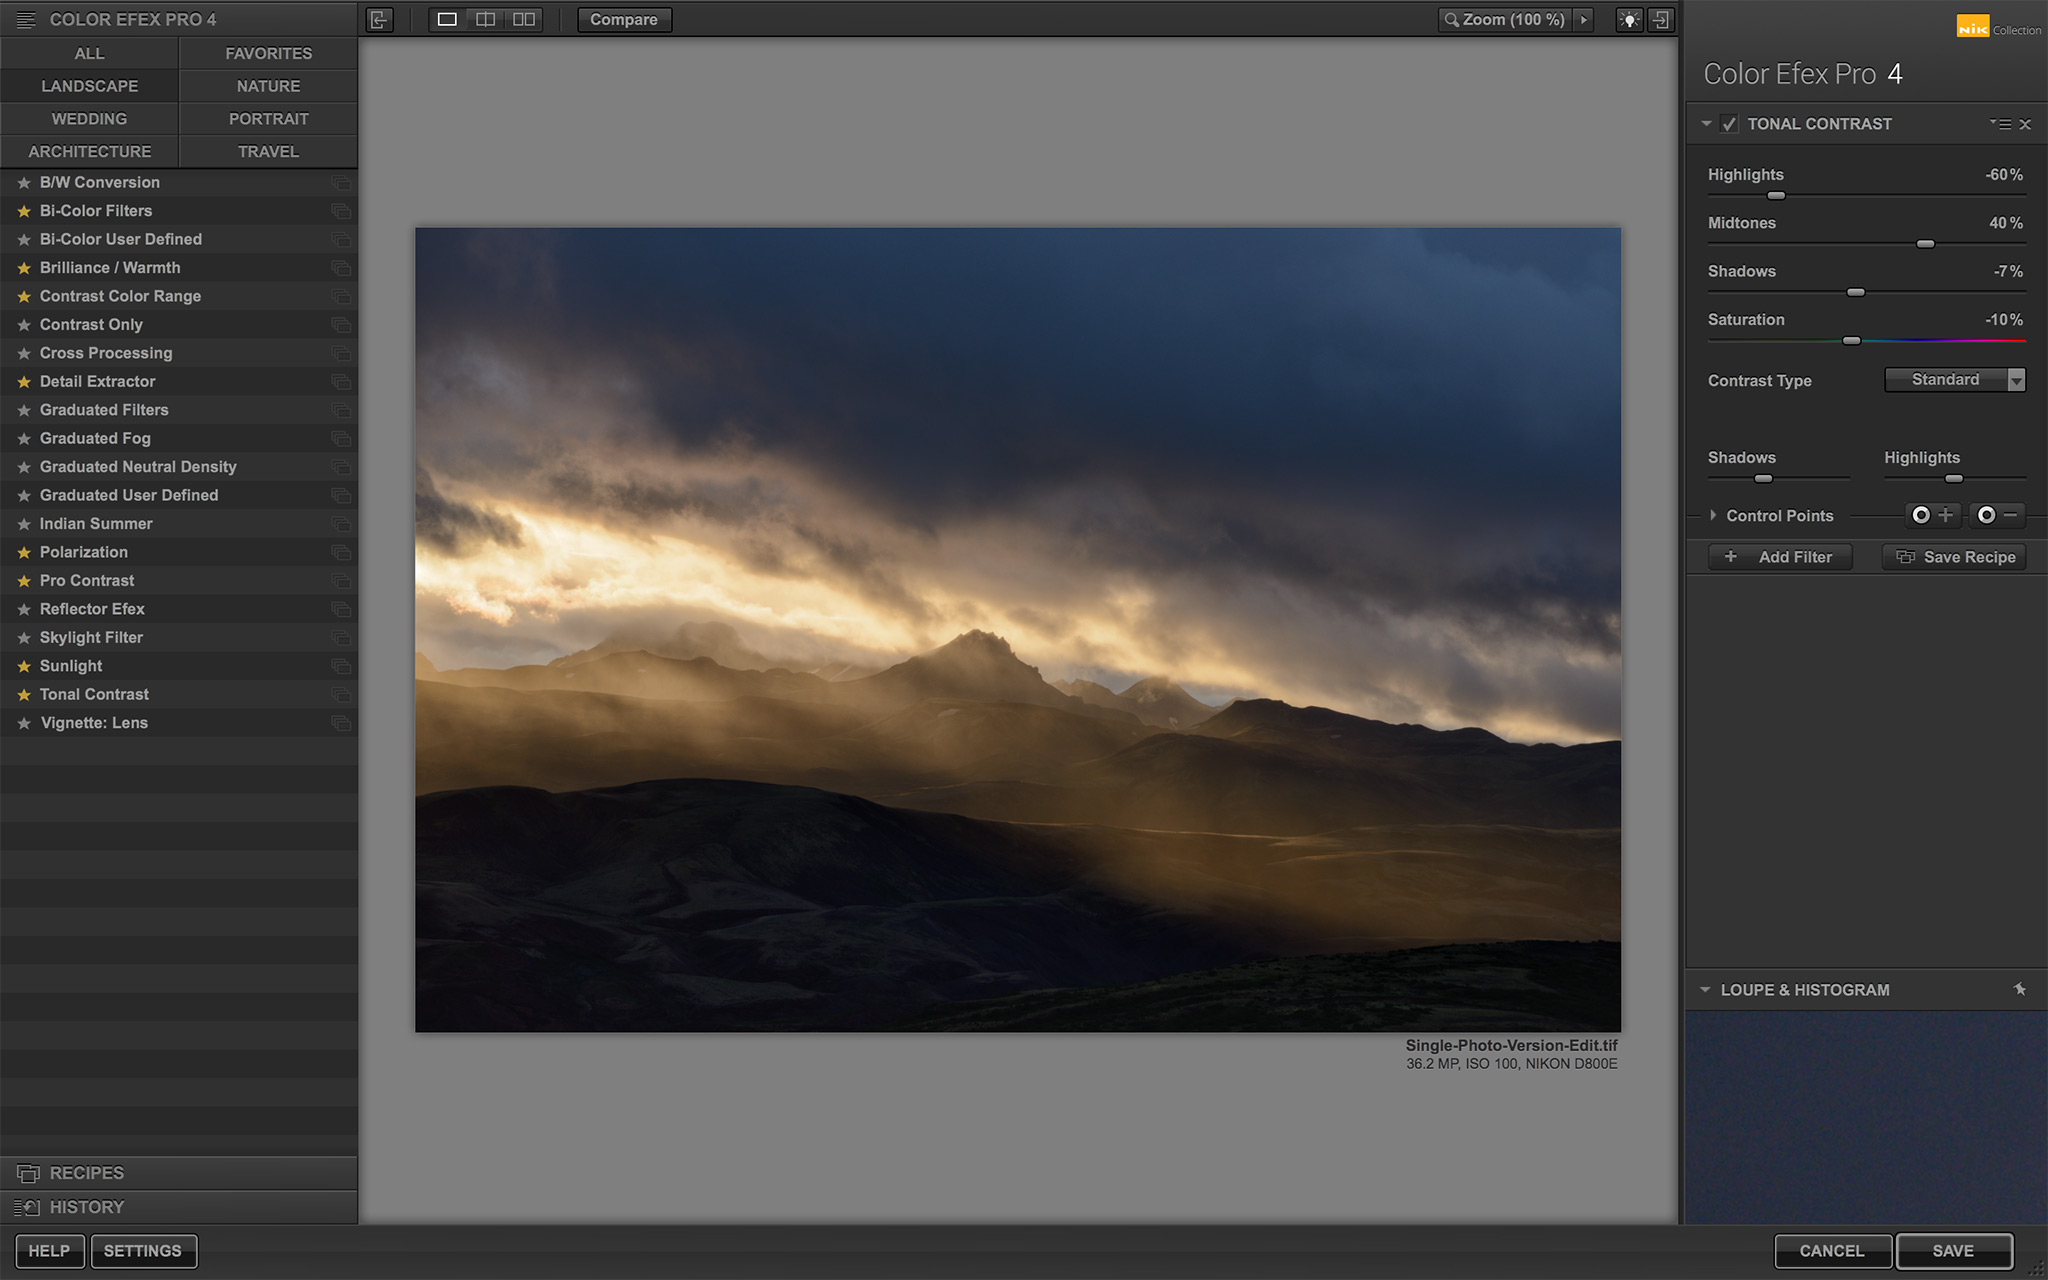
I went through my typical routine in Color Efex. I usually apply most of the options you see starred in the screenshot above – especially Brilliance/Warmth, Contrast Color Range, Pro Contrast, and Tonal Contrast. The particular settings will vary depending upon the image.
I tend not to do much local adjusting in the Nik step, and I really only did a bit of darkening to the clouds in this image. Don’t get me wrong – Nik’s control points are quite good. I just prefer to do most of the local adjustments later in the editing process, since it’s easier to undo them.
Personally, my edits in Color Efex tend to get a bit extreme, even when I’m going for a more realistic look. That’s not ideal, since you can’t undo any edits you make in Nik software after exporting, but there are workarounds. My favorite is to bring the pre-Nik and post-Nik images into Photoshop as layers, then reduce the opacity of the post-Nik image until the result looks more normal. In this case, at the end of that process, here’s what I had:
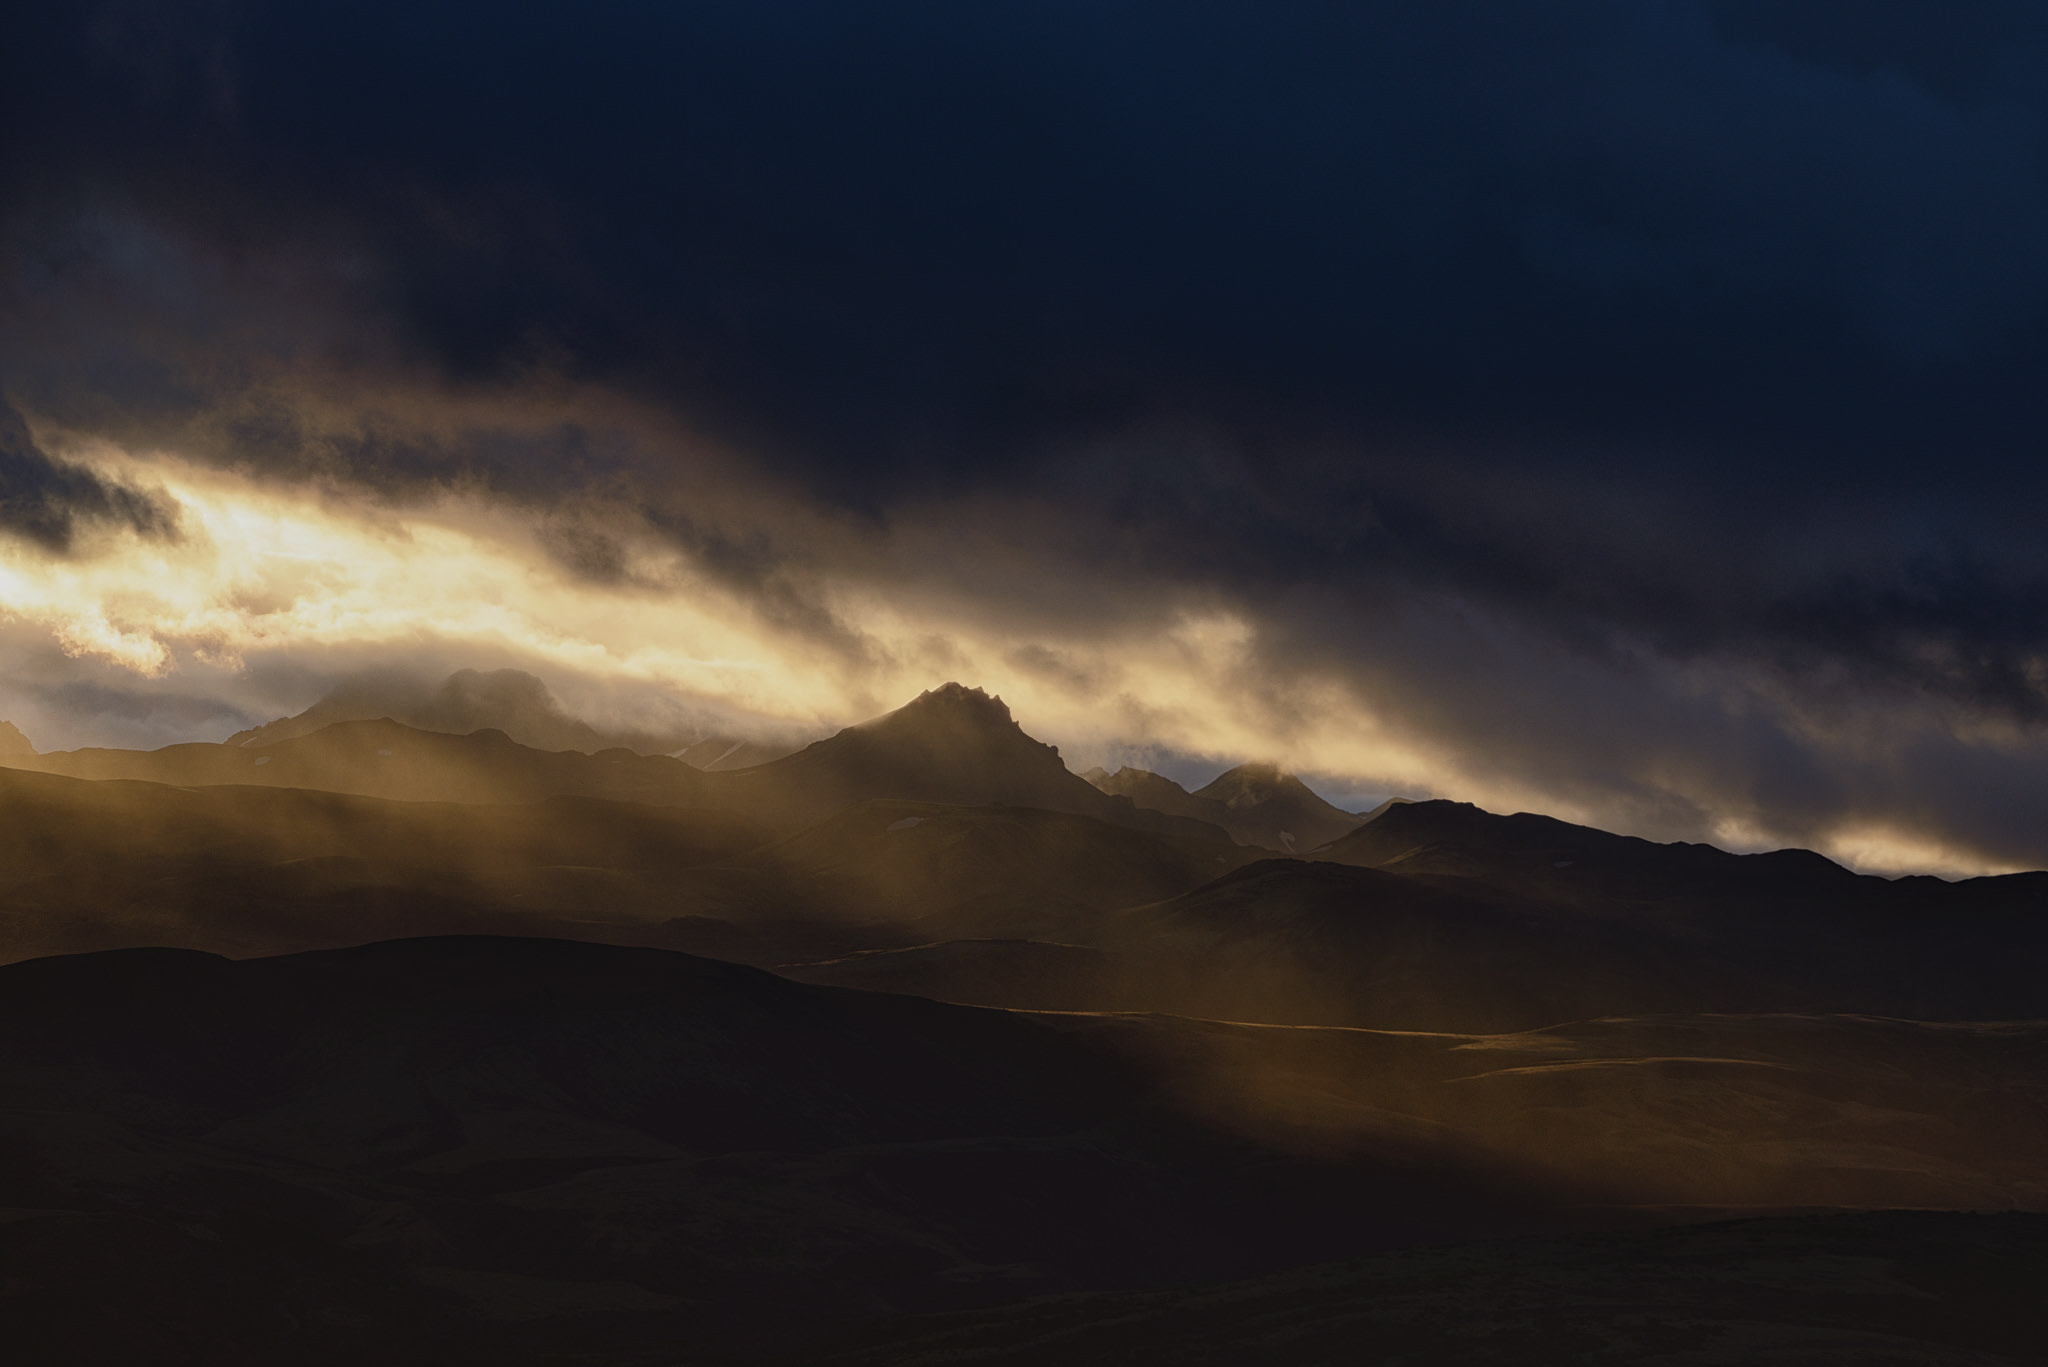
Although it is a bit too dark, it is a definite improvement. The colors look smoother, the contrast is more intense, and the overall atmosphere is more akin to what I want the final result to be. This is a good jumping point for the remaining edits.
After re-croppping the photo (just by syncing with my original cropped RAW), I did more global adjustments. None of the values were especially high, since I’d already finished most of the large-scale changes. Here are screenshots of those Lightroom settings, if you want specifics:

The only remaining thing at this point was to do most of my local adjustments. Here, I was mainly worried about the clouds. I didn’t want uneven transitions in the gradients, and I also didn’t want any bright regions to appear overblown. This varies so much from image to image that my only recommendation is to avoid hard transitions whenever possible; if your brush leaves any sort of halo, the result will very likely look fake.
After all that editing, here is the final image one more time (click to see larger):
I hope you found this case study enjoyable, and perhaps you learned some techniques that you can apply in your own photography! If you’re inspired by this location, I took this photo at sunrise from the top of Valahnúkur mountain in Þórsmörk, Iceland (hike info).
And if you have any questions about the process shown in this article, feel free to ask below.
Table of Contents