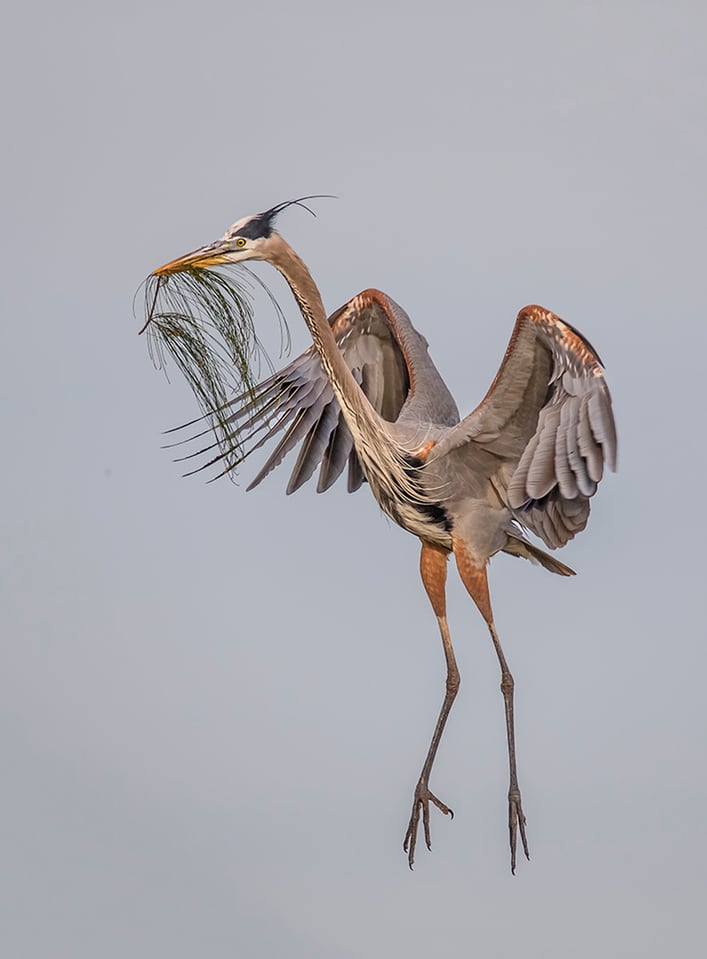
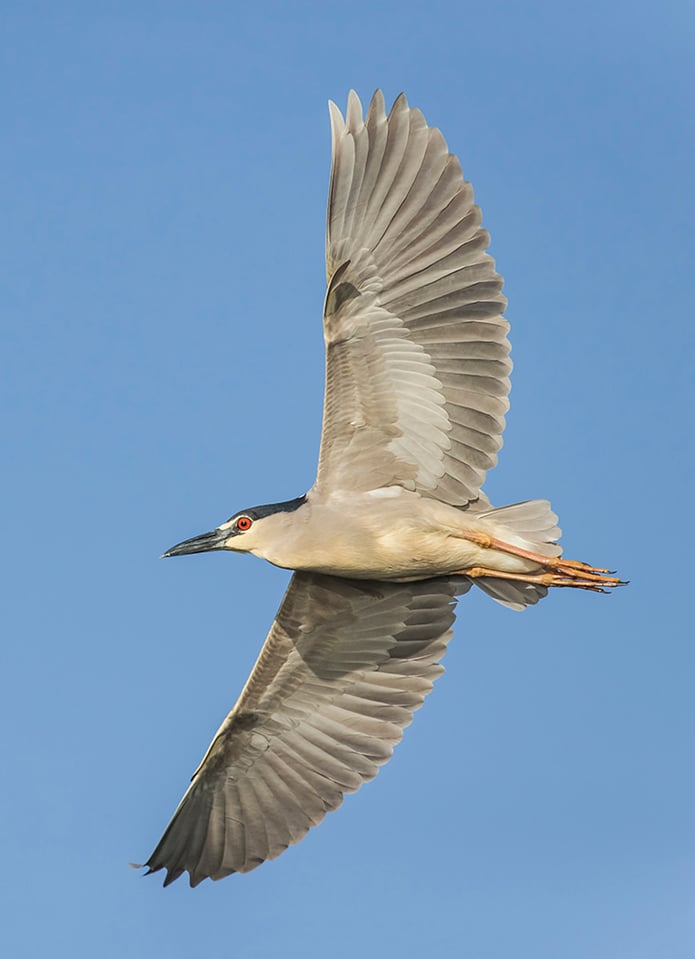
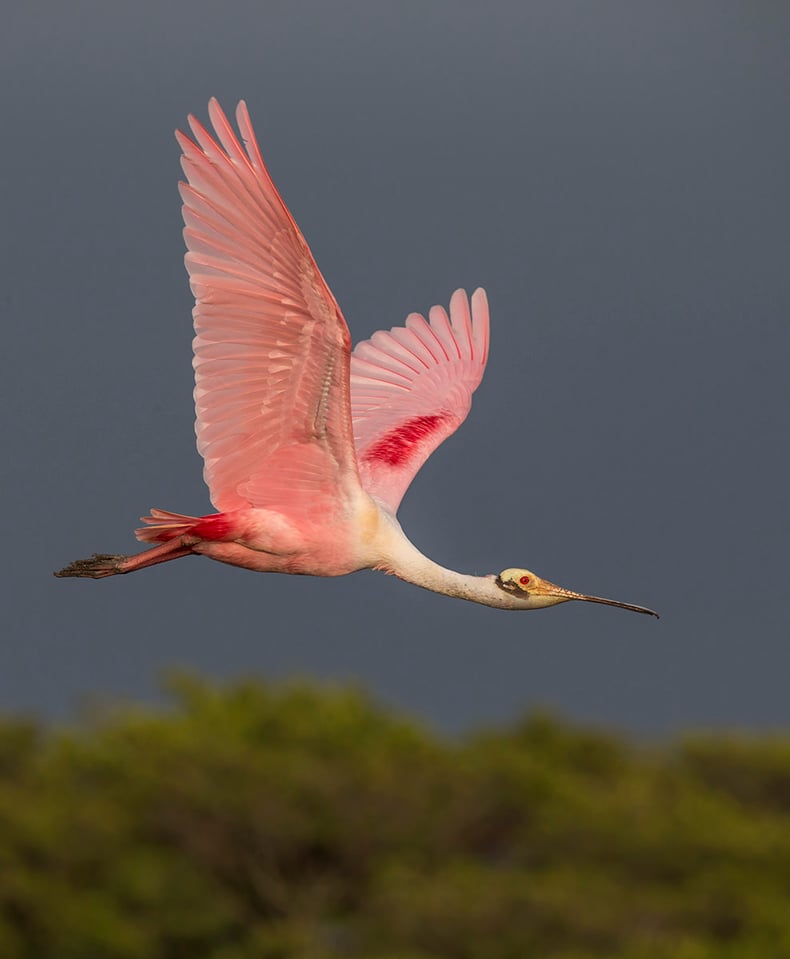
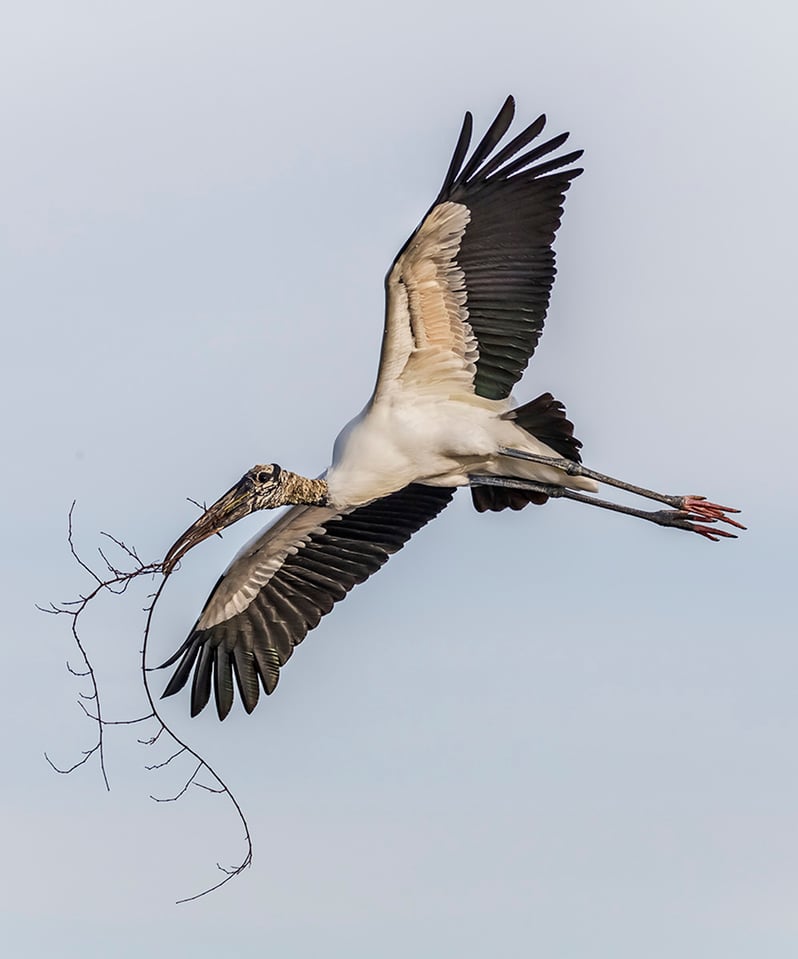
In today’s digital photography age, most novice bird photographers are happy just capturing a bird portrait with their cameras. After a while, the natural progression is to try and capture some action shots of birds in flight, but that is where most avian photographers struggle. Why? The answer is quite simple; they don’t have enough shutter speed!

Most birds typically cruise at speeds in the 20-30 mile per hour range, but during chases or altercations they can reach 60 miles per hour, with the peregrine falcon topping out at 200 miles per hour during a dive. To freeze that action, you need a very good tracking technique and a very fast shutter speed – the faster you can get, the better! How fast? I recommend a shutter speed of at least 1/1600th of a second, with 1/4000th of a second being the most you would need to freeze any action.

How does a photographer achieve those shutter speeds? The answer is quite simple; raise the ISO. Very early in the morning or late in the afternoon as the sun is starting to set, I recommend a minimum ISO of 1600. When the light starts to get brighter, I generally drop down to ISO 800. I rarely drop below that so I can comfortably maintain a fast shutter speed. With a shutter speed of 1/1600 – 1/4000 of a second, I can prevent motion blur, fixing one of the most common mistakes avian photographers make.

Another common misstep I see photographers making is photographing at the wrong time of day and in the wrong direction. Get out there early and stay late! Half an hour before sunrise and after sunset until about an hour after sunrise and before sunset is just magical. It is known as the golden hour because the light is soft and golden. The birds’ plumage will glow during this time and you can safely photograph until about two and half hours after sunrise and two and a half hours before sunset at most latitudes. Equally as important as being out at the right time of day is keeping the sun at your back. Why? To minimize the harsh shadows that you can get when shooting crosslit or backlit subjects. With the sun at your back, put both arms out, away from your body about 20 degrees, as shown in the illustration below.

Any subject in that zone should make for a very pleasing subject with nice, even and soft lighting. When the sun is low it also gives a great catchlight in the eye. If your intended subject isn’t in the zone, then you need to move yourself or concentrate on a subject that is in the zone. Remember to try and acquire and track birds early and only depress the shutter button once they are in the zone. Birds are a lot like airplanes; they like to land and take off into the wind. Having the sun and wind at your back are ideal conditions for flight photography. Even when the wind is hitting the side of your face you should still get excellent results, but if the sun is at your back and the wind is coming directly at you, then the birds will almost always fly away from you. So, check the wind direction before you head out. In most sunny conditions, the light is just too harsh on the birds, so once my settings reach f/8 with a shutter speed of 1/4000th of a second and my ISO set to 800, it is time to put the camera down and scout. It’s also good to keep in mind that bright overcast conditions can extend your photographic opportunities.

Let’s also make sure we have our autofocus (AF) set correctly. Your camera should be set for AI Servo (Canon) or Continuous/AF-C mode (Nikon). If you have another make of camera body it will have a different term associated with it, so check your manual for the fastest one. Use only center point AF spot selection when first starting out for the fastest and most accurate acquisition of the target. You can also elect “focus point expansion” if your camera has that kind of option. This makes your center spot a bit larger, giving you a better chance of locking on your target. But be aware that many cameras do not have this capability, so stick with center point. Don’t forget to set the drive mode to high speed, not single shot! This takes care of some of the basic settings, now to move on to camera mode.

So what mode should an aspiring bird in flight photographer use? Manual mode, of course! Because background conditions can change when a bird is flying, manual mode is the only option that will not get fooled by them. A simple way I like to setup my camera is when I am out in the parking lot unpacking my gear. I get out there early and place the sun directly at my back. I set the ISO to 800 and choose an f/stop from f/5.6 – f/8. I photograph a white or silver car in the lot or even a white sign that is in the zone to check my exposure. I look at my histogram and adjust the shutter speed until I move the histogram as far to the right as I can without any part of it touching the right edge. Your highlight alert should be turned on, as this will help you see that you have no blown highlights (AKA blinkies) when you review your image. If my shutter speed is below 1/1600th of a second, I will adjust my ISO up until I achieve that speed for flying birds. Since most birds in the field have some white on them, now you can go out into the field and, as long as you keep them in your zone with the sun at your back, you will have the correct exposure even if they fly against a totally different background. On darker birds, you will have to sacrifice a little bit of shutter speed – but remember to not blow the highlights! You don’t want an image of a bald eagle that has a totally washed out head. As the sun rises, you will gain a faster shutter speed and as it starts to set, you will start to lose it.

Depth of field is rarely a problem in bird photography unless you get too close! Getting too close can disturb the birds, but often times it just spooks them and they fly away. This is where focal lengths of 400mm or more come in very handy. Below is an example of what different focal lengths look like on a full frame camera as well as a crop sensor body.

All of the images were taken at approximately 100 feet away, with the carving of the puffin being about 12 inches in size. You can see that at that distance, I had plenty of depth of field at f/8 and with the Canon 7D Mark II and the Sigma 150-600mm Contemporary combined with the Sigma TC 1401 teleconverter I was autofocusing at f/9 and almost filling the frame with the small carving from 100 feet away! Many birds will allow you to approach closer but there really is no substitute for focal length. That added reach now also allows you to photograph even smaller birds.

The biggest change that has happened to the world of bird photography has been to the gear. The new digital camera bodies from all of the manufacturers allow us to adjust our ISO easily and with little noise to achieve and maintain the fast shutter speeds required for capturing birds in flight. The biggest revolution has happened in the quality and affordability of long telephoto zoom lenses. The days of only needing long, expensive primes is over. These aren’t your fathers’ zoom lenses! Sigma introduced two affordable and hand-holdable (for me) 150-600mm zoom lenses (Sport and Contemporary) about a year and a half ago, and I believe these two lenses will revolutionize the bird photography world. The Sport is totally weather sealed and weighs in at 6.3 pounds, which won’t be hand-holdable for most photographers. It is really designed for people who find themselves out in the harsh elements often. It has a slight edge in overall performance at a current price of around $2,000 US. For those unable to hand hold, placing the lens and camera into a gimbal style tripod head or gimbal side mount to use with an existing ballhead will make the combination almost weightless, once properly adjusted.

For me the biggest eye opener was the quality of acquiring, tracking and focusing of the lighter and even more budget friendly Sigma 150-600mm Contemporary! It weighs in at 4.3 pounds and I remove the collar when hand holding for even bigger weight savings. Its current advertised price is under $1,000 US. Combined with the Canon 7D Mark II, this makes for a very potent, lightweight and budget friendly combination, with an effective reach of 960mm. As a matter of fact, all the images in this article were taken with the Contemporary lens! Even the smallest songbirds are now in reach for the bird photographer looking to get into this exciting field, all in an airline-friendly travel package.

Remember, these are just guidelines, and with practice you may be able to use a slower shutter speed and still freeze the action. Hopefully I have provided you with enough information to go out and capture some amazing bird in flight images of your very own.
For a complete list of my workshops, lectures, galleries, blog, eBooks and more please visit: http://www.roaminwithroman.com
Here are additional image samples of birds in flight:


This guest post has been submitted by Roman Kurywczak, a proud member of the Sigma Pro Team. To see more, please visit his website.
Great article even in 2020. Thank you. However, I believe that airplanes actually take off against the wind to maximize the lift produced by air flowing over their wings.
Thank you very much for the great tips and photos.
HI Roman
I am just wandering if you do recommend we fine-tune the AF for the Sigma at 600 mm with a tool such as the Spyder Lens Calibrator from Datacolor, for all our cameras ?
I was wondering are you saying–manual exp mode–set aperture f/8 and ISO 800–take image of white car or sky—adjust shutter speed until exposure indicator hits zero or +2 on exposure indicator or are you only following histogram readout after every retake of white item until ETTR achieved?
You state you use single focus point–do you always keep focus point on birds eye while panning? I found that very hard with moving bird to keep focus point on eye.
Did you say you prefer center -weighted meter mode?
Thanks for great info!
Donna
Nice pics and a fine introductory tutorial. Two things not mentioned that might help readers are practice and patience. Tracking birds in flight takes lots of practice so find a common bird in your area and practice on that, whether it be a seagull or a turkey vulture or whatever. Bigger, slower birds are easier to start with. Shoot them every chance you get. Patience is also key – it’s not every day an ibis flies past with a crab in it’s beak. Practice your technique, then with patience you’ll be ready when a special moment happens.
On a biology note, all the birds pictured in this post are relatively large, slow, direct and/or predictable fliers which make them easy to track with single point AF. For smaller quicker birds, say ducks, it’s very hard to hold a single point on the bird hence 9, 21 or 51 point AF can work better depending on how busy the background is (the busier the BG, the less points you should use).
Verm
Hi John
I always had better results with “Group area” instead of d9;d21 . What is your recommendation on “Focus tracking with lock-on” value ?
regards
Used to be a fan. Roman’s article is very timely and interesting. I used to read comments but not so much because one person apparently own them.
If you have a specific question to ask, we will do our very best to answer it. If you write nonsense, we will do our very best to rebut it.
Fine with “we”
Not fine with comments dominated by one person who then writes more than the author and everyone else combined.
How much is too much? Is the question I guess. You may think it is fine. I don’t.
Martin Griffith
This is an open forum and no one person ‘owns’ or ‘dominates’ anything.
Anyone who has something something to say, whether erudite or stupid, is free to say it.
It’s a pity you chose the latter option.
Martin, Why not set a good example by adding a valuable signal to this website, thereby increasing its signal-to-noise ratio; instead of adding whining noises that serve only to reduce its signal-to-noise ratio.
used to be a fan of the web site but it has been taken over by one person
I appreciate your article and hope to use such information in the future. Your information will help to narrow my approaches significantly
Any tips on some of the odder AF settings in the custom menus for birds in flight?
The optimal settings depend specifically on: the make, the model, and the version of firmware in your camera; and on the make and the model of your lens(es). They also depend on your chosen technique; the reflected light from the scene (which affects which of the plethora of AF points are able to assist you); and on the angle of view that you wish to present your images to your intended audience.
If, and only if, we learn to properly understand “the odder AF settings in the custom menus” will we potentially gain benefit from adjusting these fine-tuning parameters. I highly recommend attending a hands-on training course for your style of photography that specifically includes optimal settings for your equipment. The reason why I recommend this is simply because it is far too easy to change the fine-tuning parameters then not remember the changes we’ve made, thereby making things much worse rather than better.
“Yes, there is more than one way to get a proper exposure, but in the digital age proper exposure is indeed, in effect, carved in stone.
A proper exposure is the one which captures the maximum amount of data from a scene short of saturating the sensor.”
I’ve just been on a half day photography workshop at a wildlife centre. One of things that that the pro photographer guiding the course was doing was under-exposing by 2-3 stops for effect (we’re talking owls and red squirrels here). If there was only one correct exposure then presumably he wouldn’t be doing that. He’d ‘near saturate’ the sensor and reduce the exposure in post. But he didn’t.
This suggests that the original comment was correct, and that there is room for the photographer’s interpretation. Either that or the pro on the course was wrong. Having looked at his photos however, I don’t think that is the case.
I’ve also recently been to a talk by a pro landscape photographer. His discussion of how he uses Lightroom was different from that in Scott Kelby’s book (use of tone curves in particular). Who’s right? Having seen the pro’s images as part of the talk, he’s rather good at what he does.
I felt that the above discussion became overly-dogmatic, and that was a little unfortunate, and less than helpful to those readers, such as me, of lesser experience and ability.
Nigel
It’s difficult to give a meaningful comment as you don’t say what the circumstances were, what ‘effect’ he was trying to achieve or whether he was shooting RAW or JPEG.
ETTR is only applicable to RAW exposure. The effect of underexposing RAW is loss of data and increased noise in the file. The effect of underexposing a JPEG is an overly dark image with loss of detail.
However, he may have had a very good reason for applying a -2 to -3 compensation.
If he was shooting dark toned subjects like squirrels/owls in dark conditions and backgrounds with JPEG output, this might well be exactly right to get a JPEG of the correct brightness as in those conditions the meter would tend to significantly overexpose and any small, but important white tones (fur or feather) might get blown out.
If shooting RAW, he may have been protecting those same important highlights (white fur or white feathers) from overexposure and clipping. In other words applying a negative compensation of say -2EV may have given him a perfect exposure for those parts of the scene in which he absolutely didn’t want lose detail. The highlight information in that case would be a small peak at the highlight end of the histogram (full saturation short of clipping) with a big lump representing all the dark tones at the other.
-3EV seems a lot, but a lot of photographers are a bit chicken with exposure and play extra safe knowing they can brighten shadows in post but can’t recover blown highlights. It’s not ideal exposure but anything’s better than blown out detail in an important element of a subject.
Incidentally, ETTR is sometimes no different to non-ETTR – it depends on the spread of tonalities/dynamic range of the scene.
Hope that helps.
PS
There is a difference between dogma and science.
On is based on belief, the other is based on verifiable evidence.
“Unfortunately, the histogram on your camera is not as accurate as it looks. Current cameras are incapable of showing the RAW histogram of an image, even if you shoot in RAW (which you should, if you use ETTR). Instead, the histogram is based on the processed JPEG image that is embedded into RAW files. This means that although the camera might indicate that you have pushed your exposure too far, there is potentially more headroom for recovery in post-processing.
There is truly no reason for camera companies to avoid implementing a RAW histogram option, which has been one of the most-requested features amongst landscape and studio professionals for more than a decade. At this point, it is truly absurd that photographers cannot judge their RAW histograms until loading their photos onto a computer (see Iliah Borg’s excellent article on culling RAW images vs JPEG). The first mainstream camera manufacturer to get this right will earn a lot of respect in my book.” Spencer Cox (Photography Life).
Nigel Madely (with a friendly nod to Martin Griffith)
A short PPS, as it occurred to me that you may, (in the example you gave) be confusing under-exposure with negative exposure compensation.
They are not the same thing and it’s the sloppy-minded way in which the terms are used interchangeably which leads to so much confusion and misunderstanding.
Under-exposure is incorrect exposure – in as much as it fails to capture all the data relevant to the image.
Exposure compensation is a human being’s intelligent change/modification to the dumb meter’s indicated exposure in order to achieve a correct exposure – one which does capture all data relevant to the scene.
In the conditions you described, (dark background+dark subject+small but important highlights) the dumb meter, if left to its own devices, would likely have over-exposed by +2 or 3EV stops resulting in a lot of information at the lighter end of the scale being clipped. That’s a pretty dumb thing to do, I hope you would agree.
Hence your intelligent pro’s decision to apply -2 or 3EV stops of negative compensation to the +2 or 3EV over-exposure indicated by his dumb meter.
Result? A perfect exposure for that scene where all the data relevant to that scene has been captured and those small, important highlights are fully exposed (close to sensor saturation) but not clipped.
As a reader of, in your own words, lesser experience, I hope you now better understand that the intelligent application of science is not dogma.
Dogma in this context, is the insistence that auto mode this or auto mode that (with the prerequisite that the brain first be disengaged of course) is a universal panacea for all exposure problems.
Sorry, it’s not..It’s just hope trying to trump reason.
Dogmatic assertions that Auto ISO is a viable option for shooting BIF against a changing background is just another manifestation of the above.
Worse still, is the dogmatic assertion that under-exposing or over-exposing a digital exposure in camera for ‘effect’ is, in some way, applying a personal or ‘artistic’ interpretation.
Sorry, it’s not. It’s just throwing away data.
It’s the same old ignorance and/or laziness which wants something for nothing. The laziness which just to wants to push a button, move a slider or apply a preset and have some dumb device make everything turn out perfect. No learning, no understanding and no practice required.