Photo Spot Summary
Country: United States
Category: Cityscape
State: California
City: San Francisco
GPS Latitude: 37.754406
GPS Longitude: -122.447685
Directions
It is an easy drive from the Bay Area. Just take Twin Peaks drive, head all the way to the top on the zig-zag road and follow the signs to "Twin Peaks" along the way.
Photo Spot Details
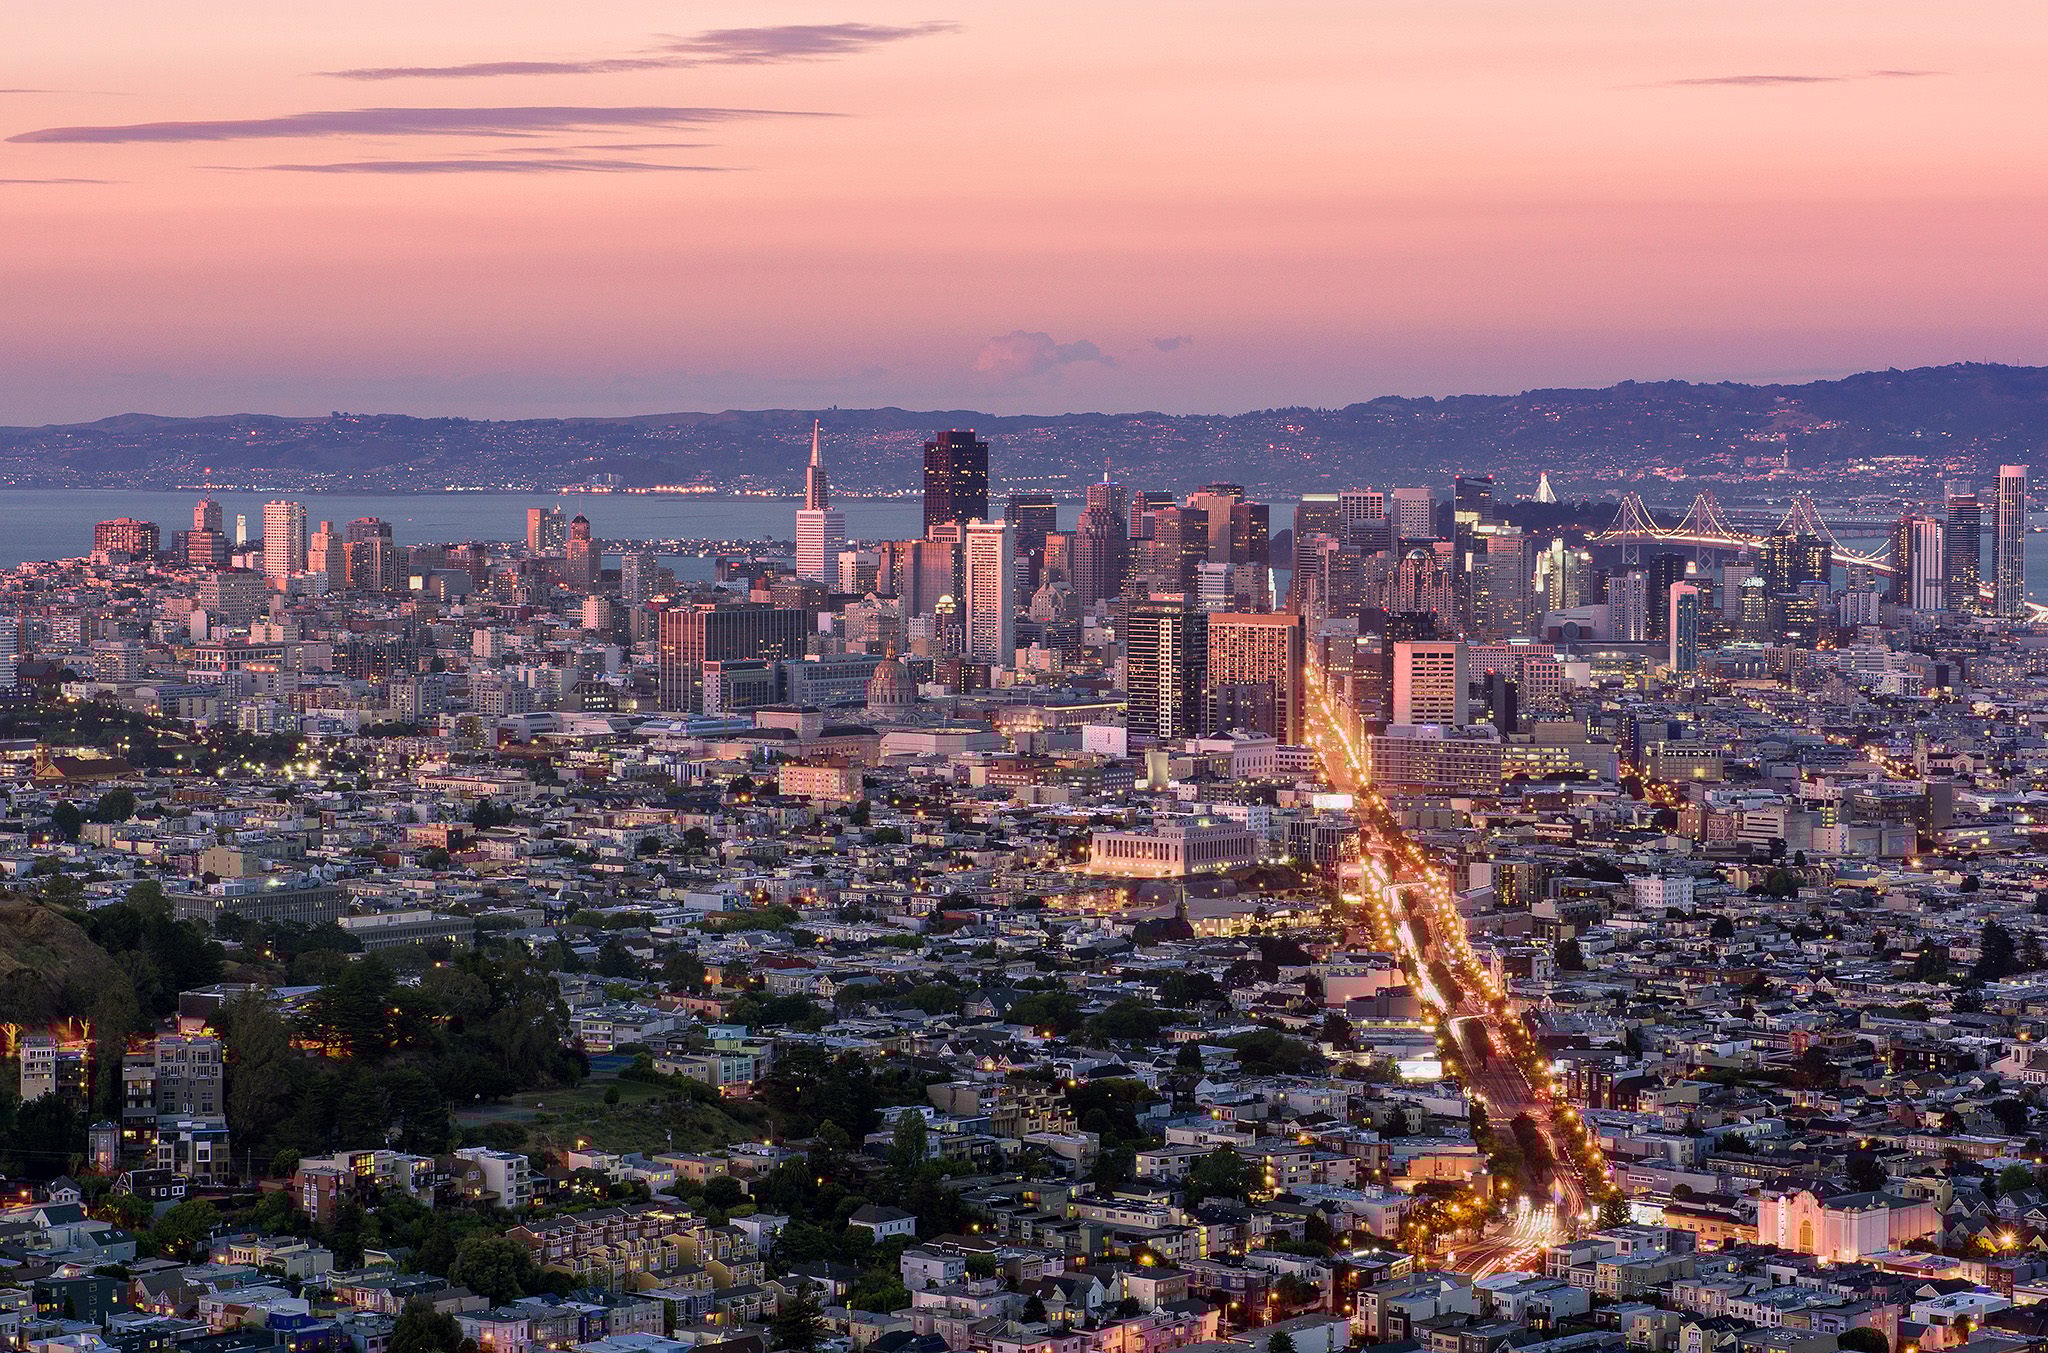
You can enjoy photographing the Bay Area from the two tallest peaks named “Twin Peaks”. At 925 feet elevation, you can get a great view of downtown San Francisco, Bay Bridge, Golden Bridge (only the tips) and many other famous locations. Twin Peaks are a world famous attraction, drawing hundreds, if not thousands of tourists every day. It is a stunning 180 degree view of the Bay Area, particularly at sunrise and sunset times.
Travel and Gear Tips
- Get there early, at least 1 hour before sunrise and 2 hours before sunset, as it can get pretty crowded
- Bring a tripod – you will need it for sunrise/sunset shots
- Expect strong, gusty winds, so make sure that you bring a heavy duty tripod
- Bring a couple of zoom lenses with you to cover wider angles and telephoto (24-70mm and 70-200mm are ideal) for getting both wide and tight shots of SF. I would not worry about bringing ultra-wide angle and fisheye lenses, since this is an overlook and there is nothing in the foreground.
- A polarizing filter is a good idea to bring to reduce occasional haze.
- Keep your gear by your side and watch it at all times – all kinds of people come there and there have been incidents of theft before

Photography Tips
- If it is a hazy day, I would recommend to use a polarizing filter
- For sunrise / sunset shots it might be a good idea to bring 2-3 stop GND filters, as the sky can light up and make it difficult to capture the scene
- Ideally, set your composition in the beginning and try not to move, change lenses or zoom in / out. Wait until you see all the lights and it gets dark. You will need that to blend multiple exposures to get a cool looking shot like shown above
- Ideally, shoot in Manual Mode, set your ISO to base ISO (lowest number). If light conditions deteriorate and wind causes camera shake due to very slow shutter speed, you might need to bump up your ISO
- There is no reason to shoot at very wide or small apertures, so use your lens’ sweet spot, which is generally between f/5.6 and f/8
- Sometimes it gets extremely shaky due to very high winds, so it might be a good idea to hang a heavy object on your tripod’s hangar
I notice that the one and only comment is dated 2015. Unfortunately, this has become a high risk area for theft and robbery. Be very careful if shooting at any time at this location. Never go alone. Be aware of what is going on around you. Never leave anything in your auto if you walk away, even for a short distance. Smash-and-grab has become epidemic in SF. If you feel uncomfortable, better to immediately leave the area.
Thanks for this. We have 3 days in San Francisco in October and this is exactly the sort of information I was hoping to find.