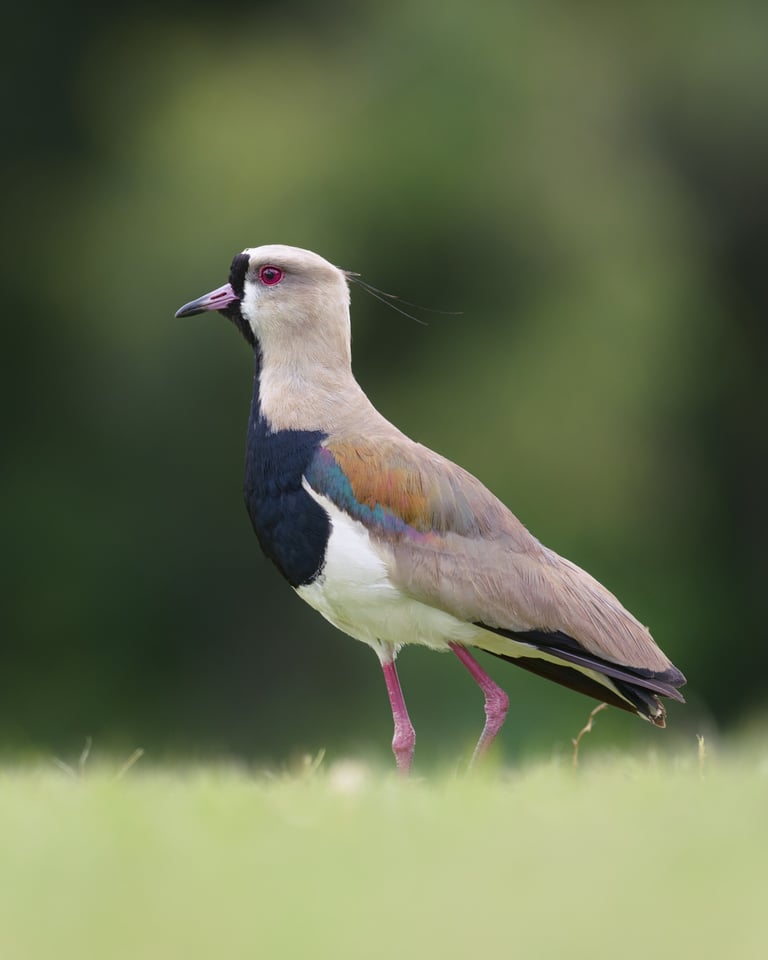
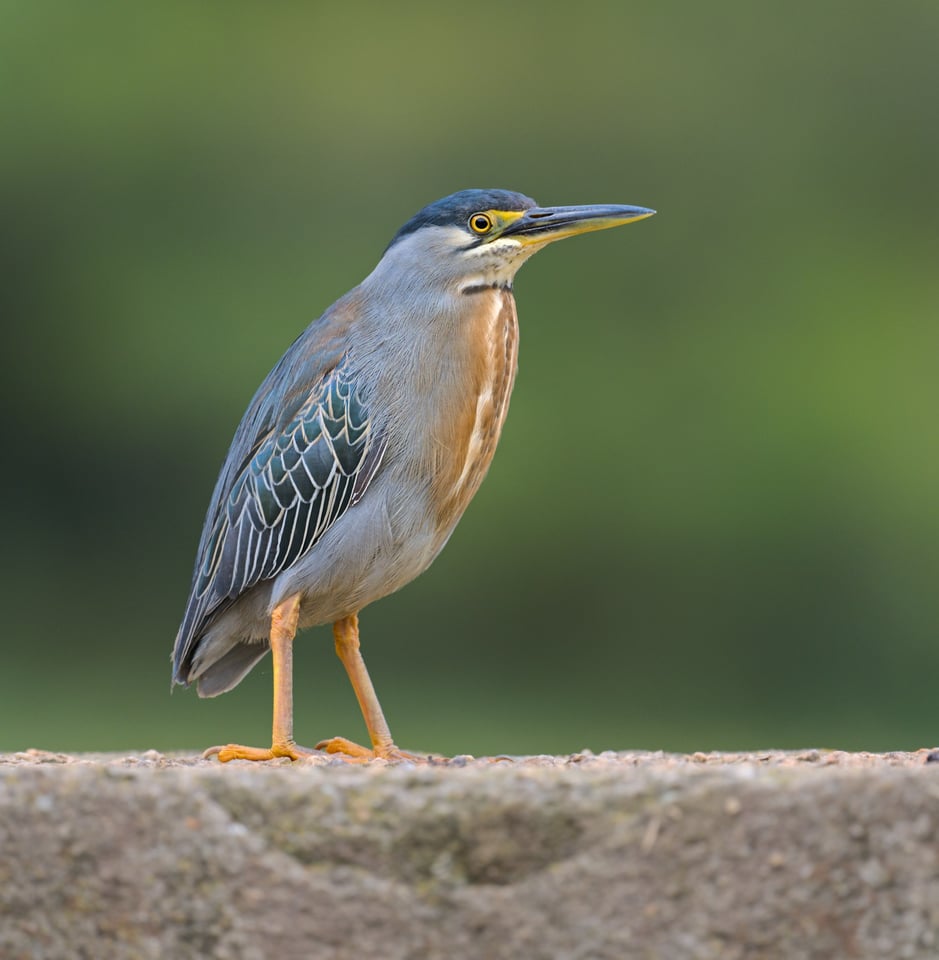
If you use a prime lens for wildlife photography, the biggest problem is that you can’t zoom out to get the entire animal in the frame when you’re too close. But is there a solution to this problem that doesn’t involve using a different lens? One possibility is to use panoramas!
Panoramas?
You probably think I’m joking. Indeed, most of the time, animals are deft and wily creatures whose main objective is to prevent wildlife photographers from getting good shots. But other times, some animals will stand very still.
Perhaps that’s due to their keen instinct to remain unnoticed in the presence of a fierce predator. Or maybe they’re advanced Zen meditators. But whatever the reason, animals aren’t always moving around.

Let’s say you’re in such a situation with a relatively still animal, and you have the perfect composition in mind. Unfortunately, you can’t zoom out because you have a prime lens. Moreover, you can’t move backward, because chances are, you’re going to scare it away. During such times, you might be able to get a two or even three-shot panorama of an animal.
The idea is to first envision your composition, and plan in your head whether you’ll do a horizontal or vertical panorama. Move your camera to the starting position and wait until the animal is sitting very still. Herons, owls, and larger birds might be a good start. Wary mammals often stop for several seconds, too.

Then, take your first shot, and quickly move to take the second, hoping the animal doesn’t move. If you have a tripod head like a video fluid head or gimbal head, or you have a panoramic base on your ballhead, it’s even easier. If the animal is just sitting there for a while, I’d recommend executing the whole procedure a few times in case you get some movement.
An even better option, if it is possible, is to take one photo in the middle of the panorama that includes the entire animal. The composition of this photo will feel very cramped, but you can take additional photos on either side, and then combine them into a panorama with a more comfortable composition. With this approach, you could even make a panorama of a bird in flight! Although the first photo would need to have 100% of the bird in the frame.

Most of the time, two or three photos should be enough to get a sufficiently wider composition. With three photos, you easily can mimic a focal length that is 0.67x wider than your current focal length (such as using a 300mm lens to match the composition of a 200mm lens). When there is a chance of movement, I stick to no more than two photos of the subject, plus however many surrounding photos it takes to get the right composition.
In terms of post-processing, the idea is to merge your panorama first and then edit it second. Lots of software like Lightroom has panorama merging built in, although I use Darktable, which does not. So, I first make the panorama into a TIFF file separately, and then edit it next.
Using my 20-megapixel Nikon D500, I typically get 30-35 megapixel files with just two shots. Naturally, if you use a higher-resolution sensor, you will get even more resolution. That said, I do not recommend this technique as a way to increase detail. That can be a nice side effect if everything goes right, but mostly, it is a last-ditch way to salvage a wildlife photo if your subject gets too close.

Finally, I would like to point out that some animals have parts that move more than others. For example, some perched birds only move their heads while keeping the rest of their bodies quite still. In that case, it can be easy to make the panorama as long as you pay attention to which parts are moving. Include all the moving parts in one photo, and all the stationary parts can be captured in separate images.
Conclusion
I didn’t think making panoramas would work as a bird photographer until I tried it. In certain cases where I didn’t have the option to move back, it’s actually worked for me way more often than I expected, so it’s not just some theoretical technique. With the right species, I believe most people can get it to work at least half the time.
I’ve only just started to explore the idea, but I think it would be great to experiment with three or four shot panoramas too, just for fun. What do you think? I suggest giving it a try if you shoot with a prime lens and get stuck too close to your subject. Panoramas are not just for landscape photographers!
Great idea, original, I will try your panorma approach 👍
Thank you for the comment, Tomáš!
I have used the same technique in a few circumstances where this was absolutely needed to get a wider perspective … but with people.
Great idea! Never even remotely thought of that in the context of wildlife photography
What would be even better: include the photos you made the panorama out of, or maybe just draw a line or two through the picture where you stitched it
And I assume you held the AE-L/AF-L button pressed while doing this? Or use backbutton-focus?
I think it would be cool when you include that technical part of things into the article :)
Thanks for the comment. I use back button focus and I think the software corrects slight exposure differences. It’s a good idea…TBH I didn’t even think of the technical stuff. I just tried it and it seemed to work, haha.
Very nice article highlighting a nice option to secure a shot. Thank you !
Ever since I read about the Brenizer method panorama here on photography life some years ago, I wanted to try this for wildlife, but actually never got around to do it. The idea wasn’t to use it for subjects that are too close to fit in the frame, but rather to show more of the habitat.
On a more technical note, how did you ensure consistent exposure and focus? Manual mode and no refocussing after the first shot?
Great photos, by the way!
Fn1 as AEL and back button focus (AF-ON) with no focus on shutter release button (A6 OFF on Z8, or ZF for instance) are the key to ensure both exposure and focus consistence at best to my sense.
The way I do it is fix the exposure first by hitting Fn1 and then choose the focus point depending on the scene and aperture and just fix it with BBF and releasing my thumb.
I use this method the same for landscapes. No matter you use AF-C with 3D tracking or AF-S with fixed box focus… I’m nearly always in AF-C 3D Tracking BTW, as with this method, you don’t have to care, it always works. Though sometimes, with some lenses, AF-S and/or single box focus can be more precise if you have time.
www.deviantart.com/pierr…-801550202
www.deviantart.com/pierr…1103662825