Even if portrait photography is traditionally done in a studio indoors, outdoor portrait photography can be even more rewarding – both for the photographer and for their subject. The scenery around your subject can be visually impactful and compelling in a photo. It can also mean something to your subject, more than a backdrop in a studio. In this article, I’ll explore different aspects of outdoor portrait photography and share my tips for taking better portrait photos outdoors.
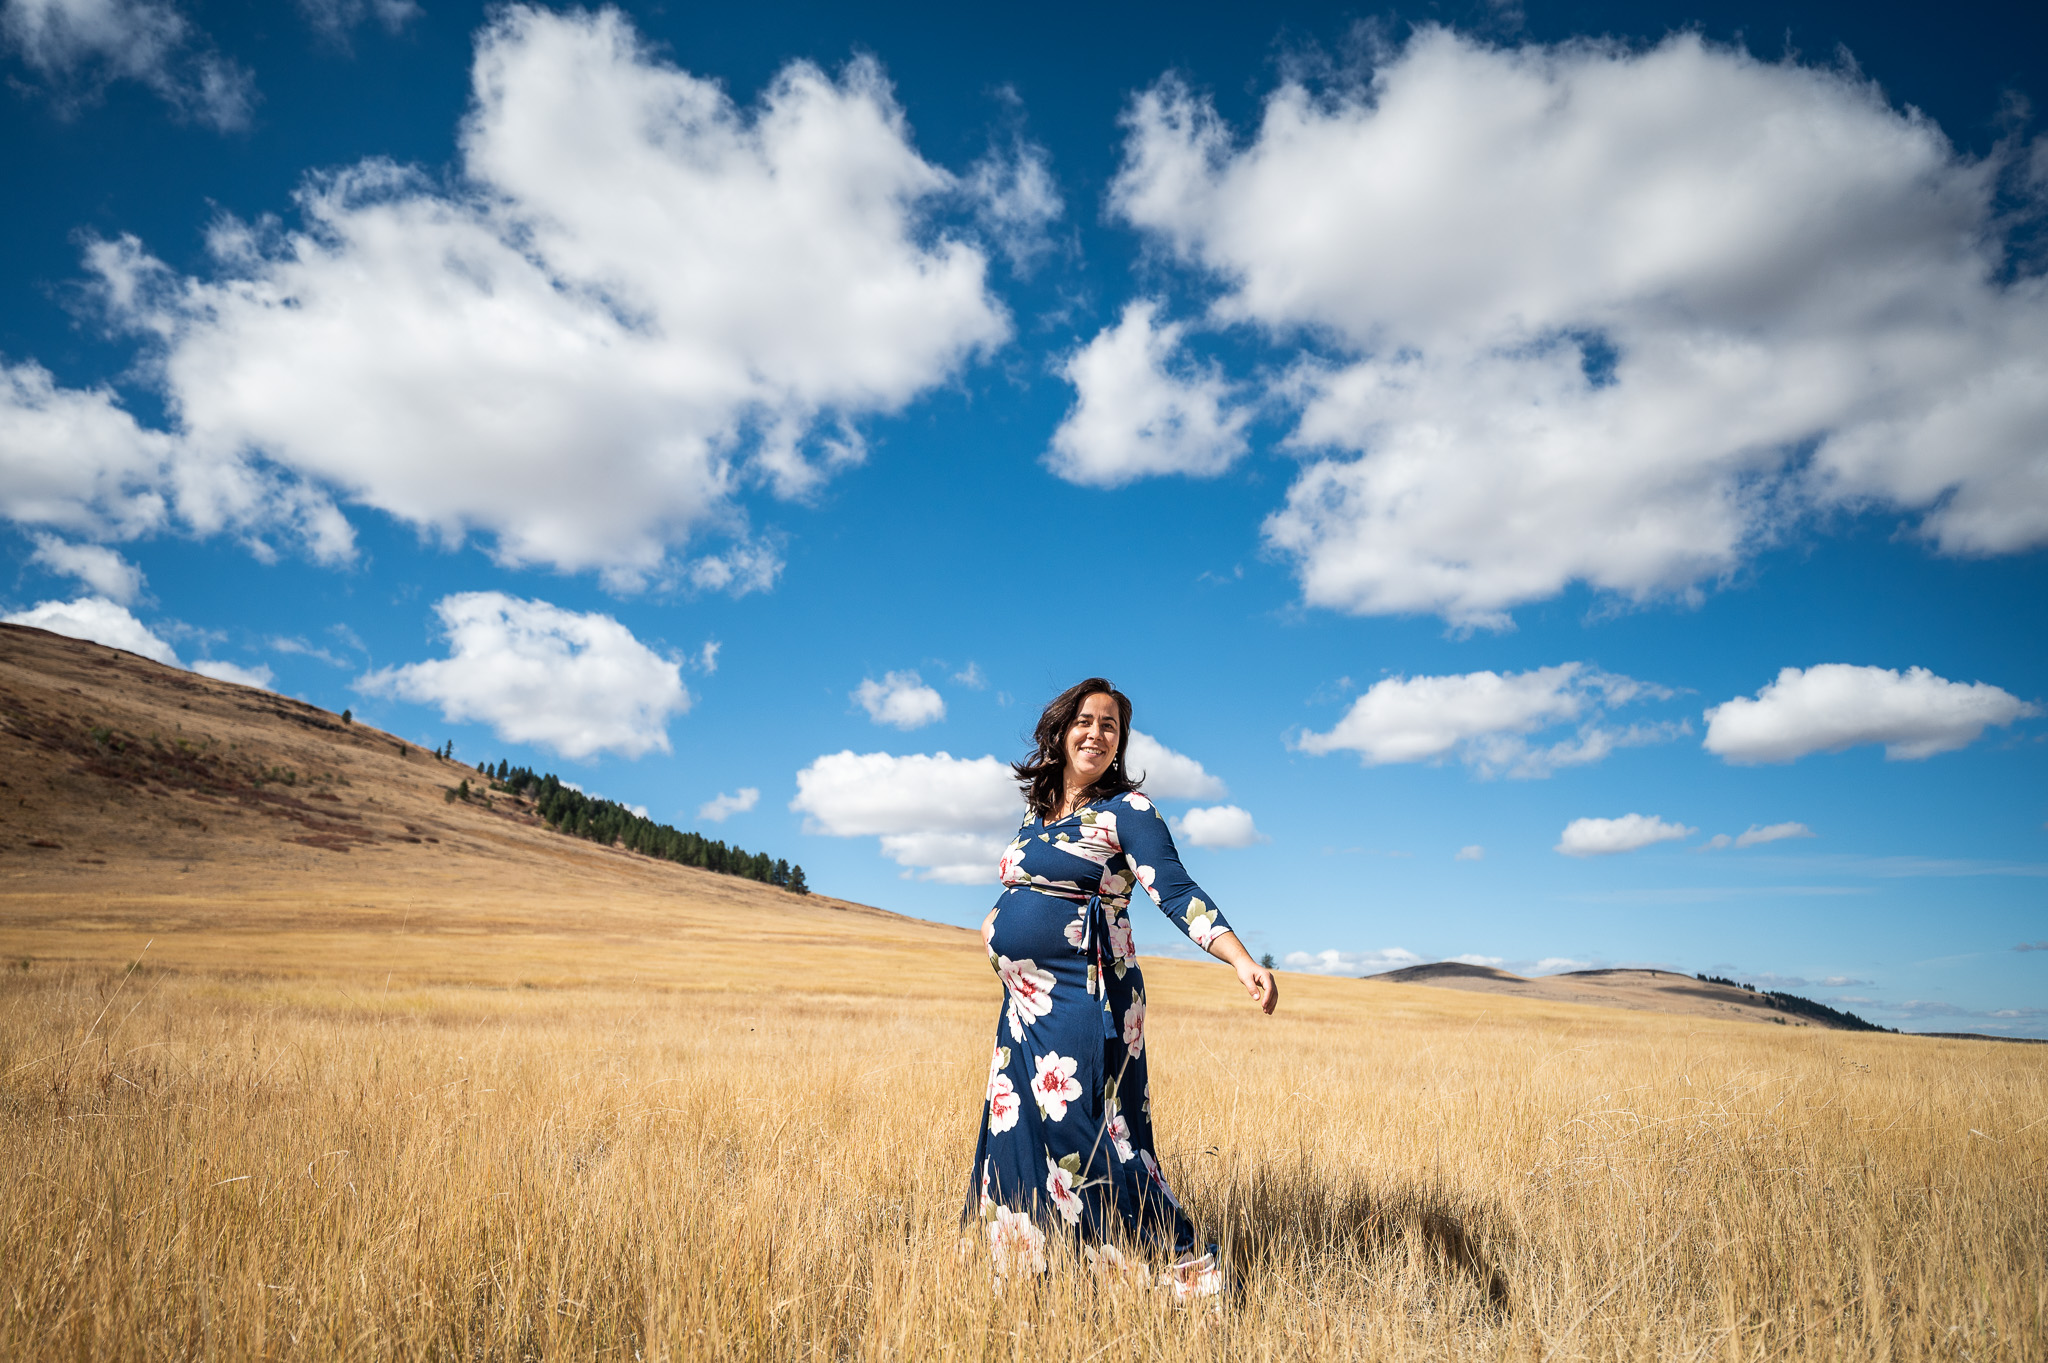
Table of Contents
Choosing the Right Gear for Outdoor Portraiture
Camera gear tends to be an overly-emphasized topic. Your gear does matter, but it will not make or break your photographs. Your technique, sense of composition, awareness of light, ability to set your subject at ease, planning, and sense of color (among other things) are all more important than gear, in my opinion.
But your choice of equipment still makes a difference in outdoor portrait photography, so I’ll go through a few of those considerations here. I’ll try to focus on things that make a tangible difference to this genre of photography (i.e. not how many megapixels your camera has), so let’s dive in.
1. Focal Length
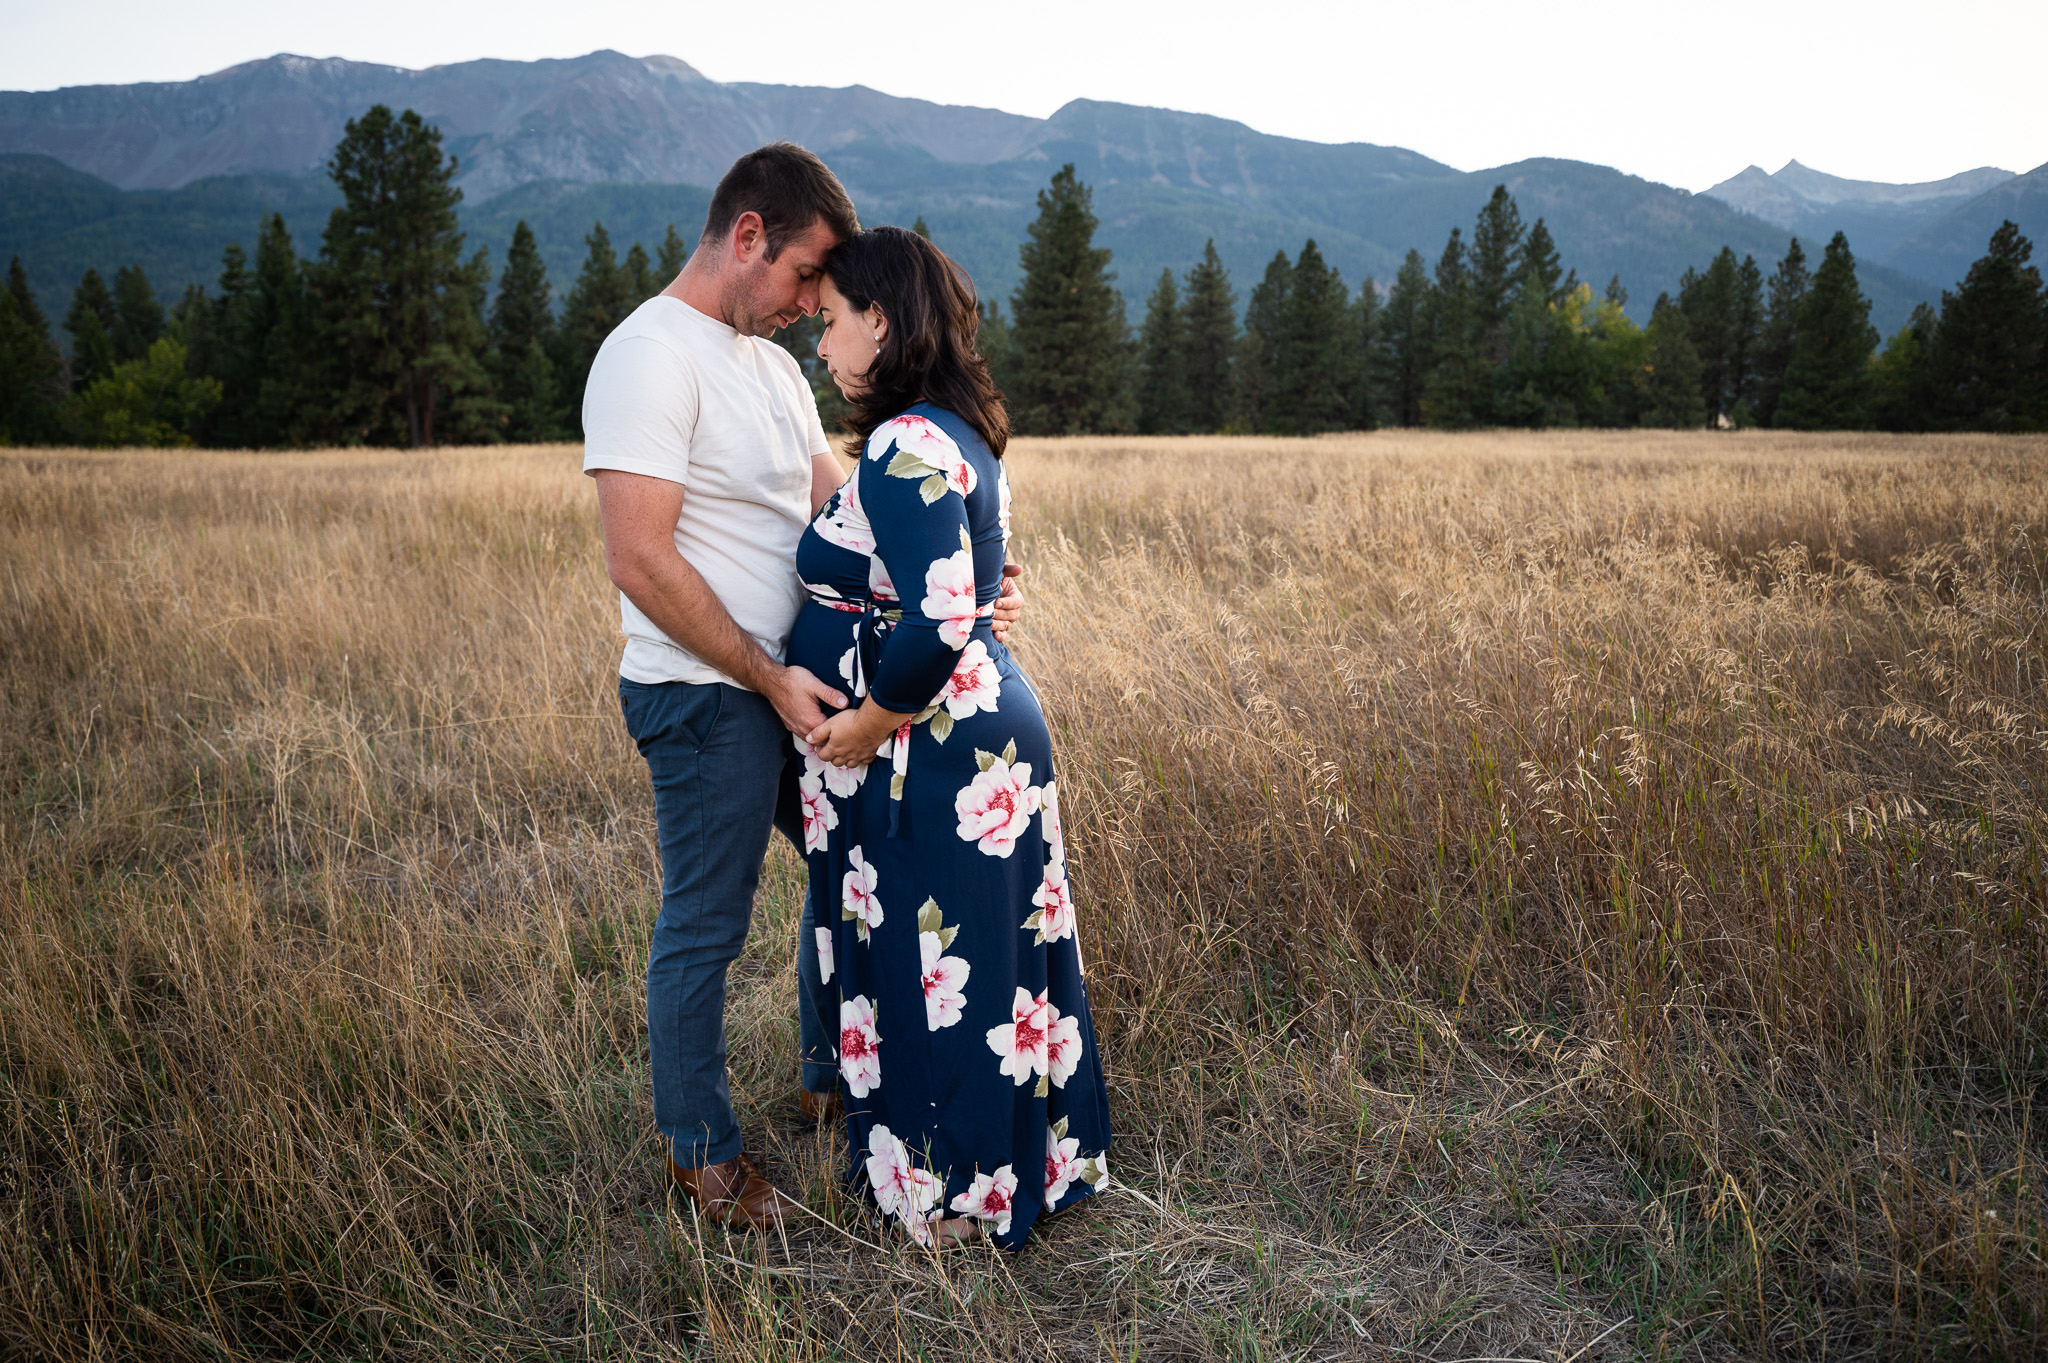
Your choice of focal length is always a balance of creative and practical choices. Outdoor portrait photography is no different. A wide-angle lens like a 14-24mm is great for including dramatic environmental elements, like the sky, mountains, or nearby buildings. Meanwhile, telephotos like a 70-200mm can eliminate specific background details but keep the “feel” of the environment. Normal lenses like a 50mm are a nice in-between.
For outdoor portraiture, I like to carry a mix of lenses. Unlike studio-based portrait photography where you may be able to get away with a two-lens kit like a 35mm (for full-body) and an 85mm (for headshots), photographing outdoors demands too much consideration of the environment around your subject.
So, consider your goals for the photo, and especially your plan for the surroundings. If you just want the environment to be a smooth, out-of-focus backdrop, go with a long lens (and a wide aperture – more on that next). On the other hand, if you want a true “environmental portrait” that emphasizes the surroundings as important parts of the photo, you’ll want to use a wider lens.
2. Wide vs Narrow Apertures
Lenses with a wide aperture, such as f/1.4 or f/1.8, are good choices for outdoor portraiture because they offer a lot of flexibility in the mood you capture. Specifically, they let you use a shallower depth of field when you need it.
I’m not saying that you’ll always use that f/1.4 or f/1.8 aperture. Someone’s environment can help tell us who they are or what their life is like. An extremely blurry background may not add in the way of symbolism or storytelling. A shallow depth of field may not be the right look for the photo at hand.
But the key is flexibility. If your lens has a wide aperture, you can choose to use that aperture when you want the classic “beautiful bokeh” look (or when the environment is pretty busy, which is true of many outdoor locations). If you want to capture more of the environment, you can always stop down the lens.
3. Eye Autofocus
This is a very valuable tool! Allowing your camera to automatically focus on a subject’s eyes means you can be more attentive to other aspects of constructing a photo. A skilled photographer can certainly take sharp portraits without eye autofocus – or even without autofocus at all – but this feature is useful nevertheless.
Most mirrorless cameras and some DSLRs have an eye autofocus feature. So, if you’re looking for a camera for outdoor portrait photography (or any portrait photography for that matter), I’d make sure to get one with this feature.
4. Weather Sealing
Rain in the Pacific Northwest, dust in the desert, salt spray near the ocean – there’s no shortage of potential hazards for your camera when you’re shooting outdoors. And these shouldn’t be causes to put away your camera. Some of the most compelling photos of couples I’ve ever seen were captured in the pouring rain.
So, I recommend using well-built, weather-sealed gear. Don’t hit the battlefield without armor! Bringing an umbrella doesn’t hurt either. You shouldn’t let the environment be the reason you avoid taking a good photo.
5. Lighting Equipment
Lest you think that I’ve forgotten to discuss the importance of light, I’ll emphasize its importance here. In fact, it’s such a crucial topic that it deserves a full section, and I’ve written about lighting options in detail later in the article.
Choosing a Location
It’s time for portrait photographers to mimic landscape photographers! Just like our tripod-based landscape-loving friends, outdoor portrait photographers succeed or fail largely because of the scenes they find. Here are some of my tips to make sure the environment complements your portrait subject.
1. Scouting
When you’re familiar with a particular setting, you have an advantage in a portrait shoot. This means visiting locations beforehand, figuring out potential compositions, and noticing the path of the sun through the day. Once the day of the portrait shoot arrives, you’ll already know the shots that work well, meaning less trial and error with your subject.
At the same time, it’s important to be responsive to inspiration in the moment! During the actual photoshoot, you should keep in mind that unexpected things might change your plans.
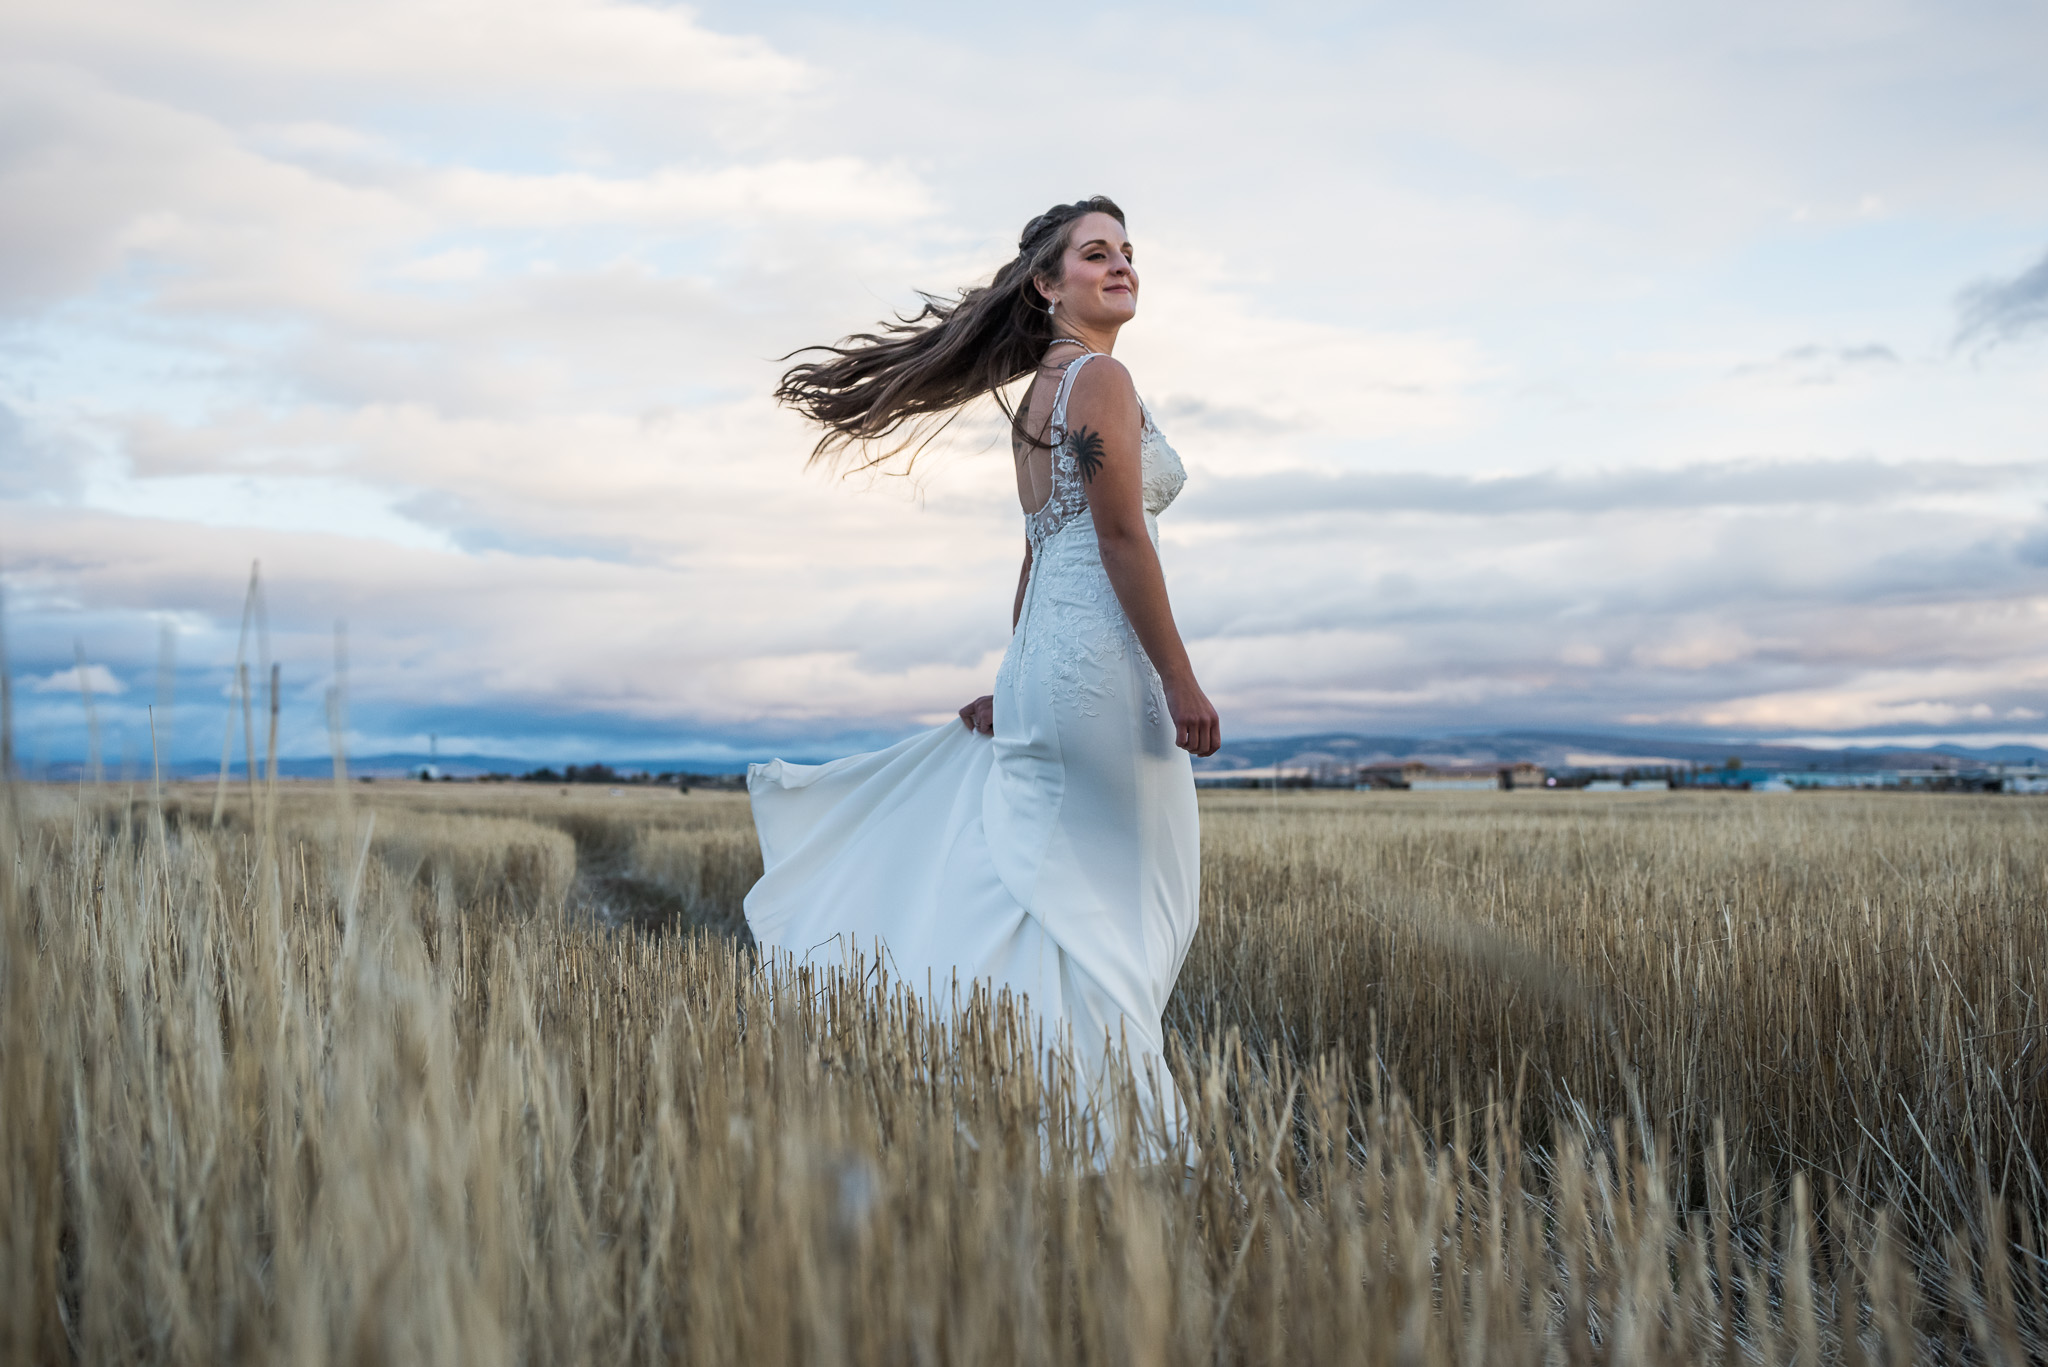
2. Finding Open Locations
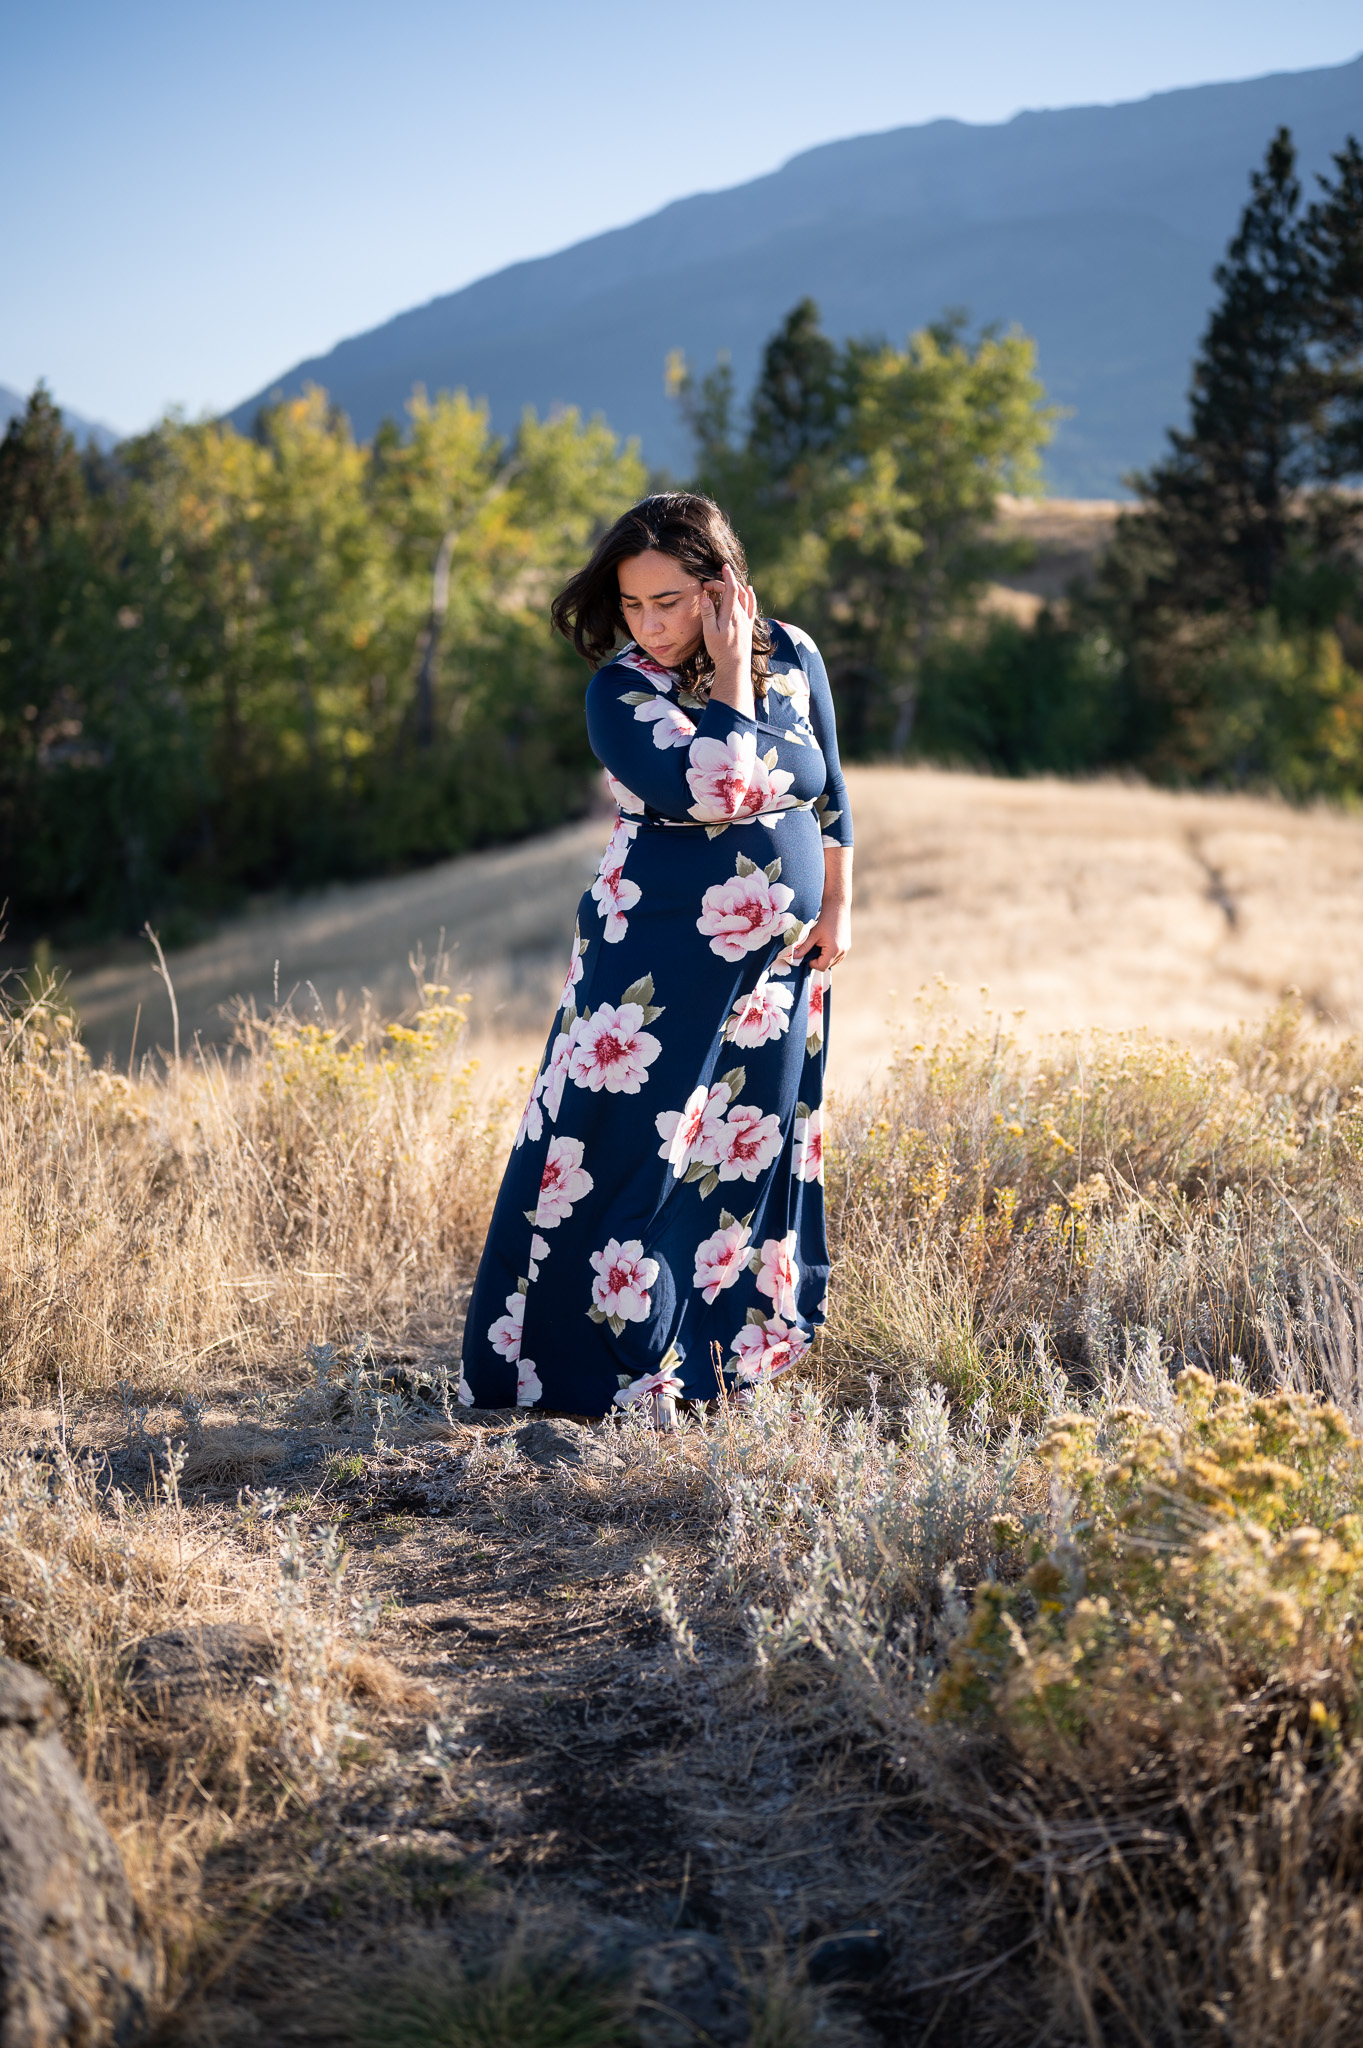
Open locations – such as fields, meadows, rooftops, or parking lots – are typical outdoor portrait settings. These areas allow for good subject isolation or negative space in a photograph due to few background elements. Furthermore, they offer ease of movement for the photographer and subject. These settings tend to create a minimalistic, uncluttered, or lighthearted feeling.
Finding these locations isn’t hard, but I recommend looking for open spaces that are nearby other types of environments – like a field by a forest, or a rooftop parking lot near a street with neon signs. The minimalist look of an open location is a great, classic look, but you may want to add variety to the photos that you deliver to a client.
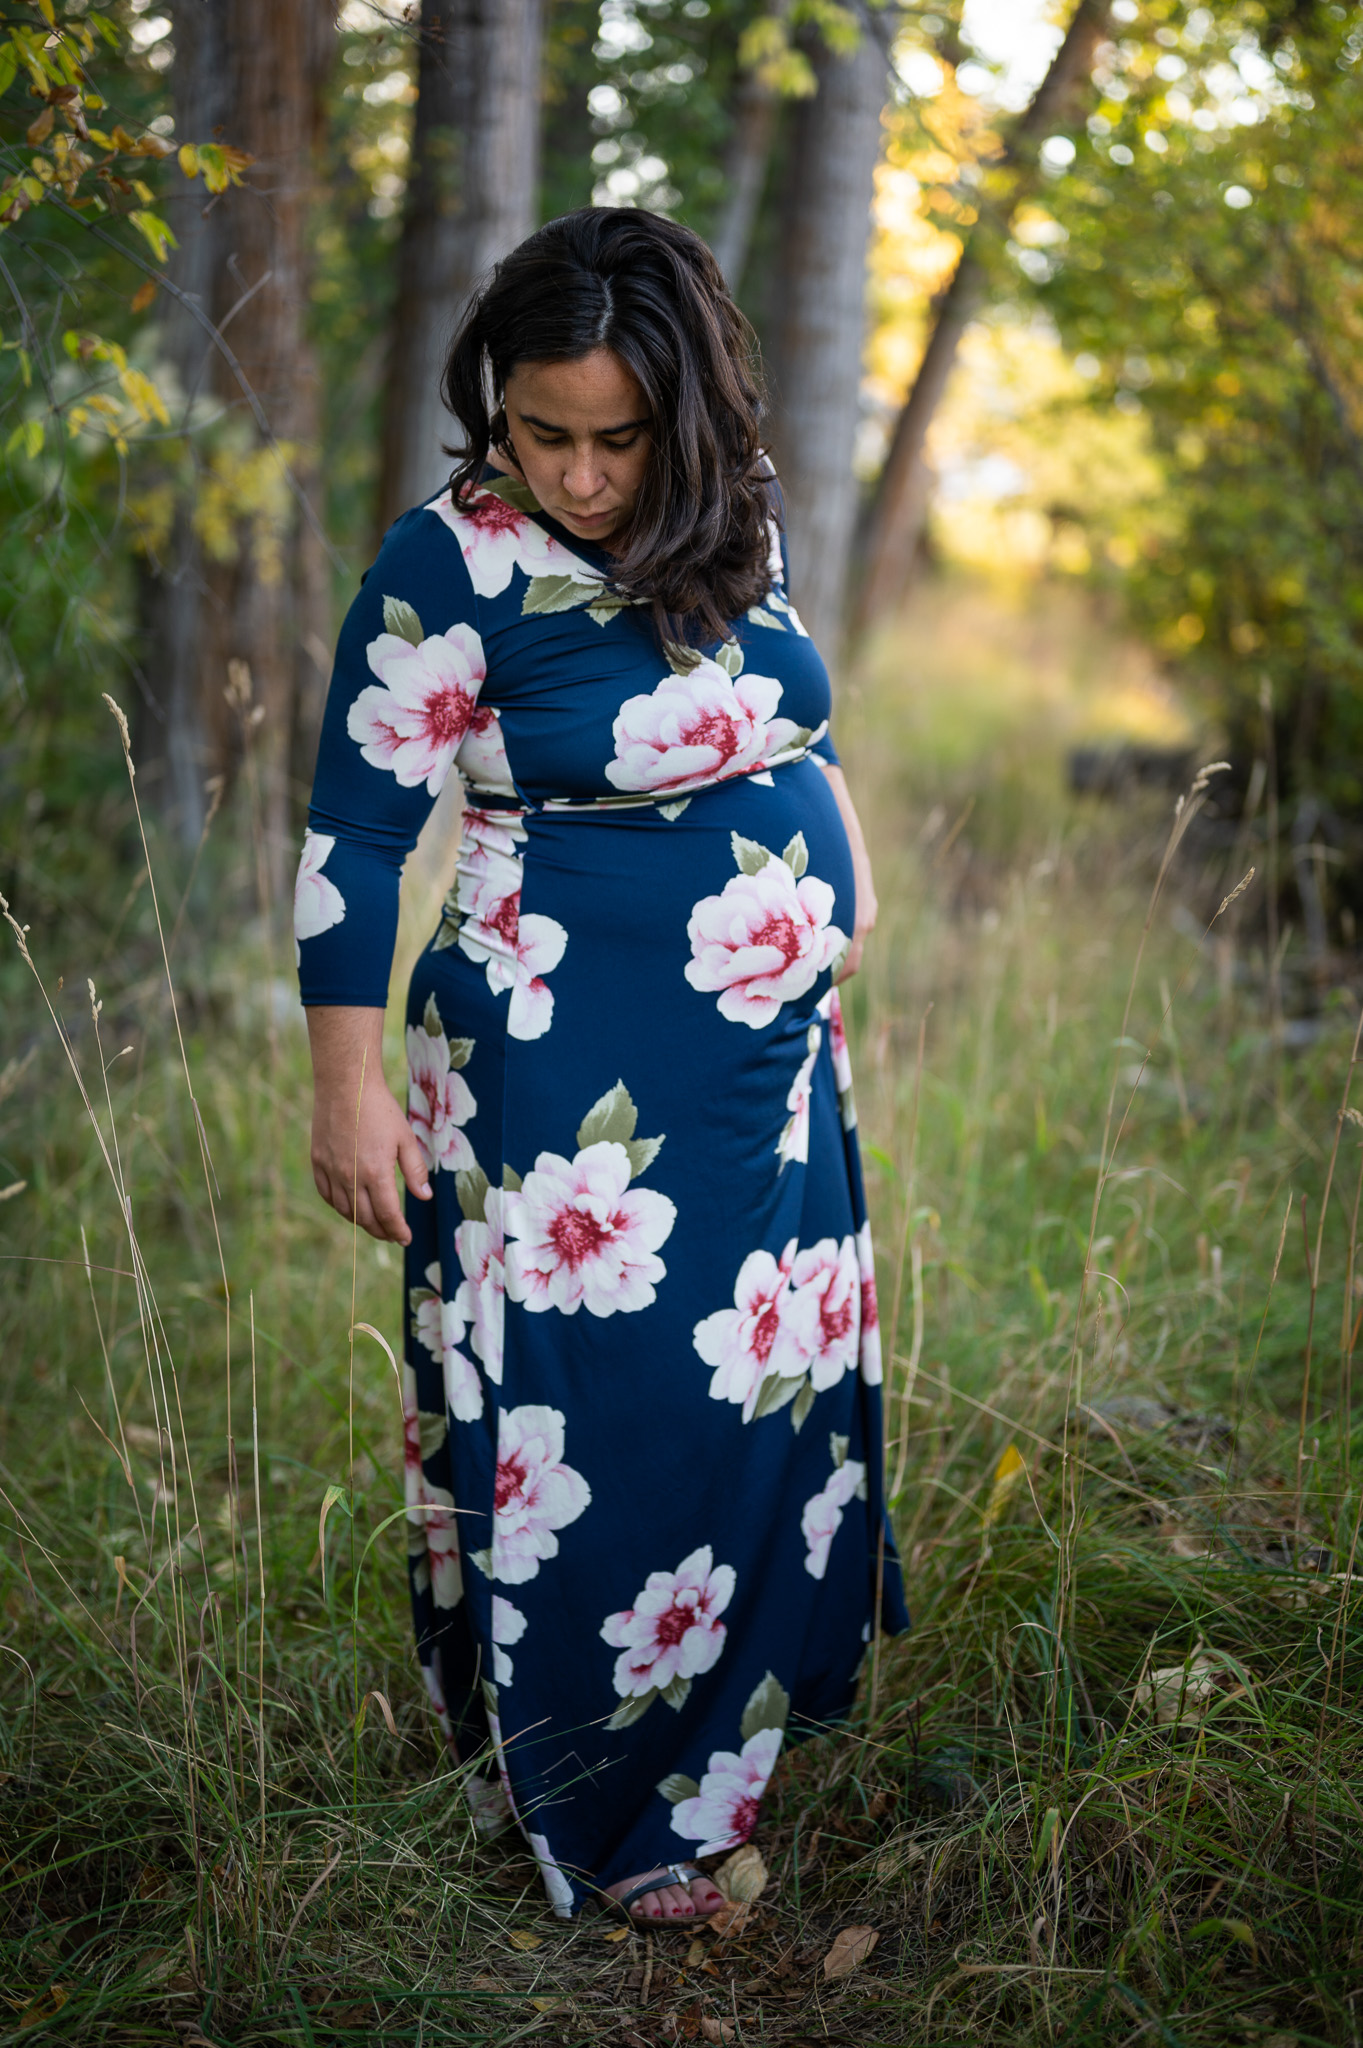
3. Finding Enclosed Locations
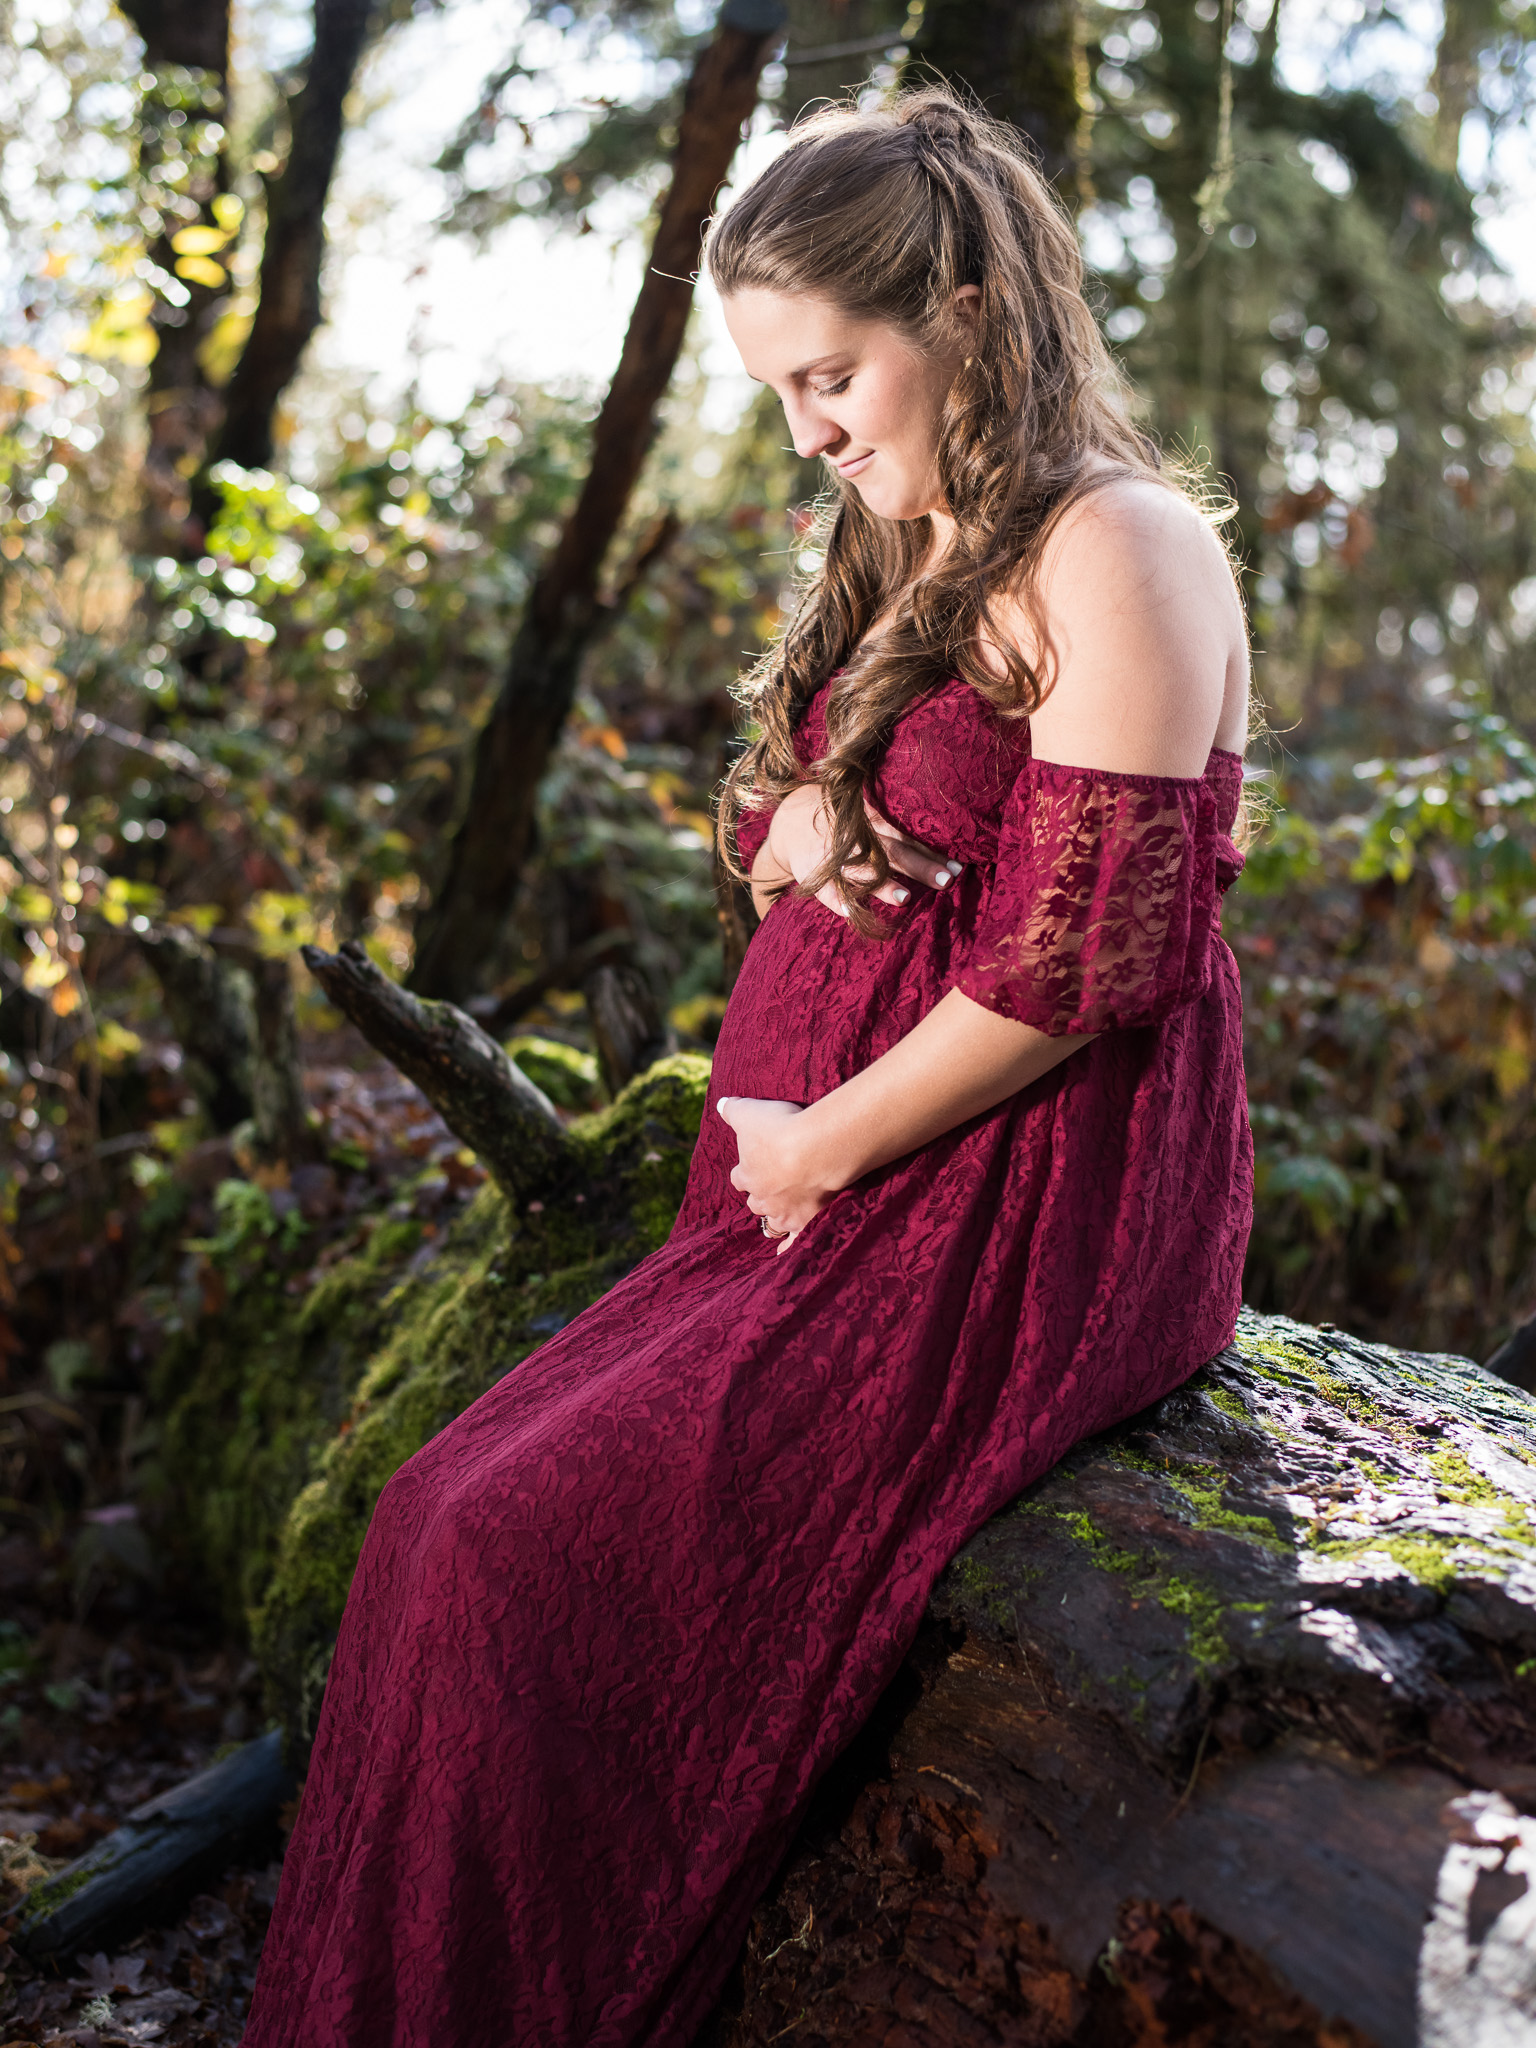
Enclosed locations like alleyways or dense forests create a sense of containment. These locations add context, positive space, and a visual backdrop to portraits. Think, for example, of a large public mural, towering boulders, or textured tree trunks. Such locations can communicate a story or imbue atmosphere in a way that open locations may not always convey.
Make sure that whatever enclosed location you find is easily accessible and safe. You don’t want to make your subject walk over difficult terrain for a pregnancy photoshoot, after all!
4. The Mood of Structures
Manmade buildings like churches, bridges, barns, and other structures tend to have a certain vibe to them. And yes, I’m referring to their exteriors, to fit the concept of this article!
Buildings have symmetries, shapes, and patterns that can be useful for framing your subject or drawing a viewer’s eye where you want in a photo. Building exteriors can also be used for their quality of light. For instance, brighter-colored buildings can act as a reflector, filling in light on your subject. Windows, vivid paint, and deep areas of shadow all sculpt the light that falls on your subjects, too.

That’s a good reminder of the importance of light as an outdoor portrait photography (or really as any photography). I’ll cover that next.
Lighting Basics
It should be obvious that light is important to portrait photography. People’s faces often end up with unwanted shadows or dull illumination if you don’t pay attention to the light – whether natural or artificial. Here are some of the most important considerations.
1. Sunset and Sunrise
Sunsets and sunrises are the most popular times of day for an outdoor portrait shoot, and with good reason. When the sun is low on the horizon, there will be warmer, softer, and more even lighting. This type of light makes your job as a photographer easier.
Golden hour light does not last long, so coordinating all aspects of the shoot can be a little tricky. Make sure you have enough time beforehand to get into position, and plan your photos ahead of time so that you know exactly what to do during the limited time.
Set realistic goals for sunrise. Make sure you have flashlights, safe means of transportation, and a location in mind beforehand. People typically have trouble waking up early, so make sure your subject knows what they’re getting into! Otherwise, you could be setting yourself up for sleepy or grumpy expressions, especially if they’re not professional models.
Sunset is an easier way to capitalize on this lighting type, but both yield great results. I usually don’t choose one or the other based on differences in light (even though there can be differences) but just based on what’s the most convenient for my subject.
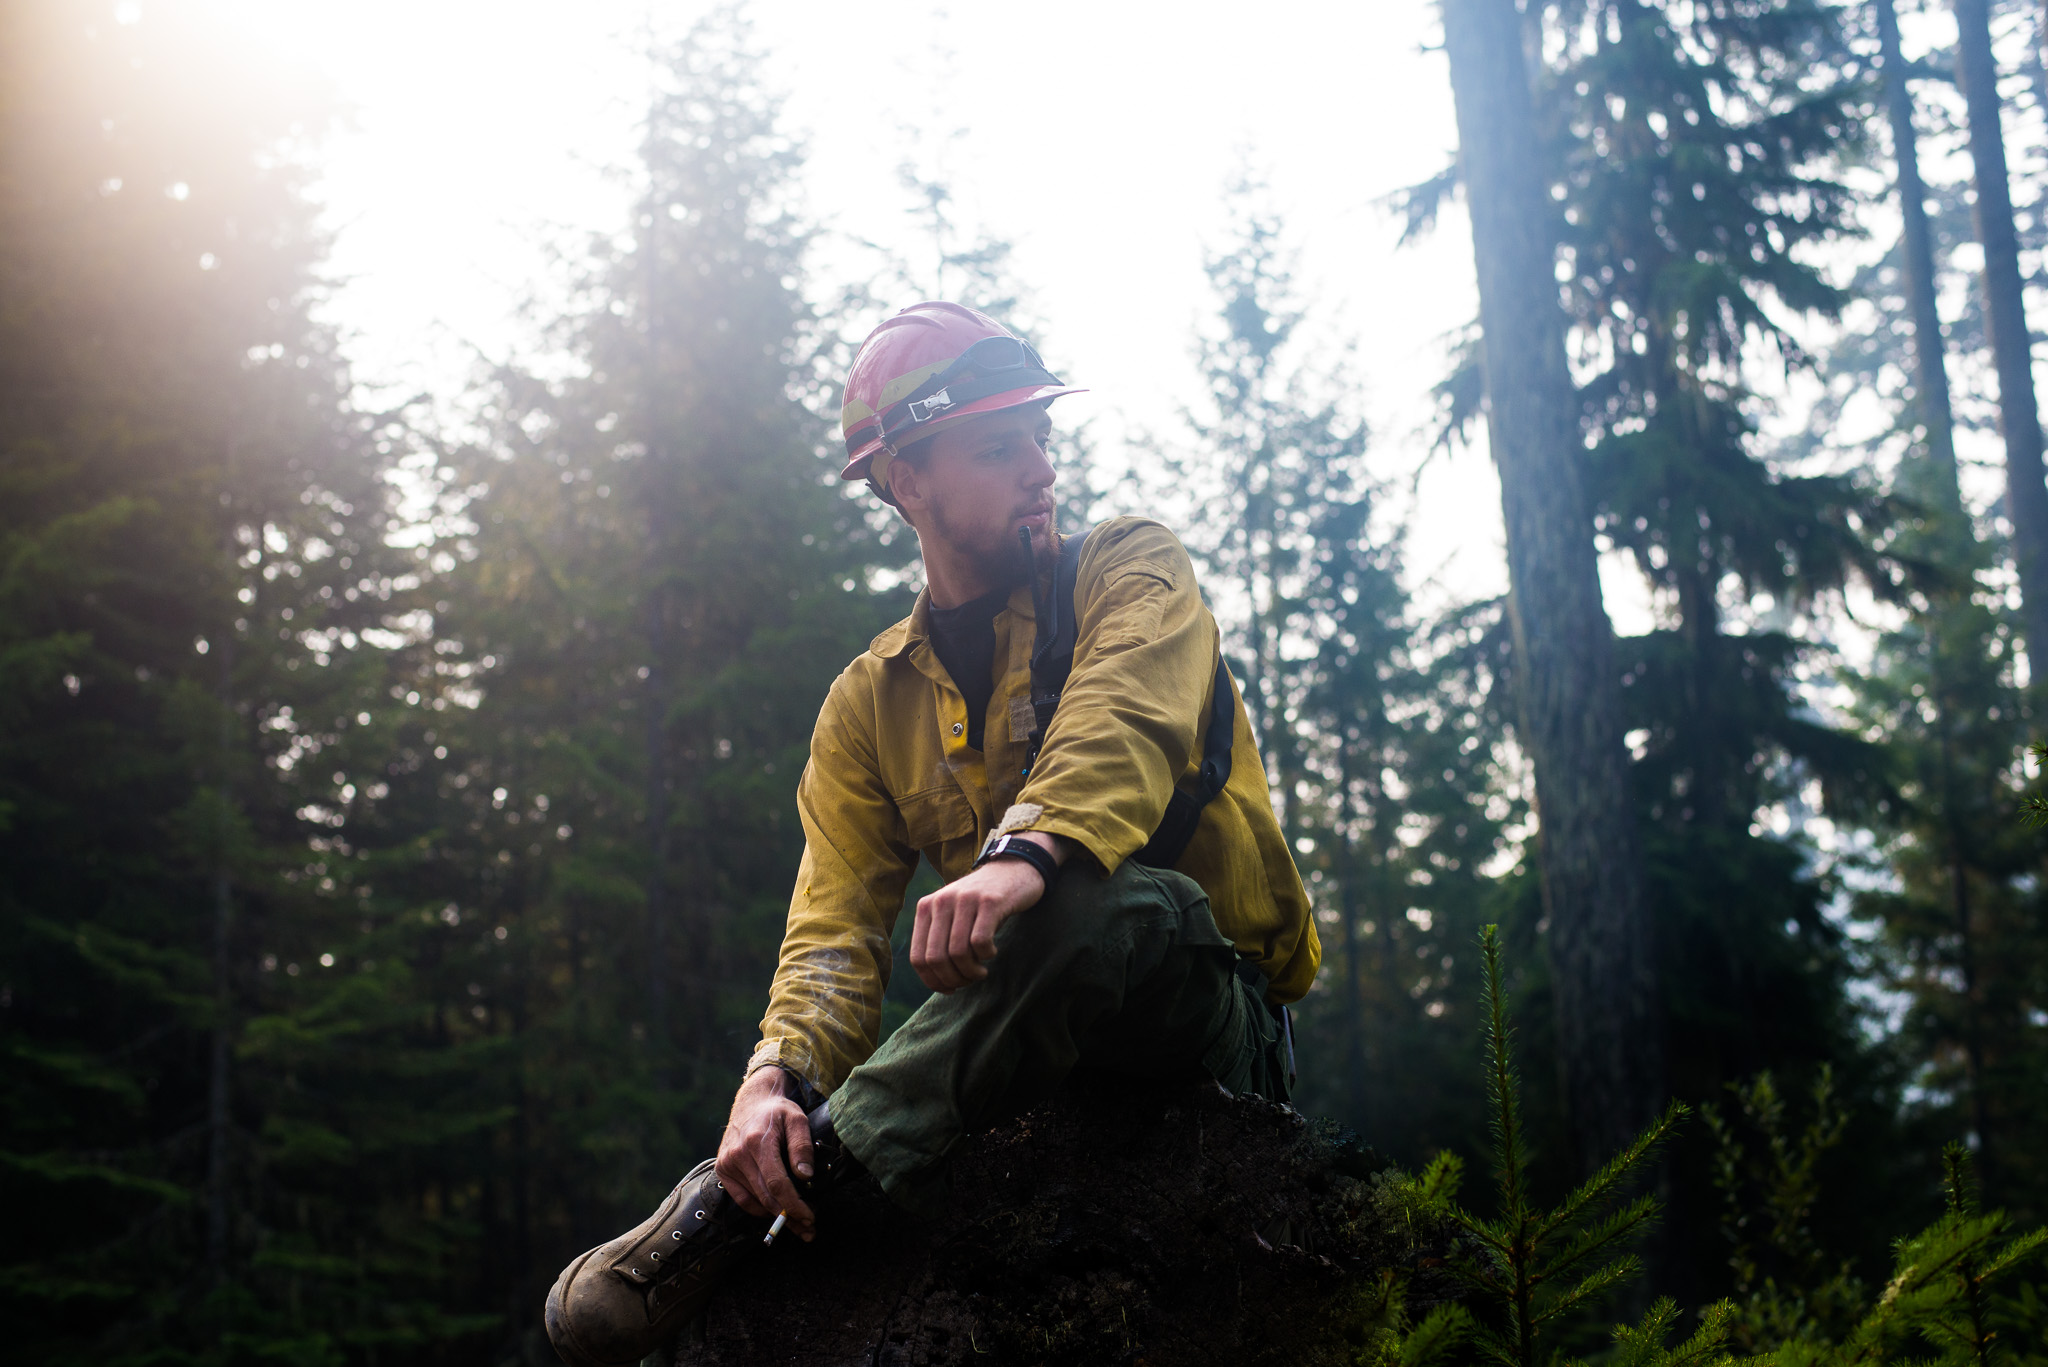
2. Backlit Conditions
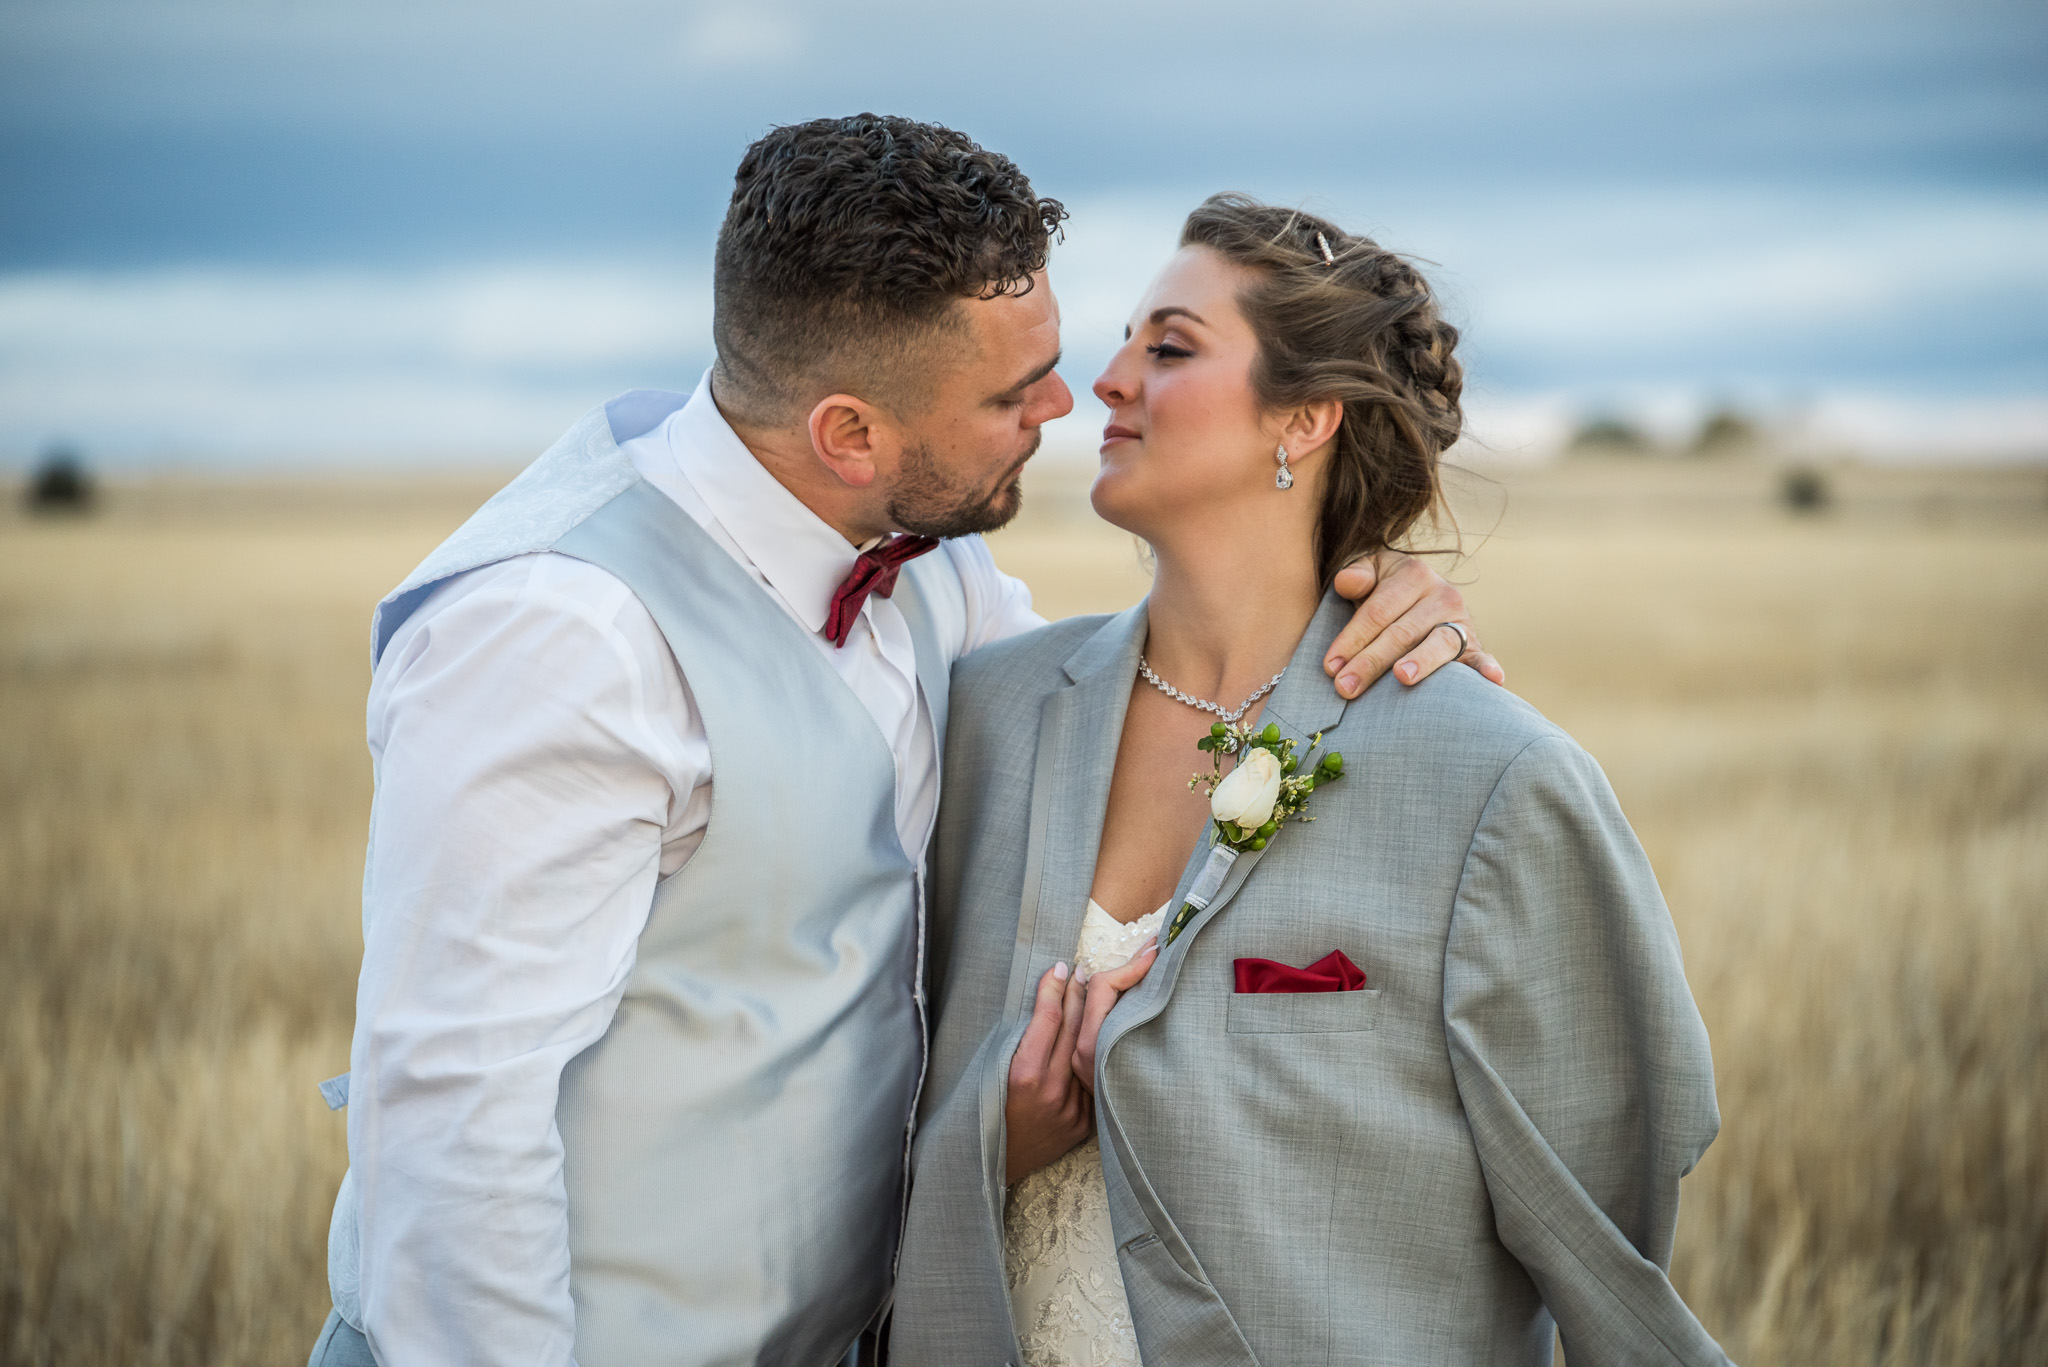
One of the best ways to capture artistic backgrounds and eliminate harsh light is to shoot backlit photos. Backlighting also has the advantage of avoiding direct sunlight shining on the person’s face. While it’s certainly possible to take good photos with direct sunlight on your subject’s face, it’s often a recipe for harsh shadows and intense, specular highlights.
It’s not hard to take backlit portraits. First, line up your subject between yourself and the sun. I recommend leaving the sun out of the frame, or else it could draw too much attention in the image. Depending on how much flare you want in the photo, either attach your lens hood or deliberately leave it off. Then, most importantly, expose for your subject’s face! This may mean adding some positive exposure compensation. Once you do, you’re ready to take some backlit portraits.

3. Making the Most of Shade
One other way to avoid harsh sunlight is to put your subject in the shade. This can simply mean taking pictures on a cloudy day, but often, it’s about finding one spot of shade on an otherwise sunny day. Look for trees, fences, awnings, or the walls of a building.
Even once your subject is in the shade, pay attention to the direction they face. If they stand in the shade but look toward the sun, the light on their face may look very interesting and sculpted. In any case, play with the positioning of your subject, and note how the light changes as you move around (even when you stay in the shade the whole time).
4. Reflectors
Reflectors are inexpensive, lightweight, and easy-to-use modifiers that alter the natural light of the scene. They are simply a large shiny surface – typically silver, gold, or white – that can be used to bounce light onto your subject. Often, they are used for fill (lifting shadows) in outdoor portrait photography, but they can also be the key (main) lighting source sometimes.
I suggest placing your subject in the shade, near direct sunlight, and bouncing that direct light at them. That way, the scene is evenly lit, except for the light introduced by the reflector, which you can sculpt as you like.
A reflector can sometimes be used to balance out direct sunlight that has fallen on your subject, but this is much trickier. I recommend moving your subject to the shade instead, most of the time.
It’s possible to overdo it and end up with harsh contrast from reflected light, too! If that happens, you may need to move to a white, more diffuse reflector, rather than a shiny silver or gold reflector.
Another significant concern is that a reflector needs something, or someone, to hold it. I’ve used my tripod in a pinch, but this can be frustrating, since reflectors are also great at catching wind. It’s easiest if you have a friend or assistant with you.
When used properly, the extra light from a reflector will elevate your outdoor portraits and make your subject absolutely pop! I used a reflector for most of the photos in this article, and I wouldn’t be without one for my outdoor portrait photography.

5. Bokeh Balls
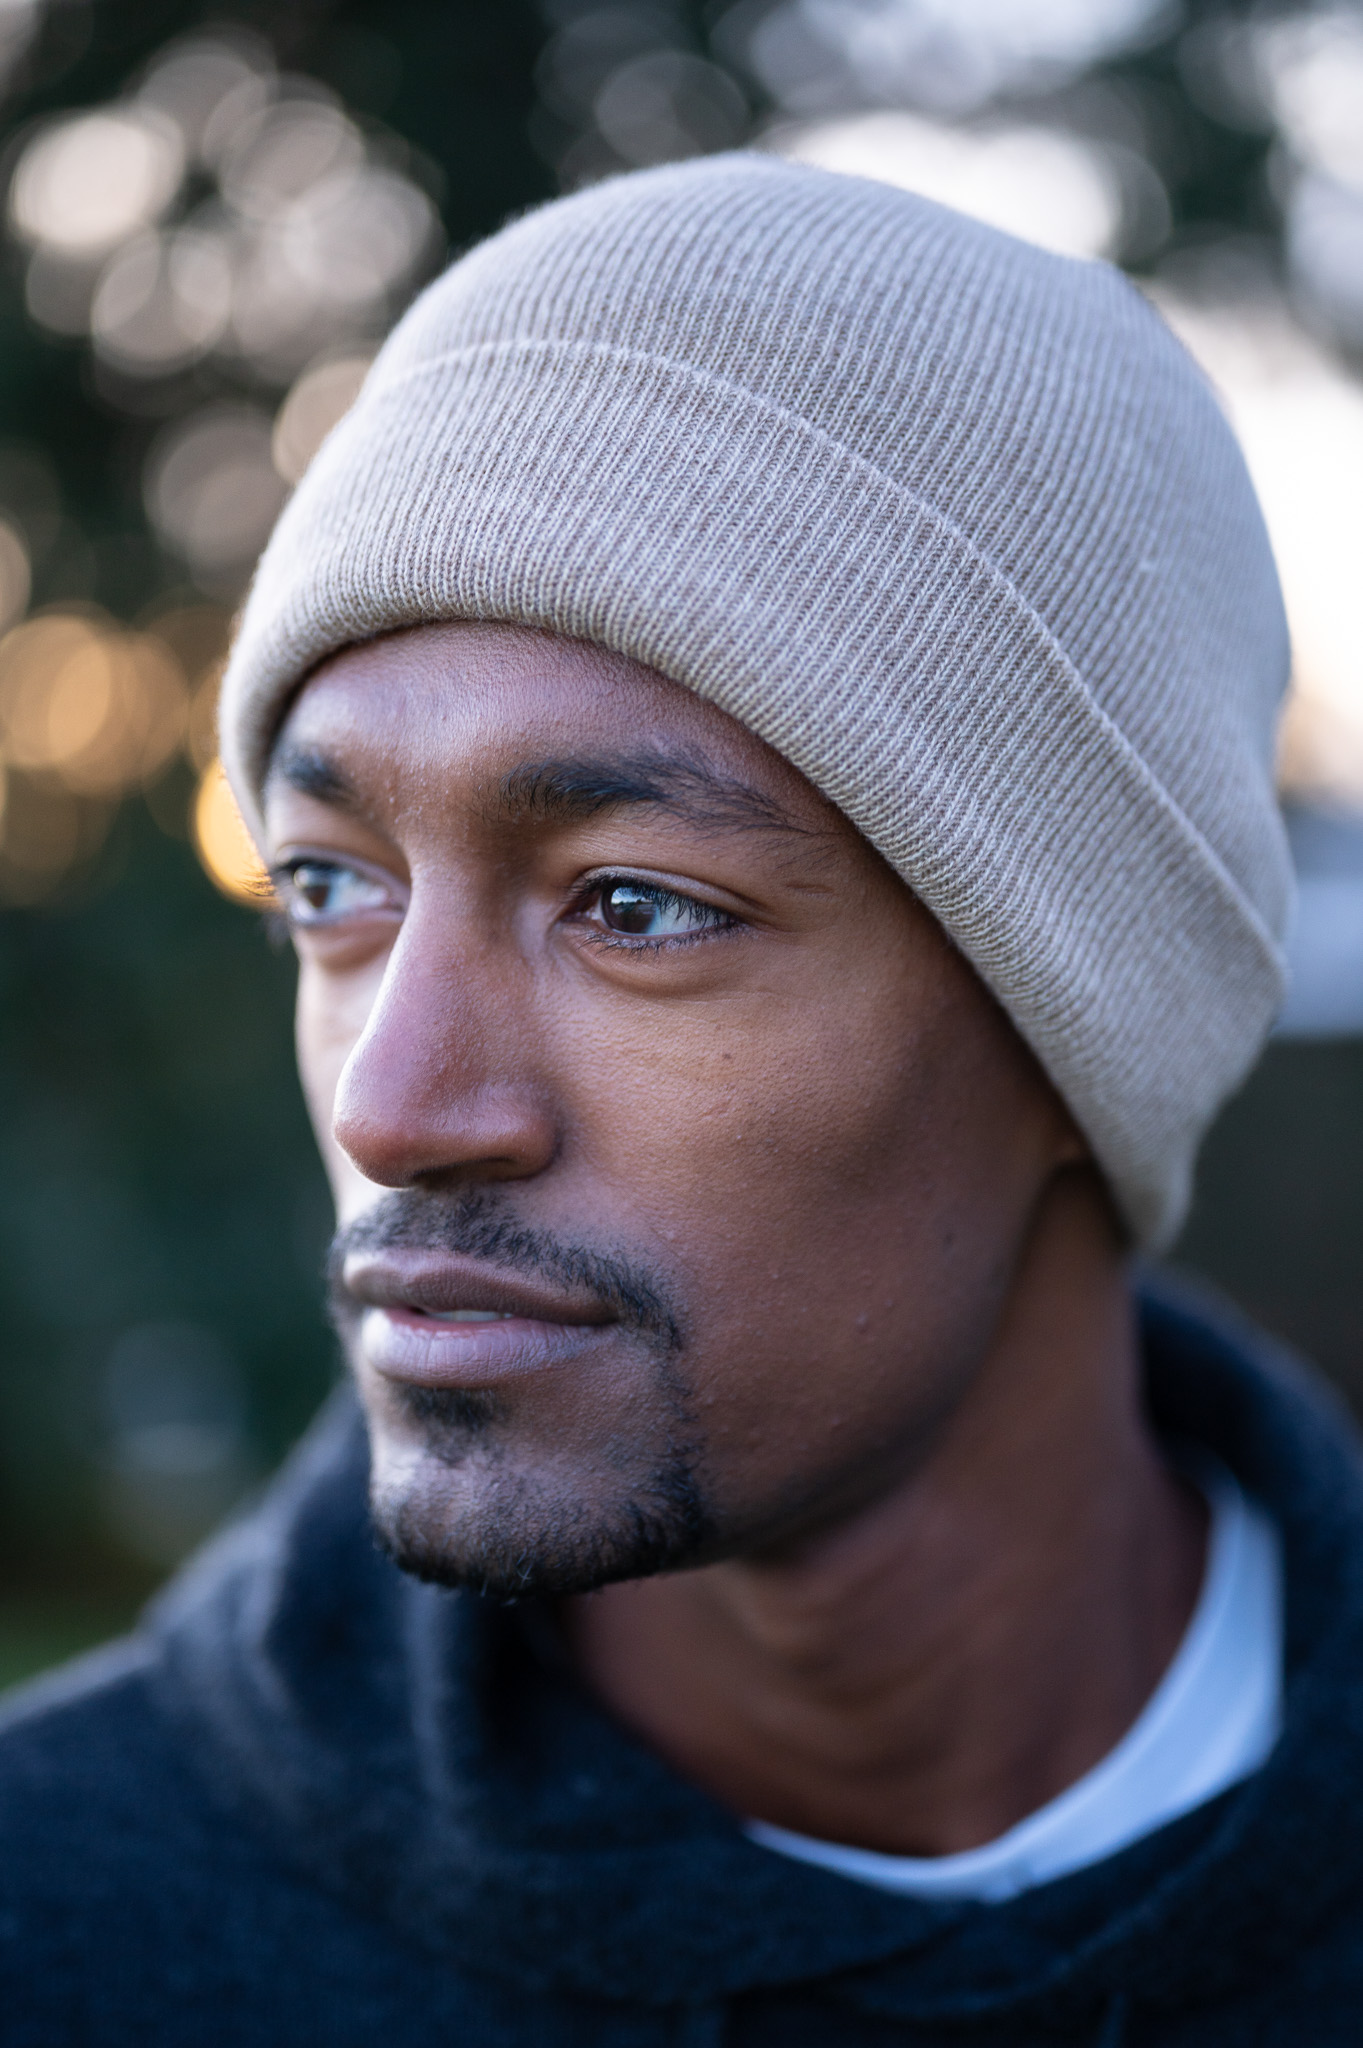
“Bokeh balls” occur from strongly out-of-focus sources of light in your photo that are small and isolated. They’re arguably a bit too popular, but are a well-liked look among clients and have a highly aesthetic feel in portraiture. Out-of-focus tree leaves are one good option to capture bokeh balls outdoors; the same is true of string lights if you’re in an urban setting.
Using Props
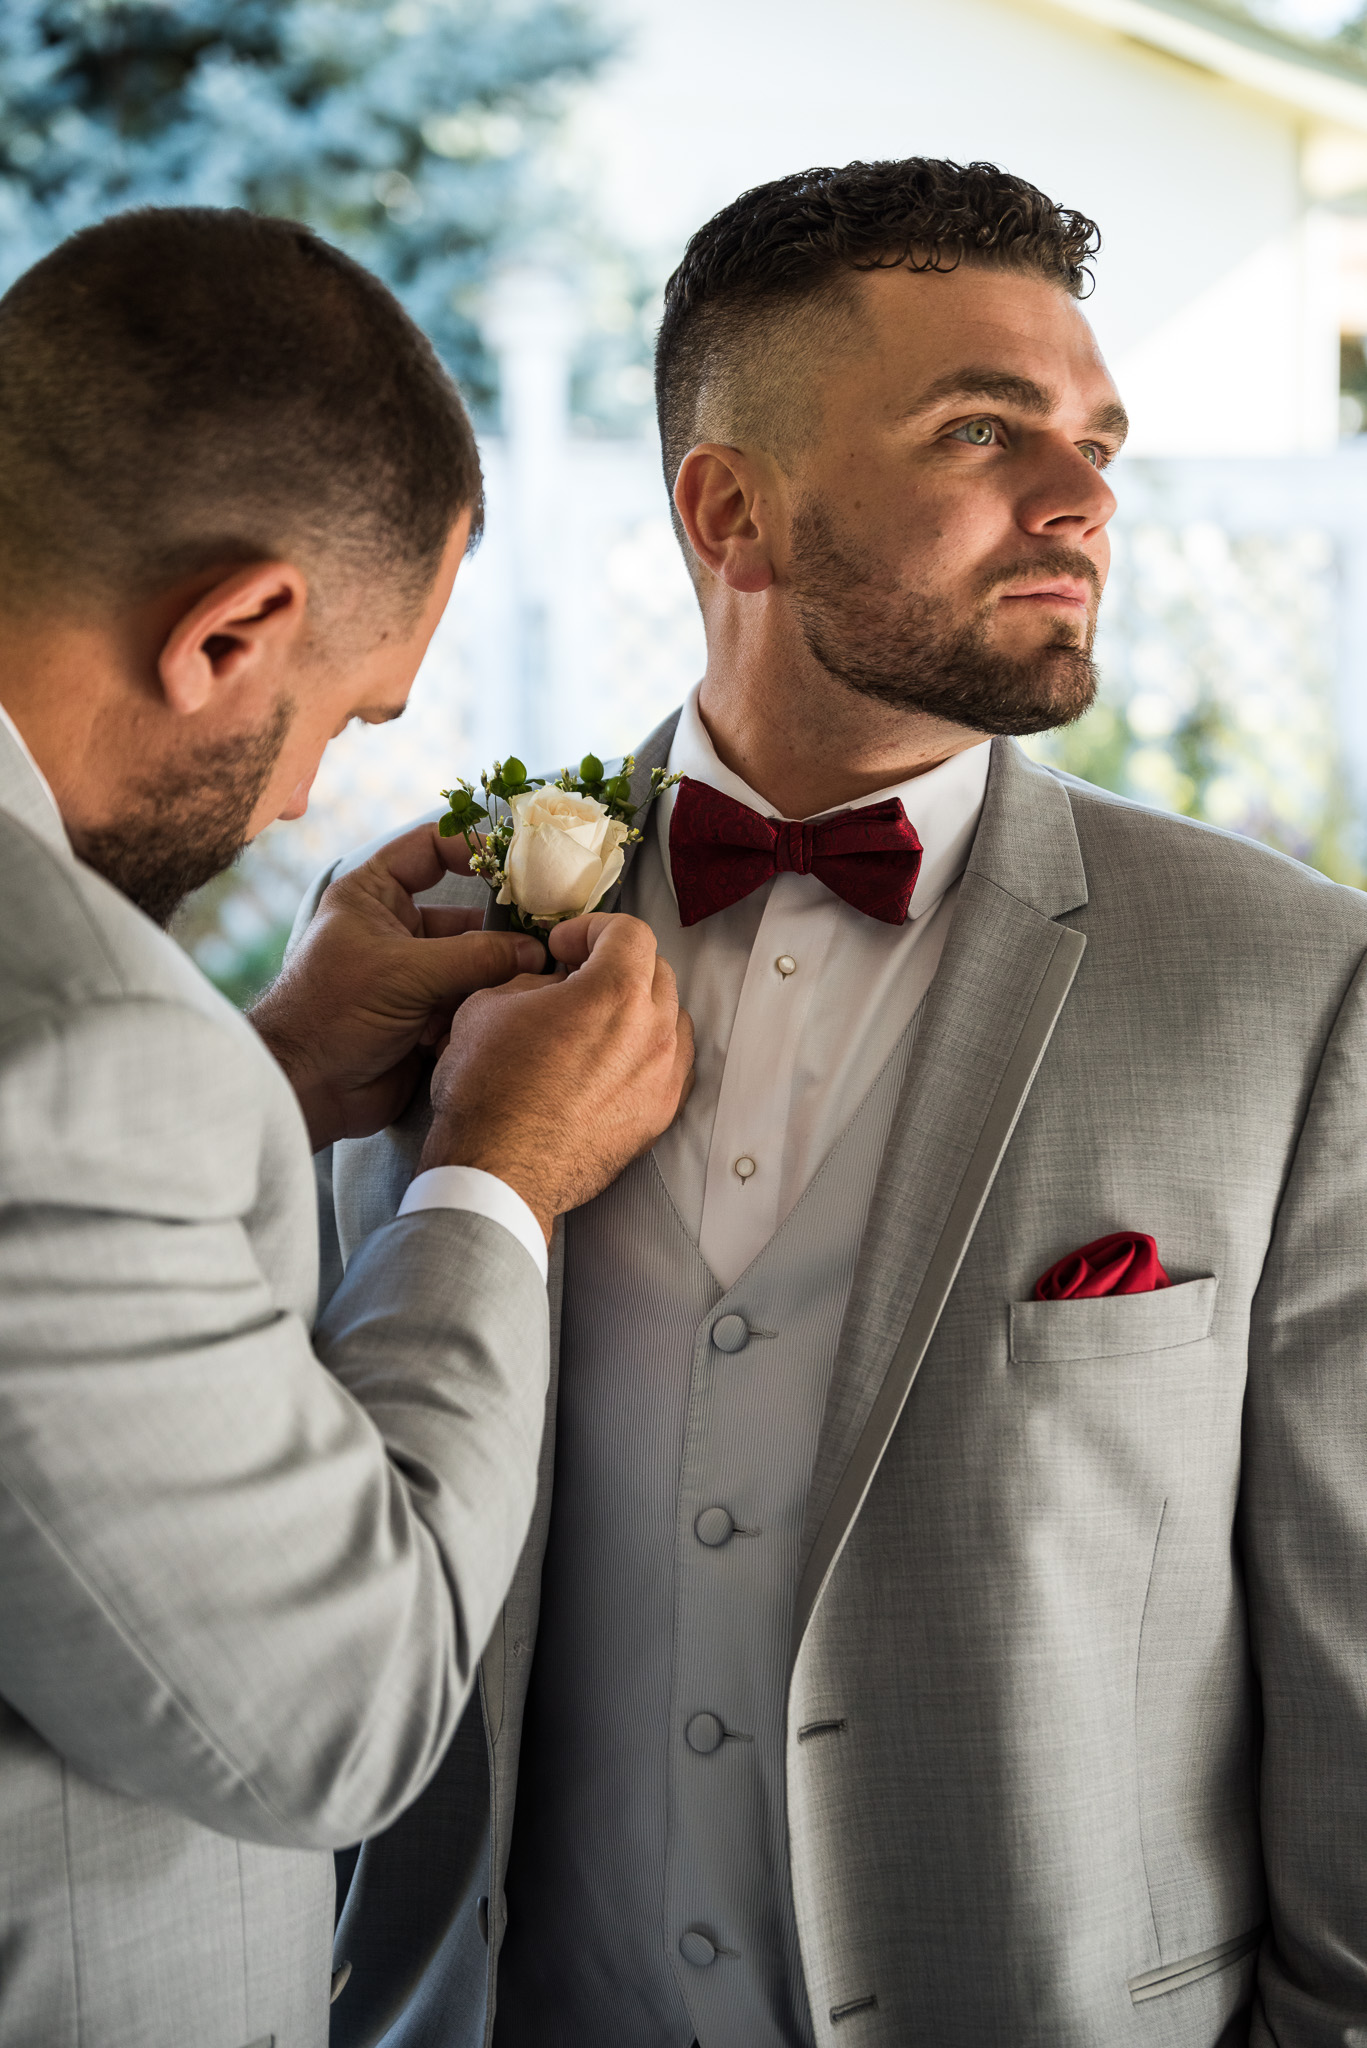
Props can tell a story, compliment your scene, and set your subject at ease. This can work with many things like bouquets, books, tools, candles, cars, rings, hats, picnic blankets, balloons, railings, public art, playgrounds, and animals.
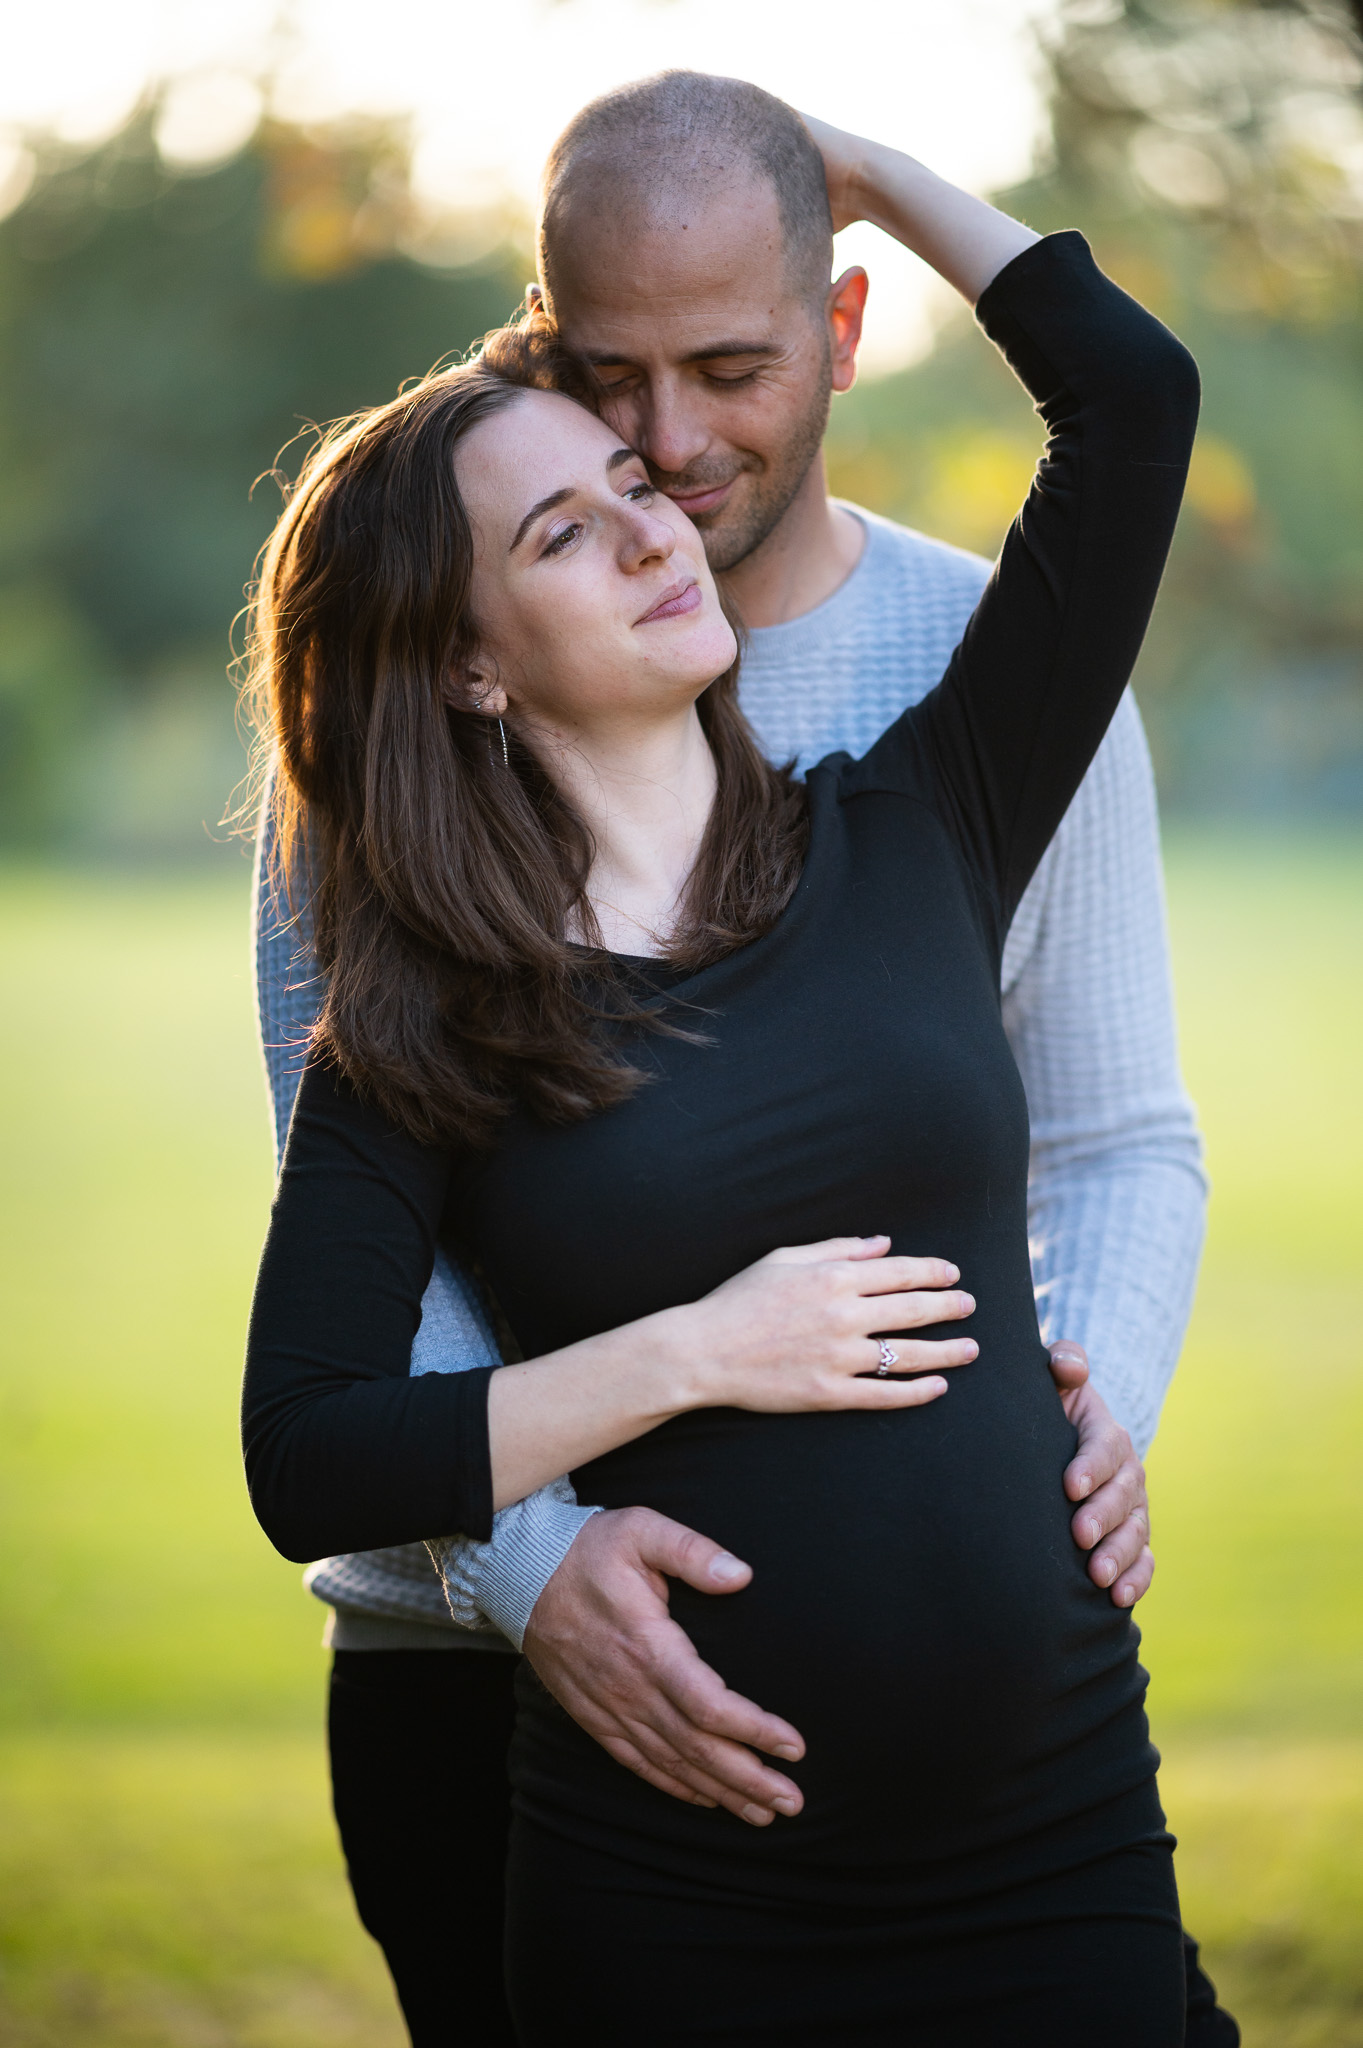
For example, balloons at a maternity shoot indicate cause for celebration and they mimic the shape of a pregnant belly. People can be uncomfortable posing, so having a familiar item gives them something specific and natural to do with their body.

Being Aware of the Mood
Everything from the colors in your photograph, your subject’s expression, and the literal content of the scene affects the mood of a photograph.
Forests in winter, for example, can elicit a sense of dank cold or stark dreariness. A portrait session for an engagement might not work well in a spooky wooded setting. However, maybe the setting is full of fog and brambles, but your couple is lit by the warm glow of a lantern, thus indicating inter-personal warmth and security.
Don’t just pick a place because it’s cool or interesting, but instead think about what it communicates. Furthermore, consider how your subject might feel in a setting. Some people are completely fine with bad weather just to get good photos. Others might end up looking at the camera like they are ready to kill you if you don’t hurry up and finish!

A Final Tip: Terrain, Hazards, and Weather
Think about the wildlife as well. Are there snakes, bees, or spiders in the area? Also, how far is the location? Is your subject prepared to walk that distance? In addition to aesthetic outfits, you may need drinking water, hiking boots, warm clothes, or rain gear depending on the location you have in mind.
These suggestions may sound simple or obvious, but outdoor portrait photography can be like a backpacking trip. If you don’t consider these things before you go, you or your subject might end up miserable, and your photos will suffer.
If you keep all that in mind, I’m sure your outdoor portrait photos will be great! Sure, there’s more to juggle with outdoor portrait photography than normal – after all, you’re basically combining the difficulties of portraiture and landscape photography – but the results are worth it. Outdoor portrait photos tell stories almost effortlessly. Master these challenges, and your photos will improve many times over.
Nice pictures, good explanations, good ideas.
I do family portraits occasionally (just for fun)
And there is a beautiful park near where I like to take people because I can find open spaces, shade, and other helps like large rocks for people to sit on. And it isn’t an onerous walk.
I find for me and my budget I have to use less expensive f/1.8 primes in order to get the large aperture needed for nice bokeh I usually don’t use them at 1.8 but my telephoto zoom lenses are f/4 and above. Which I use for my favourite photography which is wildlife. I just can’t spend over $2000 for a lens. Budget just isn’t there…
A Nikon 50mm prime is a very good price
But I’d also like to get a ~24mm and use my 70-200mm f/4 for the longer lengths. I feel that even though portrait photography isn’t my favourite genre it’s an important one to have in the repertoire for any photographer.
Thank you David. I agree that the hefty price tags of F/1.2 or F/1.4 primes can be prohibitive. I often shop 2nd hand to reduce some of that cost if I’ve got my heart set on one. If portraiture isn’t your primary thing it doesn’t make sense to spend a ton either, and as you say, many F/1.8 primes are perfectly good. They’re also lightweight and unobtrusive, which I like!
Regarding reflected light from buildings (or other structures that may reflect a lot of light), be careful about the color of the structure which may strongly affect the color of the reflected light. I took one of my favorite impromptu photos of my wife with her in the shade. I didn’t realize at the time how much the reflected reddish-brown light from a nearby building threw off the white balance, which I had to correct in post.
Of course, standard techniques for controlling white balance would have prevented this error; the problem was caused by my inexperience with portrait photography together with an over-reliance on auto white balance. Still, it’s something to keep in mind for beginners at this kind of photography.
Hi Bill, excellent point! Paying attention to how the light in a scene is changed by reflective objects, or how auto white balance is interpreting a scene, is of utmost importance. Especially when dealing with skin tones, like in portraiture. Thanks a lot for your input.
I found your article to be very interesting and you provide many very good tips. I disagree with one thing, though. Those aren’t ‘bokeh balls’, there is no such thing. The white circles are blowout. Blowout occurs because an excess of light on a group of pixels causes there to be no digital information left in them (this is a layman’s explanation), thus producing those white circles. I guess sometimes blowout can be an artistic choice. Most of the time it means that the photographer should have recomposed his scene so that no points of bright light would blow out his picture. In general, badly blown out photos belong in the delete folder (trust me, I have blown out many a picture. No photographer ever totally escapes them).