The Nikon Z9 is the first Z-series camera to have menu banks, a divisive feature carried over from Nikon’s highest-end DSLRs. Menu banks are an alternative to the U1/U2/U3 modes that many of the other Nikon Z cameras have.The Nikon Z9, as with other Nikon cameras in the past, doesn’t do a perfect job implementing the menu bank options. There’s no way to lock a menu bank, for example, and some settings still can’t be saved to the bank even when you’ve selected the “extended menu banks” option in the menu (like the camera’s drive mode, or anything in the Setup menu). Still, after some time using the camera, most photographers will be able to make peace with the menu banks even if they never grow to love them.
Table of Contents
Menu banks are Nikon’s way of allowing you to save various “default” camera menu settings for different situations. For example, the ideal menu settings for Milky Way photography are likely different from the ideal menu settings for sports photography. By setting up Nikon’s menu banks ahead of time, you can save the menu in one state for Milky Way photography, in a different state for sports, and then return to those pre-selected menu states at any time. It allows you to quickly switch between different genres of photography more seamlessly.The Z9 has two sets of menu banks: shooting menu banks and custom settings banks. These correspond to different sub-menus within the Nikon Z9’s many options: the Shooting menu (little camera icon) and the Custom Settings menu (pencil icon). There’s also an option in the Shooting menu called “Extended menu banks,” which I’ll discuss separately in a momentNikon allows you to set up to four unique shooting menu banks, and four unique custom settings banks. You can label these menus (for instance, landscape, wildlife, portrait, macro) and switch between them quickly to change the state of the Z9 based on what subject you’re photographing.Note: On the Nikon Z9, you are always in one bank or another. Even if you never set up the shooting menu banks at all, that simply means that you are spending all your time in Bank A.
- If you’re still trying to understand the general premise of menu banks, check out our article Nikon Shooting Menu Banks Explained
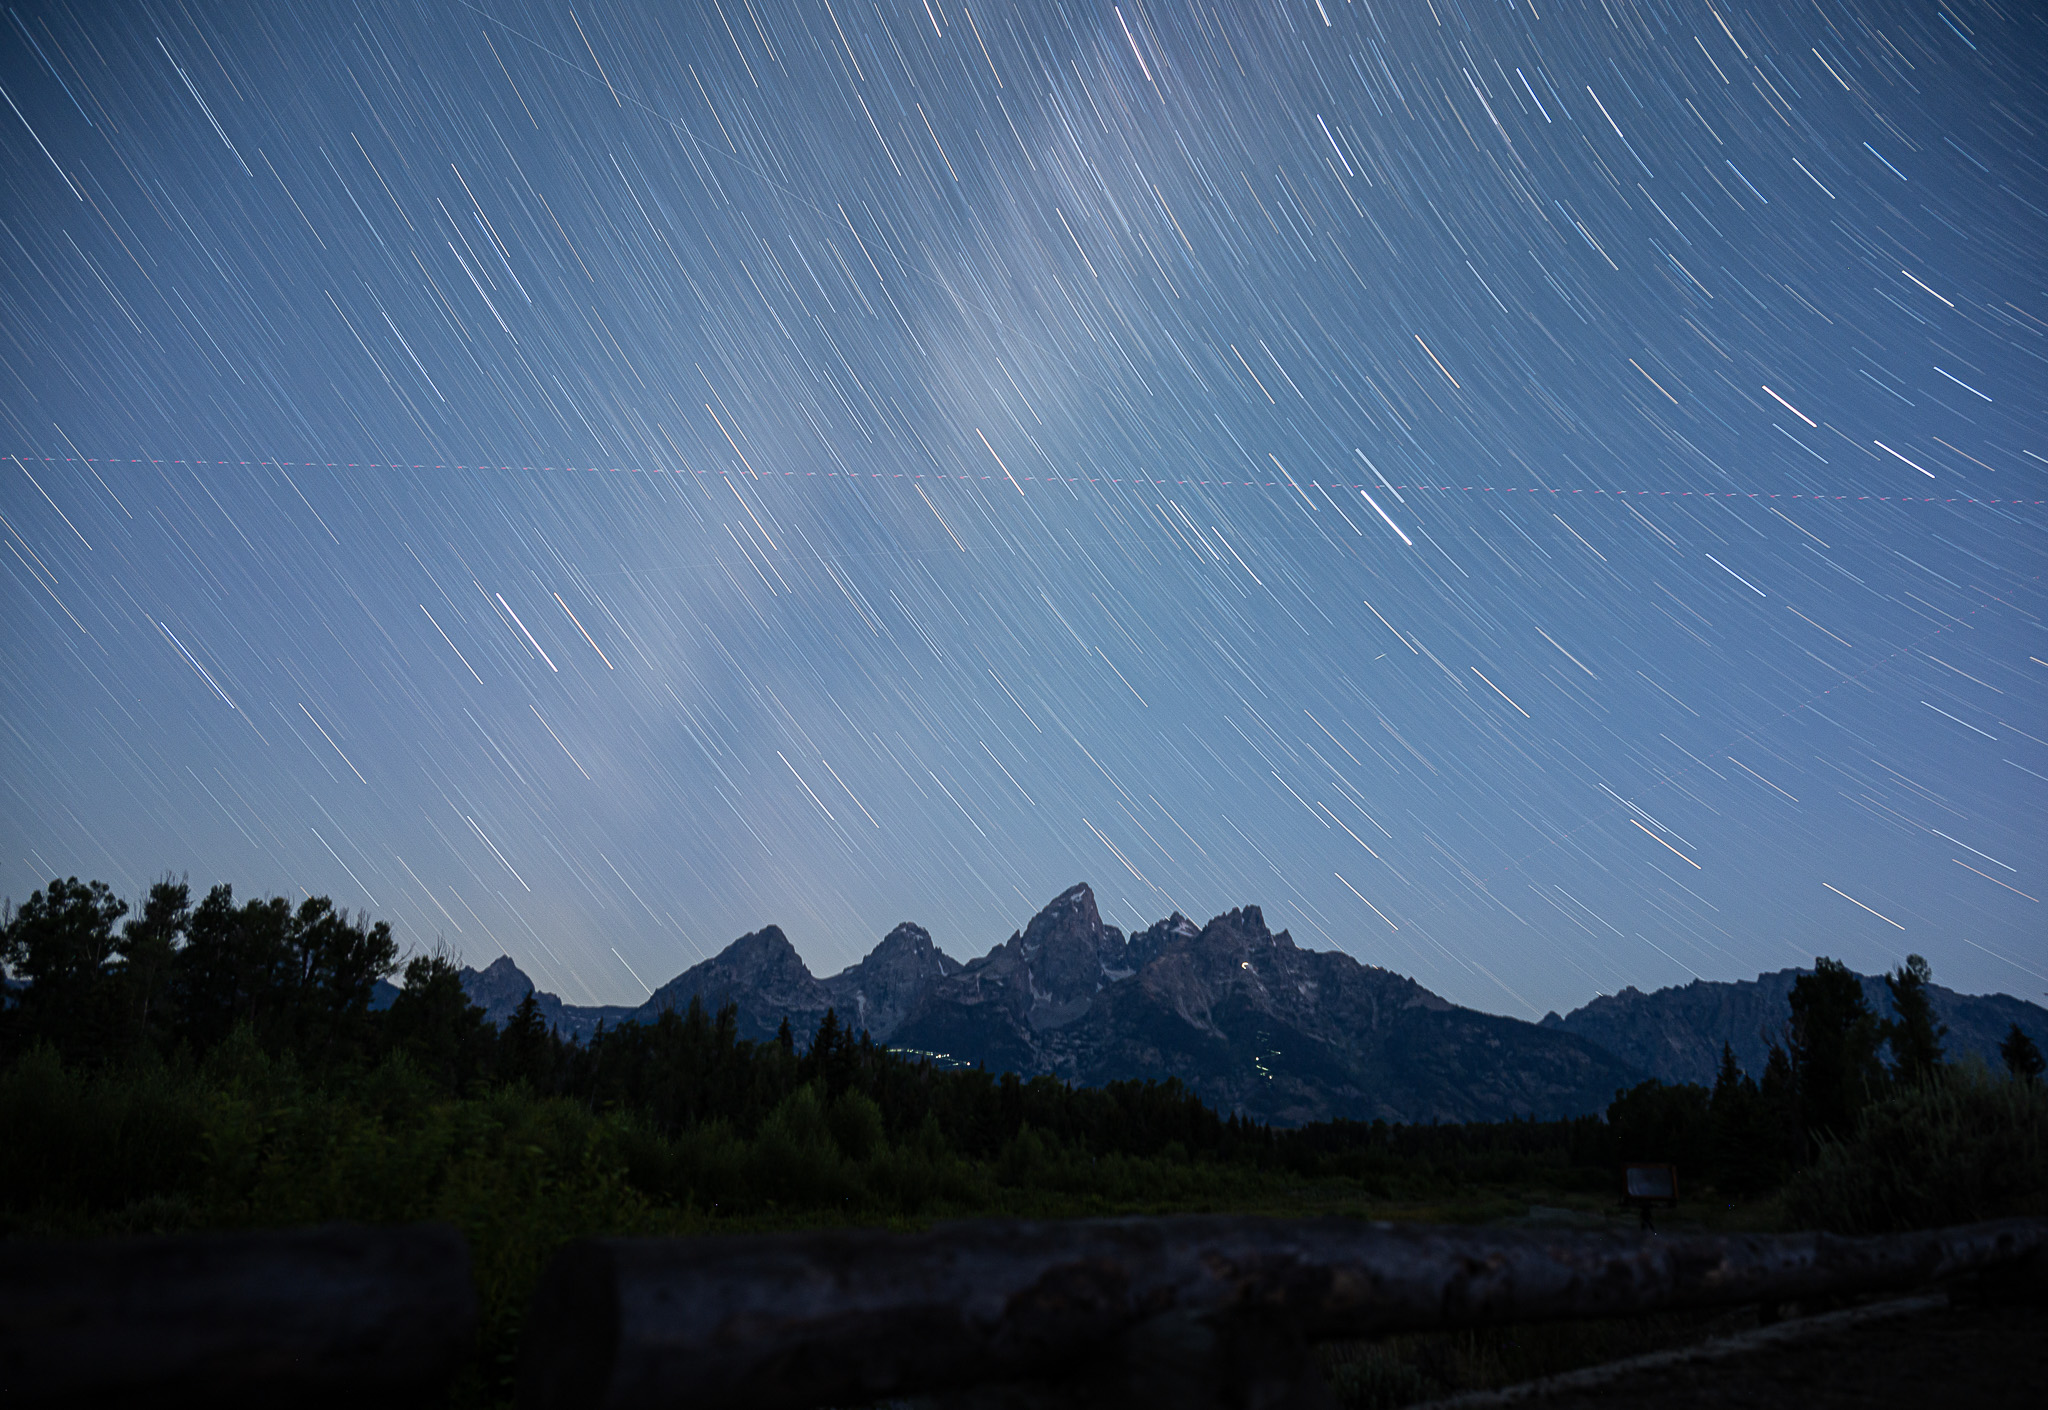
The Photo Shooting Menu on the Nikon Z9 (the sub-menu with the little camera icon) is where many of your basic camera settings like image quality, ISO sensitivity, focus mode, and vibration reduction are stored. With a few small exceptions, everything in the Photo Shooting Menu is saved to your Shooting Menu bank.If you wish to save a Shooting Menu bank, the process is easy. First, go through the whole Photo Shooting Menu and set everything how you want for the bank. For example, if you were creating a “landscapes” Shooting Menu Bank, you could set ISO sensitivity to 64, turn off Auto ISO, and turn on long exposure noise reduction, among other things. When you’ve finished setting everything in the menu to your preferences, go to “Shooting Menu Bank” at the top, click to the right, and you can save or rename the bank.Even though the menu banks on the Nikon Z9 can be renamed from their default “A, B, C, D” names, I still recommend trying to keep things simple. It’s easy to make four different menu banks with slight changes between them, and then gradually forget all the differences if you don’t use most of the banks day-to-day.To start, I recommend renaming bank A to “Landscape” and bank B to “Wildlife” (or call them “Static” and “Action” respectively). For banks C and D, use them as backups. For some reason, Nikon doesn’t have a “revert” option in the menu banks that restores your originally-chosen values. But if you duplicate your landscape and action settings to banks C and D (and then never open C and D to change them), you can use them as a simple backup at any point.Personally, there aren’t huge differences between my Shooting Menu Banks for landscape versus action – just small things like AF-S versus AF-C, and Auto ISO off versus on. But it does save some time if I’m jumping from subject to subject.Advanced photographers may wish to do more than a basic “static/action” dichotomy here, to tailor the Z9 exactly to your requirements. For instance, you can set menu bank C or D to capture JPEGs with your chosen Picture Control settings to output quickly to a broadcast network to their exact specifications. But if you don’t have any specific requirements like that already, static/action is a good place to start.

By default, the shooting menu banks don’t include exposure information like your shutter speed, aperture, and flash settings, since they only cover the Z9’s shooting menu. However, if you turn on extended menu banks, all of this exposure information is also saved in your banks.Personally, I turn this setting on, but it’s not usually a big deal either way. Remember that Nikon’s menu banks don’t revert to the values you initially saved . Instead, they stay at your most recently used values. So, if you set f/11 as the default aperture in the landscape bank, then change it to f/1.8 for shooting Milky Way, the next time you open the landscape bank, it will be at f/1.8.Still, I generally use the same settings for landscape photography day-to-day, and the same general settings for wildlife and other action photography. I don’t mind that the Z9 goes back to my last-used exposure settings for landscapes in the landscape bank, and vice versa in the action bank.I suspect that flash photographers will find it even more important to keep the extended menu banks on. But photographers who prefer simplicity may prefer to leave this off, so that their exposure settings don’t change as they switch from bank to bank.
Original Raw File
3. Custom Settings Banks
The final option in the Nikon Z9 for menu banks is in the Custom Settings menu (AKA the one with the pencil icon). Just like the Photo Shooting Menu banks from earlier, you have four bank options for the Custom Settings menu. These do not need to be tied to your Shooting Menu banks in any way. However, many photographers prefer to keep the Custom Settings banks aligned with their Shooting Menu banks for simplicity’s sake – AKA, using the same Static/Action dichotomy here.Since these work exactly the same as the shooting menu banks that I’ve already discussed, just with the pencil menu, I won’t spend much more time on them here. But there is one important thing to mention: I strongly discourage you from using different button assignments with different banks. If you do, your muscle memory can get completely screwed up.I find that I rarely need to change anything in the Custom Settings Menu for day-to-day photography. There would be no difference between my usual Custom Settings for landscape versus action photography, for example. So, most of the time, I stay in Custom Settings Bank A, which I’ve renamed to “Norm.” I use this both for landscape photography and wildlife photography.In my own photography, the only time that I leave Custom Settings Bank A is for astrophotography; I’ve renamed Bank B “Astro.” Even then, I only have four different settings in the Astro menu bank: Starlight View, Warm Display Colors, and LCD illumination are all turned on. Lastly, Built-in AF-assist illuminator is off rather than on, because it doesn’t help with focusing on the stars, and if there are other astrophotographers near me, the focusing light from my Z9 can ruin their photos.