Cameras are increasingly joining our phones and computers as high-tech computing devices. For some, this may be a reason to get nostalgic for the good old days of cog wheels and fine gears; for others, a reason to rejoice. Whichever group you belong to, it’s hard to deny the excitement of getting new features that breathe life into your camera via a firmware update. This is how the Nikon Z9 – and, a few days ago, the Z8 – got a very exciting high-tech function called Auto Capture.
For a long time, camera firmware was considered to be something unchangeable and set in stone forever. If something had to be changed, it was only when something broke. Until recently, firmware was rarely the subject of passionate discussions, rumors, and hopeful anticipations.
That changed, at least at Nikon, with the move to mirrorless cameras. Suddenly, we see that updating firmware doesn’t have to mean just fixing a bug, but can improve the functionality of a camera in a very fundamental way. The Z9 in particular has become a beautiful demonstration of where there’s a will, there’s a way. There have already been three major firmware updates for this camera, and the latest one (firmware version 4.0 from June 2023) added an interesting Auto Capture feature to the menu, which is the subject of today’s article. Nikon Z8 users just received the same firmware option on February 6, 2024.
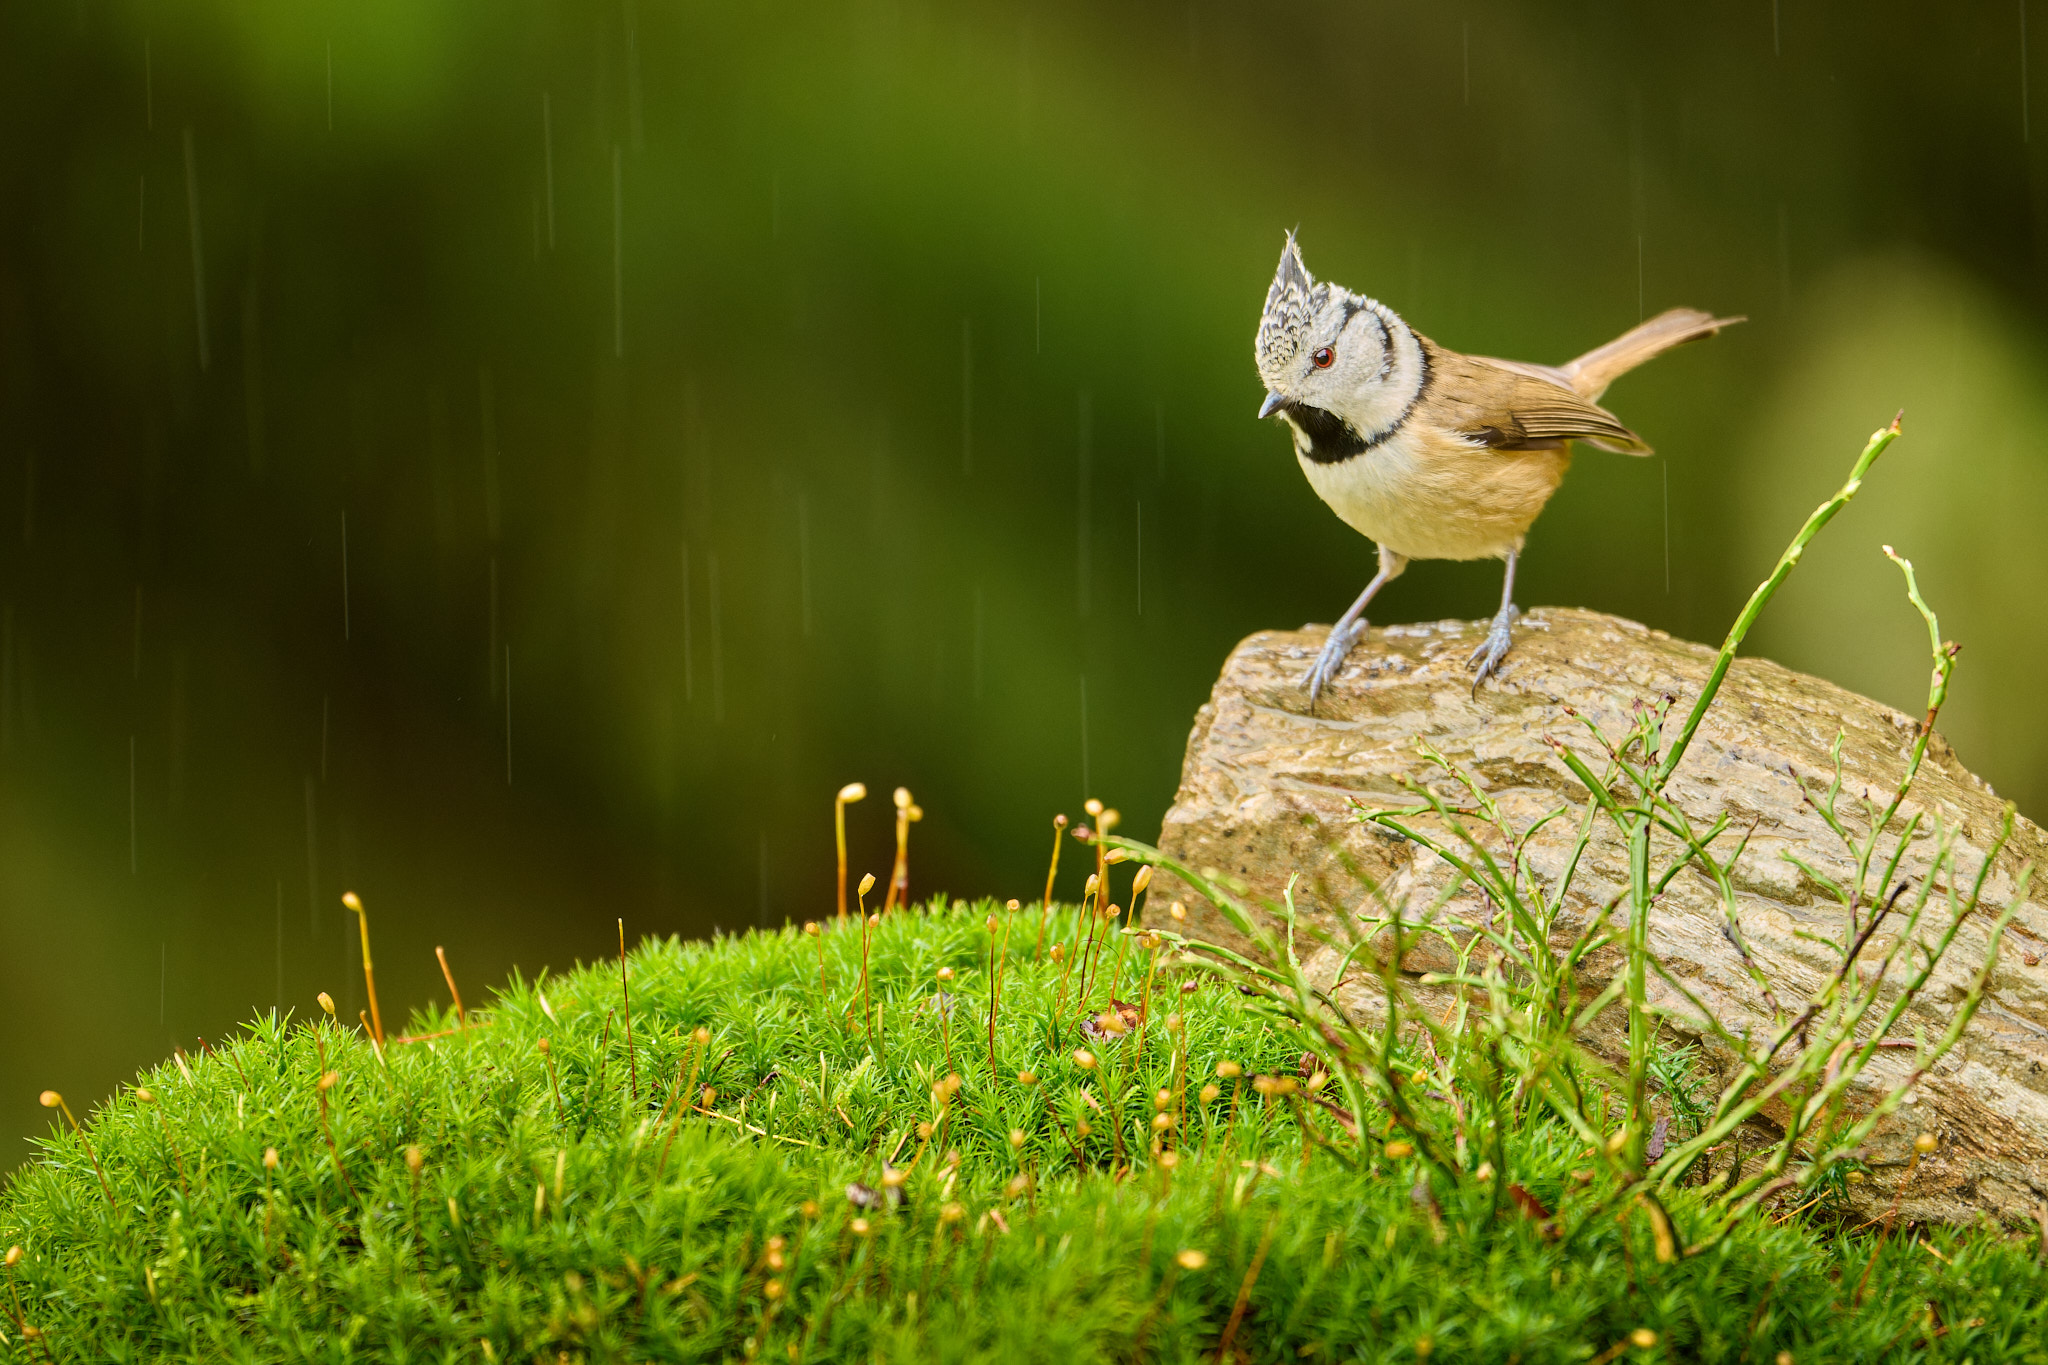
Table of Contents
What Does Auto Capture Do?
The name “Auto Capture” implies a camera that takes pictures by itself – a concept so bizarre that I’ll confirm your assumption: Yes, this really is what it does. Essentially, all you have to do is set up the camera with certain parameters, then lie down in a hammock with a glass of mojito while the camera does its job.
I can see you shaking your head disapprovingly and thinking that this is really a perversion of the photographic spirit, and the pinnacle of photographic laziness. I agree with that to a degree. Still, there are a number of applications where Auto Capture can be used quite legitimately, and where you would otherwise have no chance of getting the shot you want.
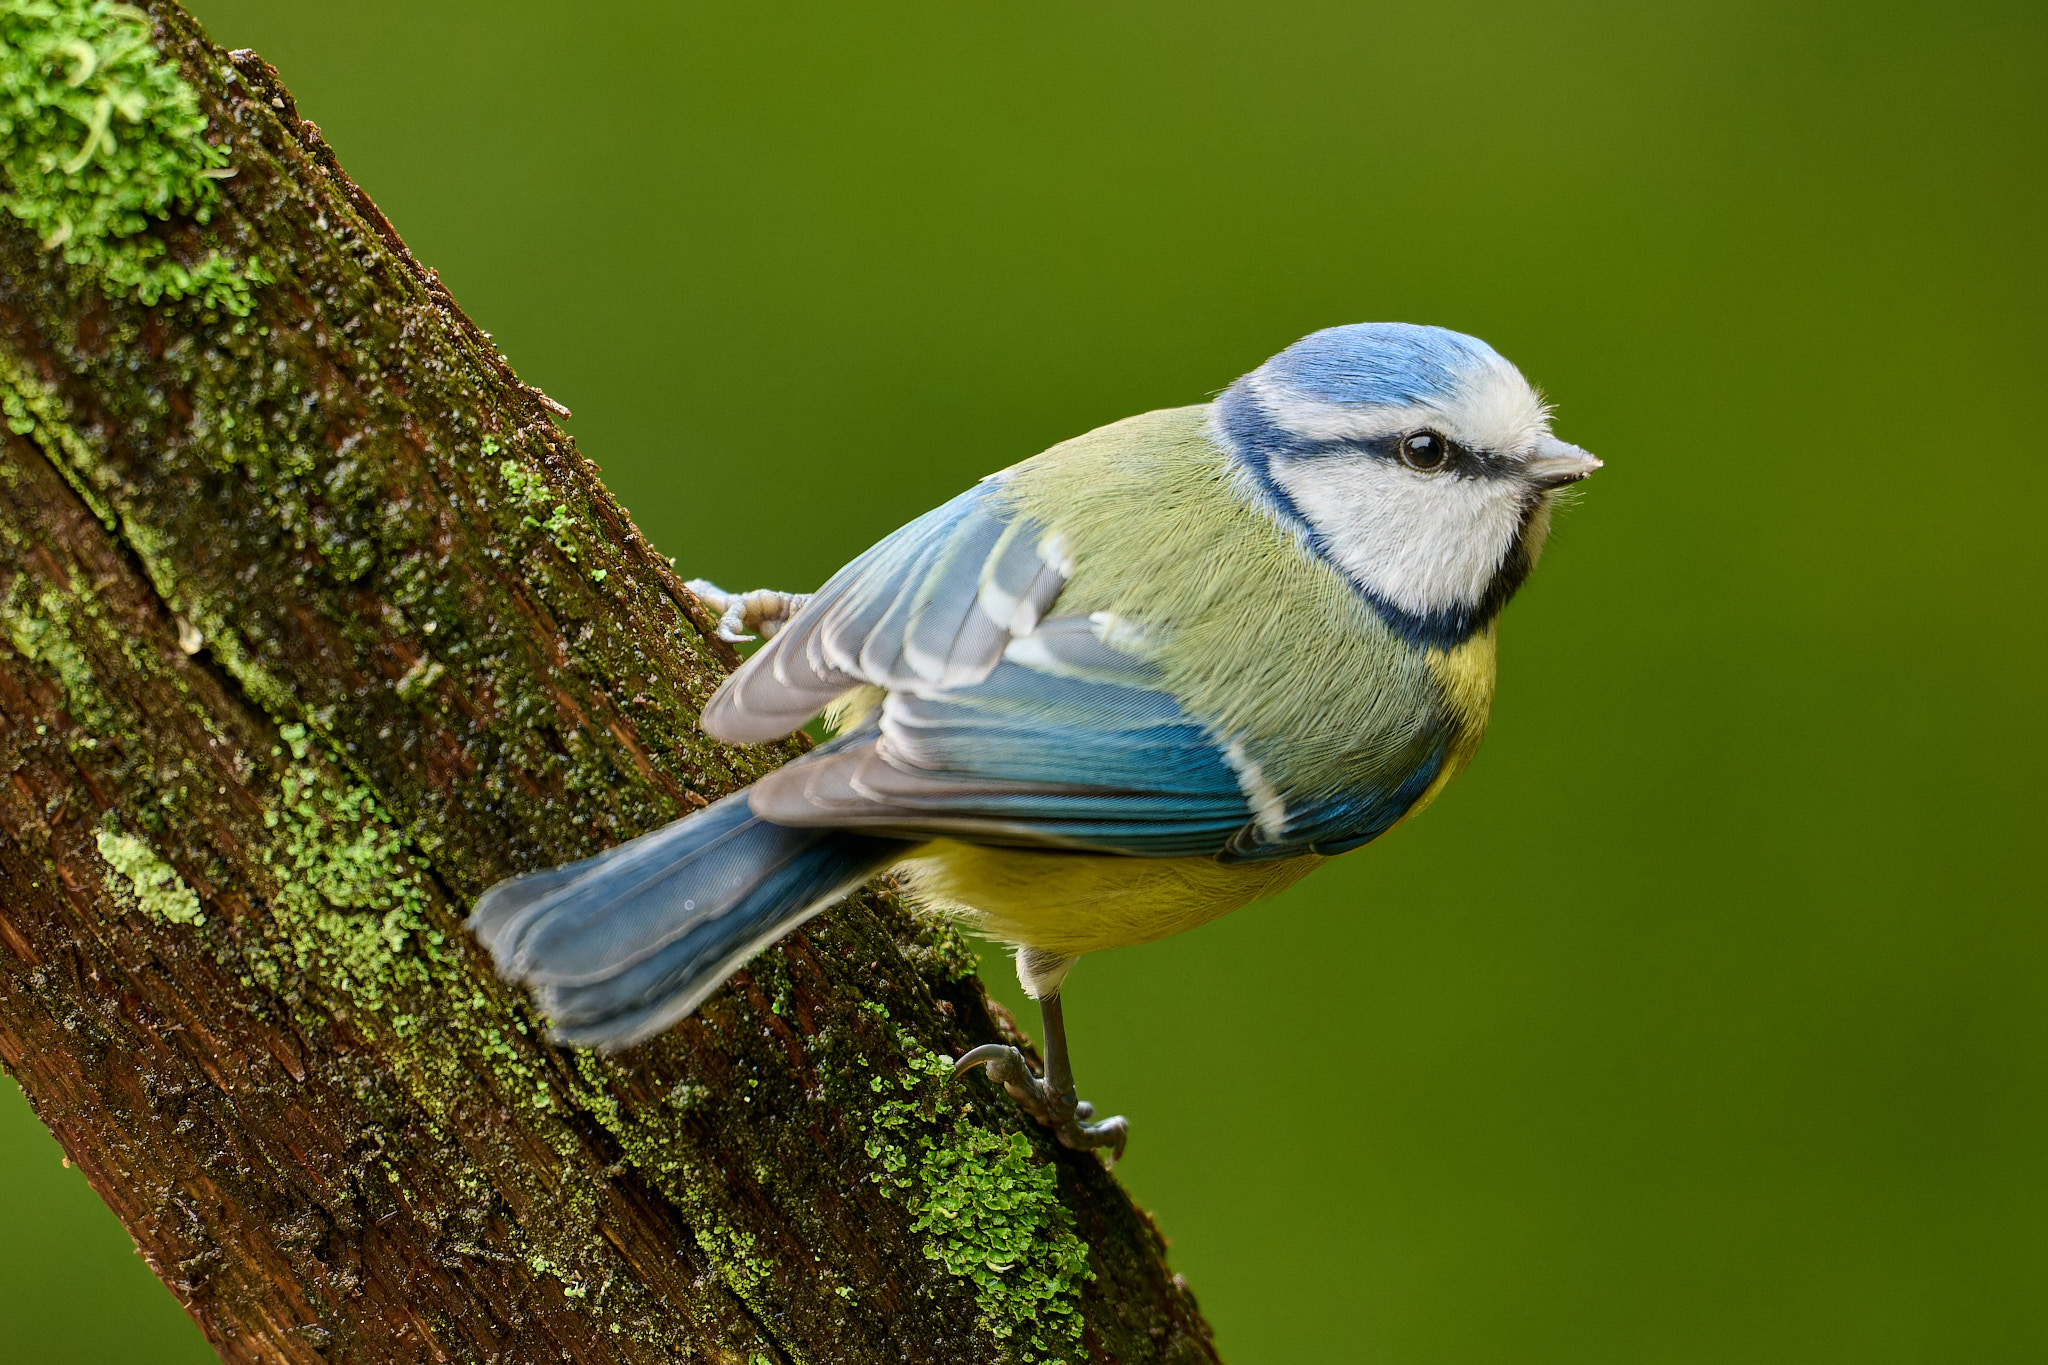
Auto Capture can be loosely thought of as a camera trap. As you may have seen in my interview with Vladimír Čech Jr., using a camera trap can be a way to avoid the biggest obstacle in wildlife photography: the photographer! Your very presence will not escape the keen senses of most animals, especially if you get close to them with a wide-angle lens.
Auto Capture allows you to set certain parameters, and, if those parameters occur in the scene in front of you, the camera will automatically take a picture.
Setting a sort of camera trap is what I see as the greatest benefit of Auto Capture. In the spirit of Robert Capa’s philosophy (“If your pictures aren’t good enough, you’re not close enough”), I find myself setting up the Z9 close to where my subject might be later, using Auto Capture, and taking photos that are closer than I could get any other way.
How Auto Capture Works (and How to Set Your Camera)
Using Auto Capture is much easier than I expected. Nikon has put a lot of thought into the implementation of Auto Capture, and it’s surprisingly smooth. Let me explain how it works and how to use it yourself.
First, before Auto Capture, you need to figure out your exposure values as you would for normal photography. I recommend either Manual Mode + Auto ISO or Aperture Priority Mode + Auto ISO – whichever you are more comfortable with. The autofocus mode should be set to AF-C. Set the continuous shooting rate to a value that takes into account the animal’s agility. For a sloth, the lowest continuous shooting speed will suffice; for a hummingbird, 15 FPS would be better! Also, you need to decide whether you want to capture still images or video. I believe that most of our readers are more interested in still photos, but Auto Capture does work for video, too.
Now for the settings specific to Auto Capture. You’ll find this feature as the last item in Nikon’s Photo Shooting Menu. If you plan to use it regularly, I recommend placing it in the My Menu tab.
Here’s how the options look:
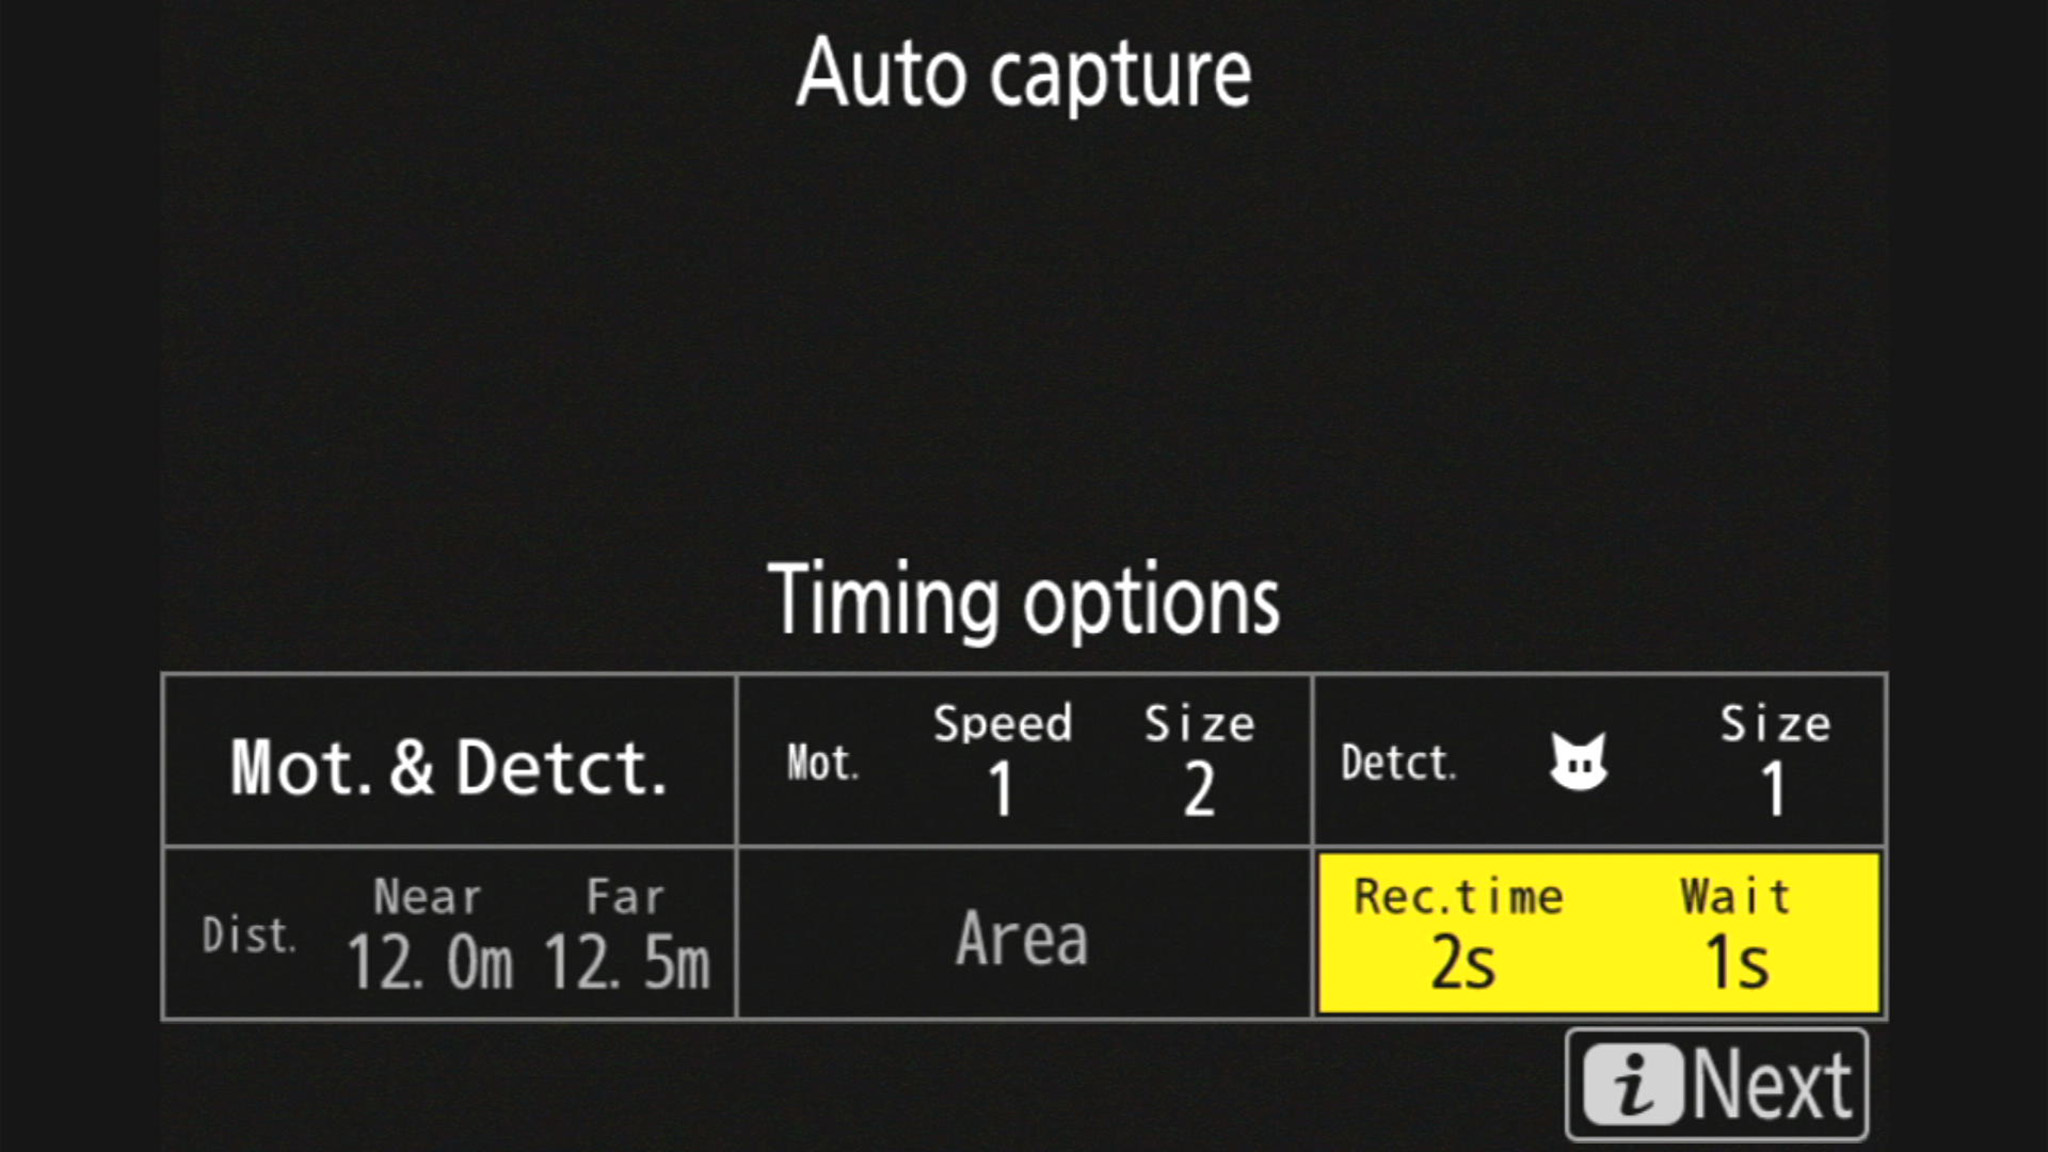
These six windows appear as soon as you click “Start” in the Auto Capture menu. The purpose of most of the criteria you enter is to limit the number of false triggers. If you leave everything at the default settings, the camera usually won’t make a mistake, but you’ll probably end up with more work with the delete button. Still, let’s look at each window in more detail.
The first window on the top row (Capture Criteria) has three checkboxes when you click it: Motion, Subject Detection, and Distance. This determines what causes the camera to take a photo in the first place. If you check only Motion, the shutter will be triggered at the slightest movement of a leaf or a glare on the water surface. That’s why it’s a good idea to also check Subject Detection, which will trigger the shutter only when the camera detects the selected subject. The last option, Distance, allows you to limit the camera to take photos only when the subject is at a particular distance.
The second window on the top row (Motion) allows you to select the size of the subject that the camera should react to, as well as the speed and direction of the movement that will trigger the subsequent exposure. For wildlife photography, I recommend leaving all settings at their default – AKA most sensitive – values. Only if you are inundated with a bunch of photos should you tighten the conditions. You can narrow it down by size (so that the camera only triggers if the subject is large enough in the image) or by direction (to take a photo of your subject only if it’s moving from left to right, for example).
The third box on the top row (Subject Detection) allows you to set the type of subject the camera should be sensitive to. It remains grayed-out unless you check “Subject” in the first window. This option lets you narrow down the subjects that the camera detects so that it only takes photos when your particular type of subject is in the frame. (Come to think of it, I don’t know how to explain that even though I had Animal Detection set rather than People’s Faces, I repeatedly triggered the shutter with my own face. I won’t take it personally.)
The first box on the bottom row (Distance) is a potentially very handy way to give the camera boundaries to operate within. It won’t take a photo unless motion is detected in that particular distance range. However, there are two hitches to be aware of. First of all, adapted lenses can’t communicate the distance of the subject accurately enough (or at all). For this reason, I recommend using the distance only for Z lenses. The second hitch is even more limiting. The minimum distance that can be set does not match the parameters of the lens used. For example, the Nikon 180-600mm lens can be set to a minimum distance of 12 meters at 600mm, even though it can focus from 2.4 meters. For this reason, I recommend leaving the Distance option inactive for smaller animals.
Box #2 on the bottom row (Target Area) enables you to set the exact focus points that the camera will use to detect the subject. This allows you to determine exactly where the camera will look for your subject and which areas it will ignore. This way you can easily eliminate leaves or grass in the foreground and increase AF reliability. Note that this feature is only available when Auto-area AF is selected.
Finally, the last option on the bottom row (Timing Options) allows you to set how long the camera will record photos or video if all the above conditions are met. If left OFF, the camera will record the scene indefinitely. Alternatively, if you manually enter 3s, for example, the camera will start a 3-second sequence (photos or video) even if the bird flies away after the first second. The Wait After Shooting option specifies how long the camera should wait after the previous sequence ends before starting the next one (assuming that all the recording conditions continue to be met).
Of the six options, the last one is what will probably require the most tuning and reconfiguration. You would have the camera set one way as you wait for that once-in-a-lifetime shot of a snow leopard, while setting it another way when you are expecting a herd of thousands of wildebeest to pass by.
Actually, let’s examine those two situations a bit more closely. For the “snow leopard” occasions, I would set the camera to shoot as much as possible, meaning that the Timing Options box will be set to OFF/0s, and the other parameters will be looser as well (for example, you probably shouldn’t restrict it by the distance or size of the subject in your frame). On the other hand, for the “wildebeest herd” example, I would be more selective. Timing Options would be set to something like 1s/3s, which means: “When there’s something to shoot, shoot continuous photos for one second. Then wait three seconds, and if there’s still something to shoot, do another one-second burst.”
After you’ve set the six boxes as you want, the camera is set up. There is nothing left to do but confirm the selections with the “i” button, then start Auto Capture by pressing the Video Rec button. Done? If so, it’s time to get comfortable in your hammock while you wait!
Auto Capture will certainly come in handy not only for wildlife photographers, but also for sports and other genres of action photography. Such a wide variety of subjects will require different settings. Nikon has taken this into account by allowing you to save, name, and recall up to five of them.
Where and How to Position the Camera?
The real challenge when using Auto Capture is not in the camera settings, but in the creative side. Where should you position the camera to get the results you want? This is where it pays to be not only a good photographer, but also a good observer.
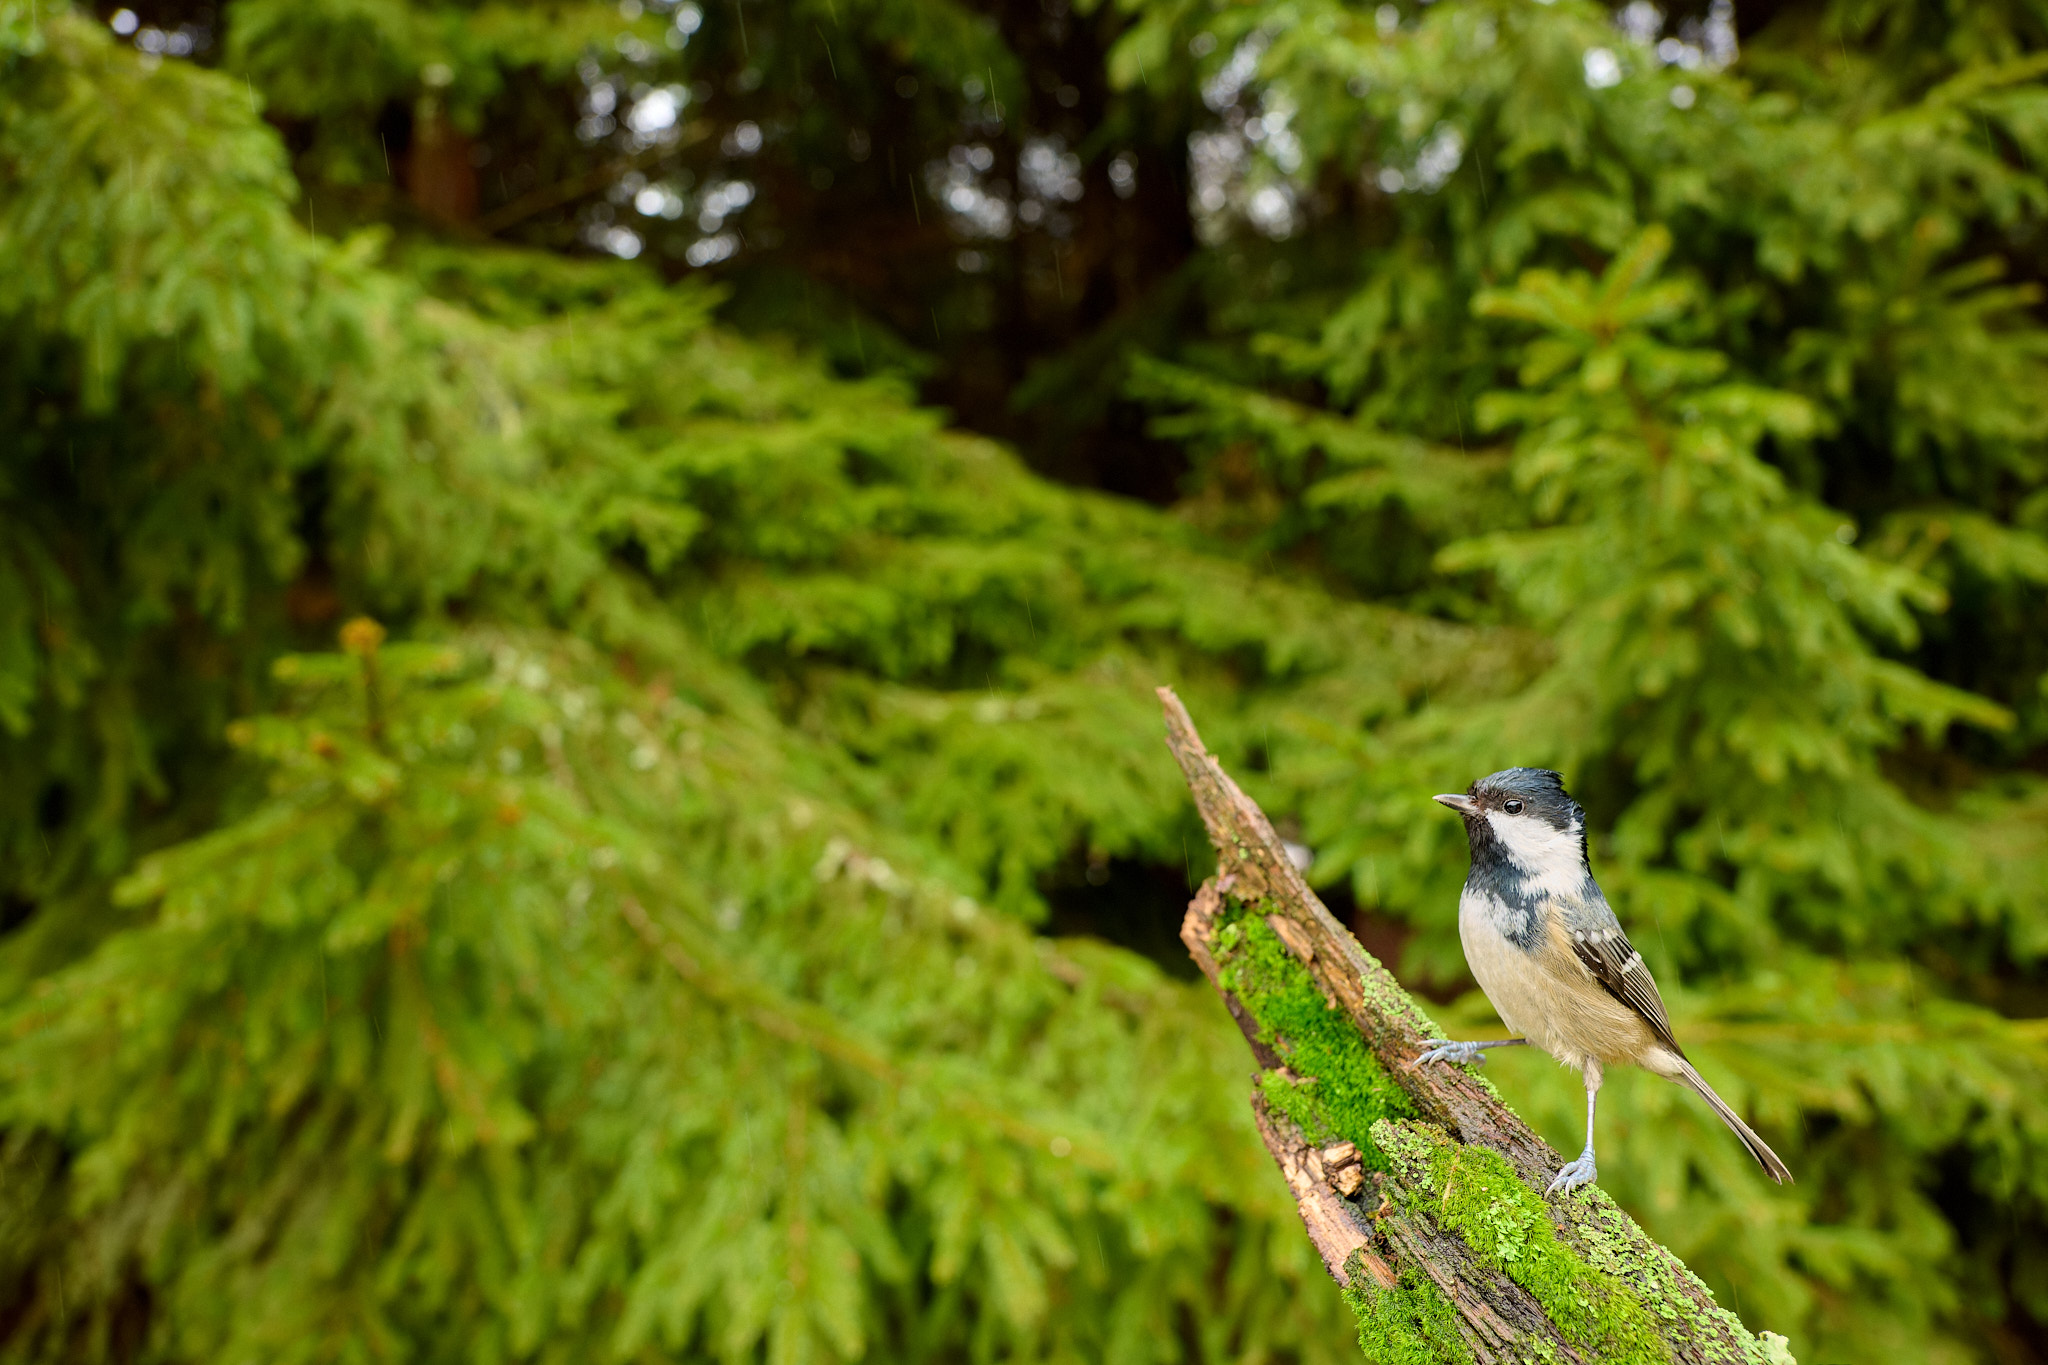
Learn where your subject is most likely to be found, and position your camera accordingly. This applies whether you’re photographing birds or athletes! Ideal spots are those where the presence of the subject can be estimated with great accuracy, since you won’t have the ability to change your composition after it’s set.
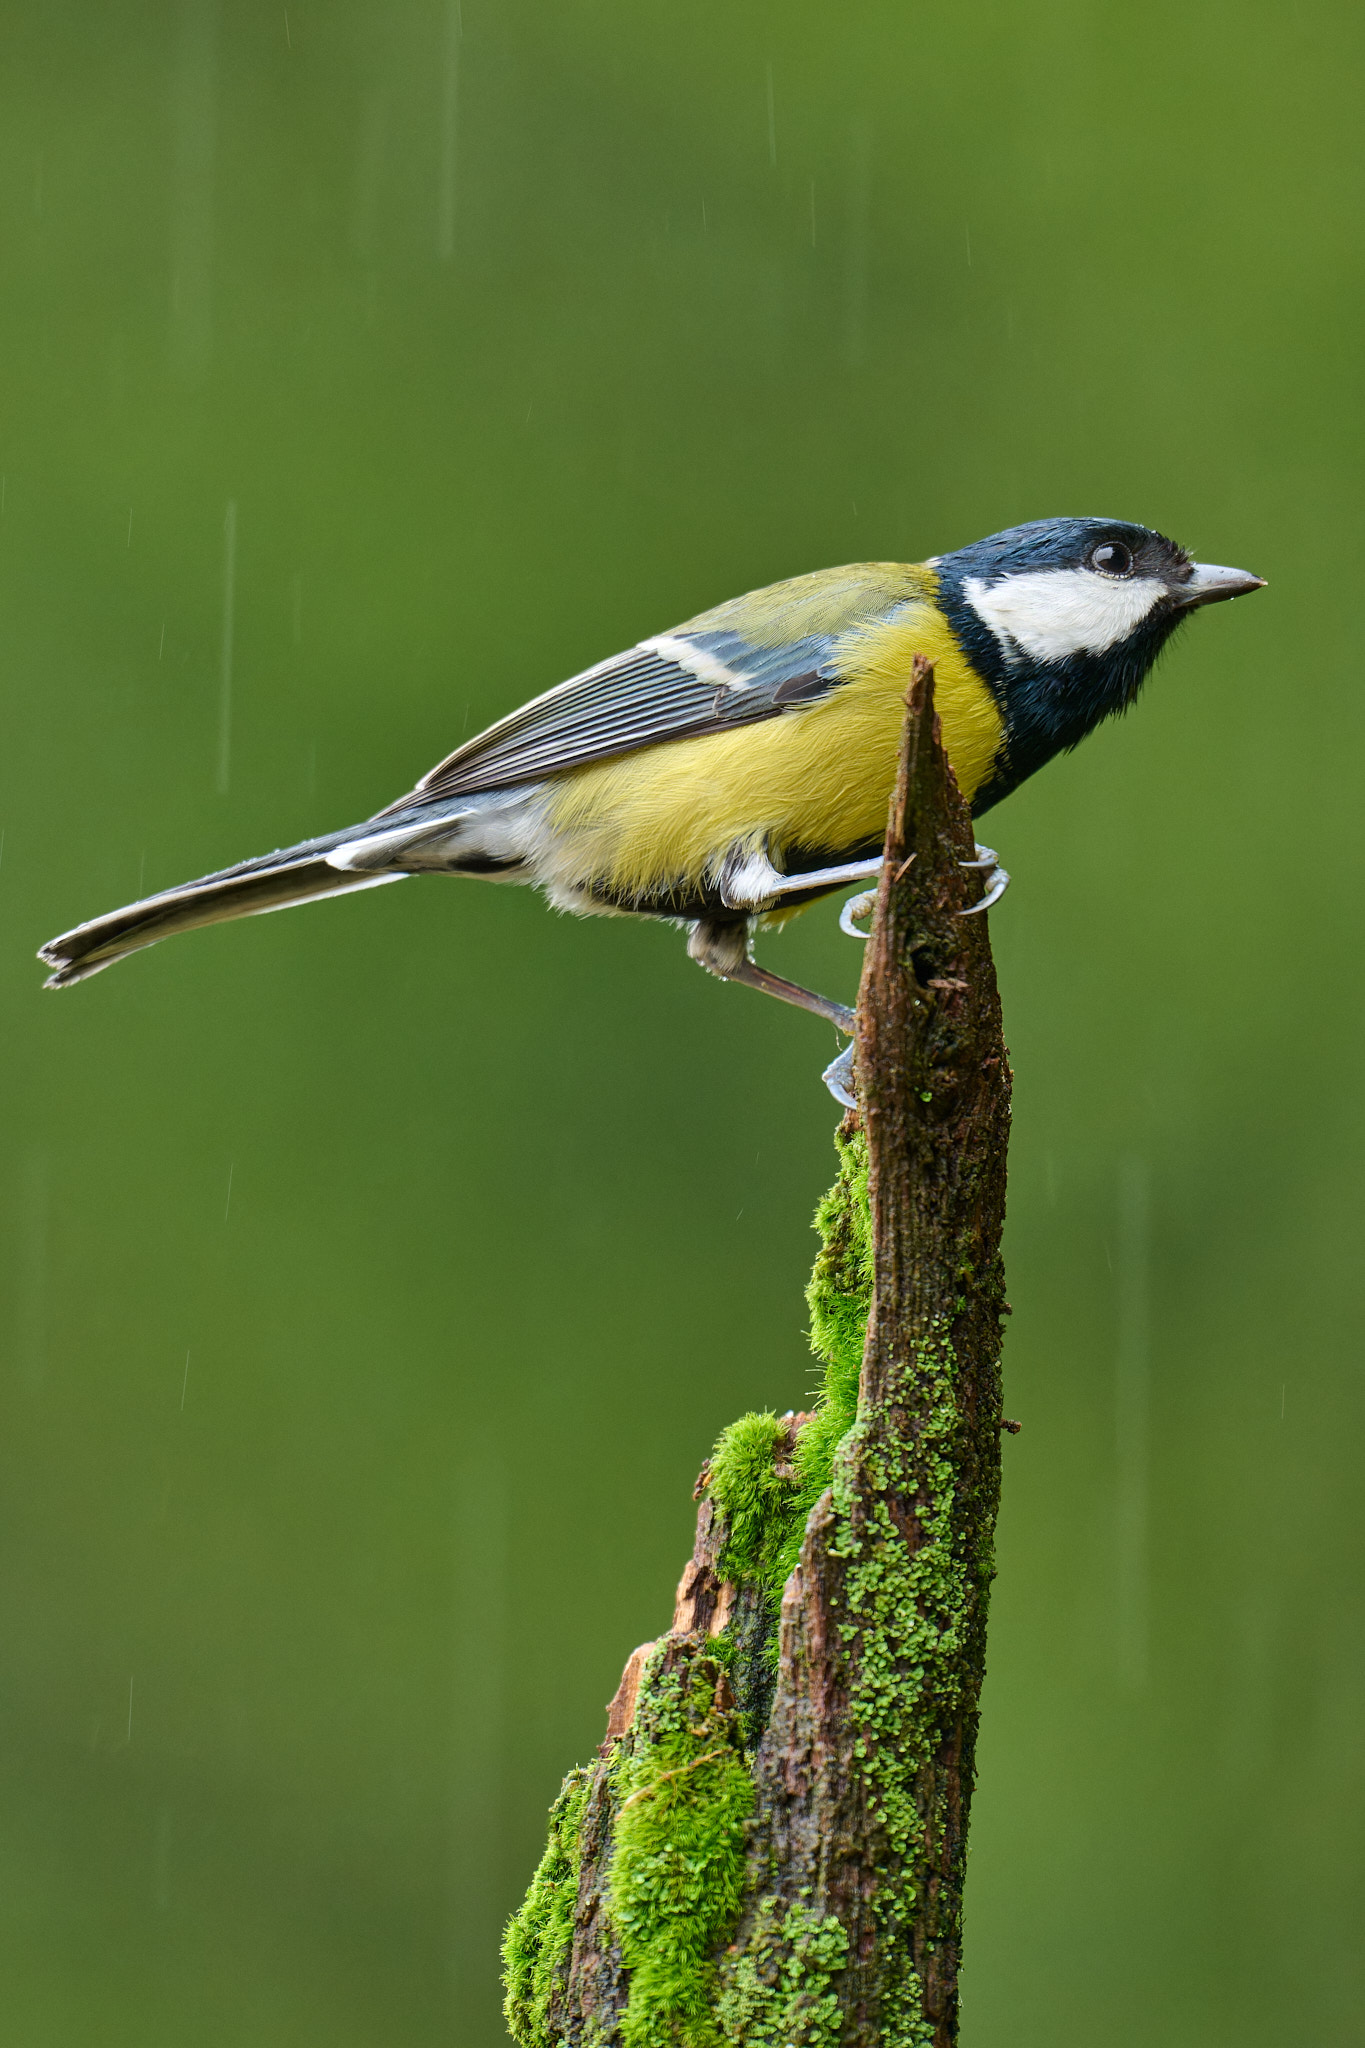
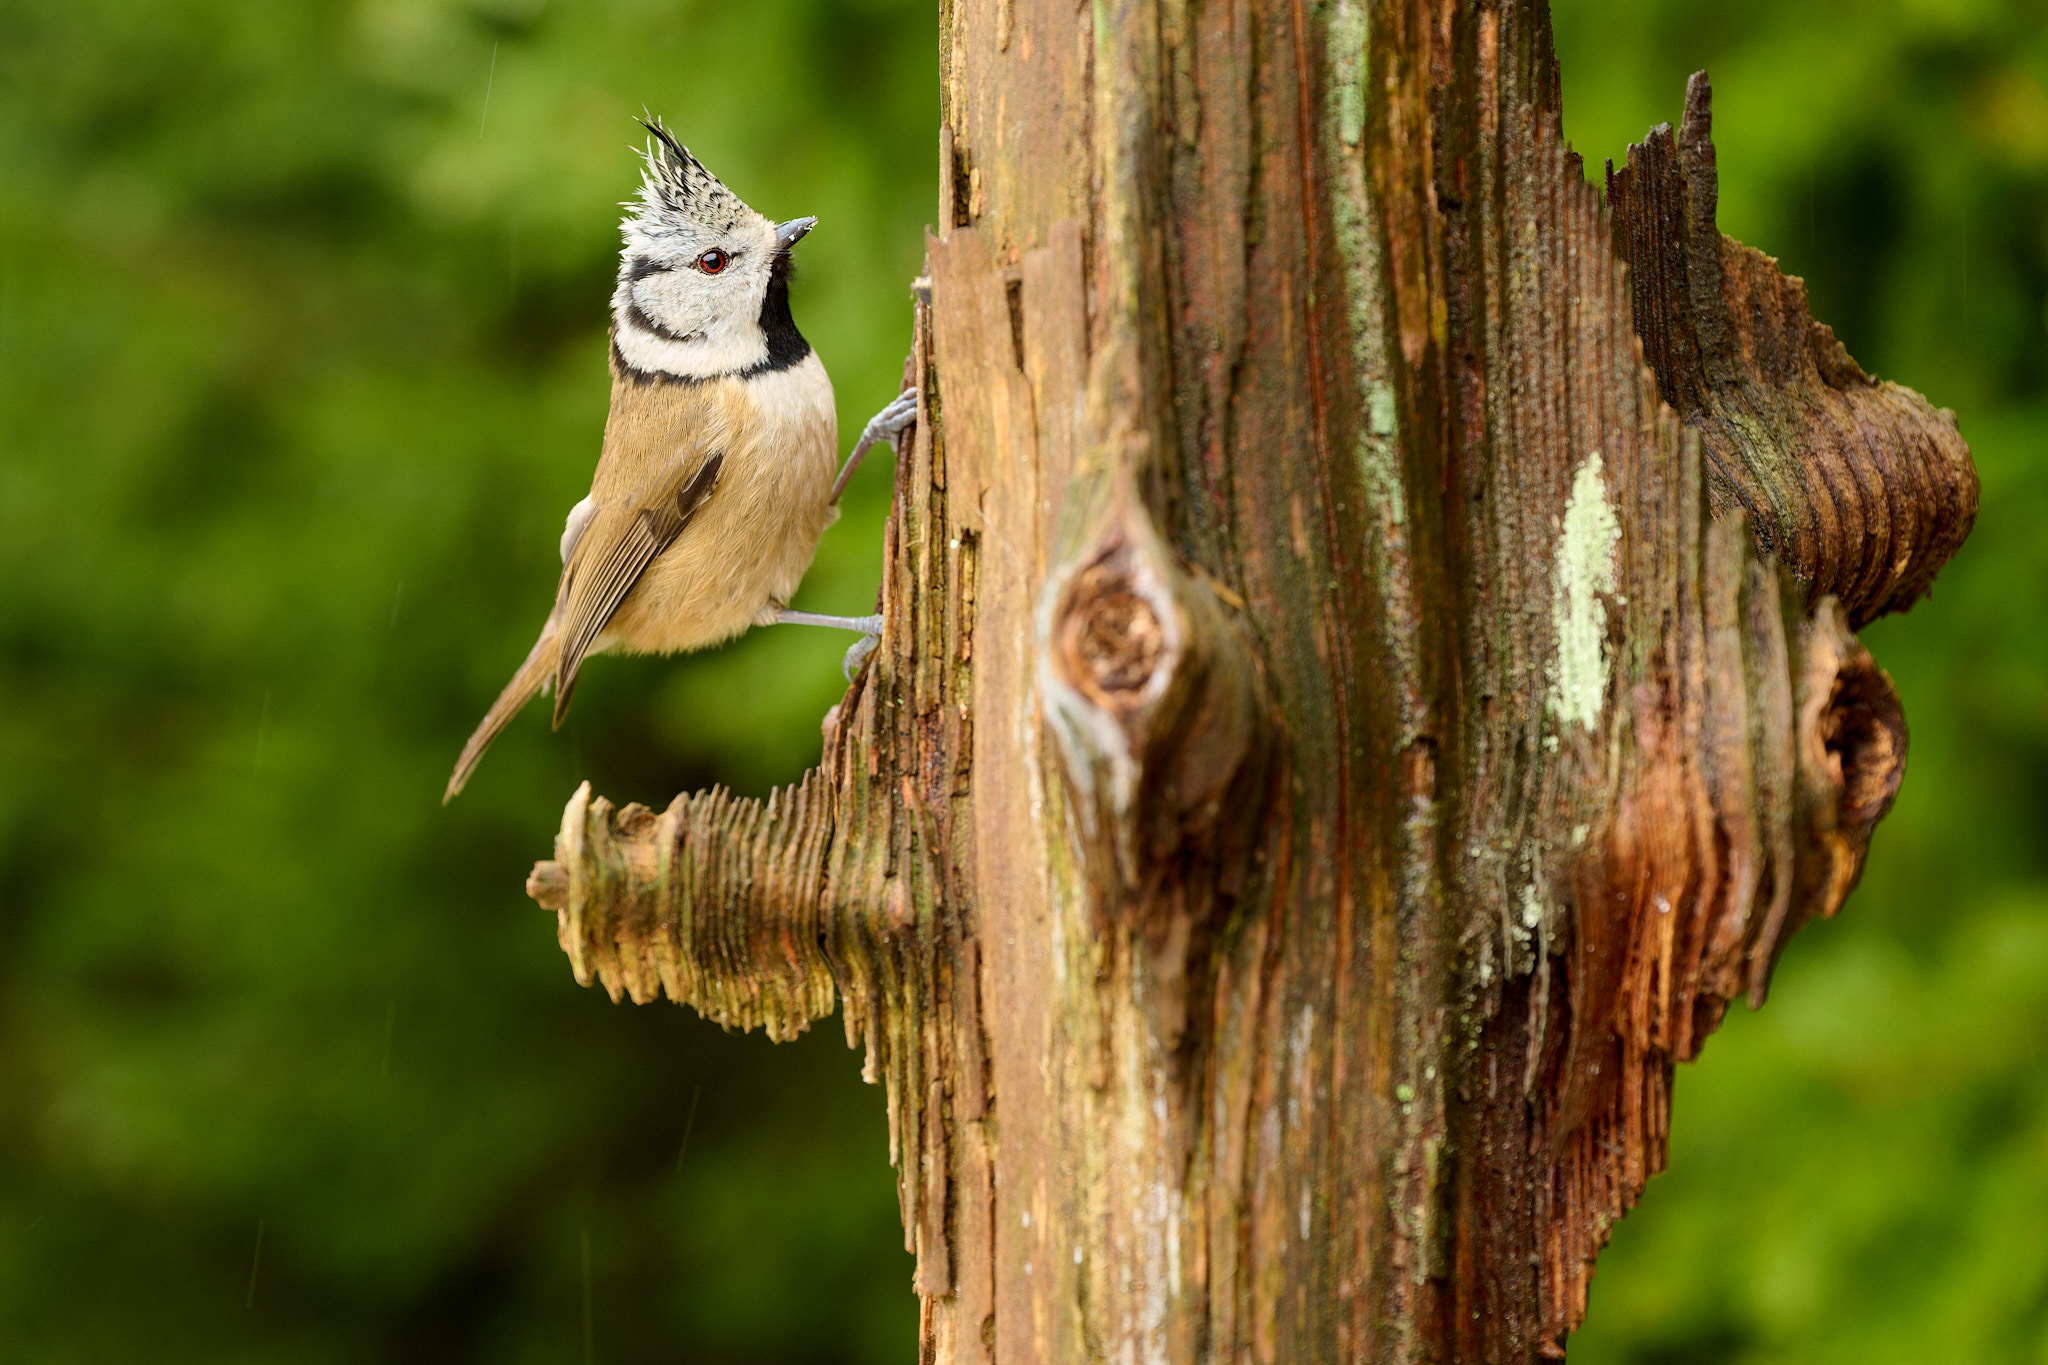
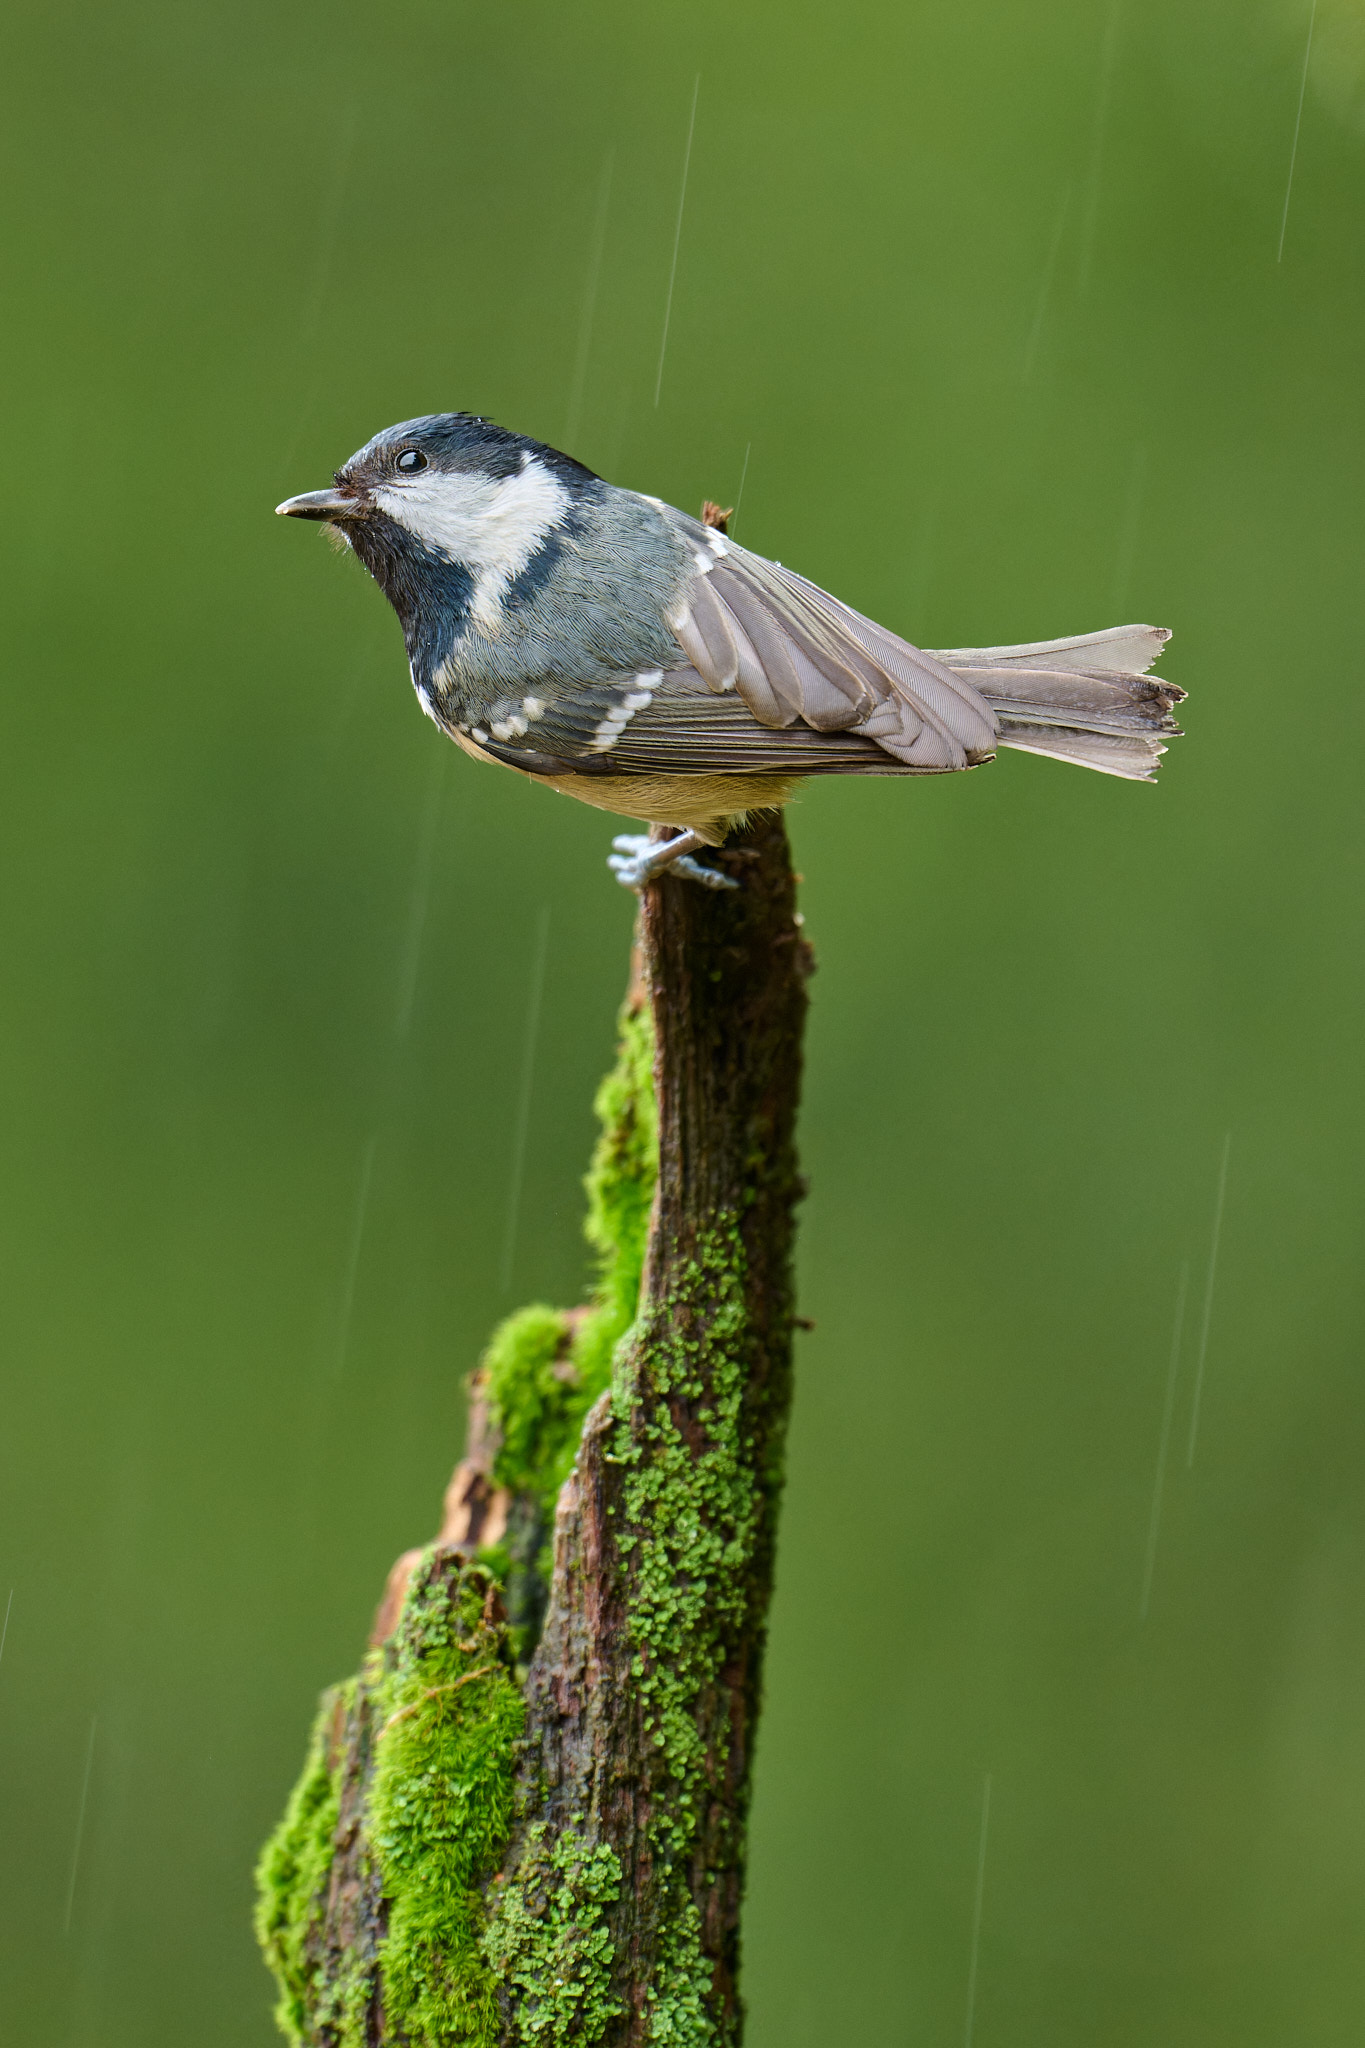
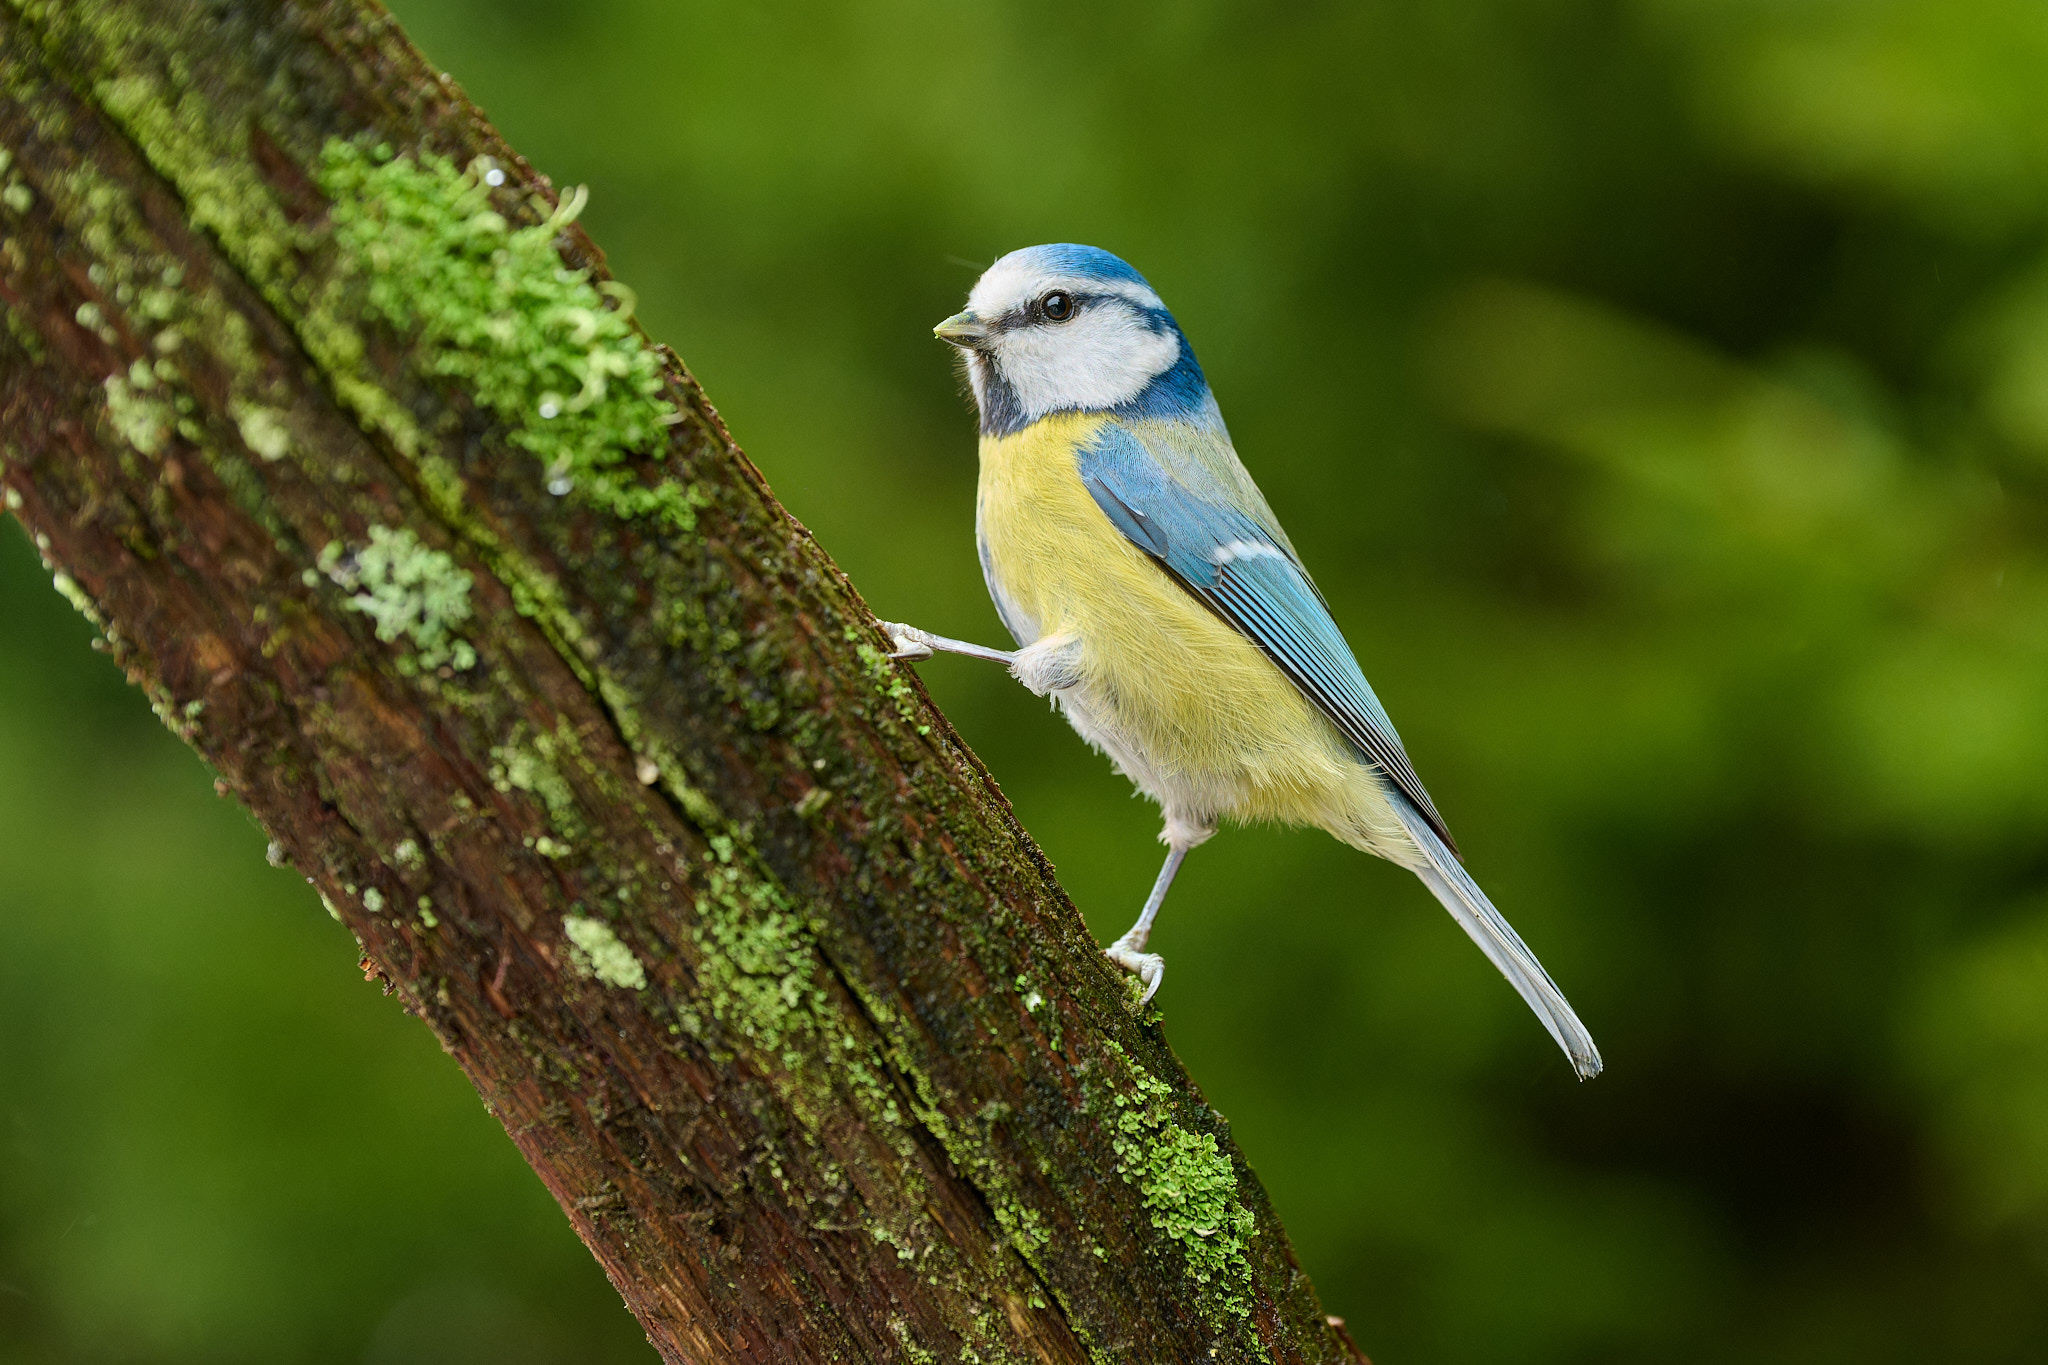
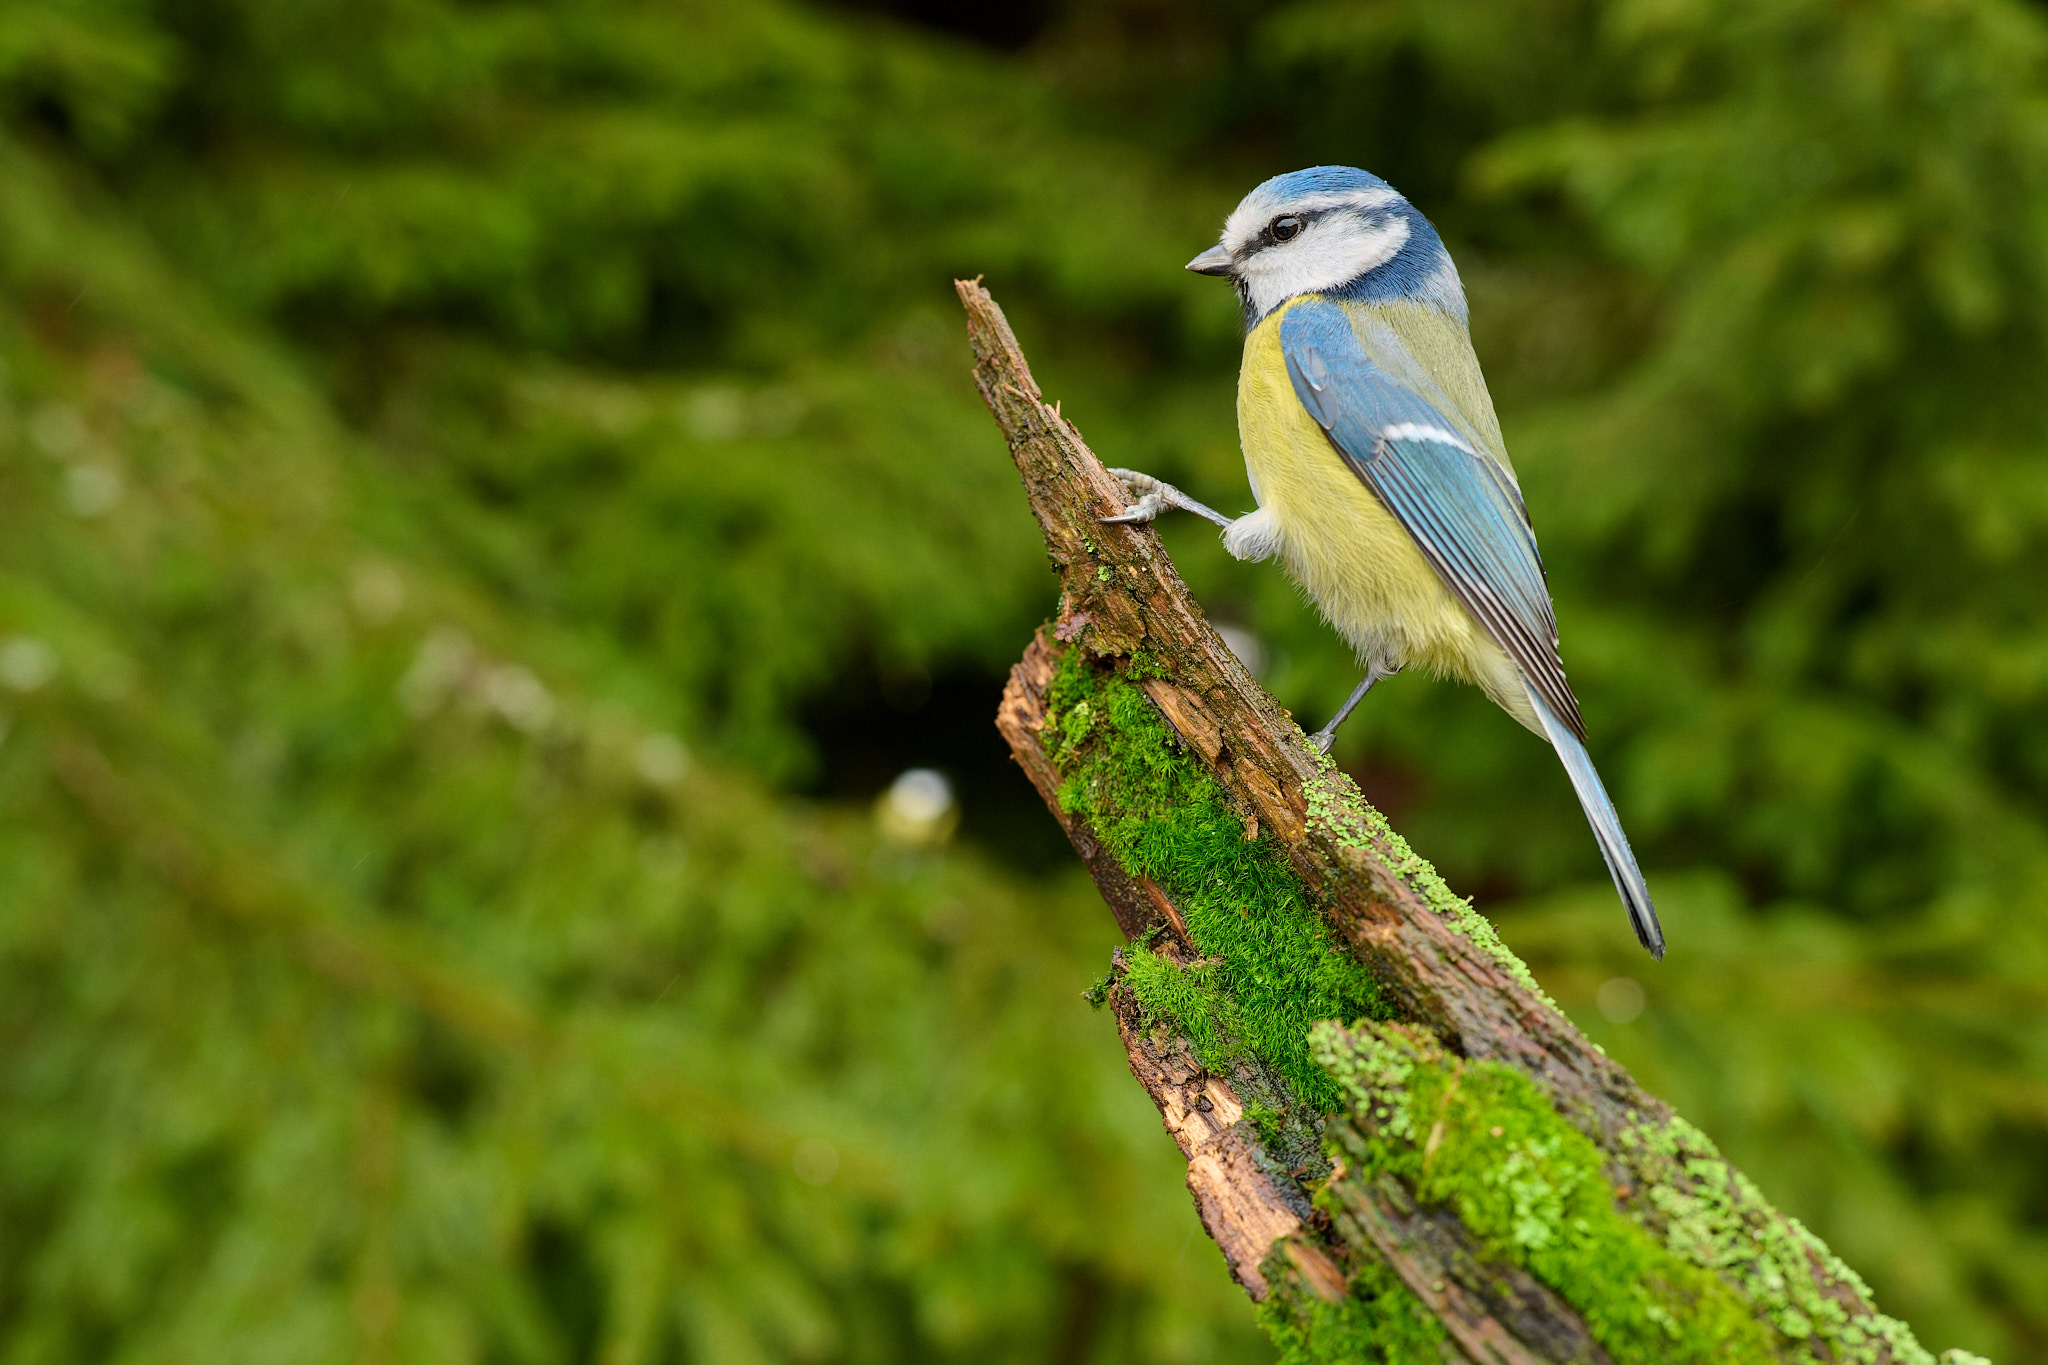
An example would be a broken branch over the water from which a kingfisher is swooping down to catch a fish. It could be a stalk of reeds where a dragonfly is seeking or consuming its prey. It could be the three-point line where you know the basketball player will be jumping at a critical moment… The possibilities are endless.
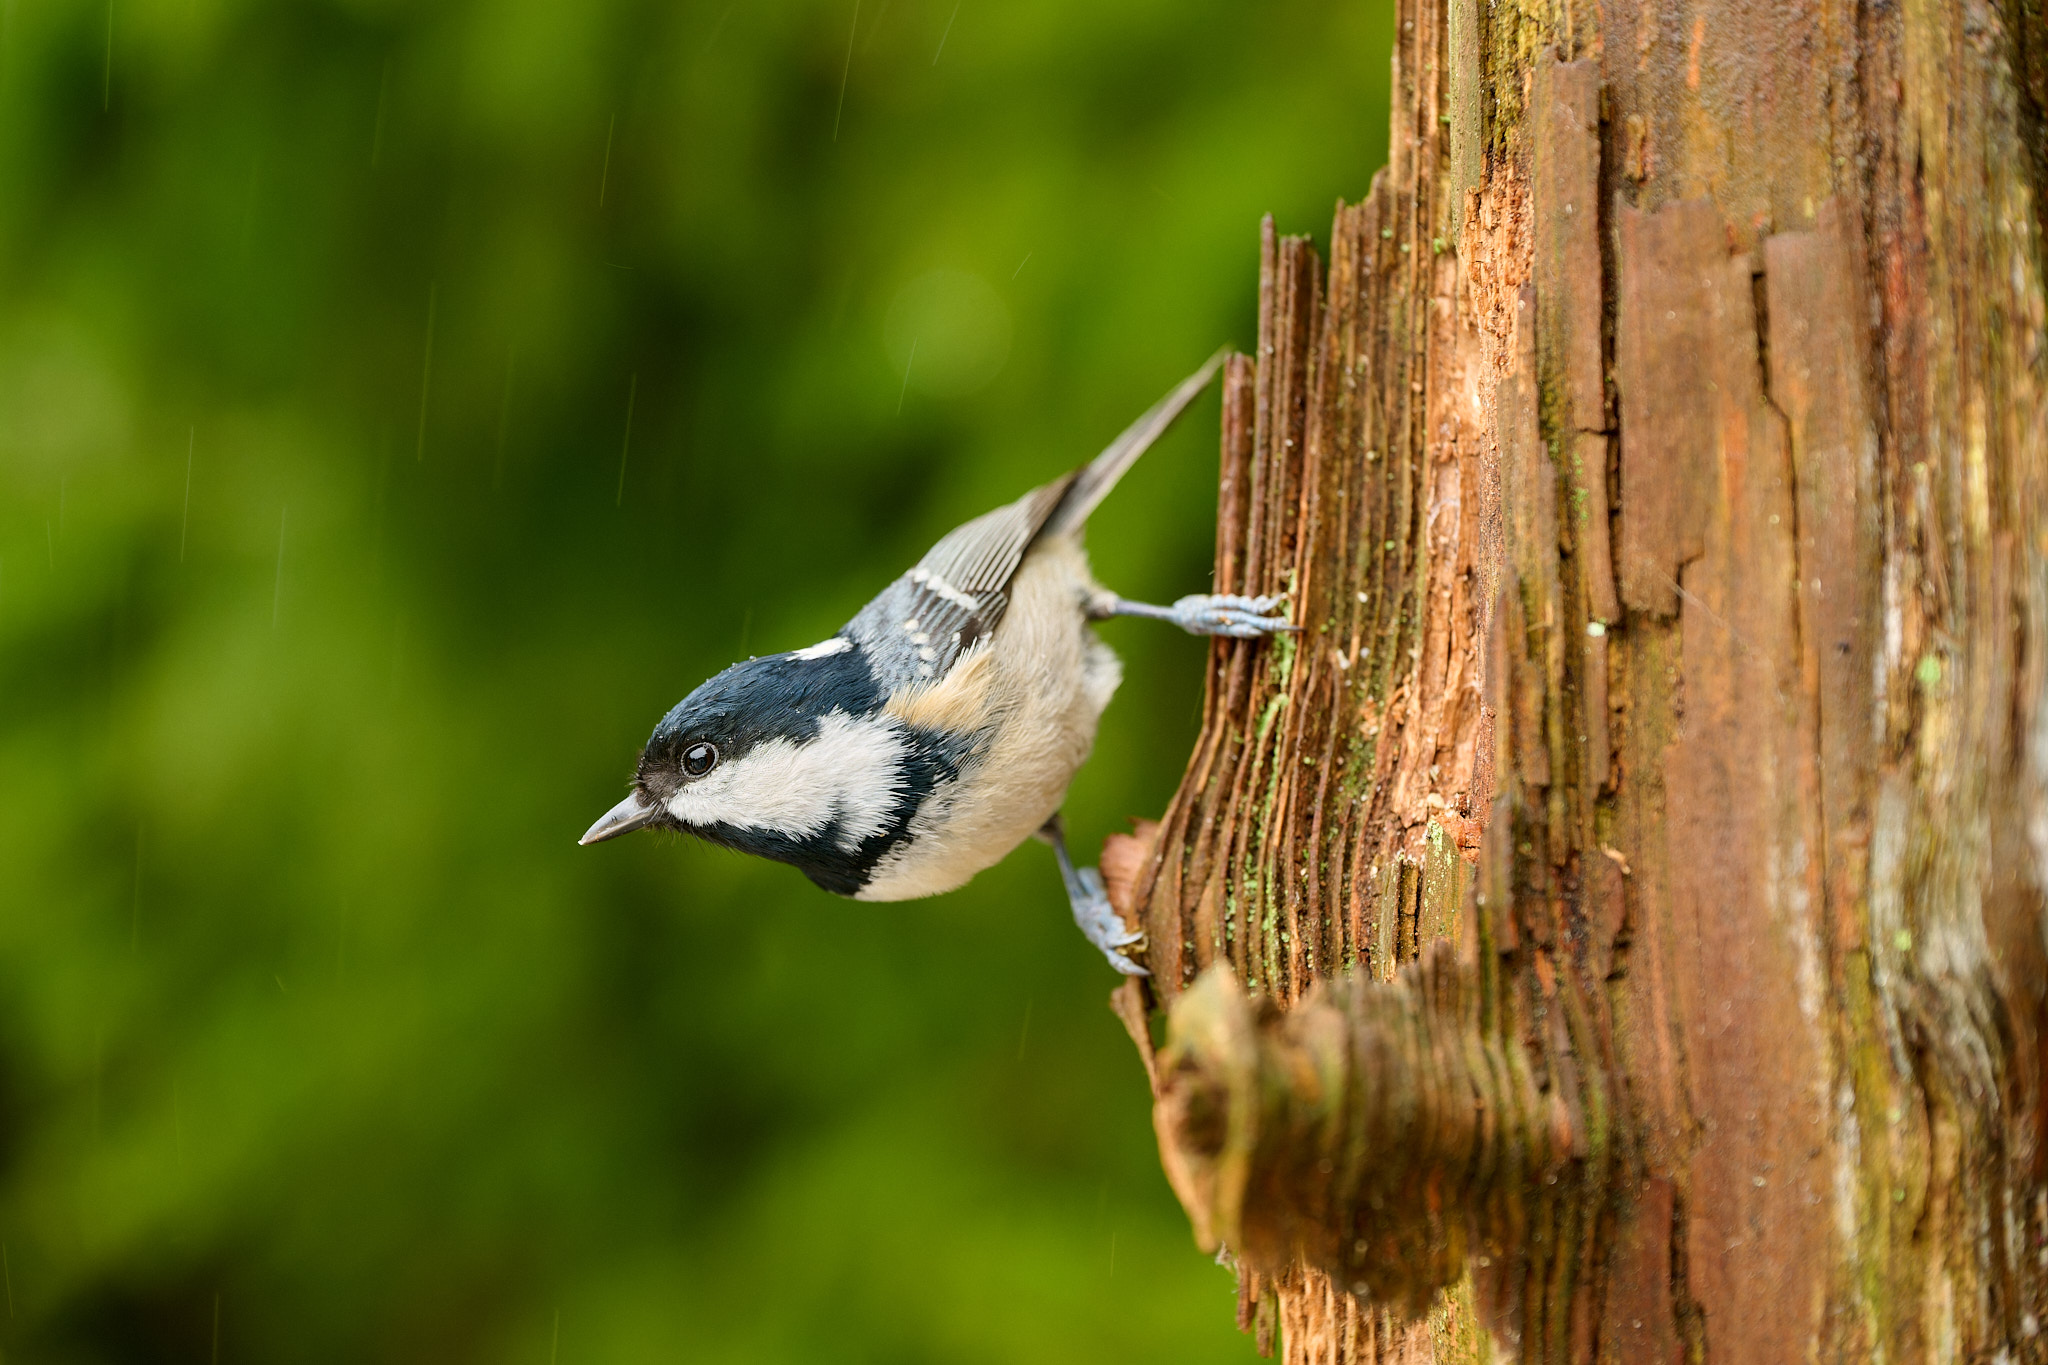
I also recommend to put some thought into how you arrange your camera. For example, if you camouflage your camera, it will minimize the amount of time it takes for animals to start ignoring it. Also, pay attention to your tripod – I suggest splaying the legs more than usual, and maybe weighing down the tripod with an extra bag, so that it won’t be knocked over if a deer bumps into the lens hood! A rain cover is also worth considering, especially if you aren’t close enough to your camera to bring it inside if the weather takes a turn.
Be prepared for the fact that even with the huge battery of the Nikon Z9, Auto Capture mode can drain the power in about five hours of shooting. Of course, it depends on many factors, but at least two batteries per day is a must. If you want to keep the camera running longer, consider an external power supply. To use one, just activate the USB power delivery in the Setup menu, and connect a suitable power bank via USB-C.
Results and Summary
In this article, I tried to answer what Auto Capture is, when to use it, and how to set it up properly in the menu. The only thing that remains is my impressions of whether it works well or not. I will be brief: The fact that I didn’t even try it out on my Z9 until six months after its introduction is, in retrospect, a shame. It’s an excellent nice tool that Nikon has implemented well, and I didn’t experience any issues with it during my testing, apart from the “Distance” option only working well with native Nikon Z lenses (and even then, not allowing the true minimum focus distance of most lenses to be used).
In fact, the Distance option was the cause of my only failure with Auto Capture, which is what discouraged me from using it for so many months. At the time, I had an adapted wide-angle lens mounted on my camera, and I had checked all the boxes in the Capture Criteria window – including for distance. As a result, I did not get a single shot of the kingfisher I was photographing. The camera stubbornly ignored its presence on a branch only about 20 cm away. So, I explored this dead end for you and can tell you, “Not that way, my friends! It needs a Z lens.”
Now that I’m disabling distance with my non-Z lenses, and only enabling it with native glass, the results have been much more pleasing. It doesn’t matter if I’m using a wide-angle or a telephoto – in fact, the camera reacted instantly to any bird that appeared in its field of view. As soon as the Z9 detected an eye, it focused on it and immediately started to shoot a sharp burst of photos.
After my recent, positive experiences with Auto Capture, my mind immediately started running through dozens of ways to use it. One more reason for me to look forward to spring in Europe and summer in South America.
How about you, have you tried Auto Capture on the Z8 or Z9? If so, I’d love to hear about it in the comments below.