Light is the most important part of photography, period. The nature of the light you capture has a fundamental impact on how your photo turns out. Good light can make a photo portfolio-worthy, while poor light can ruin even the most careful composition. But what makes light good in the first place? In this article, I’ll discuss the qualities of natural versus artificial light in photography, and I’ll explain some ways to modify both natural and artificial light for the best photographs.
Table of Contents
What is Natural Light in Photography?
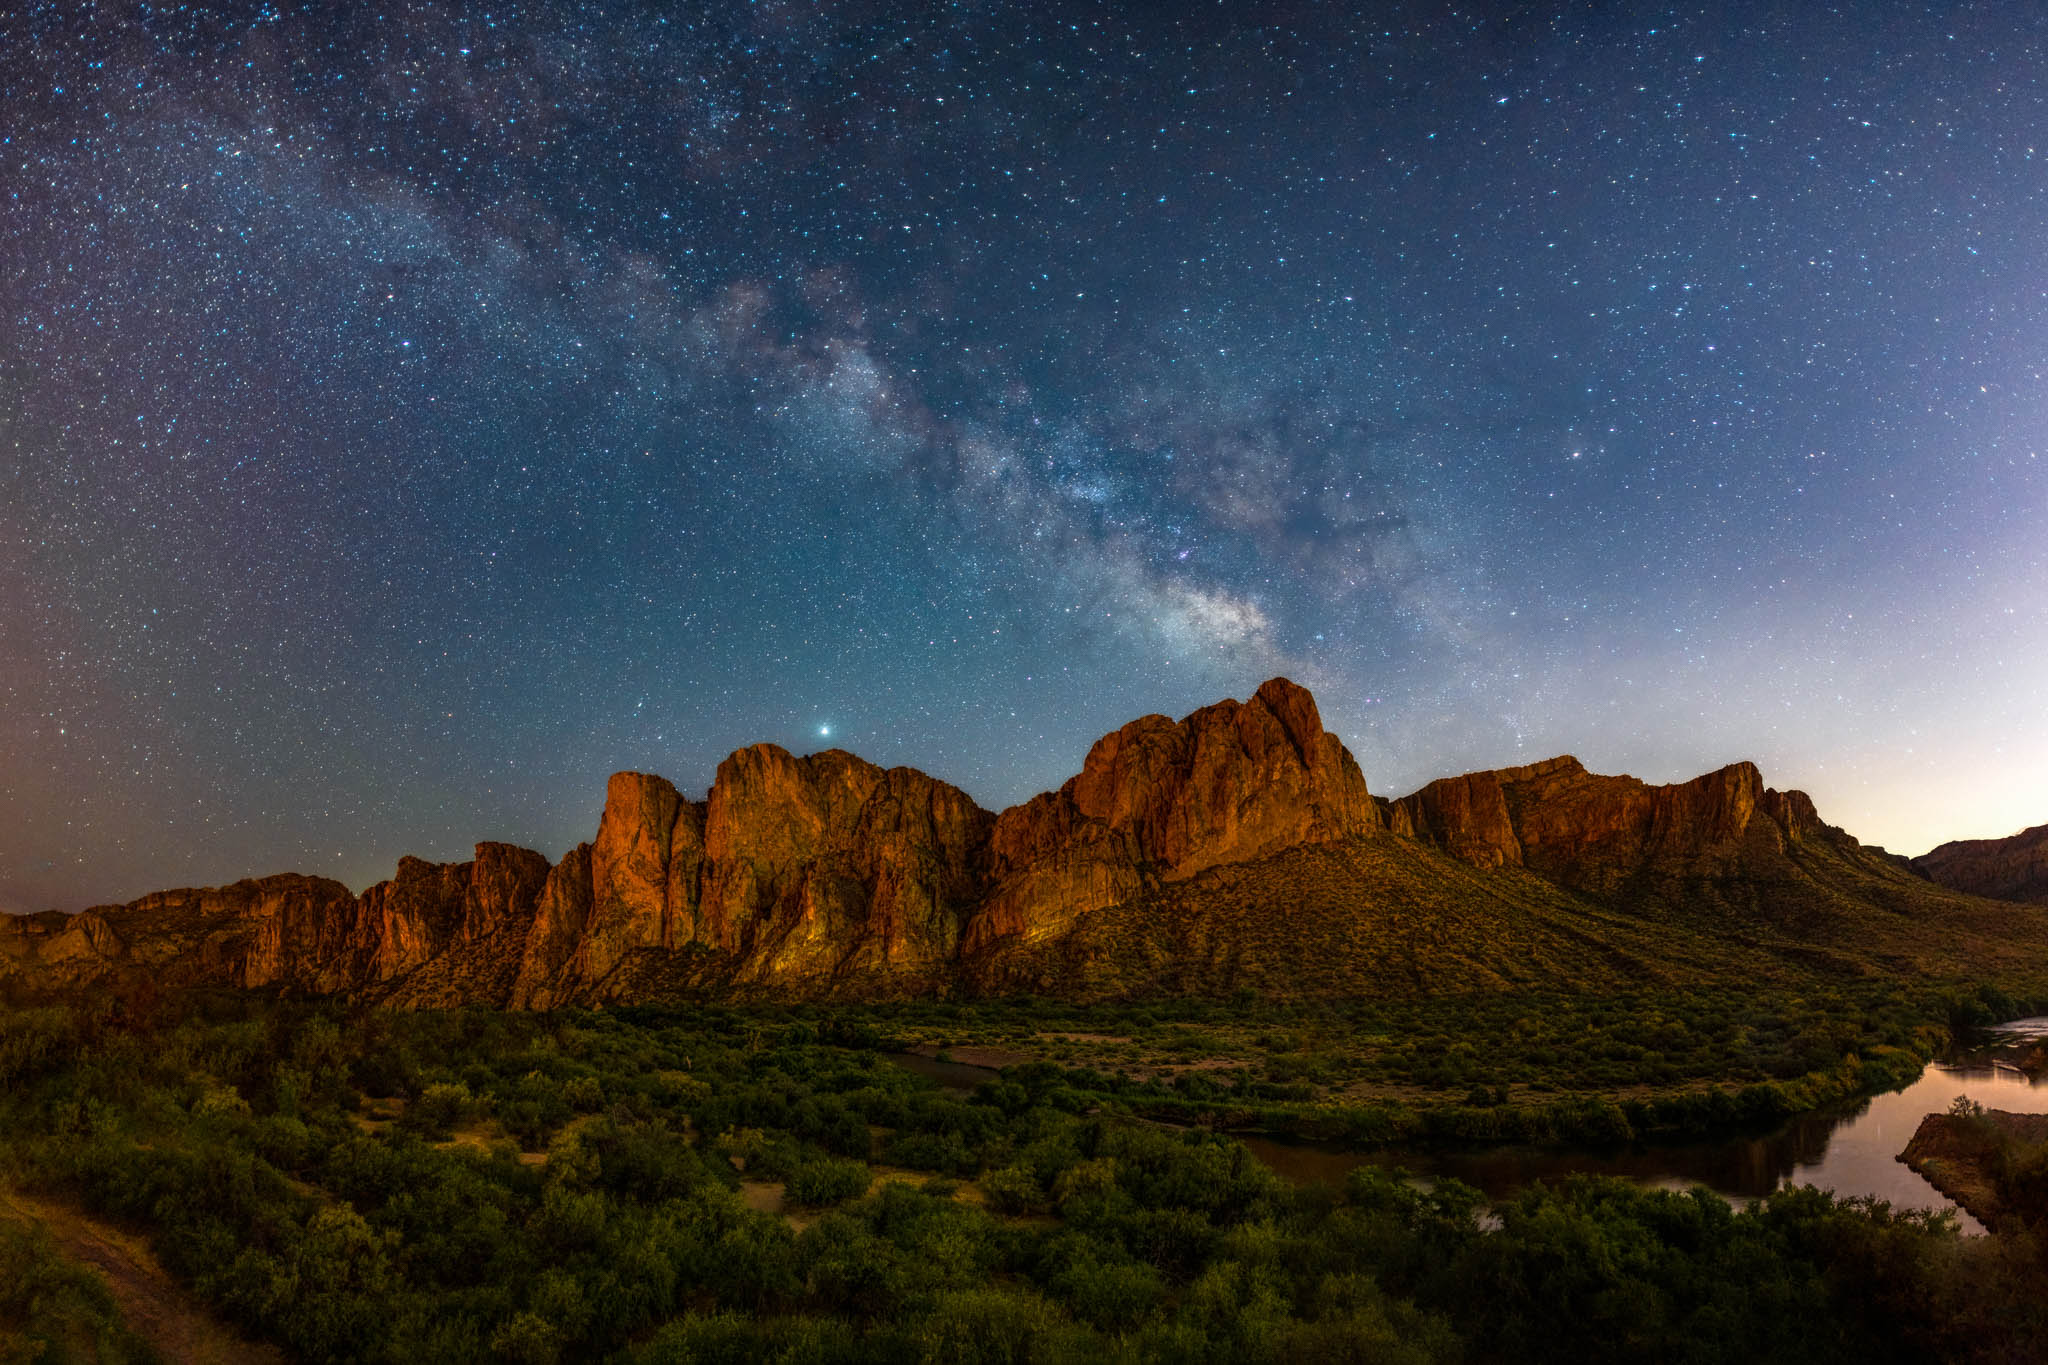
The most important natural light source in photography – by far – is the sun. Sunlight can be harsh, soft, colorful, diffused, or any of dozens of combinations. It requires some experience to understand how sunlight shapes your images, but doing so can unlock a huge range of photographic opportunities.
Natural light can come from other sources, like volcanos, bioluminescence, firelight, or even starlight. But what all natural light sources have in common is that you need to work with them. Unlike how you can modify artificial light, there is usually a much more limited range of things you can do to change the natural light.
Why Use Natural Light?
One of natural light’s biggest benefits is the very fact that it’s natural, and usually just looks right to your viewer’s eye. While cameras don’t perfectly replicate what we see, in a variety of ways, the shadows, directionality, and tone created by natural light typically feel familiar and normal to those who view your photos. While harsh natural light, like midday sun, can still cause problems for your camera by being too contrasty, it won’t look “wrong” in the way that badly-used artificial light would.
Another major benefit of natural light is its abundance. It probably goes without saying, but you don’t need to spend any time setting up speedlights or dialing in the color temperature of your light source if you’re working under sunlight. Natural light is fast to work with, and it’s almost everywhere (at least during the day).
Finally, it’s often said that using natural light is “easier” than using artificial light. And even though I don’t love that statement, it’s true that a beginning photographer who doesn’t understand flash will have an easier time getting good results with natural light. The reason why I don’t like taking this approach, is that it’s kind of lazy. You should choose natural light because it works for your photo, not because it’s easier than learning how to use your flash.
How to Modify Natural Light
Shade
The most basic way to “modify” the natural light is to move your subject into the shade. Whether this is shade from a tree or building – or even some artificial shade from an umbrella / diffuser – moving into the shade can transform harsh, angular light into softer, more flattering light.
By going into the shade, you’re eliminating the impact of direct light hitting your subject. This results in softer shadows, and depending on how the light is filling the shaded area, it can create more fill on the subject.
One thing to watch for when moving into the shade is the relationship between your subject brightness and background brightness. Just like with artificial light, this relationship plays a major role in the look of your image. A bright subject on a dark background is metaphorically spotlighted to your viewer, while the opposite type of photo (with a bright, sunny background) can look very bright and cheerful.

Clouds
A cloudy, overcast day can essentially turn the entire sky into a softbox. While these gray days are few and far between in the desert I live in, clouds of any kind can create interesting lighting conditions. Completely overcast days can lead to the softest light, while scattered clouds can create interesting backdrops in your landscape photos.
While you can’t create clouds with the flip of a switch, watching for interesting weather can help you plan shoots for certain subjects. In places with lots of cloud cover, it’s usually possible to open your weather app and see what the conditions will be like in the coming hours and days. If you can plan your shoots to take advantage of the clouds, you’ll end up with stronger photos.
Time of Day
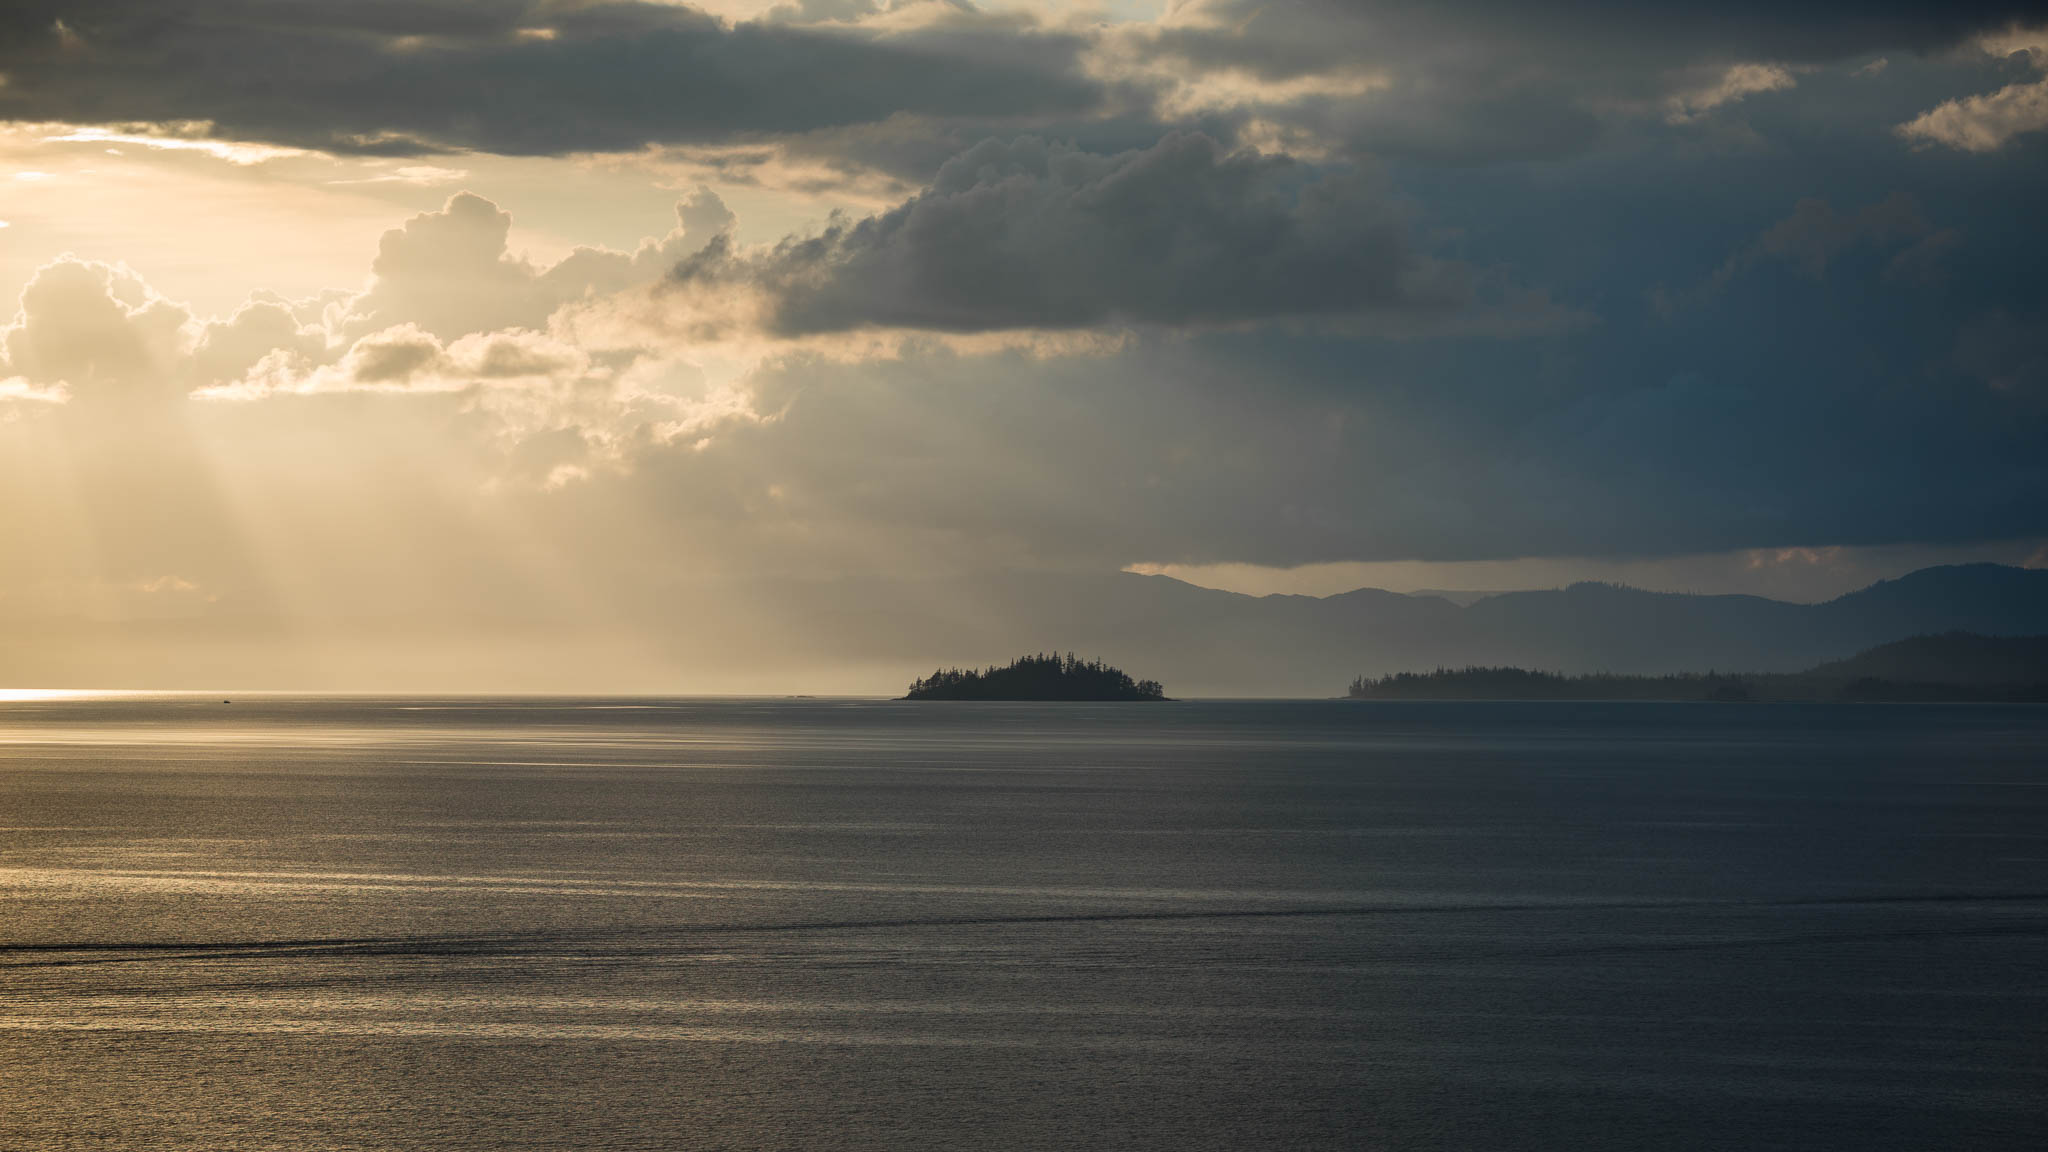
Natural light can vary drastically over the course of a few hours. The classic example is between mid-afternoon light, golden hour, sunset, and blue hour. All of them can lend drastically different looks to your subject. Some lighting conditions are even more fleeting: imagine those moments when the sun breaks through the storm clouds.
The broad range of possible conditions makes it tough to offer specific advice on choosing a time of day. My only advice is to think ahead of time about what might work best for the photos you want to take. Don’t just passively observe the light, but actively figure out what time of day works and doesn’t work for your photo.
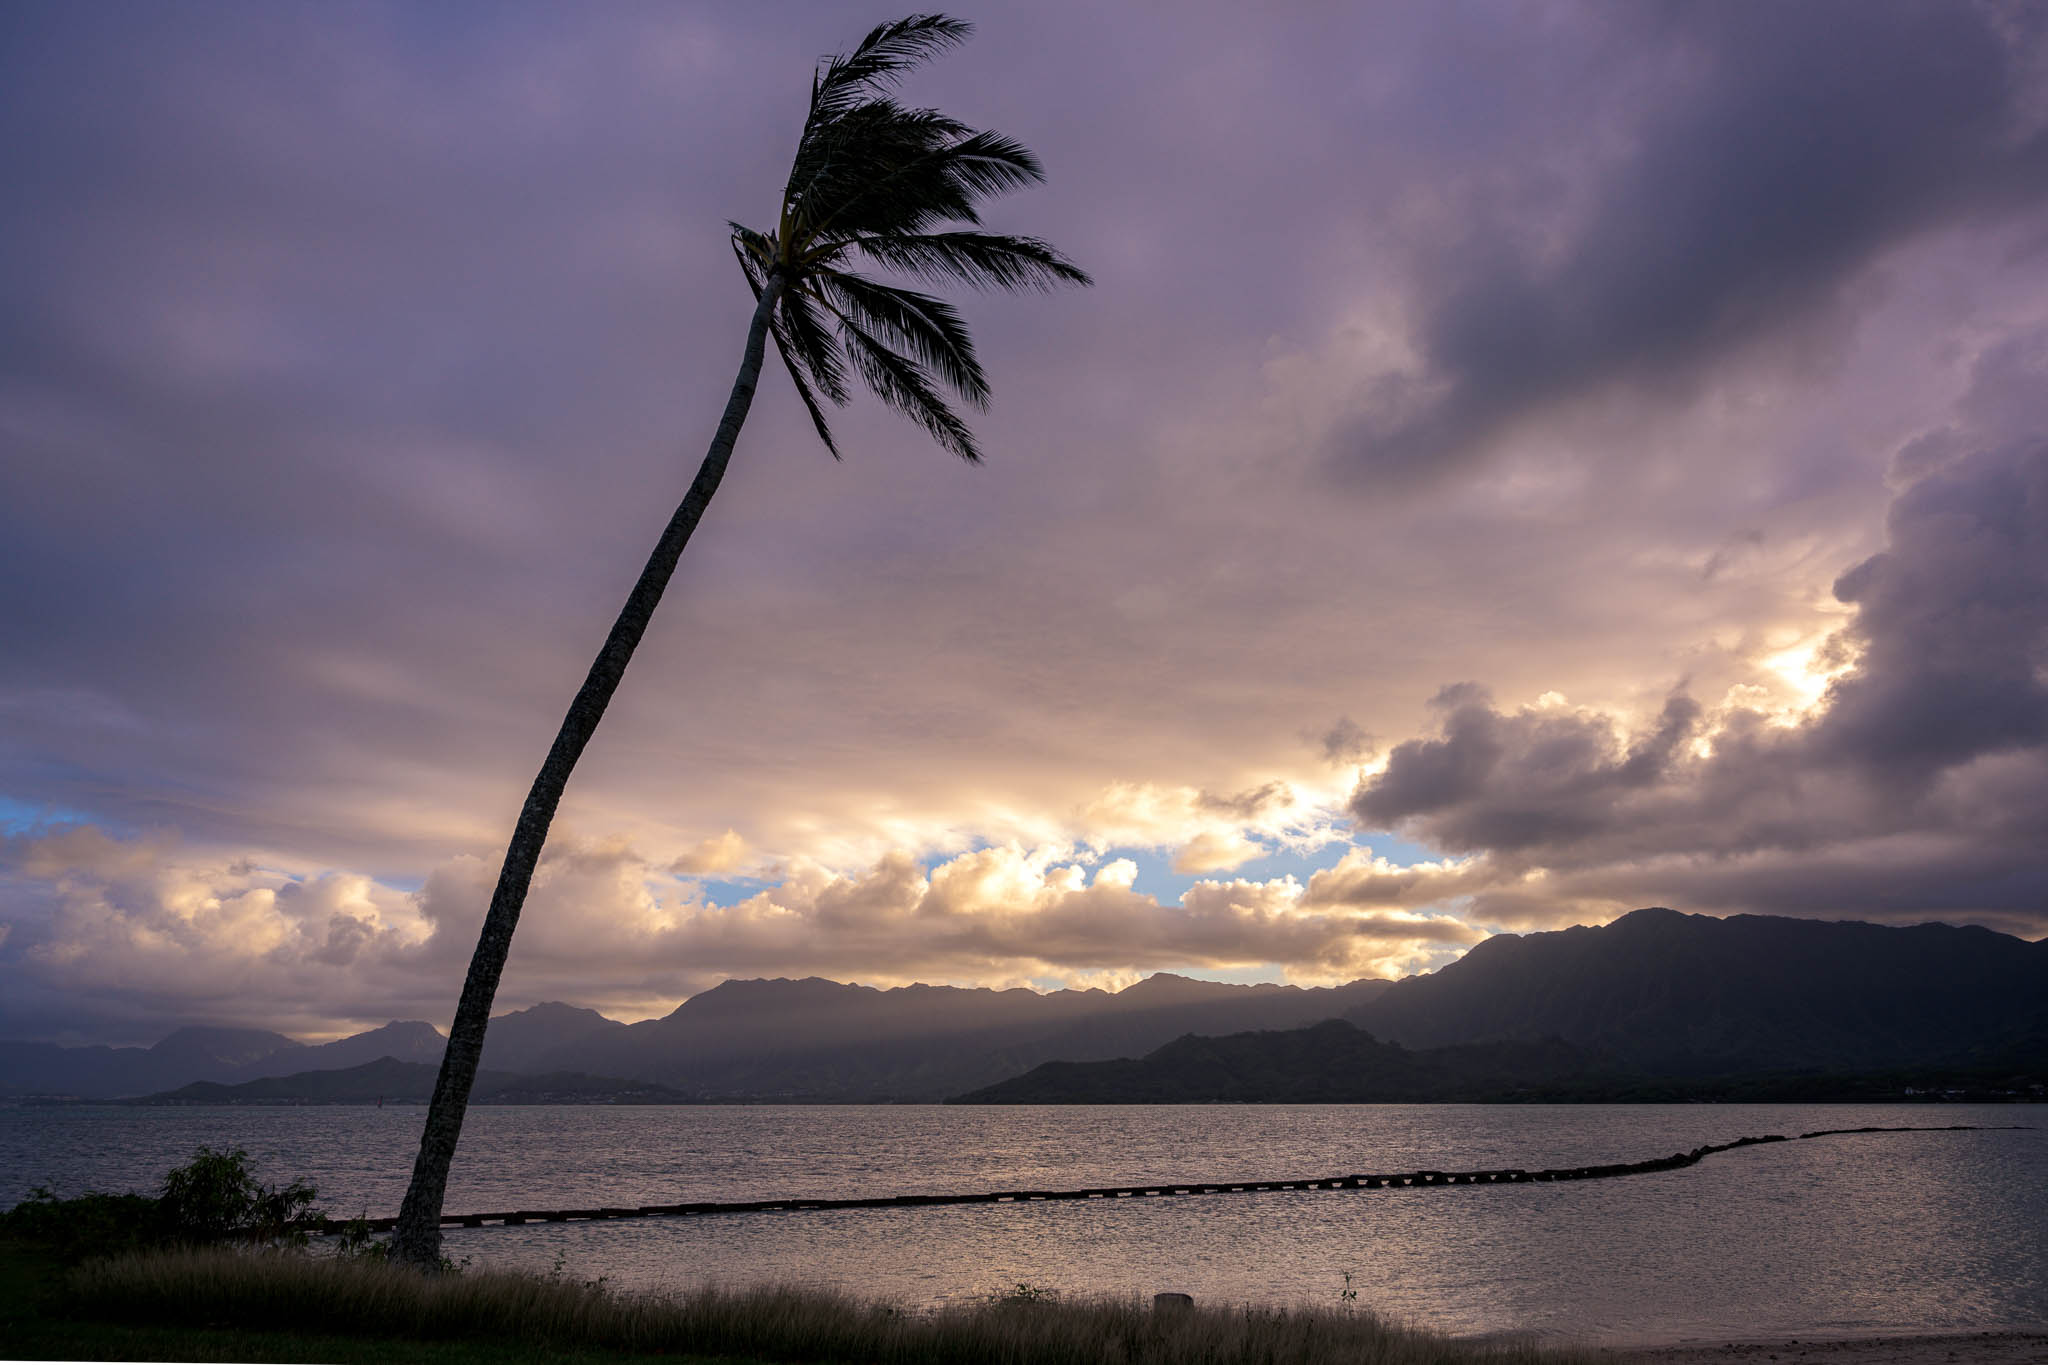
Angles
You may not be able to change the position of the sun (at least, I hope you can’t), but you can change where you position yourself and your subject relative to the sun. The angle you face matters a great deal to the quality of the natural light.
For example, if you put your subject between you and the sun, you’ll create dramatic backlighting. Having the sun at your back, but slightly off center, can give a good fill light on your subject, while still keeping some shadows for contrast. Meanwhile, side-lighting can give long shadows and sharp contrast. This can be a great way to reveal texture and shape in landscapes or architecture.
What is Artificial Light in Photography?
Artificial light in photography can cover a wide range of light sources: on-camera flash, off-camera strobes, constant lights like LEDs, or even sources in your environment like lamps and neon signs. Typically, when photographers mention artificial light, they are thinking about flashes or continuous lights – basically, lights that you have control over.
Adding light to a scene is a deliberate choice. And often, the artificial light you add is meant to augment the natural light, not replace it entirely. For example, you might brighten the shadows with a bit of fill flash for outdoor portraiture. In other scenes, the artificial light may be necessary to see your subject at all, like photographing a bride and groom on a dark dance floor.
There’s a wide variety of artificial light sources, ranging from small on-camera flashes through large studio strobes and even bigger continuous lights. While these can be modified in a variety of ways, which I’ll cover in the Modification section, they all give the photographer far more control over the amount and quality of light, compared to working with purely natural sources. (If you’re unclear about the difference between a strobe and a continuous light, I’ve got you covered.)
Why Use Artificial Light?
The biggest benefit of artificial light in photography is control. For many genres of photography, being able to precisely dial in the amount, direction, and quality of light is very important. Not to mention the sheer creative flexibility that comes from controlling the color, direction, and softness of the light for yourself.
Repeatability and consistency are also major benefits. Compared to working with fluctuating natural light, artificial light is much more consistent. This can come in handy when working with different clients who want your signature look, or even just speeding up your work by using a lighting setup that you like.
Along similar lines, artificial light doesn’t throw any surprises your way. You might show up for an outdoor shoot, and suddenly the sky turns dark and stormy. Unless you forget to charge your batteries, the same thing won’t happen with a strobe.
Finally, artificial light allows you to go beyond the technical limits of your camera in natural light. Even if it’s nighttime, you can shoot high-quality portraits with a flash that might have required ISO 25,600 without one. You can also freeze fast-moving subjects with a flash – subjects that you never could have captured otherwise.

How to Modify Artificial Light
Start with the Light Source
There are a wide range of artificial light sources that can work for photography, and they each come with their own benefits and drawbacks:
- Small flashes are affordable and easy to work with, while still providing plenty of light for smaller subjects and small groups of people. They let you freeze fast-moving subjects, but they usually lack some advanced features.
- Larger flashes provide more power and faster recycling times, and they’re capable of filling larger modifiers like softboxes and parabolic umbrellas. They tend to be more expensive.
- Continuous LED-based lights tend to have lots of creative options, like RGB, CCT, and gelled color modes. They also work for video while flash does not. However, they are not as bright as a flash / strobe, so they don’t work for some applications.
Whatever your choice of artificial light, it’s important to understand how the type of light impacts your decisions down the road. If you’re looking for a softer look, for example, it’s best to choose a bright light that works with a large softbox. Or, if you want to shoot video, figure out a continuous light that works for you.

Modifiers
Consider budgeting for a number of modifiers when choosing your lighting kit. Every source of artificial light becomes far more useful when you have a range of modifiers to choose from. Adding softboxes and stripboxes can help you increase the apparent size of your source, while adding a snoot or grid can help you tighten up the spill. Gels let you turn a white light into a rainbow of colors, or match your strobe to other light sources in the frame, like sunset.
There’s a massive range of light modifiers out there, and it can be overwhelming when starting out with an artificial lighting kit. I’d suggest to start with the basics: something to soften the light, something to focus the light, and gels to color the light. By having these three options, you can create a wide variety of looks.
To get more specific, you would use an umbrella or softbox to soften the light. Meanwhile, basic tools like a snoot or grid can focus / harden the light for a very cheap price. Gels come in a variety of different kits, and all you need to do is make sure you get one that attaches to your light source easily.
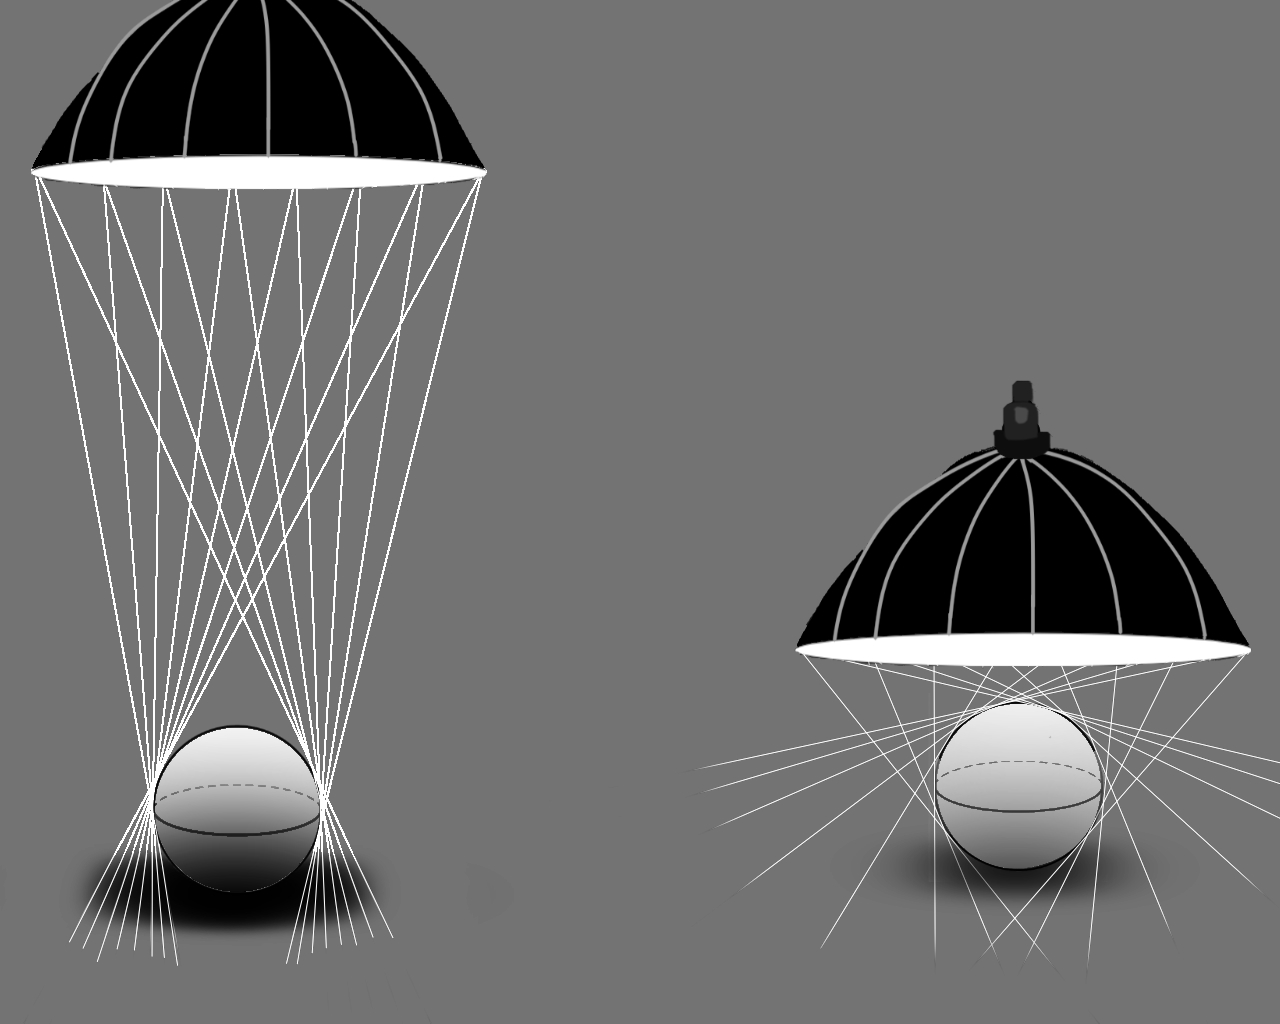
Distance
Another important factor in modifying artificial light is actually free: changing the distance between the subject and light. Bringing the light closer can both soften the light (by increasing the apparent size) and cast more light on your subject.
For more information on diffusers and lighting concepts, check out Nicholas’s thorough guide to diffusers here.
Conclusion
I think that understanding light is the most important things as a photographer. Even if you’re only a landscape photographer who will never need artificial light, a lot of the concepts at play will matter as you visualize how the sun will sculpt the landscape throughout the day.
As for artificial light, if you’ve been putting off how to use your flash, take this as a sign to learn it now! The flexibility and creativity that you gain from artificial light is extremely valuable for almost any type of photography.
I hope this article gave you a good sense of natural light, artificial light, and some of their unique qualities. Once you understand these types of light and how to modify them, you can create any style of image you imagine.
Natural light all the way. An untrained eye might not notice the difference, but the photos just look so much better…and natural.