Every photographer has a toolbox of camera accessories that are heavily used for photography. While some photographers have a large array of accessories for every type of situation and need, others only buy what they feel is necessary for their photography work. In this article, I will provide some detailed information about what accessories should be in every photographer’s bag – I call it a “must-have” list.
Table of Contents
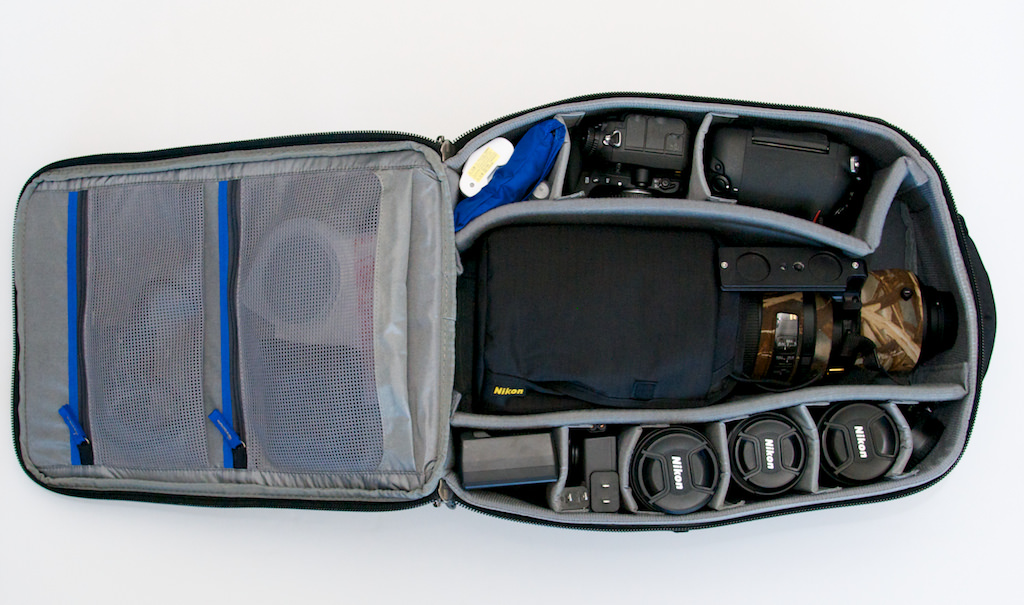
1. A Reliable Camera Bag
As soon as you buy a camera, you buy a camera bag because you want to protect your investment and easily transport it between locations. But choosing the right camera bag is not always easy – there are so many different bags out there, that it gets frustratingly difficult to make the right decision.
Oftentimes, people end up buying a small camera bag, only to replace it in a couple of months with a different one, realizing that they need more room for their camera and lenses. This happens all the time and it also happened to me! I got my first Nikon D80 DSLR, thinking that I wouldn’t spend a penny more on an already expensive camera. I bought a compact camera bag that fits the camera and a couple of lenses and thought that I was good to go.
Eventually, I ended up buying another lens and extra accessories and my bag was too small to accommodate everything. So I had to go and buy another camera bag with more room. Instead of wasting your money like this, you should buy a good camera bag from the get-go. I personally prefer a backpack, but some people like the convenience of using sling bags and shoulder bags. It is a personal preference and you should try before you buy…a local camera store is a great place to start.
I personally like bags from LowePro and ThinkTank. LowePro makes the very popular Lowepro ProTactic BP 350 AW II and for air travel with a lot of gear, few bags come close to the Think Tank Photo Airport Commuter.
2. Extra Battery
An extra battery is an indispensable accessory that will come in handy, especially when traveling. If you do not already have an extra battery, you should buy one before your next trip or vacation. One more thing – batteries do not last long when you shoot in cold temperatures, so be prepared for short battery life if you are shooting in freezing conditions.
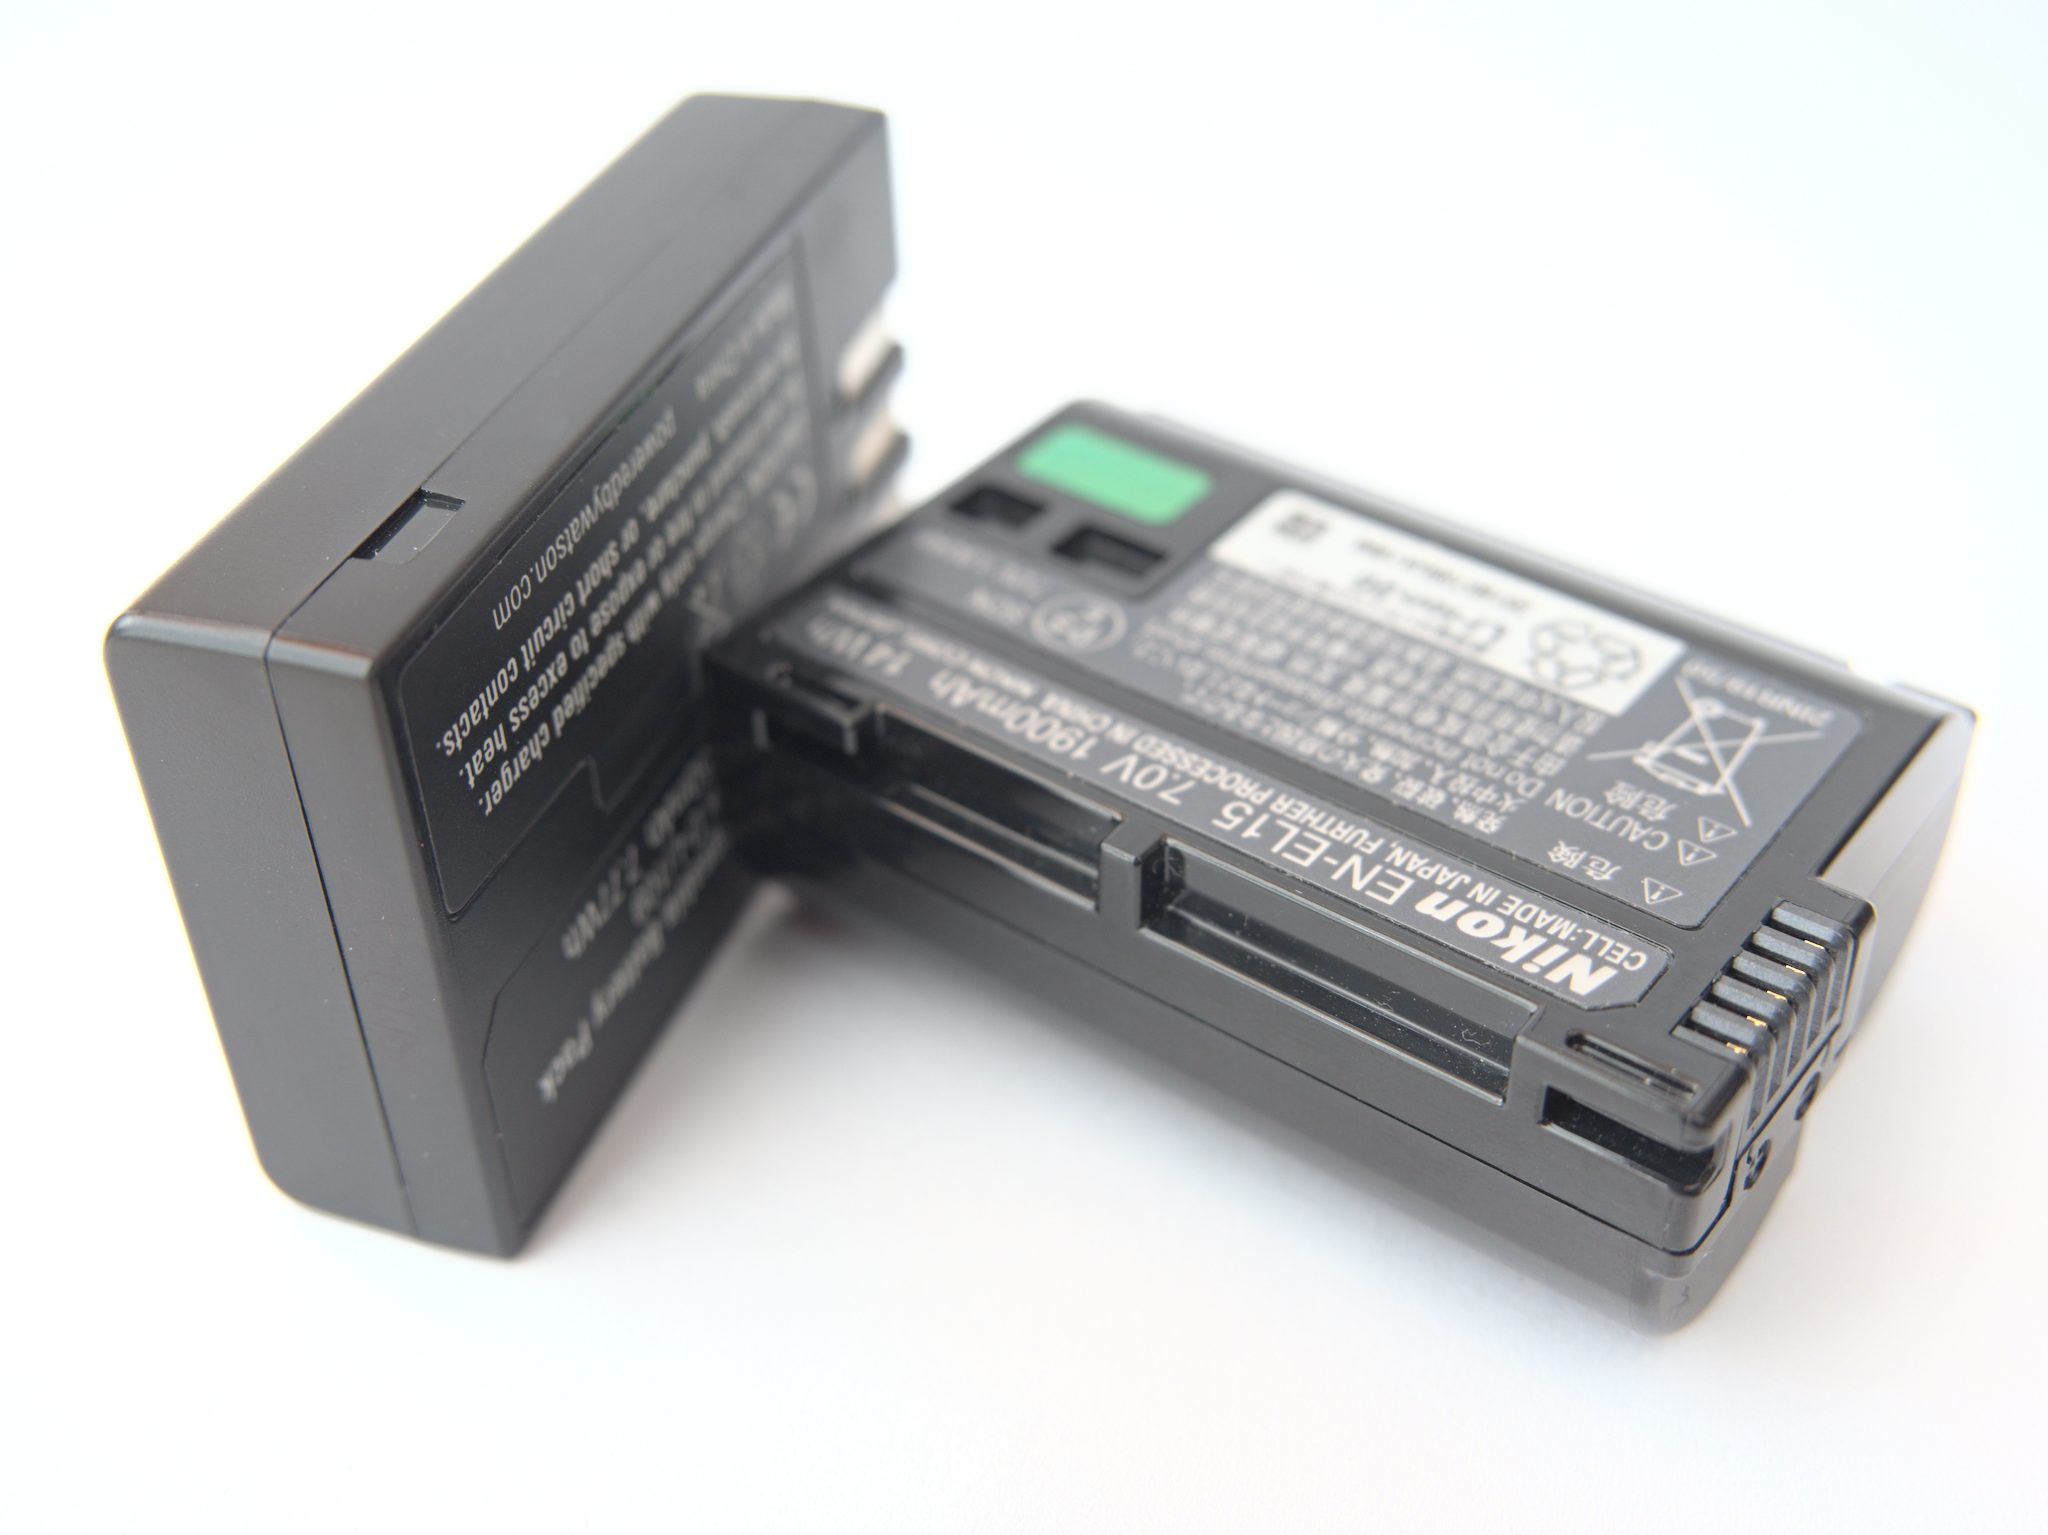
If you can charge your batteries every day on a trip, then most people find two batteries sufficient when shooting with a DSLR. If you might have a few days without electricity or you shoot mirrorless, you’ll want at least three.
It only gets worse if you want to shoot a bit of video with your photography. In that case, get four or five. Keep in mind also that if you’re going to get third-party batteries, they don’t last as long as OEM batteries (the ones from the same company who made your camera).
3. LCD Protector
I highly recommend protecting the rear LCD with a regular screen protector. A camera with a scratched LCD is not going to have a good resale value, so that’s the first thing you should do to keep it away from scratches. LCD protectors work great and you can find them in almost any size to fit your LCD. Once you protect it, don’t forget to put the plastic protector back in place if you have one.
4. Padded Neck Strap for Your DSLR or Mirrorless
The neck straps that come with mirrorless or DSLR cameras are can be uncomfortable. When you carry a heavy camera and lens combo on your neck, a standard camera strap can leave painful bruises on your neck, after just an hour or two of wearing the camera.
Luckily, there are many excellent neck straps available today such as Op/Tech Pro Loop Strap that I cannot live without. It is soft, very comfortable and can easily hold my heavy Nikon D700 + battery pack with a large lens such as Nikon 70-200mm VR II without any problems. Another super-popular camera strap is the BlackRapid Curve Breathe Strap from Black Rapid, so check it out as well.

5. Lens Cleaning Kit
Dust and dirt in front of the lens element reduces lens contrast, resulting in cloudy-looking images. Therefore, you should always keep lens front and back elements clean at all times. There are plenty of different brands to choose from and any of the optical solutions should work fine such as this Zeiss one.
6. Giottos Rocket Blower
The Giottos Rocket Blower is a miracle when it comes to blowing off dust from your camera gear. It only costs twenty bucks, but this is one tool that you will be carrying with you in your camera bag at all times!

It helps me keep my lenses clean and it does a really good job blowing off dust from the camera sensor when I’m traveling. Give it a try and you won’t regret it.
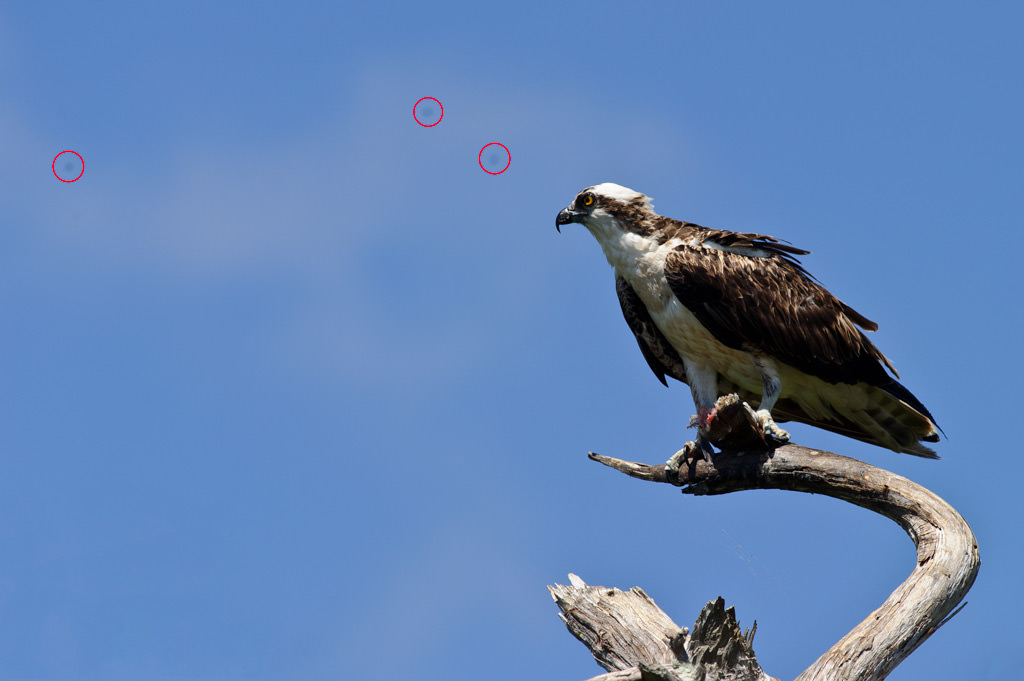
You can also use the rocket blower to gently blow away water droplets from parts of your camera gear if it gets a little wet from the rain.
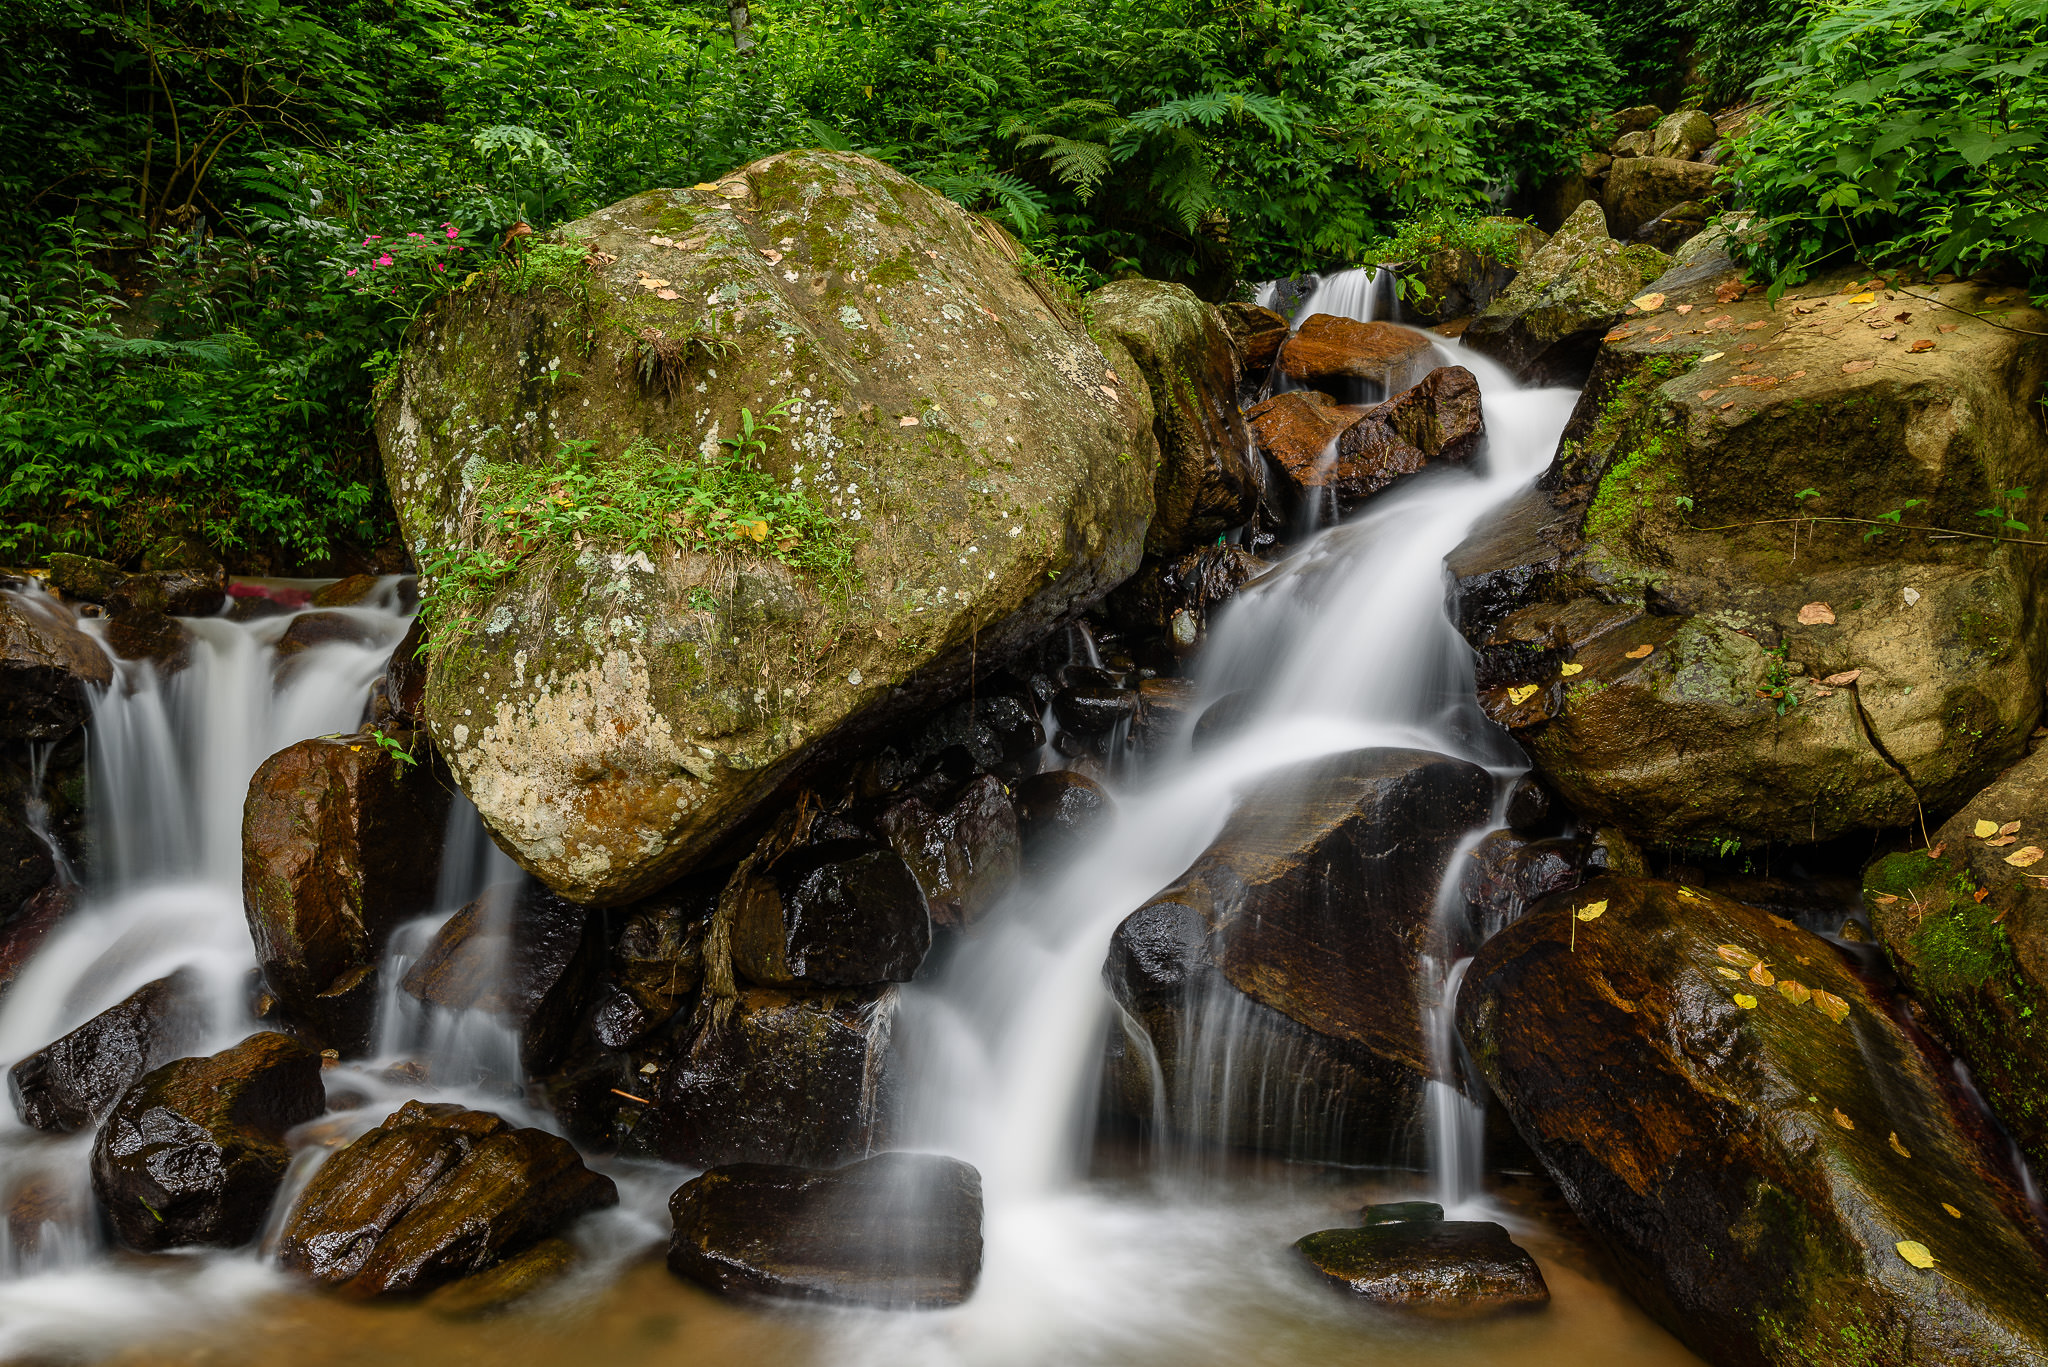
7. Sturdy Tripod
A good, sturdy tripod is a must-have for low-light, night and landscape photography. Don’t buy cheap plastic tripods that can easily break – you do not want to put your expensive camera equipment on a crappy tripod. Always make sure that the tripod you are buying can handle at least twice more weight than your camera and lens. I have heard plenty of horror stories about expensive interchangeable lens cameras falling off from crappy tripods!
The best tripods are made by Gitzo, but they are expensive (starting from $400 and up). Manfrotto also manufactures very good tripods and you can buy tripod legs and a head separately, or buy a tripod system. Some of the cheapest tripods are by Sunpak (priced under $100) and you can find them even in such stores as Best Buy. I have also heard that the Slik tripods are very good in terms of value and price, such as the Slik 700DX Pro.
If you do get a tripod, I recommend getting a carbon fiber one if possible. Although they are a bit more expensive, they absorb vibrations better and best of all, they are much lighter than aluminum tripods.
8. Remote Shutter Release
Don’t forget to grab a remote shutter release for your mirrorless or DSLR camera along with a tripod. A remote shutter release allows you take a picture without pressing the shutter button on the camera, which can cause camera shake.
A remote shutter is useful in landscape and macro photography where vibrations from your camera and tripod setup can easily cause blurred photos. Wildlife and event shooters will find less use for one.

Many digital cameras have infrared remotes that are very lightweight, compact and best of all—wireless. Both Nikon and Canon have a good selection of remote shutter releases and I recommend getting one that supports “bulb” mode (more than 30 seconds exposure) with an exposure lock. Here are some possibilities:
- Canon BR-E1 Wireless Remote
- Sony RMT-P1BT Wireless Remote
- Vello RS-O3II Wired Remote Switch: Make sure you select your camera connector type before buying!
- Vello FreeWave Plus II Wireless Remote Shutter Release: Again, make sure you select your camera compatibility before buying
I use the Vello RS-O3II wired shutter release for my Panasonic G9 and I find it works very well. As a bonus, I don’t ever need to think about batteries.
9. Lens UV/Protection Filter
Get used to buying a lens protection filter while buying a lens. If you do not already have one, definitely buy one as soon as possible. Not only do protection filters help protect your lens from accidental damage, but they also make it easier to clean lenses, especially when the front element of the lens sticks out in a round form.
Lens protection filters are especially useful for lenses that do not have fluorine coatings that repel dust.
Just make sure to get a good-quality filter like those from B+W or Hoya because a cheap filter will definitely reduce your image quality.
10. Polarizing Filter
If you are thinking about taking pictures of landscapes and architecture, a polarizing filter is another “must-have” accessory. I wrote an article on how to use a polarizing filter before and I highly recommend that you check it out.
Basically, a polarizing filter can reduce reflections from objects such as water and glass and can be used to darken the sky and bring out the clouds, making the scene look much more vivid. I do not recommend keeping it on your lens at all times, since a polarizing filter slows your camera down by reducing the amount of light that passes through it.
11. Neutral Density Filter
A neutral density filter is a must-have accessory if you plan to shoot a little video along with your photography. That’s because if you’re outside during the day, then there will simply be too much light for the slow shutter speeds required for video.
What sort of ND filter should you get? If you don’t mind restricting your aperture to f/4 or narrower, I find a 2-stop filter like the Tiffen 49mm ND 0.6 to work well. Just make sure to get one for your lens size, since different lenses have different filter requirements.
If you want to shoot video at all sorts of apertures including f/1.8 in bright daylight, I suggest something like the Tiffen 82mm Variable filter. This will allow you to shoot video at the brightest apertures and yet let it more light for the narrow ones. The only downside to the variable filters are that they’re more expensive.
Please let me know if you have any questions in the comments section below.
This is too good description about DSLR accessories. All details are such helpful for beginners as well as professional photographers. Thanks a lot for this.
Sir,
Is it important to buy a UV Filter…?
And….I m thinking of buying my camera bag online…But if it doesnt suit my camera …then thers the problem….And the local shops have low quality bags for a high price….Pls help
Hello Nasim!
I’ve just bought my first dslr camera ever, Nikon 3400 with 2 lenses. I want to keep the lenses clean and protect them. I’ve bought a sturdy shoulder bag, and I’ve read what you said about UV filters. Are there any pros/ cons with UV filters? I’ve read an article, where they were not so keen on UV filter but it seems they got some cheap ones and so they’re negative about it. They talk about some distortion in pictures, but I don’t understand their point. Do you see any advantages/disadvantages? Are the any differences in price/quality etc. Is there something else I can do to protect the items!
NB. You’ve an great website! I enjoy it so much!
Lena
I’m new to the DSLR world and recently just got used Nikon d90. I’m so happy I discovered this website, it has a wealth of information, and I’ve been spending hours taking notes on here. Thank you!
Excellent list indeed. Here is another list of 13 Essential DSLR Camera Accessories (All Under ₹1000)
FYI: MarkinsAmerica.com has D500 L-Brackets in stock for $129.99. A clever two-piece design. I own Markins Ballhead and gimbil and the quality is incredible. I’ve not posted to this forum before so I hope this is appropriate?
I am having a 55 – 250 mm lens and scratch is there on it.
How to get off that scratch ?
Will there be any help if i use lens cleaning kit ???
Just got my Nikon d7100 kit with 55-300mm & 18-55mm lenses,do I need Polarizing Filters on both of them?It’s ok if I do,just wondering.Thank you
how much is lens hood important as a accessory for beginners
Hi Nasim ji,
I read your website and can’t just close the tab without complimenting about this website. It’s of great help. To be frank, I’m not a photographer and was searching about stuffs that can be gifted to a photographer brother. Yet, the way have documented the stuffs are excellent.
I need your help in gifting my brother. I’m thinking of gifting a tripod. he already has one which is a basic tripod which can just hold the camera. Can you please just some good tripods which have connections for remote controls also. Sorry to bother you for this.
Thank you in advance.