In photography, conveying motion is one of the most challenging tasks due to the very nature of a stills photograph. You are essentially freezing a specific moment in time rather than capturing the whole of the sequence from which this moment originates. When set to fast shutter speeds, our cameras can break down whole events into precise frames that tell a story in hundredths and thousands of a second. Nowhere are fast shutter speeds more common than in the fields of sport and wildlife photography, where using a quick shutter speed is almost a prerequisite in the hopes of freezing the subject at the perfect moment when the action peaks.
The issue with telling a story in hundredths and thousands of a second is that, at such fast shutter speeds, the subject is perfectly frozen in place – so the image loses all sense of movement. To counter this, a photographer can employ two techniques known as motion blur and panning with motion blur.
“Motion blur” refers to the apparent streaking of moving objects in a photograph that occurs when part of the image being recorded changes during the exposure. This streaking may occur on an object that is moving within in the frame or because of user-induced camera shake. The longer the shutter speed, the more apparent the motion blur.
“Panning” refers to a technique where you follow a subject with the camera while keeping it in the same position in the viewfinder as it moves along a plane of motion. The subject can be anything from a runner on a racetrack to a flying bird, and this technique is most effective when your subject is moving across a horizontal plane. Panning with motion blur is a combination of the two techniques, where the photographer pans along with the subject while utilizing a slow shutter speed. This effectively combines both techniques to produce an image where part of the subject is sharp while the rest of the image blurred and streaked, thus creating the visual sensation of movement. Today’s article covers these two techniques and explains how they can be used to create more dynamic images.

What Is Motion Blur?
To understand how panning works to create a sense of motion in a stills photograph, we must first understand motion blur.
When we create an image, the resulting photograph is a combination of all the objects in the scene – as well as their movement through the camera’s viewpoint – over the period of the exposure. During the exposure, if any object in the frame moves faster than the set shutter speed can “freeze,” the subject will look smeared along the direction of its relative motion.
This smearing occurs on an object that moves within the frame, or on a static subject when the camera moves during the exposure. The latter of these options is a useful technique in and of itself for creating a sense of motion in an otherwise motionless scene.
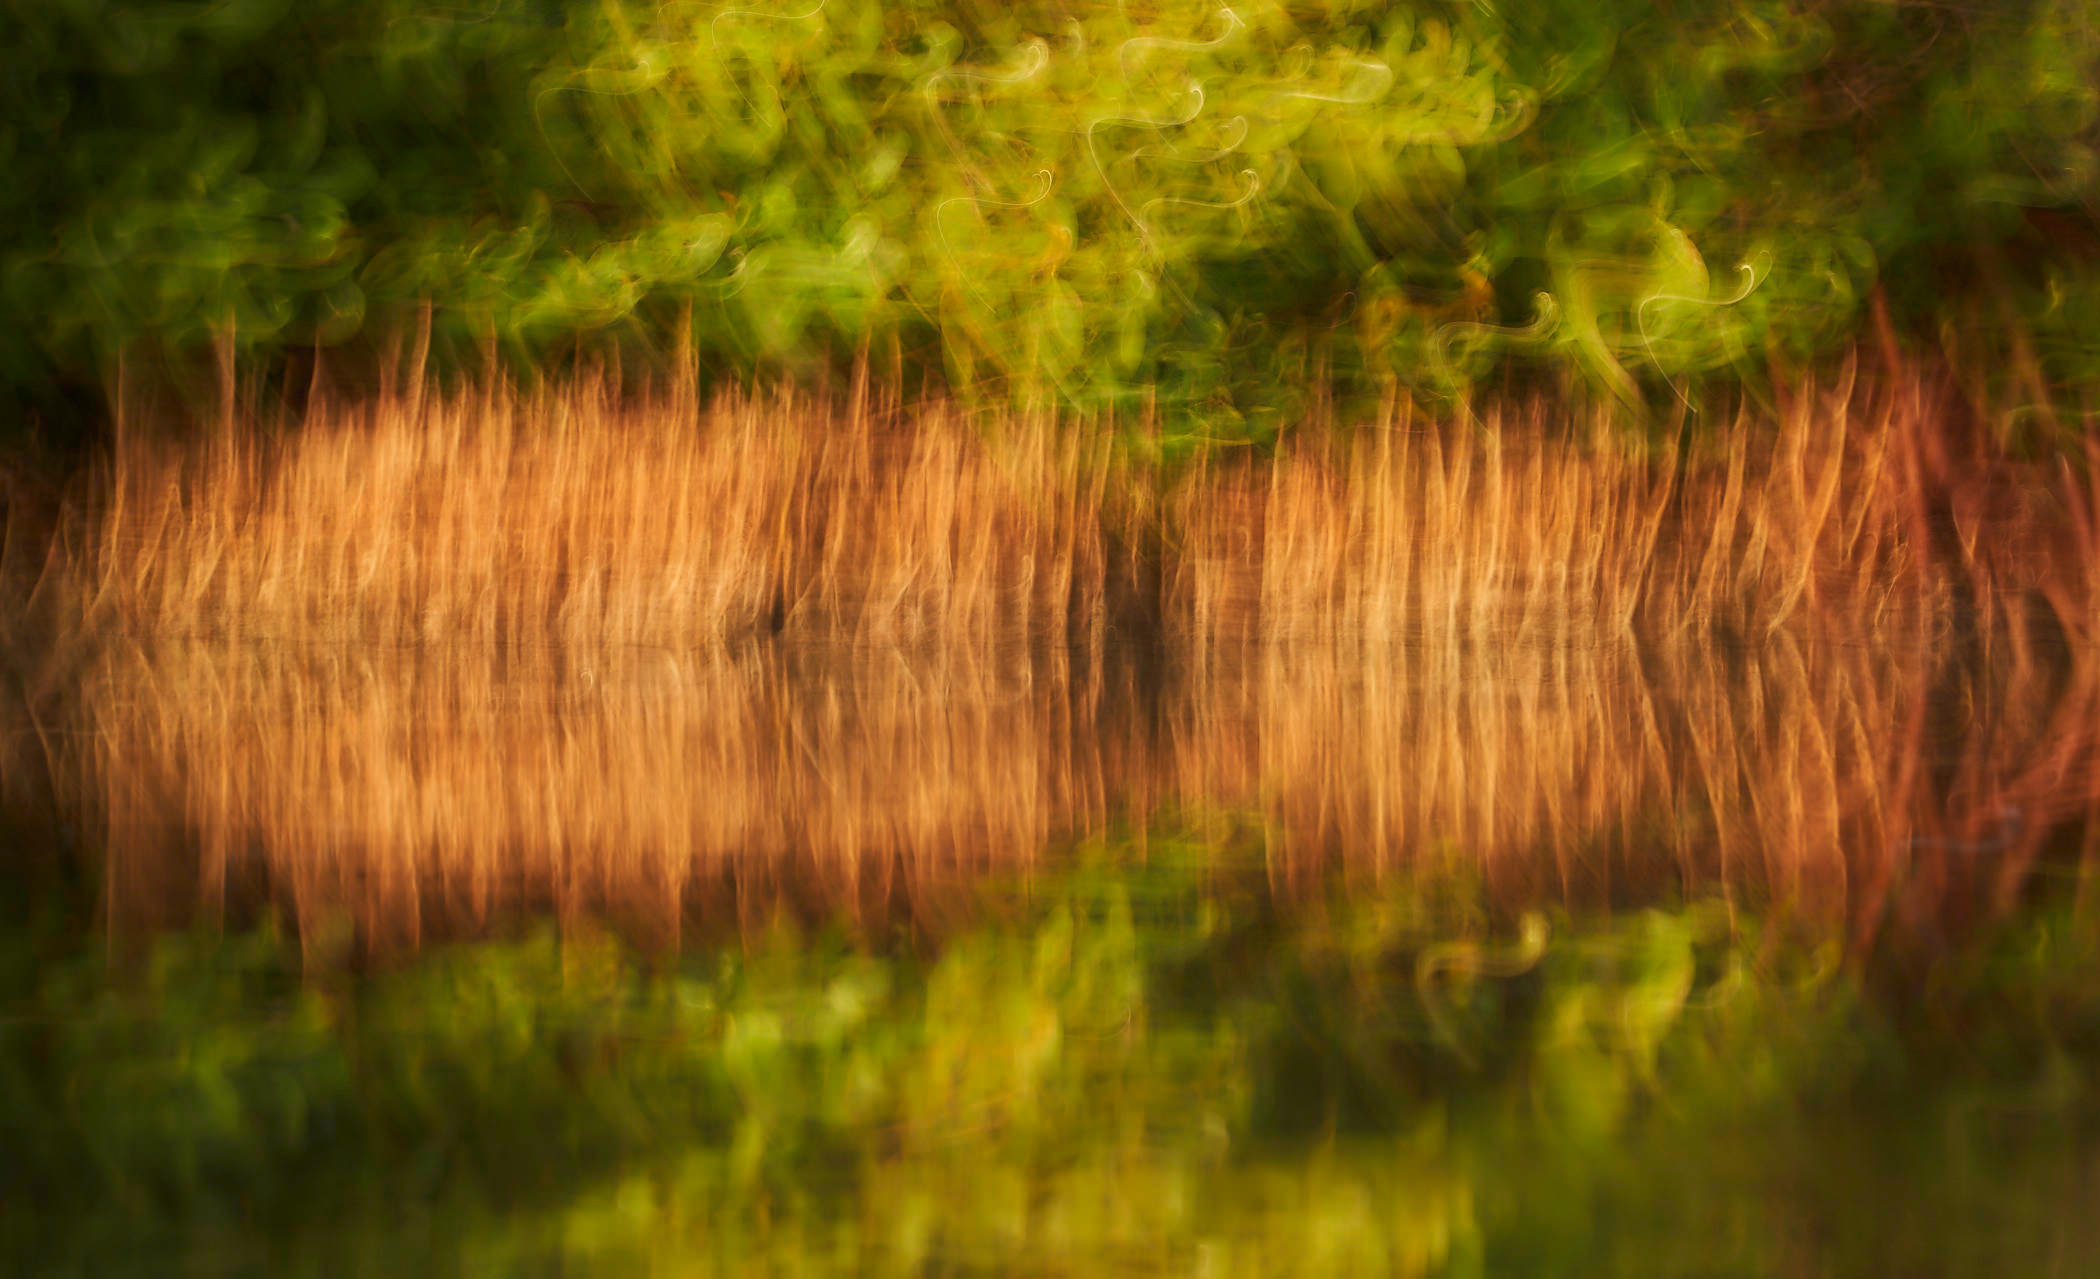
The below photograph of the roots of Mangrove Trees highlights this technique. Here, slow shutter speed and deliberate camera movement across the horizontal plane dramatically blur the details of the roots to create a sense of movement in what was an otherwise stagnant scene. Whether one prefers this to the original is a matter of taste, but having this technique gives a photographer a creative outlet in situations where the subject is entirely stagnant.
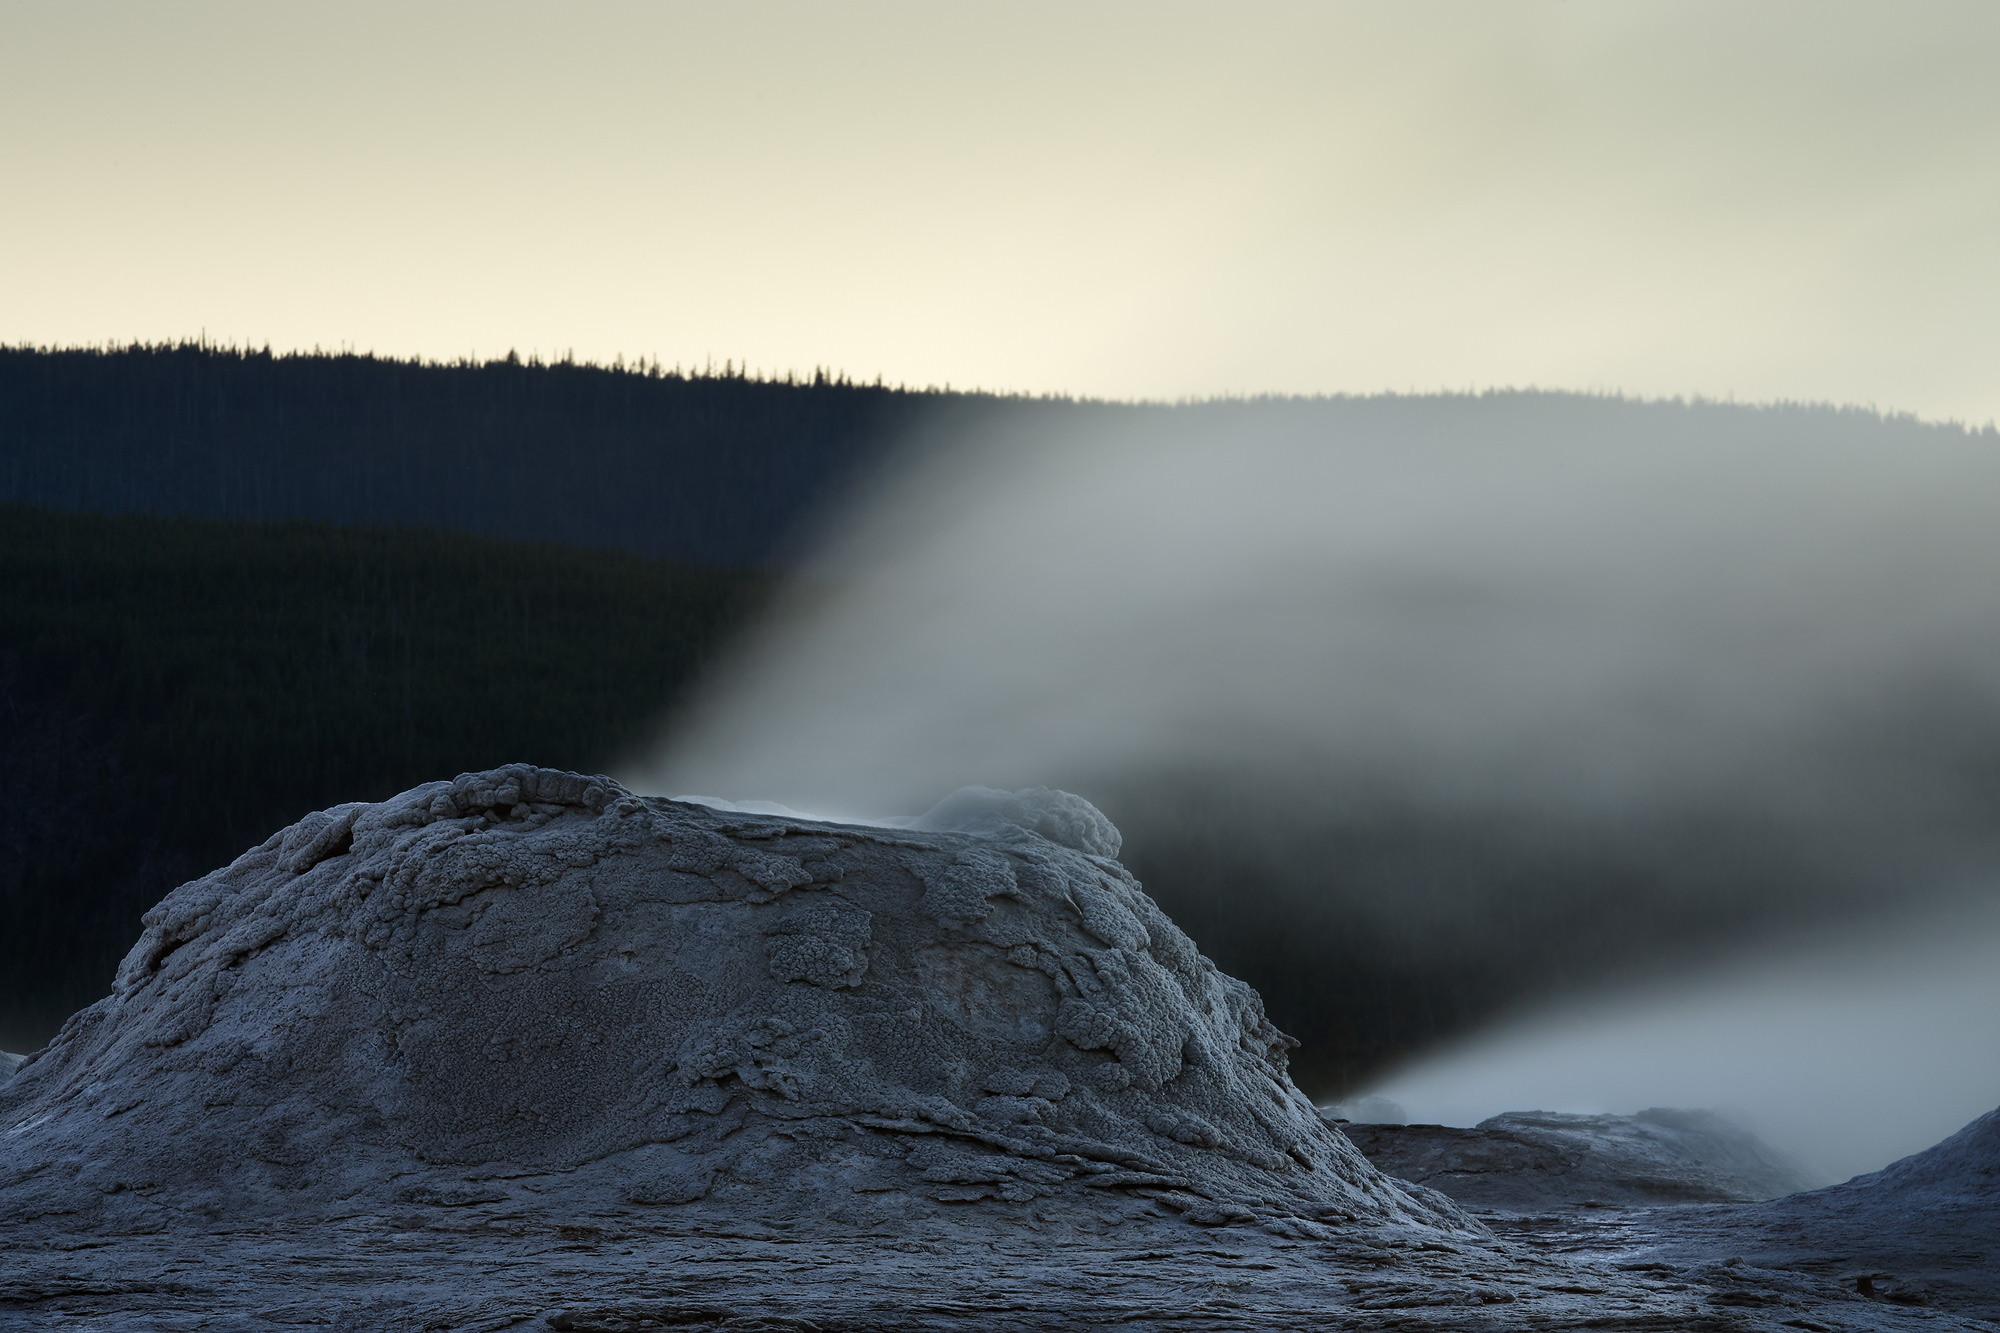
With the camera completely still (on a tripod or bean bag), motion blur can be used to create a juxtaposition between the moving and unmoving elements of a scene. While the shutter is open, the subjects that remain fixed for the duration of your exposure remain sharp and in focus while the elements of the scene that moved during the exposure are increasingly blurred depending on how fast they move.
The below photographs of The Lion Geyser complex in Yellowstone highlight this technique. The Geyser cones remain pin-sharp for the duration of the exposure, while the fast-moving steam and water rise from their depths, turning into a seamless jet of steam and textured water.

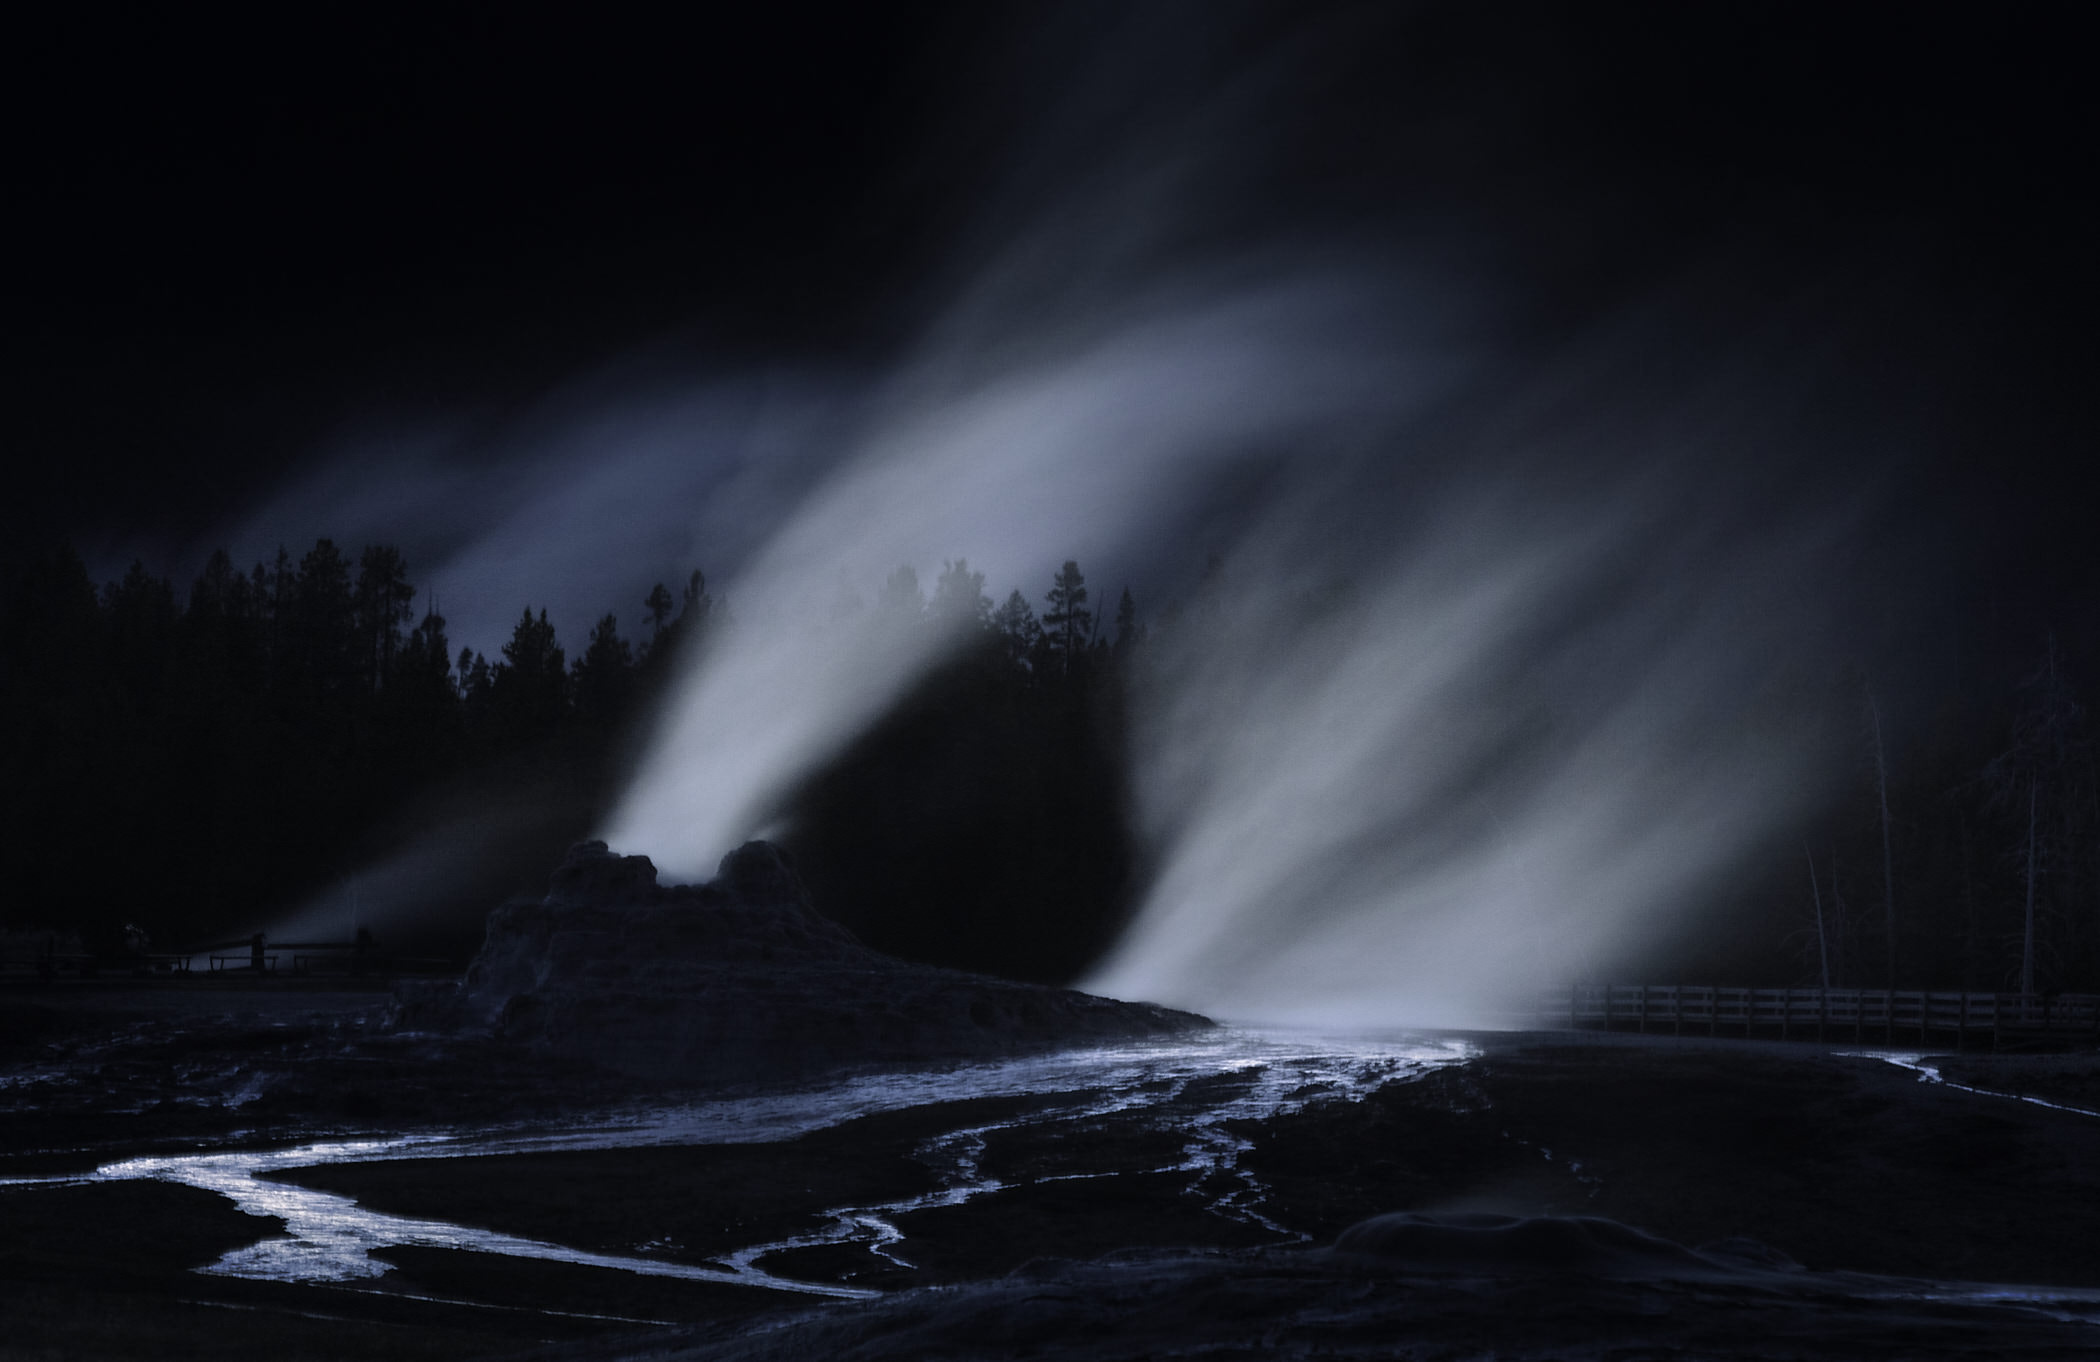
The problem with this technique is that if your exposure time is too long, and the background behind your subject is too bright, you might end up “losing” your subject. Quite simply, the brightness of the background is stronger than that of your subject during the duration of the exposure. Therefore, this technique works better when you have a darker background from which your subject can stand out, like in the below image of Castle Geyser.
What is Panning?
Panning refers to a technique where you follow a subject with the camera while keeping it in the same position in the viewfinder as it moves along a plane of motion.
First, keep in mind that panning applies both to photos with motion blur and photos without. We pan with our subjects all the time in order to track it across the frame, often with fast shutter speeds to freeze motion completely. The beauty of panning is that the final image is highly dependent on the shutter speed set by the user, with slower shutter speeds giving the motion blur effect so often associated with the technique.
To correctly pan, a photographer must match the speed of the subject’s movement with the movement of the camera and lens. Fluid camera movement is essential to achieve the desired smoothness of the background blur. Beyond your technique and settings, it is also vital to understand your subject’s motion and how it impacts the final image.
First and most obvious is that the subject ought to be moving, and preferably doing so at a fixed distance from your position. Frequently, the best panning blur occurs with a subject that is traveling at a right angle, across and parallel to the photographer’s field of view. It’s almost impossible to get good results with a subject that is headed directly towards or away from you.
The farther your subject is, the slower it appears to be moving, and the easier it’ll be to follow during your pan. But if it is too far away, you lose clear distinction between it and its surroundings, lessening the visual effect of the motion. Also, the closer it is to the background, the more pronounced the appearance of speed and movement will be. As a rule of thumb, when framing your image, I recommend ensuring that your subject is large enough to take up at least 25 to 35 percent of the frame.
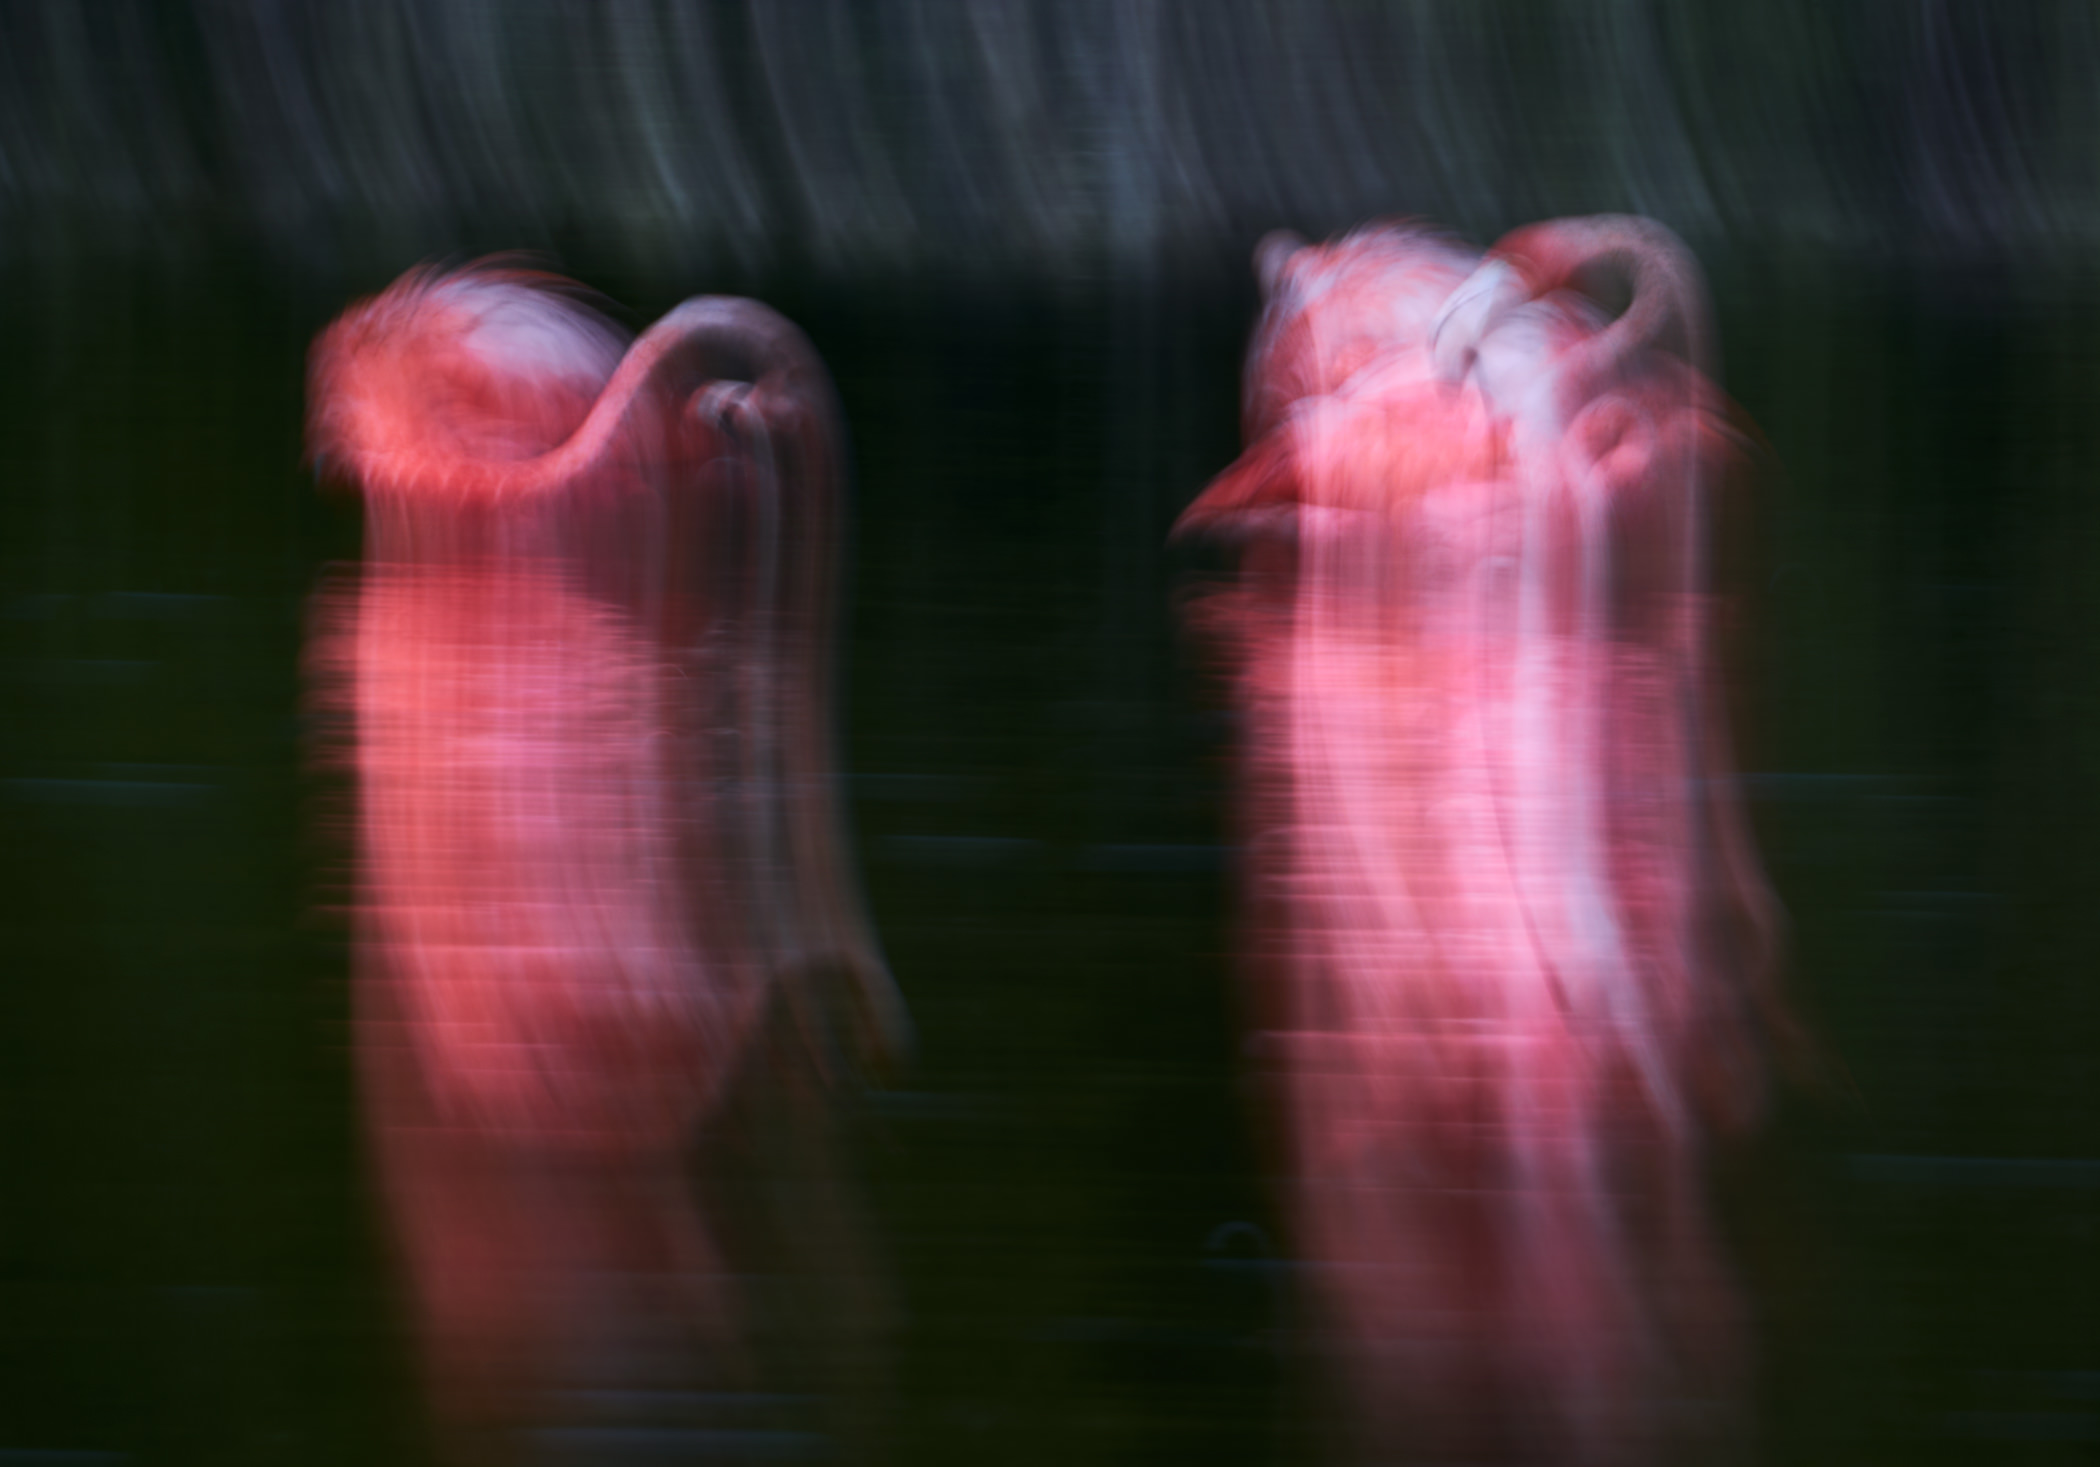
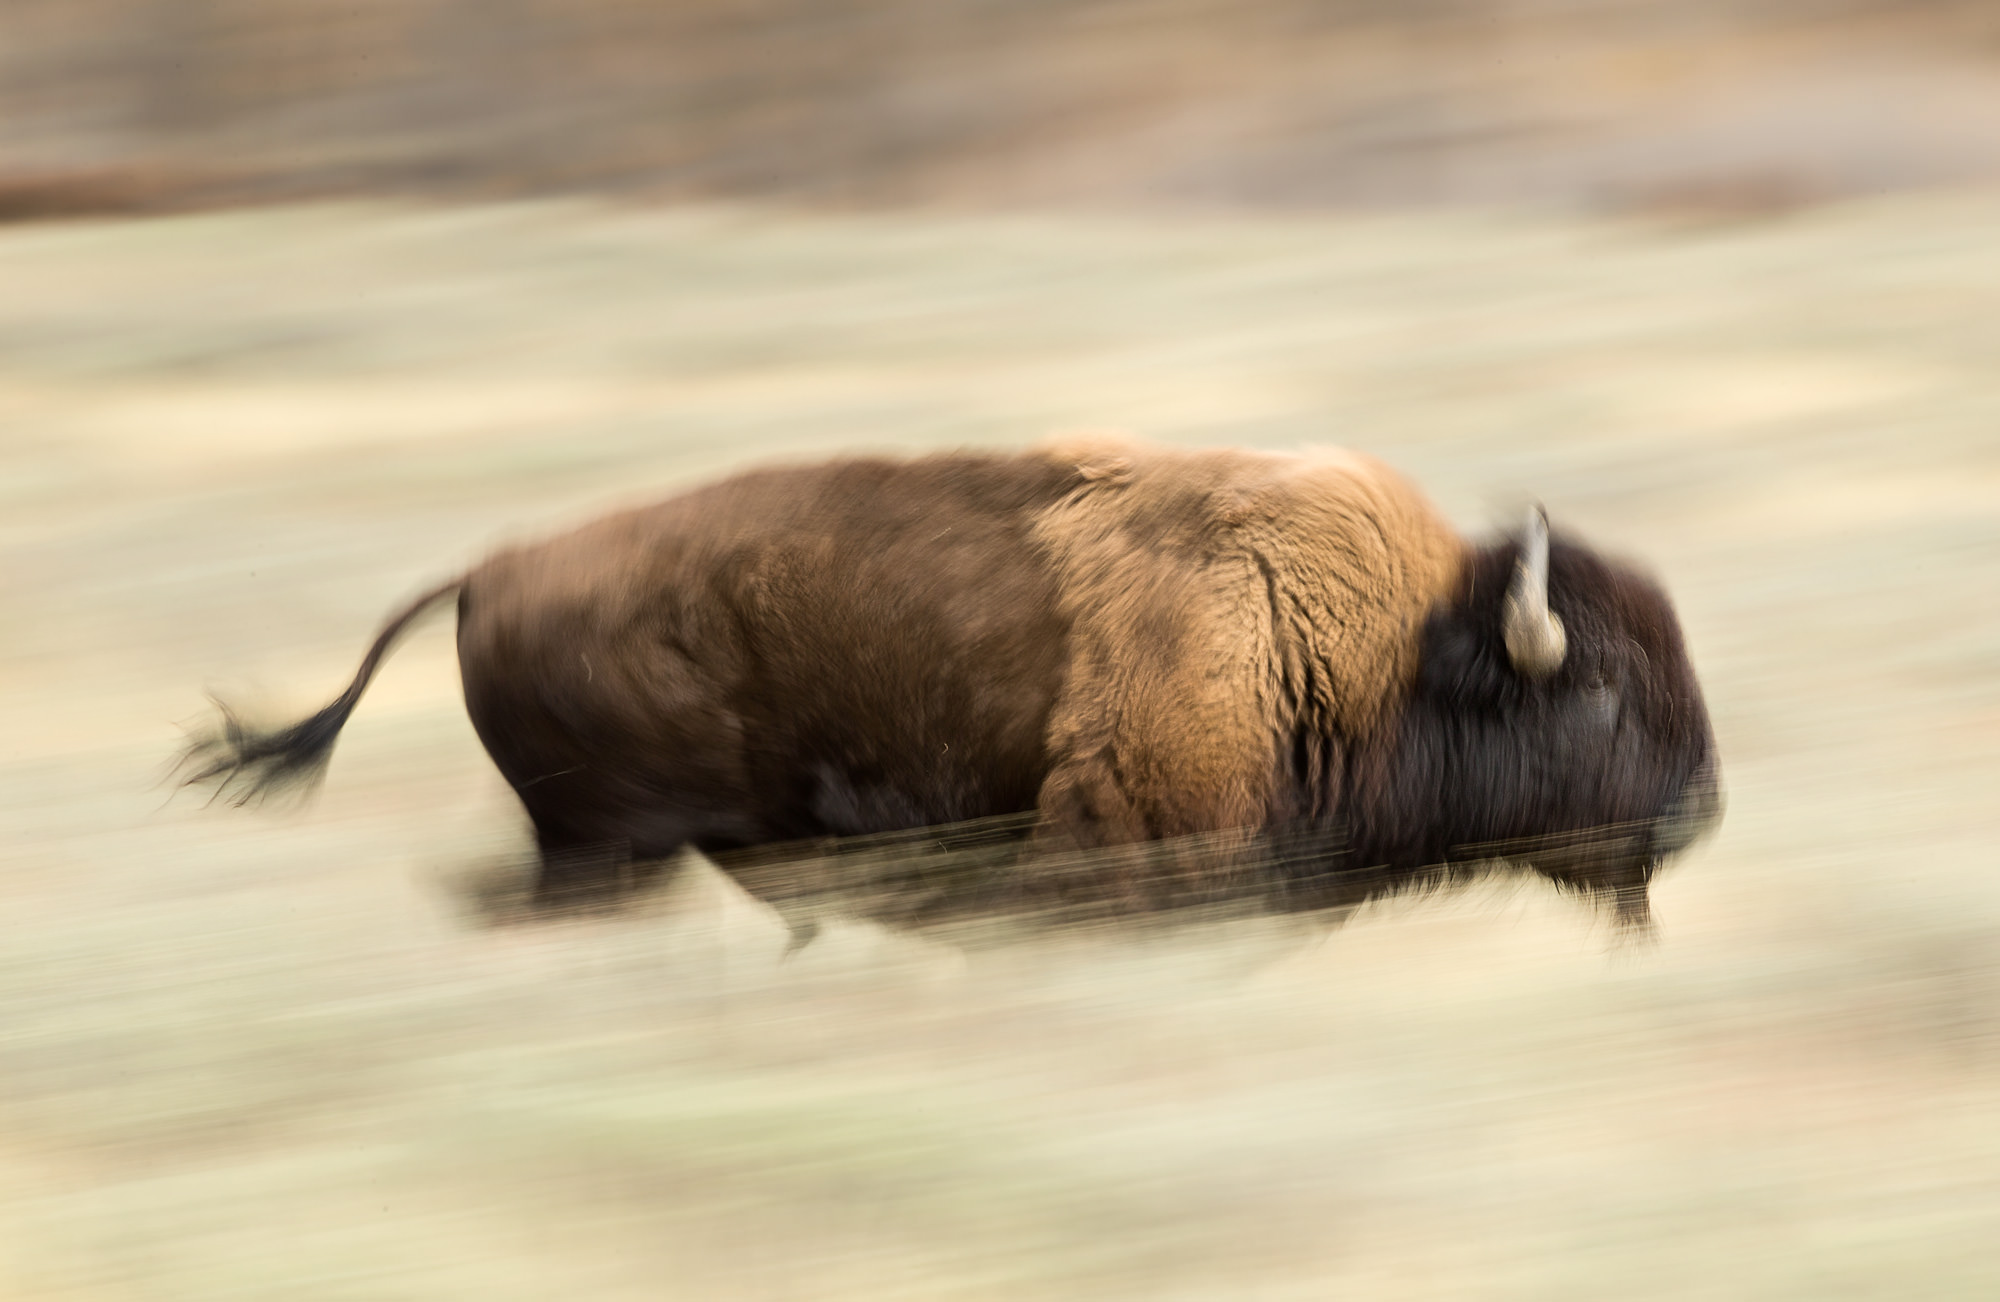
Probably the first question I receive while teaching the panning technique is “what shutter speed I should use?” The shutter speed used is an essential element of a panning shot, with different settings leading to dramatically different results. Slow shutter speeds result in a more dramatic blur effect, while faster shutter speeds retain greater sharpness with fewer parts of the image blurred. While there is no one-size-fits-all answer to this question, I would recommend starting at 1/30th or 1/20th of a second and moving up or down from there. With wildlife that is walking or moving slowly, I try to use shutter speeds as slow as 1/6th of a second. You will be surprised how much motion blur is possible with even a walking subject.
Animals that are running make it easier to use faster shutter speeds, and in these instances, I typically use speeds from 1/15th to 1/30th of a second. Due to their speed, with birds in flight, I typically use speeds of 1/40th to 1/80th second. Of course, the choice of these speeds is dependent on what sort of effect you desire, and I have found that nothing beats experience in the field in knowing which shutter speeds work best.
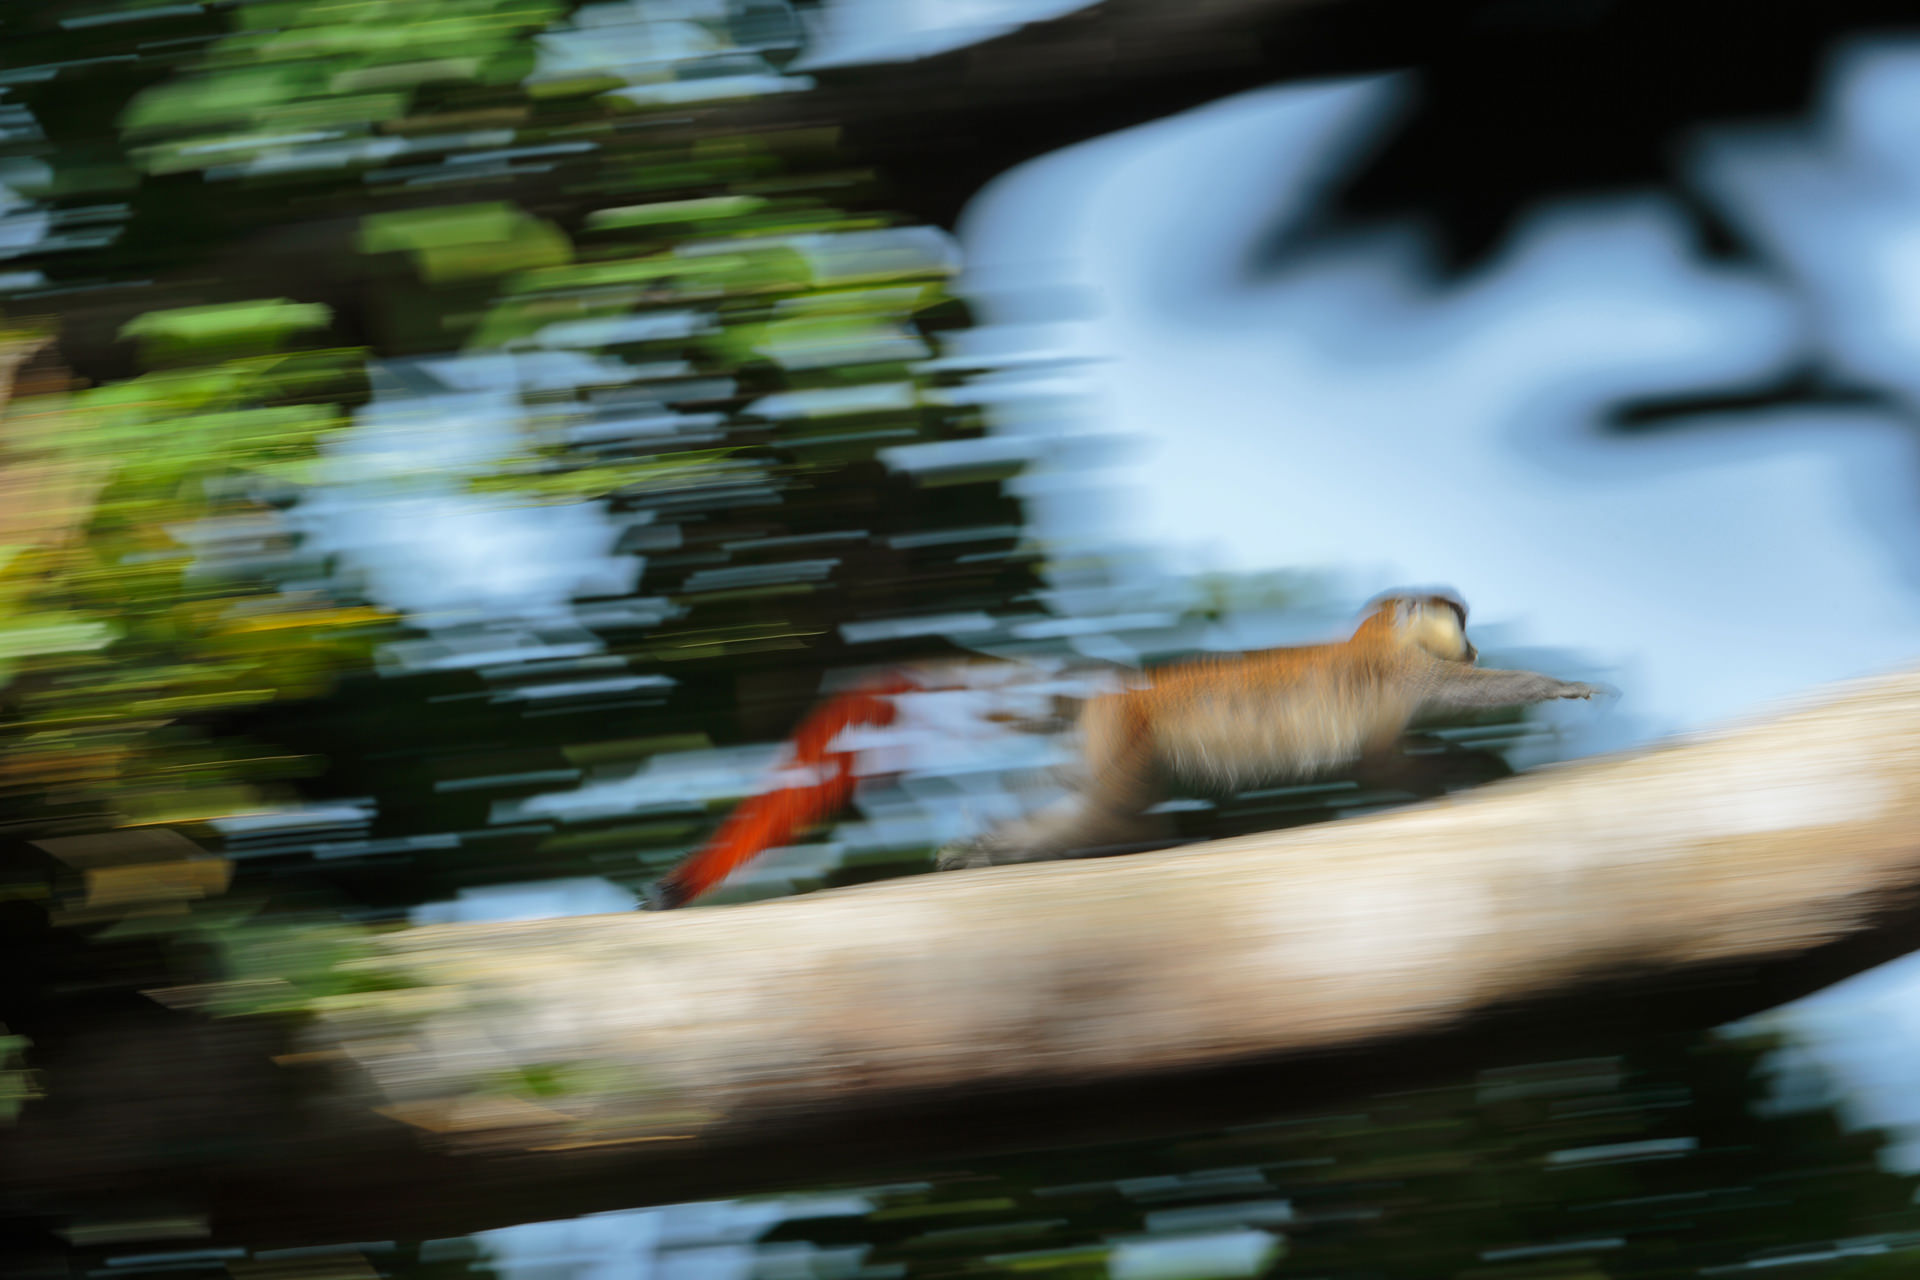
With panning, you are striving to have one or more elements of the image remain relatively sharp even as most of the image becomes blurred. Conventions state that if all the elements in the image are blurred, then there is usually no place of emphasis for the eyes to land on and capture our attention. While this is mostly true, this is a very creative form of photography, and I find that some of the most unconventionally blurred images sometimes end up being the most interesting.
The most challenging part of getting a panning shot right is to learn to swing the camera and lens smoothly as you match the subject’s movement. If your subject is moving on a predictable, “near perfect” plane, a tripod is probably your best bet for panning. In such instances, you only have to concentrate on the smooth tracking of the subject and can also pre-focus on the desired spot as you don’t have to worry about holding the camera and lens combination. That said, most wildlife subjects and sporting events aren’t predictable, and in such situations hand-holding is the way to go. All the images accompanying this article were taken while I hand held the camera. When panning while hand-holding, It is critical to grip the camera as steady as you can, with elbows and arms tucked into the body and a slight flex of the knees smooth followed by a fluid swing of the body from the waist as you follow the subject. For more conventional panning shots, try and avoid any sudden upward or sideways shifts with your body, with fluid movements a key.

If doing panning in bright lighting situations, you may have to stop down the aperture quite a bit while setting your camera to its lowest ISO settings so that you can attain slow enough shutter speeds. Using a polarizing filter or a light ND filter can prove highly beneficial for panning shots, as they let in less light to the camera sensor. This can help in very bright conditions where your camera’s lowest ISO setting isn’t enough to achieve slow shutter speeds. Do be aware that shooting with very small aperture settings, like f/16 or smaller, makes any dust or dirt on your sensor increasingly visible. The solution to this is to keep your sensor clean and to learn how to remove spots in post-processing.
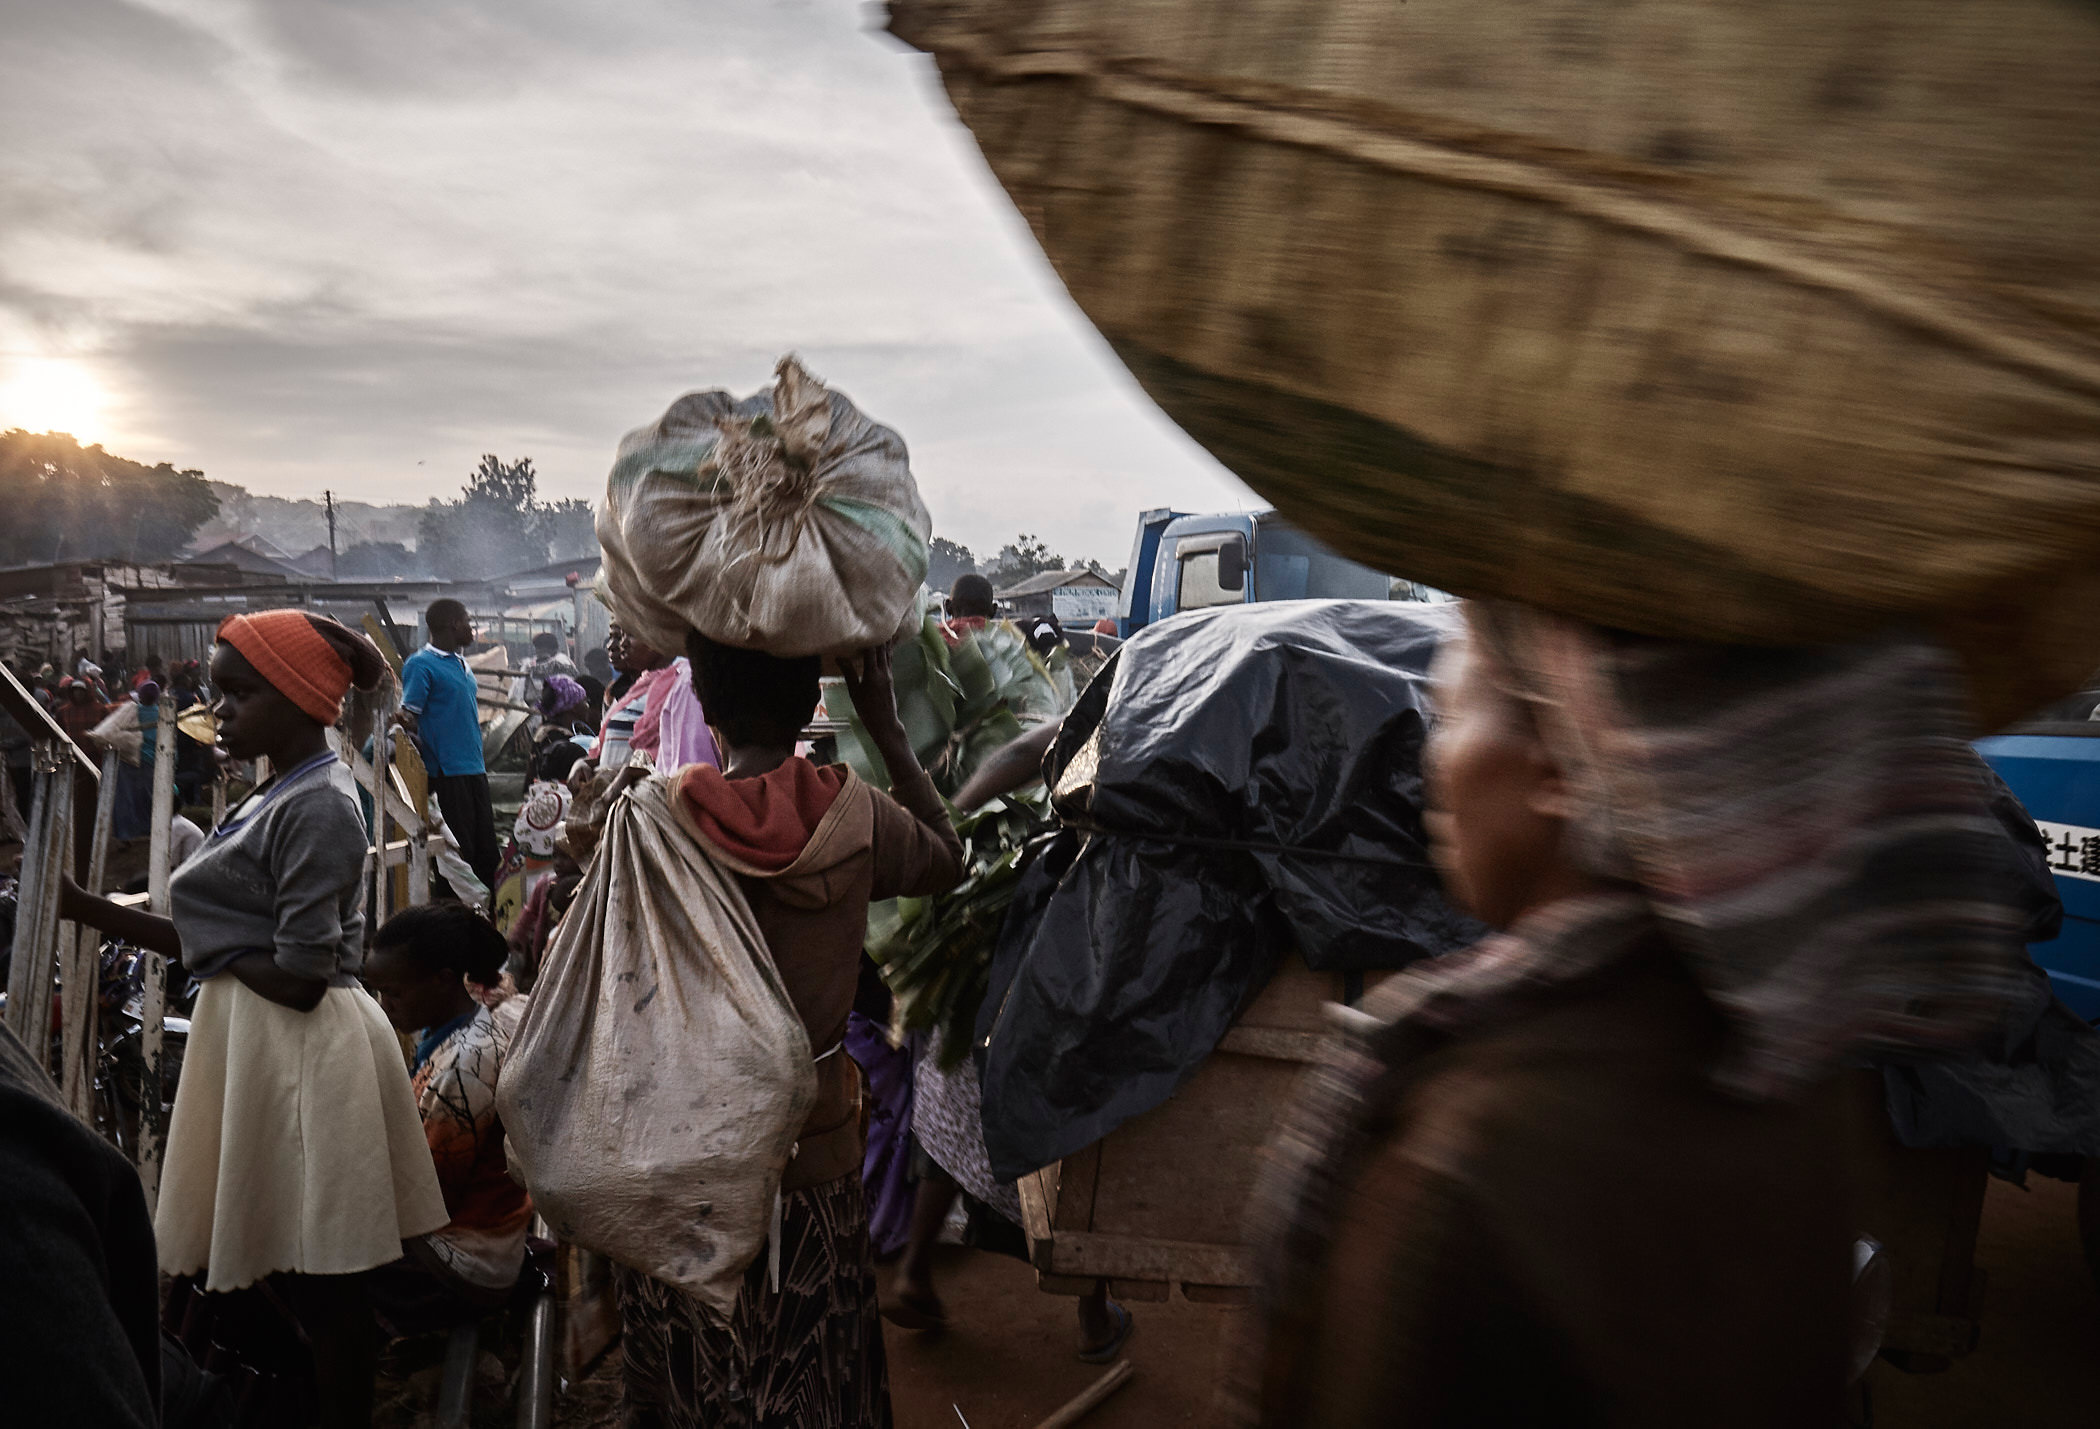
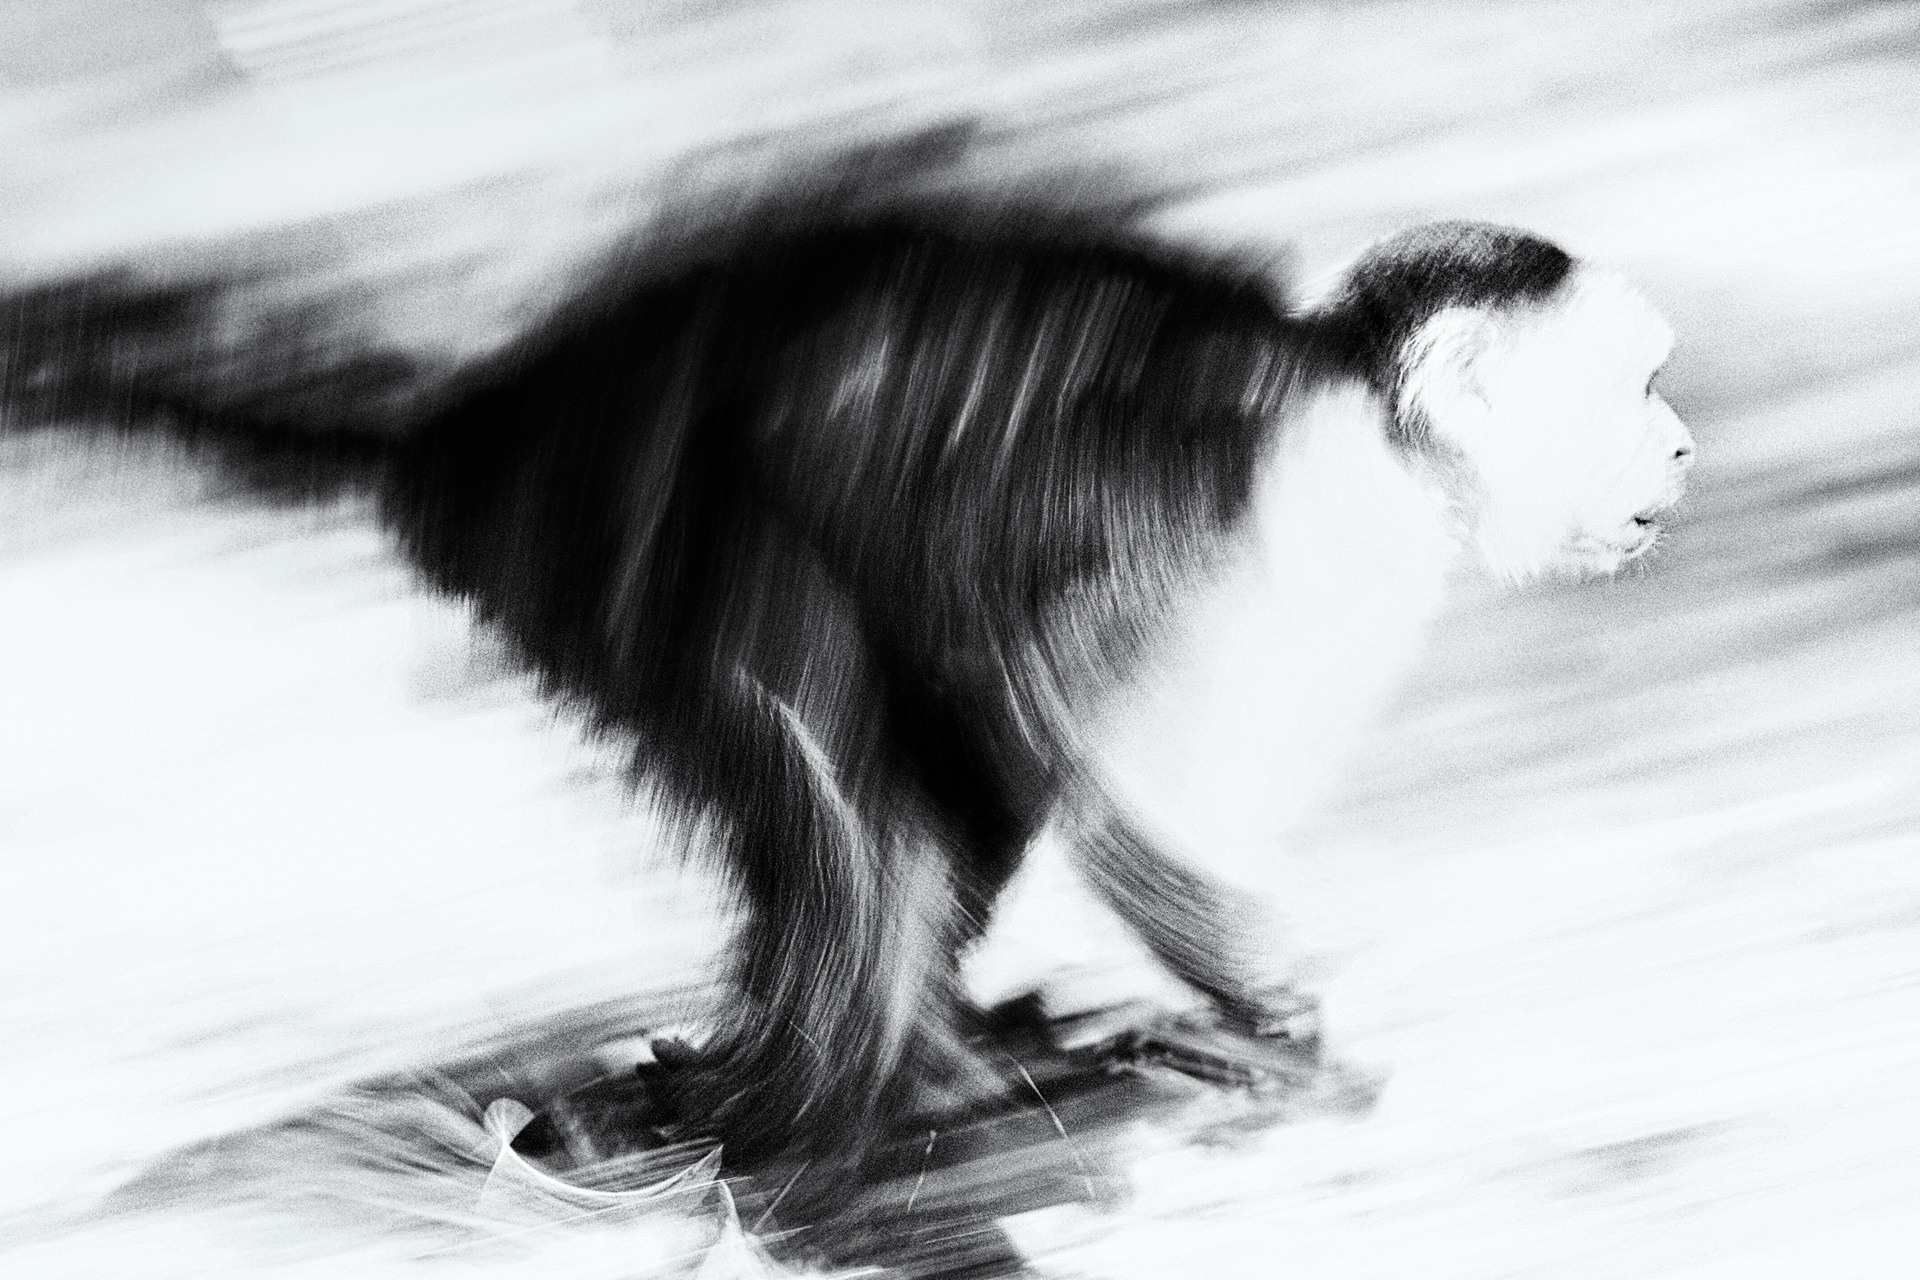
A significant advantage of panning is that you can do it at times of the day when the lighting is very harsh and with too much contrast to achieve pleasant color images. In such situations, you will often find parts of the image are completely blown out, but this can be advantageous as it can lend a dreamy quality to the image, especially when you post process in Black and White. Panning also works in very low light situations, enabling you to extend your photography sessions well into conditions that are otherwise less than ideal for photography.
I hope this article taught you something new about motion blur and panning! If you have any questions, you are welcome to ask below.
I have been experimenting with ICM and Motion Blur effects. This article has been very helpful…Thank you…
Thanks for sharing this important information.
Good stuff Dvir. Liked it :-)
Thank you Shmuel, I am glad that you found it instructive!
All the best,
Dvir
that’s so great your job dvir, I’m really proud of filming you