Over time, every digital camera will develop “hot” or “stuck” pixels that do not work properly. They aren’t usually visible, but when you’re taking long exposures, they become more and more obvious. The easiest way to fix hot pixels is with a camera setting called long exposure noise reduction.
Table of Contents
What Are Hot Pixels?
Hot pixels are bright, colorful pixels in your photo that don’t match with the rest of the image. You generally cannot see them until you magnify a photo 100% or more on your computer. When you do, they often look like small crosses that are brightest in the center.
Most post-processing software scans for these pixels and cuts them out, including Lightroom. Sometimes, however, a few sneak through anyway.
Hot pixels are especially visible in long exposures and images taken at high ISO values. The reason is simple: when you capture less light from the scene in front of you in a given moment, the inherent patterns on your camera sensor will be comparatively stronger during that same moment.
What Is Thermal Noise?
Thermal noise is a type of noise in your photo that grows stronger as your sensor grows warmer. It is often associated with long exposures, since camera sensors get hotter and hotter the longer they stay on. Sometimes, thermal noise will have a low-level pattern, while other times it will be essentially random.
For this same reason, you may notice that photography in cold environments has less noise than in hot environments. It’s also why some specialized astrophotographers buy cameras with a fan or liquid cooling rig attached to the back. It simply improves image quality.
What Is Long Exposure Noise Reduction?
Long exposure noise reduction is a camera setting that takes two photos, one after another. The first photo is an ordinary photo of the scene in front of you, while the second photo is known as a “dark frame” because the camera shutter is closed during the exposure.
Dark frame exposure is important because it only contains image noise and hot pixels. Your camera then automatically subtracts the second image from the first, reducing noise and especially hot pixels in your primary shot.

How to Use Long Exposure Noise Reduction
Long exposure noise reduction is a menu option on most cameras today, and it’s very easy to set.
On Nikon, Canon, and Sony, it’s found in the camera’s Shooting Menu (the camera icon menu on all three). Sometimes, long exposure noise reduction will be disabled if you are using an electronic shutter. If it is grayed out in your menu, take a look at the “long exposure noise reduction” chapter in your camera manual to see why.
Once enabled, you don’t need to do any further work to use long exposure noise reduction correctly in the field. However, note that your camera will not implement long exposure noise reduction if you take a short exposure, usually less than 1-second shutter speed.
This is actually a good thing. It means you can keep long exposure noise reduction turned on all the time if you like. Doing so will not affect short exposures at all, so things like your maximum burst rate remain unchanged.
Drawbacks of Long Exposure Noise Reduction
The biggest problem with long exposure noise reduction is that it takes twice as long to capture every photo! (Assuming, of course, that your shutter speed is 1 second or longer.)
Hopefully, it’s no surprise that this occurs. Again, long exposure noise reduction functions by taking two photos in sequence – the second of which is a dark frame with the same shutter speed as the first.
So, if you’re pressed for time, long exposure noise reduction may not be a good idea. That’s even more true if you’re doing ultra-long exposures in your camera’s bulb mode. A five-minute exposure means you must wait ten minutes in total.
(Unfortunately, it’s these ultra-long exposures that benefit most from long exposure noise reduction in the first place.)
Similarly, timelapse photographers may not want to use long exposure noise reduction for their work. The extra break from photo to photo may introduce a “jitter” effect on anything that moves during the timelapse.
And the same is true if you are trying to blend images like an HDR or focus stack with slow-moving objects in the frame. If a cloud is drifting through the sky, you’ll have an easier time blending photos taken immediately after one another, rather than with gaps in between.
It is for these reasons that I personally leave long exposure noise reduction disabled by default. But there are many cases when I enable it; it’s one of the settings I have added to my custom “My Menu” to access more quickly.
Image Quality Benefits
Despite these drawbacks, there are good reasons to use long exposure noise reduction in your photography. Take a look at the images below, which are 200% crops from a 4-minute exposure. The “Before” is without long exposure noise reduction, while the “After” has it enabled:
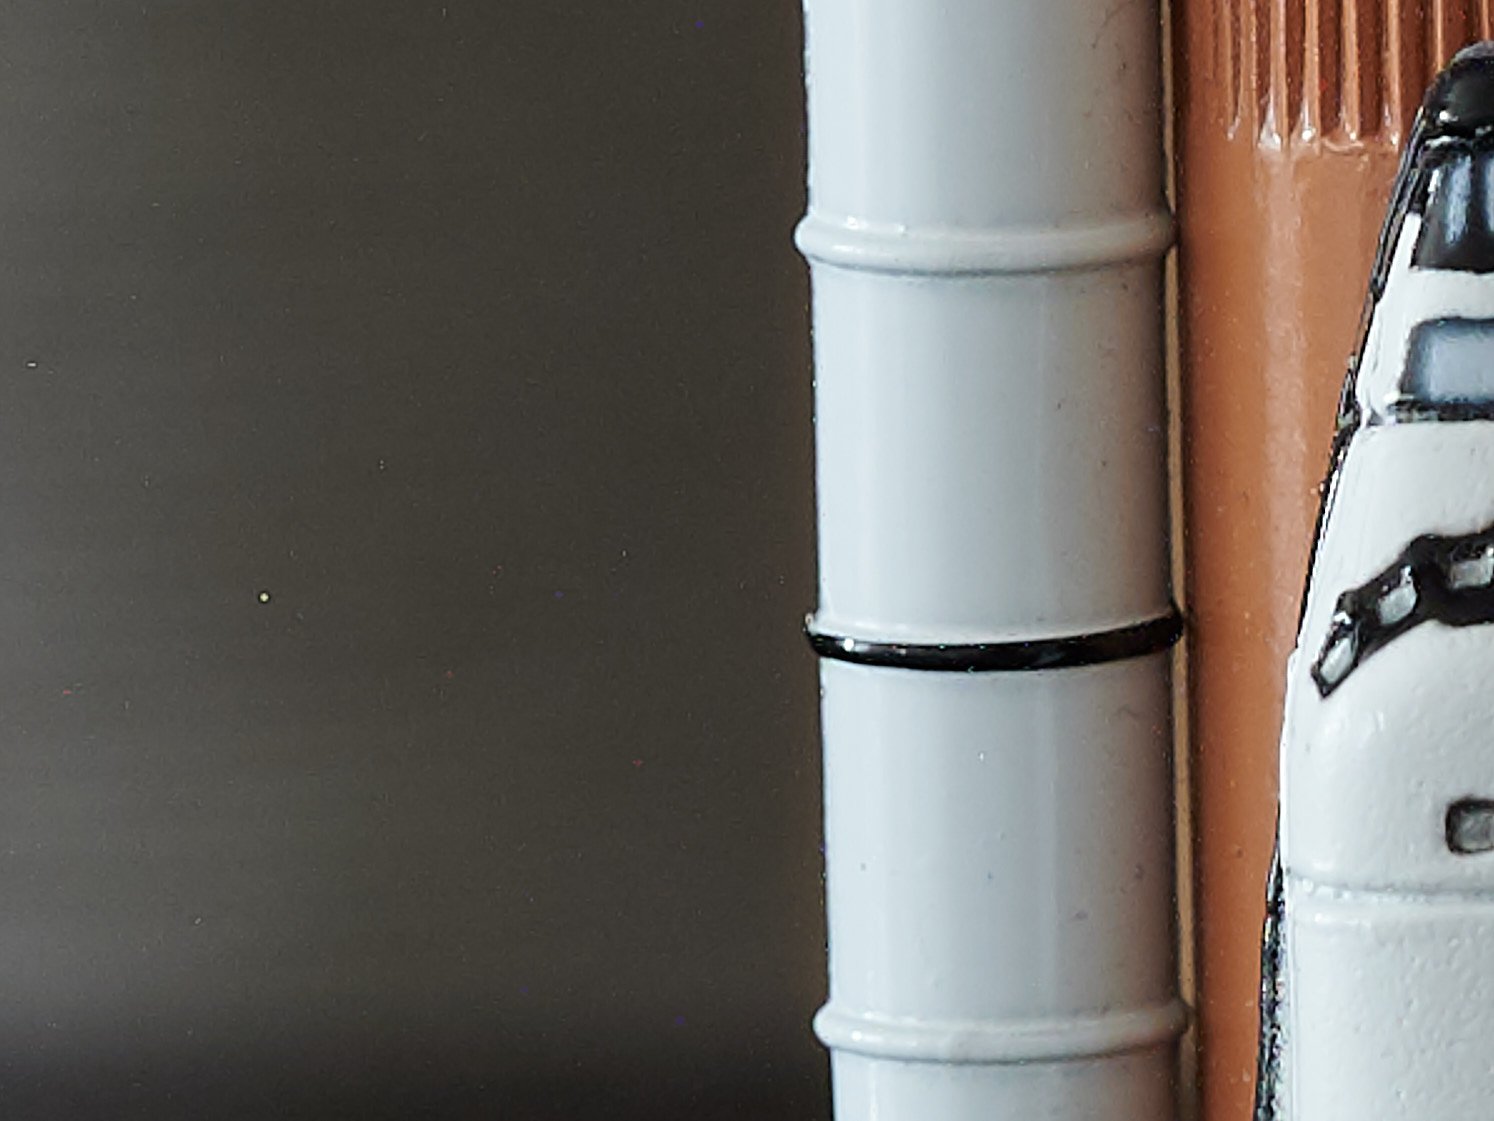

As you can see, in cases like this, long exposure noise reduction is a big deal. However, note that this is a 16-minute exposure. At shorter shutter speeds, the differences become smaller and smaller. Here is the same comparison with two 120-second exposures:


Though there is a difference here, it is not nearly as obvious.
However, note that certain cameras are more prone to hot pixels than others. You are not necessarily going to have such good performance as the images above, where there are hardly any hot pixels visible with a two-minute shutter speed.
Taking Your Own Dark Frame
In some genres of photography, like astrophotography, the benefits of long exposure noise reduction are hard to ignore. But the drawbacks can also be a big problem.
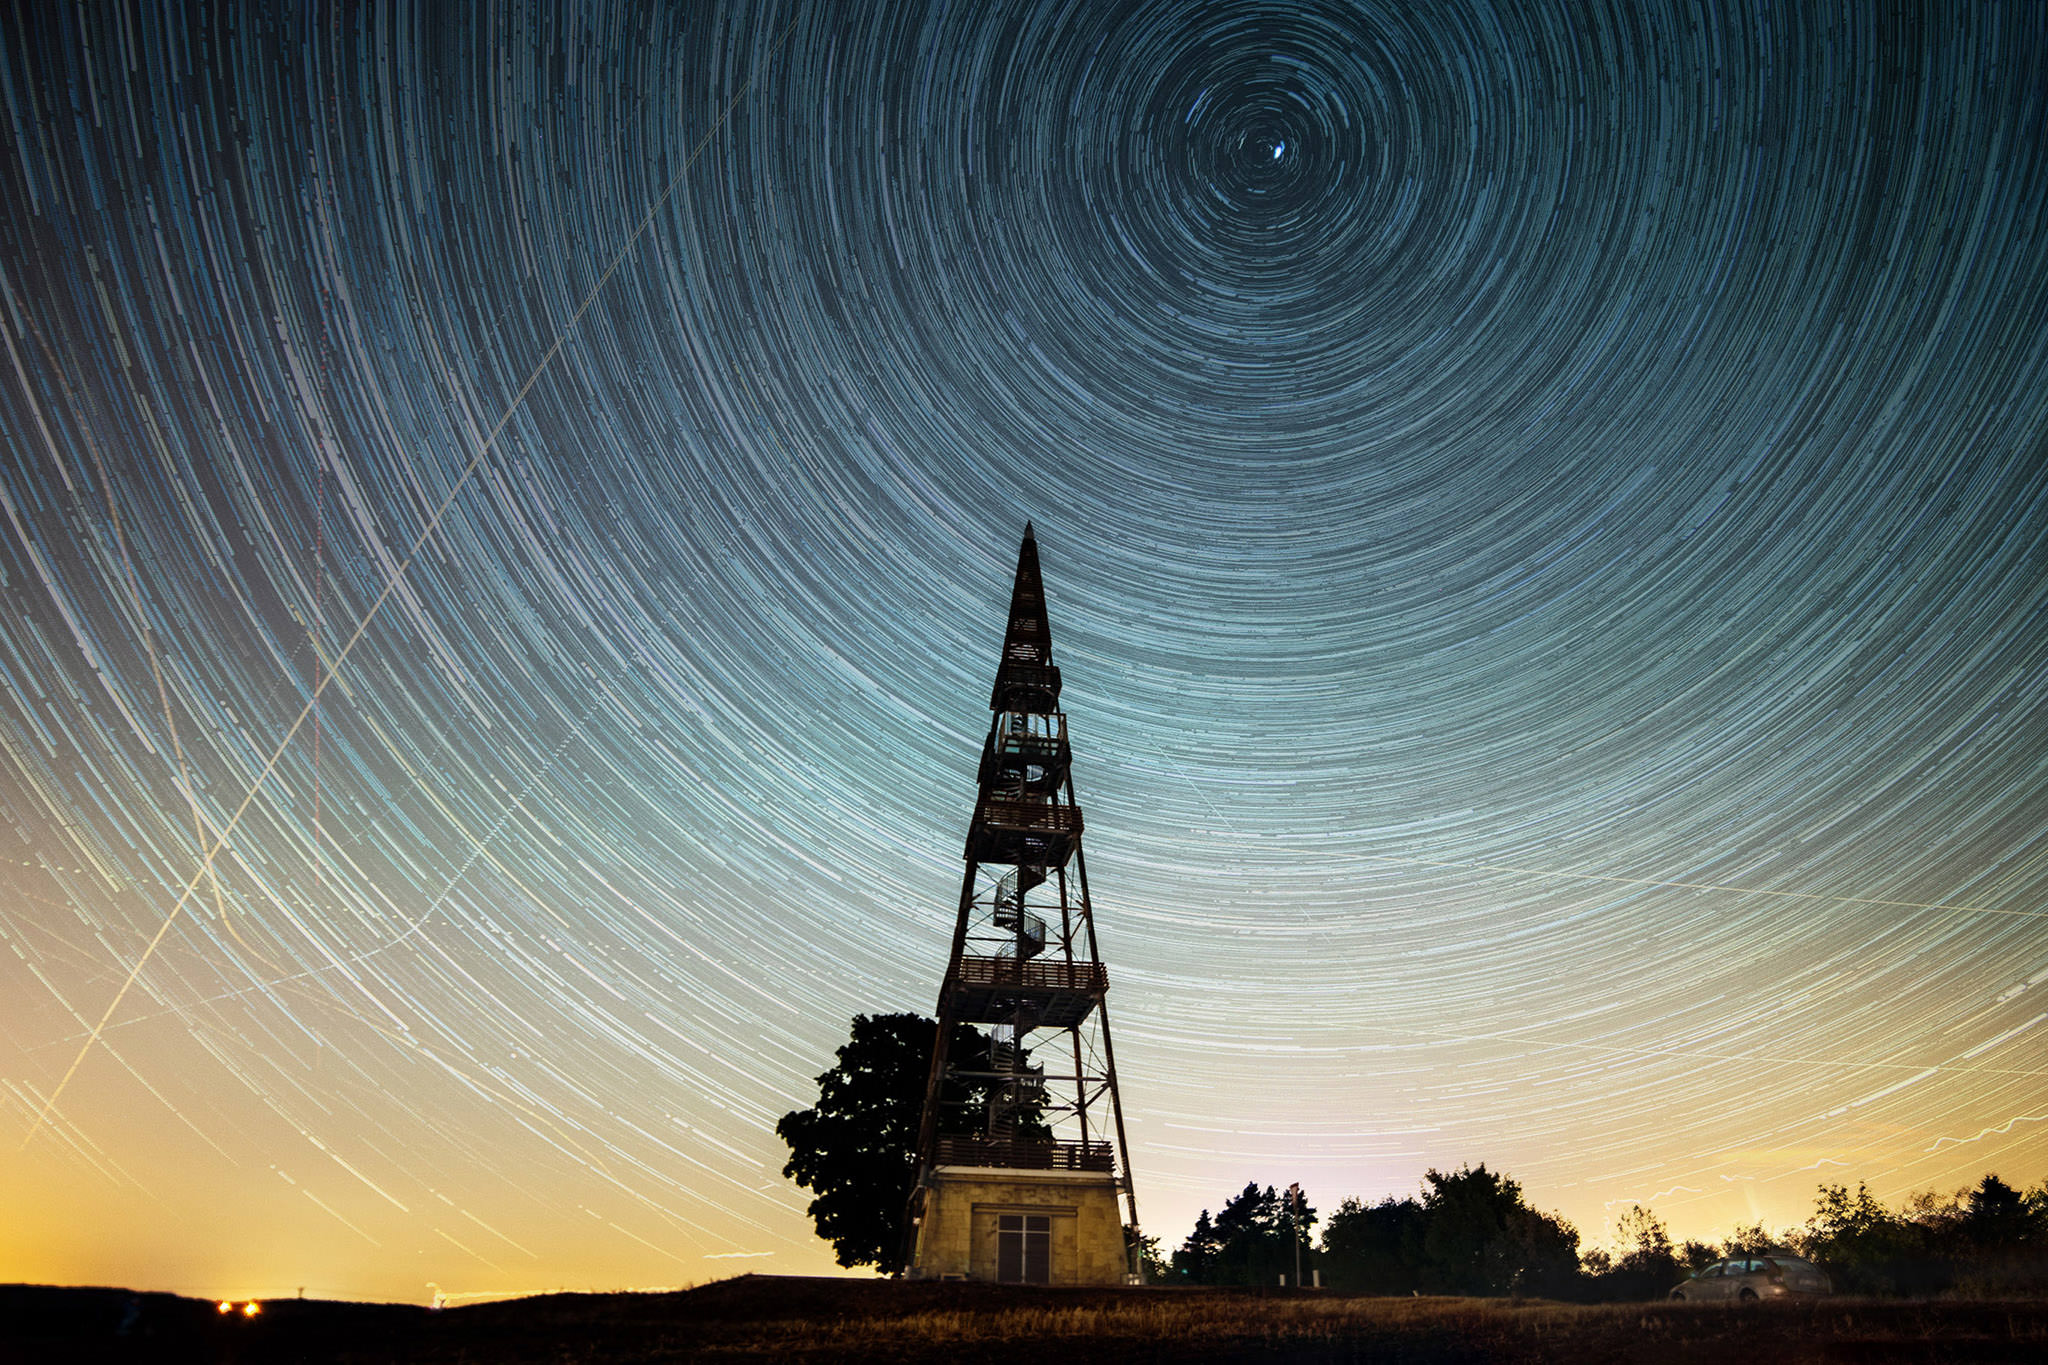
For example, you want to take images for star trails photography all night long. Reducing noise and hot pixels would be great, but the dark frame gaps from shot to shot will turn star trails into “star dotted lines.” What can you do about that?
One option is simply to take your own dark frame. There’s no rule that the camera needs to do it – and since hot pixels are in the same place every time, one dark frame can be used to subtract out noise for every photo you take.
Still, it won’t be perfect. Ambient temperature, camera sensor temperature, and exposure time all affect the appearance of hot pixels and thermal noise. Really dedicated astrophotographers put a lot of time into building the right dark frames.
For more day-to-day photography, you should be fine just taking a single dark frame after the rest of your images, then subtracting it from the other photos individually.
To do manual dark frame subtraction, put on your lens cap and shoot another image with the same exposure length and ISO as your regular shots. Then, in Photoshop, put the dark frame’s layer above your regular image, and change its blend mode to “subtract.” (There are better methods than this, but they generally rely on specialized software rather than Photoshop.)
Manual dark frame subtraction is a bit of an advanced technique, but it’s the only option for certain advanced applications like deep-sky astrophotography. In general, though, your camera’s built-in long exposure noise reduction option is a more convenient way to get similar results.
Conclusion
Hopefully, you found this article on long exposure noise reduction to be useful. It’s not a technique you’ll want to use all the time – and I even leave it disabled by default on my camera – but it can be very helpful in certain cases.
If you have any questions or recommendations on how to use long-exposure noise reduction, feel free to leave a comment below!
Good read! I was looking around to find out more about whether people did or didn’t use the in camera noise reduction when doing astro time-lapse. The answer is as I suspected, that if you do want to do dark frame noise reduction it would be best to do it in the post process to avoid the extra time between frames that it would introduce doing in camera during the time lapse. As such taking your own dark frames at the end of your time lapse session would be the way to go.
I am wondering if any have used Sequator to process their dark frames against the sky frames for a timelapse? I know people usually use Sequator to stack multiple sky frames with dark frames, but it seems like it should work for one sky and a set of darks taken at the end of the session?
In my own software, I recently added a Subtract tool, primarily for subtracting the metadata-supplied black point. But I also added a mode to subtract a dark frame, for all the reasons you describe.
Regarding noise, really the first way to consider mitigating it should be ETTR, nice description of that in your other recent post, BTW. But, if the scene you’re shooting doesn’t offer much light to capture, dark frame processing really helps to dig your image out of the noise floor…
For a real appreciation of the concept, studying the workflows of astrophotographers is quite instructive. They’ll shoot dozens of dark frames in the same thermal environment as where the primary images are captured, in order to compute a median value at each pixel. Noise is a statistical phenomenon, and multiple dark frames provides the sampling needed to really mitigate such.
Good article, thanks!
Best settings for Nikon D7200?
I’d heard of dark frame subtraction, nice to read an explanation. It did strike me that, apparently, the dark frame is not something that’s going to change much, if at all, exposure to exposure. So simply storing one and reusing it would save all the time waiting for a second shot. The article gets to doing that by way of Photoshop, at the end, but seems it would make sense to have the camera save, store and reuse that file itself.
Albin,
This sounds like a great feature to me. Rather like setting a custom white balance, one could take the dark frame and tell the camera to reuse it. There may not be enough interest in this to motivate camera makers, though.
Chris
Meade made something like you said years ago for astrophotography. they saved diferent dark frames in the computer with different “exposure” times and I do not remember if at different temps too
And I imagine the only “permanent” solution is replacing the sensor? OUCH !!!
Yes indeed, Pete, if your camera has abnormally high levels of stuck/dead/hot pixels, replacing it is probably your best bet.
It is possible to “map” the bad pixels on some cameras so the camera extrapolates around them. Also, software like Lightroom is actually quite good at eliminating them by default. But if your sensor is damaged or especially bad in this regard for some reason, not much else you can do.
The good news is that most cameras never get to the point that hot pixels are a meaningful image quality detriment. So it’s not something you likely need to worry about.
Hi Spencer,
Reading this has made me wonder – can taking long exposures cause pixels to go bad, i.e. become hot, due to the heating of the sensor (or any other reason)?
Interesting thought, Elaine! I do know that cameras tend to end up with more hot pixels over time, so the answer to your question is yes. However, my guess is that the bigger culprit for most people is extensive live view/video use, since that also heats the camera sensor significantly. People who do a lot of timelapses or long exposures probably notice it more quickly, though.
It’s one reason why I took the sample photos in this article with my backup/video camera :)
So, is there a period of time that one should allow the sensor to off cool after a long exposure and live view use, which are often hand in hand? Just curious.
Hi Michael, you’re quite right. Turning the camera off and waiting a few minutes will help cool the sensor if it gets overheated. That, in turn, should decrease the amount of thermal noise in your images. However, the level of decreased noise is quite small overall, so it’s not a technique I really recommend in practice.
The only photographers who I know would find significant benefits in waiting for their sensor to cool are deep-sky astrophotographers, and they often already have cooling mechanisms on their cameras for this very reason.
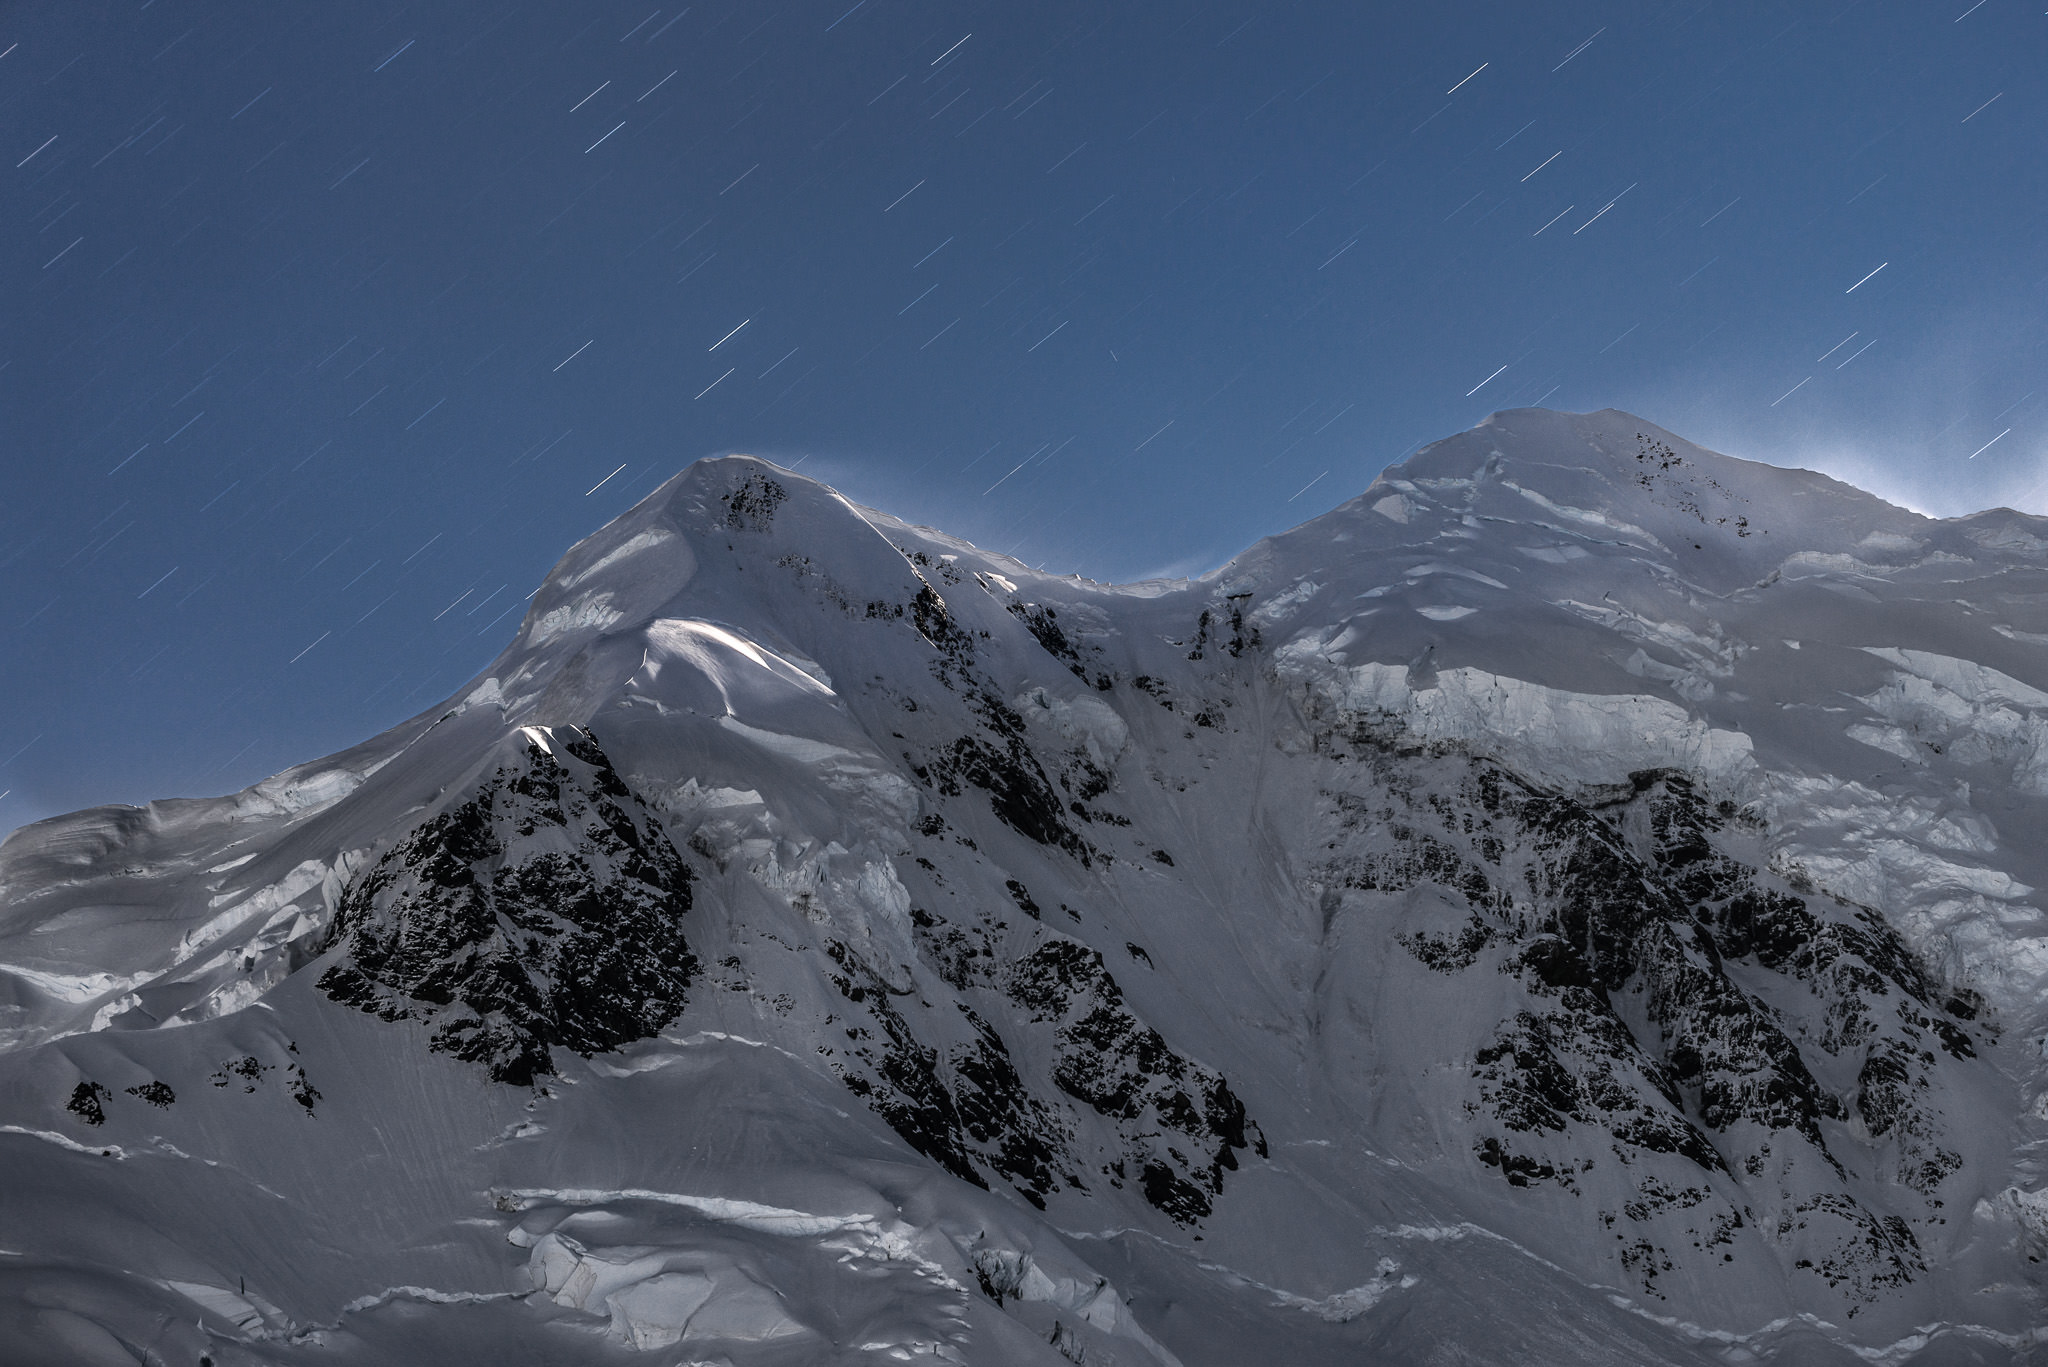
I will say that I once took photos in some sub-zero temperatures (Fahrenheit) and noticed a definite improvement in long exposure noise performance. The first image in this article is actually from that night. However, that was because of the extremely cold ambient temperature rather than waiting for the sensor to cool down after an image.
That’s an interesting line of thinking, Elaine and Spencer. Taking this one step further: if sensor deprecation due to overheating is a thing, then sensors on dSLR’s should on average hold up better than on mirrorless camera’s where the sensor is active all the time, no?
@Elaine,
The topic of increasing numbers of hot pixels was discussed a few years ago in the forum section of this site.
The answer is yes.
David
This was all very informative, thank you all for your contributions! I came here to learn what long exposure NR was but left with so much more. Biggest take away was to rely less on the view finder, something that I imagine a lot of new people will do out of convenience.