Long exposure photography can produce stunning photos. Nighttime shots can bring out unexpected detail and create amazing light effects. Daytime long exposure can create images with haunting moods and ethereal imagery. None of this is actually hard to achieve, but it does take a little thought and preparation. Here are some tips to ease you into long exposure photography.

Table of Contents
1) Steady As She Goes
Vibration is the bane of long exposure. The slightest vibration will blur the picture. Sometimes you can use a table or an improvised stand, but the best way to steady the camera for long exposure is a tripod. It keeps the camera far steadier than you can hold it or support it on most surfaces. A remote shutter release is also useful, though not as important as the tripod. You can use the camera’s shutter delay so any vibration caused by pressing the shutter release doesn’t show up in the shot when you start shooting long exposure. Eventually, though, you will want a remote.
2) Research
You can just see a spot that looks promising and set up, but it is better to prepare ahead of time. Once you know where you want to shoot take some time to walk around the area and see how it looks. Find the best place to set up for the kind of picture you want to shoot. If you plan to shoot during the day, check the weather for the time you’re going to shoot. You will want a day that is partly cloudy with wind to provide movement. If there is no wind and the clouds aren’t moving, the shot may not look any different than a normal photo.
3) Compose Your Picture
As exciting as the nifty effects you can create with long exposure are, it is still important to pay attention to the things that are notable for their stability. Walls, building, plants, whatever is in the photo that will not move during the exposure is as important for the total effect of the shot as the motion. Compose the picture, then figure out ways to improve it for long exposure.
4) Plug the Leaks
Bring along black tape and opaque material you can use if necessary to block any light leaks. They could come from the viewfinder or elsewhere on the camera. Long exposure photography is relatively new as a common photographic method. Leaks that are too small to affect a normal shot can have strange effects when the shutter stays open for minutes or hours.

5) Know the Light
Even at night there will usually be some kind of light besides the stars. It might be the moon – and the quality of moonlight changes as the month goes by – or it could be some man made light source like a town or a campground. A few short test shots will help you understand how the ambient light will affect your picture.
6) Final Words
Long exposure photography is a great way to take a fresh look at the world you photograph every day. It creates a sense of motion and mystery in photos that isn’t possible in a normal photograph. It doesn’t require new lenses or special cameras, so grab your equipment and take a long look at the world around you.
I love your shot of the Thrombolites. I was lucky enough to visit here a couple months ago but I didn’t know about this place and didn’t have have my filters with me at the time. It’s to far from home to go back.
dont know if this page is still active. I love the detailed explanation.
But what if you take a photo of the northern lights and a person in the same picture. A northern light require a long exposure right? And a person have to move a little bit unless she/he is a mannequin.
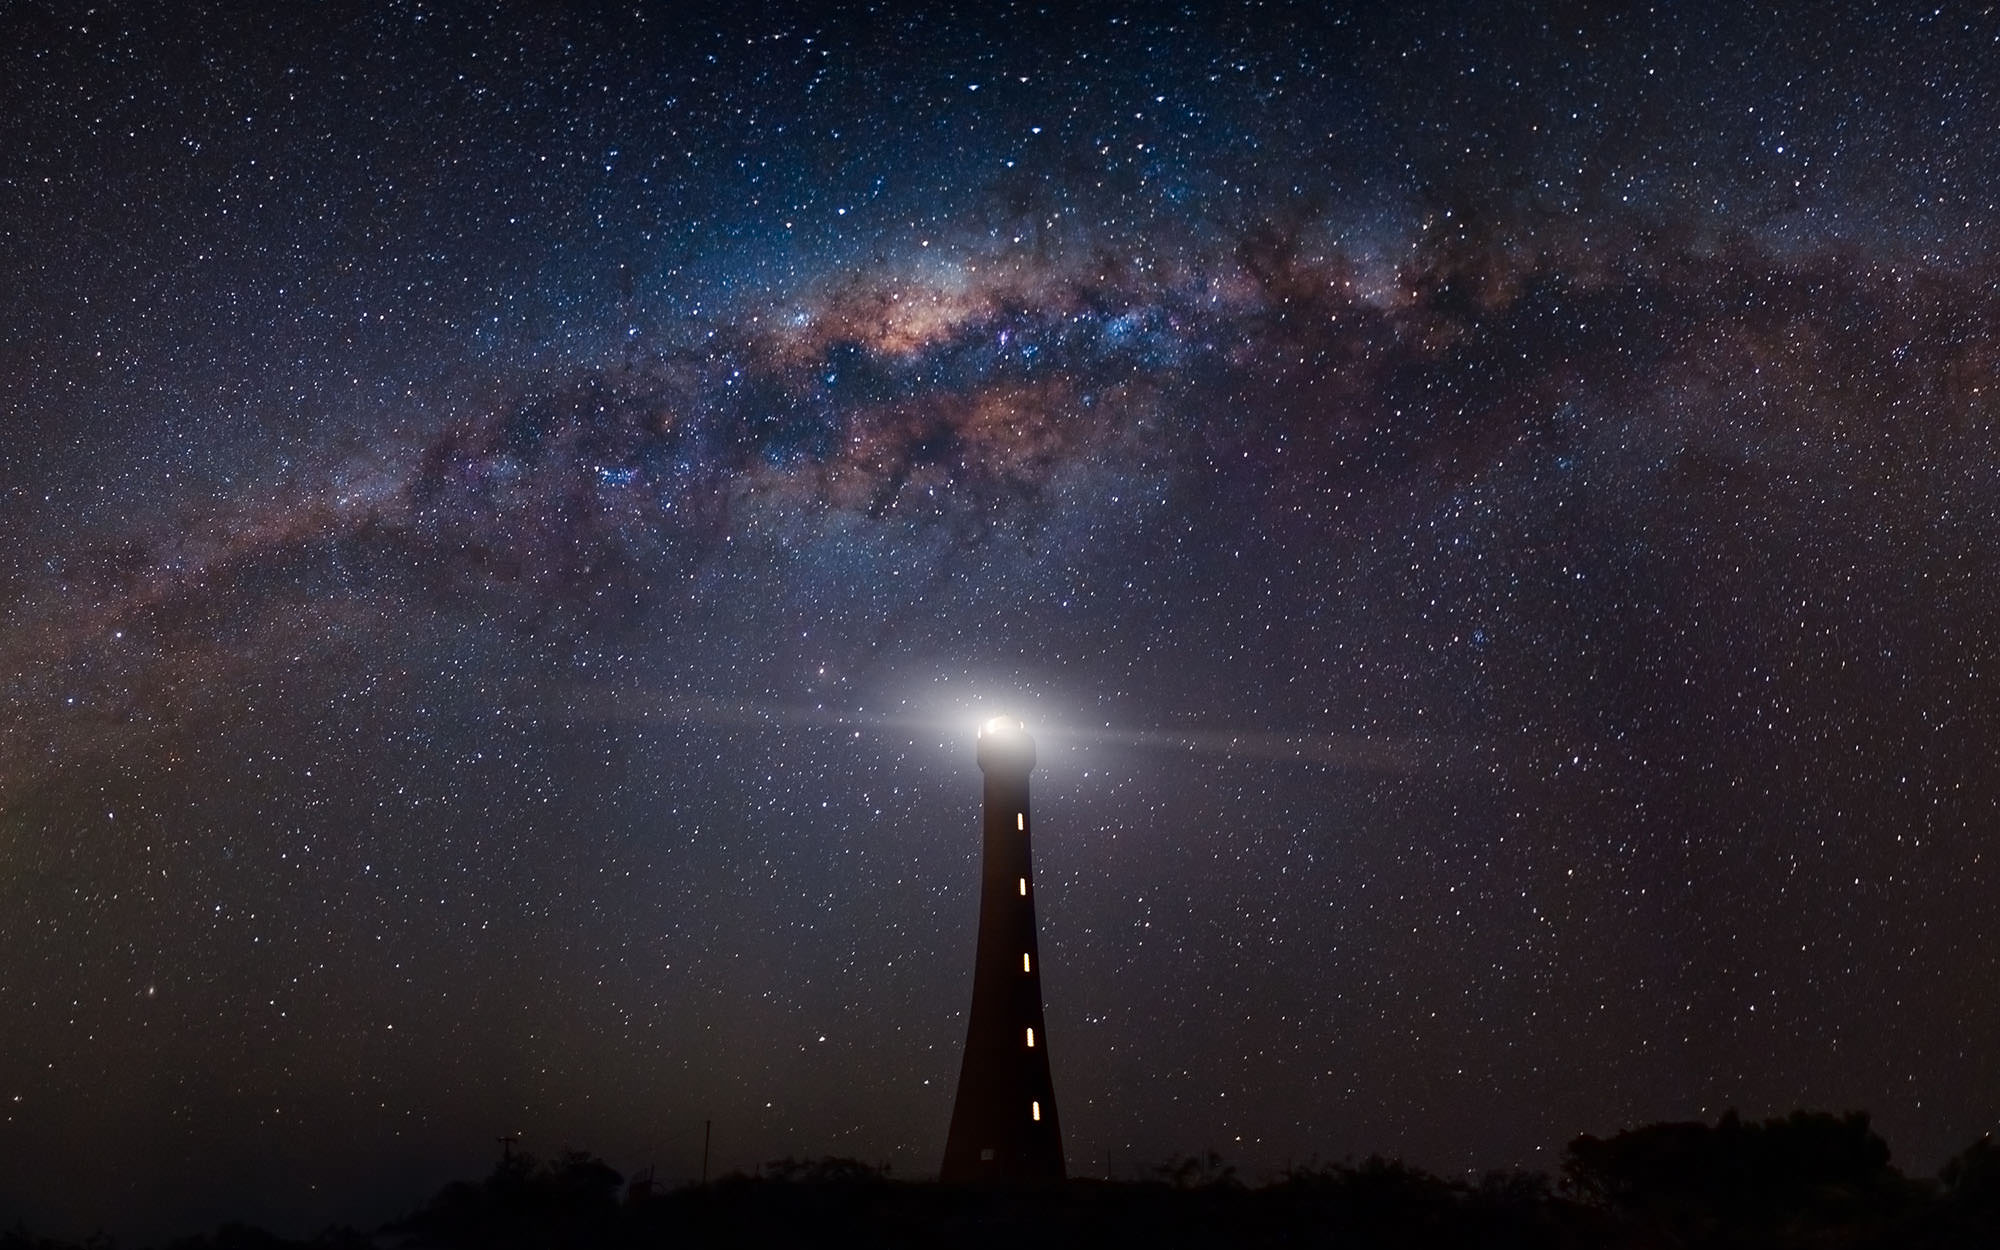
Alfred, my guess about how he did the milky way photo is, that he shot the milkyway sky shot, with no ‘Earth’ in the shot, then shot the lighthouse picture & joined them as layers in photoshop.
But that’s just a guess.
Hi Vince, I only use panorama for this shot. Star and the Earth are in the same frame.
Kevin
Hi Kevin,
Your milky way photo is amazing! How did you do a 30 second exposure without making the light from the lighthouse too bright? Thanks!
Hi Alfred, If you use are in really dark location, this is not a concern. Also, the light from the light house only flash once for about 30 second. That mean the light is only exposed for very short time.
Kevin
Çok faydalı bir makale. Teşekkürler..
Where are the tips ? : )
Can someone with astrophotography knowledge explain how come high ISOs are used in astrophotography?
I’ve heard it’s used to amplify the light from the stars and render more stuff visible, yet I don’t understand how come a long exposure does not suffice.
Hi Mark! For most people it’s because the stars move due to the earth’s rotation. If you have too long a shutter speed, you’ll get star trails instead of pin sharp stars. The longer the focal length, the shorter the shutter speed must be. If you want star trails, a very long exposure with low ISO will suffice (many people stack shorter exposures anyway for a number of reasons that I could explain later), but if you want a clear Milky Way, a high ISO with 10-30 second exposures is necessary with most lenses. I wrote about this recently for Photography Life here: photographylife.com/photo…-milky-way
If you have a properly aligned and guided tracker, you can shoot as long a shutter speed as you want and get sharp stars. Still, “shorter” exposures at higher ISO are often used and then stacked because random noise can be better analyzed and removed over a single long exposure where amp noise and sensor heat produces a more difficult type of noise to remove. If you want the really long answer about read noise, signal to noise ratio, dynamic range, etc. then this article might be of great interest to you!
www.clarkvision.com/artic…e.summary/
Regarding the merits of stacking multiple shorter exposures vs. one long exposure for star trails, here is an article I wrote about that. It’s merely an opinion though, either method produces great results: galleries.aaronpriestphoto.com/Artic…StarTrails
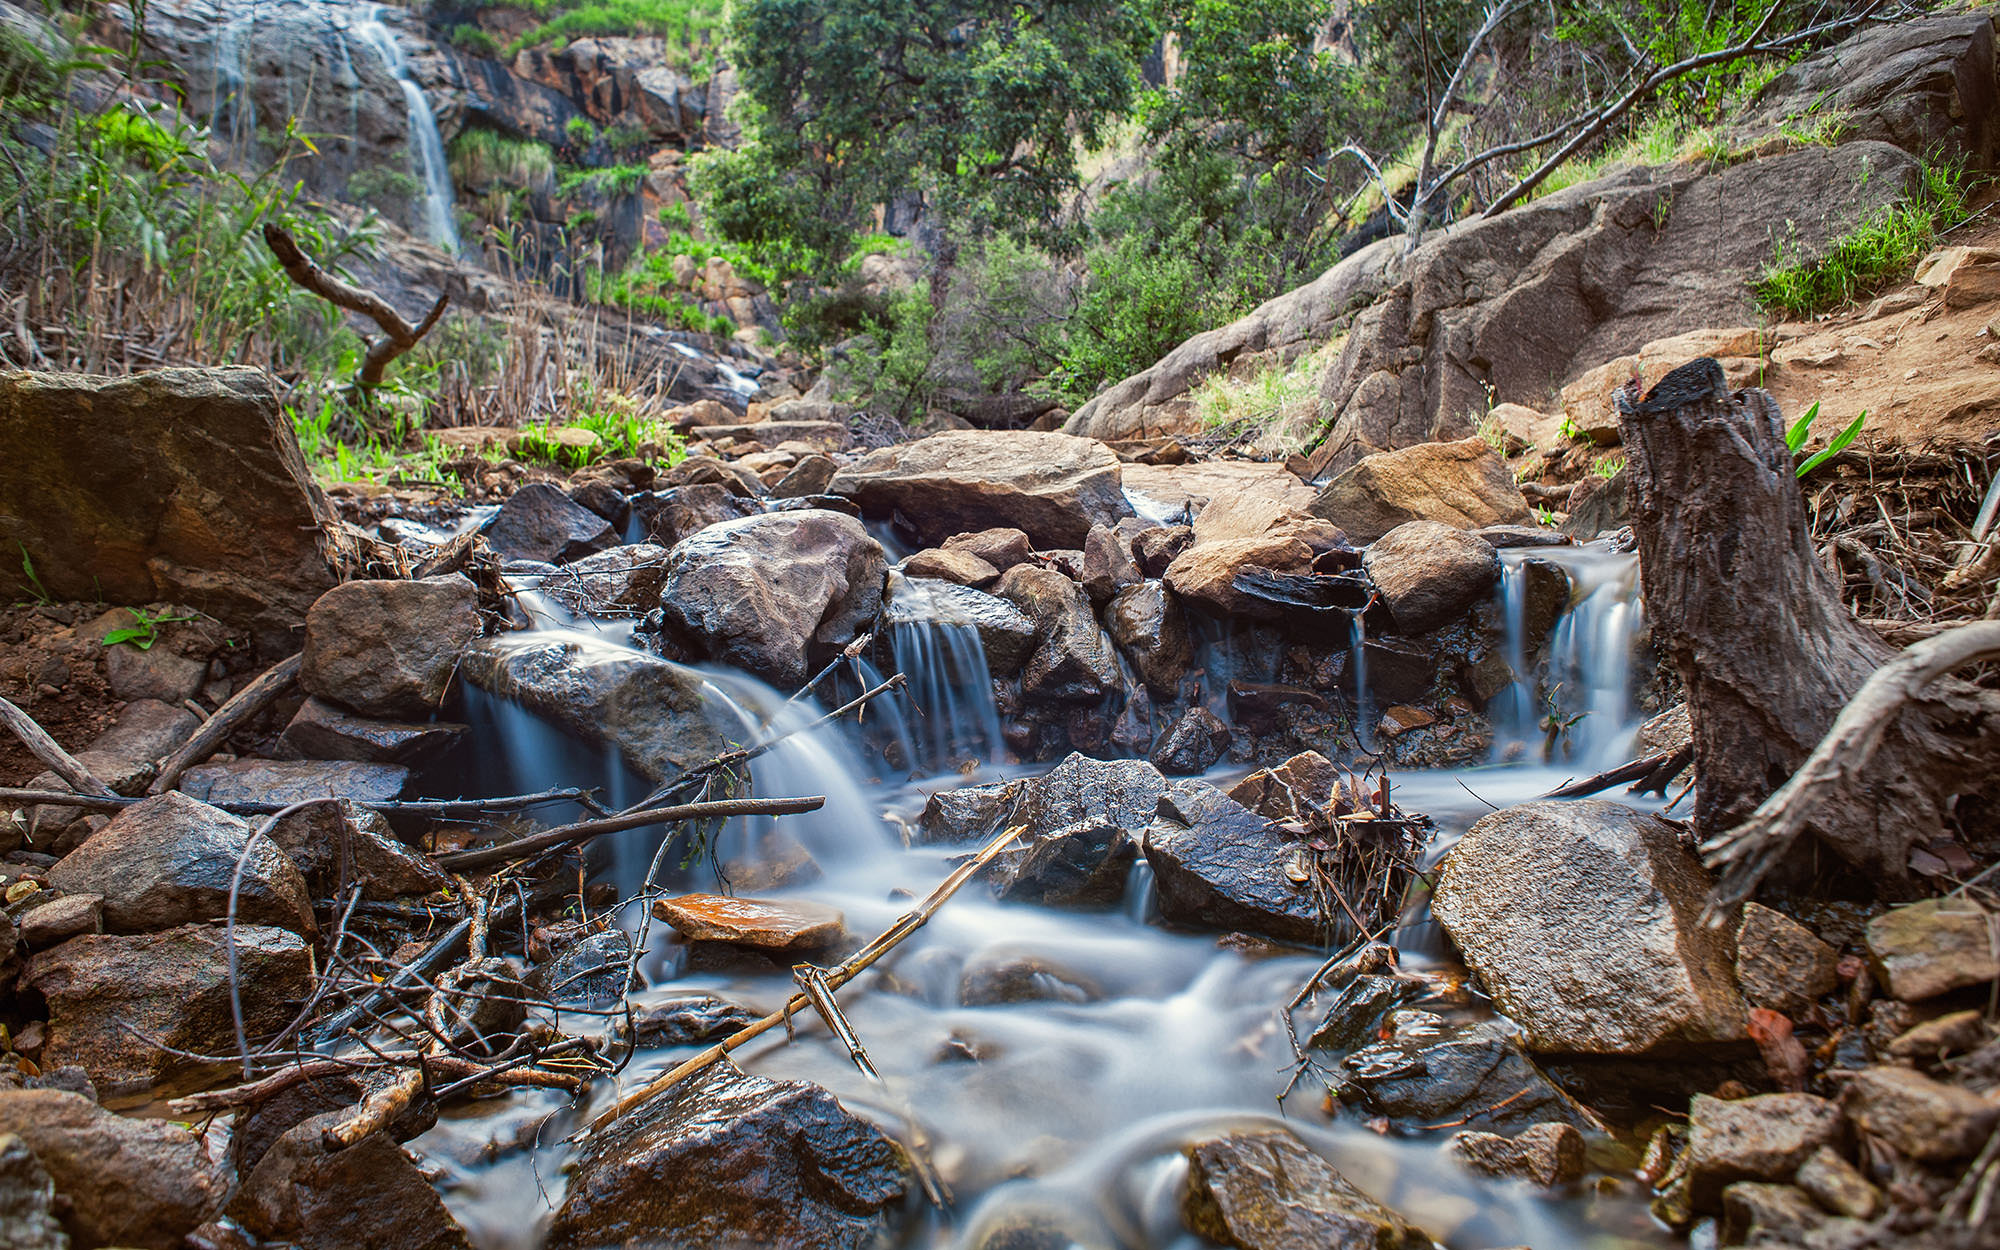
Hi, very nice post and picture. I wonder how it possible to have a picture like the second one, 20 sec during the day, with this opening withoud a ND filter ? Is it really so easy ?
once again, thanky for this article
Best regards
I don’t know about Kevin, but I managed to create blur in broad daylight without a ND filter. This was shot with my Nikon D800E @ 24 mm, ISO 100, 30 sec, f/13:
That would explain why the sky has no colour at all. ND filter would definitely have improved that shot.
Quite right, but it was actually overcast at that moment. There are some minor hints of blue sky there; the sun was appearing then disappearing behind clouds every couple of minutes that day.
If you want to expose 20 sec during the day, you need at least a 6 stops ND or even a 10 stops ND. You can learn more about it on my blog.
I find a 6 stop ND to be the most useful. With some iso changes and reasonable apertures, my 6 stops works all the time the sun is up.
Use of long exposures via neutral density filters can really help by getting rid of people in architectural photos, if they are unwanted. I once took a 30 second exposure at a university during Parents Day at midday; shooting from the roof of one building to capture other buildings on the quad. No one remained in place long enough to register on the image.
Sounds interesting I’ll have to try that
Nicely done!