In this article, I will share my recent experience of switching from a Macbook Pro running Lightroom 6, to a 12.9″ iPad Pro with the Apple Pencil, running Lightroom CC – and how this new setup has changed my photography workflow. I will discuss in detail my basic workflow, as well as share some images I’ve edited using LR CC.


Before I begin, I will tell you that I’m not a full-time photographer, and, therefore, I am not culling through thousands of images every week as a professional photographer might do. If that’s you, I probably would not suggest the workflow that I am about to present here, as I don’t feel at this point that it can meet the demands of a prolific full-time shooter. Lightroom CC – while definitely versatile – does not incorporate some key features such as the extensive file management options, batch editing functions, or varied exporting settings of its bigger brother, Lightroom Classic CC (Adobe could have come up with better names for these two applications, by the way). However, for the serious photo hobbyist, or occasional gig shooter like myself, you might find that this setup/workflow suits your needs better than you would think.


After almost 10 years of solid use, my 15” Macbook pro had run its course, and Lightroom 6 had become nearly unusable. I was spending far more time staring at a rainbow-colored pinwheel than working on the images from my latest shoot. In short, the joy of editing was fading, and instead had become a vicious test of patience every time I tried to upload my newest images. I needed to upgrade, but an entry-level 15” Macbook pro with touch bar was going to set me back nearly $2000. So, I decided to look into some possible alternatives.
I knew that I wanted to stay mobile, so a desktop wasn’t an option; and being heavily invested already in the Apple ecosystem, I wasn’t looking at switching to a windows laptop. In the end, after a considerable amount of research, I purchased a 12.9″ iPad Pro with 512 GB of storage, as well as an Apple Pencil. I lucked out and caught it on sale, which meant I walked away with my new setup for just over $1100. I also purchased a bluetooth keyboard from Brydge Keyboards (which I highly recommend) to complete my setup. As you can see, it looks and feels like a Macbook – only running iOS instead of Mac OS, of course.
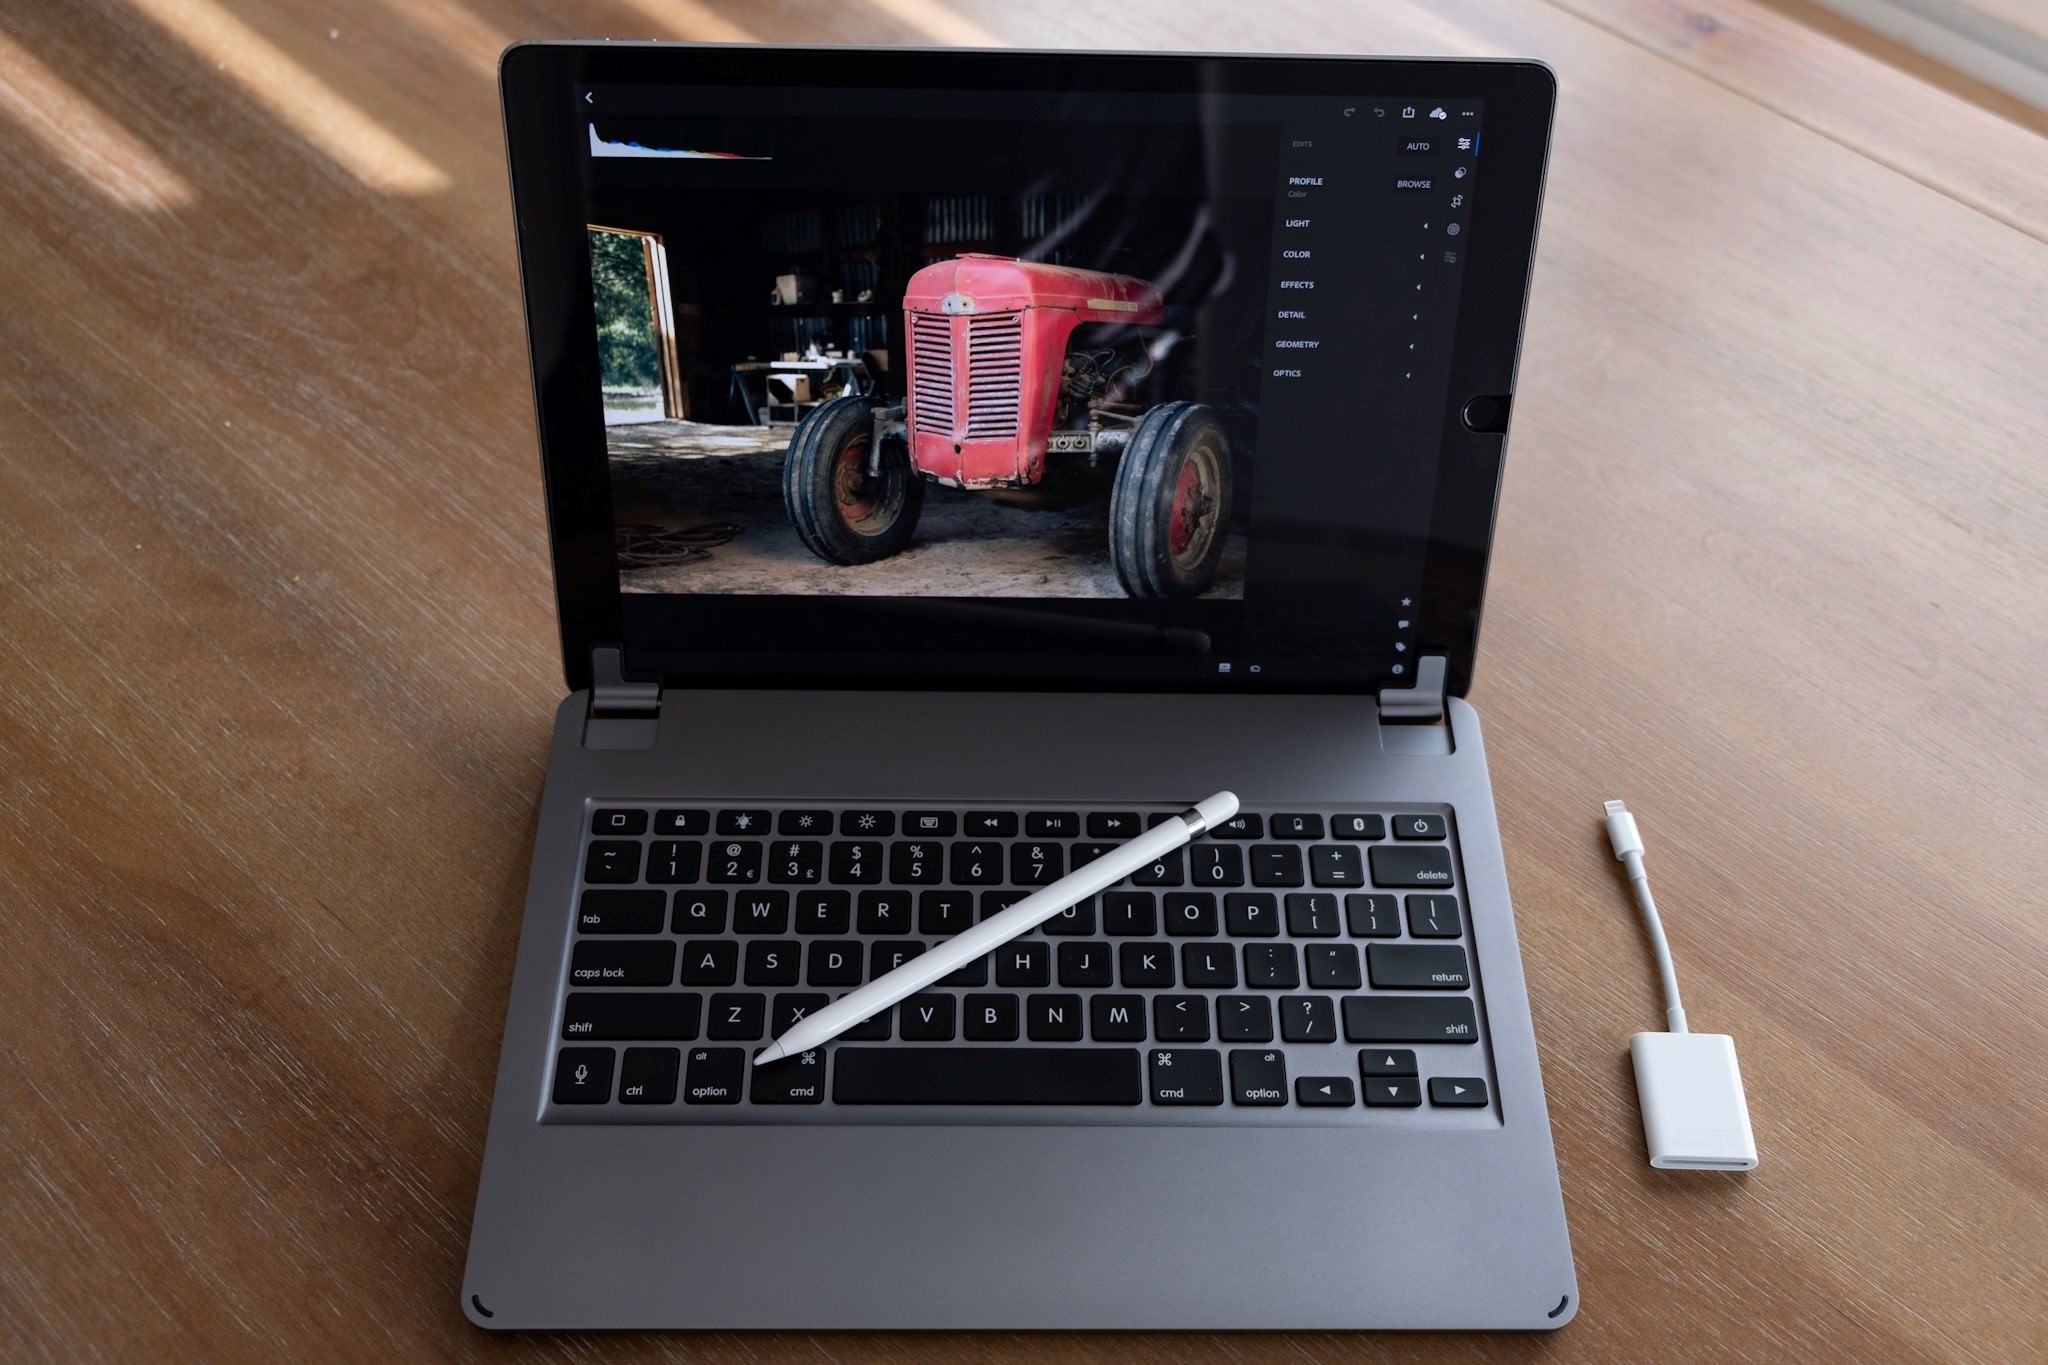
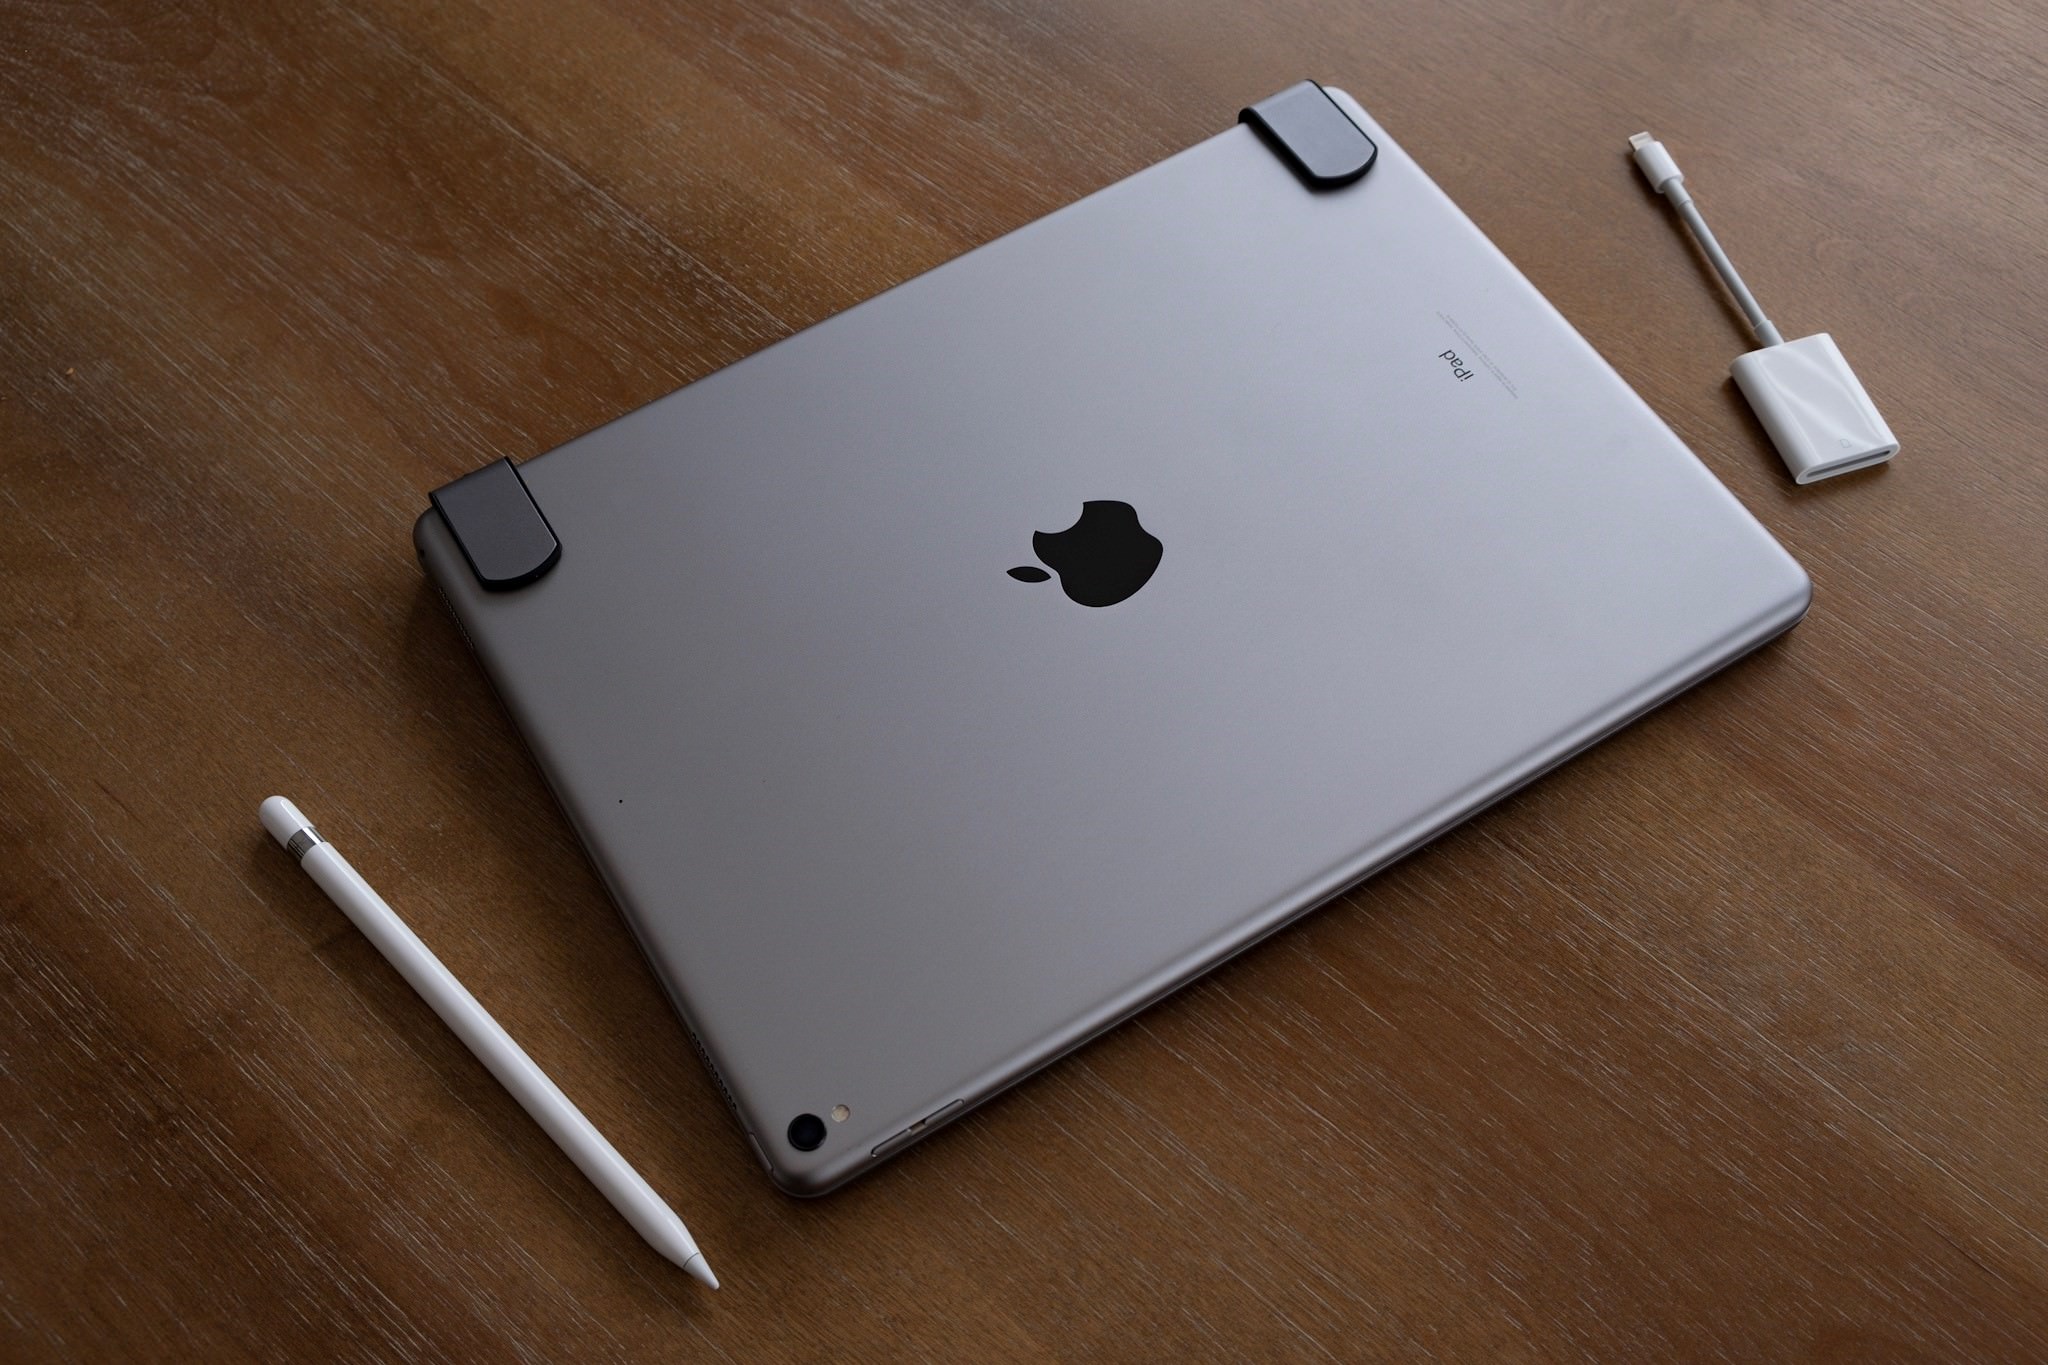
Table of Contents
Next, I downloaded Lightroom CC from Apple’s app store. If you are familiar with Lightroom already, you might know that Adobe recently updated their Creative Cloud plans and software, resulting in two different versions of Lightroom appearing on the market: Lightroom Classic (desktop), and Lightroom CC (mobile/desktop). Lightroom Classic is the same LR we are all familiar with, with some new added features, and performance enhancements. Lightroom CC, on the other hand, is a new variant of LR, which can operate on Mac or PC, as well as mobile devices. For an extensive list of the differences between the two, check out the guide on this website between Lightroom CC and Lightroom Classic. For this article, though, I will focus on the mobile iPad experience with Lightroom CC.
Now, to further add to the confusion, Adobe offers several pricing plans, including one not listed on their actual site. Within the LR CC app for iOS, you are presented with the option to purchase a Premium Subscription for ‘iPad only’ for 4.99/month. I did not see this option listed anywhere on Adobe’s site, but with it you gain the ability to import and edit RAW images, access selective tools such as brushes, graduated filters, radial filters; and you also get 100 GB of cloud storage that syncs across all your devices (iPad, iPhone, Mac). This is a great feature, because I can begin an edit on my iPad, then continue it on my phone when I don’t have my iPad with me. Without the premium subscription, you can still edit images, but only JPEGs, and you lose some of the editing features and online storage mentioned above.


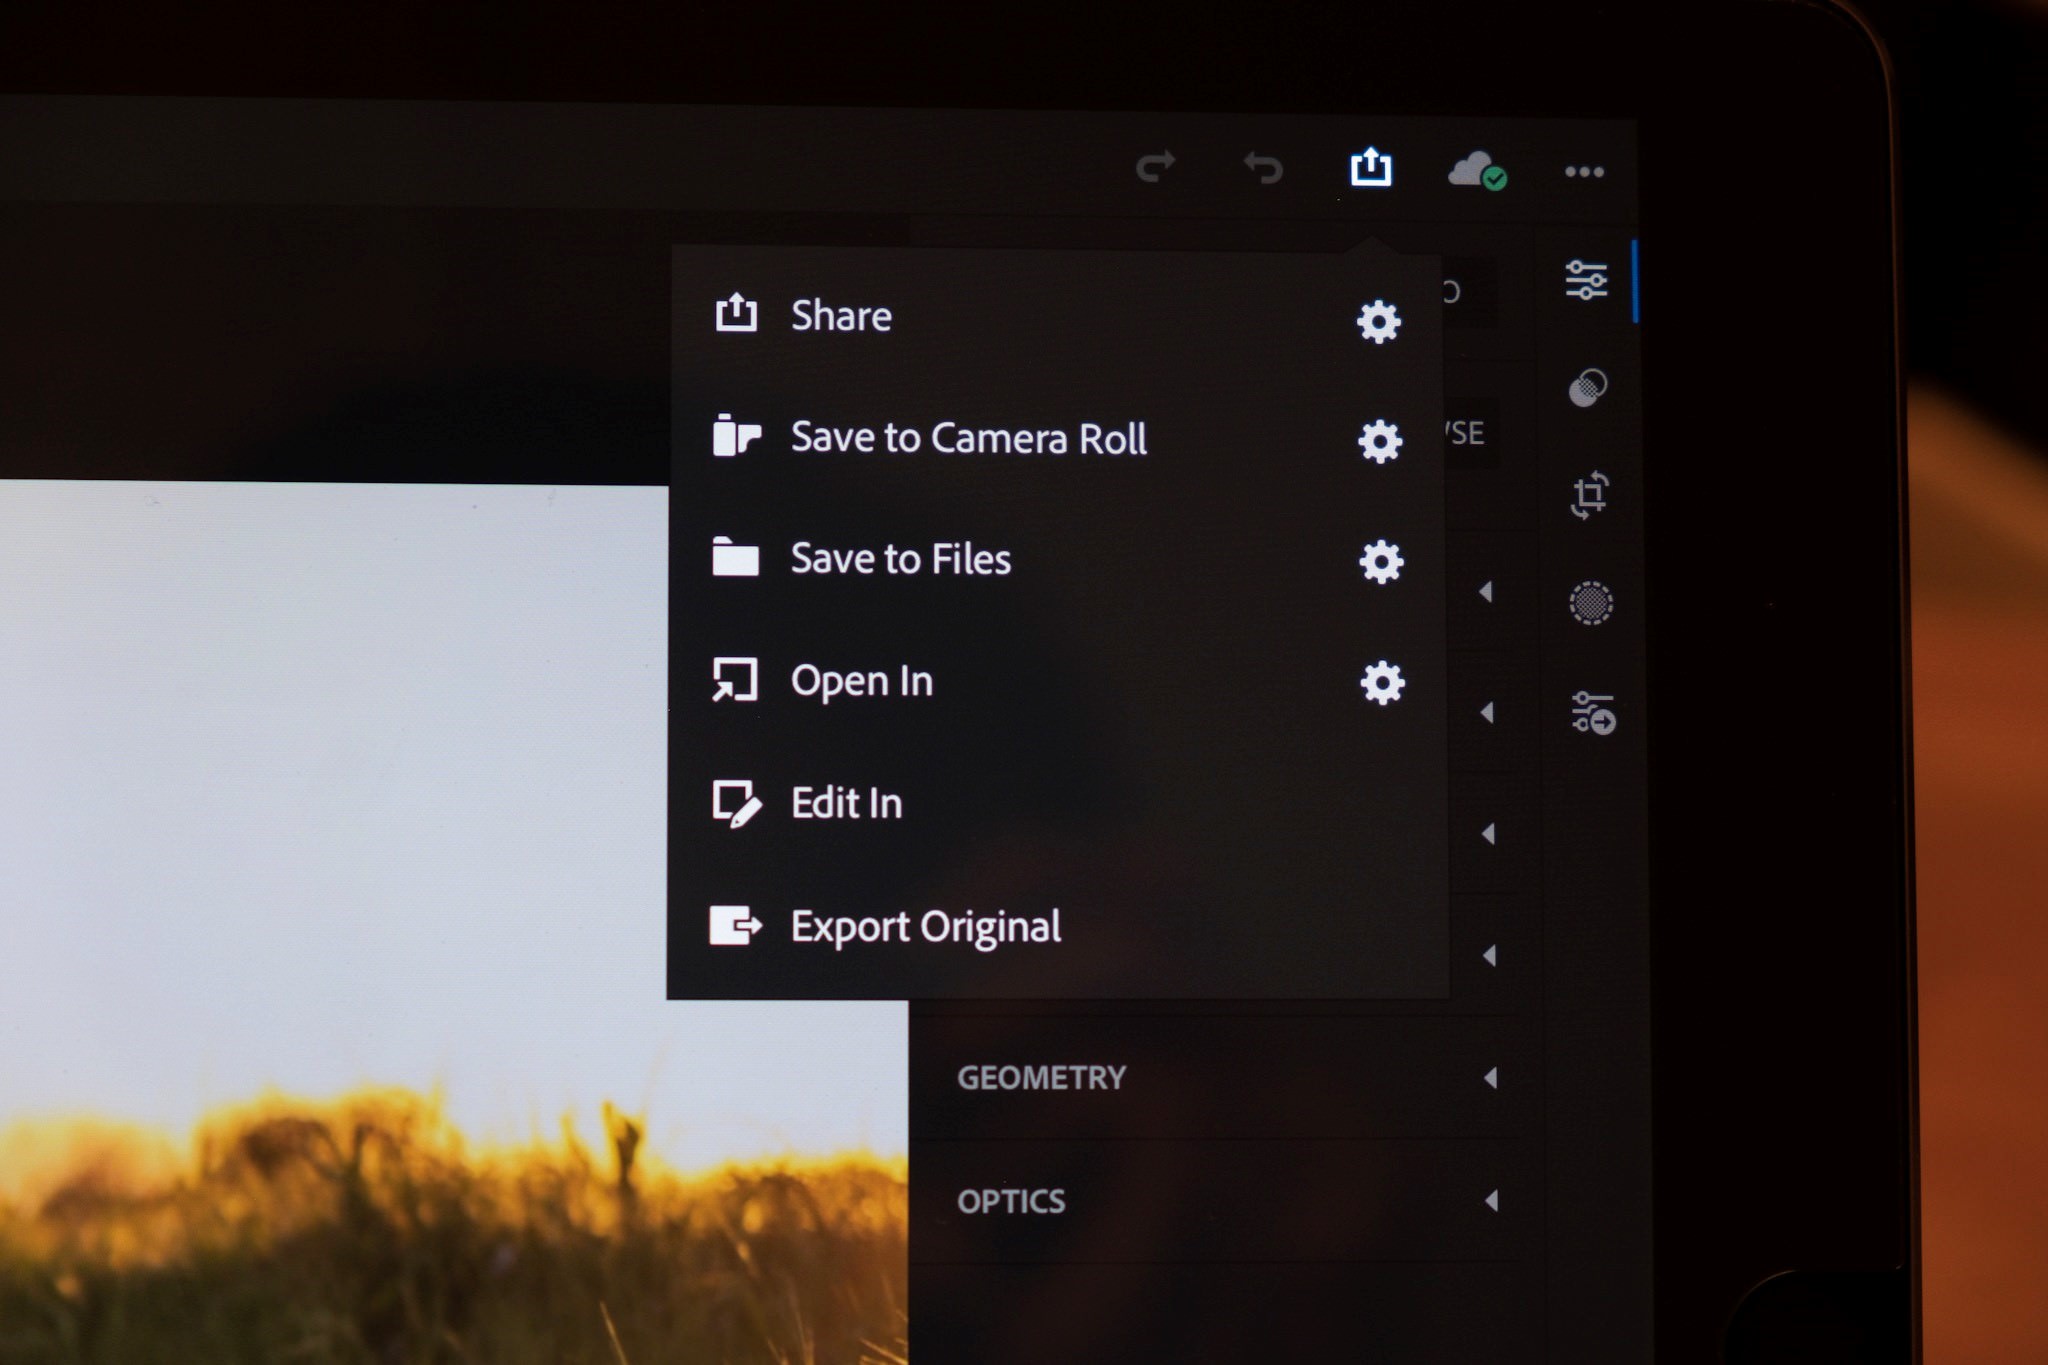
As a side note: I also use Affinity Photo for iPad when I need to make more complex, photoshop-style edits, such as removing objects from images, or working with layers. When working on an image in LR CC, you can hit the share option and select ‘open in’ and choose Affinity Photo. Affinity Photo is a premium app that costs $20. However, you only pay for it once, and any future updates are always free. I won’t go into further detail on Affinity Photo, but I will tell you that it’s a powerful application – one definitely worth considering if you’re looking for an alternative to Photoshop.
My Workflow: Importing Images into my iPad
Unfortunately, or fortunately, depending on how you look at it, your initial import needs to happen through the Apple Photos app before you can import your images into LR CC. I would love to see Apple release a future update that lets you import straight into LR CC, or to another location of your choice, but until then, this is the workflow we have to work with.

To import my images to the iPad, I use the Apple Camera Connection Kit ($29). Insert your SD card into the connector, plug it into the lightning port of the iPad, and the Apple Photos import window opens automatically. Here, the processing power of the iPad Pro really shines, as it loads RAW images (50 MB per file) without any issues or hesitation. Next, I select my images and hit import selected photos – the iPad Pro executes this process very quickly, significantly faster than my old Macbook Pro. Each 50 MB RAW file takes about one second to import.


Side note: Apple Photos does not currently support image preview of Fuji RAF compressed RAW files, only uncompressed RAW files. If you import RAF compressed images into the iPad, you won’t be able to view them in the regular Photos app. They will appear as a blank photo. However, you can still import them into LR CC and view them there (another feature I hope Apple brings to us soon).
Import to LR CC and Image Culling
With my images now saved in Apple Photos, I can import them into Lightroom CC and perform my image culling using LR CC’s rating tools.
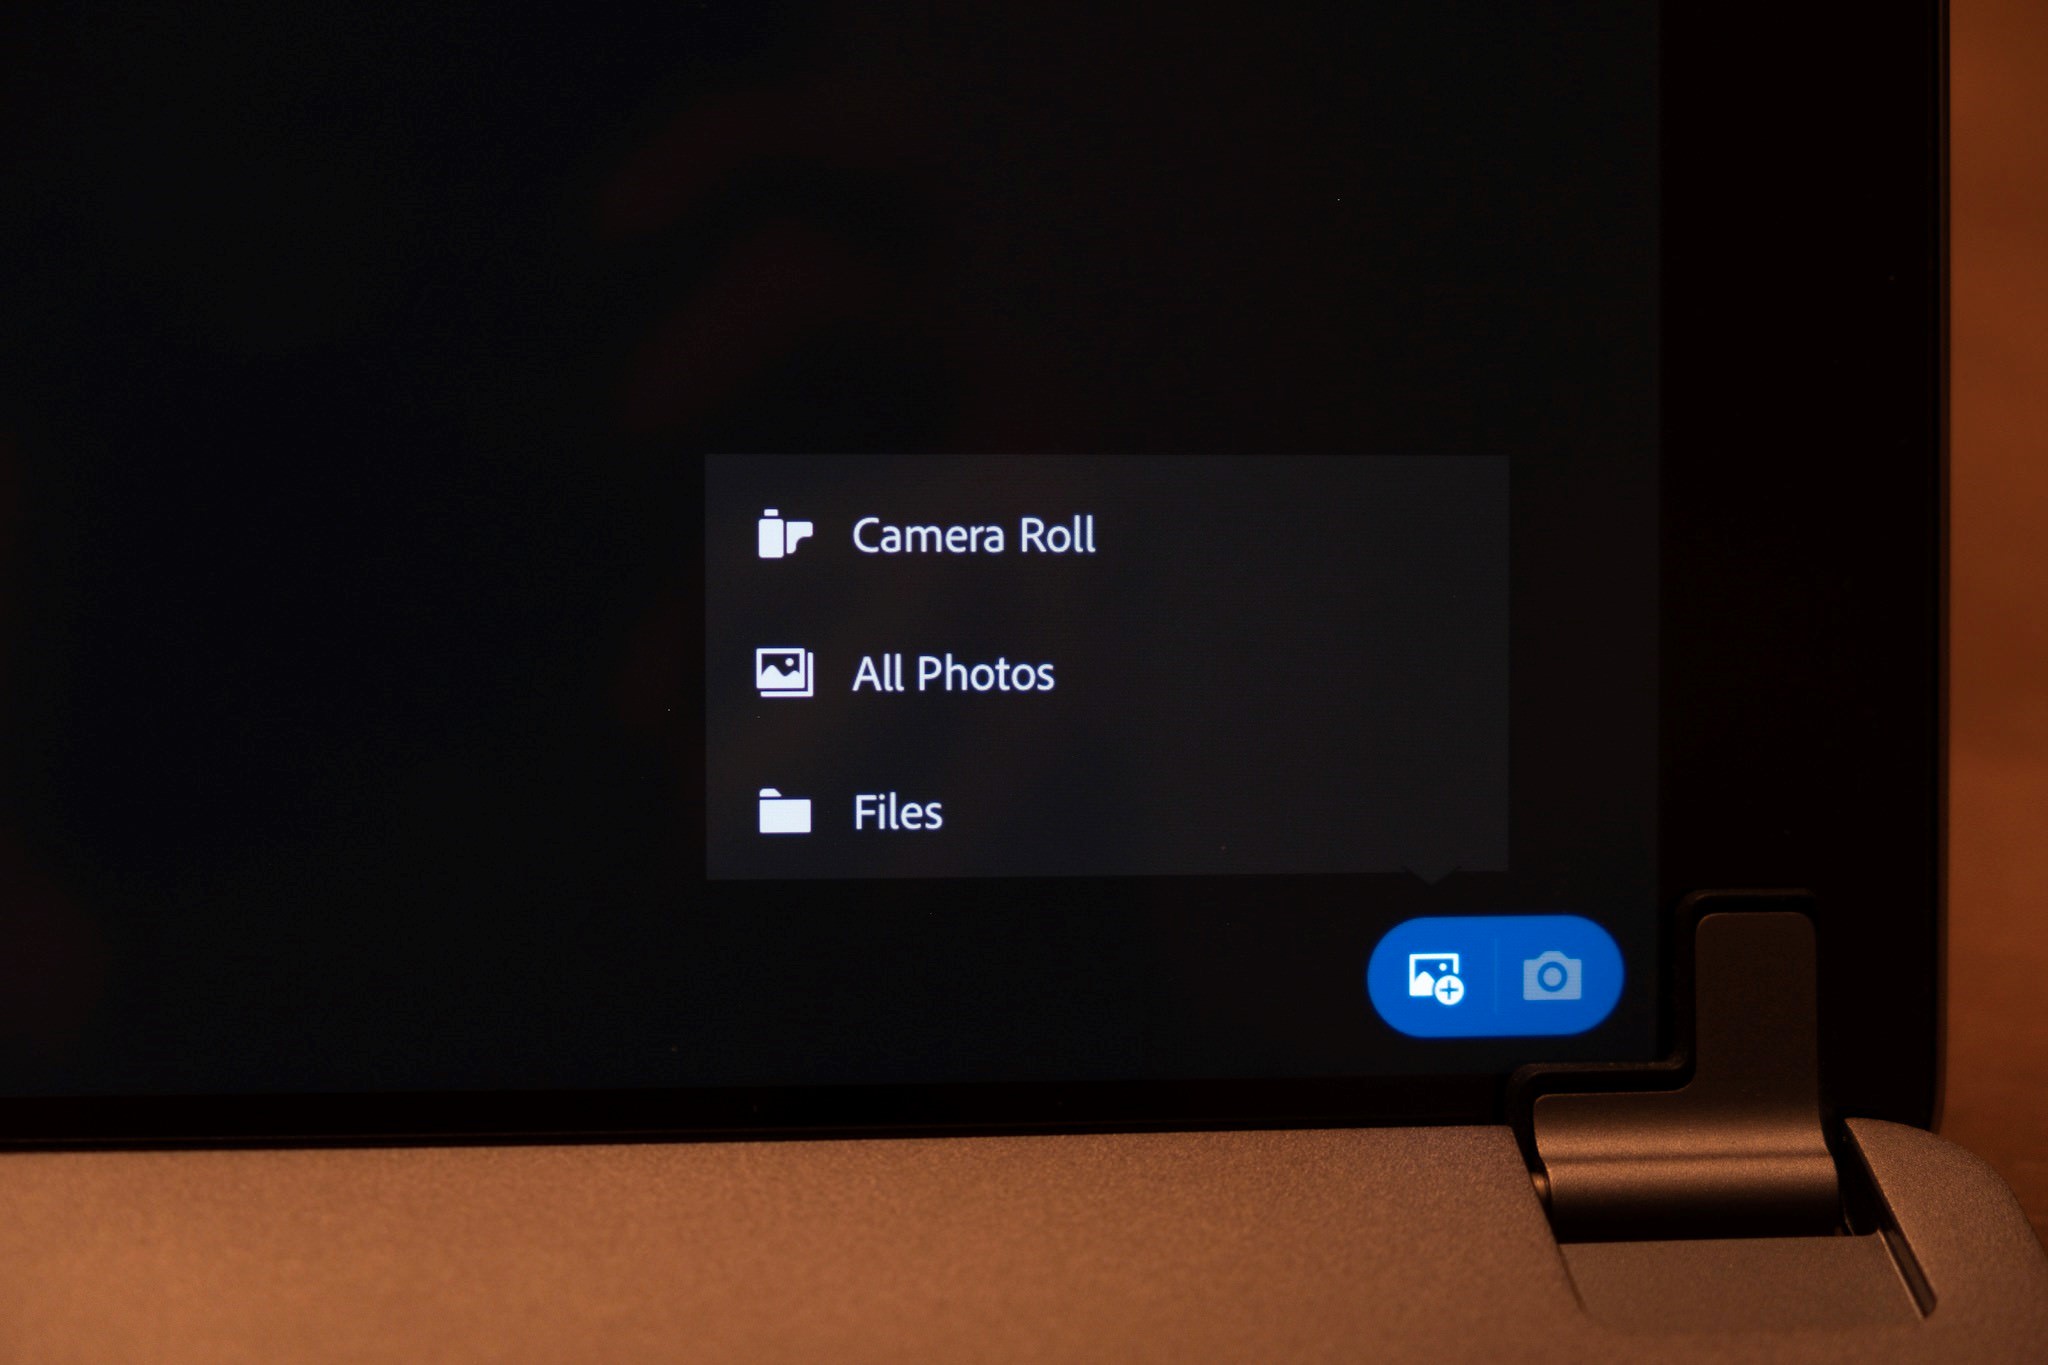
First, to import your images from photos to Lightroom CC, look at the bottom right of your screen. There, you will find the import button: a small blue button with a plus sign on it. Pressing it will open an import window that pulls directly from your Apple Photo libraries. By default, you’ll see your latest images from your camera roll, but you can also select from any of your photos albums, such as “favorites” or “recently added.” Select your images and hit “add,” and the images will quickly load into your LR CC photos library.

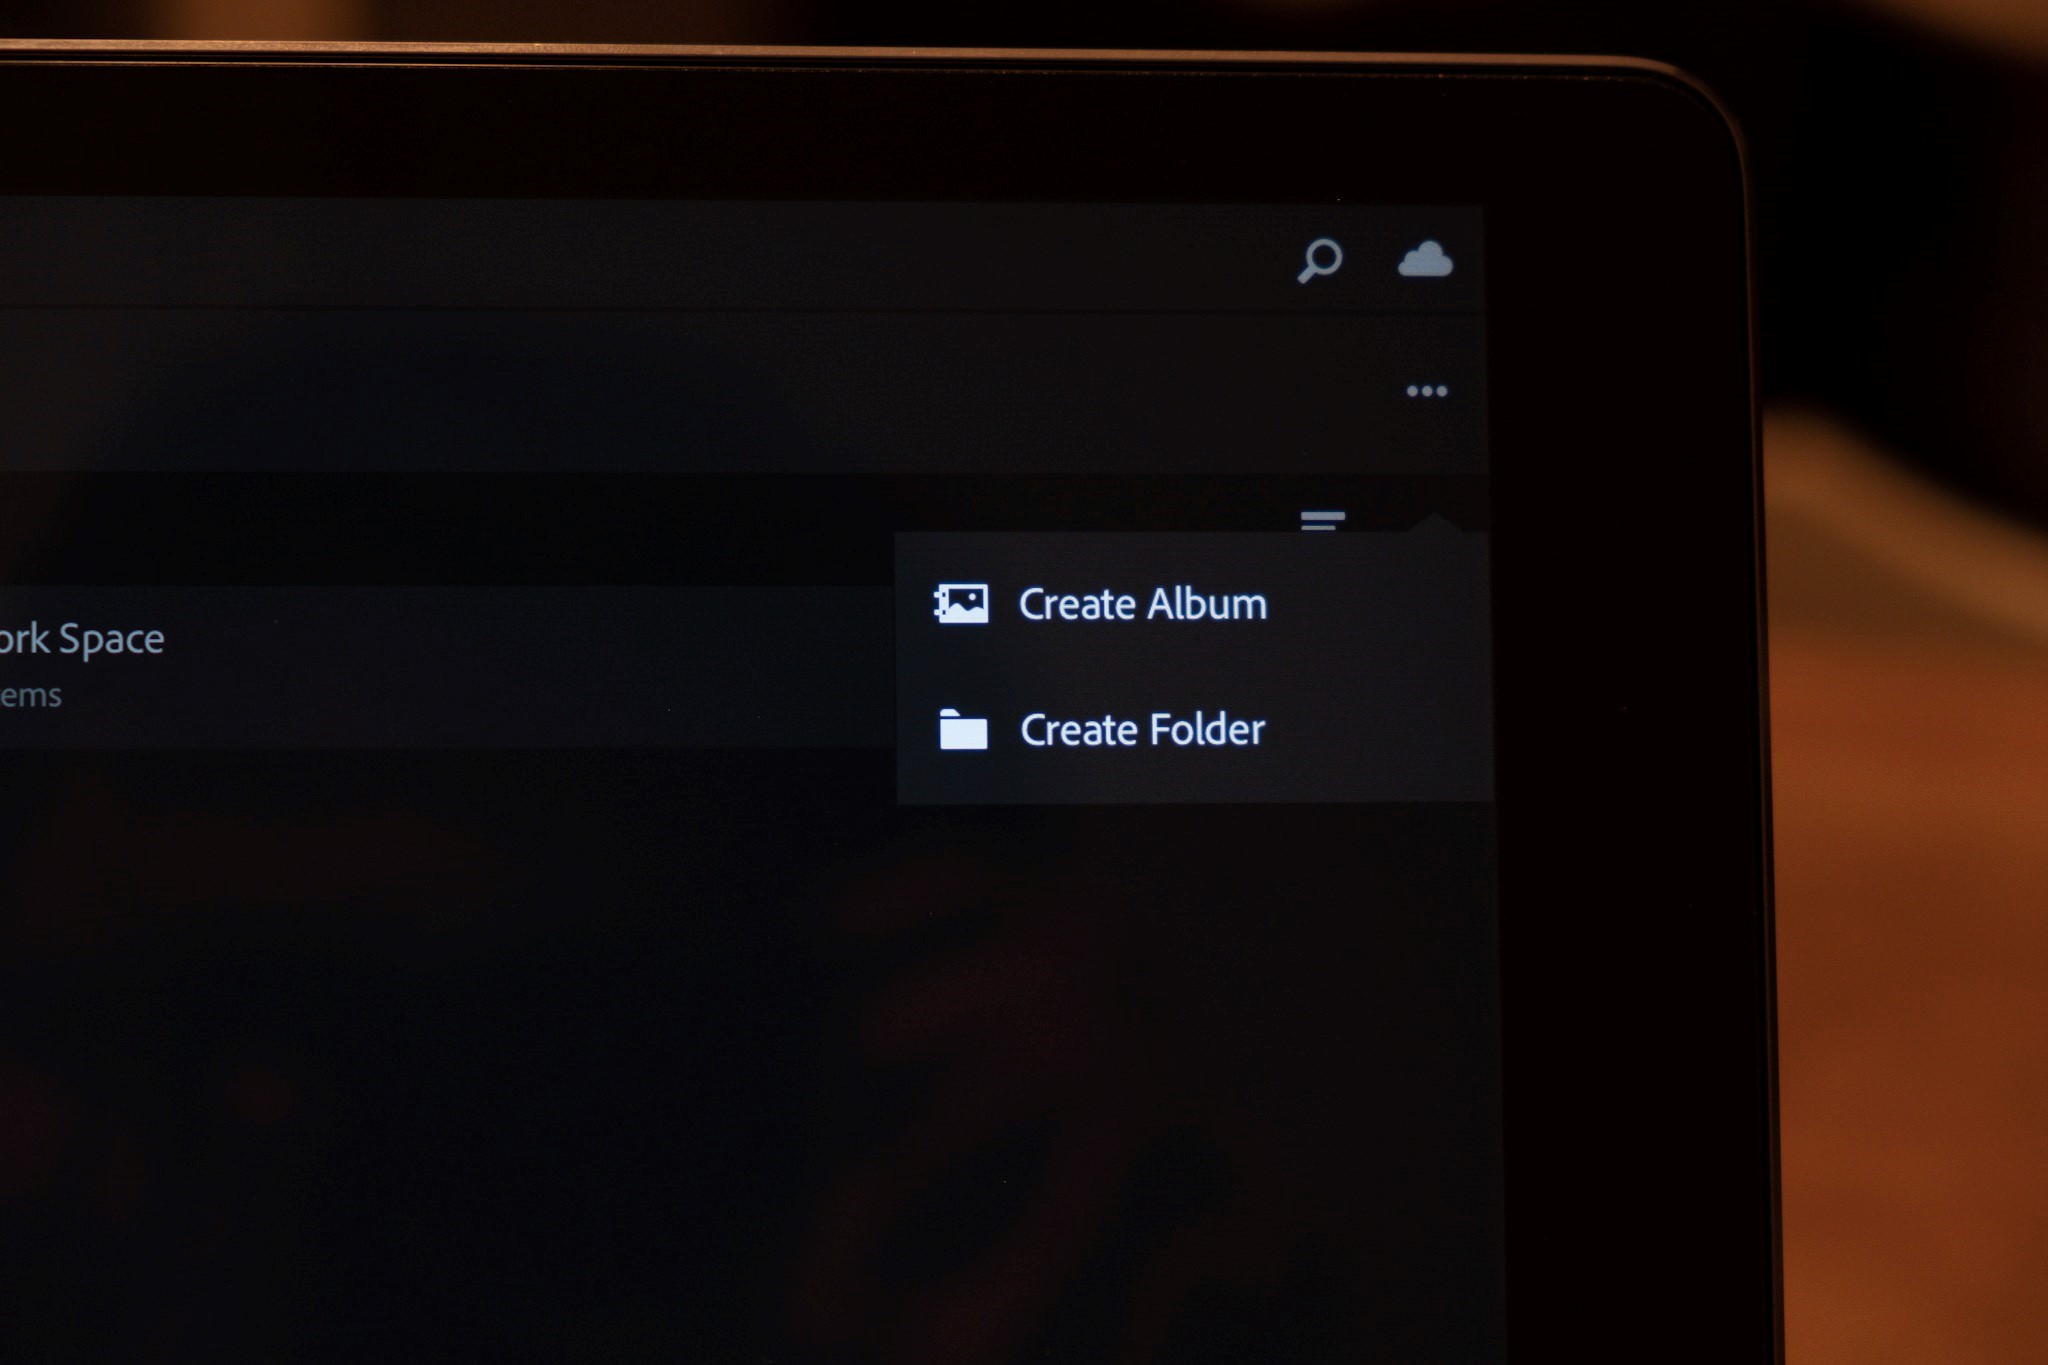
Now you can perform your image culling by adding star ratings or applying a Reject or Keep flag to each photo. Once finished, you can filter according to the flags or stars you applied and easily discard any rejected images from your LR CC library. Lightroom CC does also offer some file management options, allowing you to create folders and albums to organize your images within LR CC.
When you are in an album that you have created, you can click the import button, and in addition to seeing your Apple Photos “camera roll,” you’re also given the option to import from your Apple Files app. If you’re not familiar with the Files app, Apple introduced it with iOS 11. I would say it is Apple’s first step towards bringing a more structured filing system to iOS devices, similar to what you’d find on Mac or PC. You can link your cloud services, such as dropbox, or google drive, to the Files app and then view all your files there.
However, there is one quirky thing about LR CC: For whatever reason, this location is not available as a choice from the main import screen. So, if you have images saved on a cloud drive connected to your Files app, and you want to import those images into LR CC, you will need to create an album first, and from within the album, push the import button to see the option to import from the files app.
In the end, however you choose to get your images into LR CC, the obvious next step is to begin editing your work.
Editing in Lightroom CC
Again, if you’re familiar with Lightroom, the editing interface shouldn’t surprise you too much. While the look and feel is different than in Lightroom Classic – more modern and clean looking – learning the new layout takes no time at all. After finding familiar tools such as tone curves and split toning, you’ll notice that most of the basic tools are laid out similarly to the desktop version of LR Classic.


You can easily move sliders with your finger to make edits as usual. However, for me, this is where the Apple Pencil and the iPad Pro changed the editing experience – they have made things fun once again. It feels much more intuitive to drag a slider, make a brush edit, or add a graduated filter with the pencil. I find it far more enjoyable than using a mouse to move sliders or perform brush edits. The pencil makes the overall editing experience feel more natural and precise; you’re already putting the point of the pencil onto your image, then drawing or painting your changes as if it is a real pencil and paper. Coupled with the iPad’s processing power, everything has been very smooth for me, without any lagging or hesitation. The 12.9″ screen of the iPad Pro doesn’t disappoint, either – the resolution and colors look amazing.


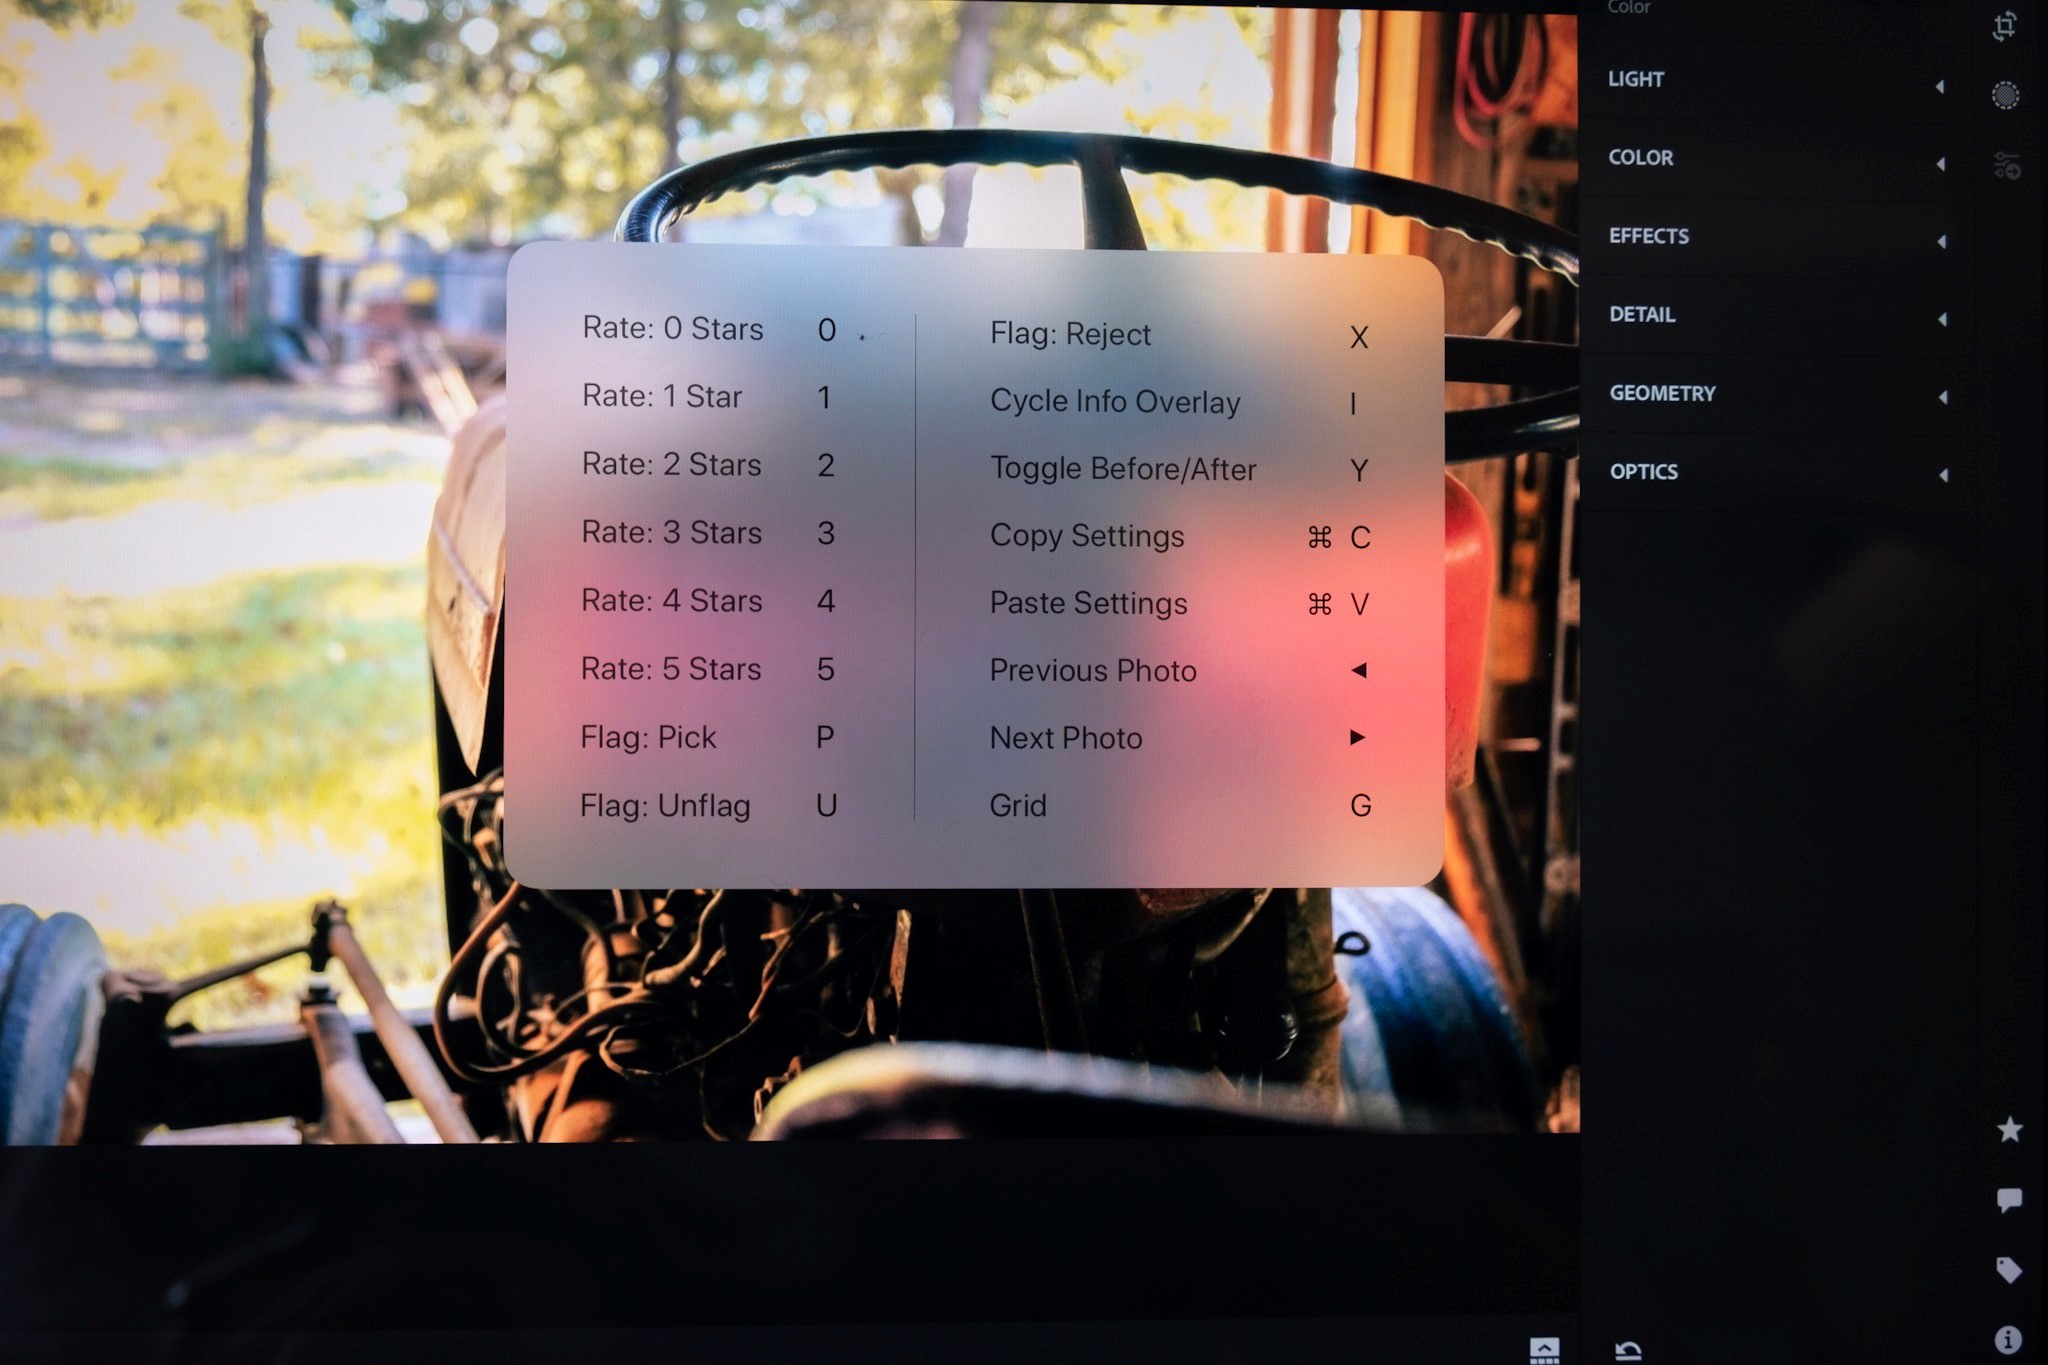
Another nice feature in Lightroom CC is that it has integrated keyboard shortcuts when attaching an external keyboard to the iPad. You can rate photos, toggle between images, copy and paste edits from one photo to another using shortcuts like ‘cmd C’ or ‘cmd V,’ and much more. You can get a pop-up with a list of keyboard shortcuts by simply holding down the ‘cmd’ button in any application you’re working in.
Exporting from Lightroom CC
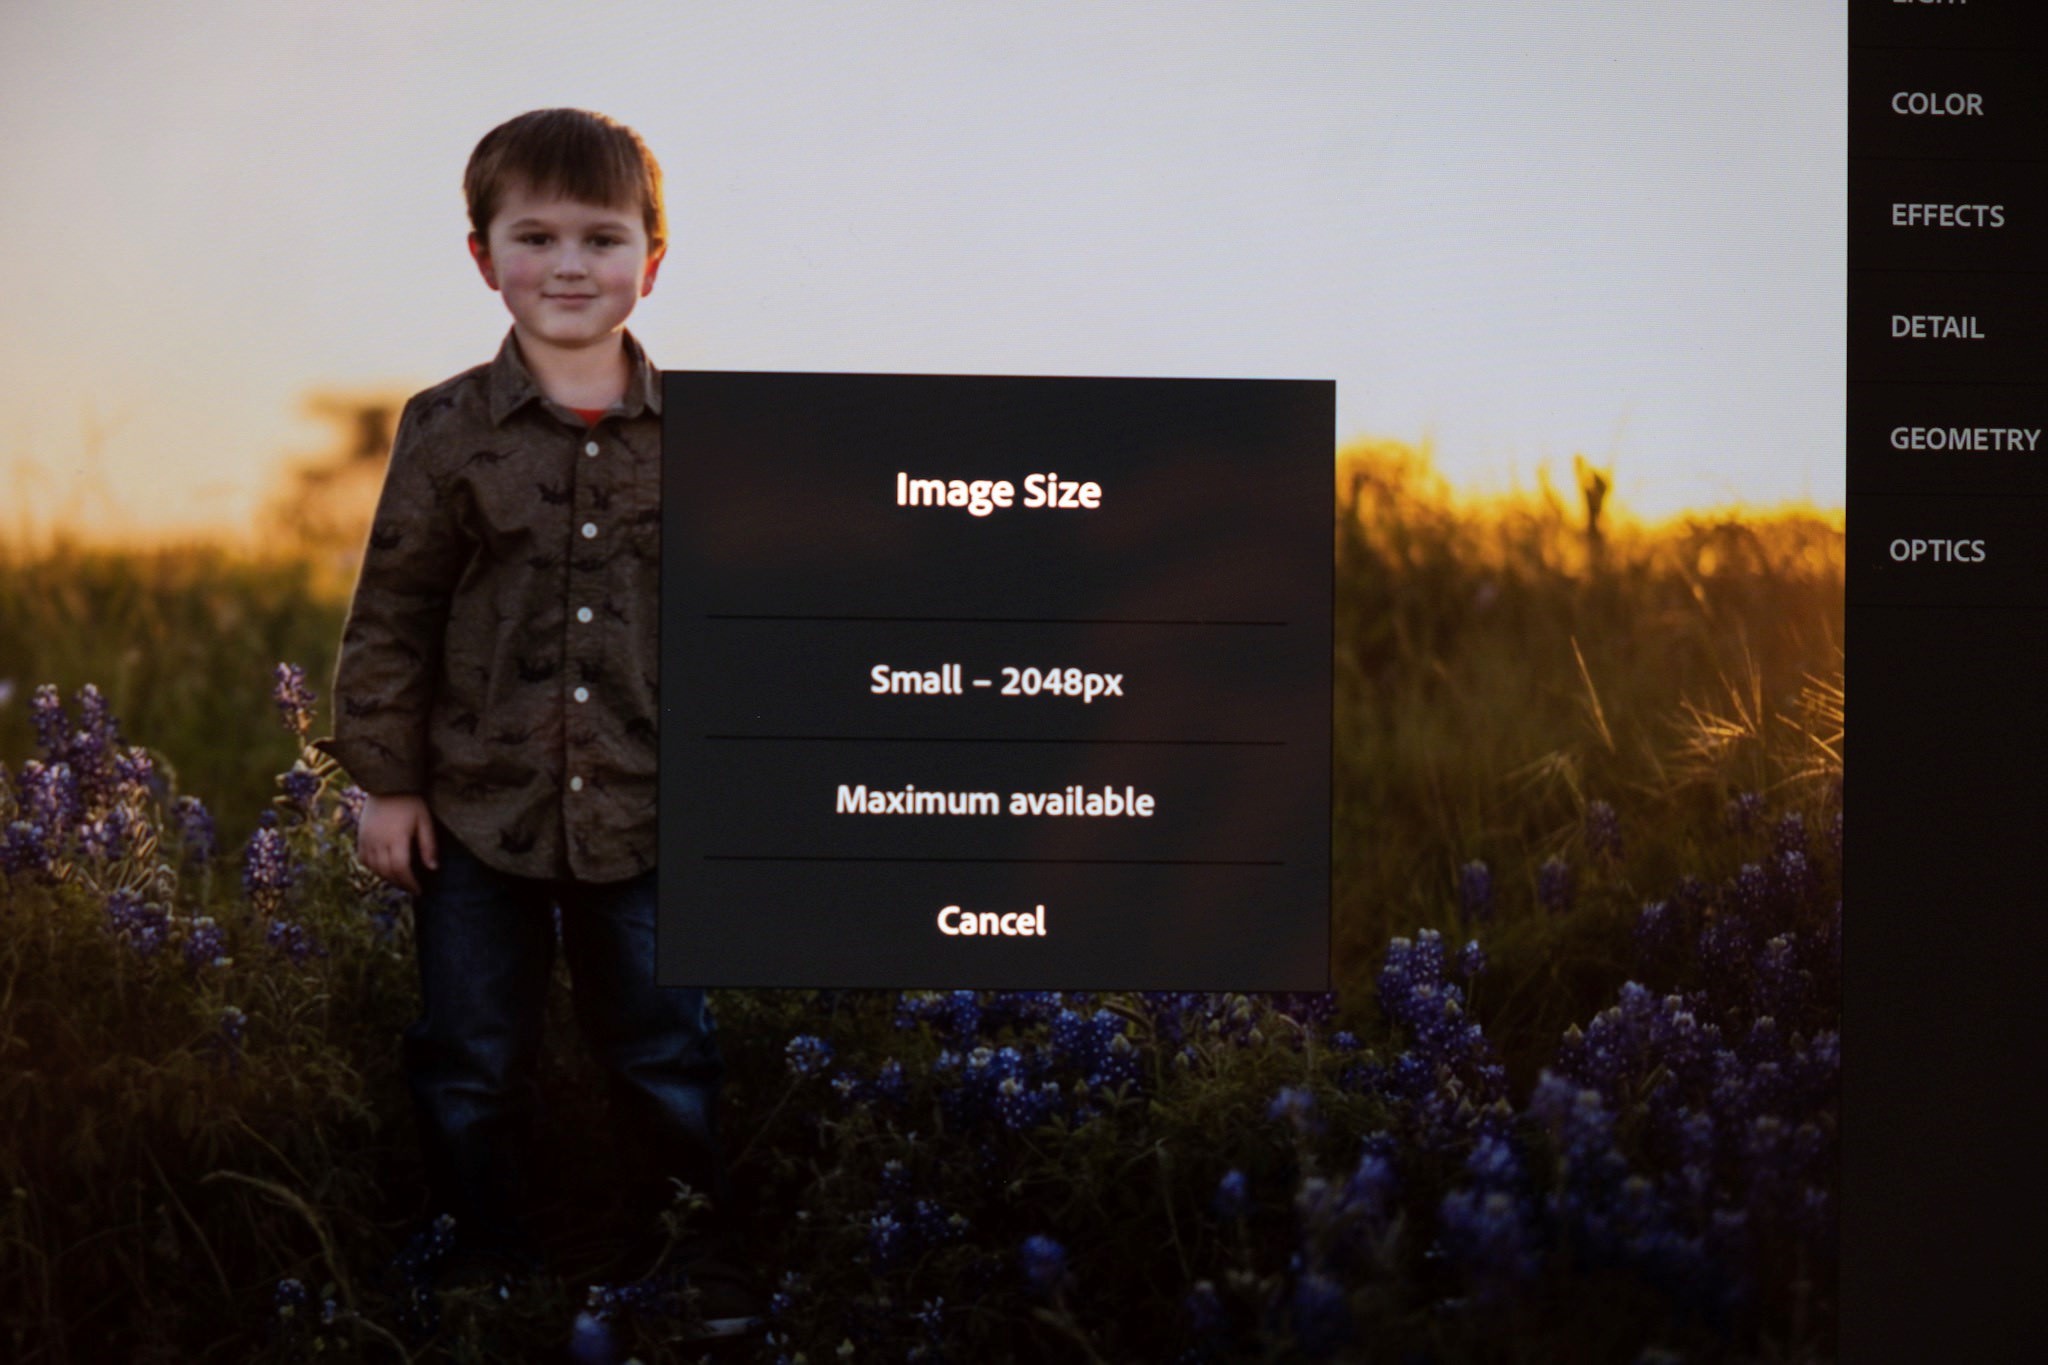
Once you have finished making your edits, it is fairly straightforward to export to your preferred cloud drive, Apple Photos, or social media. Select the share button from the top and just follow the prompts. LR CC will give you two resolution options to export from: ‘Small – 2048p’ or ‘Maximum Available.” Here, however, there is a small limitation with LR CC, as you can only export 15 images at time, whether to your camera roll, cloud drive, or to a folder in Apple’s files app.
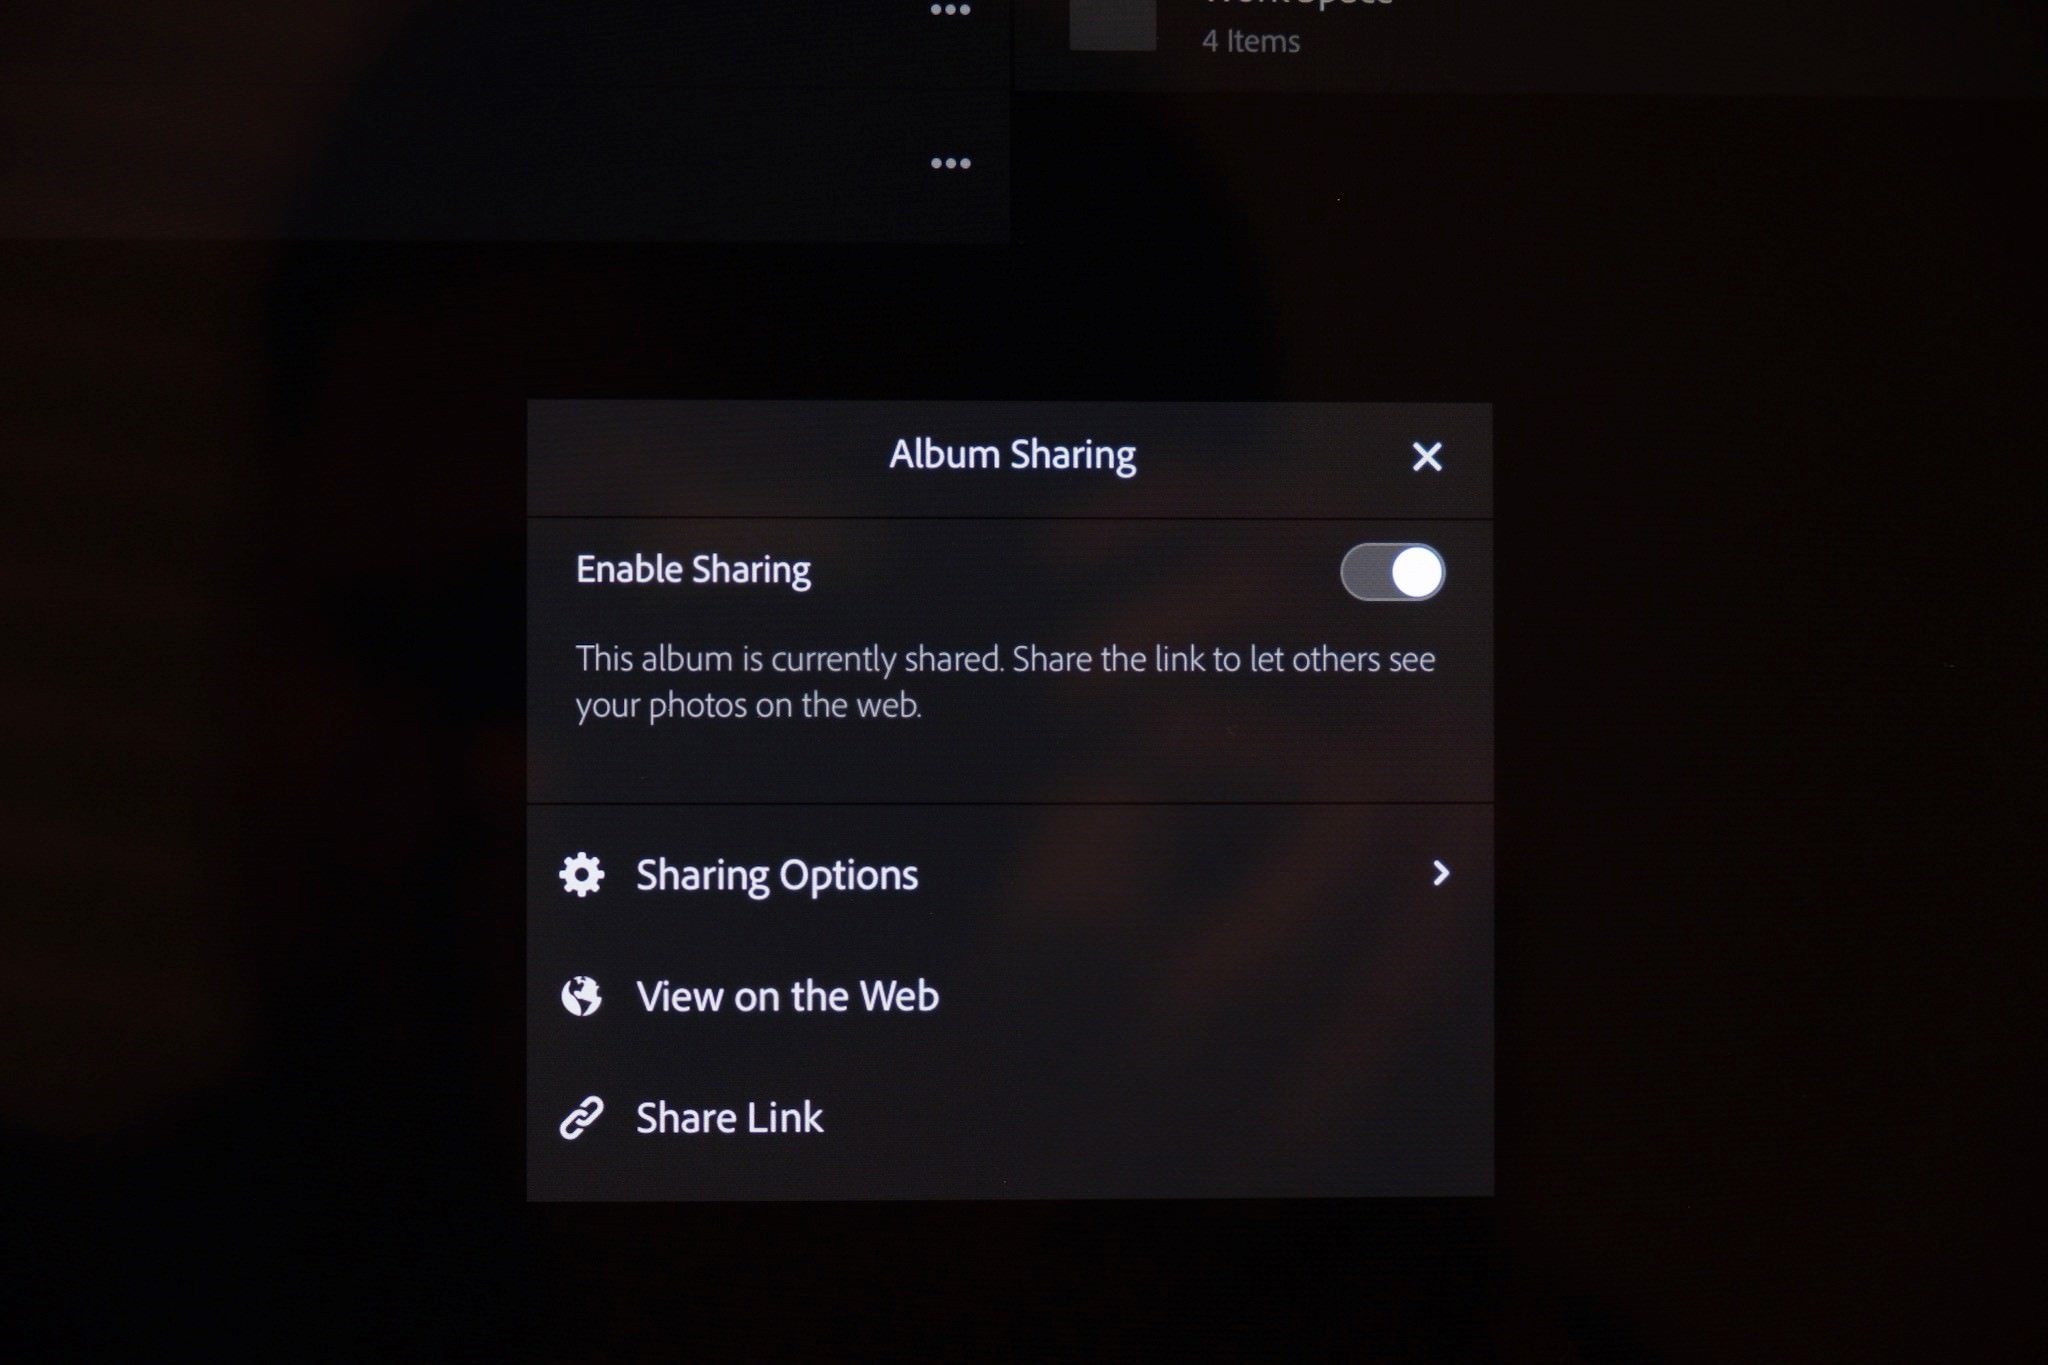
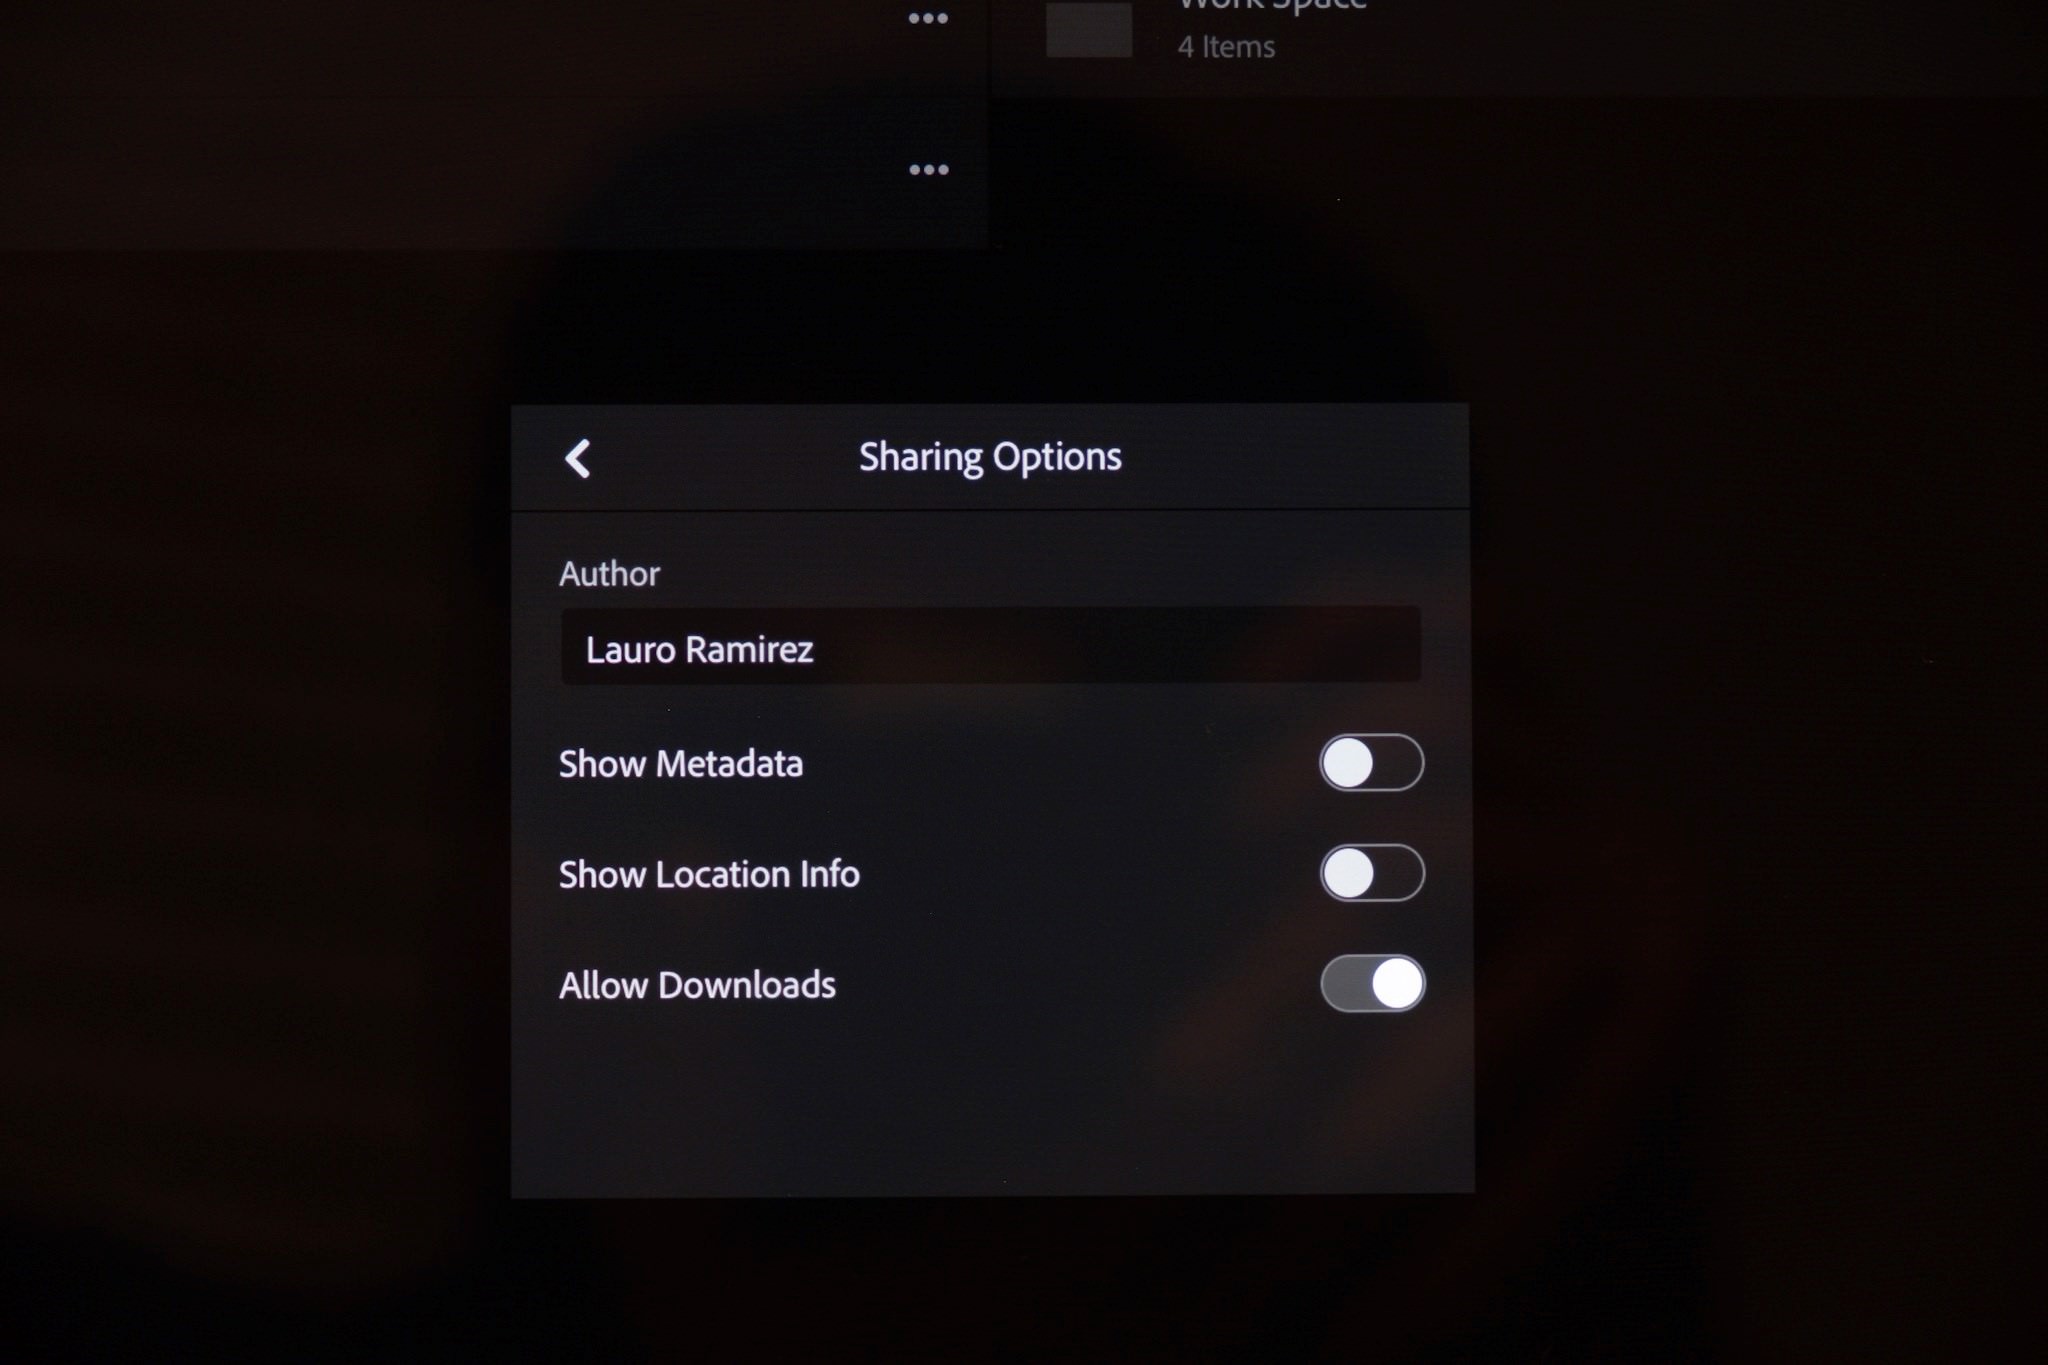
Another way to share photos is to create an album, which can then be made ‘shareable’ via a web link. This is not limited to 15 images as with the export feature. I find this feature useful for sharing images with a client, for example. You can enable settings such as “can download images,” and people who then see your album can make comments or like images within it.
Closing thoughts
I think that Lightroom CC is a fresh new take on Lightroom Classic. And, according to Adobe, they plan to continually add more features and functionality over time. We’ve seen that in recent updates, such as the recent addition of color profiles, which lets you choose from profiles found within your camera system. For example, working with Fuji RAF files, you can now select from color profiles such as ‘Classic Chrome’ or their B&W ‘Acros’ film simulation – in addition to Adobe’s own color profiles. I’m hoping this continues and that we see more and more key features from Lightroom Classic in the future.
While LR CC may not have the extensive file management capabilities that Lightroom Classic offers, or the ability to batch edit multiple images at once; I still think that LR CC has much to offer – and it’s not necessarily driven toward the “beginner” audience as some have touted. For the serious hobbyist on the go, or occasional gig shooter who isn’t necessarily shooting tons of images every week, I would seriously ask them to consider how an iPad Pro and Lightroom CC might work for them.
This article has been contributed by Lauro Ramirez.
Hi,
I have many Lightroom photos on my desktop Mac but my new iPad Pro is only syncing with my iPhone photographs. How do I fix this?
I have a montly Adobe subscription for their Lr/PS package. Can an IPad Pro handle both post processing tools or only Lr? I have a 2010 mid-year model of a MacBook Pro. I also finding myself getting extremely frustrated, tapping my fingers increasingly faster, and getting discouraged as I watch the spinniing rainbow. I have also discovered that my MacBook Pro’s NVIDEA GeForce Driver – 320 M series is no longer supported by Adobe Lr or Ps. With this being the case, I’m unable to access some of their new editing tools. I’m not sure what to buy to replace my MacBook Pro, but I think your discussion has been very helpful. I can’t imagine shelling out the kind of money it will take to purchase a new MacBook Pro. Ultimately, once again, can a IPad Pro handle both Lr and Ps? If I were to limit my usage of the IPad to only my photo work, would this make for a more optomistic outcome?
Did you get an answer? I think that’s the same thing I am asking? See my question above and hopefully someone will answer us.
I have a 2012 MBP and although its still works great now, I can see that with the coming updates of OSX, its performance may become hampered or worse not supported. So I contemplated on purchasing a new MBP but the cost is impractical for me. Decided to get a mint 10.5 Ipad pro for half the price of a new one and used it on the field for my work as a photographer on the go. Importing and editing using Lightroom and Photoshop in the start was a bit tedious because of the different interface but once I got the hang of it, it’s all smooth sailing. Just be aware of the limitations of both applications for both still don’t have all the functionalities of the desktop version(although improvements are coming in steady from adobe). Highly recommend an Ipad pro for photographers on the go!
I invested in iPad Pro 12.9 (2018) and a WD Wireless SSD before an 8 week sojourn to Norway, North Atlantic, Canada and New York. The WD SSD handled daily RAW file downloads from D800 and D7200 and processing in Lightroom Mobile. Processed files saved to Camera Roll and loaded to daily blog. Once back in Oz, RAW files downloaded from SSD to permanent storage and DxO PhotoLab 2 processing.
Worked a treat – highly recommended combination!
Sorry I don’t understand. I shoot underwater and will be attending the Backscatter shootout 2020 in Bonaire in June. Mornings are diving and eves spent editing in Lightroom as needed. As my laptop is shot, an Apple employee who is also a photographer encouraged me to buy the 13 iPad Pro with pencil as a desktop/laptop replacement. He’s doing the same thing instead of replacing his MacBook Pro so I don’t think he would steer me wrong? I’m still new to LR of any kind- will this thinking work or no? Thanks!
I just bought new version of IPad Pro 12.9 with Apple card reader. Importing all my raw images into Apple Photo they are all blurry when opening the file. I am shooting compressed raw. I want to shoot raw and I want to import direct without WiFi. Do I have to buy editing apps to open and preview raw files in Apple photo?. Would it make any difference if I shoot uncompressed raw files? My older IPad with lightning card reader does the same with compressed raw files – all blurry and unusable.
So, do the Apple card readers only support jpeg (where they work well) and don’t work with raw? Apple ads say different.
Importing through Camera Roll changes the file name, am I the only person to find this very annoying?
Good article. Thanks. I’m looking at the 2018 ipad pro model now as I seriously need a ‘laptop’ replacement. Only thing is I am currently transitioning from ‘hobbyist’ to ‘pro’ and am unsure whether this machine will do it for me. Your article has been helpful but I am yet to decide.
VERY nice article!! My macbook is killing me, so Ive been trying to figure out my next step, I am now considering This options!!
Hi
Great post.. Thank you.
I do have a question… Have you experienced lagging in Lightroom mobile on iPad when editing.. in particular with the selective editing brush..
I ask because that is what I am experiencing.
I am just about the go “walkabout” with this setup, but decided to invest in a WD Wireless SSD so that I could store RAW files – the option of importing to Photos did not appeal – you might as well use the edit tools in the Apple app. I might give you some feed back in two months – Fred
It has been more than 2 months but anyone interested might like to read my post as Fred Noteboom – February 2019
So, delighted to have seen, tried LR cc on my iPad. Great for shots taken on iPhone as well as full frame shots stored on cloud
That was day one. Played w editing perhaps 6-7 shots and liked the ease, results.
Not much of a trial but good first look never the less
Back to it today and the are already “in my face” for $ subscription, with apparently no chance to gain a little more familiarity. Seriously? Typical Adobe attitude.
Guess I’ll stick w LR and avoid what will predictably be yet another escalating price curve on software. Overall, technical service /innovation is good but Adobe has all too often jerked around photogs on what in essence sometimes feels like ” take it or leave it” software platforms and pricing.