This is Chapter 2 of our multi-part tutorial, Composition in Photography, which teaches you how to compose photos that are as effective as possible. In this part of the guide, I’ll define composition and explain why it’s such a powerful tool for taking better photos.

Table of Contents
The Definition of Composition
Each time you take a photo, you end up making conscious decisions about what items to include or exclude. You also decide how to arrange the objects that are in your frame. So, what is composition? It is simply the arrangement of the elements in your photo.
I know that plenty of people have more complex definitions of composition, but it strikes me that they’re only making things more confusing. In the end, everything you hear about composition boils down to the arrangement of the elements in your photo – and how that arrangement makes a photo succeed or fail.
Of course, capturing a good composition is far from easy. But that’s all the more reason to keep things simple when you can. If you’re struggling on where to even start when composing a photo, think back to the basics. Your photo has things in it; your job is to arrange them.

The Strongest Way of Seeing
The next question is how to arrange the elements in your photo effectively – and the answer is to arrange them in a way that brings out meaning.
For example, imagine the following photography: A shadow is a line that leads to a vase of flowers; the vase is the same color as a clock on the wall; the hands on the clock point back to the shadow.
Doesn’t that sound like a deliberate photo? With just two tools – lines and colors – the photographer in this hypothetical case has managed to thread together different objects and give them more meaning.
One of my favorite quotes about photography is that good composition is “the strongest way of seeing.” Who said that? None other than Edward Weston, among the best photographers of all time and a master of composition.
Emotion
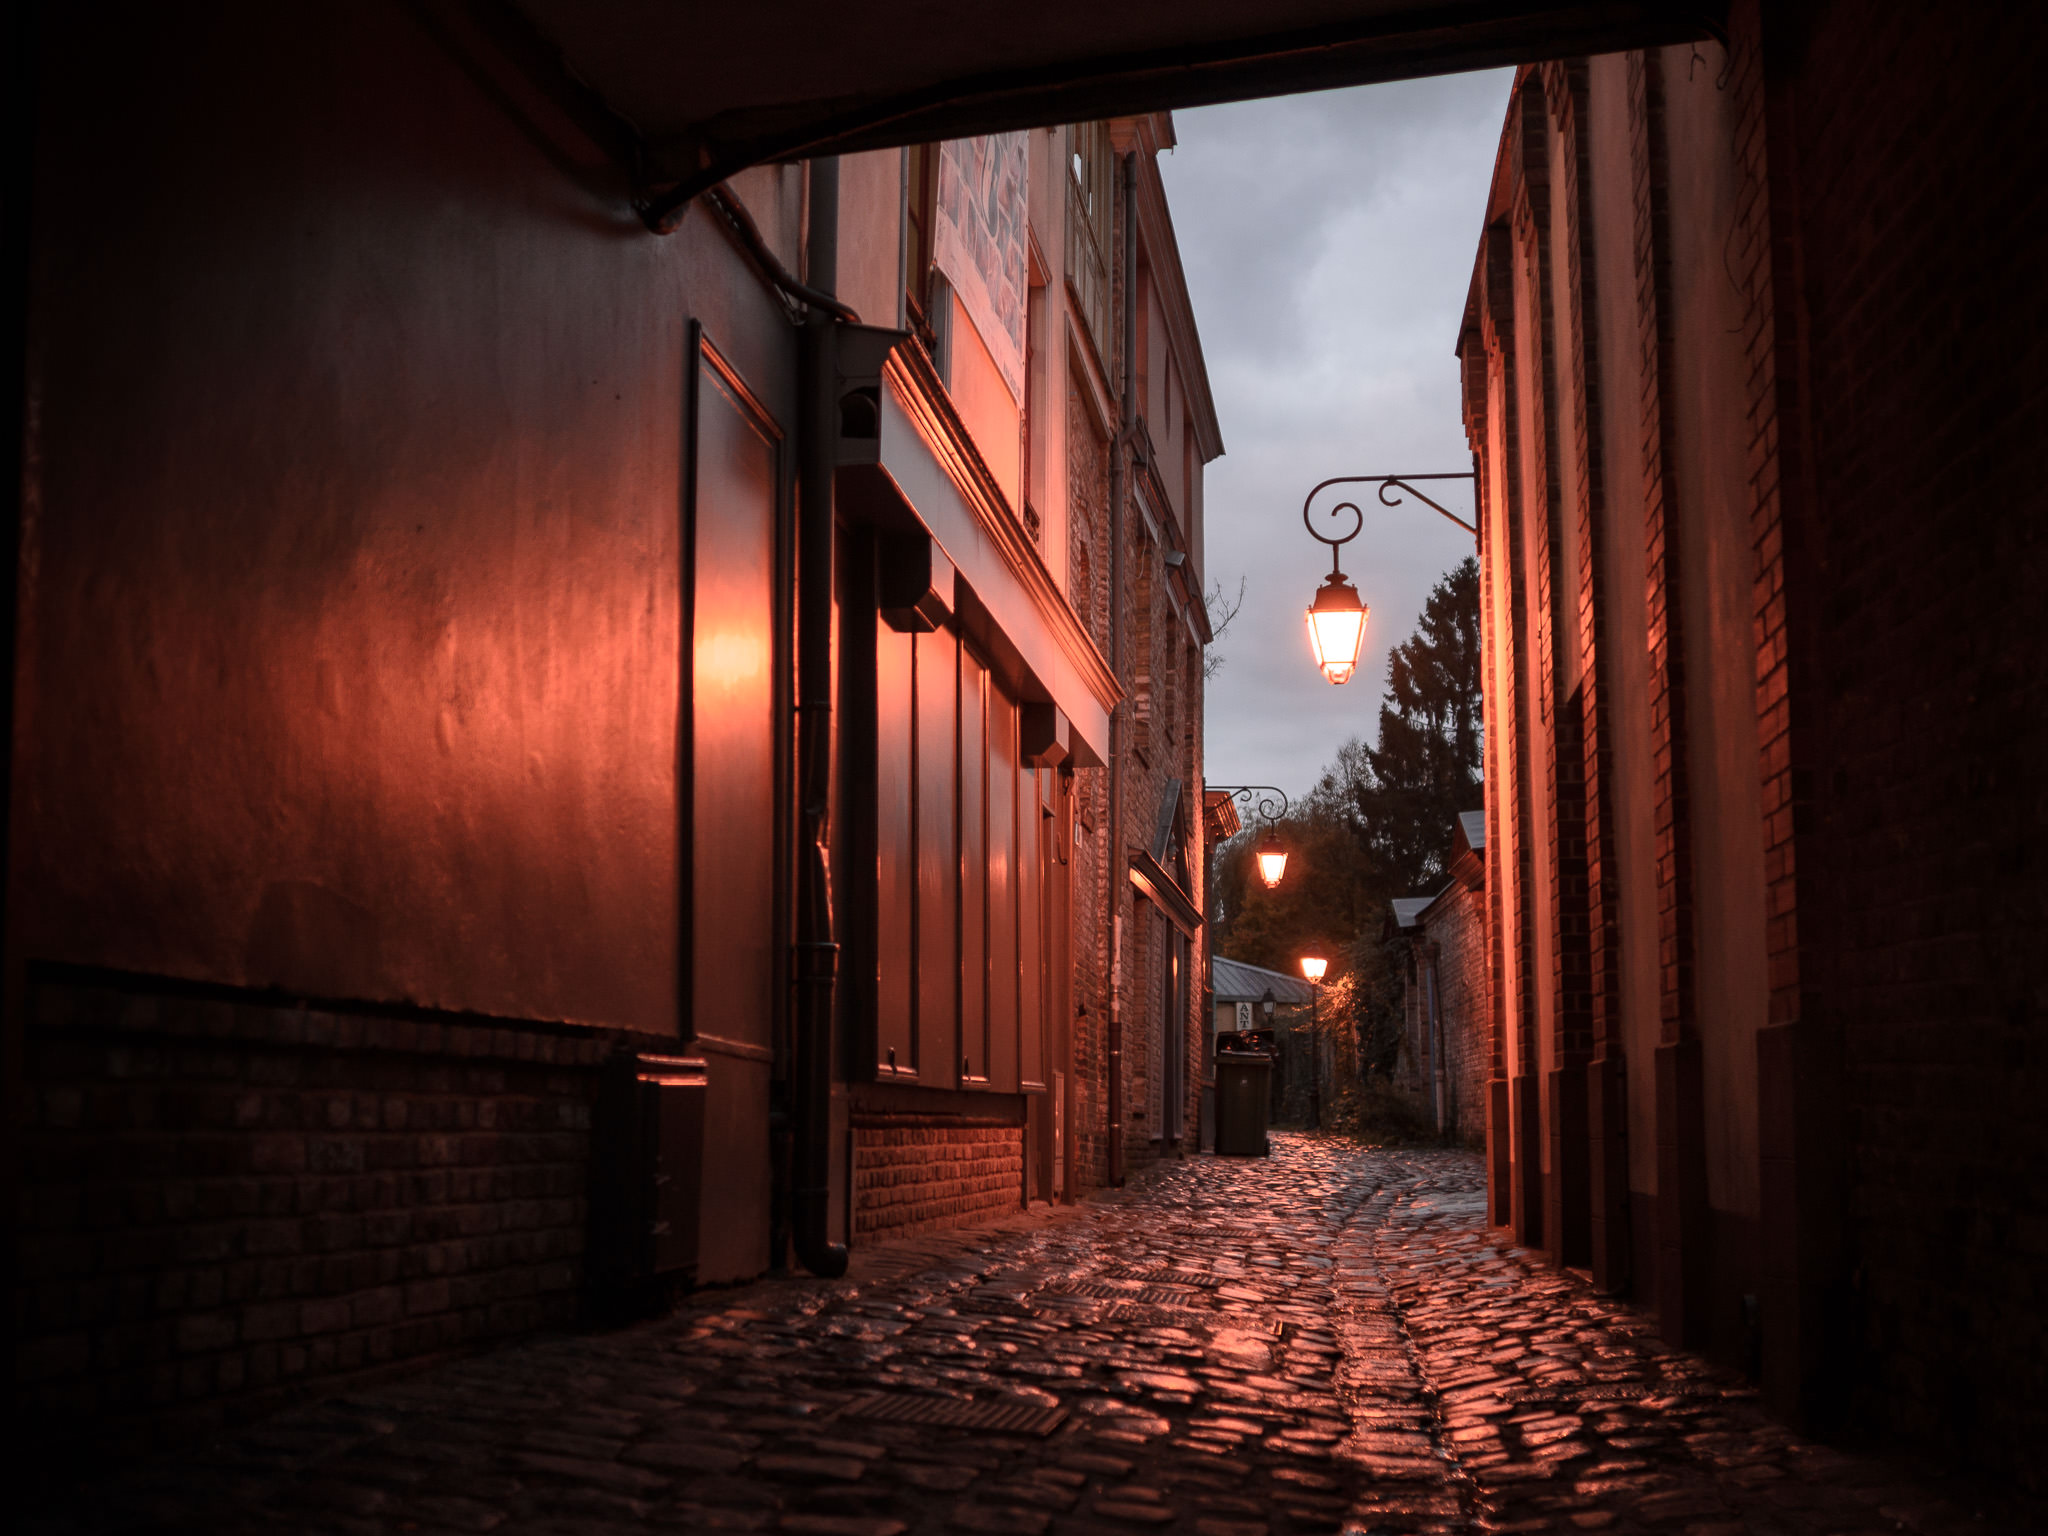
Putting “the strongest way of seeing” into practice isn’t easy, but I believe it all comes down to emotion. Think of it like this: Your composition should complement your subject. If you’re photographing an intense, apocalyptic storm cloud overhead, feel free to arrange an intense, apocalyptic composition! Get their emotions on the same page.
If you’re not sure how to capture an intense composition, don’t worry. First off, this guide is 90% about answering that exact question. But second, it’s all surprisingly intuitive. In this particular example with the storm, an intense composition might be one where the horizon is along the bottom edge of the photo and the sky is filled with sharp, dramatic lines – things like that. You might go so far as to boost contrast in post-processing to make the effect even stronger.
Ultimately, I find it helpful to have the same two questions going through my head when I’m taking a photo: “What emotions are my subjects giving off? And how can I arrange my composition to give off those same emotions?”
Structure
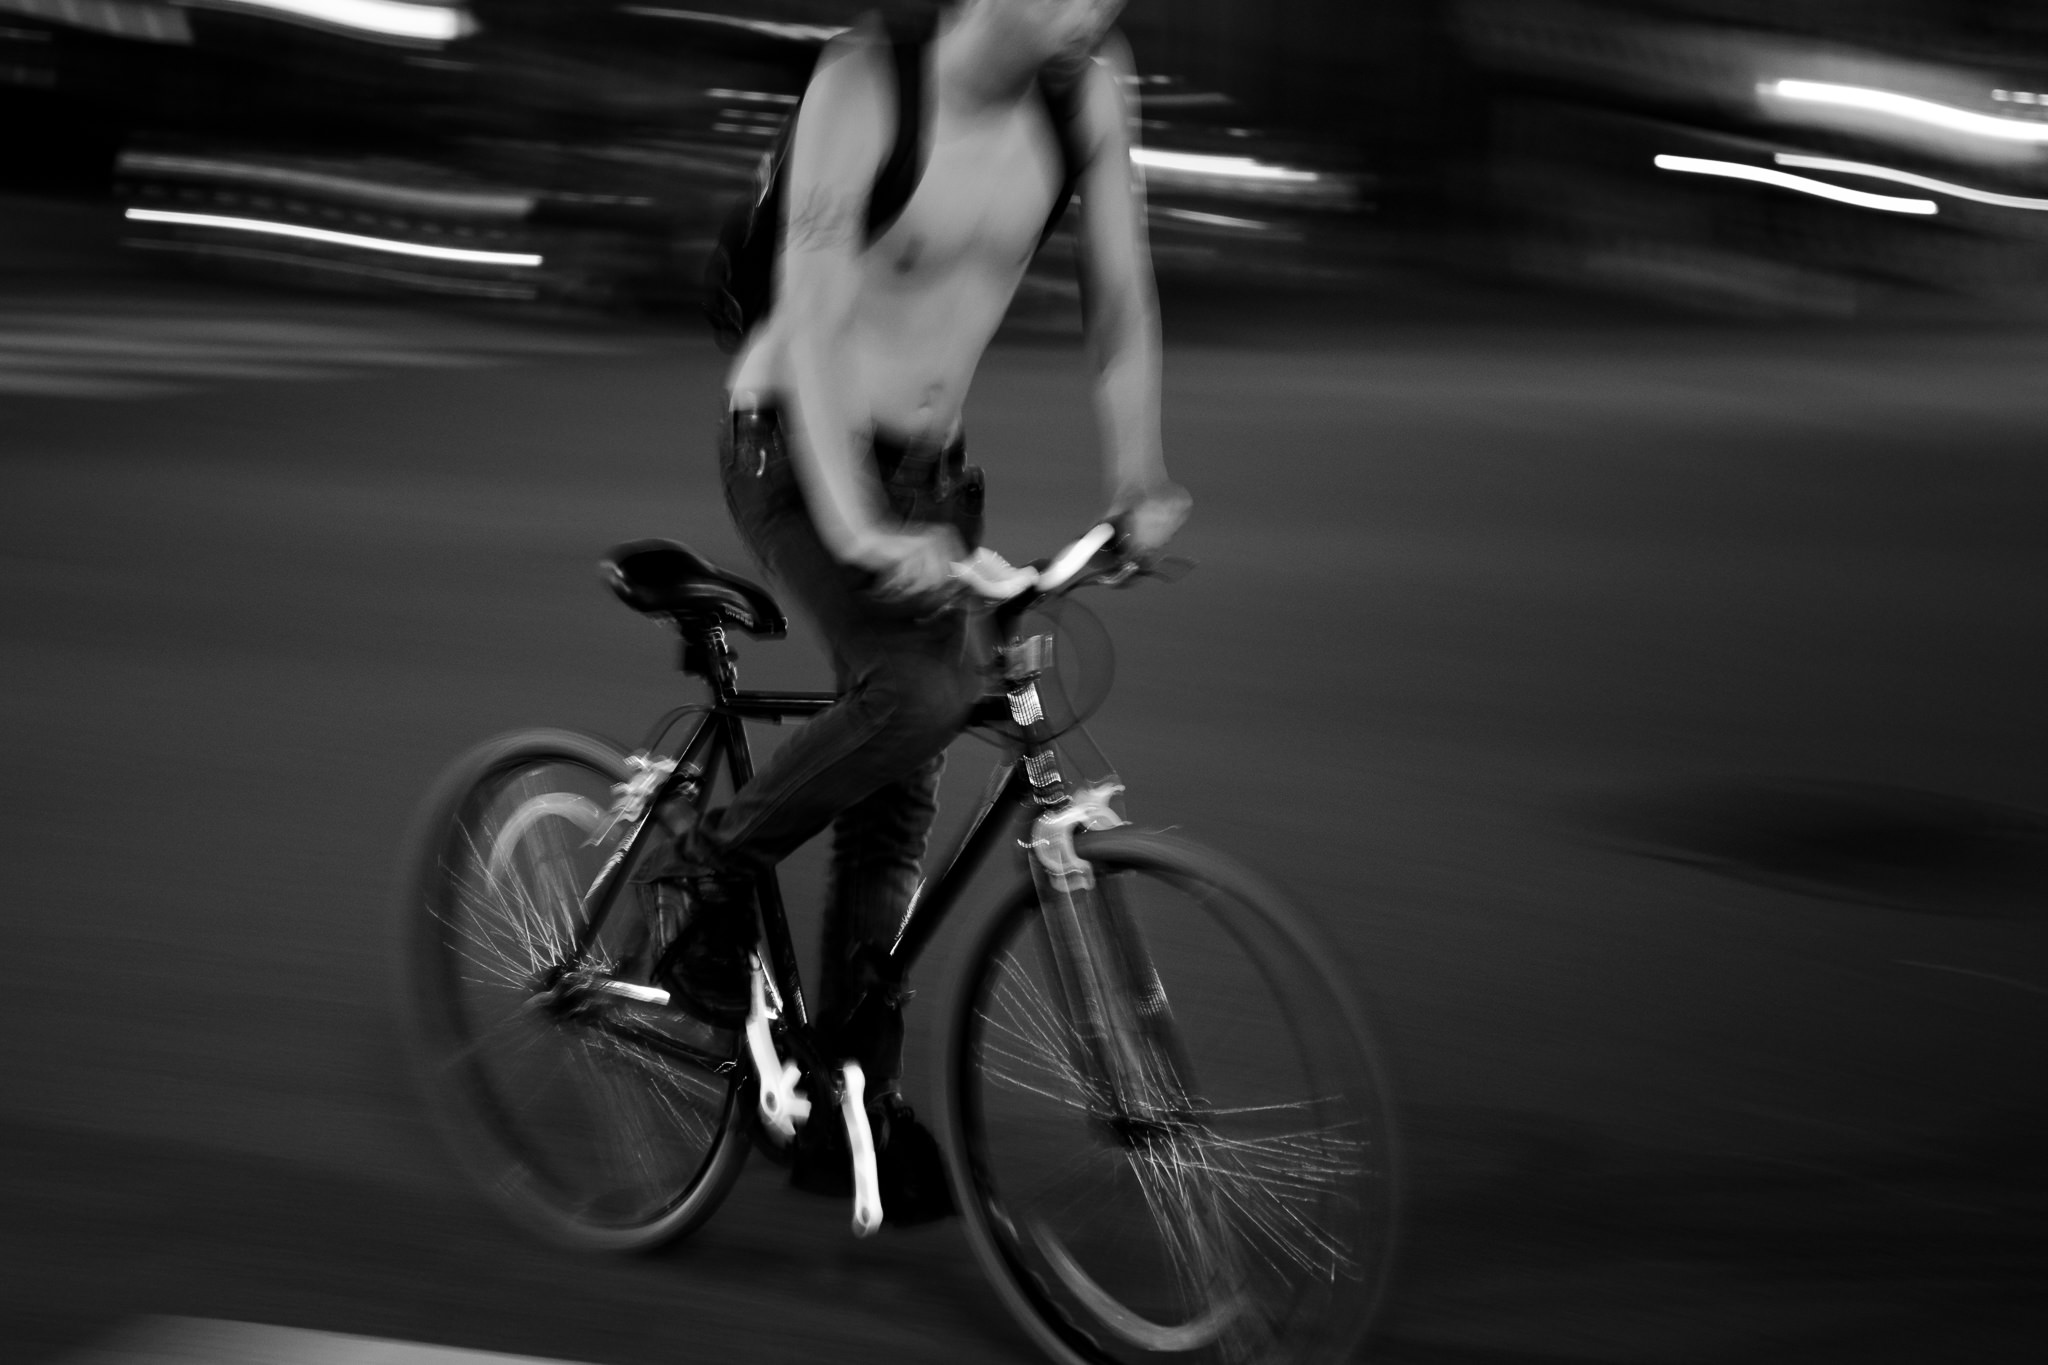
Your composition also determines the path of a viewer’s eye through the photo. Even though you can’t know the exact path a viewer’s eye is going to take, you can nudge things one way or another.
Do you want your viewer to pay more attention to the mountains in the background of an image? Look for lines in the foreground or sky that point toward them. Or, wait until the light at sunset shines on the mountain peaks with brilliant color. Do what you can to make the mountains a destination for your viewer’s attention.
I always find it interesting how our eyes flow through a photo subconsciously. For instance, we intuitively follow along the path of lines in an image, especially straight lines. Even more than that, we spend substantial time looking at subjects and jumping from each important subject in the photo to the next. (An “important subject in the photo” would be something like a person’s face or an area of high sharpness and contrast.)
I’m not just inventing these ideas out of thin air. Take a look at this detailed study that tracked how people’s eyes flowed through different works of classic art, and even compared how their eyes flowed after rearranging one or two elements. If you take the time to click on that study, you’ll see something that I find especially interesting: Even a small rearrangement almost always had cascading effects. For example, cropping out the dark, left-hand edge of a Rembrandt painting led people to spend more time looking at a wall in the background on the opposite side of the painting.
This is the power of composition. By changing the arrangement of some elements here and there, you change the photo’s entire structure – and therefore how a viewer’s eye flows through the image.
Control
Photographers tend to forget that they have tremendous control over the size and placement of the different objects in an image. And no, I’m not talking about moving around your subject in Photoshop after the fact. I’m not even talking about moving things around in a studio where you have full control over your photo.
Instead, any time you’re taking pictures, simply changing your camera position and focal length can have huge effects on the composition you get. Do you want a tree that’s bigger than a mountain? Done. Just walk up close and use a wide angle lens.

Wide angle, standing up close.
Do you want an imposing mountain and a smaller tree? That’s just as easy. Stand back and use a telephoto.

Telephoto, standing farther back. (This is the same tree.)
So often, I see photographers set up their tripod at eye level and never move it at all. They’ll do 100% of their composition by loosening the ballhead on the tripod, pointing the camera around, and then locking the ballhead when they’re satisfied.
I won’t say this method is doomed to give you bad photos, but it’s missing out on a huge part of composition! If your tripod stays in the same spot, you won’t be able to change the relative sizes or relative positions of the subjects you’re capturing. That’s a lot of creative tools down the drain.
So, as you read through the rest of this guide, I recommend reminding yourself of something from time to time: You have extraordinary control over a photo’s composition… and, therefore, a photo’s emotions. Use
Next Steps
Now that you have an idea of what composition is and why it’s so powerful, it’s time to look at the specific tools at your disposal to help compose better photos. So, click below to go to Chapter 3: Elements of Composition.
- Introduction to This Guide
- What is Composition? (You Are Here)
- Elements of Composition
- Light
- Color
- Simplicity
- The Refining Process
- Composition Tips
Have you read Molly Bang’s “Picture This – How Pictures Work”? Bang is best known as a writer and illustrator of children’s books. Picture This is her thoughtful introspection on how and why certain features of pictures convey emotion. She does this with simple paper cutout shapes in only 4 colors. I think it’s brilliant. And it connects to several of your points about emotional content of images.
While I’m here, thanks for this series on composition! It has so far proven to be worth several re-reads.
In composition is the rule of third mandatory or can we use other photos
The rule of thirds not only isn’t mandatory, it isn’t even something I recommend thinking about at all. Because at best, it’s a guide to give you “competent” photos and teach beginners that off-center composition can work well. But the rule of thirds doesn’t change at all in response to the scene in front of you, even though it should. The best and most emotionally successful way to frame an image depends on the image! Following a template (and that’s all the rule of thirds is) shouldn’t be the way to compose your photos.
Is learning ART mandatory? Yes if you want other people to enjoy the photo.
The rule of thirds is a waste of time unless you want to target perpetual mediocrity.
Bro just got a W
When I first started off learning camera and photography, my sole agenda was to have my subject in focus and properly exposed since I was shooting jpg. If i could get these I was happy. Once I started to shoot RAW, i had leeway in exposure, pulling up shadows bringing down highlights, so focus took precedence. Then I learnt image averaging, focus stacking, pano shooting and stitching, long exposures, time lapses and lot of other software related nuances. Enjoyed a lot!! Was happy getting things right in camera so that it can be processed to taste afterwards. Now, after 4 years and after taking almost 33000 images from D5500 (a lot of them were test shots or learning technique shots), I have started “seeing my photos before i press the shutter”. It is a very demanding topic that you have cared to write about. Most folks will be happy “pulling blacks” post image averaging 24 photos rather than learn composition. I don’t know if I have put it the right way. I just could’nt figure any other way to write. Keep up the good work!!
Abhinav, you put it exactly right. This is the most important topic in photography, other than simply understanding light. Composition isn’t given as much attention as it deserves.
In any case, I’m glad you’re at the point where you can spend time composing and not just worrying about the technical things. And I’m sure your photos have improved dramatically in those 33,000 shots!