Last week I posted a portrait as the next installment to our How Was This Picture Taken series. There were a lot of great guesses and a few people even guessed the exact technique that I used to create the image!
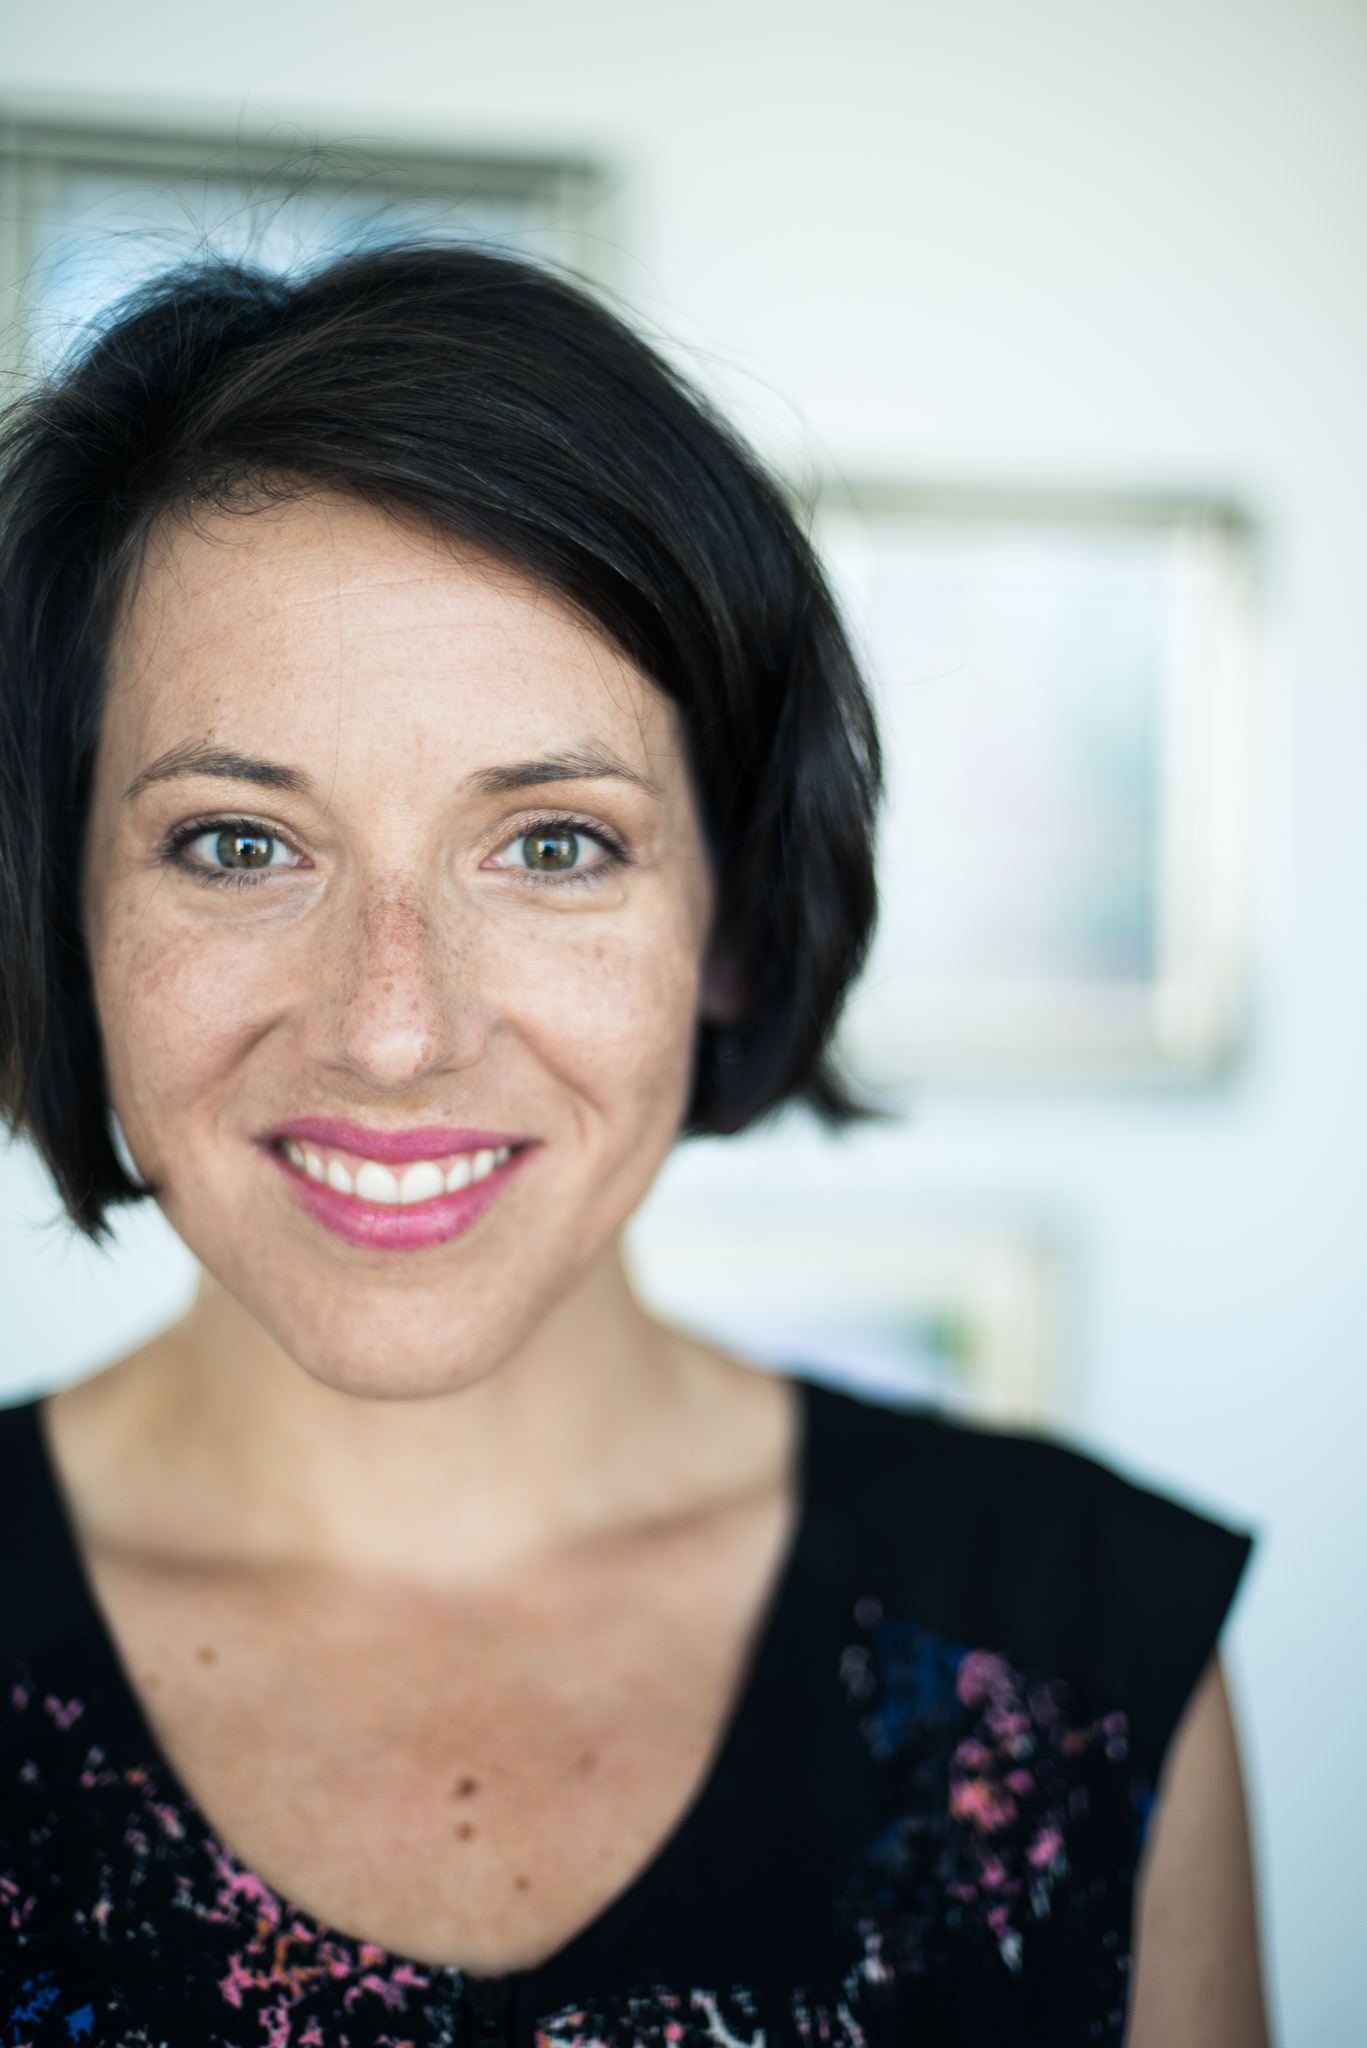
If you need a refresher, here is the original post and the photo of Belinda (this time with metadata). I highly suggest you click on the image and view it that way versus embedded in the post. The image quality is better and it’s easy to compare to the next image:

As you can see from the caption with the metadata information, I used a full frame camera with an 85mm lens at an aperture of f/1.4. This is a combination that I love when shooting portraits. With a full frame camera, 85mm lens and an aperture of f/1.4, it’s not very difficult to get the background nice and blurry. The image was made with only ambient light, which was provided by large windows that were behind me. But, this image has a trick up its sleeve that makes the depth of field even more shallow than is possible using the camera and settings you see here.
Here is an image with similar framing and exactly the same camera settings. Can you see a difference between the two images? (click on the image and toggle back and forth between this image and the previous image):

Hopefully you noticed that the second image has a bit more depth of field (DOF). Belinda’s necklace and the frames on the wall behind her are more defined. You might have also noticed that the aspect ratio is different between the two images. Why would that be?
The second image is about as close as I would like to get while shooting a horizontal portrait. If I move any closer, I’m going to start losing important parts of the image (like the top of her head) or getting strange crops (across her neck). If I did move closer I’d get a shallower depth of field, but the sacrifices I would be making to the image aren’t worth it.
The way that I got a more shallow DOF without sacrificing important parts of the image is by using a simple version of the Brenizer Method. Essentially, multiple images are stitched together creating a “portrait panorama”.
I first saw this technique used by Sam Hurd. He calls them “epic portraits” and, as far as I know, is the pioneer of this particular method. Instead of taking a huge number of images like you would with a traditional Brenizer Method image (usually between 20-50) that include the environment as well as your subject, you move as close to your subject as your lens will focus and take a series of 3-5 images, which are then stitched together to create a single image.
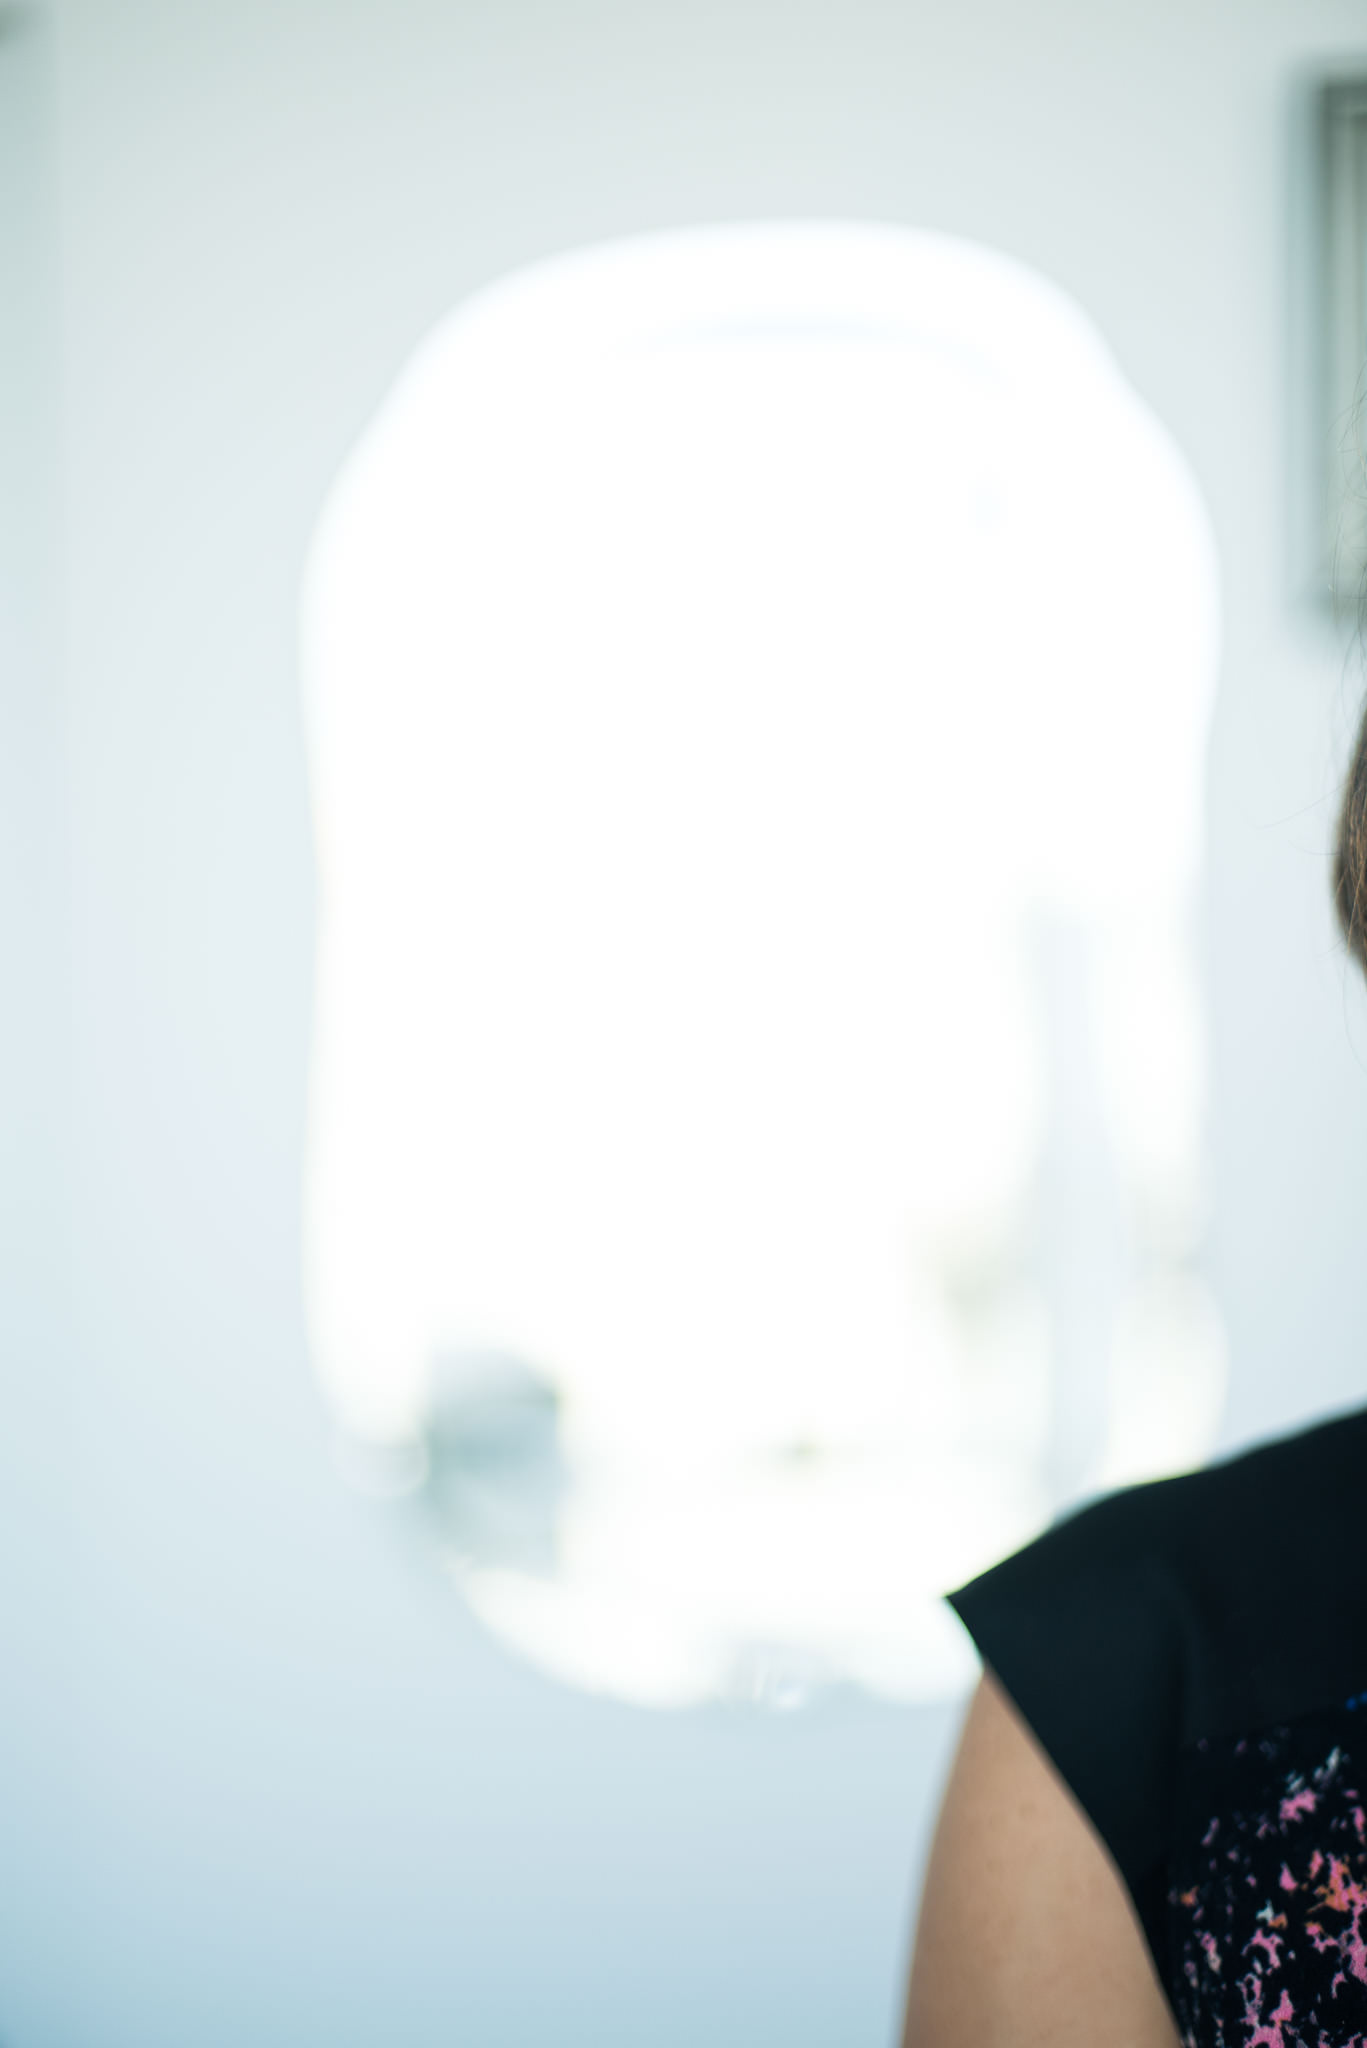
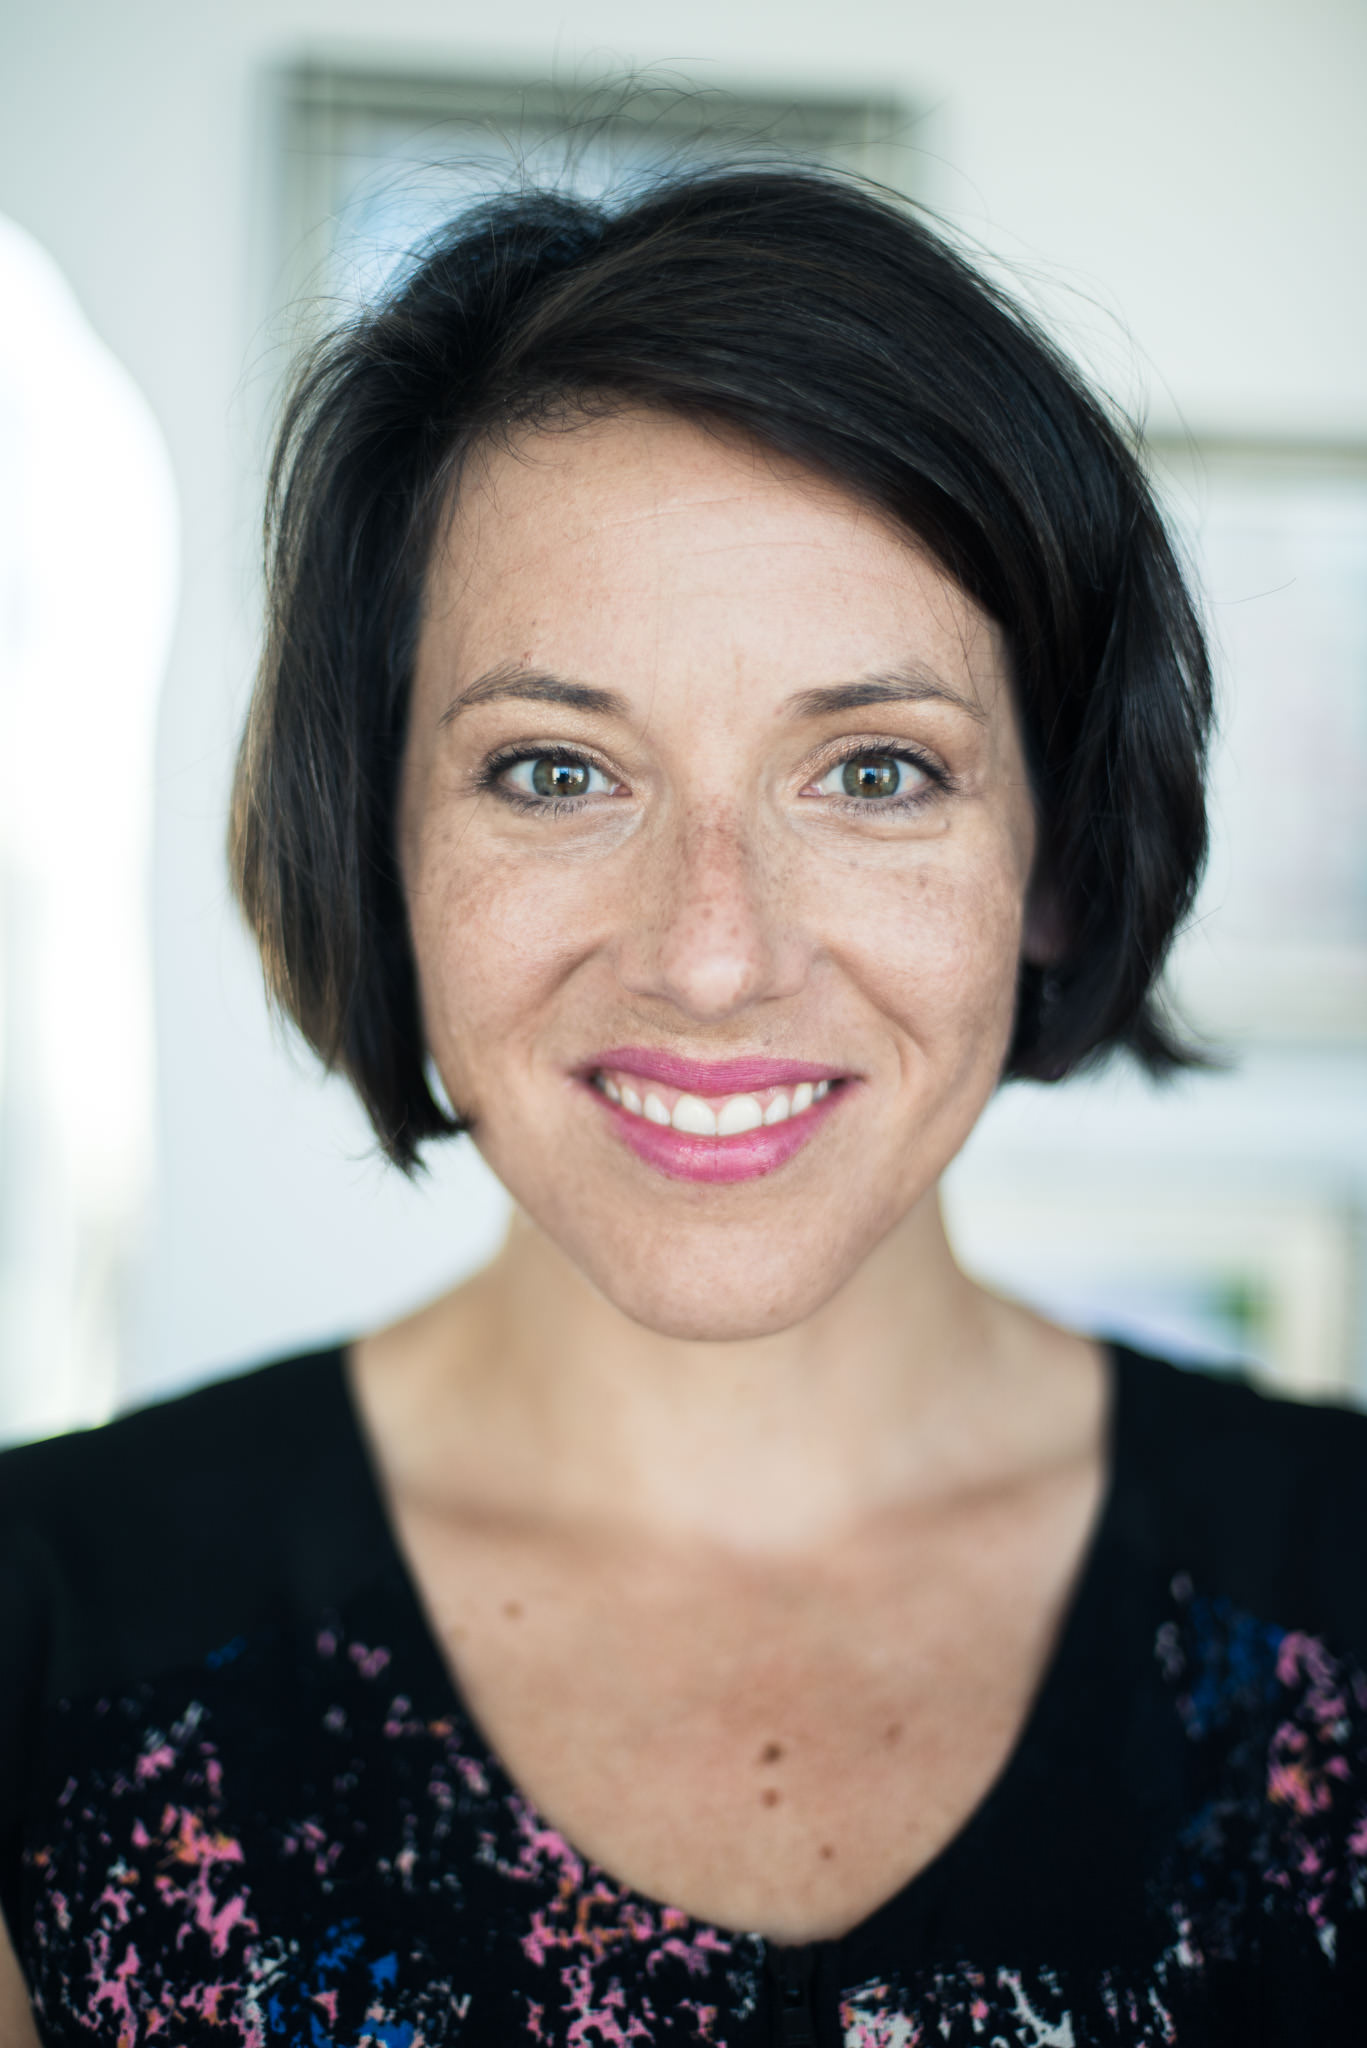
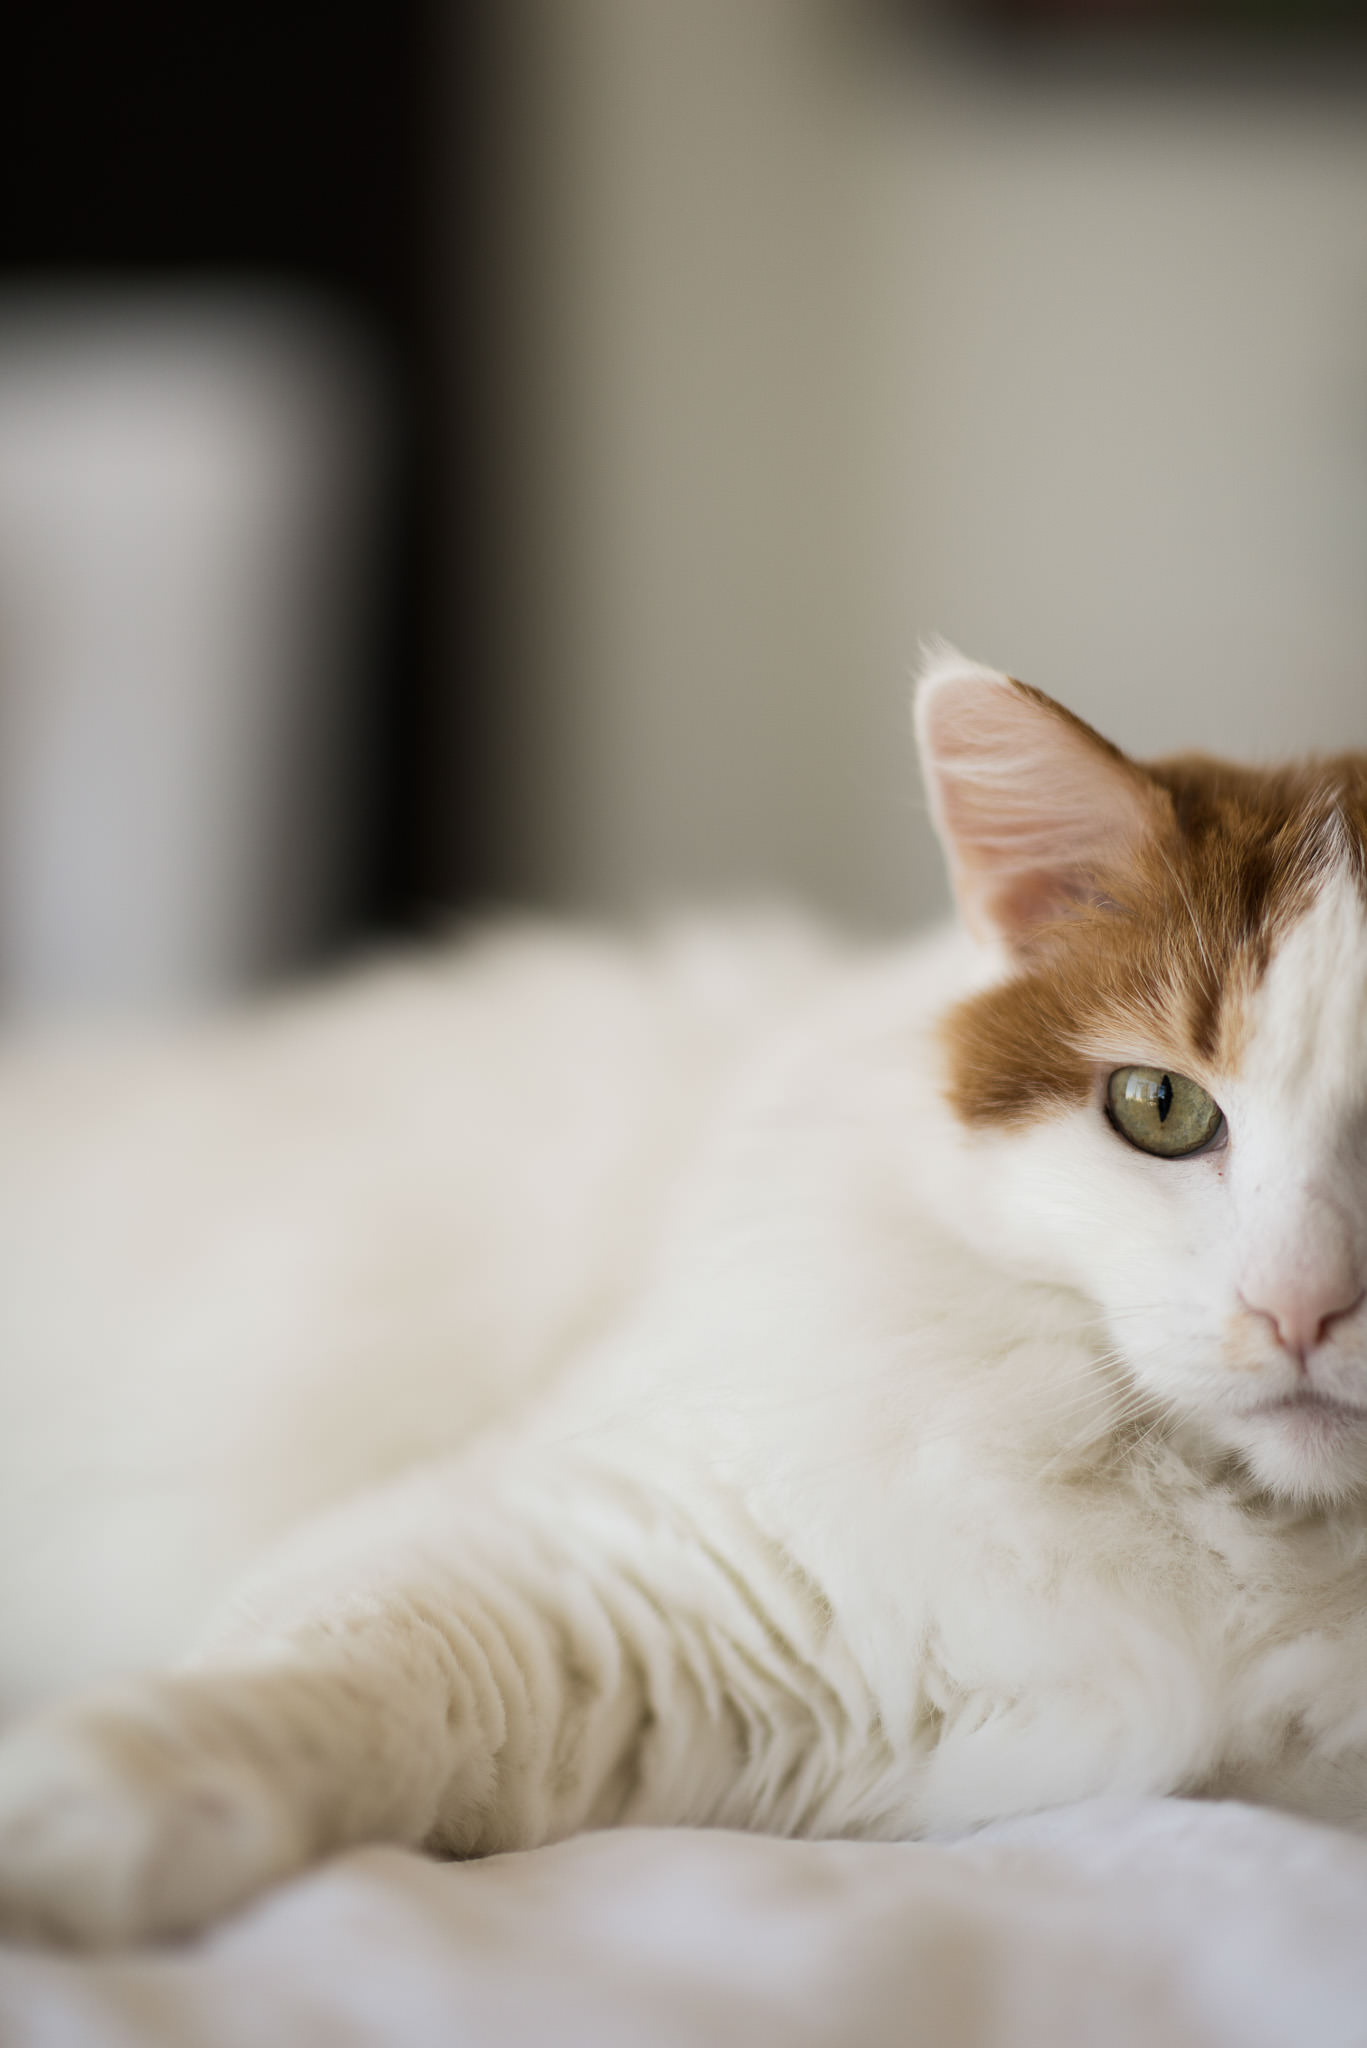
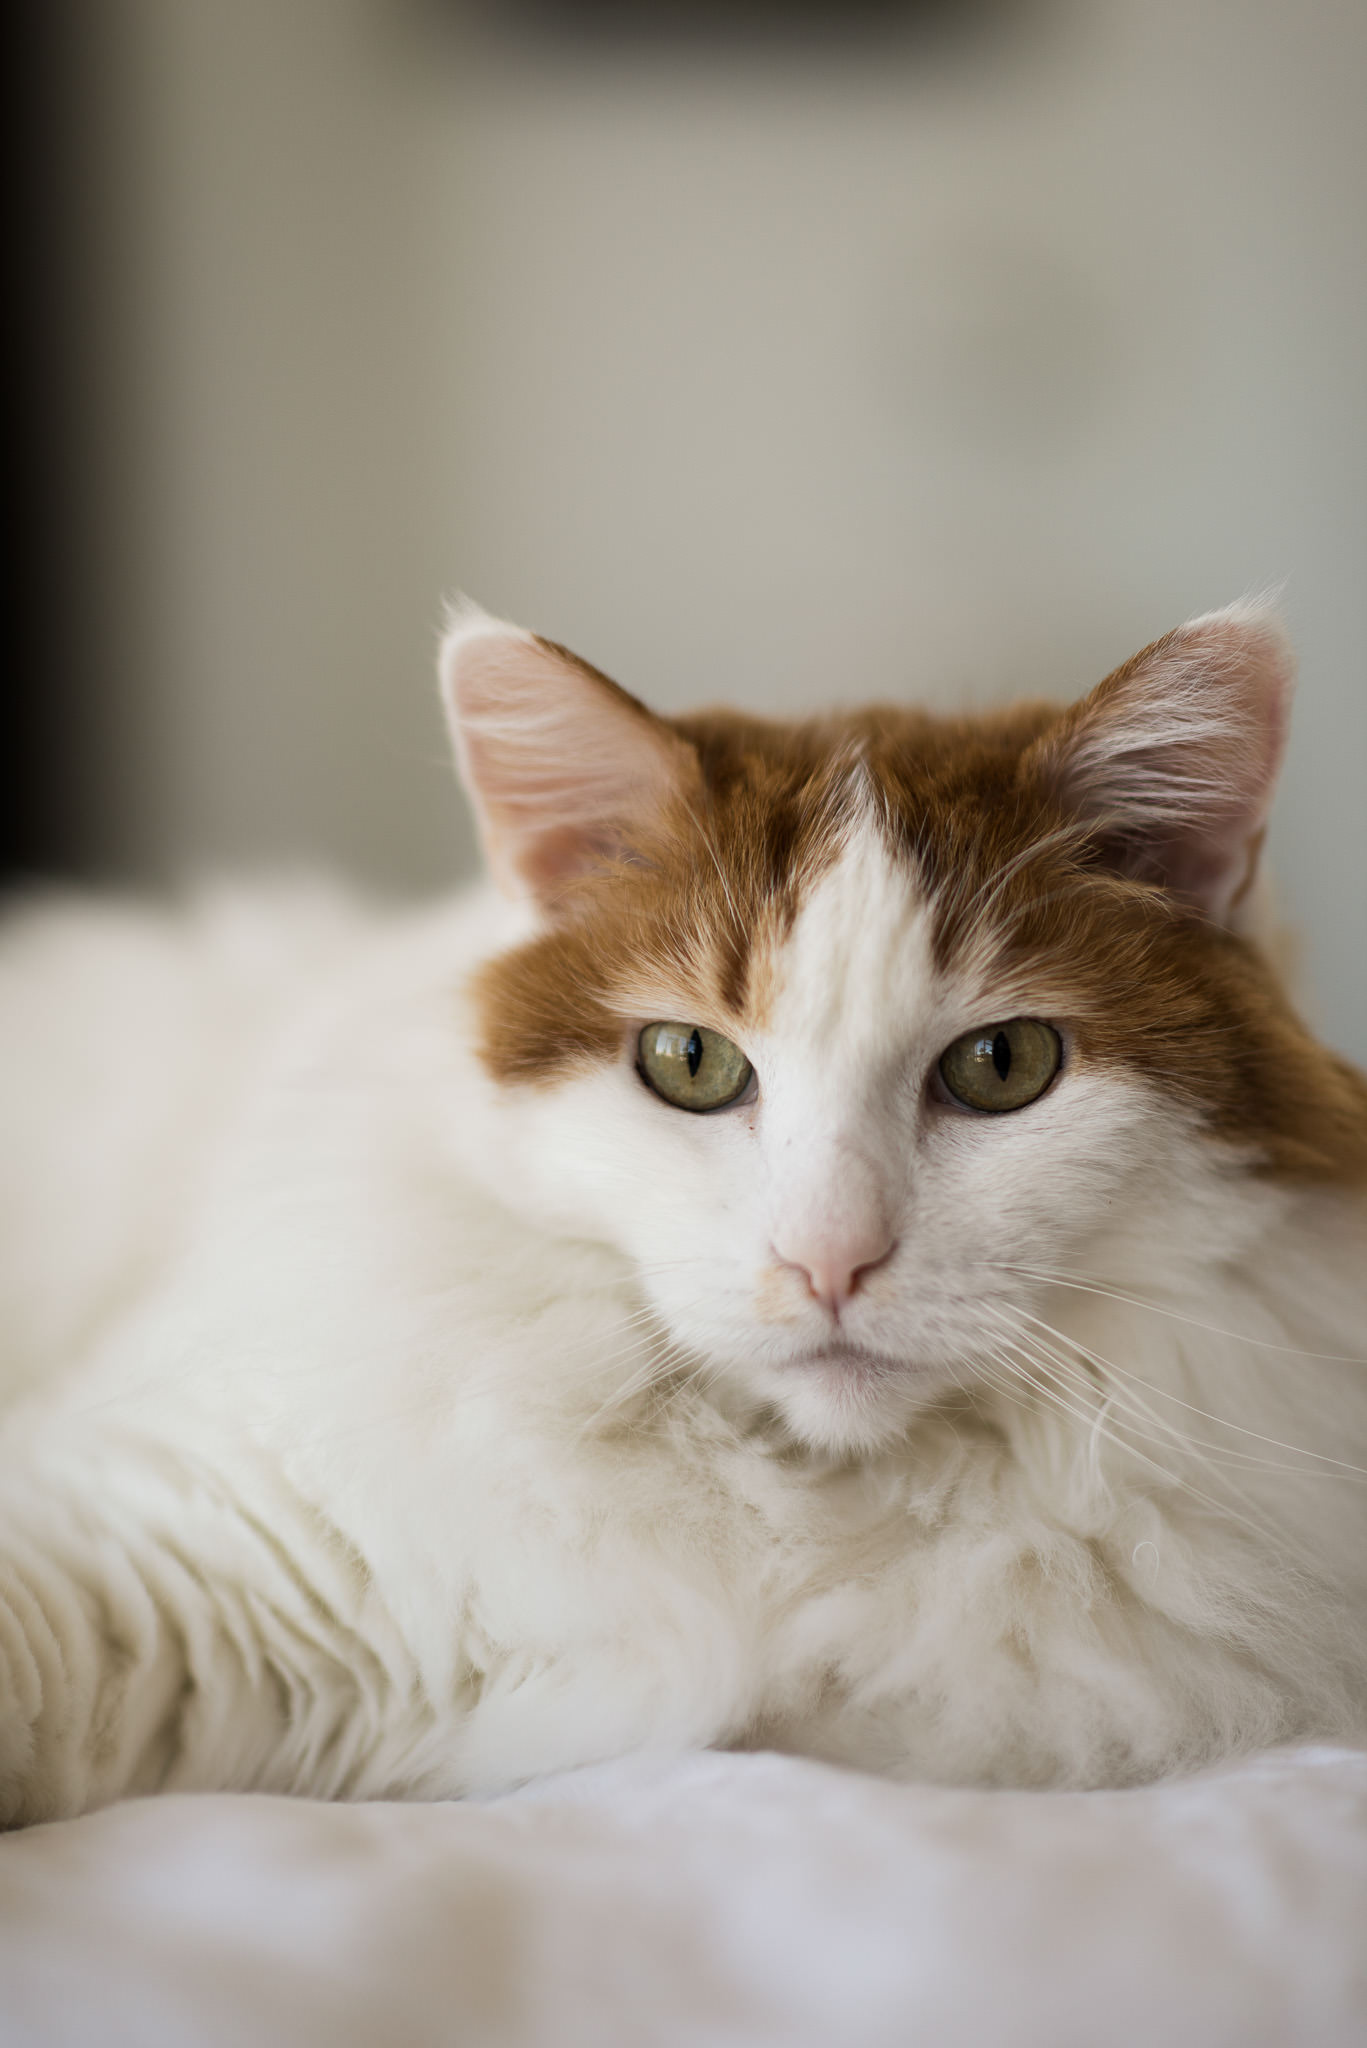
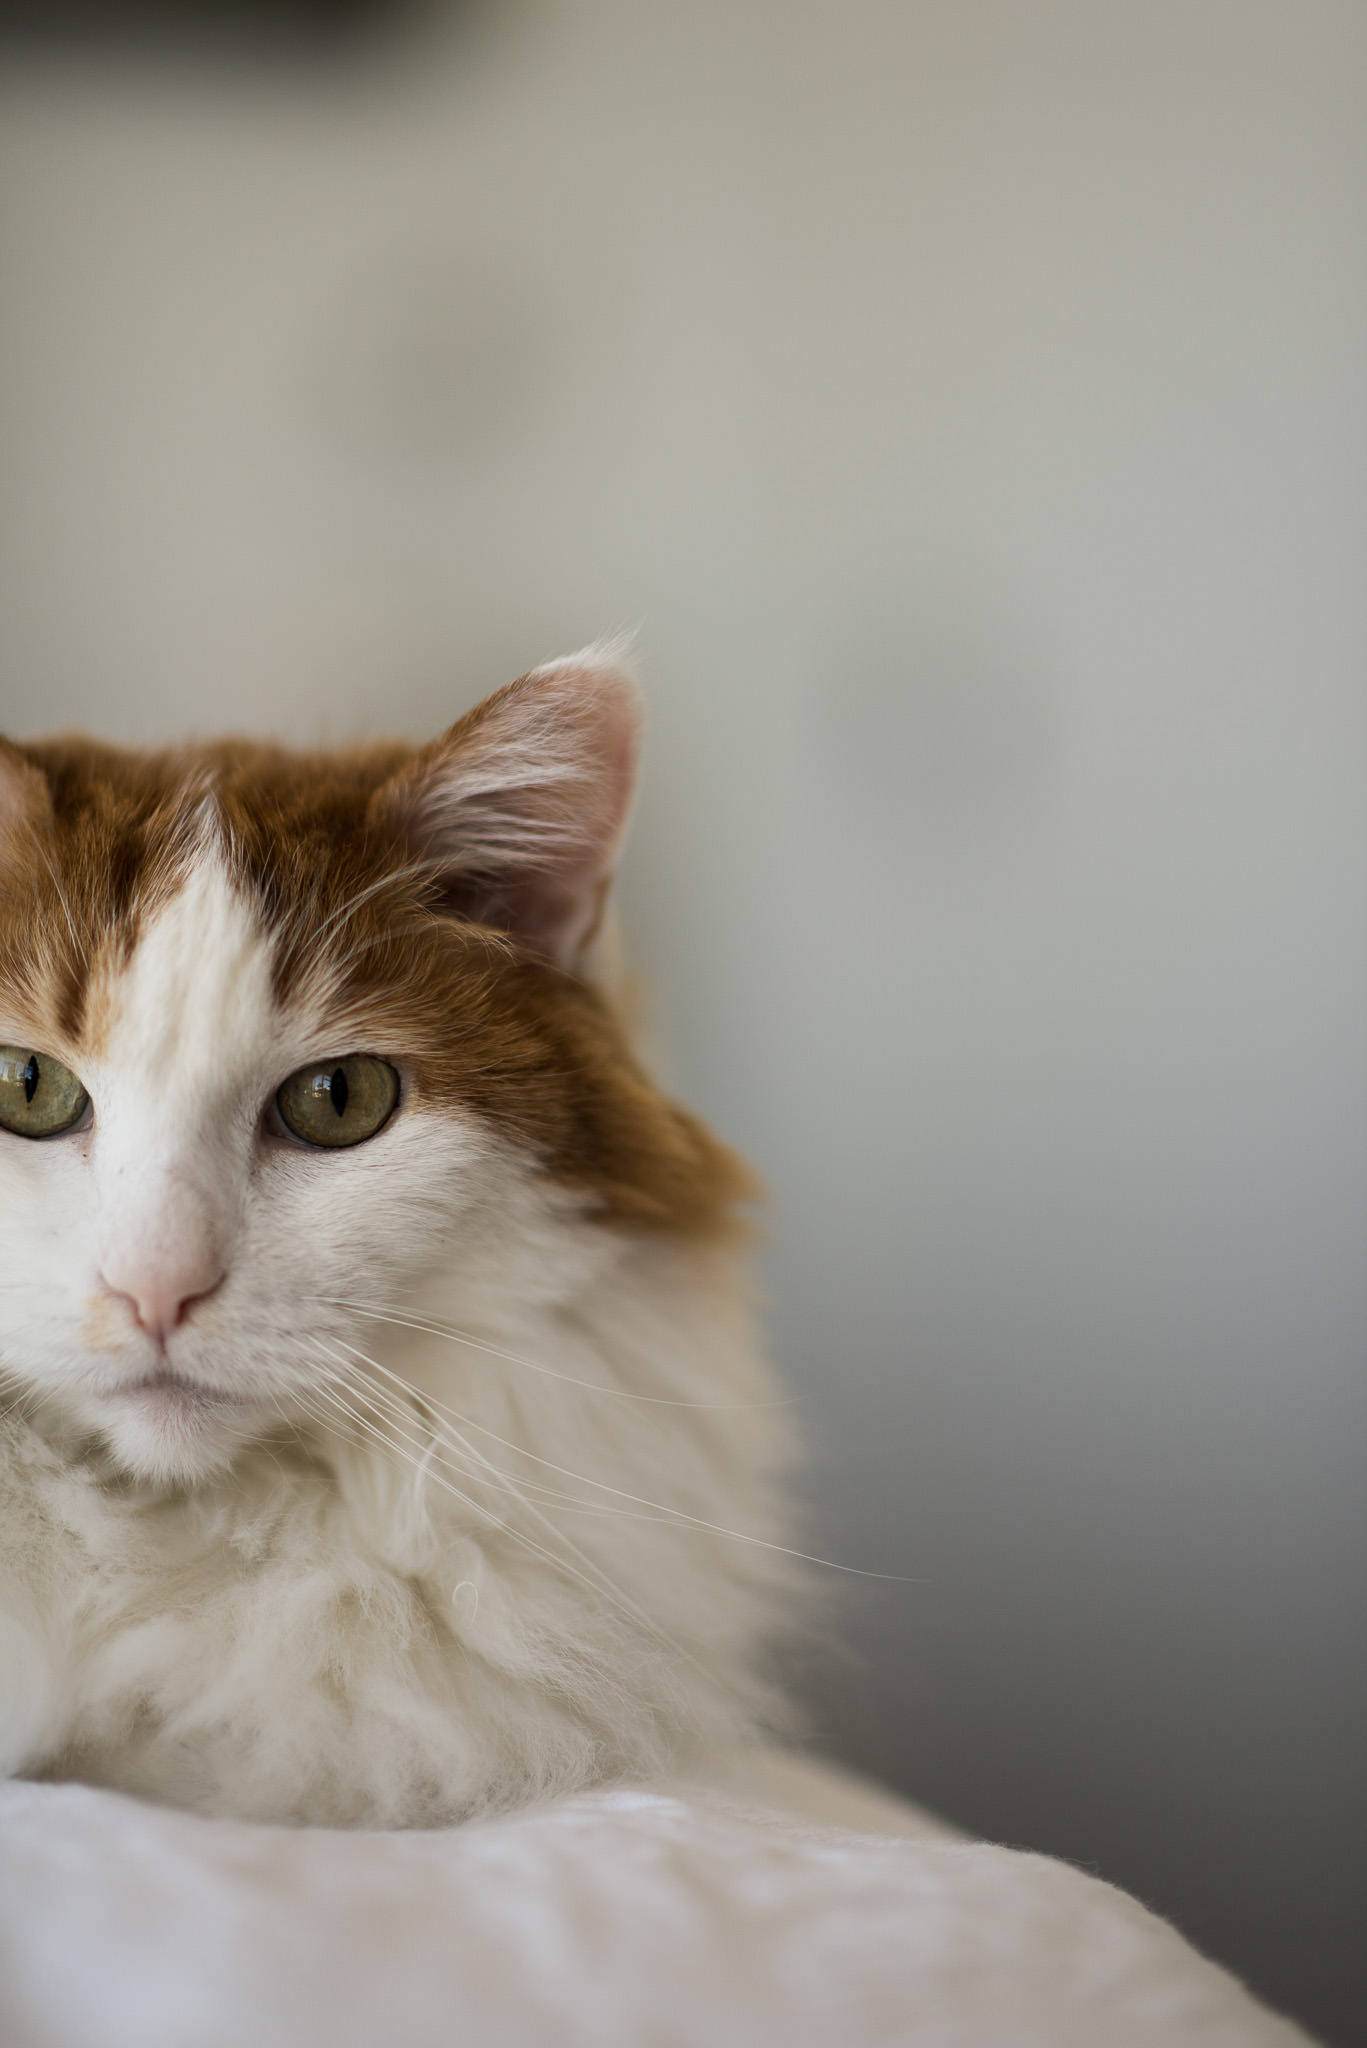
Here are the three images that I used to create the initial image:


I was initially skeptical that this would work very well with people. Not only are you merging very shallow DOF images of a person’s face, but people also have a hard time standing still! Even if you take a quick series of three images, people have a hard time holding a pose, even if it is only for 3 seconds. Not only that, but holding a pose and smile for that long can drain the expression from your subject, leading to a plastic, fake smile.
To my surprise, I didn’t have any problems creating these images. With a little practice, I was able to quickly take 3 images, which means Belinda’s face didn’t lose all of its character. While merging the images in Lightroom, I found that the alignment doesn’t have to be perfect. As long as there is some overlap, it does a great job! Another great benefit to merging the images in Lightroom is that you can still edit the final merged image instead of needing to edit each image individually before merging.
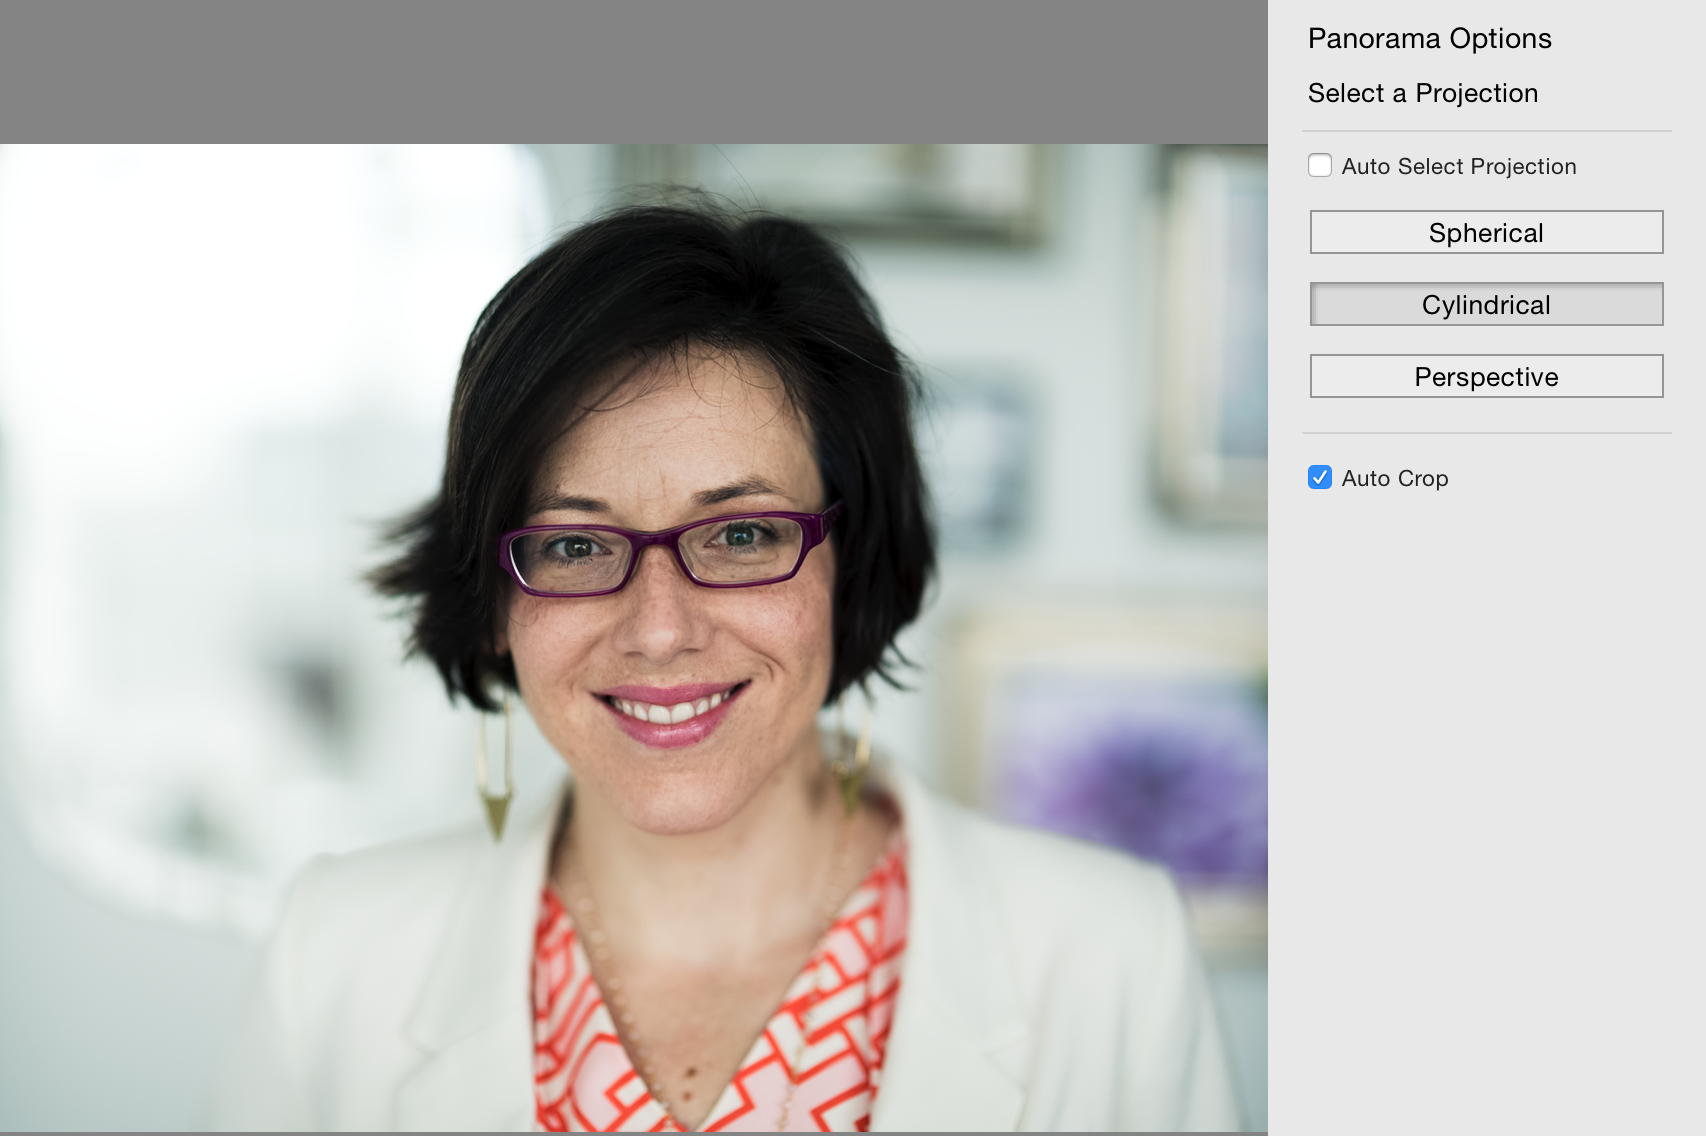
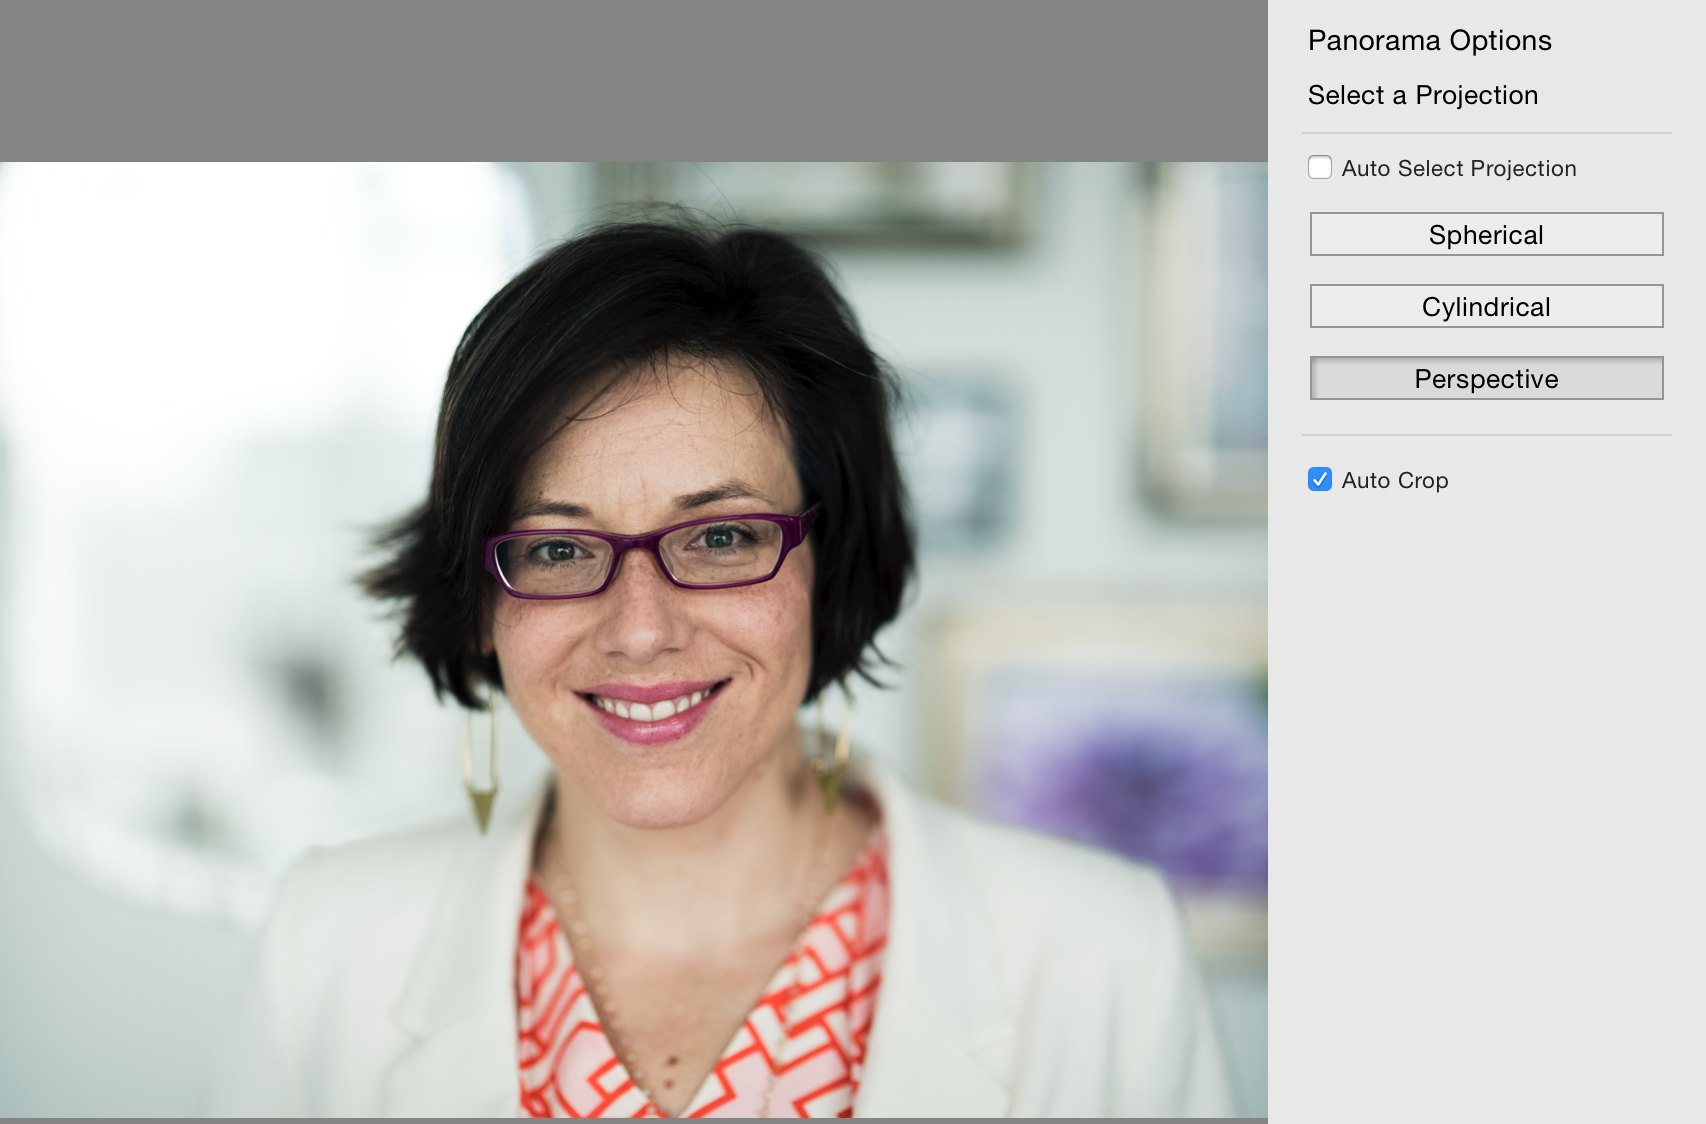
While merging the images, you’ll need to select the type of projection the software should use. It will be up to you to choose which one you think looks the best. Here you can see the different projection options I had in Lightroom and how the final image would look for each one:

Speaking of post processing, other than merging the images together, there was minimal editing work done to this image. I slightly tweaked the highlights and shadows, applied a bit of pop with the tone curve, cleaned up a stray hair or two and used the brush tool to very slightly soften her skin and enhance the sparkle in her eyes.
Here are a few more portraits I tried on different occasions. The first is a 4-image portrait of Belinda and the second is one of my cat, Sweet Pea.


As a side note, it wasn’t until I started writing this article that I realized how similar it is to one of John Sherman’s articles in this same series. There is a difference between the two methods, though (or at least the reason behind them). John was stitching multiple images together to get a very high resolution image that could be used to create an enormous print. I was trying to get a very shallow depth of field while still creating a nice looking portrait. Of course, this image ends up having a much higher resolution than if it was only composed of a single image: 9573×7345 pixels vs 7360×4912 pixels.
Hopefully you realized (like I did) that stitched panoramic images don’t only have to be landscapes. It’s a great technique to try out on people or even animals, and it can make your portraits stand out. It was great reading all of your responses. Thank you to everyone to posted a comment with their guess as to how this image was created.
I would like to thank a lot this article. I live in Brazil and I love portraits. As my work is intense. This weekend I did three tests with my clients and found the fantastic technique. Completely incorporated. Thank You !!!
That’s great, André! I’m so glad you tried it out and were happy with the results. Happy shooting!
Very interesting thechnique, the most interesting part is that there`s no need to buy some device for try it. thanks for sharing
Thanks Hector! It is a great technique that you can do with almost any camera, as long as you have a way to stitch the images together. I hope you get to try it out!
Thank you for the nice article. Couple questions. Where did you focus on each image? Do you first focus on a particular area of the subject and then switch to manual focus prior to moving to another area and then taking the next picture? Thank you again.
just search this site for Brenizer, and you will see all there is to it
Thank you Jo! I initially focused on her eyes, locked focus and then took the three images. You want the entire scene to be consistent across all of the images, so you don’t want the camera to re-focus between images.
Very nice article. Thank you for sharing this interesting technique.
Thank you David! Please give it a try and let us know how it works for you.
This is a well-written article, except for one thing that I admit is a bugaboo, peeve, or nitpick, but it bugs me and I have to say something about it:
“it’s”: contraction of the two words “it is”
“its”: the possessive of “it”
There is no apostrophe in the possessive of “it”.
You don’t have to post this. If you simply correct the article I will be happy.
I love the fact that u wrote it shane.
Shane, there were two typos and I have fixed them. Thanks for letting us know!
Thank you!
Also, I must say that I really like the mini-pano idea that essentially mimics a medium-format sensor. Way cool. The only thing that worries me is stitching errors from parallax at such a close range. I will have to try this out and see what problems arise.
Shane, I would encourage you to take a few sets of images when you try this technique. If one set does not work, then another surely will. Also, if you try to stitch more than three images together you are more likely to encounter stitching errors. Have fun!
I have found that if you imagine the camera being a ball which you rotate on its center (up-down & side-side) — rather than rotation your entire head and arms. This greatly reduces parallax errors.
Lovely result. Do you spin the camera on the lens axis, or do you spin from your waist?
Maybe I should have said rotate instead of spin.
Mjane, I spin the camera on the lens axis.