Fast prime lenses offer a number of advantages. They are great tools in many situations – whether you need discretion, low-light performance, portability, or aesthetics, there’s a lens for every taste. However, these strong advantages also come with certain issues. When used wide-open (meaning at maximum aperture), many prime lenses render extremely shallow depth of field. In normal lighting conditions, modern AF systems are capable of focusing accurately. In low-light environments, our DSLRs start to suffer, which reduces our chances of capturing sharp images. Because of this, missed focus is often mistaken for lack of general lens sharpness by beginner photographers. In this article, I will introduce you to several tips on how to use fast lenses in low-light environments, which hopefully will make you feel a little more confident when using them for your photography needs.
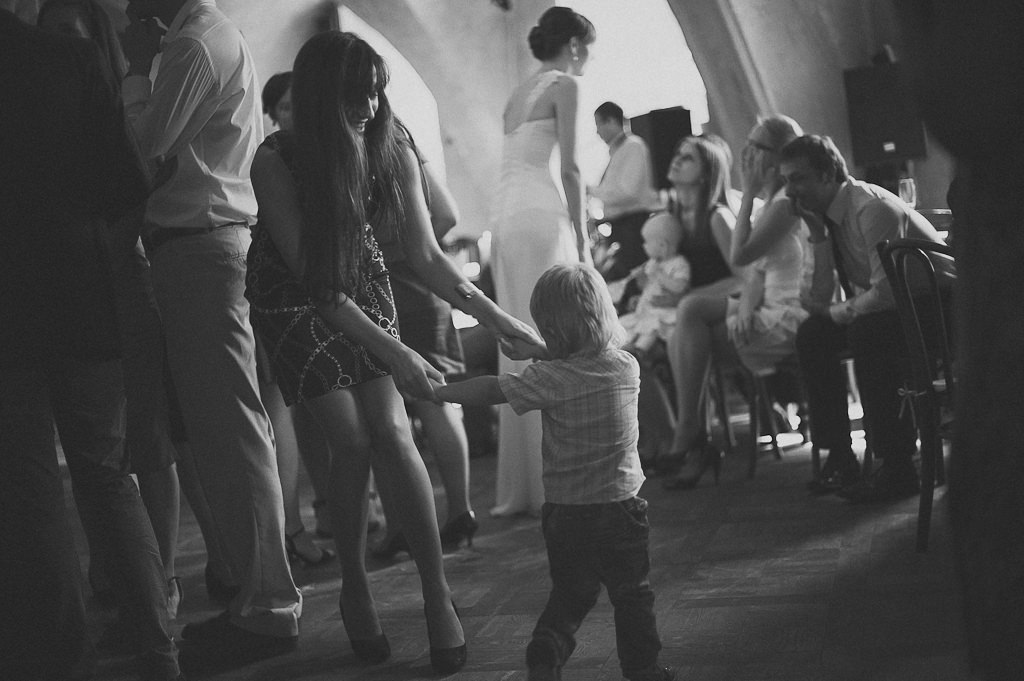
Table of Contents
Tips on Shooting in Low-Light Conditions
1) Calibrate Your Lenses
The first step you need to take in order to focus accurately in any light, is to make sure that your lens(es) can focus accurately in general. Front and back-focusing has become a very known issue recently. It has become especially visible with higher resolution sensors – they are most unforgiving if you miss focus even slightly. If you want to know why these issues happen, please read our How Phase Detection Autofocus Works article where we explain everything thoroughly. If you want to identify whether your gear has any of these problems, read our How to Quickly Test Your DSLR for Autofocus Issues article.
Most modern, higher-end DSLRs offer a focus calibration function. This feature effectively saves you from having to send your lenses and cameras to a professional service or the manufacturer. It can also save you a lot of time. Fully calibrating your lenses to your camera may take you a couple of hours, while sending your gear could take up to a few weeks. Read our Lens Calibration Explained article to find out the best and most accurate way of calibrating your gear. If you’d prefer to automate the process as much as possible, there are a couple of software products you can use that will do that for you.
2) Use a Good Stance
Presumably, if you use a fast lens, you will have a fast enough shutter speed to counter hand shake. However, it is equally important to get into a stable, secure stance when shooting wide-open in low-light for critical focus accuracy. This is because a wide aperture results in a very thin depth of field, which, at a set focus distance, moves whenever you or your camera moves. In other words, if you sway an inch forward or backward once you’ve already focused, your subject will be out of focus by an inch. Mind you, we never really stand still – we move forward, backward and sideways all the time. The effect of such movement is very apparent with wide-aperture lenses. It is critical to remember this and learn to keep still when you focus and make an exposure.
")
A good way to keep still is to lean on a large stable object like a wall whenever possible. Also, keep your feet at least at shoulder width with one foot slightly in front of the other.
To learn more about the effect of wide aperture, read our “Understanding Aperture” beginner’s guide.
3) Refocus Constantly
Another tip to remember is to adjust for any body movement by constantly refocusing your lens. Whenever I shoot a moving subject in dark environments, I never really settle with my focus. I engage it almost all the time whilst I wait for that moment. In tricky, low-light environments, many AF systems will sometimes fail to acquire precise focus on the first try. Constantly refocusing allows me to make sure I get perfect focus when I finally take the photograph.
4) Use Cross-Type AF Sensors
Phase-detect autofocus systems have two kinds of focus points. The best ones are sensitive to both horizontal and vertical detail and are called cross-type sensors. The remaining ones are sensitive to just the horizontal or just the vertical detail. Cross-type sensors are much more dependable in low-light environments and for this reason, it is preferable to use them. Usually, the center sensor, which is always cross-type, is the most reliable and accurate of the bunch.
5) Focus And Recompose Carefully
If you are indeed going to use the most reliable center focus sensor, remember all the issues you may be faced with. To get a good composition, you will first need to learn how to focus and recompose. And the technique comes with its own set of potential issues, such as focus plane shift (because the focus plane changes when you recompose the image). Also, it takes time to recompose.
")
With enough practice, you may be able to learn how to use this technique with confidence in low-light. Each time you focus on your subject, imagine a thin wall in front of you, which represents the depth of field. Everything in front and behind this wall is blurry / out of focus. The closer you are to the subject and the larger the aperture, the thinner the wall gets. So if you are too close to the subject and you are shooting at maximum aperture, your picture might not come out sharp when you focus and recompose. Hence, stepping back a little and not going too aggressive on the recomposing part is a good way to reduce the effect. Remember, this will take a lot of practice. But once you get a hang of it, it will come naturally when photographing in dark environments.
Lastly, always pick the brightest and the most textured area to focus on – your camera’s autofocus system needs plenty of contrast for good accuracy.
6) Experiment with Focus Settings
I have photographed a lot of low-light events during the last few years. What I’ve learned was that depending on lighting conditions and lenses used, different settings work best. In some cases, I prefer continuous AF tracking knowing I can trust it completely. Other situations demand a single AF mode. I even use manual focus sometimes because AF can be so unreliable! So, definitely spend some time experimenting in low-light environments and photographing moving subjects. It will help you to know which settings work best when. To learn more about autofocus modes, please read our DSLR Autofocus Modes Explained article, where we discuss everything there is to know about AF modes. You will find several shooting situations described with optimal settings listed.
7) Turn On the Focus Assist Lamp
The focus assist lamp can be of huge help when it comes to focusing in low-light situations. Whenever you engage autofocus, AF assist will light up your subject providing more light to the scene. More light helps AF speed and accuracy greatly.
")
There are several things to note when using the focus assist lamp. First and foremost, it can be quite annoying to some of your subjects. It’s not very nice to have someone point a flashlight at your face, and AF assist beam is in fact a small flashlight. Also, using your camera with AF assist beam turned on will drain your battery more quickly. The range is not that great. More importantly, it will only work with the center AF point in single autofocus mode.
If you’re a Nikon shooter, a modern Speedlight, such as the SB-910 will often be more reliable than the AF assist lamp and will not blind your subjects, because it fires a quick red beam instead. However, you will still be unable to use it in continuous AF mode.
8) Rack That Focus
Another useful tip that often works for me, is to rack the focus ring when the lens doesn’t seem to focus properly. Sometimes the lens fails to acquire good focus and yet the camera thinks otherwise. By racking the focus ring, you basically force the camera to re-engage its autofocus (since everything is too blurry), which might give you better results next time. Keep in mind that this will only work on more recent lenses that have an autofocus override. Some older lenses will not let you turn the focus ring in AF mode.
9) Shoot in Burst Mode
Shooting in low-light diminishes your chances of capturing technically adequate keepers. AF inaccuracies are one of the main reasons for this. Shooting in burst mode will help you increase the chances of taking a well-focused photograph. Naturally, you will have more images to sort through, but imagine the disappointment of having captured an amazing image with great composition and story that’s also badly out of focus. Also, in low-light environments, your timing is affected by the focus acquisition speed. Whether you choose to shoot at several frames per second or take extra images in the single servo mode, it’s a good idea to overshoot just to make sure that you have images with correct focus and well-captured subjects.
")
10) Final Words
Some of these points are just as applicable in good light. Once you learn how to properly use your beloved prime lenses to achieve satisfying results, you may find them to be much better performers than you originally thought. As it is often said by photographers, it’s not the camera or lens that doesn’t deliver – it’s the person behind the camera.
See Nasim’s excellent low-light photography tips for more information.
Currently confused which prime lens to buy for my Nikon, 50mm 1.4G or F/1.4d , any suggestions
i am using only primes for now…they are superb for low light, no action…but for the dancefloor, its pain since they are sooo slow..i have very low keeper rate with my d750 and 1.4 primes….i am really strugling here and thinking about 24-70 for these shots….
When I shot with film at ASA 400 or with early digital cameras limited to ISO 800 or less then I depended on f1.4 prime lenses much of the time. But since 2007 the cameras I have used do fine at ISO 3200 and higher settings and so I use f2.8 zoom lenses. At f1.4 the depth of field of even wide angle lenses is measured in inches. Want the Bride AND the Groom in focus then f1.4 does not cut it.
Autofocus sensors need light and with early cameras both f1.4 lenses and IR autofocus assist from a speedlight was necessary. Now my cameras will autofocus at -3 EV and so this is no longer a concern. The cameras can autofocus in light that is so dim that I can barely see what is being taken until I review the image on the camera’s LCD.
Hello! Great article!
I am currently looking into buying a prime lens and I have one question that I haven’t found a satisfactory answer for and was hoping that you could answer it for me :)
Say you are shooting a group picture (e.g. 4-8 people) in a low-light situation. To get proper exposure, you have raised your ISO (to say 800) and opened the aperture to say 1.4. With the aperture wide-open presumably the DOF is quite small. How do you as a photographer make sure that all the subjects are in focus? Or would you use some other method instead of opening the aperture wide?
Thanks.
Group shots should never be taken with f1.4. Some shots might work out ok (in you make sure everyone is in an arch around the camera and no one is behind anyone else, but you’ll always have too many shots with heads out of focus. You’ll always need to shoot around f4 or even better at f5.6. Getting the shot right is more important than getting artistic merits for shooting at f1.4. The solution is simple, get a good camera where you can boost ISO higher, use good noise reduction software (Lightroom 4 for example) and in particular use flashes if you can. All of my group shots in the summer are shots with flashes. During the late afternoon as fill light to ease the harsh shadows and as the main source of light once the light starts going.
I always have one flash on camera and an extra with. In emergency situations this means you can always use a second flash as a slave in your left hand if your camera has CLS.
Hi Robin,
Thanks for your quick response.
Friends of mine have recently adopted a child and want me to photograph a party that they are throwing. Before I take pictures with all the other guests (where I can use f5.6), I want to take some good pictures with the Mom, Dad and Child. For a group of 3, would you still recommend f5.6 (with flash of course) or can I go lower with a smaller group.
It’s all a matter of distances between your cameras and the faces you are shooting.
If you are shooting the heads face on and you make them squish their head together you could even attempt f1.4 (at your own risk), if you are shooting from the side them you’ll definitely need a higher f-stop. In any case, for important shots it’s always good to a few different shots. So take three shots, one full body, one zoomed in on the heads, and one from an angle. You adapt the f-stop accordingly to what’s possible. Keep in mind that nothing’s more frustrating than having a fantastic picture, beautiful people, fantastic expressions, a fantastic background, and one or two eyes that are out of focus because you tried to push things too far… My best group shots are always taken in low-light, thanks to flashes and a prime lens (even if not used at f1.4). The people and background colors just pop.
Good luck with the shot & have fun! Get the people to enjoy themselves, make sure there’s nothing disturbing in the background, and then you can take the most fantastic pictures even at f16.
Hello! I am wondering how do photographers do this white/fog effect like the once you have in thiss pictures..thank you!
Maria, could you be more specific?
You can see it more in black and white first pic… somehow you add fog effect.. i noticed that a lot of photographers use it lately
There is no effect, Maria :) It’s light and B&W conversion, that’s all.
great article. I have a question. I have D5100 with 18-55 VR and 40mm f2.8 lens. Which one should I use for low light pics?
I tried 40mm prime but couldn’t click a decent photo on f2.8 and ISO 100-400, without flash. Do I need to increase ISO for shooting handheld without flash? Is this common with all prime lenses, ie increase ISO to 800+ to click without flash and tripod?
Definitely 40mm f2.8. It’s sharper than a kit lens. For shooting handheld, i think you can go up to ISO 800 without flash. Beyond this range, your photos can be grainy.
What a great article thank you, for sheding light on things. (Couldnt resist).
Though this info really helps, I still seem to have a problem with being self conscious. It’s like I’m always scared of irritating people with my flash or even just drawing attention to myself. Even at f1.8 I had problems shooting at a low light venue, bumping up the ISO so much as 6400!!!!
I also have the same issue, and noticed your question after dropping mine. Waiting for experts to confirm.
Thank you Janelle, but the problem is solely that of acquiring focus in challenging surroundings with subjects that dart around unpredictably. Even with my 70-300 VR2 I have managed to hand-hold pin-sharp rehearsal head-shots at 1/6th sec. and 300mm! (Shooting in slow bursts certainly raises the chances.) Of course the 70-200 VR2 is infinitely superior (and more appropriate). Which brings us in ‘at the top’ again…
Manual pre-focus (and surely the depth of field is similar whether shooting closer at 100mm or further away at 200mm) is far too rough a ‘guestimate’ to ensure anything sharp in this context. Yes, it might give greater d-o-f to stop down a bit and pay the price in more noise — but I do try to keep my ISO no higher than 3200, though of course much can be cleaned up after the event: I use the superb Topaz DeNoise plug-in, along with the rest of the suite, occasionally.
“Plan Z: When in doubt, practise”!
One thing you hint at by your choice of pics but not in the text is the possibility of going monochrome. My D7000 and 35mm f1.8 combination produces decent colour pics up to 3200 ISO in lowish light. I don’t worry too much about using it for colour at 6400 ISO either a lot of the time but quite frequently I’ve produced acceptable monochrome pics at 12800 ISO and even 25600 ISO in very low light (parties etc.). I reckon it’s about as good at 8000 ISO as Tri-X film pushed to 1600 ISO. Fine by me.
It’s a good point when one want high ISO noise to be less distracting, Peter, and I will talk about it in an upcoming article. However, it doesn’t help when trying to focus in the dark, which this article is all about. :)
Nice article as usual. It appears to me that there is something crutial you dont tell when I look at the pictures: I bet that the camera was set on spot mesure with a correction of about -1, was it ?
Hello, Thierry. Thank you for reading!
Exposure settings are a slightly different topic, I think. In this case I’m afraid to say you are somewhat wrong – I never use any kind of AE for work and only very rarely for simple snaps. This was shot in manual exposure mode.
I agree to say its a different topic, … but not that much. I like to underexpose a bit indoor pictures, because it renders better the atmosphere, and that way you can use a shorter exposure. That says, I should confess that I dont use a lot the manual exposure mode, except when I use a flashlight (that way I can control the exposure of the background).
Thank you for your thoughts, Thierry, much appreciated!
AE settings tend to change all the time. They are less dependent on the light and more on where you point your camera. Whenever AE settings change, one also needs to alter exposure compensation, which means fiddling with the controls. For this reason I prefer to be in manual mode, but it’s just me.
In any case, this article is more on learning how to focus. There will be a different article on minimizing high ISO noise.