A common question I get from my friends and blog readers that just got into photography is “How can I take good pictures with what I have, without spending too much money on new cameras and lenses?”. Ever since DSLRs and mirrorless have become more affordable and people started buying advanced “entry-level” cameras, there has been a great interest in photography from the general public.
When most professional photographers show the equipment they used to make great-looking images, it creates an impression that only expensive gear can produce great photographs. This is a big obstacle because it is simply not true. What happens from there, really boils down to the wallet and how serious a person wants to get into photography – some start buying expensive gear and thinking it will help them to take good pictures and improve their photography, while others just go back to their phones.
If you do not have a mirrorless or DSLR camera yet and need some help purchasing it, I recommend reading my article on how to buy the best camera for your needs. See also DSLR vs Mirrorless, especially if you are buying a used camera.
As I’ve said many times, it is not necessary to have expensive gear to produce great-looking images. I always tell people when they purchase their first camera that “an entry-level camera will get you 90% there”. Sure, professional equipment is better and faster than entry-level gear, after all, that’s why it is called “professional”. However, all entry-level cameras such as the Nikon Z50 have pretty much the same image quality as professional cameras.
The biggest difference between entry-level and professional gear nowadays is a set of advanced features, not the image quality coming from the camera sensor. Professional models typically have the most options, have more durable shutters and faster frame rates, can handle abnormal temperatures and humidity, have better auto-focus, and so on.
Top-of-the-line gear (such as the Nikon Z9) provides lower noise levels, better dynamic range and higher image quality – all due to a larger full-frame sensor – whereas less expensive cameras often have APS-C or micro four thirds “crop sensors”. I won’t go much into what “crop factor” is, so if you want to read more about it, please check out this article.
But forget about crop factors, sensor types and other technical junk. Ask yourself one question: who would have a better painting, a great artist with a mediocre brush or a newbie with the most advanced brush on the planet? The answer is obvious…a camera is just a tool in a photographer’s toolbox. Now, give that same advanced brush to the great artist and he will create even better paintings. That’s why professional photographers buy the best gear – because they know how to get the most out of it.
If that idea sounds crazy to you, take a look at the video we made on how to take good photos with any camera:
Anyway, this article is not about discussing camera gear. Let’s move on to how you can utilize what you have today and learn how to take good pictures.
Table of Contents
1) Don’t Leave Your Camera at Home
This might sound awkward, but how good is your camera if you leave it at home? I have missed so many great photo opportunities just because I forgot to take the camera with me. Whether it is something silly or unique, having a camera with you might get you those rare, once-in-a-lifetime moments.
And if you do leave your camera at home, use your phone! Phones have pretty good cameras these days, and the lack of settings can help you concentrate more on composition.
2) Take Lots of Pictures
The more you photograph, the more you learn – as simple as that. Use every opportunity to capture images, whether it is early in the morning or late at night. By taking lots of pictures, you will start to understand how to use your camera in different lighting conditions and what works and what doesn’t.
At the same time, when your pictures do not come out as good, you will start doing more research and reading articles, books, magazines and online forums to try to find a solution to your problem. Eventually, you will learn from your mistakes and will gain a great deal of knowledge on how to use your gear effectively.
3) Visit Local Zoos, Botanic Gardens, Butterfly Pavilions and Animal Sanctuaries
Photographing wildlife can get very expensive and potentially risky. If you do not own a long telephoto lens, you can try checking out your local zoo or animal sanctuary for great photo opportunities. Bigger zoos with plenty of open space are great for photography because fences and other man-made objects are not as noticeable. You can get pretty close to some animals and capture great moments.
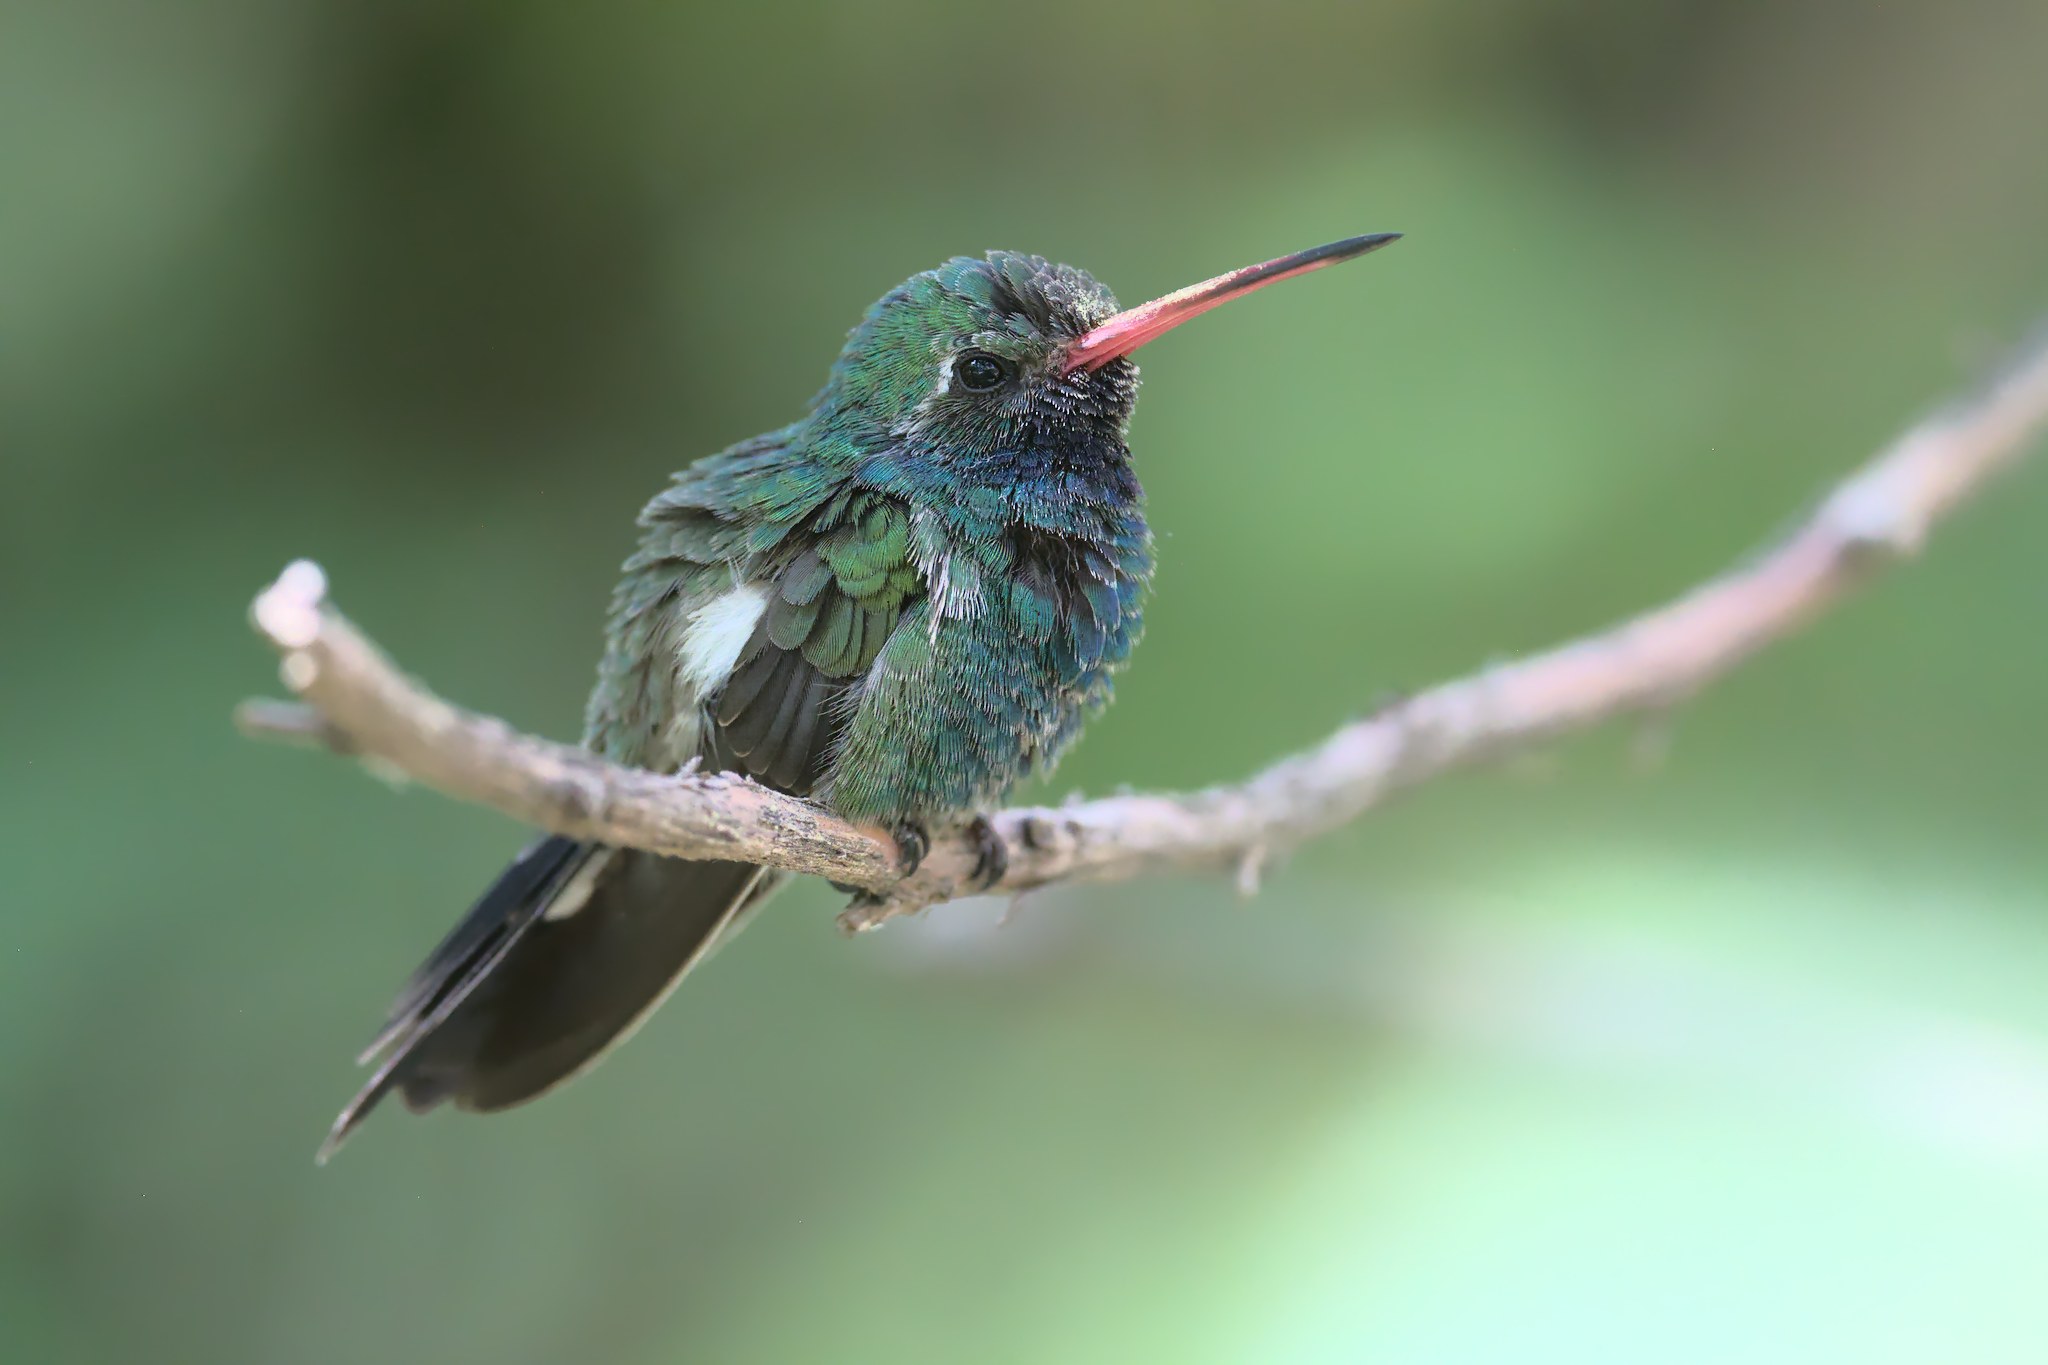
Botanic gardens and butterfly pavilions are great for macro photography. You can experiment with flowers, butterflies and other insects at different times of the day and not only learn a lot during the process, but also capture beautiful images. Everybody loves flowers and butterflies!
4) Join Local and Online Photography Clubs and Shoot with the Pros
Search online for photography clubs in your area and you will most likely find at least several local photography clubs. Many of those clubs are either free or have very small monthly membership fees. Join one or several of those clubs and not only will you learn from other photographers, but also you will get access to valuable information on local events that might be worth attending and photographing.
Find advanced photographers and pros, who are good at what they do and ask if you can assist them in any of their jobs. You’ll be surprised by how friendly and helpful many of the photographers are and you will learn a lot from those folks.
5) Consider Photography Workshops
If you have some extra money, consider investing in a photography workshop. Workshops can be as cheap as $20-50 for a session in a large auditorium or as expensive as several thousand dollars if you are in a small group with a well-known photographer.
Travel workshops can be very useful if you don’t want to worry about finding the best places to shoot in new countries, and Photography Life currently has two workshops planned for 2023.
Workshops are good for those who want to learn photography quickly from real pros and if you want to accelerate your learning process rapidly, find a workshop that suits your needs best and go for it.
6) Get Down and Dirty
If you are still taking most of your pictures standing straight, at your eye level, then you should start experimenting with angles. Try to get down on your knees or even try laying on the ground to get a different perspective. Getting low can yield great results, especially when photographing people and animals.

7) Learn How to Take Sharp Pictures
I suggest reading my article on taking sharp photos and avoiding image blur. Soft and blurry images can be very disappointing and if you have a problem with creating sharp photographs, this article will definitely be very helpful for you.
8) Use a Circular Polarizer for Landscape Photography
I have just finished an article on how to use a circular polarizer that you should take a look at. This kind of goes against what I have said above about shooting with what you own, but I consider a polarizer to be an essential tool in every photographer’s bag, so I highly recommend that you try one if you have never done it before, especially for landscape photography.
9) Use a Tripod
If you do not already own a tripod, I recommend getting one as soon as you can. Why? Because a tripod will open up new opportunities for low-light photography for you. You can experiment with the light at night and capture really beautiful images of things that come into life at night. A tripod can let you capture sharp photographs of non-moving subjects and blur out moving subjects, creating very interesting and dynamic photographs.
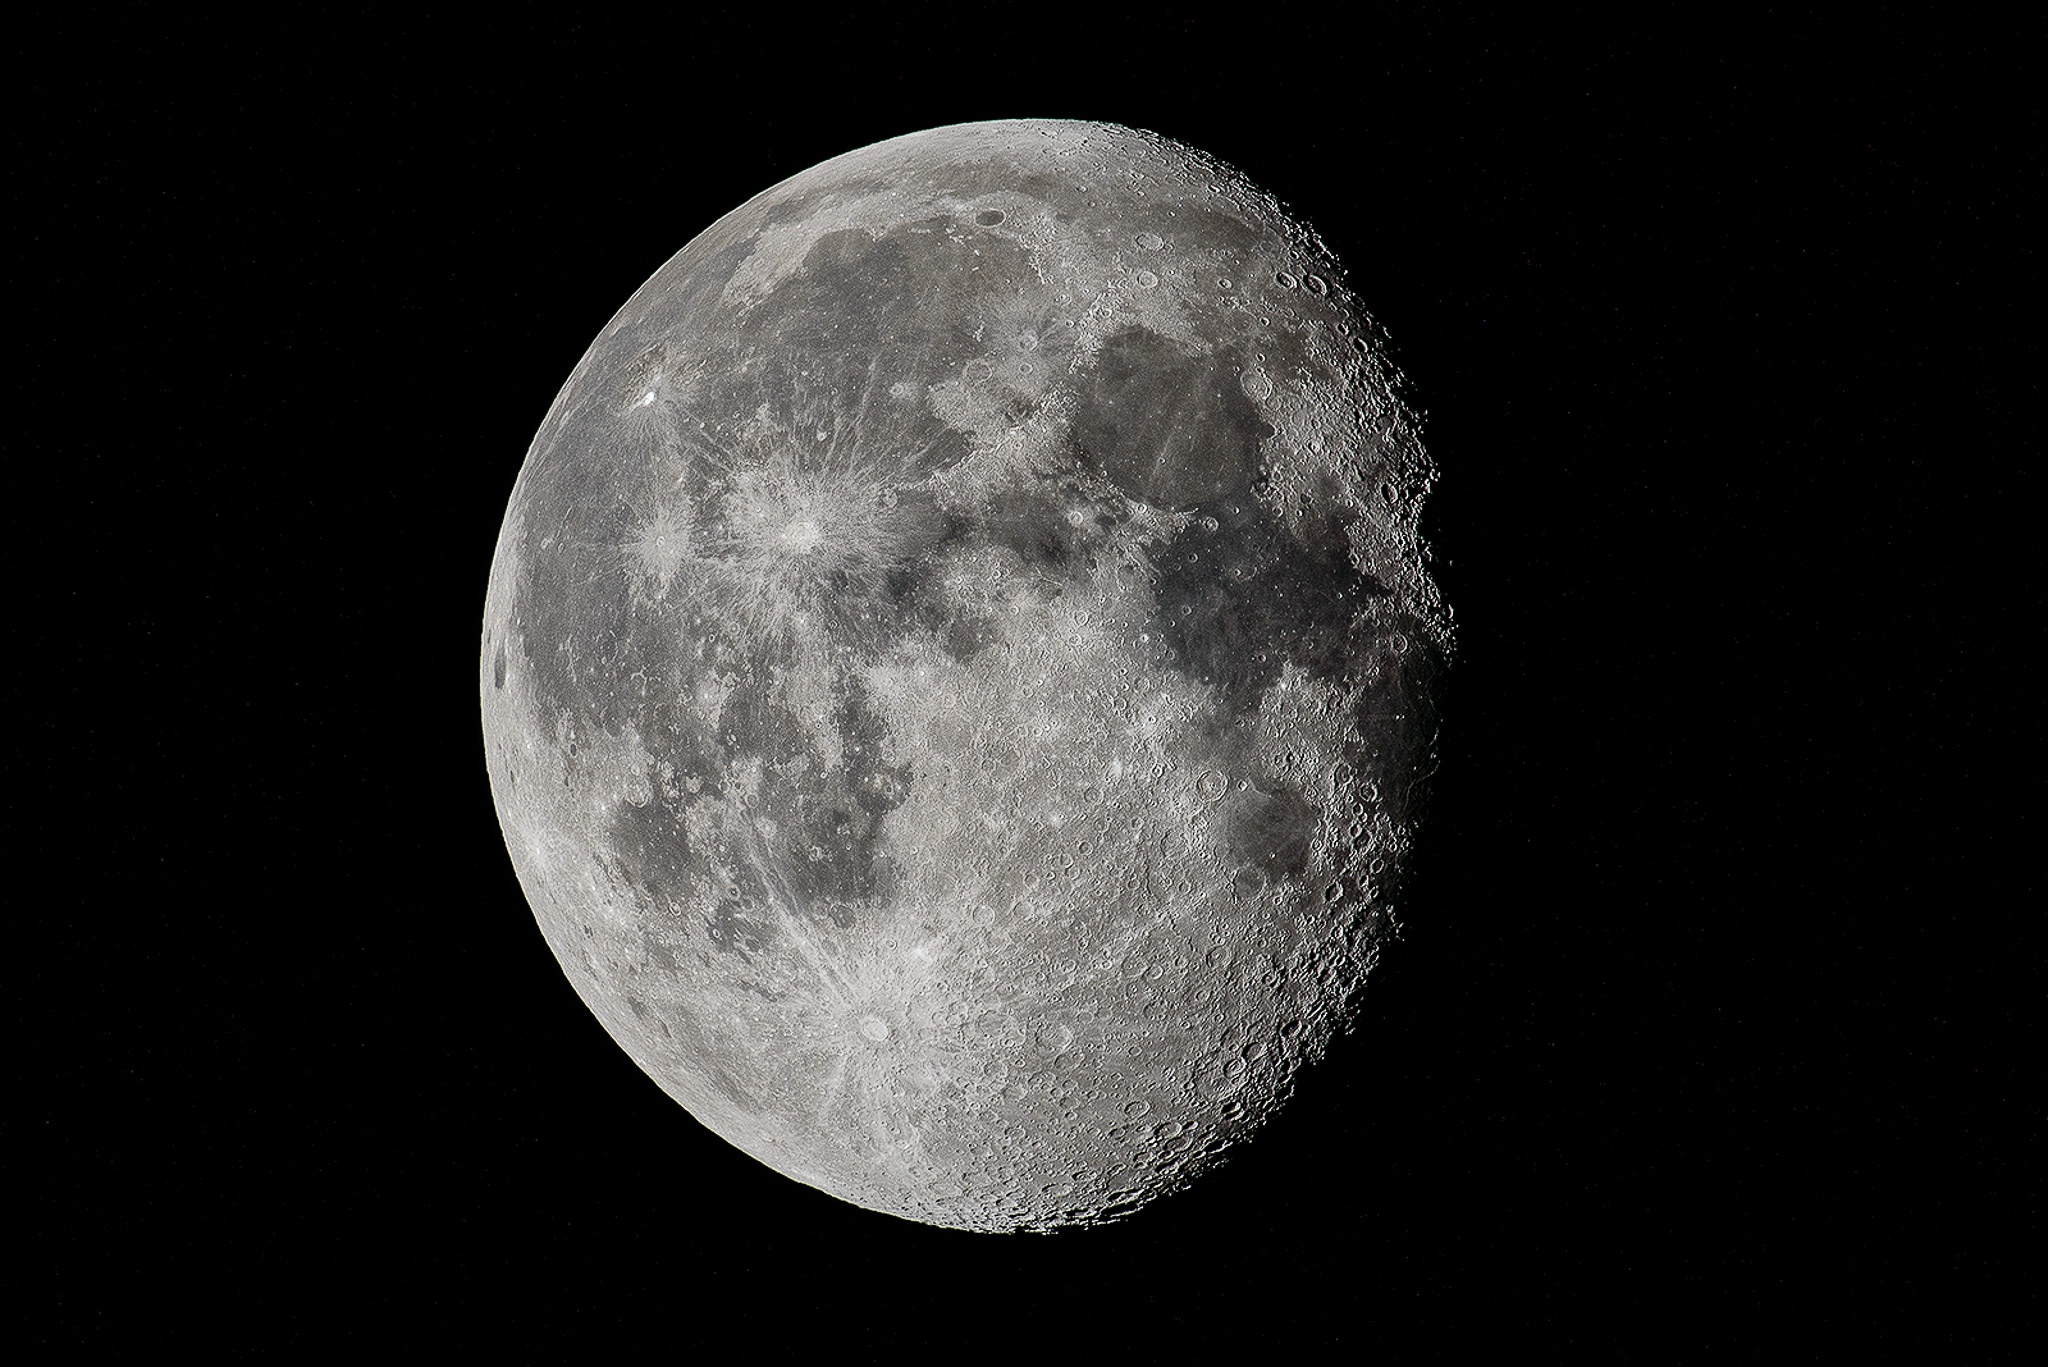
You can also use a tripod to photograph lightning, photograph the moon, engage yourself in night painting with a flashlight, photograph fireworks and sunsets and much much more!
With a tripod, you can use very low ISO levels for highest image quality and lowest amount of noise. You can also use small apertures like f/16 to get a much higher depth of field or create HDR (high dynamic range) images.
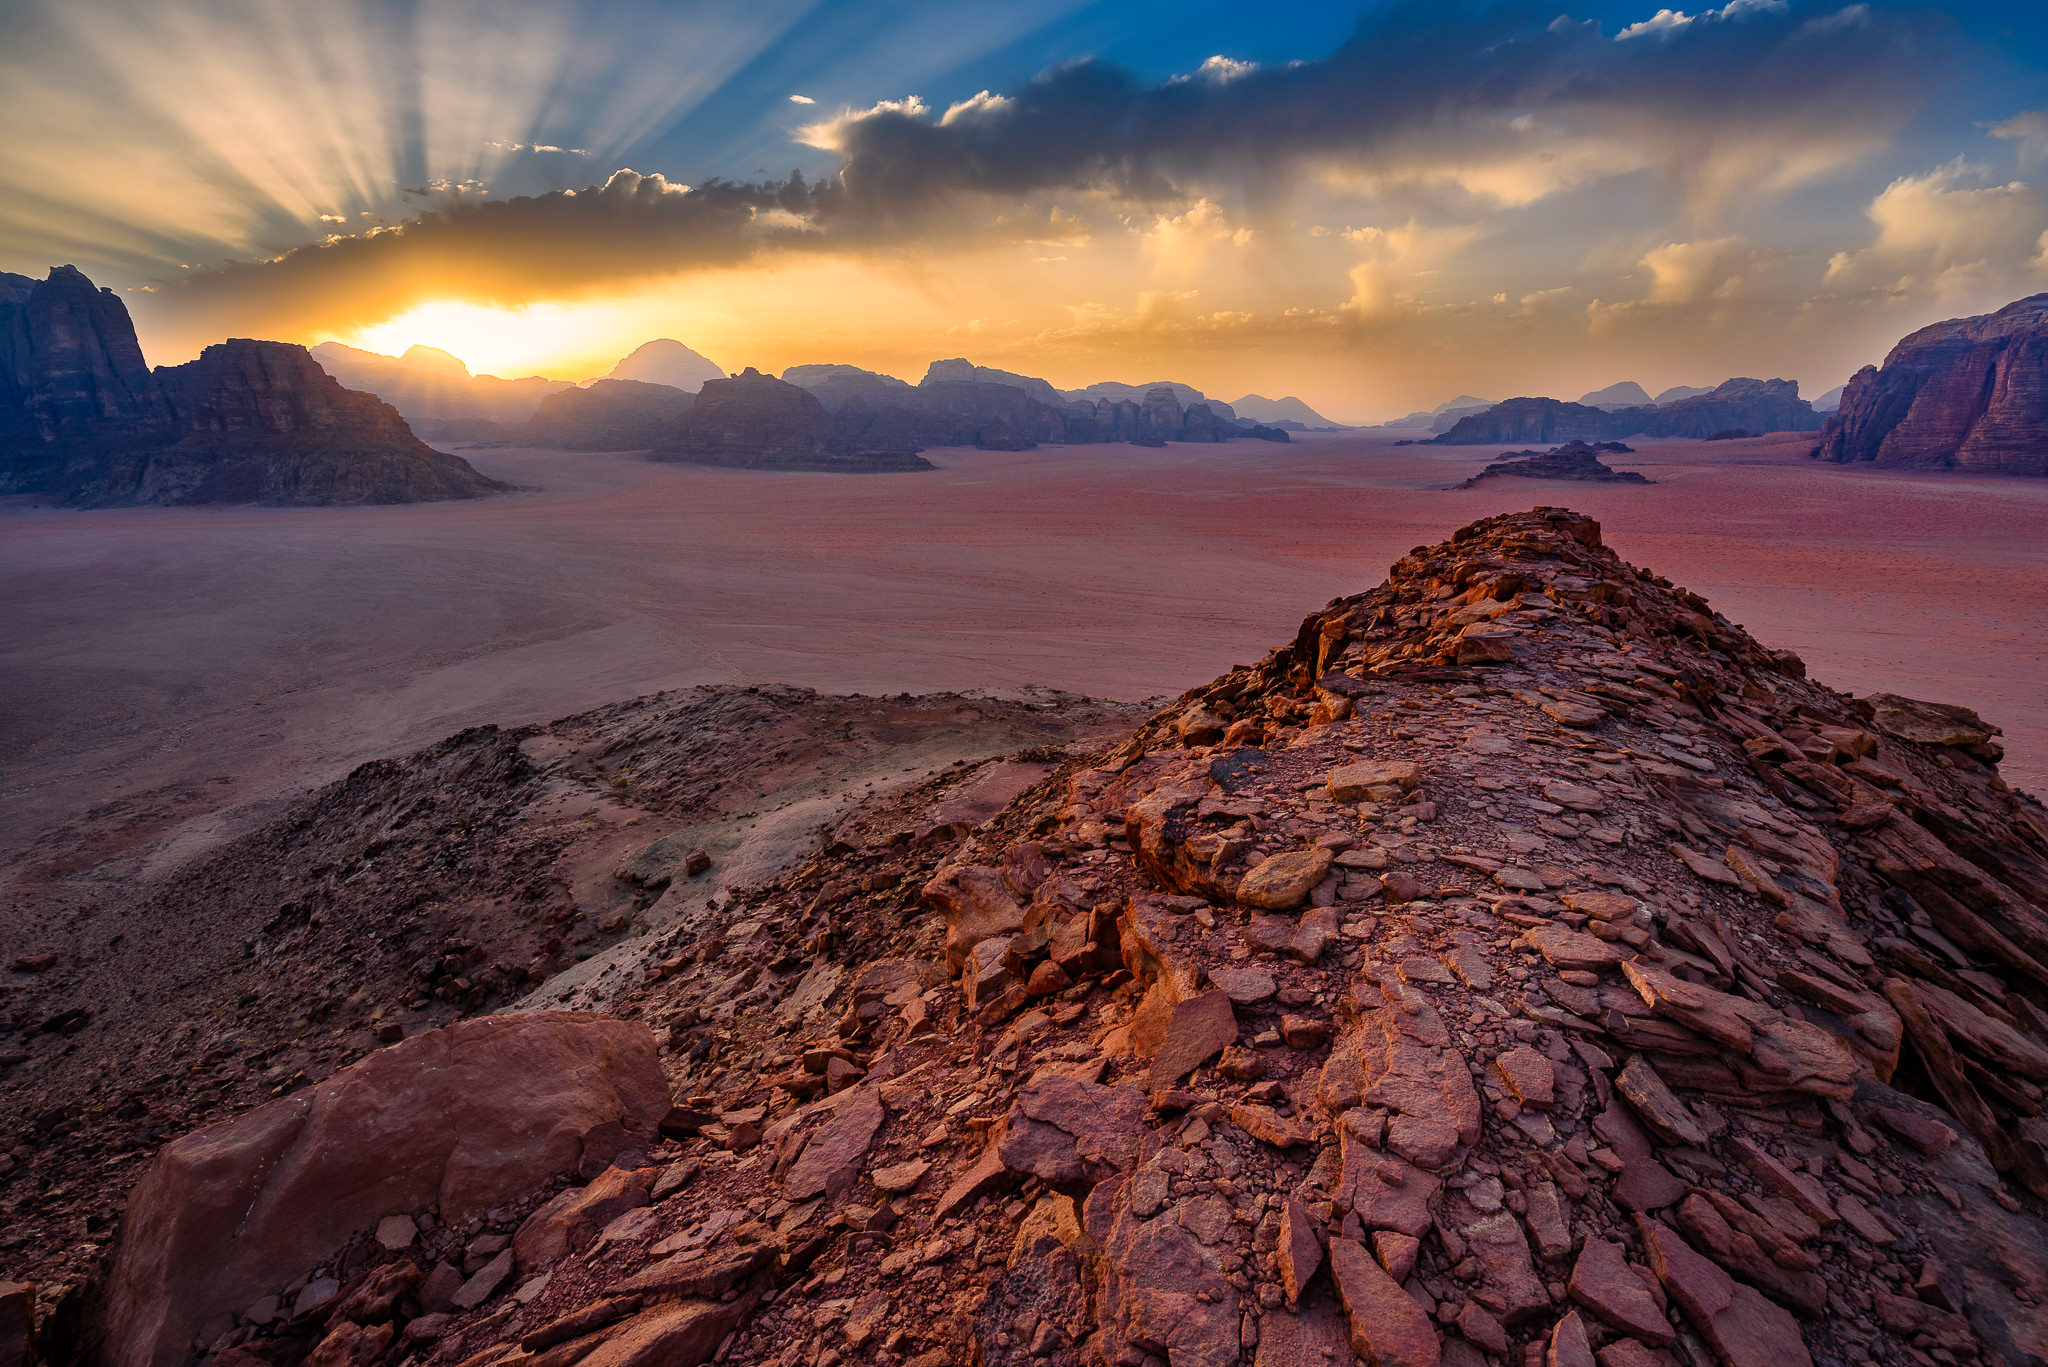
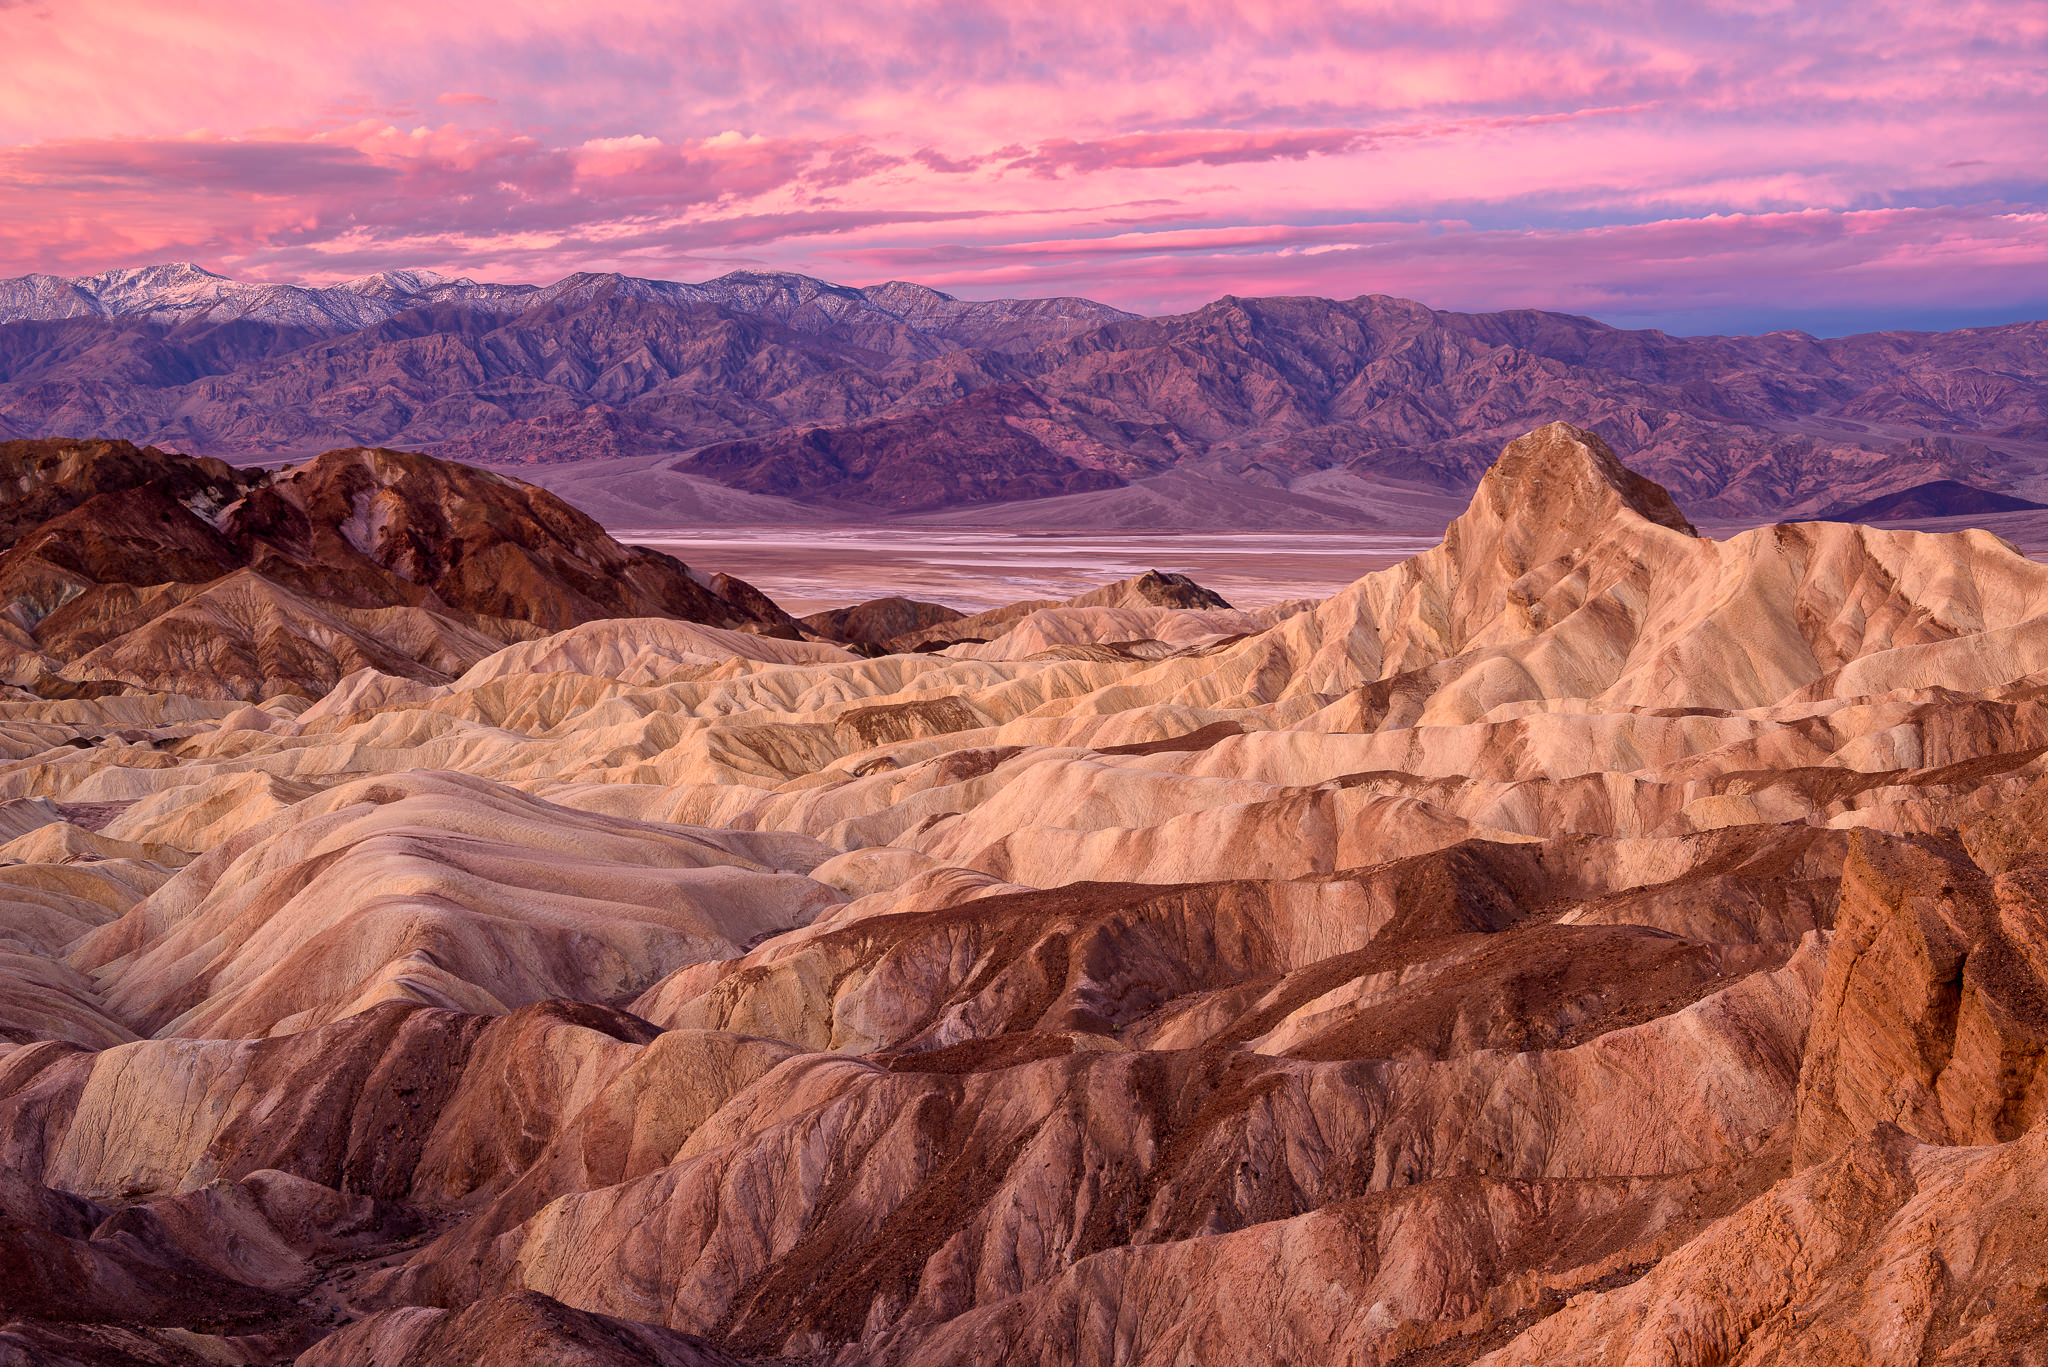
10) Shoot During Golden Hours
Harsh direct sunlight can produce really ugly shadows not only on people’s faces, but on all other objects around you as well, resulting in bad photographs. The best time to take pictures is early mornings and late afternoons – that’s when the light is beautiful and soft.
Obviously, sunrise and sunset times vary throughout the year, so just Google for “sunrise sunset times” and look up your city, or use an app like Photo Ephemeris.
For landscape photography, you want to be at the scene before sunrise and sunset, to catch the first and the last rays of light, whereas for portrait photography, two hours after sunrise and two hours before sunset seem to be the best times. OF course, you have to take into account the weather conditions as well.
I love shooting portraits when the sky is covered with thin clouds, because clouds can diffuse the light and make it land very soft on the skin. On the other hand, very thick/stormy clouds can decrease the amount of available light, making it somewhat difficult to shoot fast-moving subjects, so try it out and see what works for you.
11) Shoot in Raw and use Lightroom for Post-Processing
If you are still using JPEG for your pictures, it is about time to move to Raw. Any DSLR today is capable of recording images in Raw format, so just set it to Raw and don’t go back to JPEG. A RAW image is called “Raw” for a reason – it is an unprocessed image with a lot more colors to work with than a JPEG image.
Raw gives you a lot more flexibility and is preferred for print, because you can convert it to any color space you desire. Raw takes more space than JPEG, but memory is so cheap nowadays, that it is not a big problem. When it comes to storage on your PC, a large capacity hard drive can be bought for less than $100 and you would need lots of pictures to fill it all up, so PC storage is not a problem either. Other than that, there is no reason why you shouldn’t shoot in Raw!
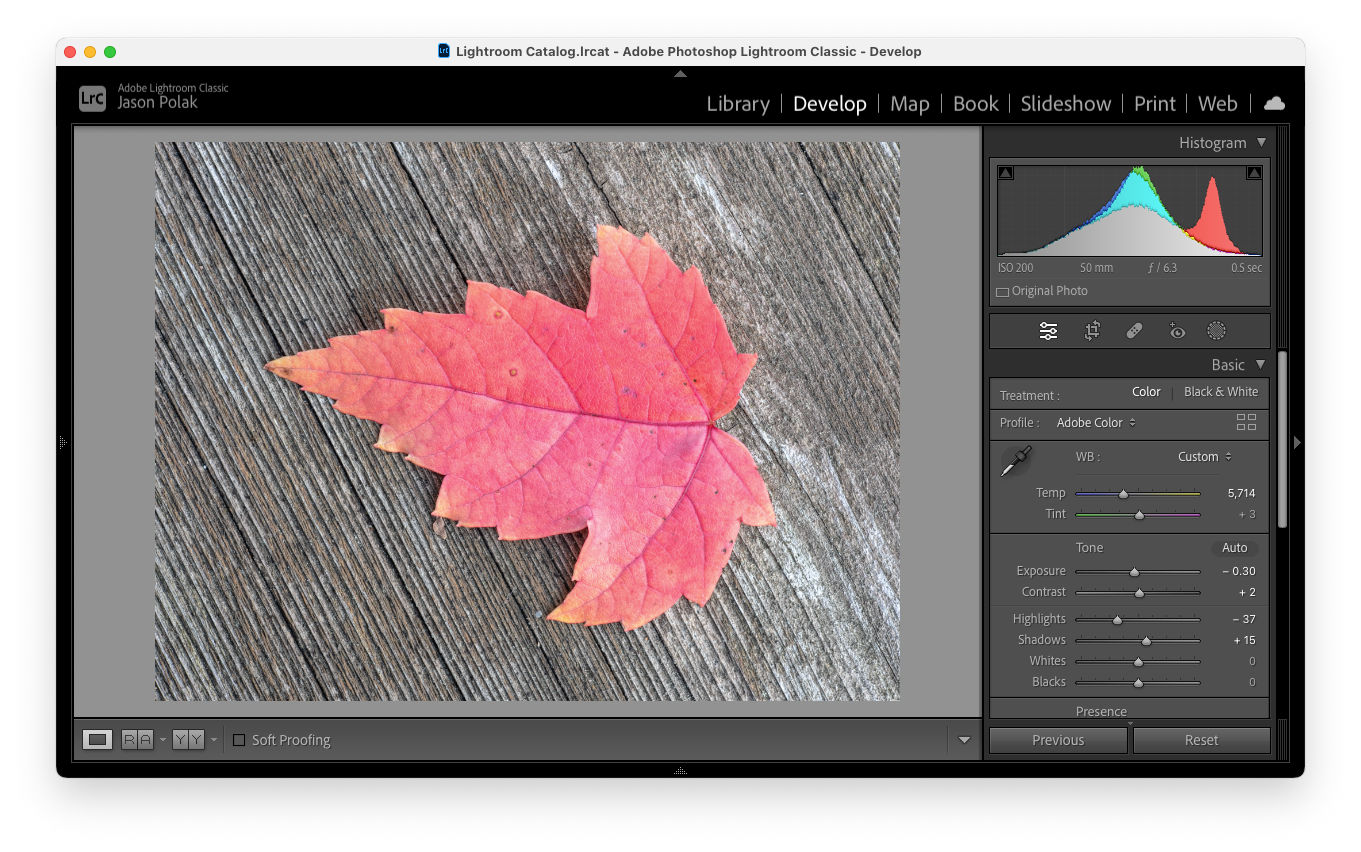
If you are still manually storing your pictures on your hard drive in various folders, I highly recommend installing Adobe Lightroom. After I started using Lightroom, I realized that I should have done it long time ago – it made a huge difference in the way I am able to store my pictures, process and organize them.
By now there are also many other excellent Raw developing programs too such as Capture One Pro, DXO Photolab 6, and darktable, so there is really no excuse not to shoot in Raw!
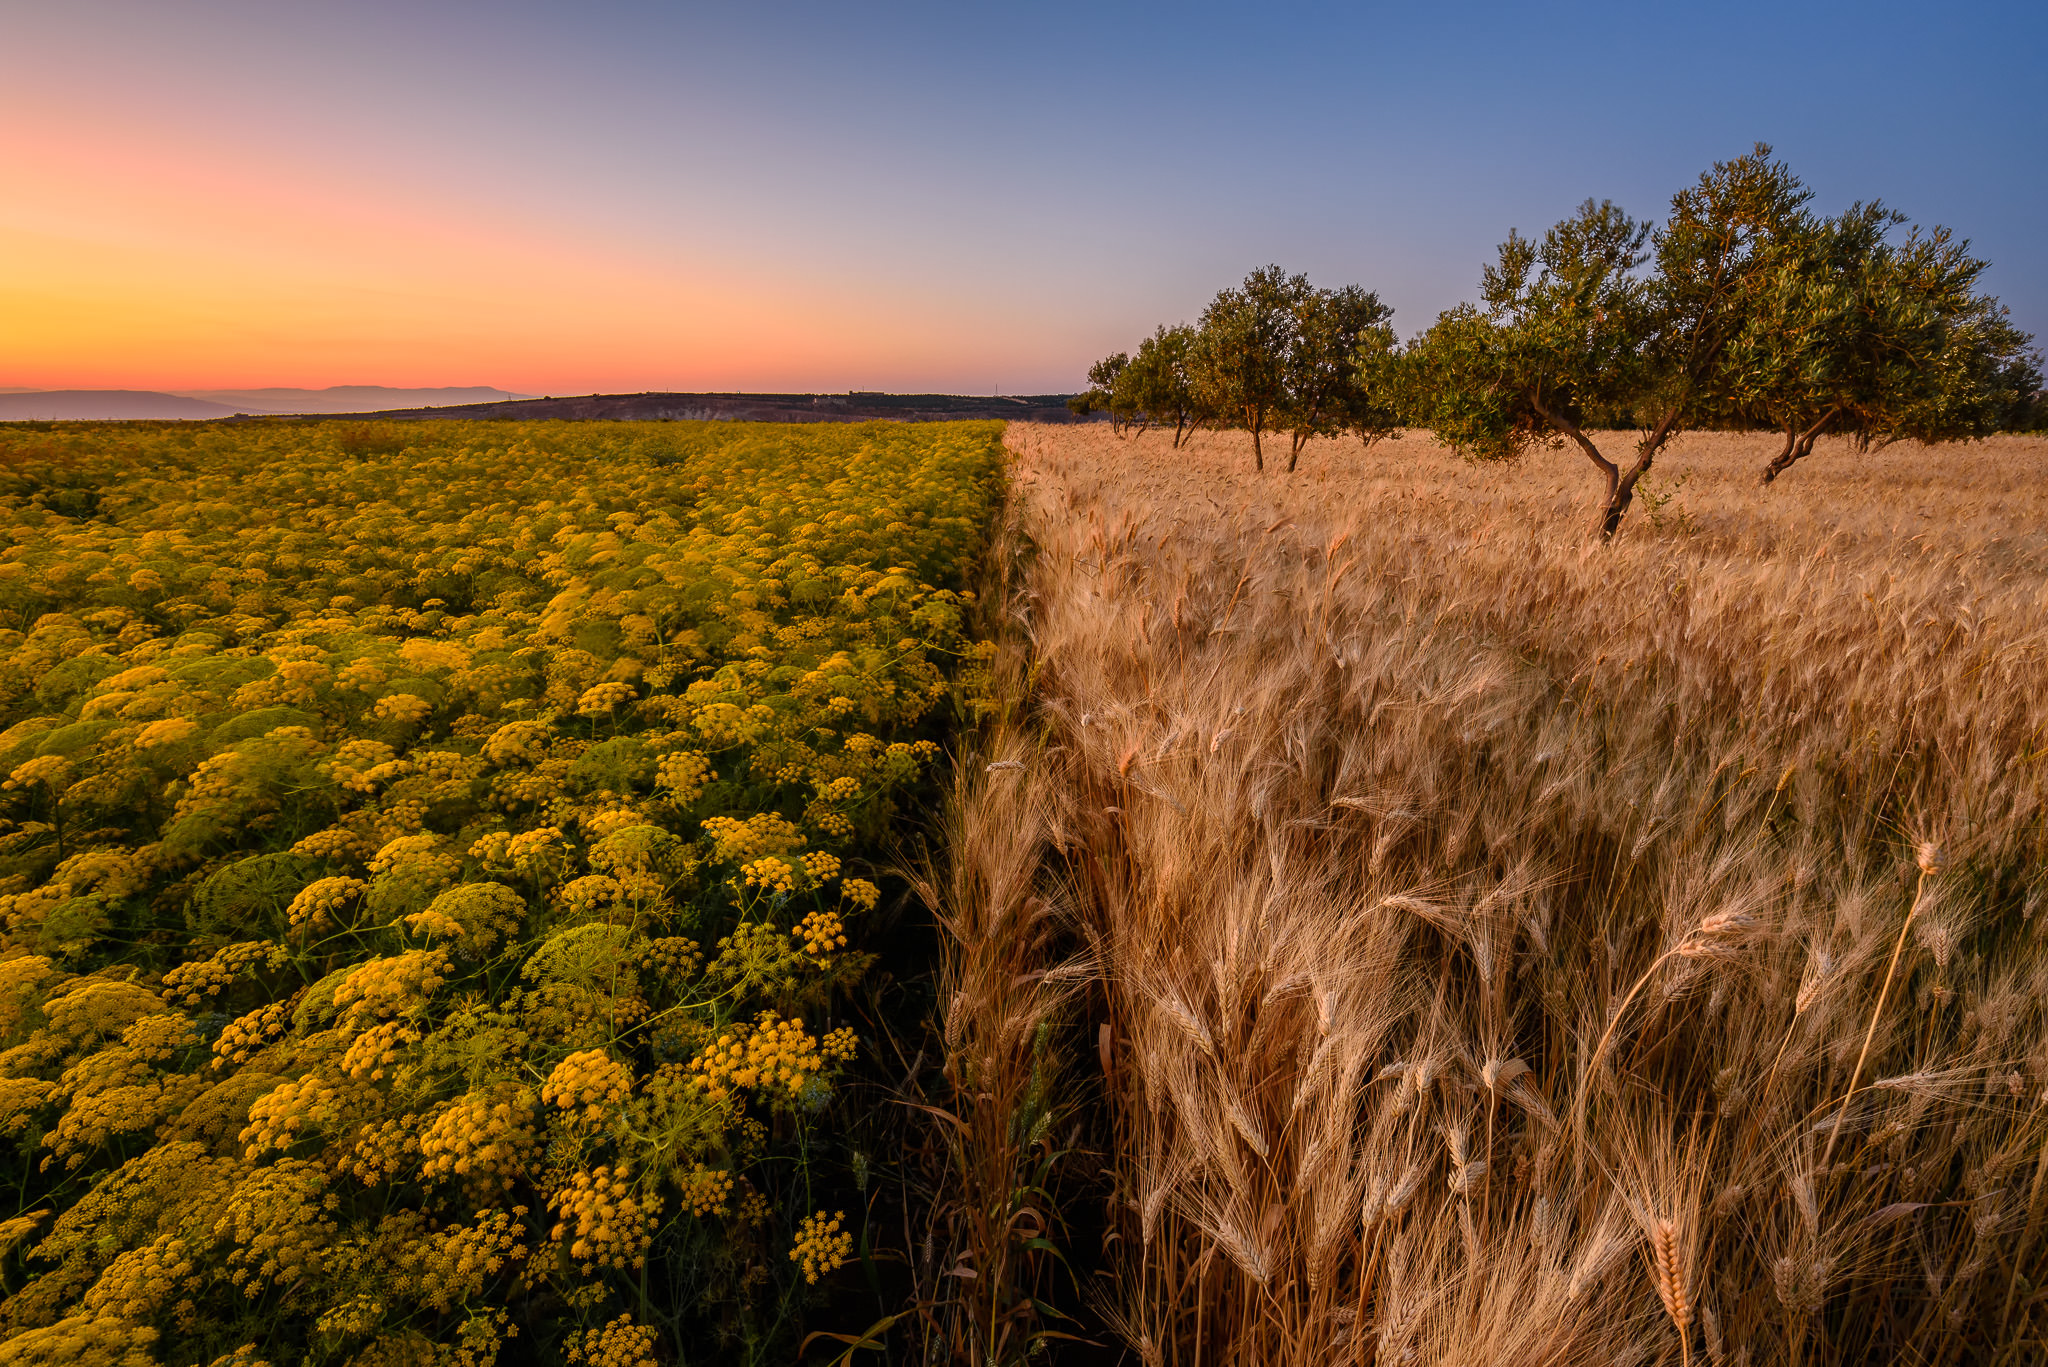
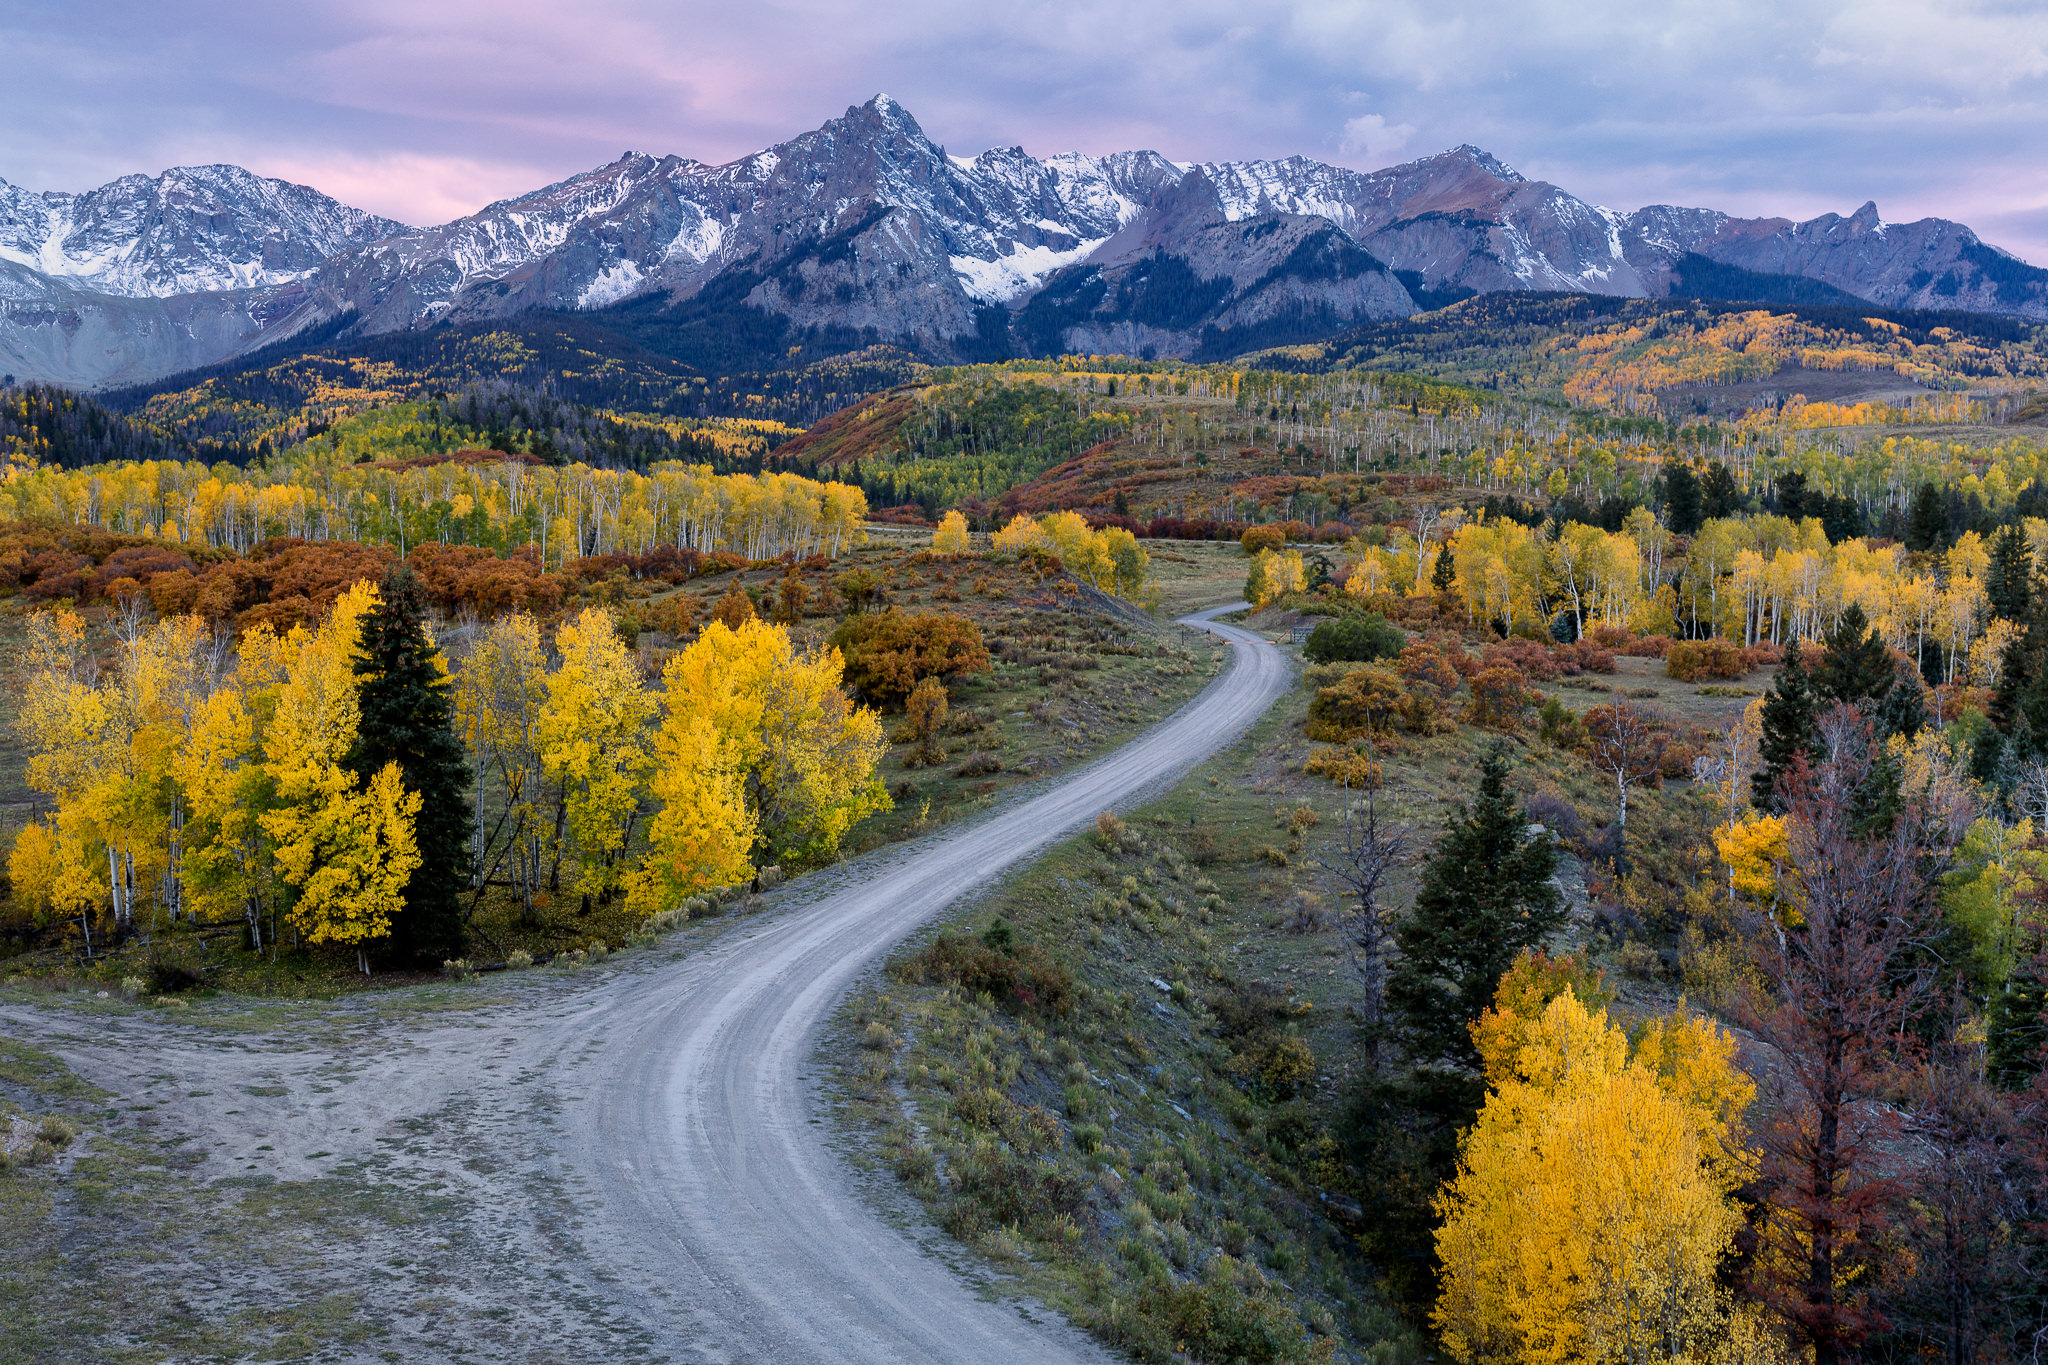
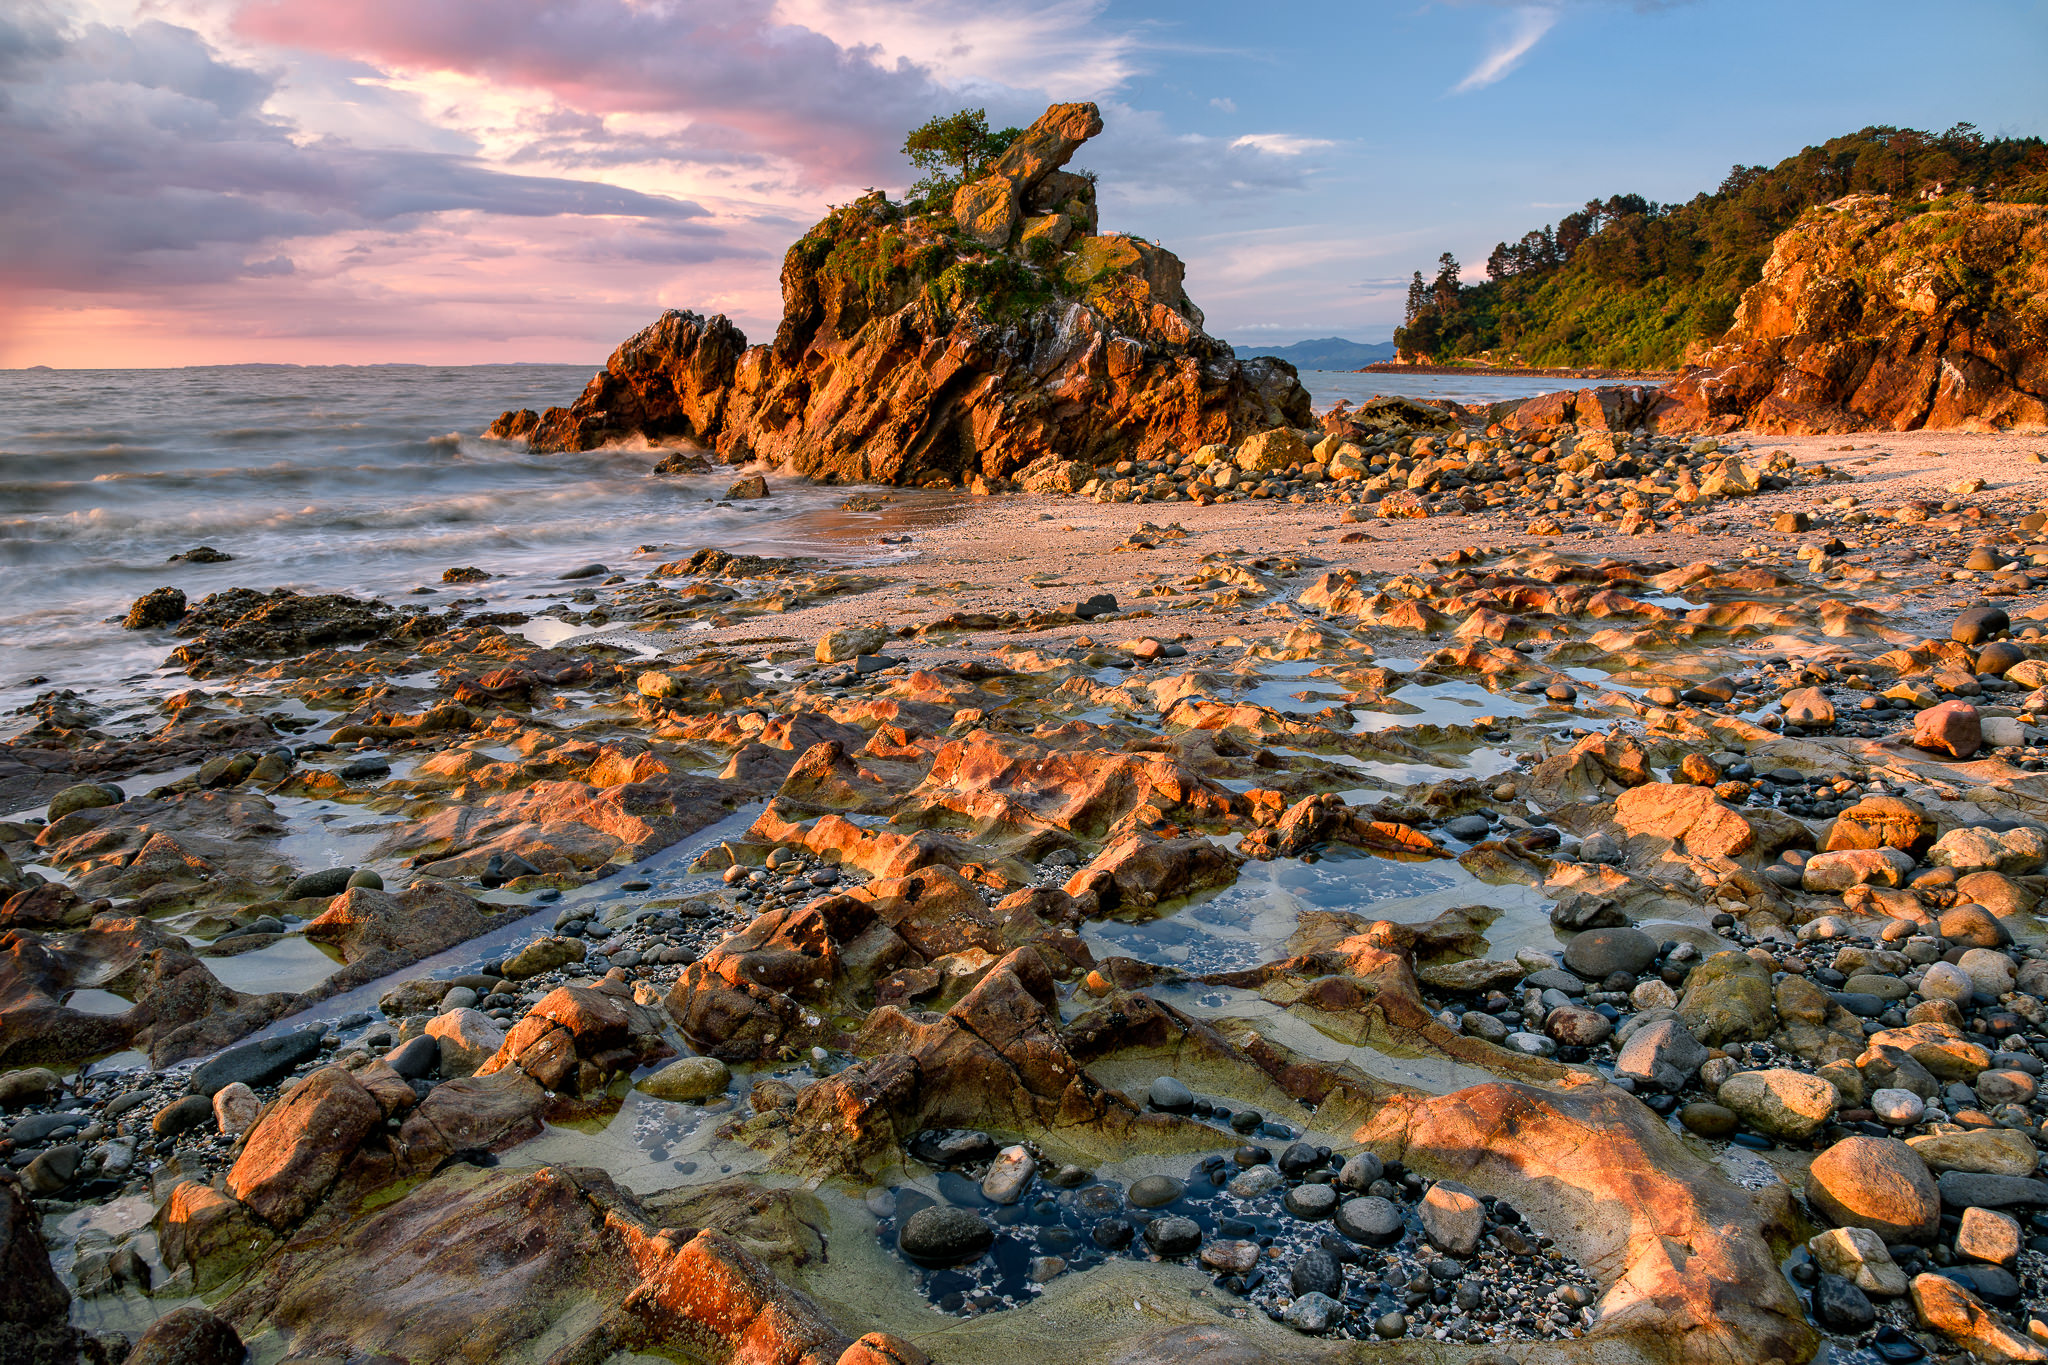
12) Travel and Find Good Locations for Photography
Don’t just sit at home and expect great pictures. Find local and state parks or perhaps even national parks that might be close to you and look for potentially good spots for photography. For landscape photography, you will have to develop an eye for what looks good and what doesn’t.
For example, a still lake is a great way to produce a mirrored image that might look exceptionally beautiful during sunrise or sunset, when the clouds, trees and other objects get mirrored on the lake. So if you find a moderately-sized still lake, try to come there at sunrise and sunset a few times and see what you can get (a tripod might be necessary to get a good picture).
For portrait photography, drive around and see if you can find locations that will look good in the background. The great thing about portrait photography, is that a good background is often easy to find – all you need to do is find something interesting, like an old building, a painted fence or an old tree. Use your imagination and you will soon be finding great spots all around you. If you can afford to travel, do it as much as possible and as I have already pointed out above, always carry your camera with you!
13) Try New Genres
Chances are, you are especially attracted to one genre or another. For example, the team at Photography Life is spread over quite a few different genres like landscape, wildlife, real estate, and macro.
But even if you do have a preferred genre of photography, you should try something outside your comfort zone. If you are into wildlife, try portraits, or if you are into people, try landscapes. And if you’re into nature, try architecture.

Trying a new genre will make you think about the basics of photography all over again, and give you new insights. I can say that shooting people has given me great insight into tone curve manipulations in postprocessing because skin tones are so sensitive to tonal changes.
14) Find a Critique Partner
It’s very easy to open a social media account, post pictures, and get some likes. However, it is much harder to find someone to give you thoughtful, constructive criticism. Good opinions are hard to find. If you can find someone you trust to be a critique partner, your photography will improve immensely.
Another idea is an editing partner: take a single unprocessed Raw and edit this with your partner. When you are done, compare edits and notes. Because the photo is the same for both of you, you’ll see your strengths and weaknesses quickly as well as learn some new techniques.
15) Study The Photography of Others
Once in a while, take the time to study the photographs of others. Ask yourself, why is the shot appealing? What composition techniques does it use? How was it captured? I learned several techniques (such as shooting at low angles) just by studying the work of others.

At the same time, don’t be overwhelmed by the endless gush of new photography on the internet. I would recommend keeping track of a few photographers whose work you enjoy and reading a book or two. That should be enough to teach you a wealth of techniques—you certainly don’t need to spend hours scrolling on Instagram, keeping up with the latest trends.
16) Spend Lots of Time Shooting
The second piece of advice in this article is “take lots of pictures”. The partner to this wisdom is, spend lots of time shooting, even if you don’t take a lot of pictures. I can’t tell you how many times I’ve spent hours searching for something really interesting to shoot when all of a sudden the right combination of light and color appears out of nowhere.
You can plan a little for good light and the right subjects, but you’ll never completely predict the exact moment that the perfect scene will appear. Thus, spend as much time as possible looking. More often than not, you’ll find something completely unexpected. There truly is no substitute for time in the field!
17) Give Yourself Space
In today’s world, it’s easier than ever to see and endless stream of images. Instagram, YouTube, and Flickr form a veritable waterfall of photos that will likely overwhelm you. If you’re a beginner, it might even be discouraging, and that’s why I recommend that every new photographer give themselves space.
Take time away from looking at endless new images and gear, and just experiment on your own and develop your own style. It’s not easy, but spending some time away from the screen will make it a bit easier. Enjoy the process of shooting and being out in the field. Savor the joy of taking a photo without worrying about likes on the net. Trust me, you’ll be a lot happier.
Great Article, NASIM…
This information would have saved me so much experimentation 15 years ago. Your recommendations are clear and spot on. This should be required reading for every beginner.
Thank you for all the information. For us what has truly helped is always taking our camera with us, just like you said. It is important to keep practicing and the be ready to snap a shot at any time.
When talking about entry level cameras. Keep in mind that the original masters of photography used equipment much more primitive to what we have now.
Hi Nasim, Regarding your rainbow photo, like bowling a 299 game, I can’t help but feel a bit sorry for you, I bet you were thinking “Damn, if only I had 14mm”. :-)
Hi Nasim,
I read your artical and i was wondering if you could help me.
What do i do wrong if i use my only one focus point on one eye, but that one is blurry and the other eye is sharp. I have camera 5D mark 4, and canon 50mm 1,2 lens and i took a picture in a perfect light condition and my subject was not moving. It just start doing it today and i dont k ow why.
Fast lenses can be appealing, especially indoors however, depth of field is razor thin if the lens is used wide open, try stopping it down to around f4 (will require adjusting your lighting as well) and reshoot. Hope this helps.
Thx this will really help
H,
Nice Article. great tips for good photography.
thanks alot.
I’ll try to carry my boy all the time and start visiting places.
Hi Nisam,
I have a Nikon D7100, a 50mm lens and a 16-300 mm lens.
I’ve found out that most of my better photos are products of luck, rather then skill or ability. I really want to learn how to take good photos but most of the ones i try and line up turn out looking ishy as apposed to the ones where i am just taking lots of photos at once and hoping that one or two turn out good.
Is there anything you would recommend? or is it just a matter of practicing more?
Thanks,
Annie
Hi Nasim,
I have a Nikon D3100 and 18-55 kit lens.
I have noticed about my images that while my image composition is satisfactory (rather, okay), I always miss out on colours in an image. For e.g. if I shoot mountains, I expect the brown – black colour of mountains and the green of the jungle equally pronounced. Instead the image presents a single tone, which makes it dead. Is there one particular reason for that you can point out, or is it just a matter of practice, please advise.