How does one take better photos at night? Creating technically excellent images at night can be a challenge, especially for novice photographers who may rely on automatic camera settings to get the shot. During the day, there is usually an abundance of light which makes it easy to take a sharp, properly exposed photo. At night, the photographer must alter their mindset in accordance with a new set of challenges posed by the absence of light. This article will provide some quick tips and tricks to help you make the most of your nighttime photography.
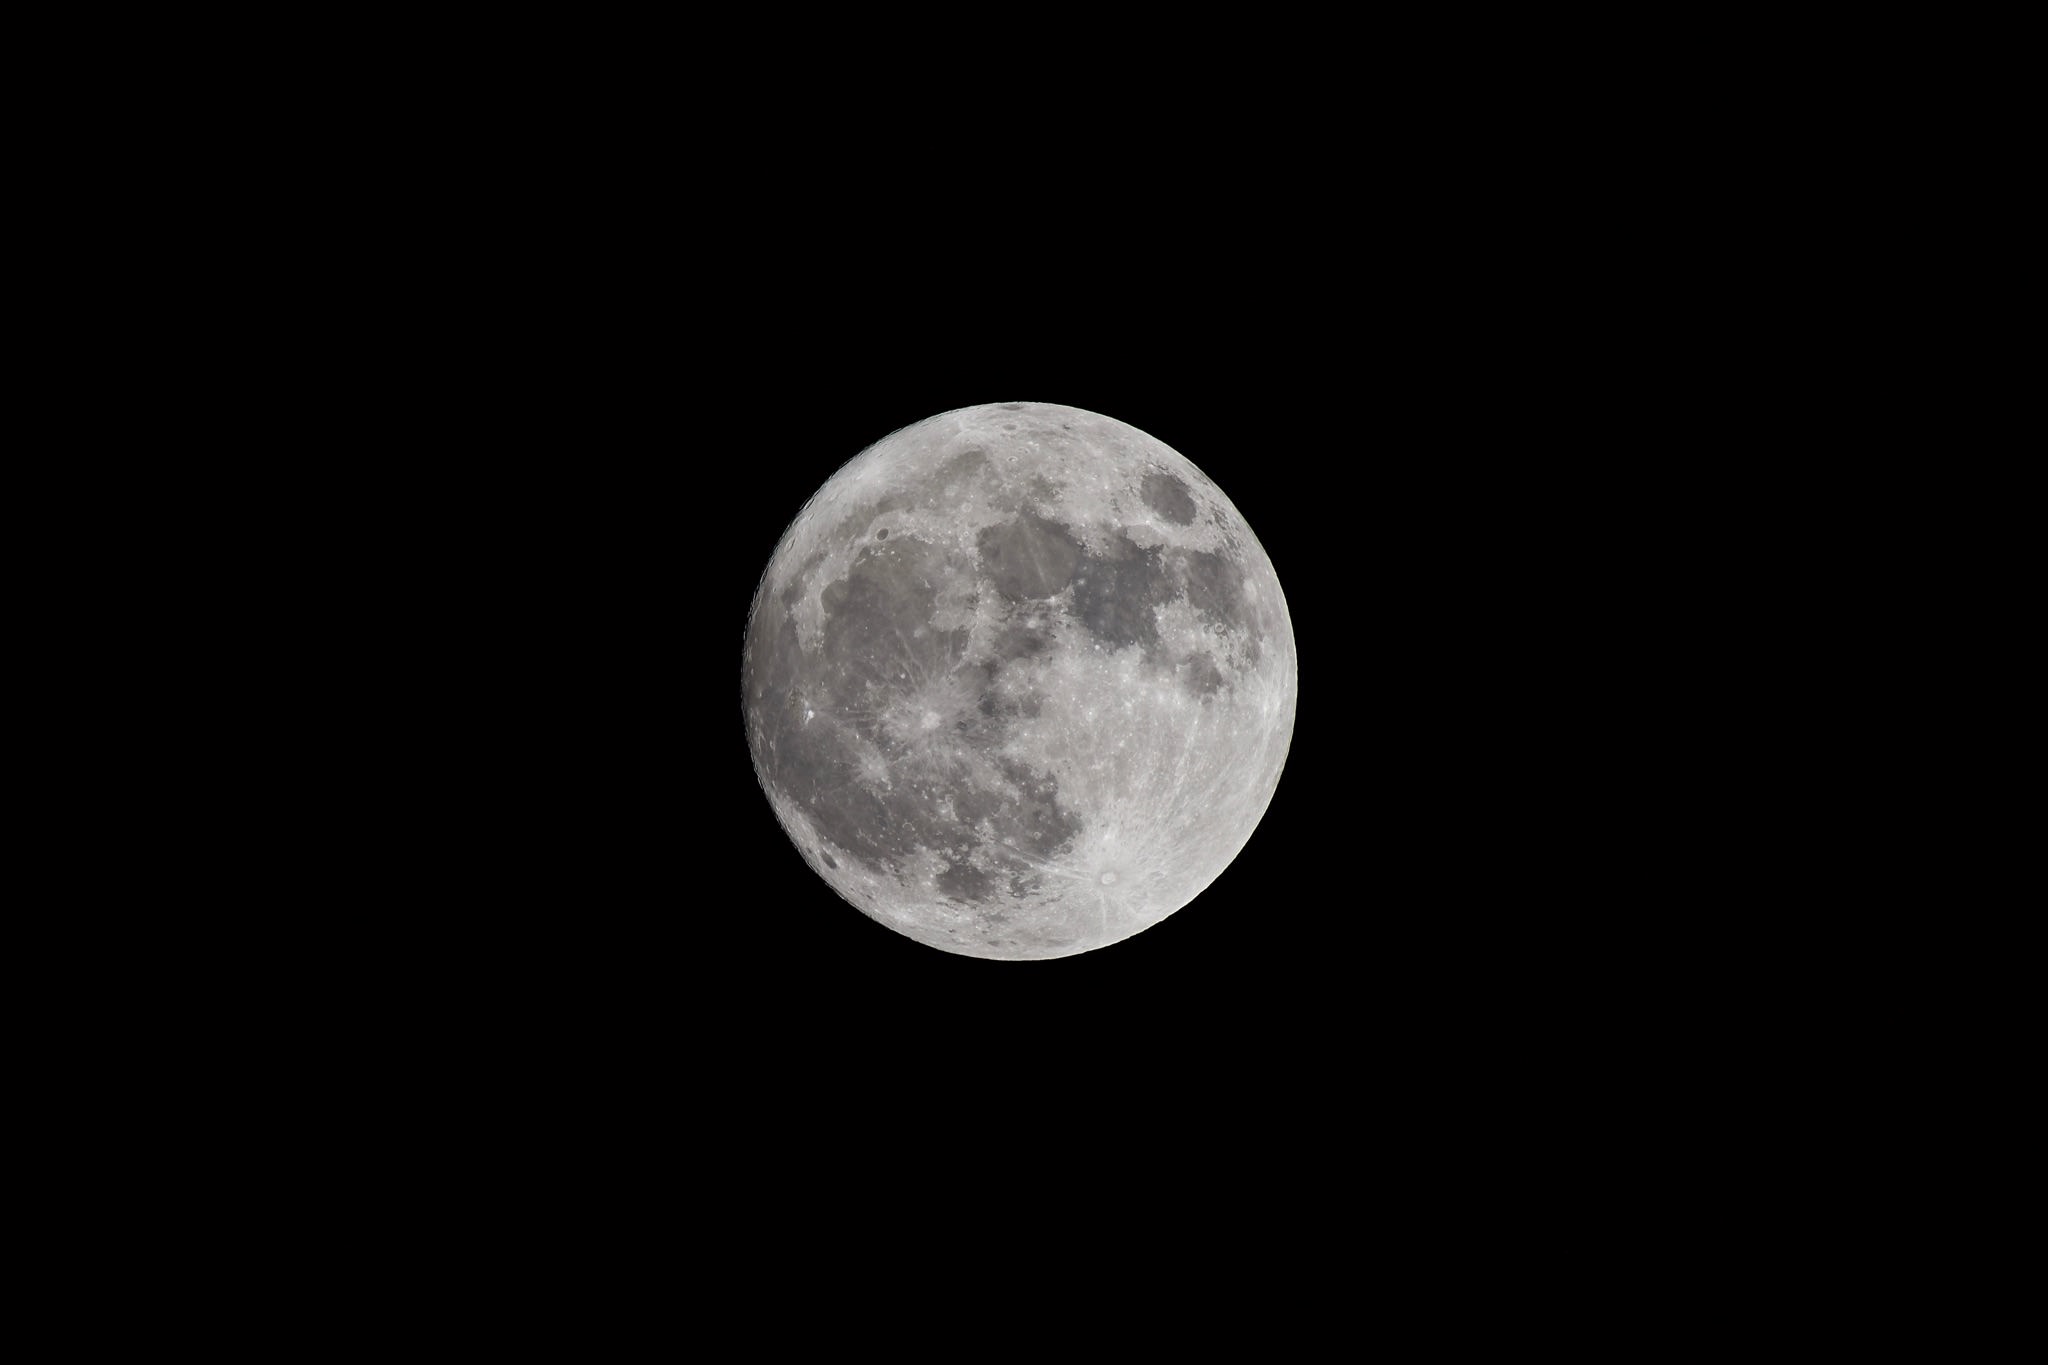
Table of Contents
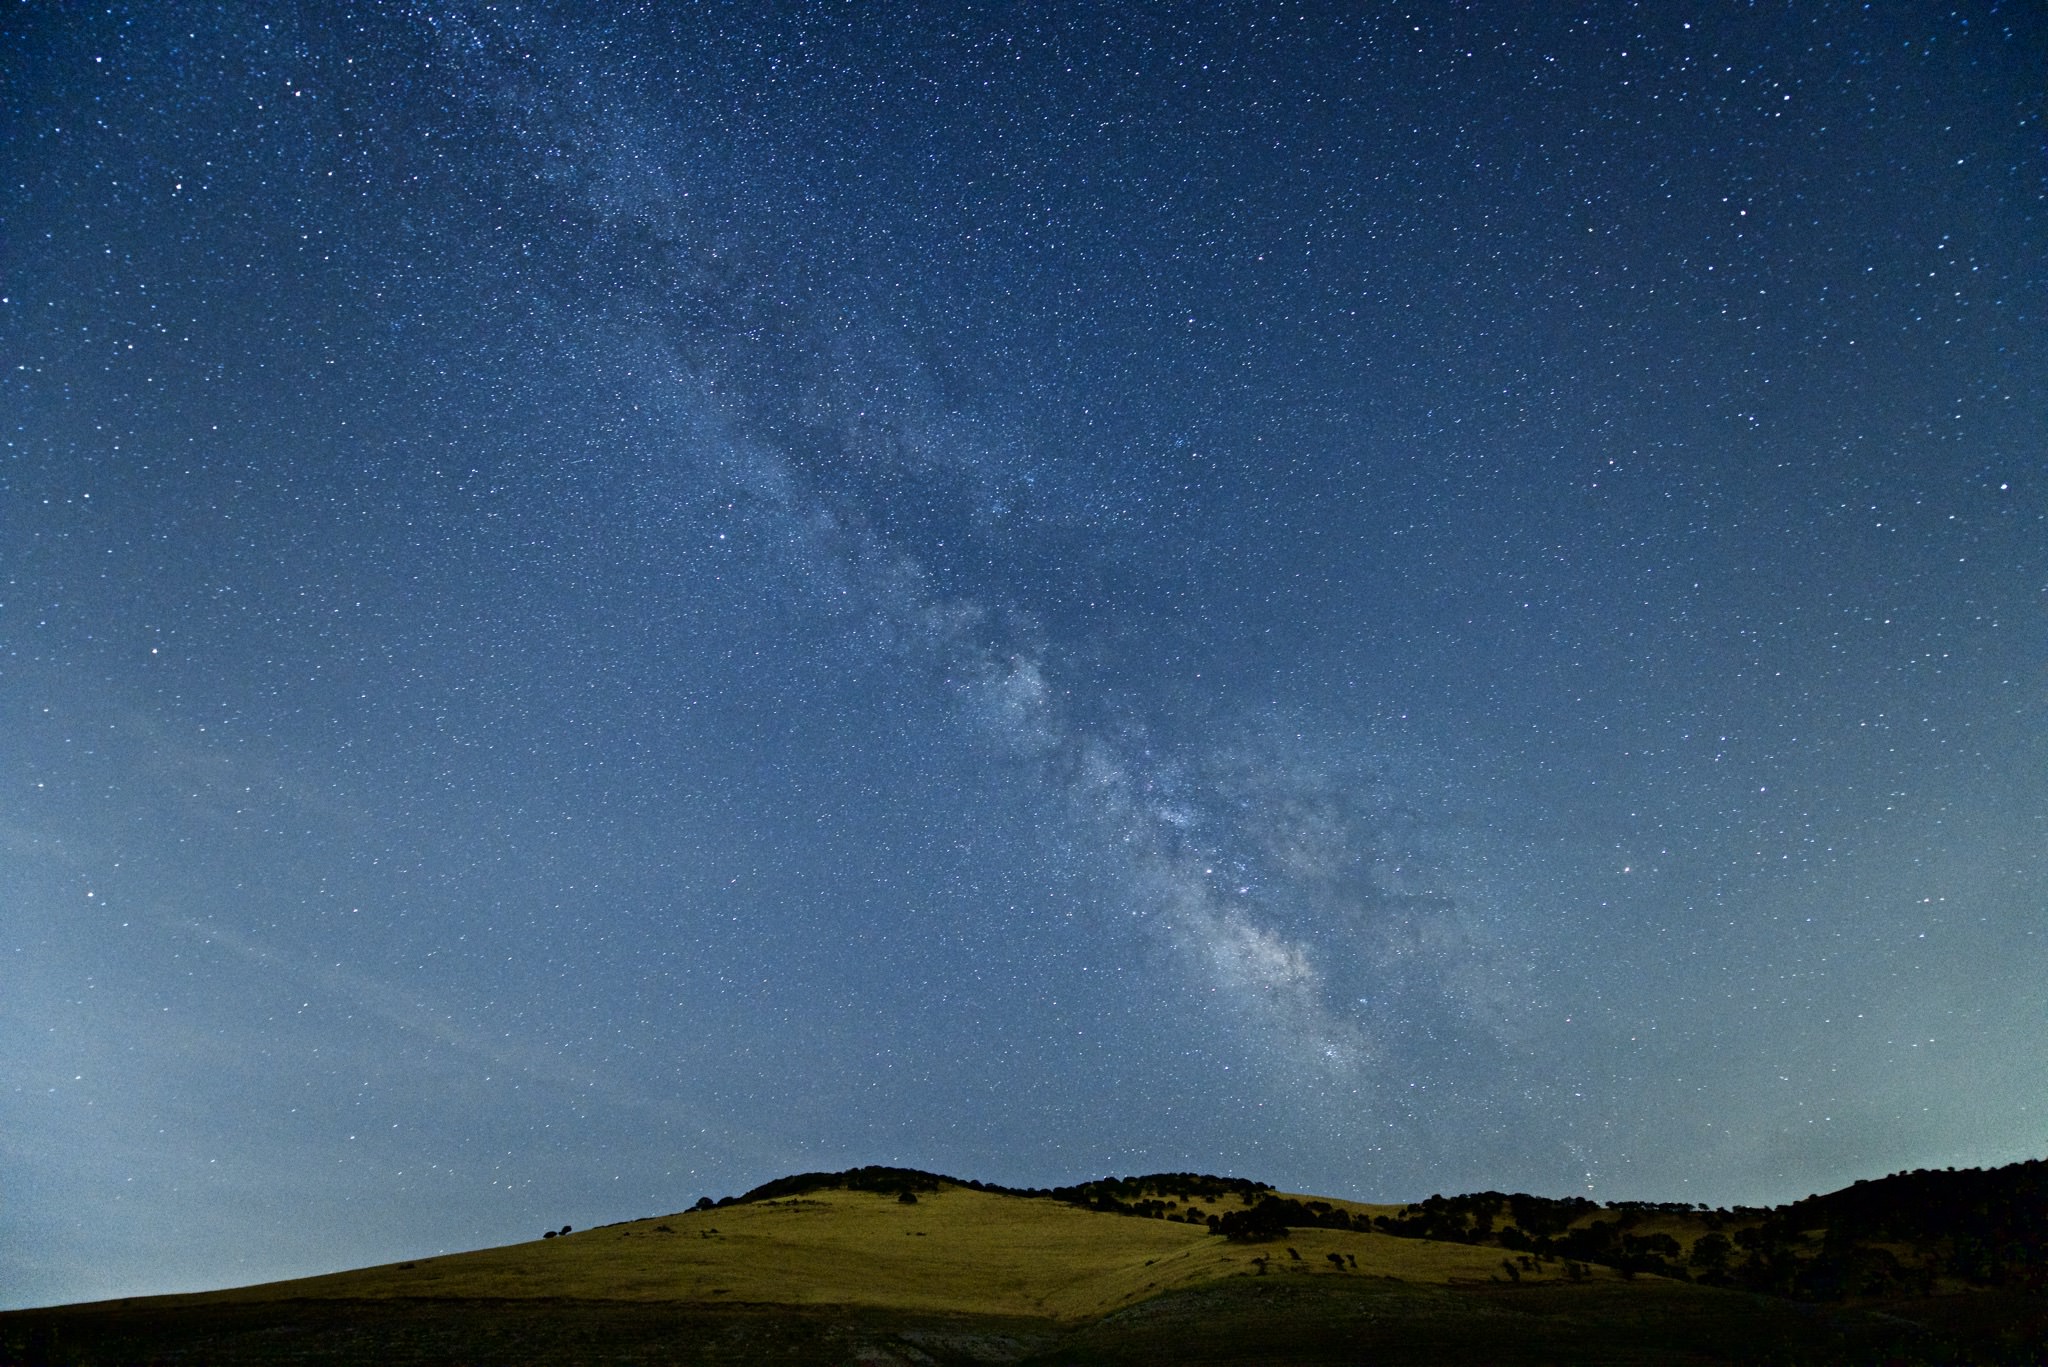
Use a Tripod
Nighttime photography without a tripod is pretty much hopeless. Even with a fast lens and a high-performance image sensor you will most likely struggle to attain satisfactory results. A tripod is necessary because it allows you to extend your shutter speed almost infinitely. A long exposure allows your camera to capture enough light to properly expose a scene at night. When in doubt, bring a tripod. Luckily, modern tripods tend to be lightweight and many come with a carrying case.
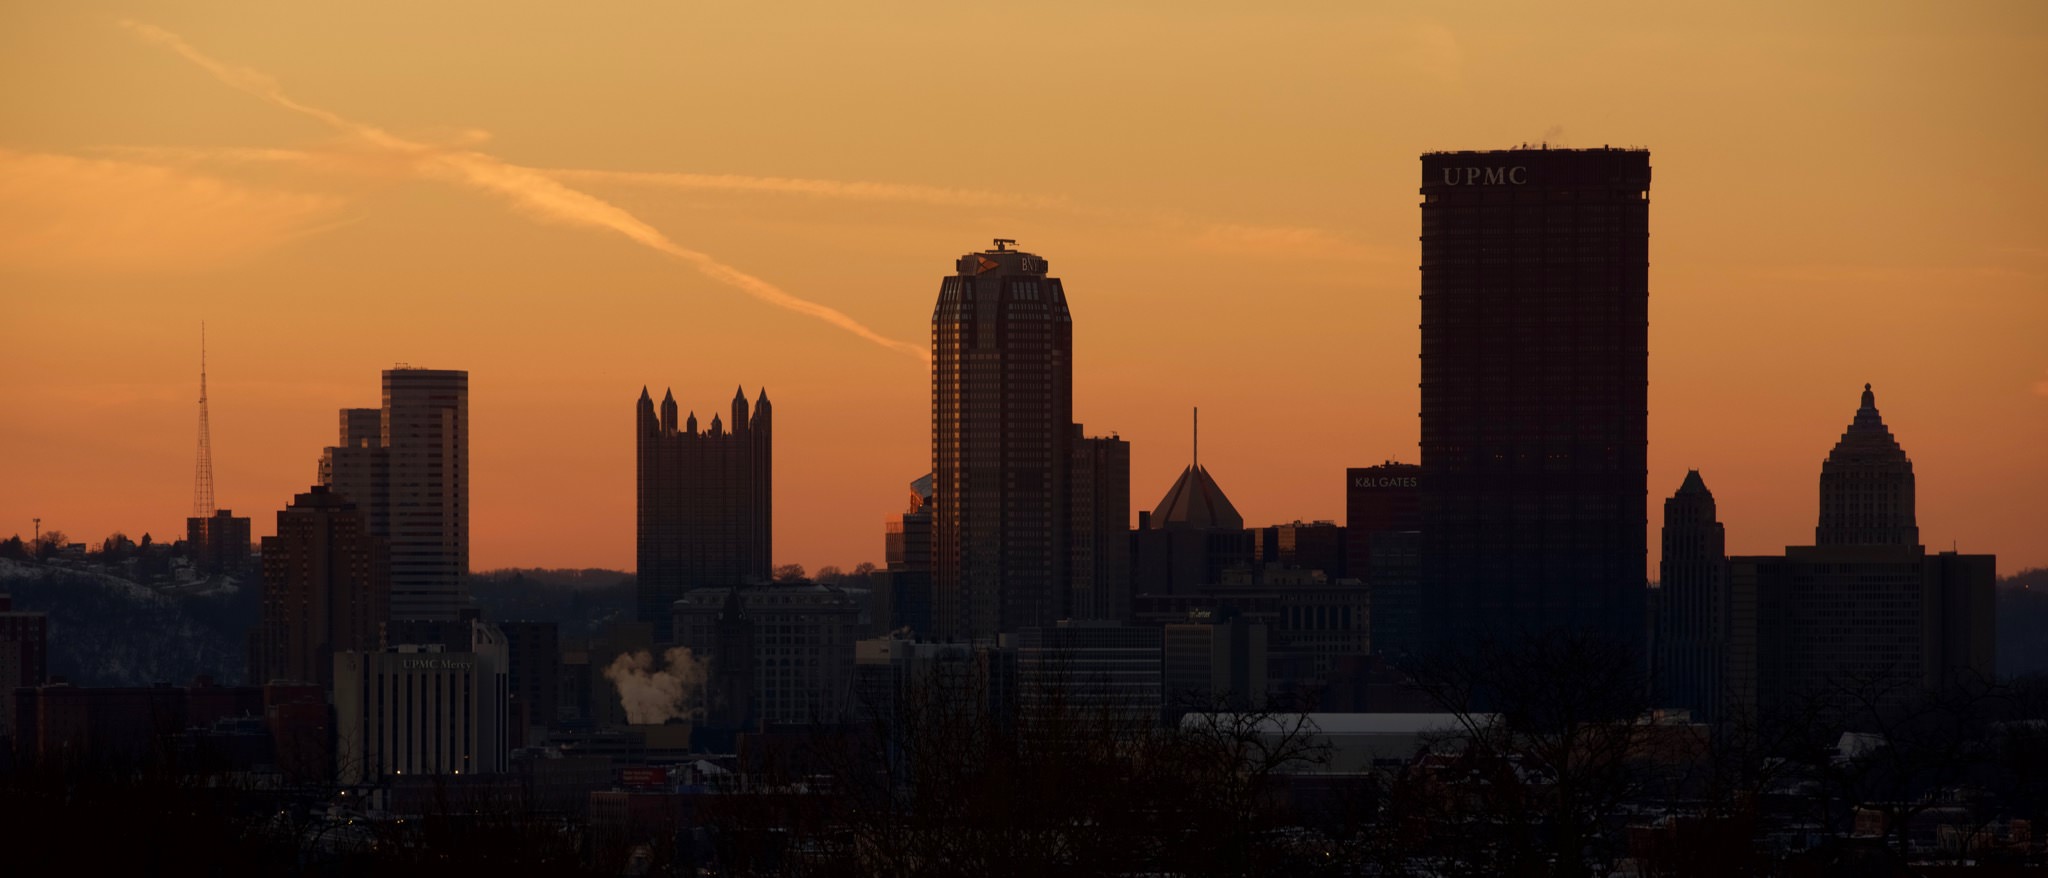
Shoot During Blue Hour
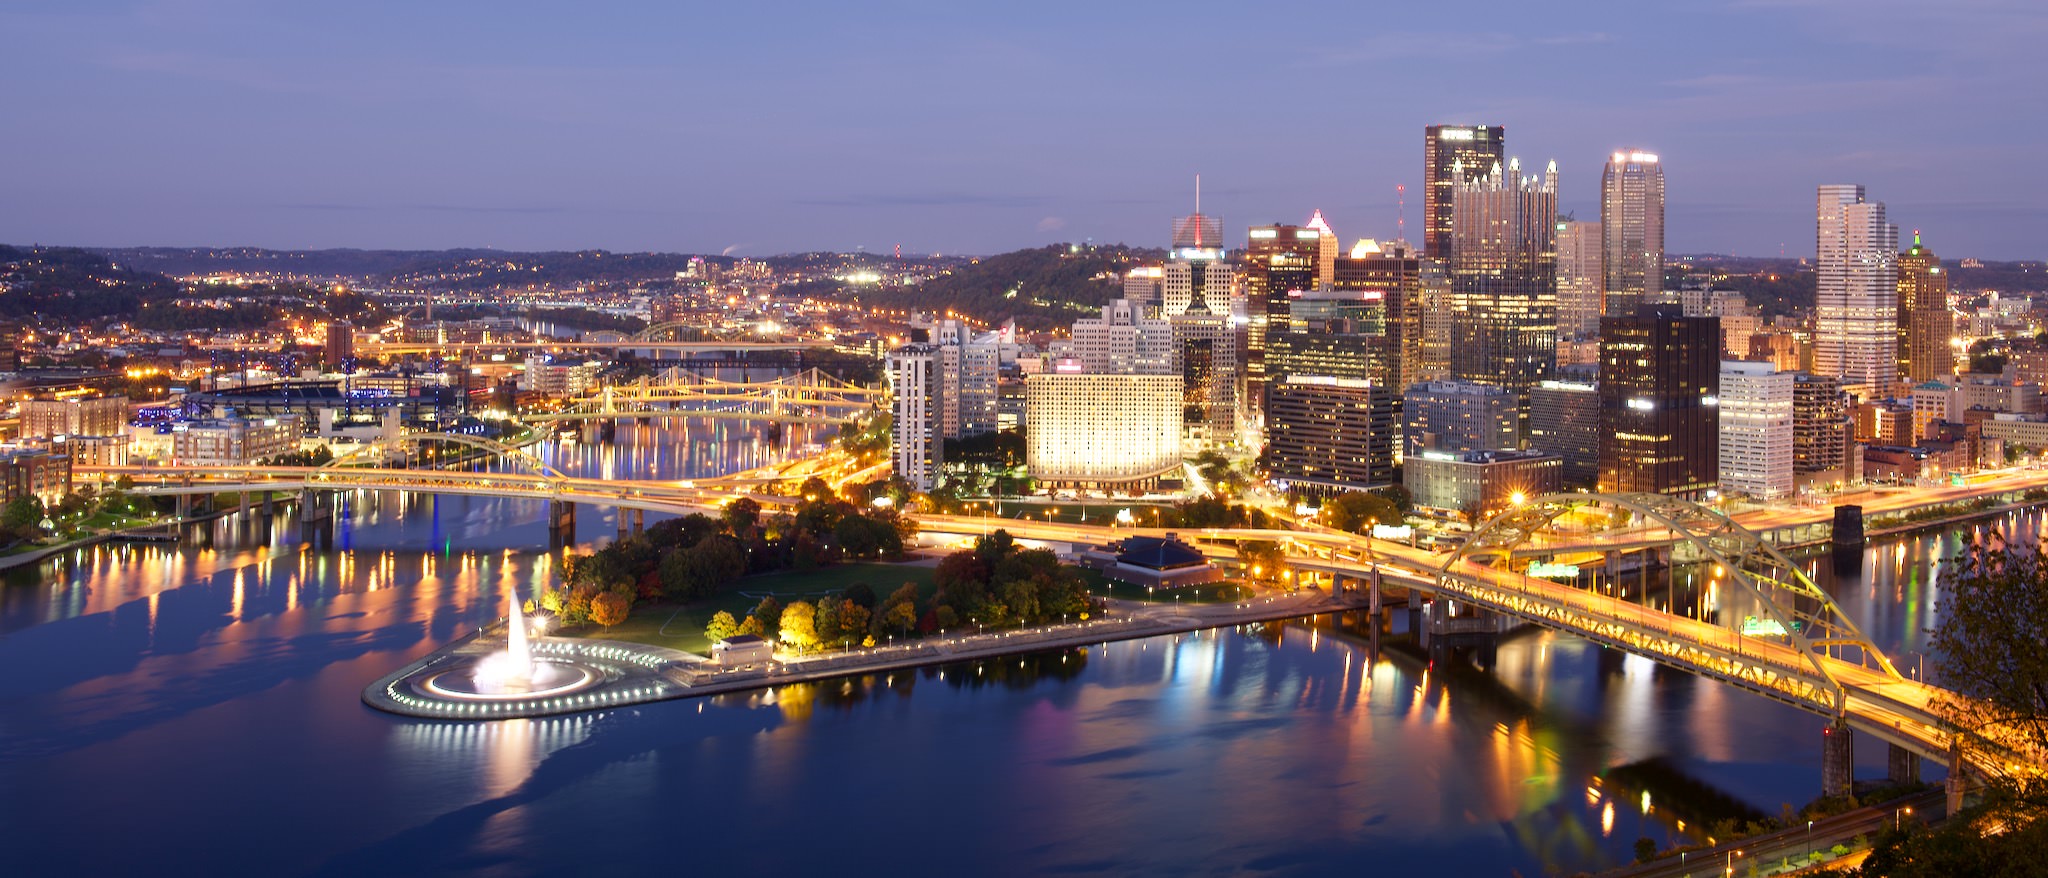
Blue hour is the time between sunset and complete darkness, lasting around 45 minutes. During this time the light changes rapidly from daylight to darkness, and is perfect for capturing twinkling city lights and the afterglow of sunset. During the day artificial lights are too dim compared to the sun to be seen. During the night the only thing visible are artificial lights and celestial bodies. Blue hour provides a compromise that allows the photographer to capture the glow of artificial lights while retaining enough natural light to see everything else.
Shoot in Manual Mode
Modern digital cameras are chock full of technology to help photographers create the best images possible with the least possible effort. However, digital light meters are designed to calculate proper exposure under what could be called “normal” lightning conditions, such as sunlight and bright artificial lights. Light meters do not always function as we would hope when the sun goes down. Therefore, it is often necessary to adjust your exposure settings manually, ignoring your light meter’s reading and using your camera’s exposure histogram to judge.
Set White Balance Manually
Just like your camera’s light meter can get confused during nighttime, so can its color meter. For example, if your image contains a particularly bright artificial light source, then your camera may adjust its white balance in accordance with that light source. But, the light source in question may not be the only one, leading to a weird color cast in your image. The solution is to set your white balance manually. On Nikon cameras, I usually use cloudy white balance at night, though this depends somewhat on the scene and may need to be tweaked in post-production.
Use Manual Focus
Whether you are using a DSLR or a mirrorless camera, it really does not matter when it comes to focusing in the dark. Both phase detection and contrast detection autofocus systems rely on light coming through a lens to find accurate focus. During the night there is not much light for an autofocus system to work with, especially if you are using a slow lens (a lens with a small maximum aperture). As such, your best bet is to focus your lens manually. Another method is to prefocus during the day and wait for night to come.
Closing Words
Nighttime photography can be challenging, but those challenges are easily overcome if you understand the limitations of your camera’s automatic modes. Low light photography tends to be a manual process. A photographer should expect to spend more time than usual in order to set up their tripod and take test shots to find proper exposure, white balance, and focus. Good luck!
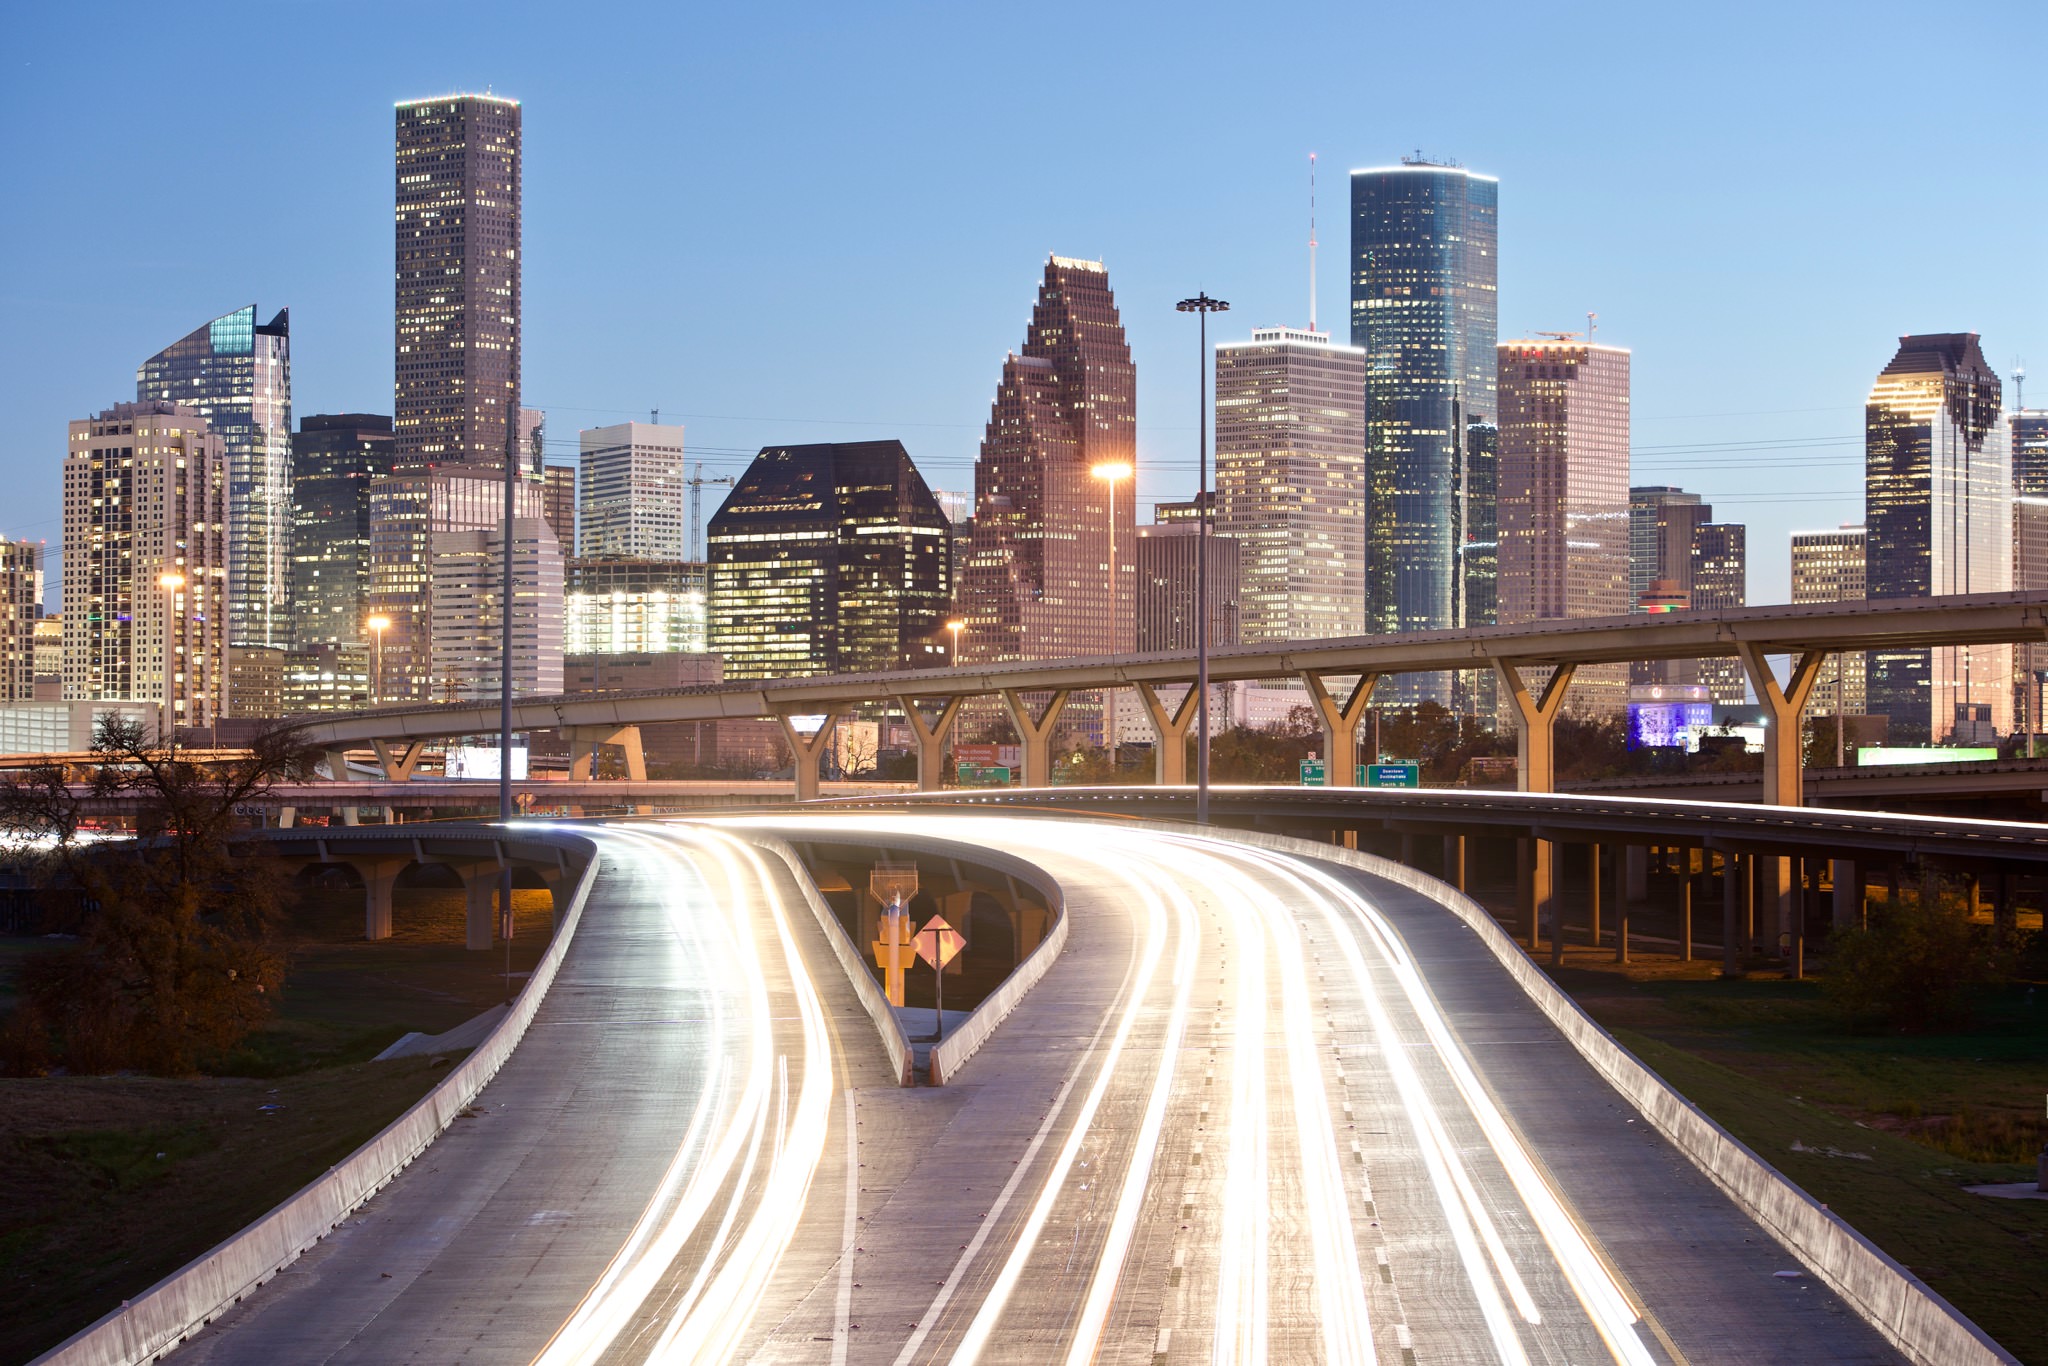
I leave in Houston. How and where were you positioned to get that photo of downtown. Looks like your standing on I10?
like..
A very helpful article. The images are excellent. Do you use shutter delay mode? If not, why not? What about cable release? I think lots of night photography has that HDR over-cooked look. You have avoided that, which is impressive. I like to try to convey a sense of the impending darkness rather than push the dynamic range towards HDR.
Hi Martin, thank you. I always use a cable release when on a tripod. By shutter delay do you mean electronic front curtain? If so, yes, I sometimes use it. Especially with telephoto lenses which magnify camera shake. I try to make my photos appear the way my eyes saw the original scene; no overcooked HDR ;)
I use shutter delay mode (Shoting/display [d] a*4) when taking images in low light mostly because I prefer to use my D800. It is a good camera except for a tendency to generate vibrations from mirror slap. I set the delay to 3 seconds and use a cable release. I do the same when I use a D750 and wondered what your thoughts would be.
Yes, that’s what I thought. You’re right that it helps to prevent unwanted vibration, especially with long lenses.