If you decide to move to another post-processing tool and you want to completely uninstall and remove all Adobe Creative Cloud applications, you might come across some issues. In this article, I want to share the process of completely removing Adobe software from both PC and Mac hardware.

I recently transitioned my laptop to another family member, and I wanted to completely remove all unrelated software, including Adobe Creative Cloud. Something that was supposed to be an extremely simple task of software uninstallation turned out to be a long and painful process. The good news is, I was able to successfully remove all Adobe software from the laptop. The bad news is, it took me much longer than I anticipated, thanks to all the bloatware Adobe installed on my computer without my permission.
Table of Contents
How to Remove Adobe Creative Cloud from Your PC
The process of removal of Adobe Creative Cloud (CC) software should be simple, according to Adobe. You should first remove all Adobe apps from the CC desktop app, then remove Adobe CC desktop app itself. In reality, the process of removing Adobe software turned out to be much more complicated. Here are the steps you might need to go through:
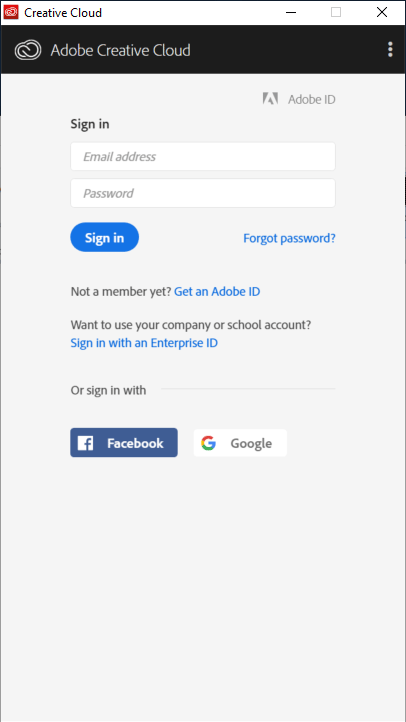
- Sign in to Adobe CC desktop app.
- Remove all Adobe apps such as Photoshop and Lightroom using the Creative Cloud desktop app.
- If any of the software fails to uninstall, go to Control Panel and remove it from there.
- Once all Adobe apps are removed, uninstall Adobe CC desktop software from the Control Panel.
- If Adobe CC desktop software does not uninstall, download and run Adobe CC uninstaller software.
- Once Adobe CC desktop software is completely removed, remove all other Adobe bloatware present on the computer using the Adobe CC Cleaner Tool.
- Reboot the computer.
- Remove all Adobe folders in local storage.
Sign in to Adobe CC Desktop App
I have to admit, requiring one to sign in to the Creative Cloud desktop app just to remove all Adobe apps is already ridiculous. I cannot think of a single piece of software I have used in the past that made me type in my username and password just to start the software removal process.
While you technically can remove individual Adobe software components using the Control Panel, it is not the recommended practice, since the Adobe Creative Cloud desktop app must be in sync with what is installed or removed from the computer. Therefore, it is best that you sign in and remove all the apps using the desktop app:
I am not sure what Adobe expects people with no Creative Cloud credentials to do when removing Adobe software. In my case, my family member does not have an Adobe CC account, so if I did not sign in and remove the software for them, they would have to go through a different process of software removal.
Remove All Adobe Creative Cloud Apps
Once you log in, you will need to remove all Adobe Creative Cloud apps like Photoshop and Lightroom using the same desktop app. Click on the “Apps” tab, then “Installed Apps”, then scroll down to the installed app and click the little down arrow next to “Open” or “Update”, then click “Manage” -> “Uninstall”. If you are not planning to use Adobe Creative Cloud software in the near future, select the “Yes, Remove App Preferences” option when you are prompted. This should start the process of app removal.
If nothing happens after more than 10-15 seconds, close out of the Adobe CC desktop app, then manually remove the Adobe app using the Control Panel.
Remove Adobe CC Desktop App
The Adobe CC desktop app is the main piece of software that allows you to install and remove Adobe apps. Once all Adobe apps are removed, the next step is to remove the Adobe CC desktop app itself.
You can do so by visiting “Add / Remove Programs” (also known as “Programs and Features” in Windows 10) in Control Panel and uninstalling the Adobe Creative Cloud App component manually. You will be presented with a pop-up screen like this:
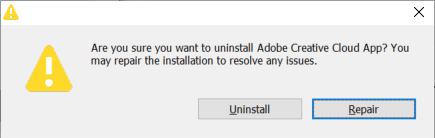
Unfortunately, thanks to all the bloatware that Adobe installs on most PCs, the process of removing this app will most likely end up with the below error:
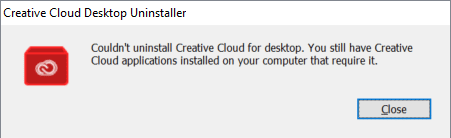
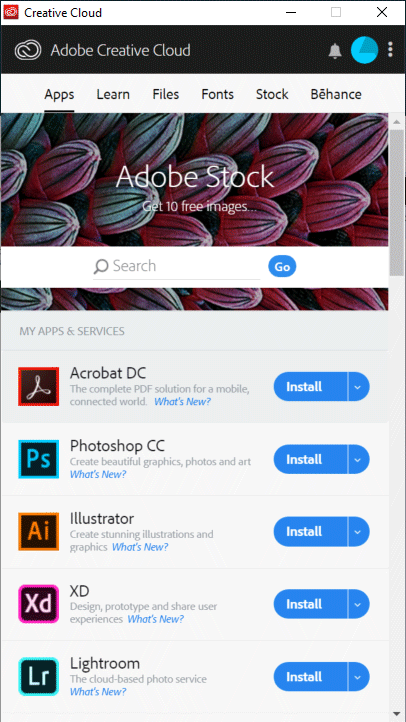
Although I knew for a fact that there was not a single Adobe Creative Cloud applications left to uninstall, I still could not remove the desktop app. Here is a screenshot of the Adobe CC desktop app, which shows nothing is installed:
And here is a screenshot from “Programs and Features”, which shows there is nothing Adobe-related left on the computer:
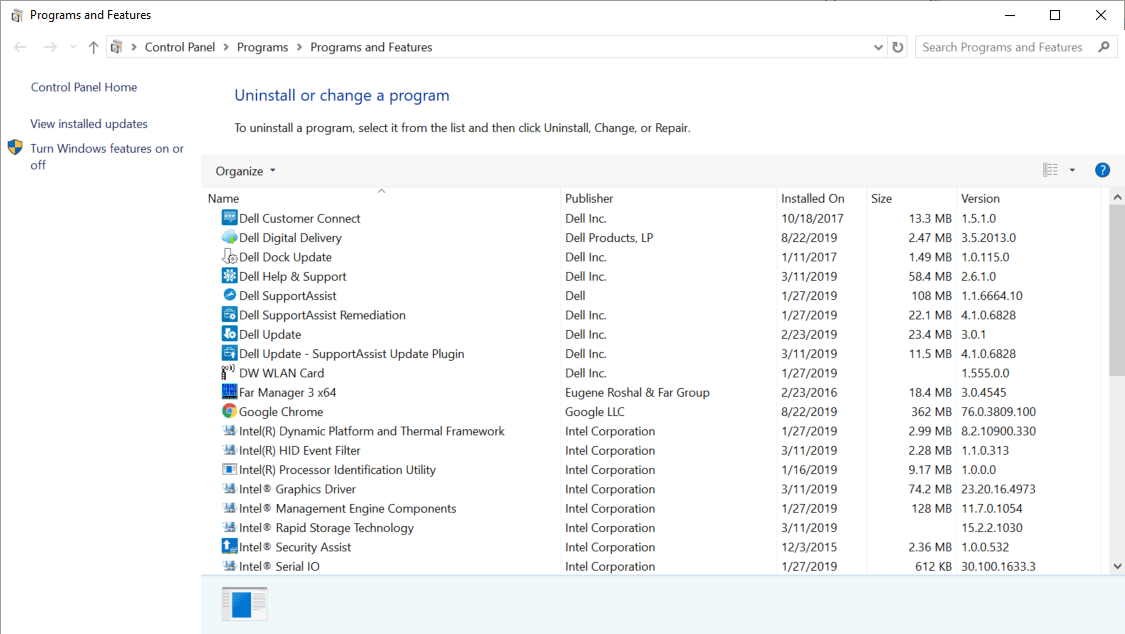
Despite this, the Adobe CC desktop app still failed to uninstall, so the next step was to download and run the Adobe CC uninstaller software.
Download and Run Adobe CC Uninstaller
Once again, requiring anyone to download and run a separate tool just to remove software is ridiculous – it only shows how poorly Adobe software is developed. Software vendors usually do that as a last resort when software gets corrupted. And as you will see further down below, you might need more than one tool to completely get rid of everything.
To download the Adobe CC Uninstaller, visit this page, scroll down and download the ZIP file. Once the file is downloaded, open it up and run the Uninstaller.
If everything goes well, you should see the following screen:
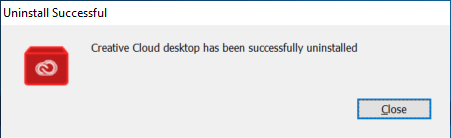
Adobe Creative Cloud desktop app is now removed.
Remove Adobe’s Bloatware
The next step is to remove the rest of Adobe’s bloatware that gets installed without your permission. That’s right, Adobe silently installs a bunch of software that you might not know about. Some of this software runs continuously in the background, even if you have zero Adobe apps left on the computer, as you will see further down below.
Download the Adobe CC Cleaner tool using this link. Make sure to run the tool as Administrator by right-clicking it (the tool won’t be able to clean everything up without the right privileges), and selecting “Run as Administrator”. You will be presented with a screen that looks like this:
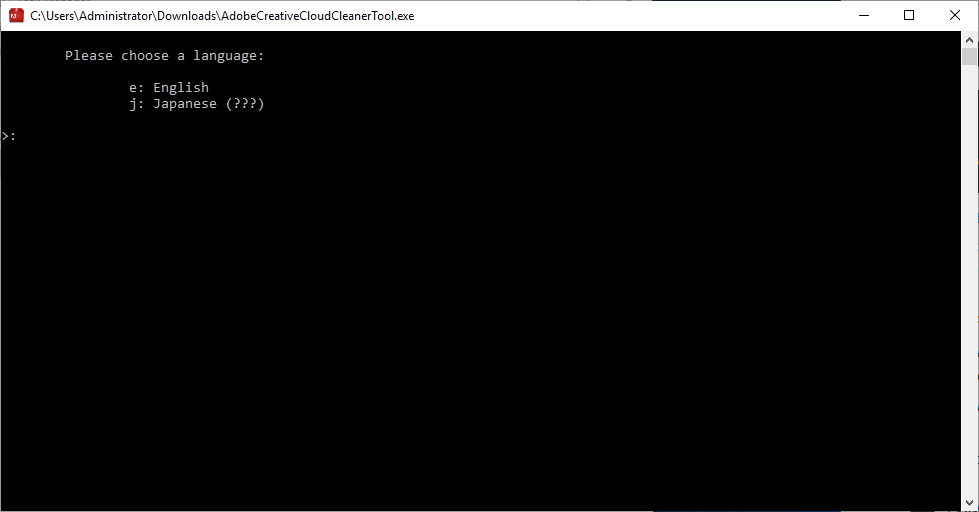
You will see two options: English and Japanese for selecting the language. Type “e” and press Enter. You will then see the following screen that requires you to agree to Adobe’s terms, which basically state that Adobe is not responsible for any damage the software might cause:
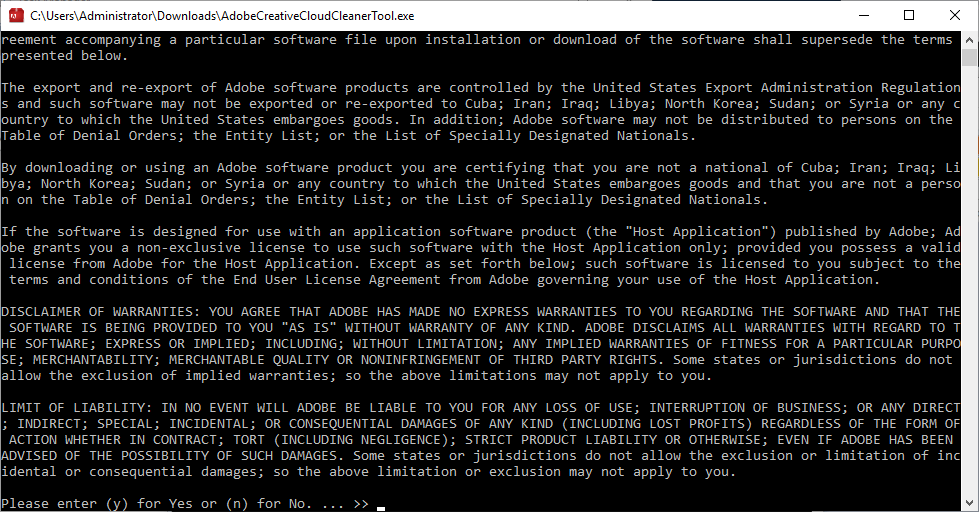
You will need to type “y” and press Enter to proceed. From there, the next screen will show you all the bloatware Adobe left on your computer:
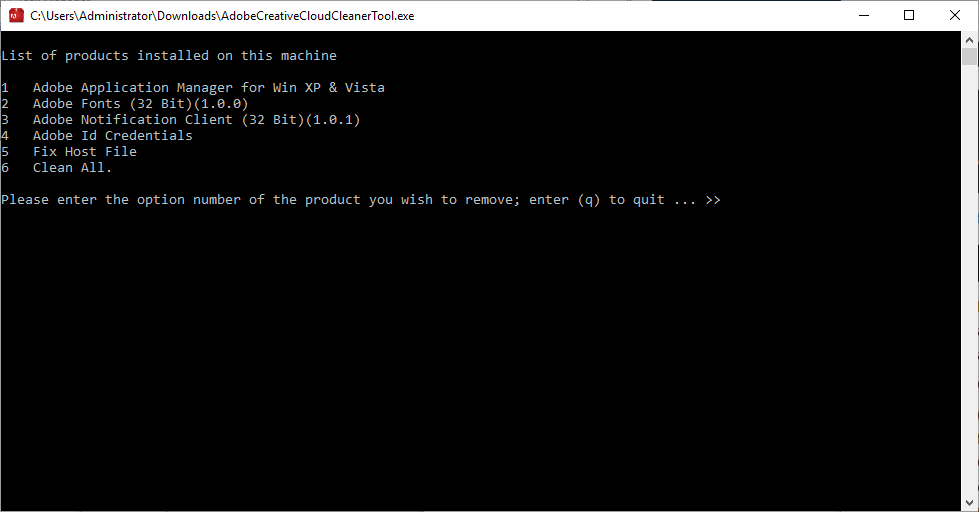
Wow, that’s a lot of stuff that’s left over I had no idea about. Note that none of this stuff is found in the App section of Control Panel in the computer. I went ahead and typed “6” to “Clean All”, only to be presented with an error:
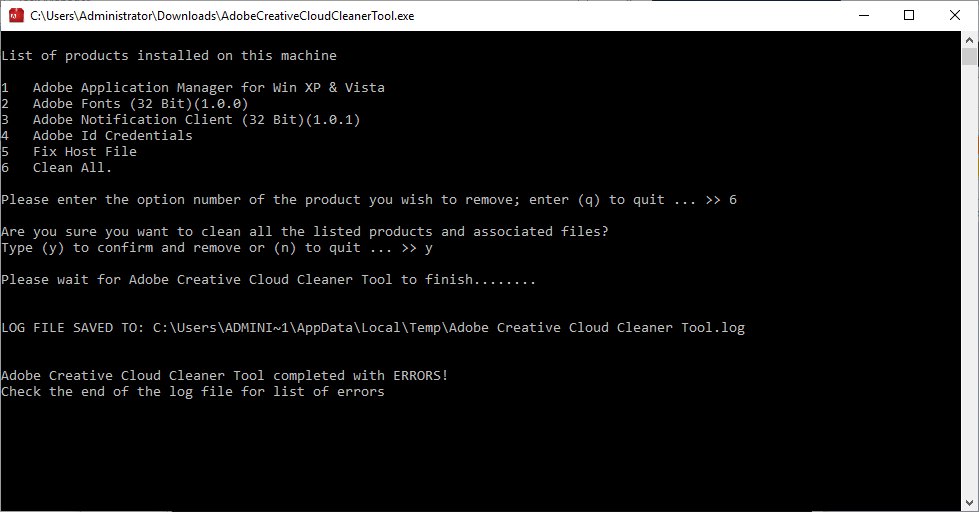
I had to run the tool twice to clean up the list.
Now that the cleaner removed all Adobe software, my next step was to remove all the relevant folders that are left over in Program Files folder in my computer. Except…I could not remove them due to other Adobe software that was running on the computer:
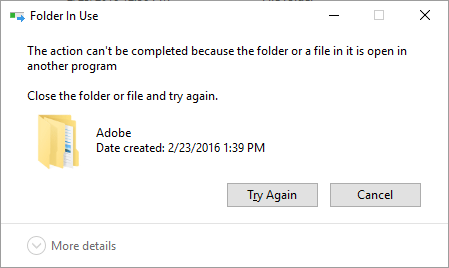
The Adobe folder was in use. The two folders that failed to remove were these:
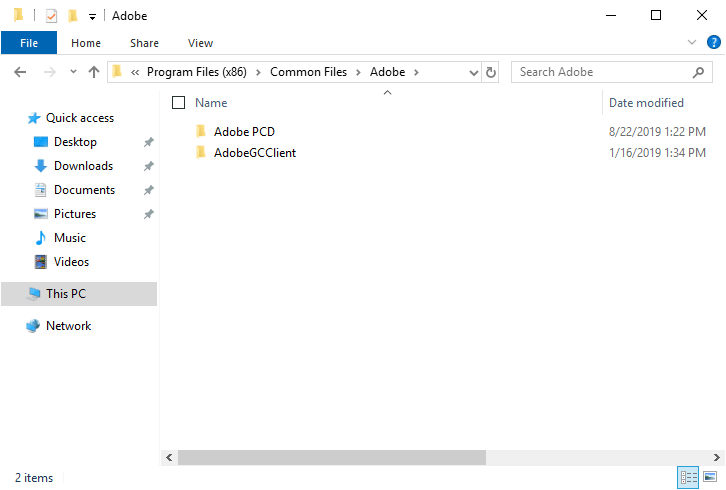
That’s right, Adobe has even more bloatware that runs without your permission. One such piece of software is called “Adobe GC Invoker Utility”, which automatically runs on start up every time you reboot. I looked it up, and it is supposedly software that makes sure that you don’t pirate the software. It always runs in the background and it does not get removed when you use the uninstaller, or Adobe’s cleaner tool.
Here it is, sitting along all other apps that run when the computer restarts:
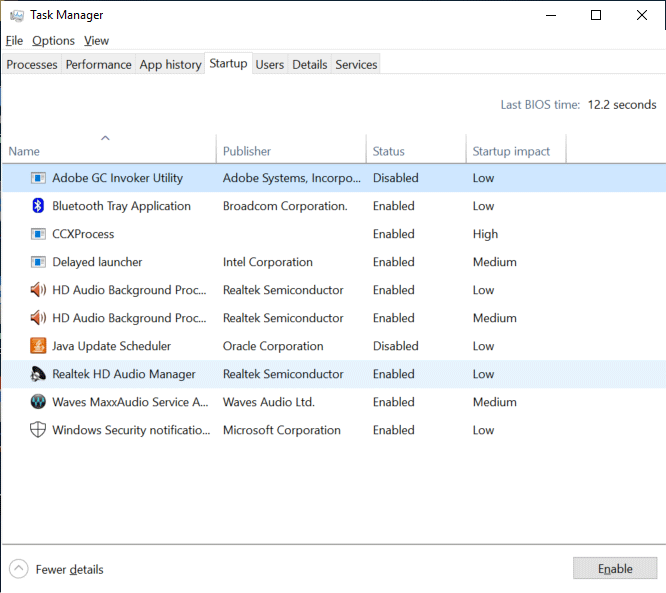
Although you can just disable it from running on start-up, I would recommend to remove it completely.
Remove Adobe GC Invoker
NOTE: The next step involves running Windows Registry Editor, so you have to be very careful – only delete exactly what I show you below or you could corrupt your Windows installation!
Run “regedit” (Windows Registry Editor) as Administrator and navigate to: Computer -> HKEY_LOCAL_MACHINE -> SOFTWARE -> Microsoft -> Windows -> CurrentVersion -> Run
If you don’t want to go through all the trees within the registry editor, simply search for “AdobeGCInvoker-1.0”. Manually delete this key from the registry by selecting it, and pressing the Delete button. Close out of the registry editor.
Reboot Computer and Manually Remove Remaining Adobe Folders
The last step is to reboot your computer and manually remove the remaining Adobe folders. Here is a list of folders that you need to delete:
- C:\Program Files\Adobe
- C:\Program Files\Common Files\Adobe
- C:\Program Files (x86)\Adobe
- C:\Program Files (x86)\Common Files\Adobe
If you are really anal about getting every Adobe-related folder deleted from your computer, search for “Adobe” folders on your computer and delete them. However, I would only recommend this step if you really know what you are doing. My suggestion is to only remove specific folders that might be sitting in Users -> Your Username folder, as well as any Temp folders.
How to Remove Adobe Creative Cloud from Your Mac
After I wrote the section on removing Adobe Creative Cloud from PCs, I decided to go through the process of removing Adobe Creative Cloud from Macs as well, since many of our readers run Creative Cloud from their Mac desktops and laptops. Here is what you will need to do:
- Sign in to Adobe CC desktop app.
- Remove all Adobe apps such as Photoshop and Lightroom using the Creative Cloud desktop app.
- Download and run Adobe CC uninstaller software.
- Remove all Adobe folders in local storage.
Sign In and Remove Adobe CC Apps
Similar to the PC instructions, the first step is to sign in to the Adobe Creative Cloud desktop app, if you have not already done so. After that, make sure to go through all existing apps and remove them one by one until there is nothing left.
Remove Adobe CC Desktop App
After you go through the first two steps (which are identical to the PC steps), download the Mac version of the Adobe CC uninstaller software from here.
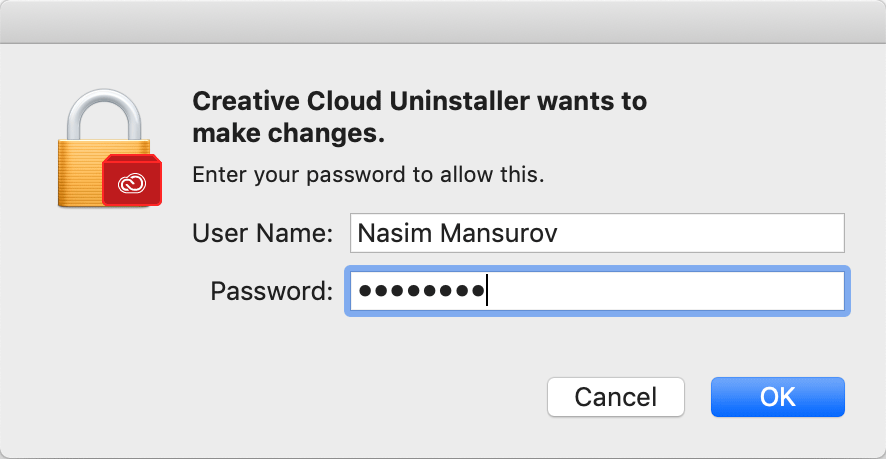
When you run the tool, you will be asked to type your system login/password:
On the next screen, you will be warned that the app was downloaded from the Internet. Click “Open”:

A new screen will come up, asking if you want to remove the Adobe Creative Cloud desktop app:
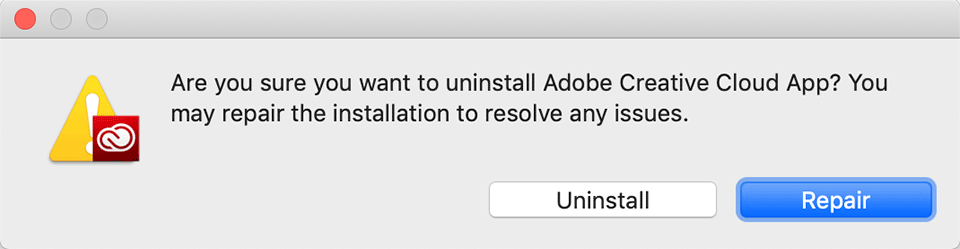
Go ahead and click “Uninstall” to start the removal process. It will take a little bit of time to remove the desktop app. At the end of the process, you will be shown the following screen:

Remove all Adobe Folders
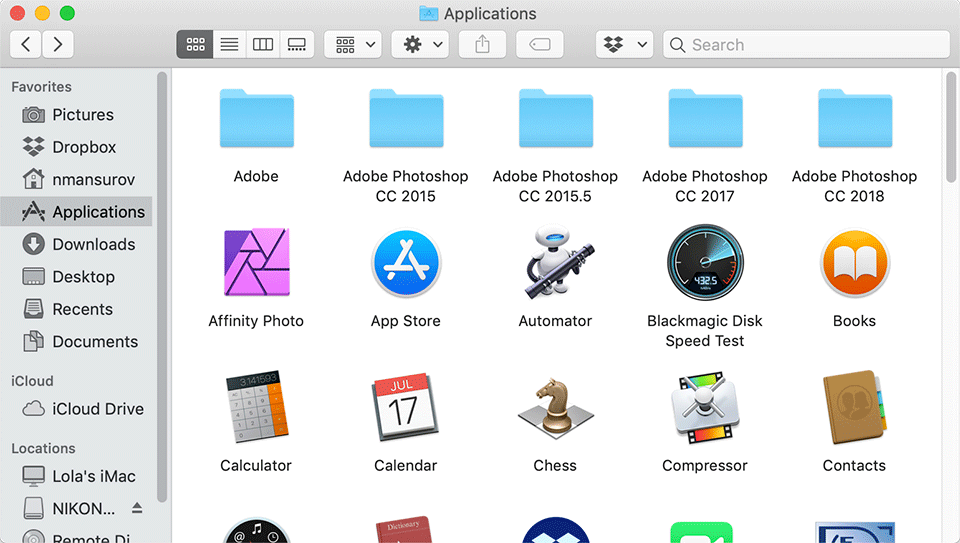
Once the desktop app is removed, navigate to your “Application” folder and move all Adobe folders to Trash. You should see a list of folders similar to below:
The next step is to remove Adobe applications from the “Utilities” folder (found under Applications -> Utilities). Navigate there, then select all Adobe folders such as “Adobe Application Manager” and “Adobe Installers” and move them to Trash.
There are more Adobe folders under Library -> Application Support, and possibly in other locations. Before you decide to remove any of those folders, make sure that you have no other Adobe software left on your computer.
The last step is to empty the Trash bin, which should uninstall and remove any other remaining Adobe apps.
Congratulations, you should now be completely Adobe-free on your PC or Mac if you followed this guide.
So I did everything almost exactly as you said, except I was able to delete all my adobe program files before I ran the cleanup tool (I ran everything – Adobe Uninstaller and Cleanup as admin). The Cleanup tool ran successfully without errors, and I deleted invoker and adobe synchronizer aka collabsync (collabsync was the only program running in my Task Manager tray) in the Registry Editor.
However – when I was in the Windows Register I noticed a file under Computer\HKEY_LOCAL_MACHINE\SOFTWARE\Adobe
– An “adobe” file still exists in the registry with the following file names:
Adobe Acrobat, Adobe Genuine Service, Installer, Installer Analytics, and PDF Admin Settings
My question here: Did I perhaps make a mistake by deleting my program files prior to running the Cleanup? And is it ok (i.e. No Crashing) to delete these files as well????
Adobe has turned into garbage in recent years. Sad to see the iconic company moved it’s focus away from inspiring creativity to just turn into money-making business. It’s just focused on AI now.
Also, they seemed to be so much down in slumber, when it comes to the iPad. They were kept sleeping thet much if the creativity community amwas in iPad. But they couldn’t develop a decent iPad version when Affinity and so many more little pigmy companies have done a much better job. Their abject foolishness and ignorance led to the rise of Procreate and Canva, now much better than this tardy piece of software.
I too had to face a huge problem uninstalling the garbage they pump into your system, and I rather had to get my OS reinstalled.
Don’t know which world they are living in. There sure is no longer a focus on the creative community. Unless they do something, they are racing to be the next Nokia
Amazing. Thanks Nasim! I have the F**** window, saying “Creative Cloud” bla bla since 2019, so this is over. I appreciate your assistance on this matter, and I’m impressed by seeing all the garbage they install on our computers without our permission.
Thank you. And also, fuck adobe.
OMG, You saved my life, Thank you!!!
Oh yes. Just what I needed. Thank you so much for clearly explaining this. Bye bye Adobe!
You can just us Photoshop after removing all Creative Cloud bloatware and processes:
Photoshop opens in 1s cold and runs beautifully.
MacOS instructions:
If you do not use cloud storage I certainly recommend you doing so as the additional bloat software that Creative Cloud installs (CCXProcess, CoreSync, and around 10 other permanent apps) and runs (permanently!) on your computer makes it very very slow.
This is how (on Mac):
1. Simply install Photoshop and open a file and save it. You will get the “Save on Computer or Save on Cloud” dialog box. Select computer and select don’t ask again. Goto “Preferences” file handling, and select “On my computer” if that option is there.
2. Log in to Creative Cloud on a desktop and deselect everything in your account. Deselect, un sync, deselect any app links, sessions, etc. Deselect everything you can find, end all sessions and sign out.
3. Now open Activity Monitor and select “All Processes, Hierarchically”. Click the process name tab. Kill all processes that mention “Creative Cloud[..], Coresync[..], CCXProcess[…], AdobeIPCBroker[…] and anything else that starts with Creative Cloud. Be gratuitous, it doesn’t matter if you kill something that is unrelated to Creative Cloud as this is just important for the next step.
4. Now open a Mac app uninstaller like CleanMyMacX or App Uninstaller, doesn’t matter which one. Choose any. You can even use multiple uninstallers. Select all Creative Cloud, Coresync, CCXProcess, AdobeIPCBroker and any other Creative Cloud apps in these uninstallers. Let them pre-select all sub files and .plists associated with these apps. But DON’T hit delete yet! Just have the files ready to be removed
5. Now download the Adobe Creative Cloud Cleaner Tool from Adobe. Run it and delete everything apart from Photoshop, Camera Raw and the RGB item below it. If it offers uninstall, refuse as this will start various processes in Activity again which will need to be killed. Just click clean
6. When everything is removed go back to your CleanMyMacX or App Uninstaller (or both) and click delete and let them delete everything they had found.
7. Now, just to be sure go to: •
~/Library/Application Support•
~/Library/Preferences•
/Library/LaunchAgents•
/Library/LaunchDaemons•
Library/PrivilegedHelperTools •
~/Library/Caches/Adobe Creative Cloud/•
~/Library/Application Support/Adobe Creative Cloud/•
~/Library/Caches/Adobe Creative Cloud Crash Reporter/
On both library and user/library and delete anything remaining that mentions creative cloud.
8. Now make a back up of your Adobe preferences file (Adobe Photoshop 2020 Prefs.psp) located in Users/Username/Library/Preferences/Adobe Photoshop Settings/..
(toggle “shift”, “cmd”, “.” in finder to see hidden. files)
Save that .psp file somewhere, because if Adobe Photoshop preferences is deleted it will try to find that “Save to Computer or Save to Cloud” window and won’t be able to and just do nothing when you click “Open” or “Save”.
Now you are done.
Welcome to Photoshop that opens in 1s cold and is lightning fast with 0 Creative Cloud bloatware running on your Mac.
Thank you. If you want to de-install everything Adobe put in, on macOS, also remove names containing AIRobin[…] and in ~/Library/Caches/
AI_28_0
Adobe
Adobe Camera Raw 2
Adobe InDesign
AI_27_8
AI_27_9 (and / or other AI_xx_x folders obviously)
com.adobe.acc.AdobeCreativeCloud
com.adobe.acc.AdobeDesktopService
com.adobe.AdobeCRDaemon
com.adobe.AIRobin
com.adobe.cc.Install
com.adobe.ccd.helper
com.adobe.headlights.LogTransport2App
com.adobe.illustrator
com.adobe.InDesign
com.adobe.Photoshop seem to be part of it.
Thanks a lot. With your tip I could download the CC Uninstaller from Adobe and get rid their programmers.
I have been trying to uninstall them since several months without success as it was asking to login to my account, which was disenabled / delated by Adobe after my student subscription expired.
So what a nonsense from Adobe to force me to login to an non-existent account which they have disenabled after my student subscription expired!
Never again Adobe!!!!!
You must delete or rename the most annoying adobeIPCbroker.exe that eats memory as hell and pops-up the stupid “you need to install so an.so….” At least this resolved the problem in Dreamweaver-
Thanks for the detailed info. I’m not sure it’s worth the time, though, to go through all the hoops. I.e. does it improve performance or is it just satisfying to remove Adobe?
If it’s not taking up resources, why bother? I’m no fan of Adobe….it’s like the Borg to me.
They absorb the competition to eliminate them. “Resistance is futile!” =P
Maybe best to ignore them. But good to know how to remove their bloatware!
It’s still collecting data, talking to adobe servers, using up memory on your computer… definitely worth it